Tiered Wooden Spice Rack
By The Stump ShopSimple to follow step by step plans for a multi levelled spice rack
Directions
-
Cut the wood into the required pieces
Using the mitre saw, jig saw or table saw, cut the wood into the required sizes:
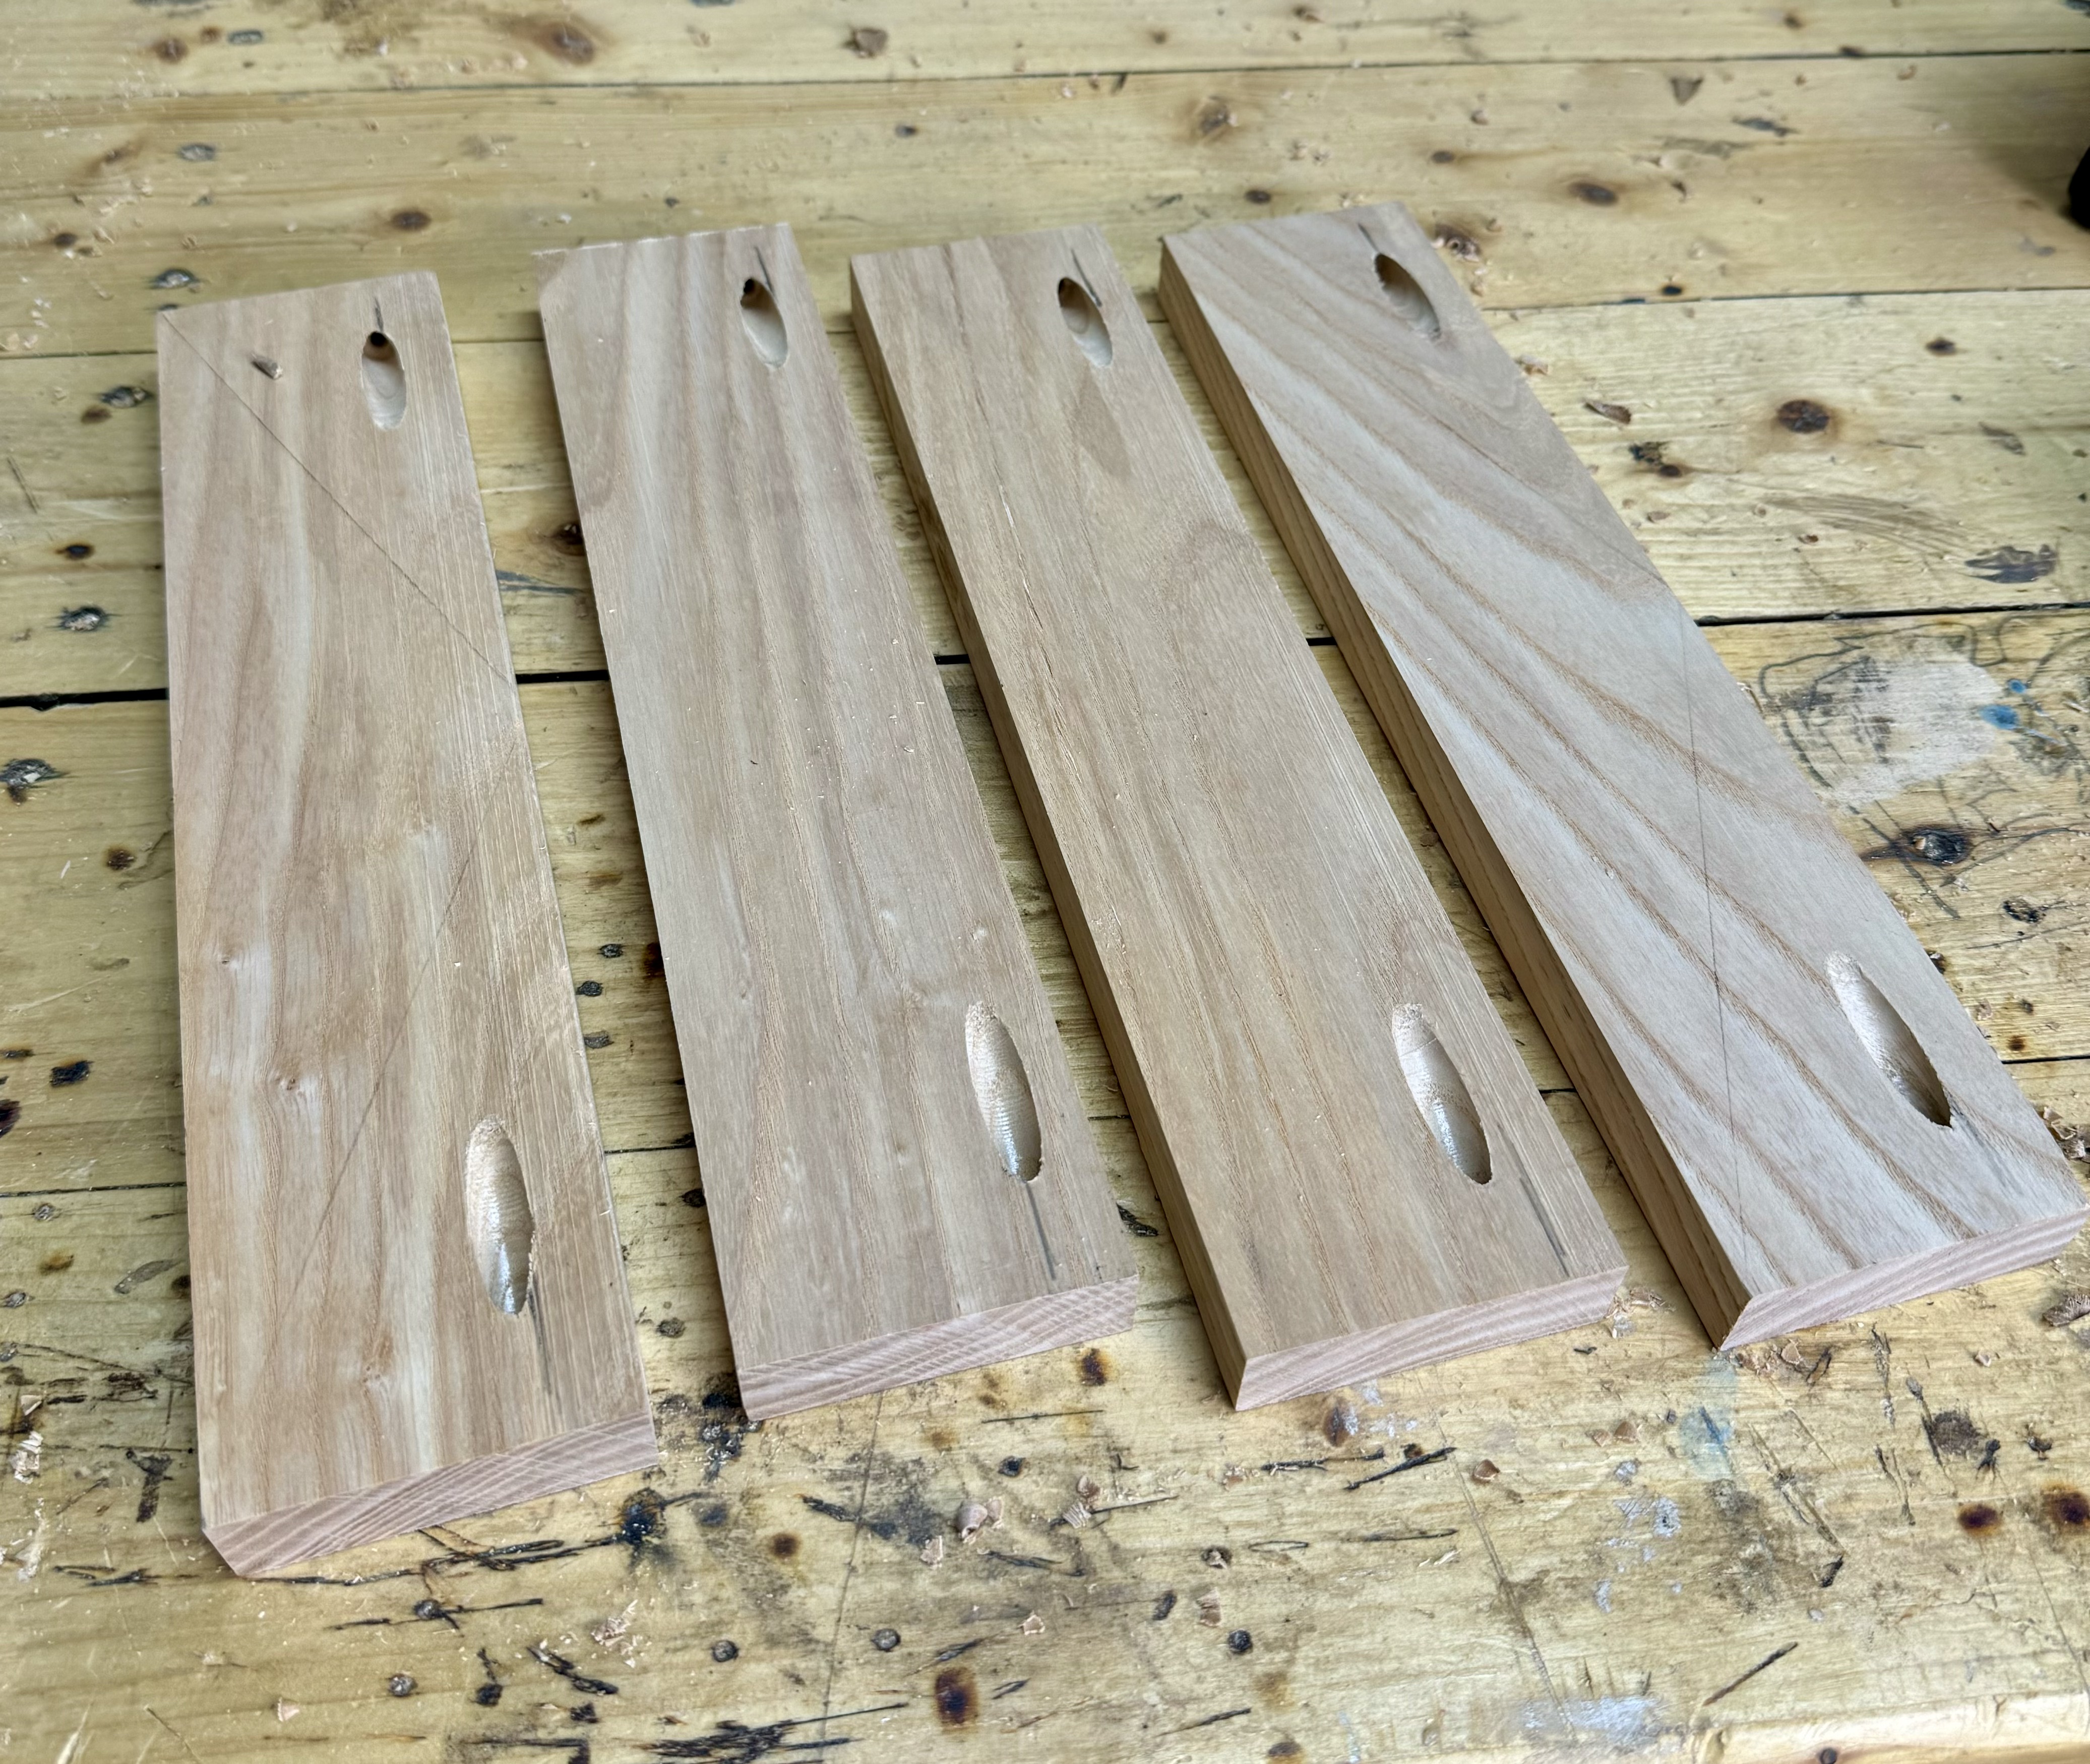
4 shelves, each : 12" x 2.5" (can also vary depending on your cabinet)Cutting shelves to custom size
Please remember that these shelf sizes can be altered to custom sizing. If changing the measurements, remember to alter all the following steps accordingly as well.
-
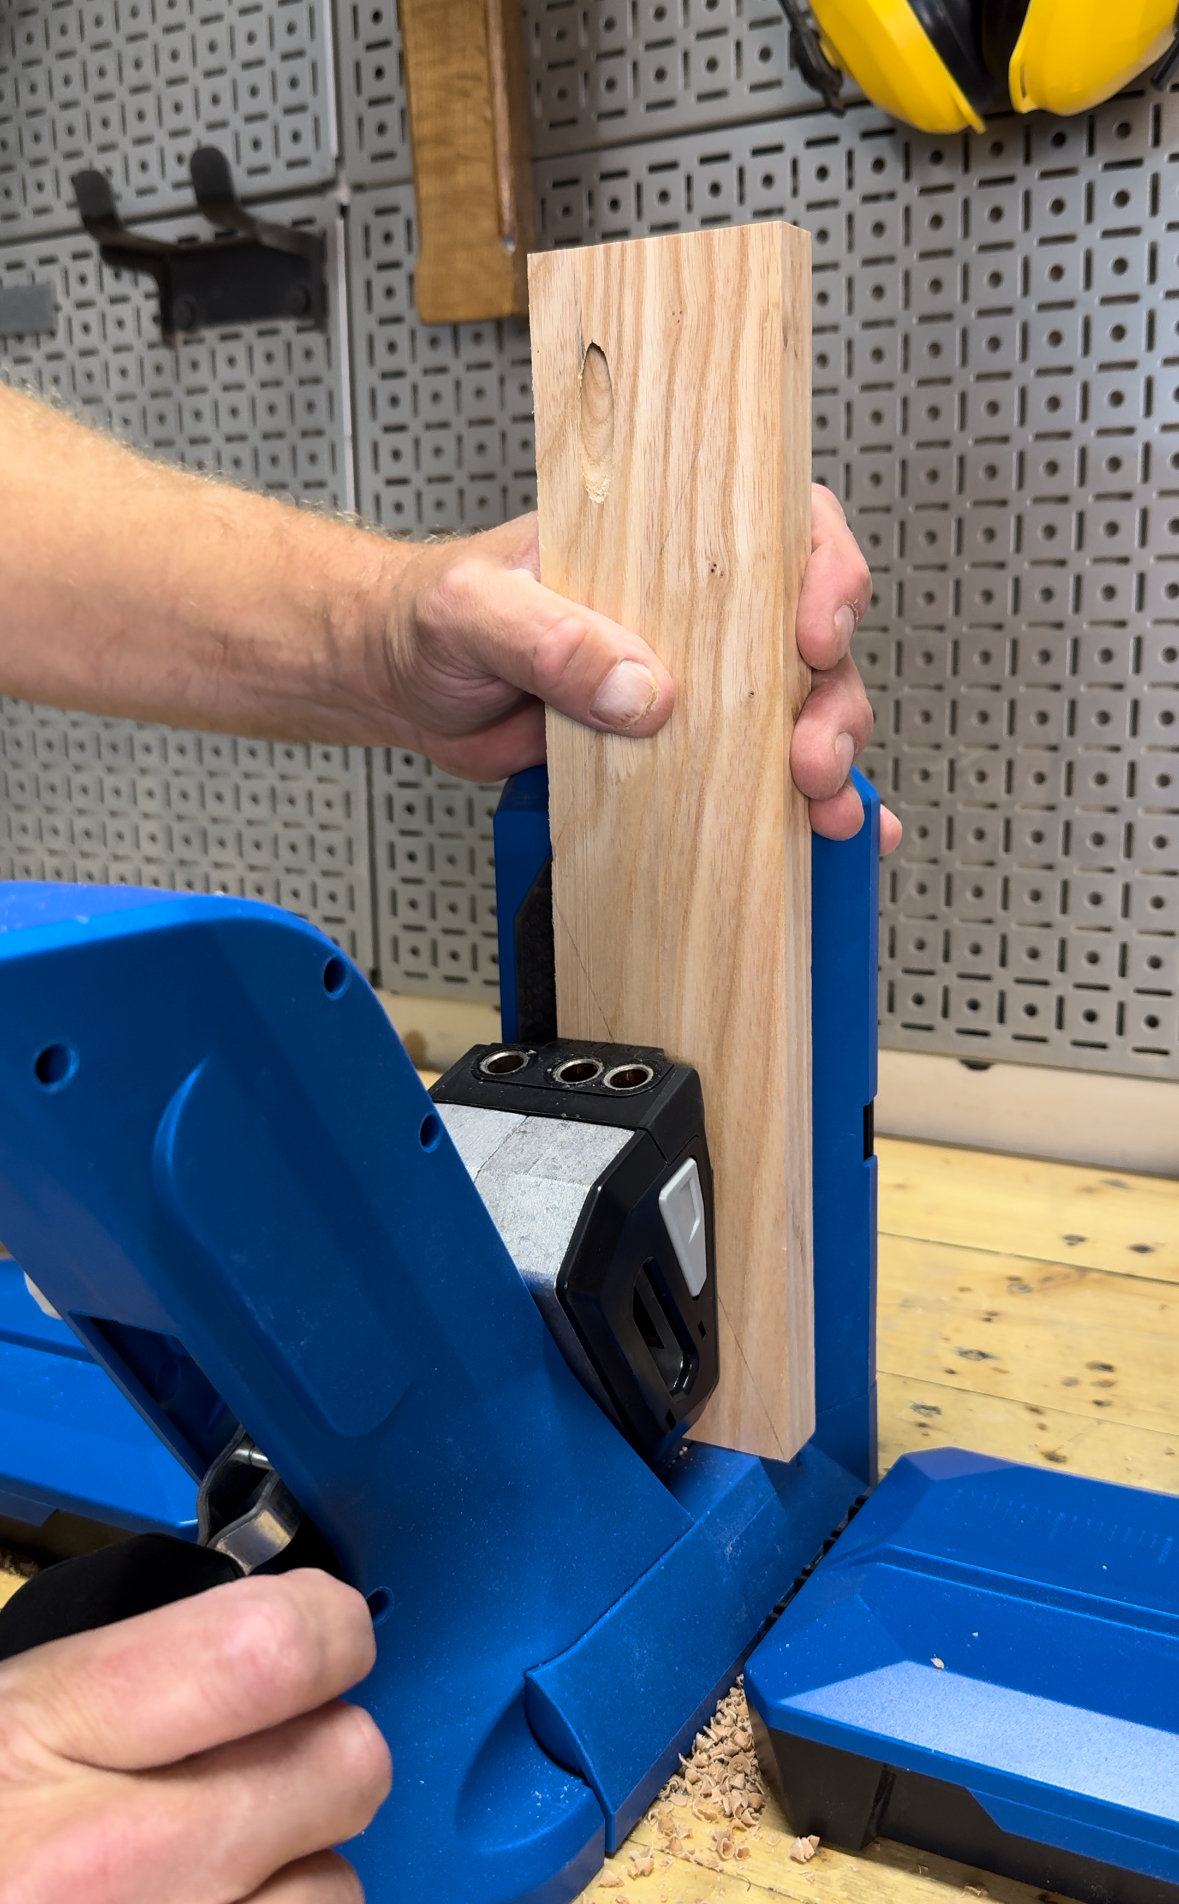
Drill Pocket Holes into shelves
Using a KREG tools pocket hole jig, drill pocket holes into the ends of each shelf closer to one side.
-
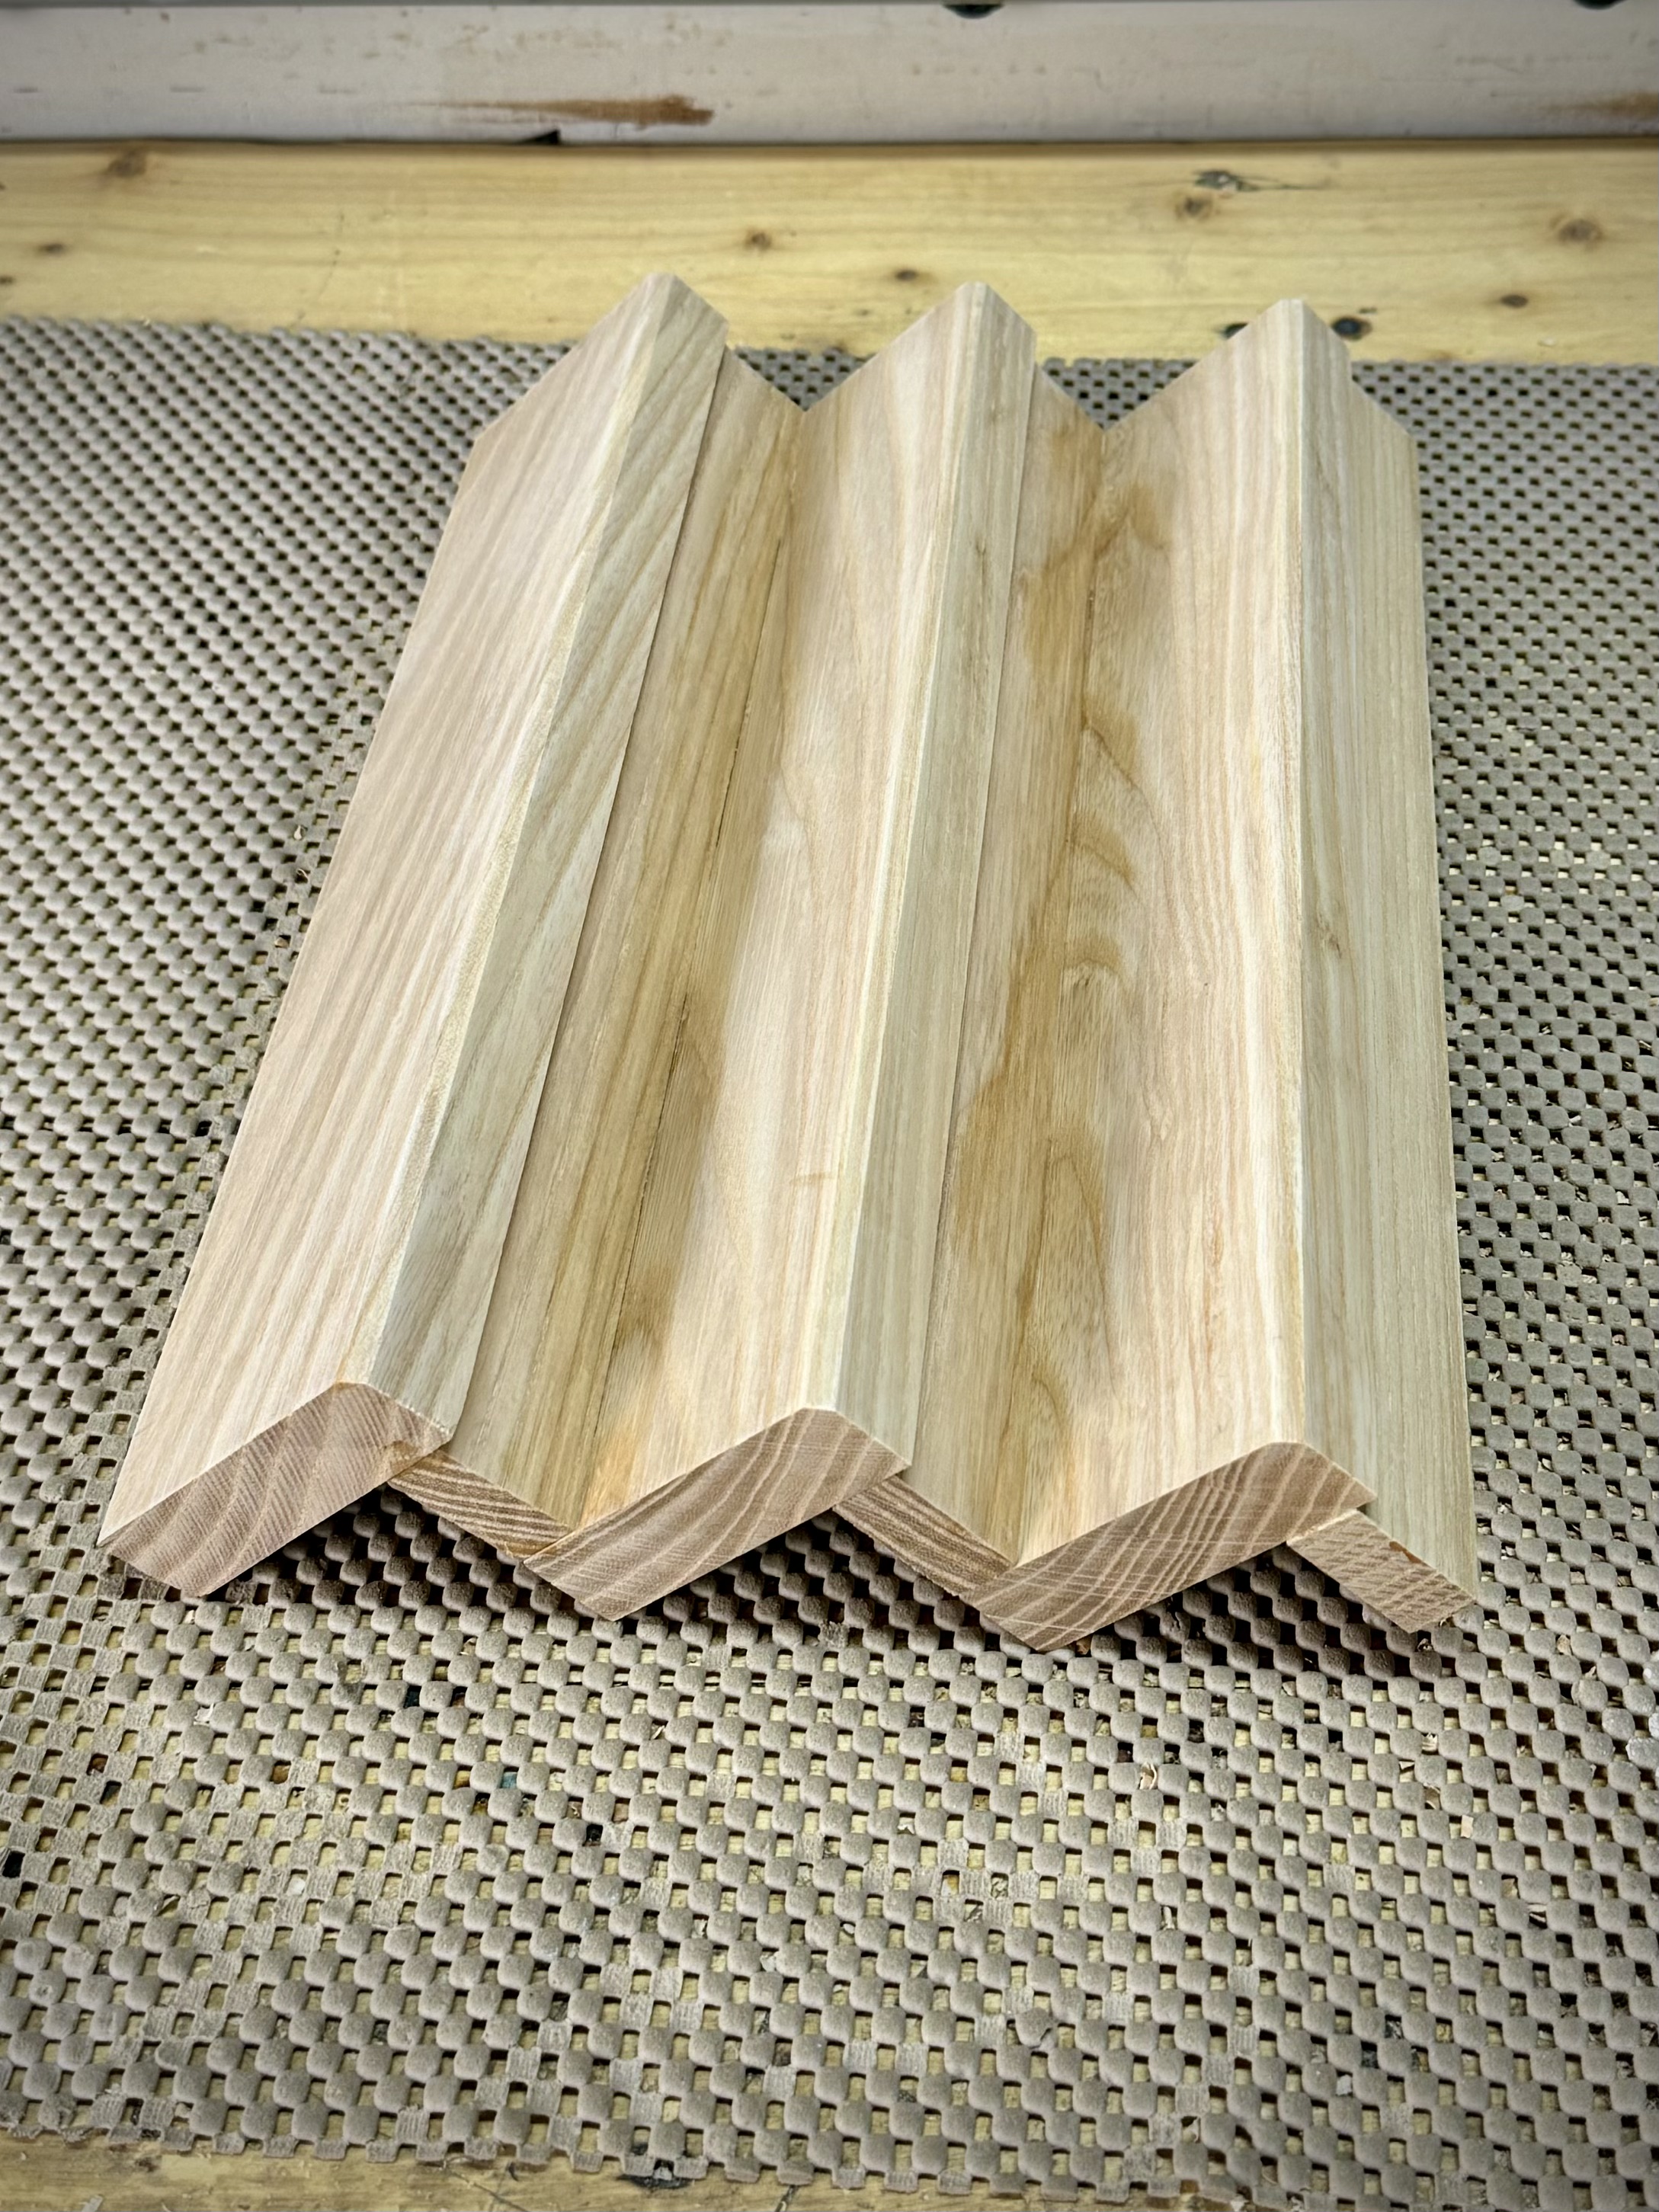
Cutting Risers
Cut 3 pieces of wood into 1" x 12" pieces
-
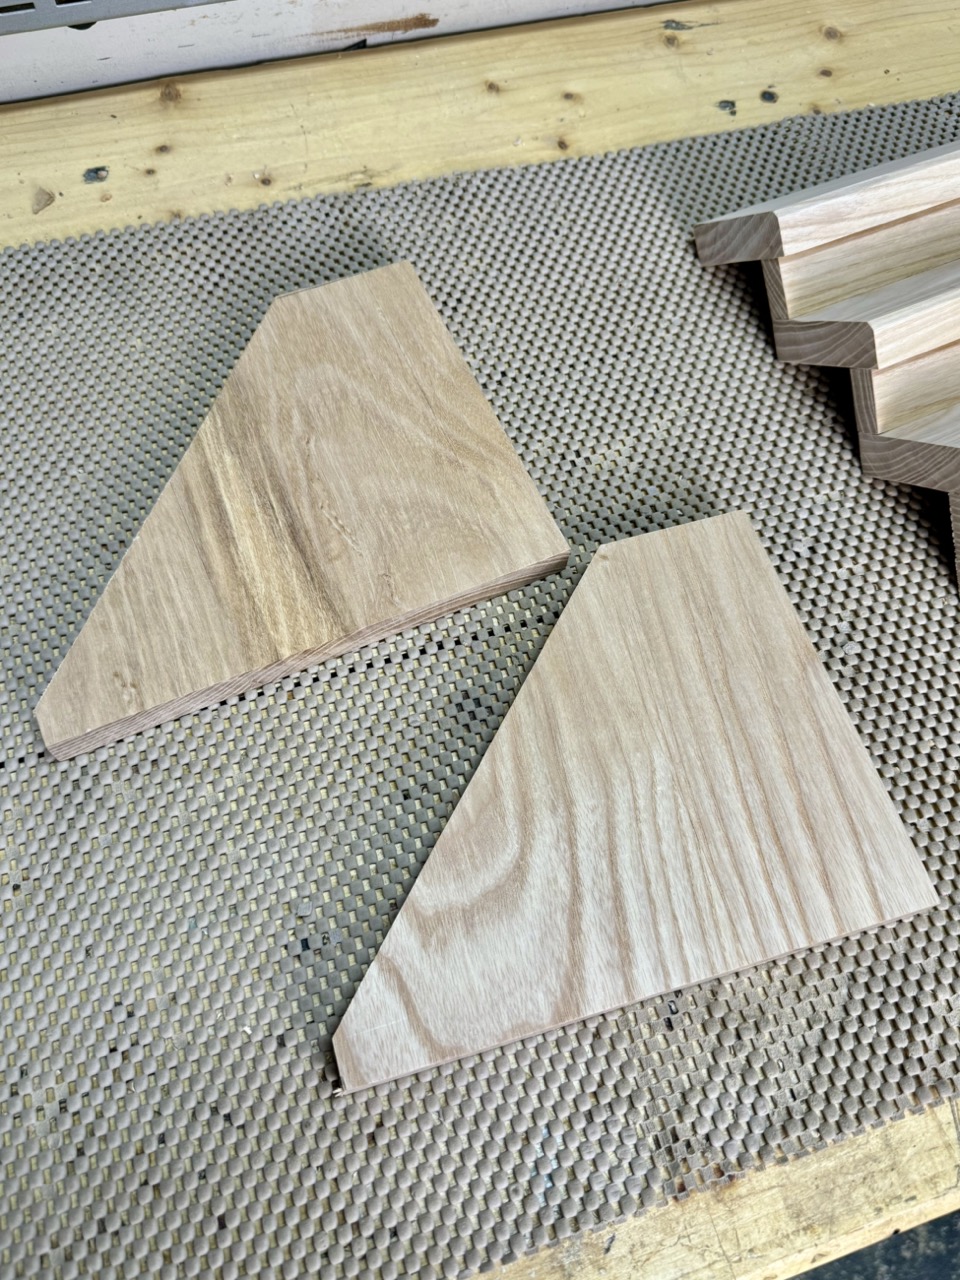
Cutting Side Pieces
Cut out two 8" x 7" pieces of wood.
Then mark out the 8" side 2.5" from the edge
Then mark out the 7" side 3/4" from the edge
Then cut diagonally between those two marks. -
Attaching Risers to shelf
Using wood glue or super glue, attach a riser to each shelf on the same side as the pocket hole near the opposite edge of the pocket hole. Then attach each shelf to the next one to form the tiered shelves.
-
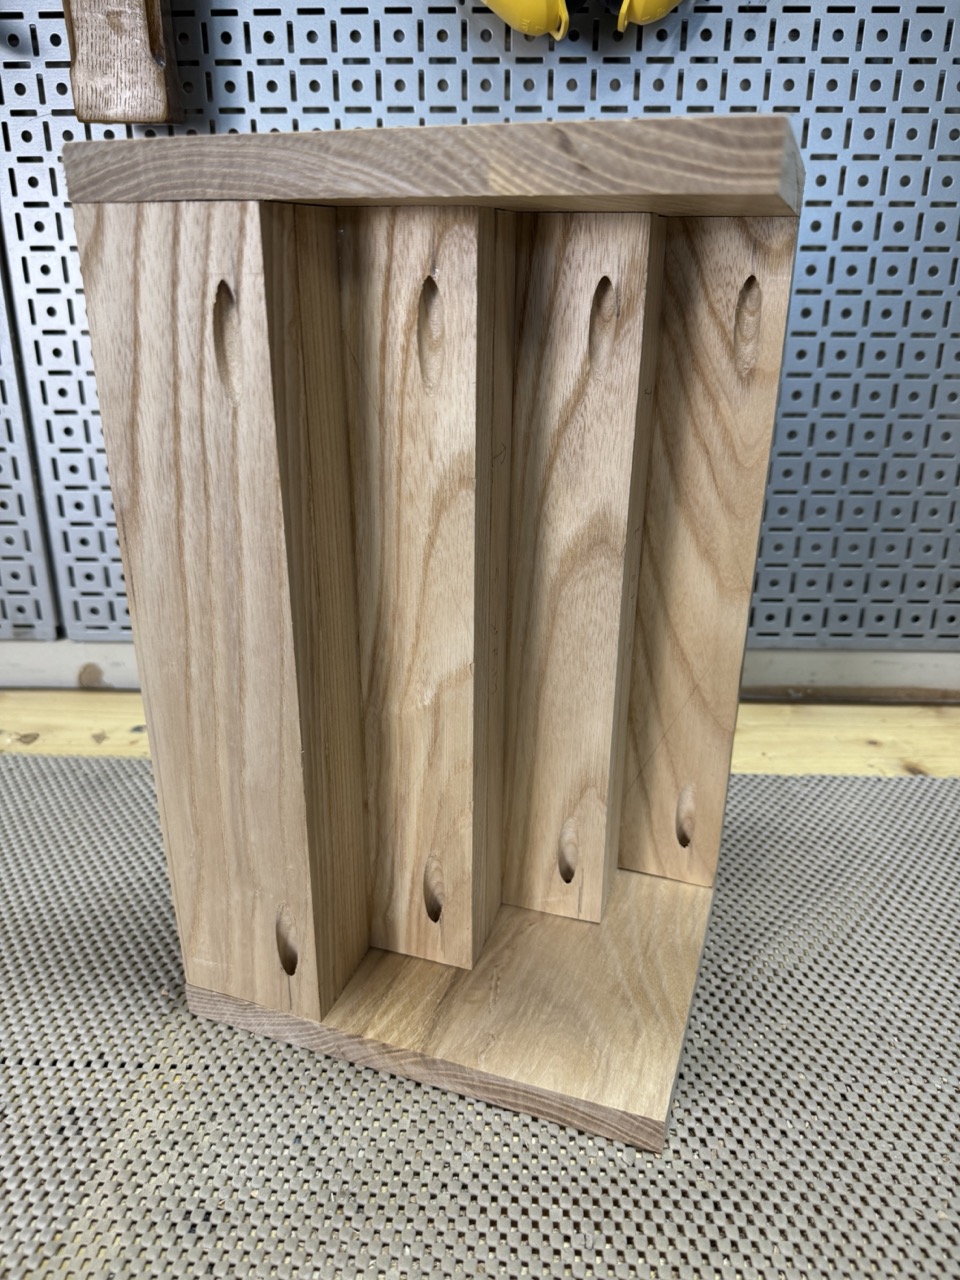
Assemble Shelf
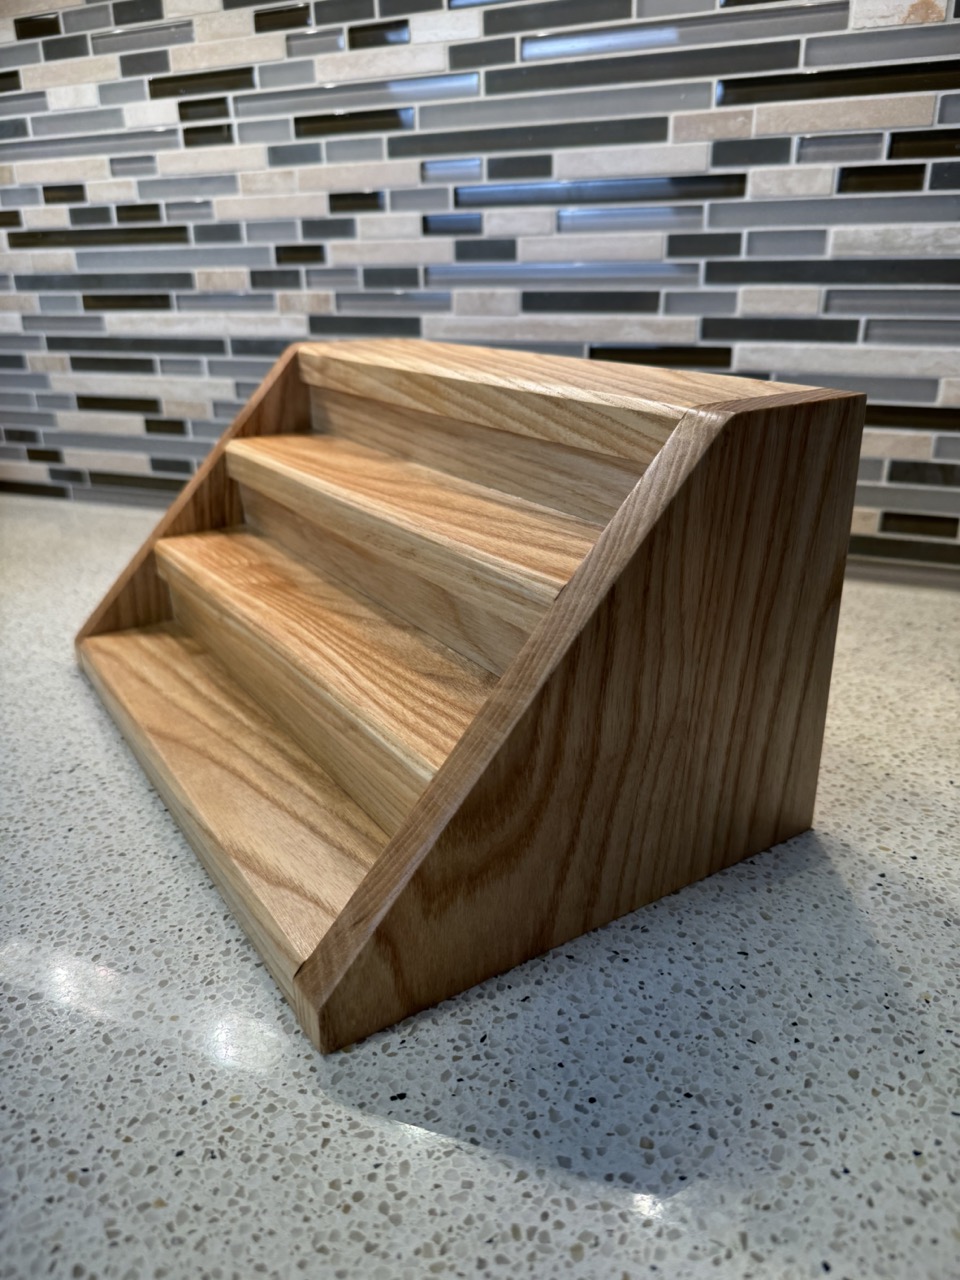
Attach the two sides to the tiered shelving using pocket holes to securely fasten the piece together.
-
Apply Wood finish of choice
Using a wood finish of preference, apply oil to tiered shelf and allow time to dry. I used a Tung Oil and resulted in a beautiful rich tone.
Follow the directions
It's important to follow the directions on the label of whatever oil you decide to use.
-
Finish Project with final details
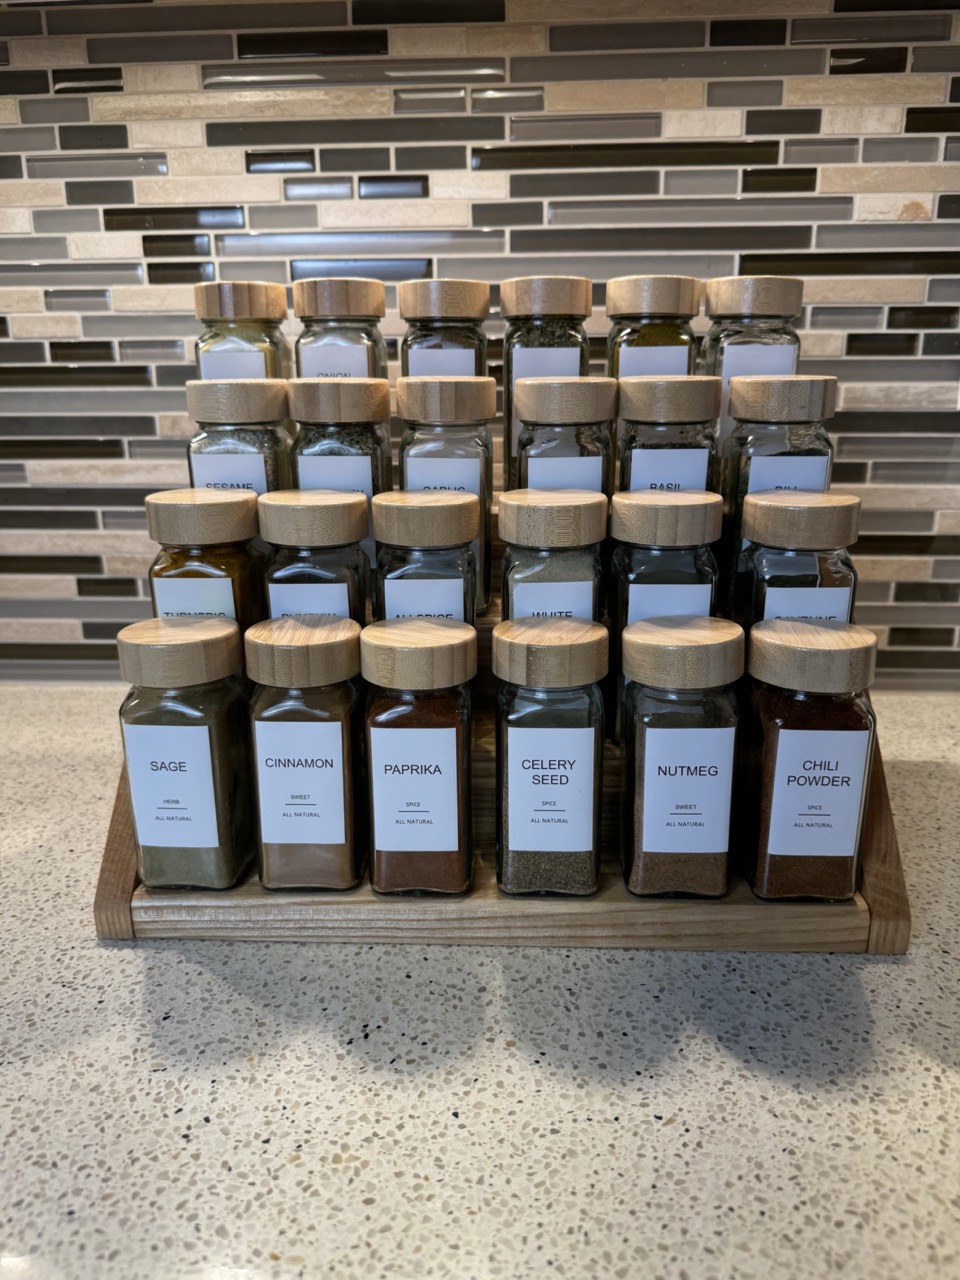
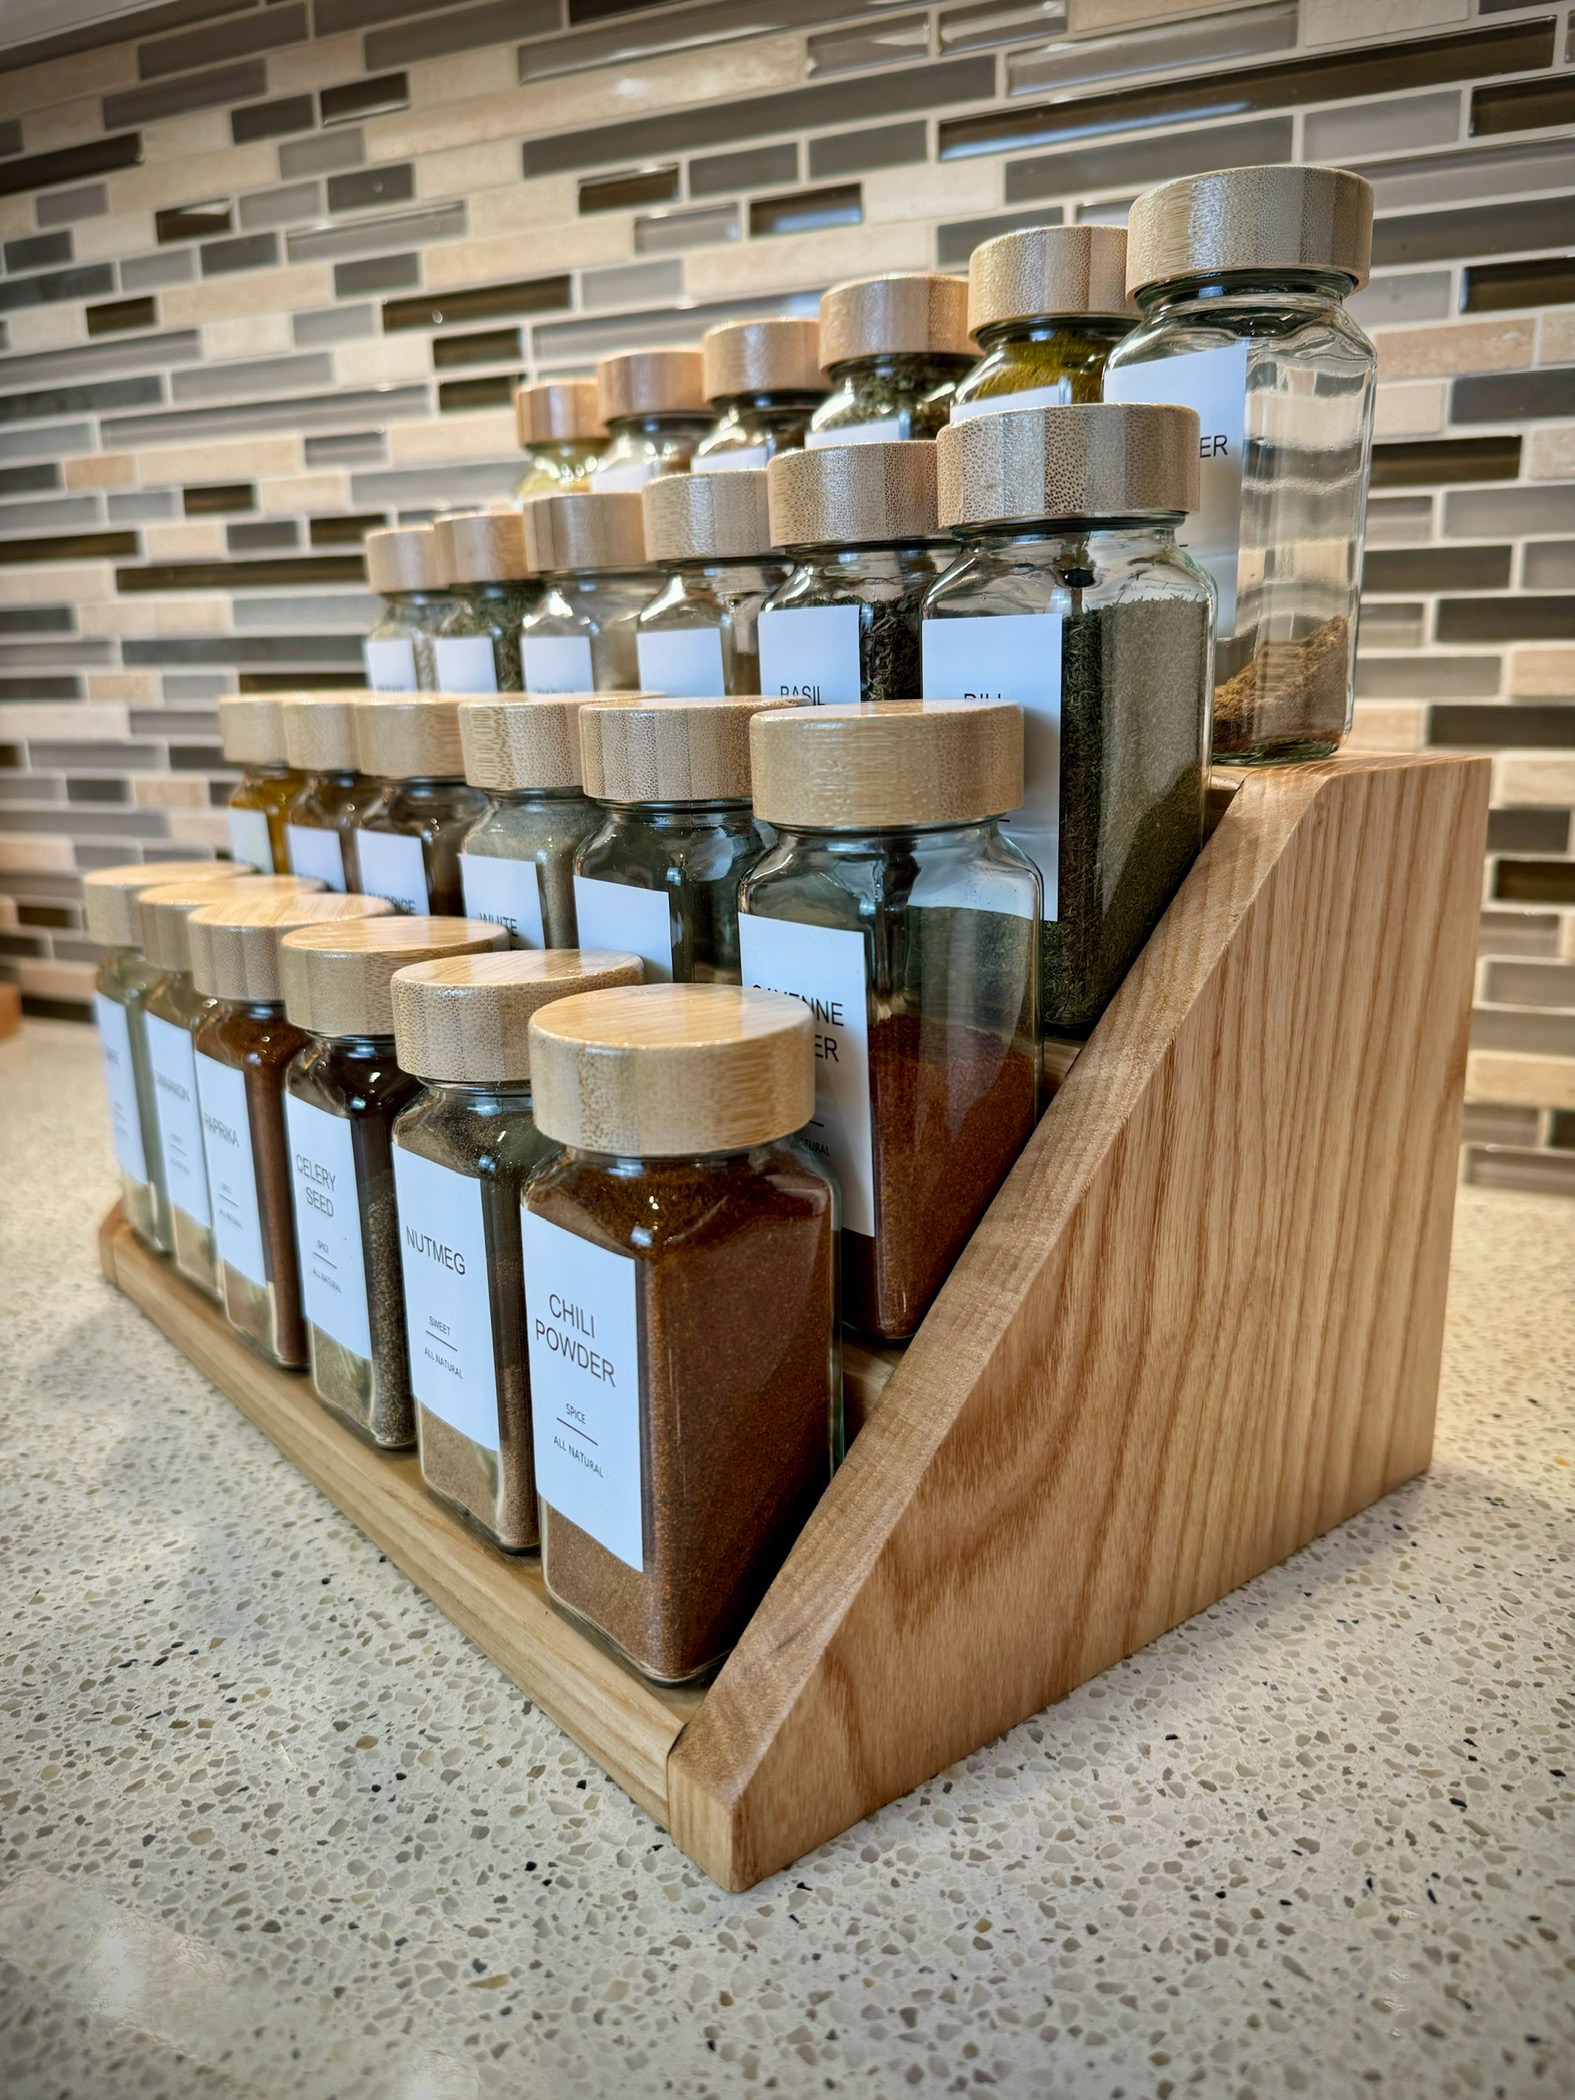
This is where you can get creative. I added these fancy spice bottles and placed the entire shelf into a cabinet.


