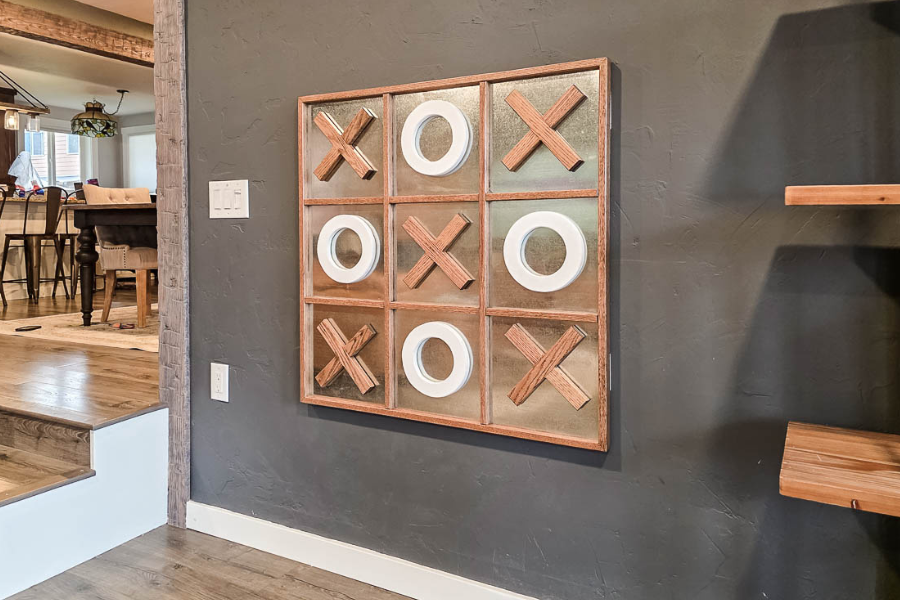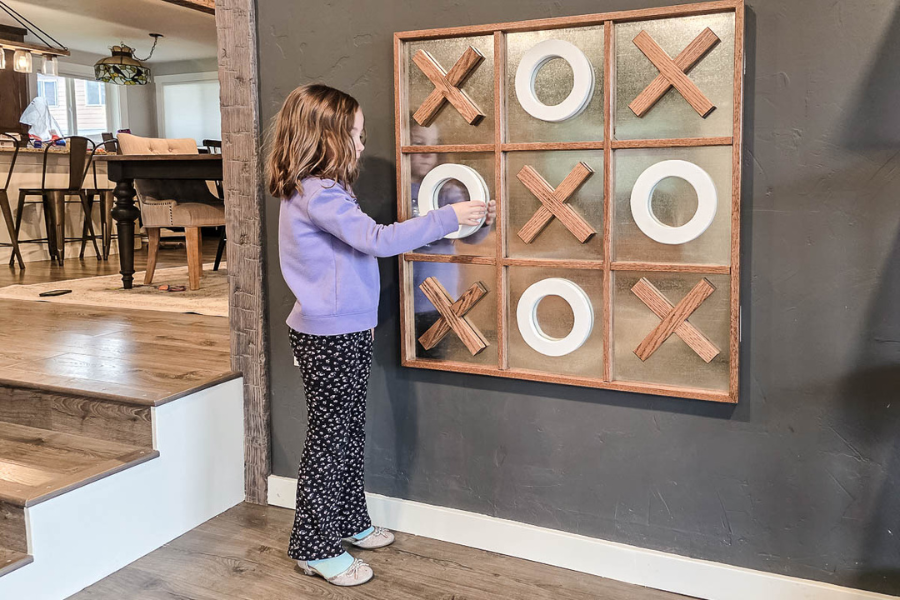
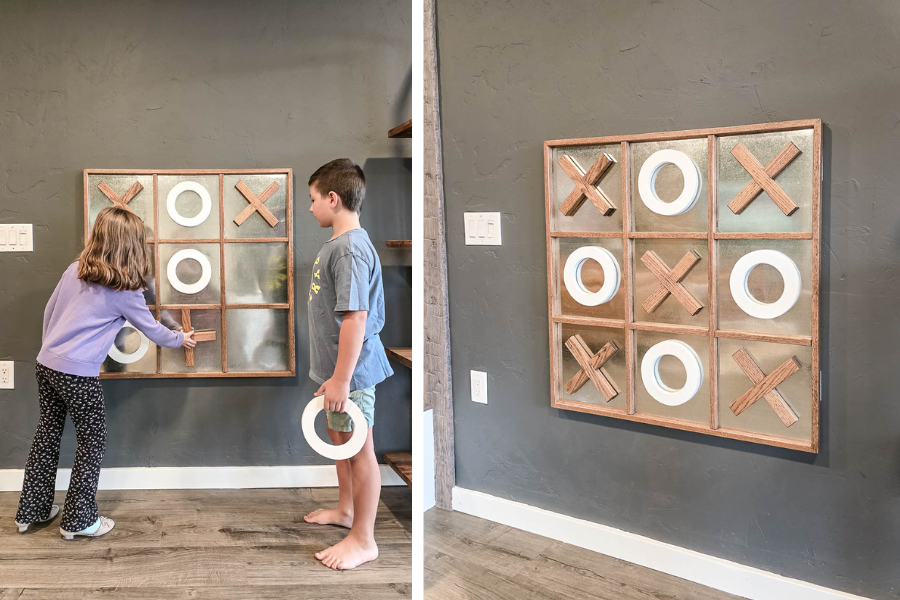


Make this giant magnetic tic tac toe board for the wall to keep the kids (and adults) entertained for hours!
Tools
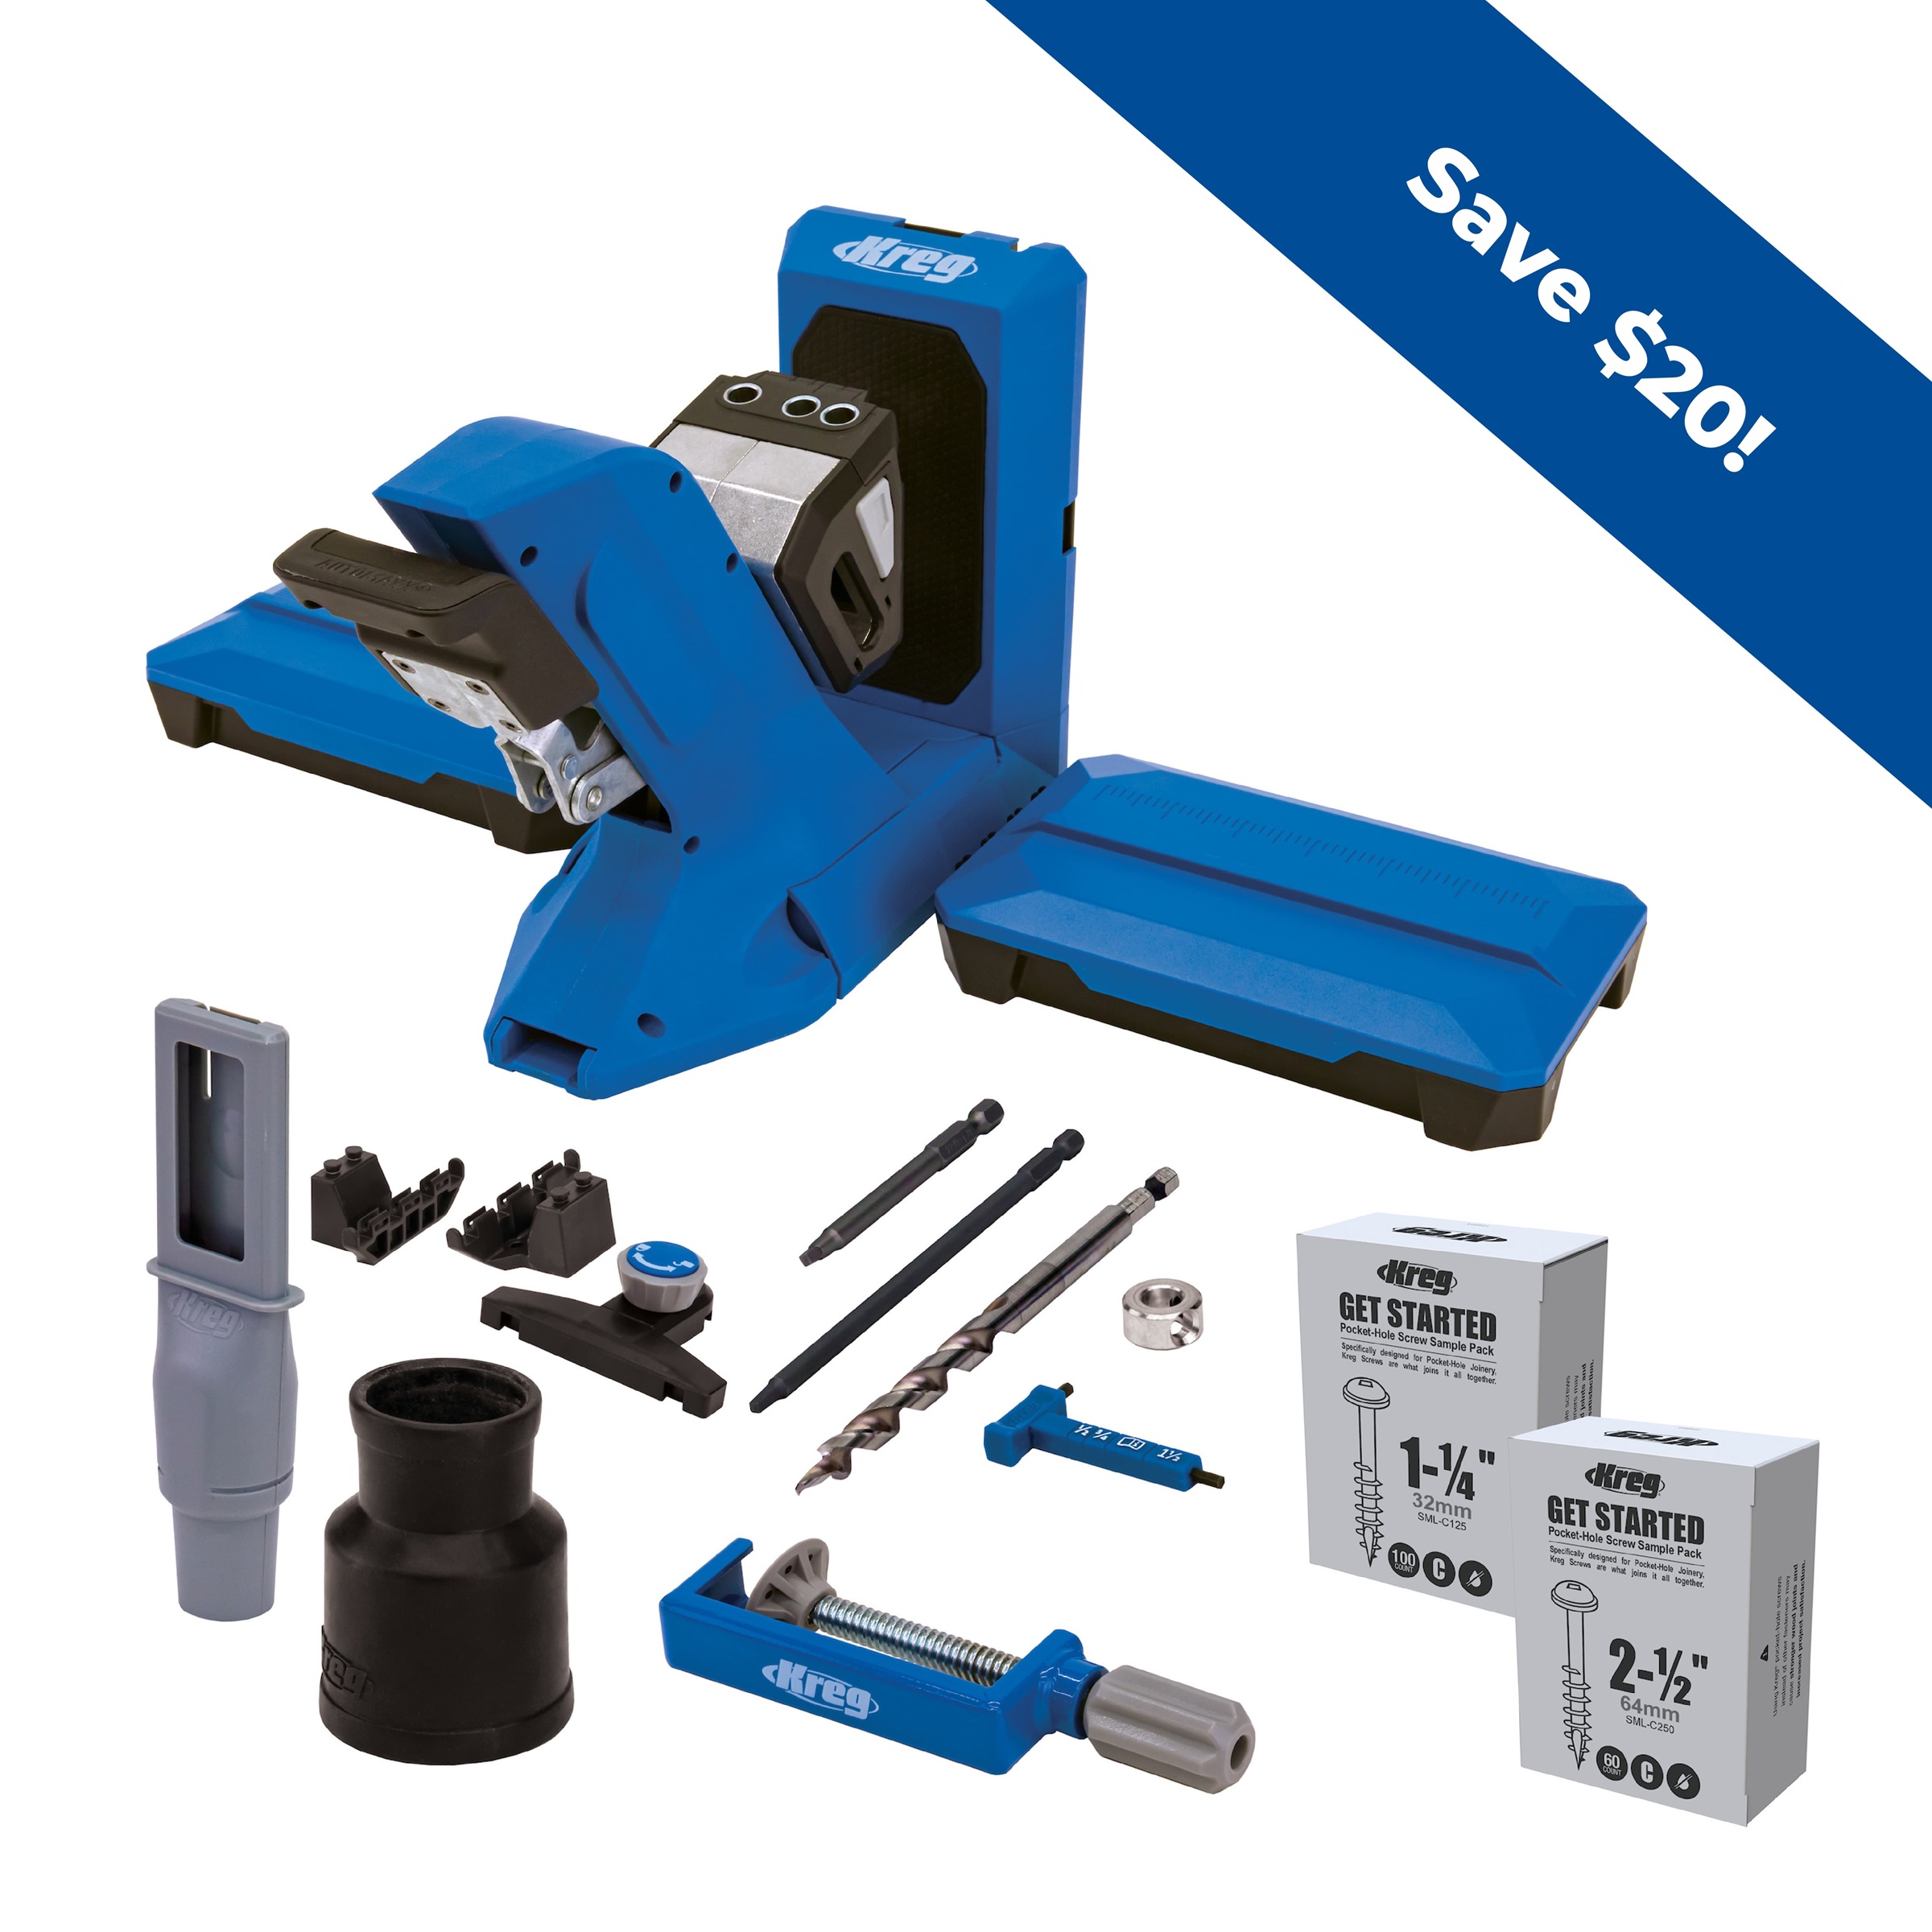
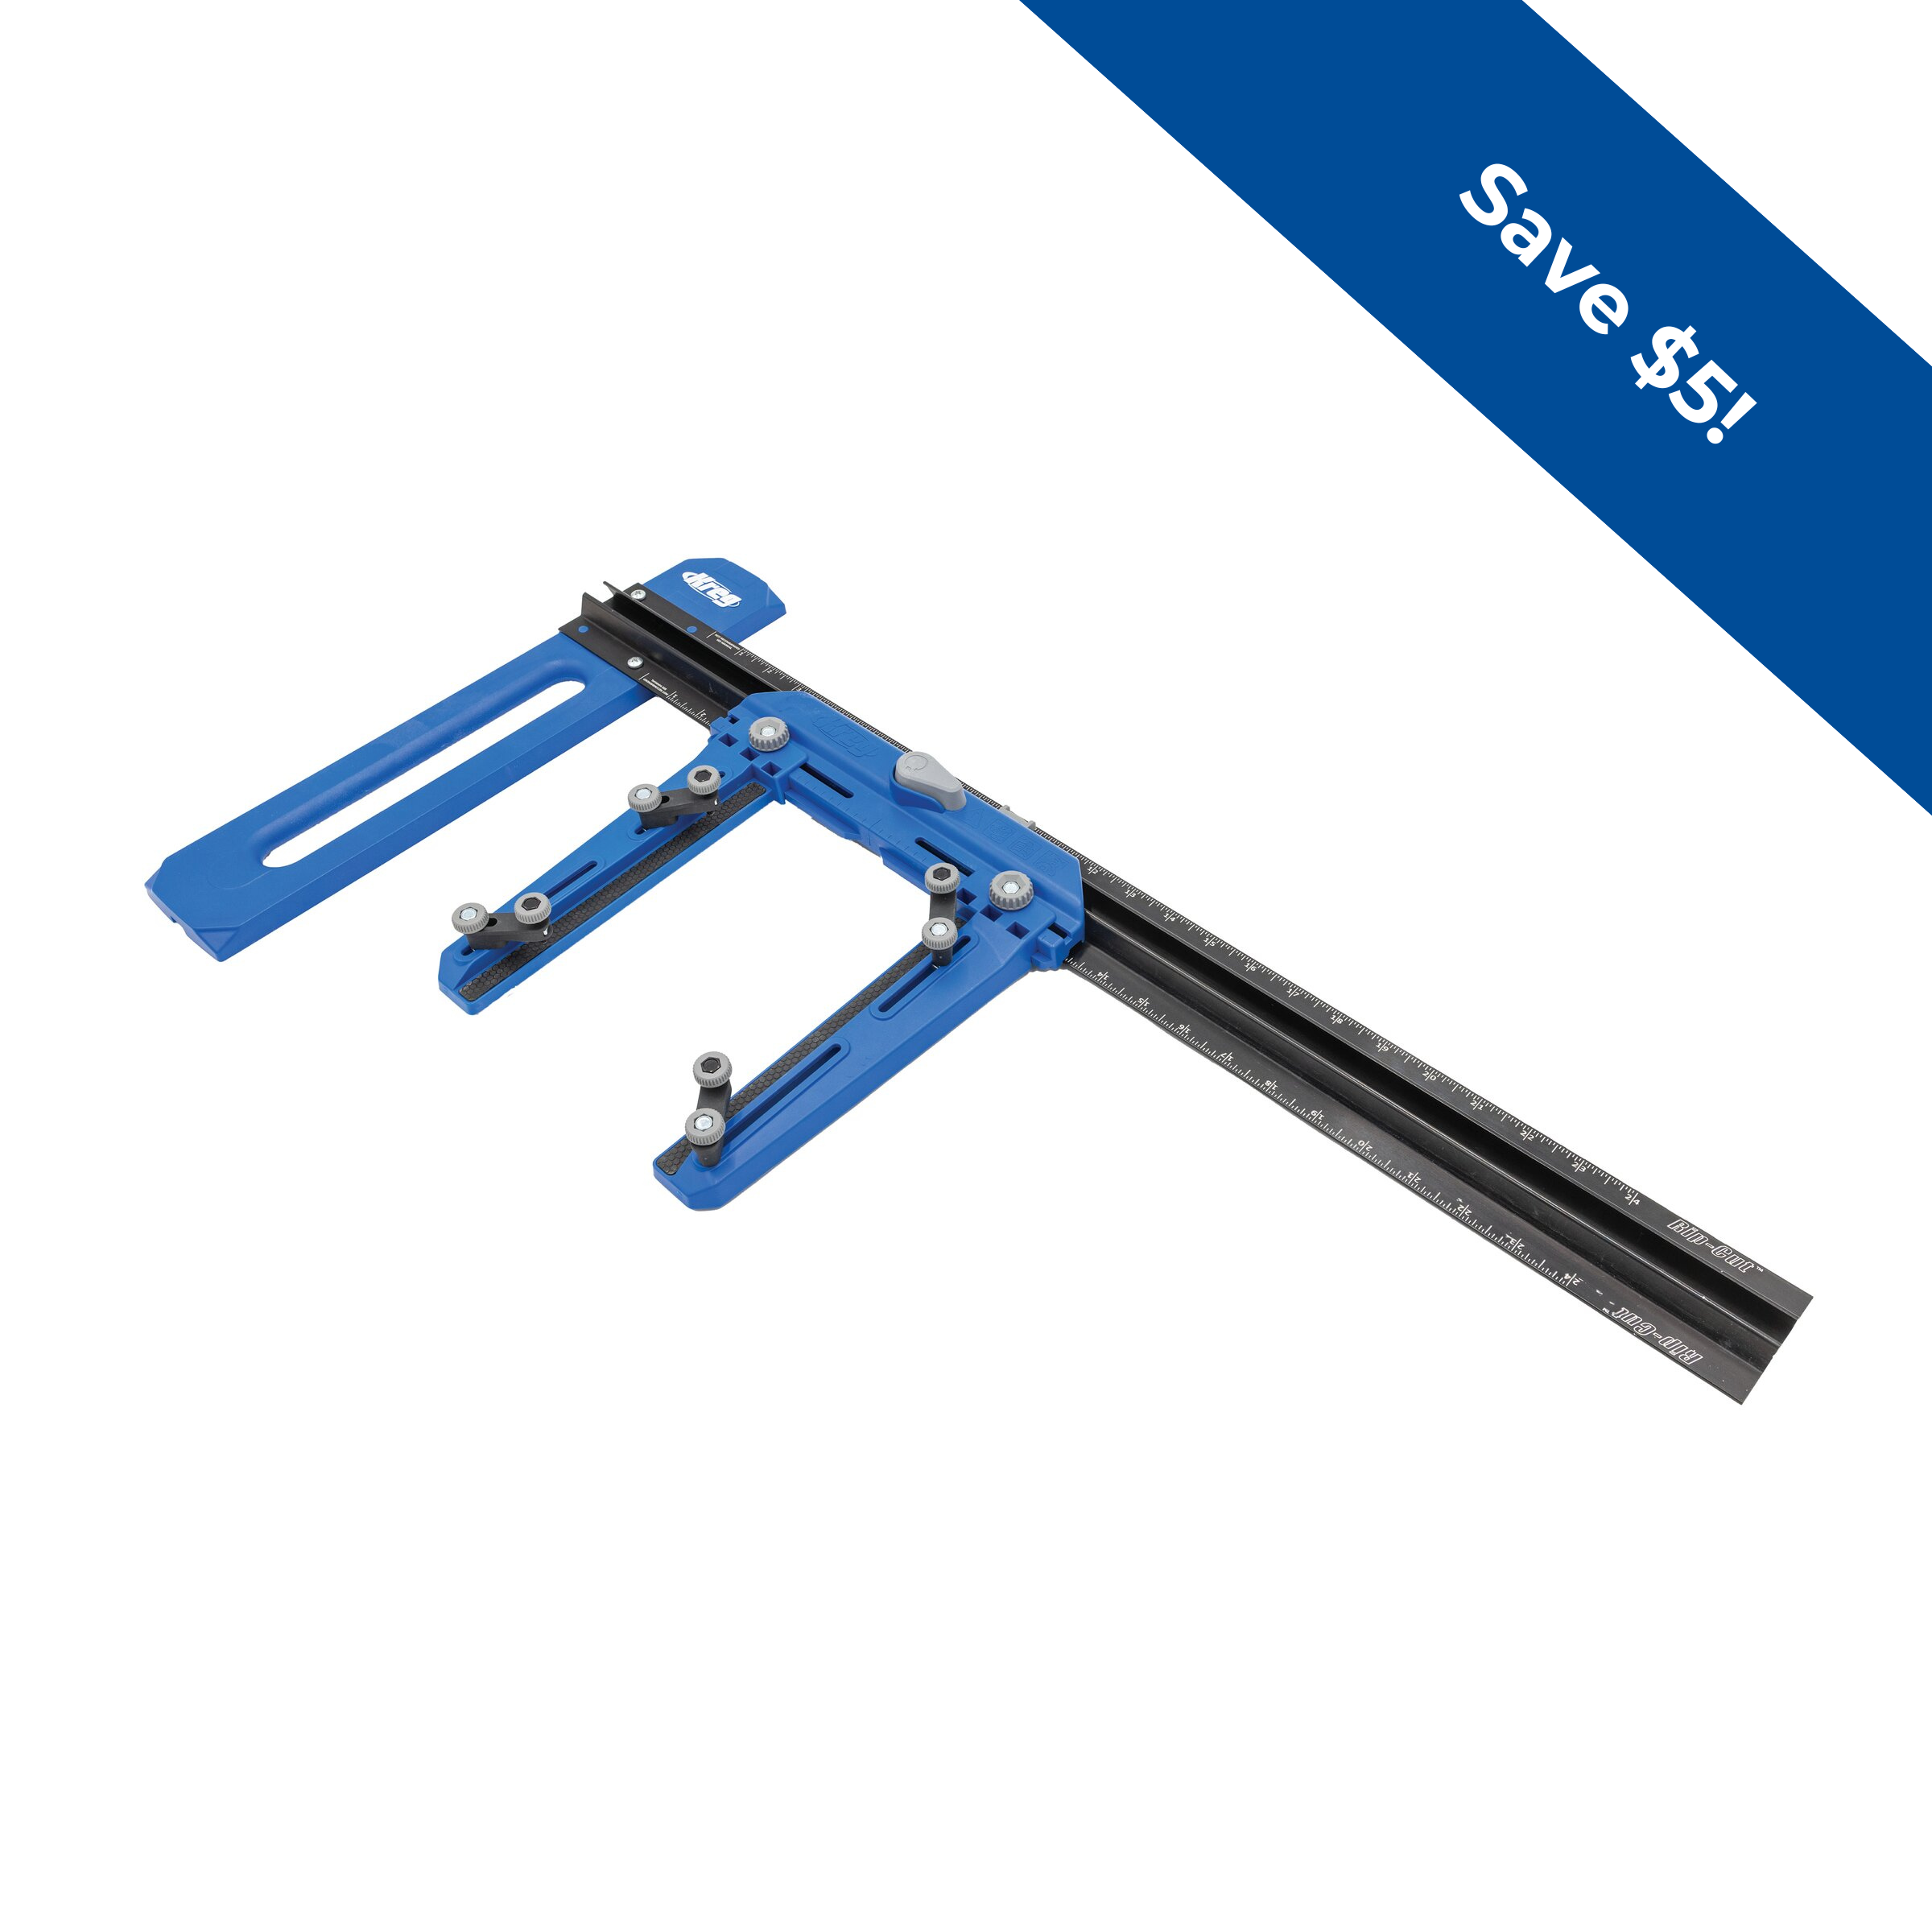
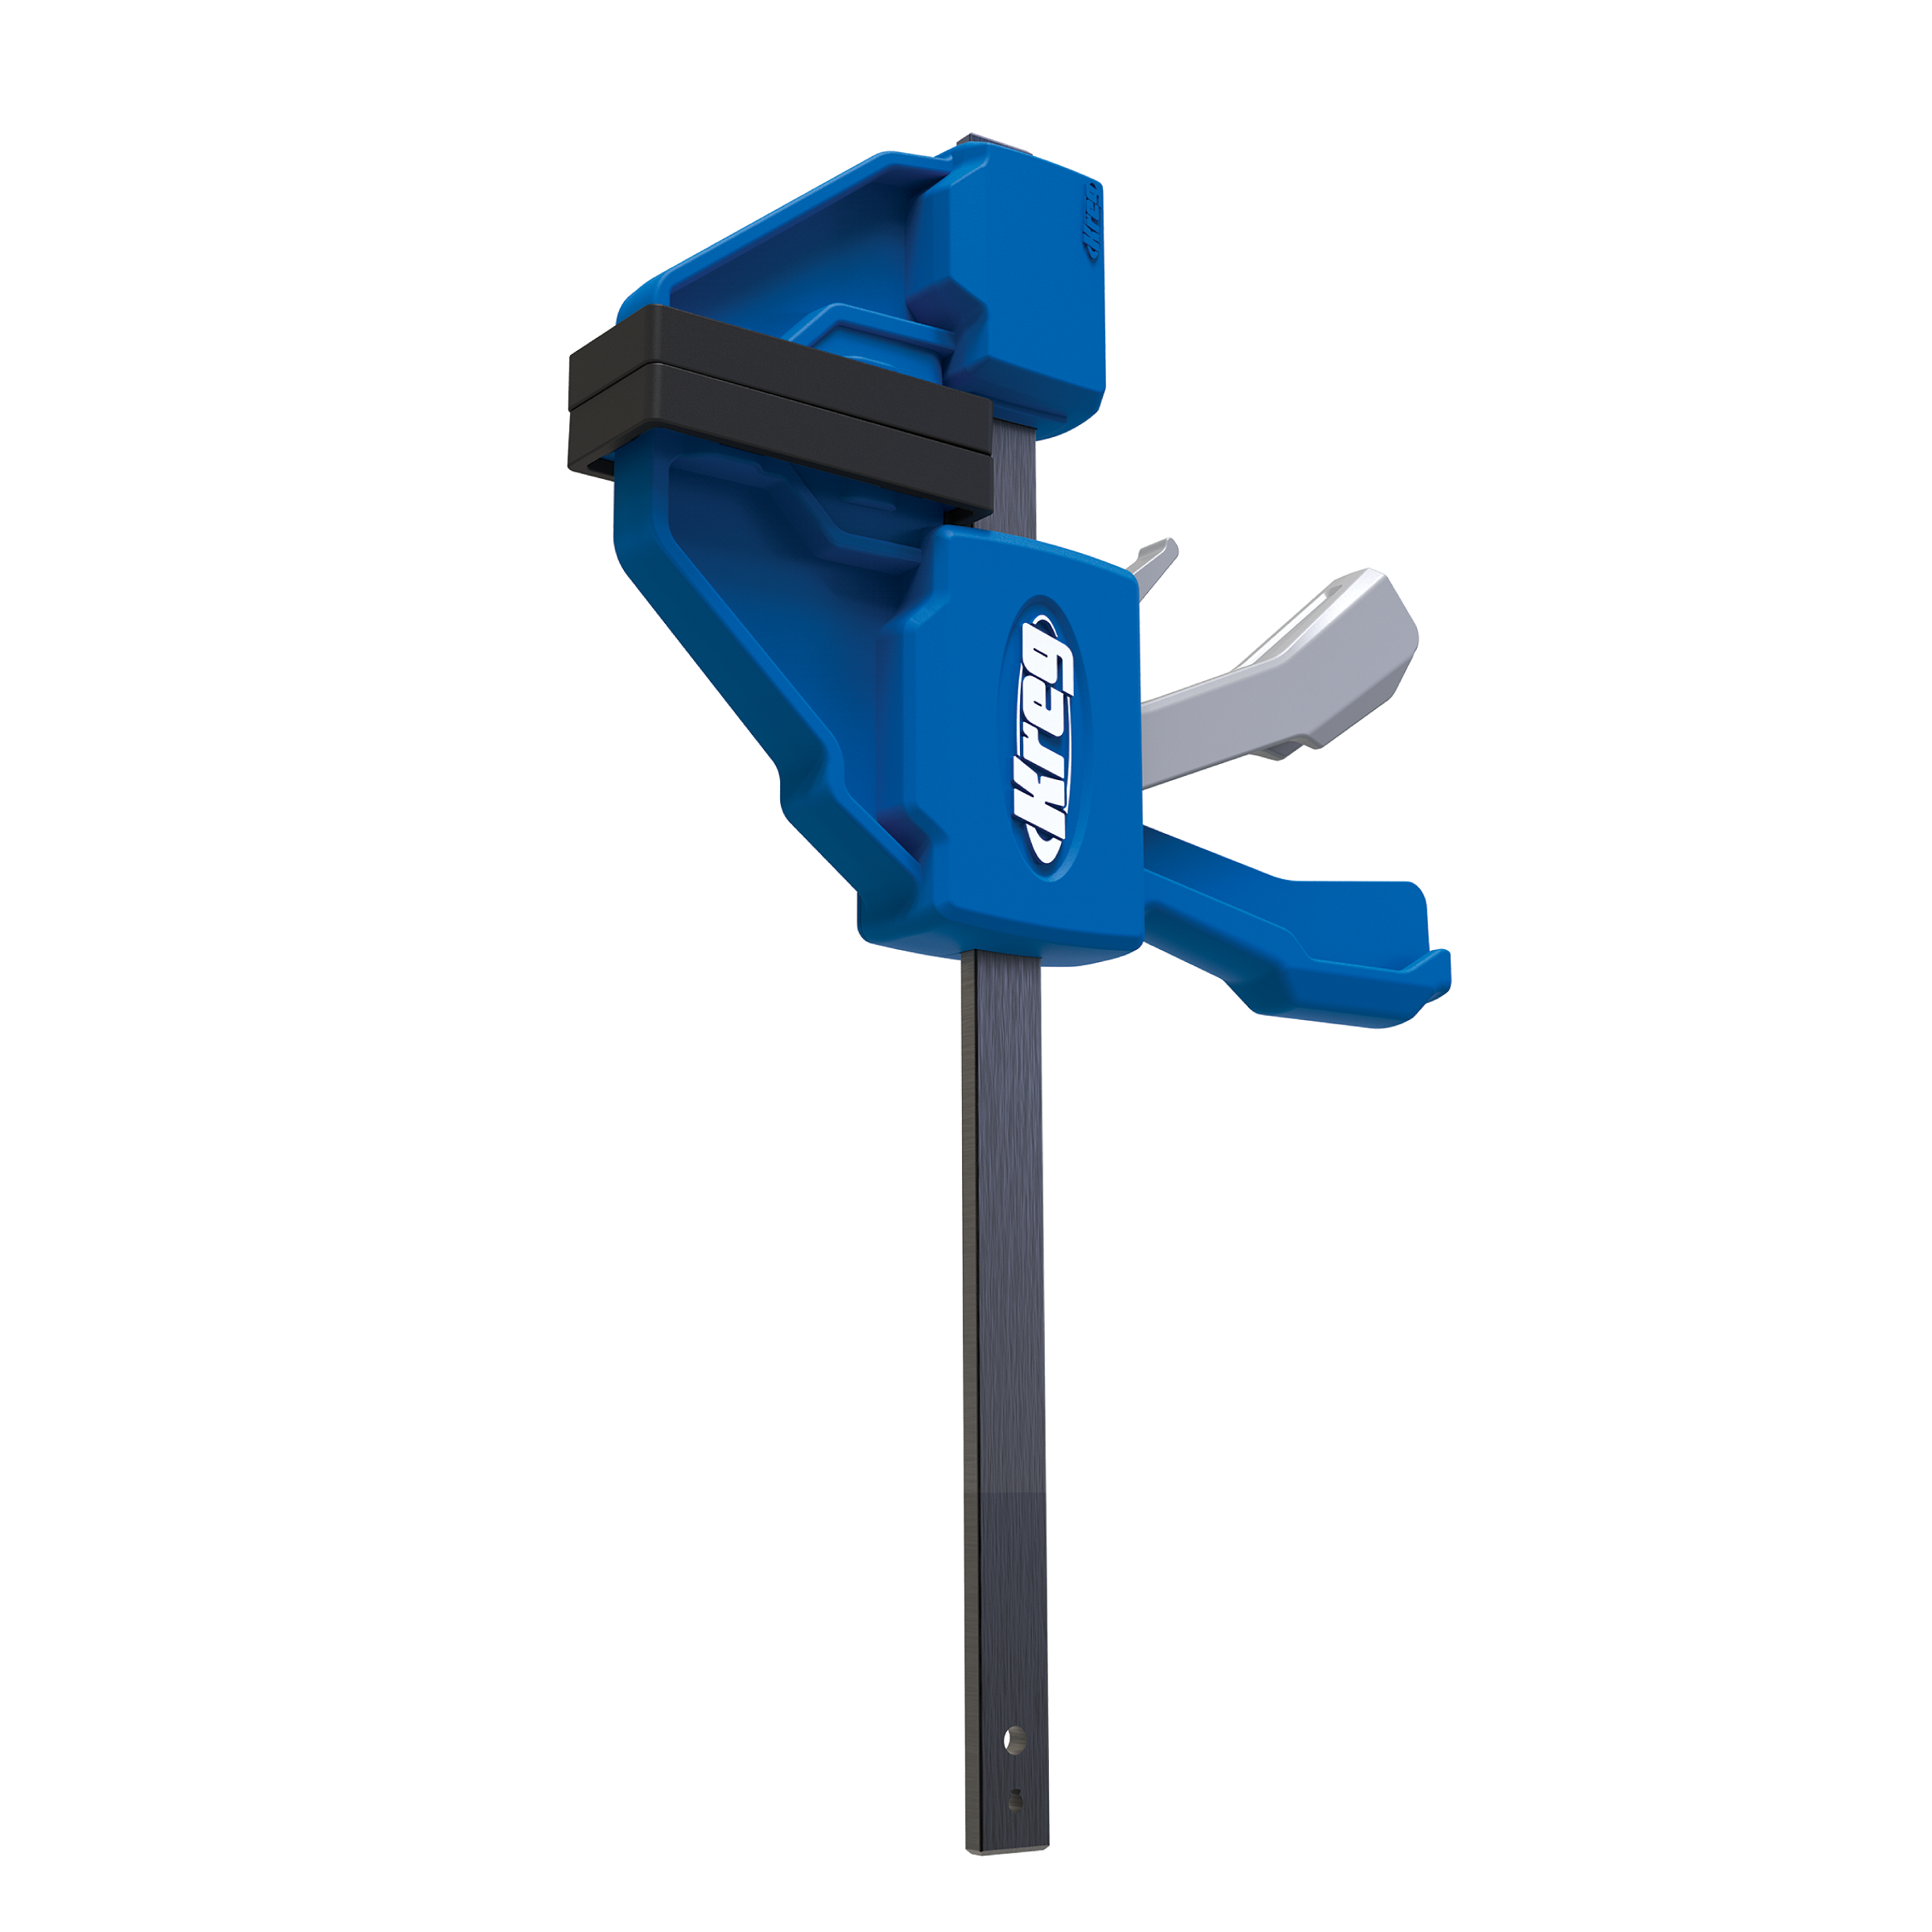
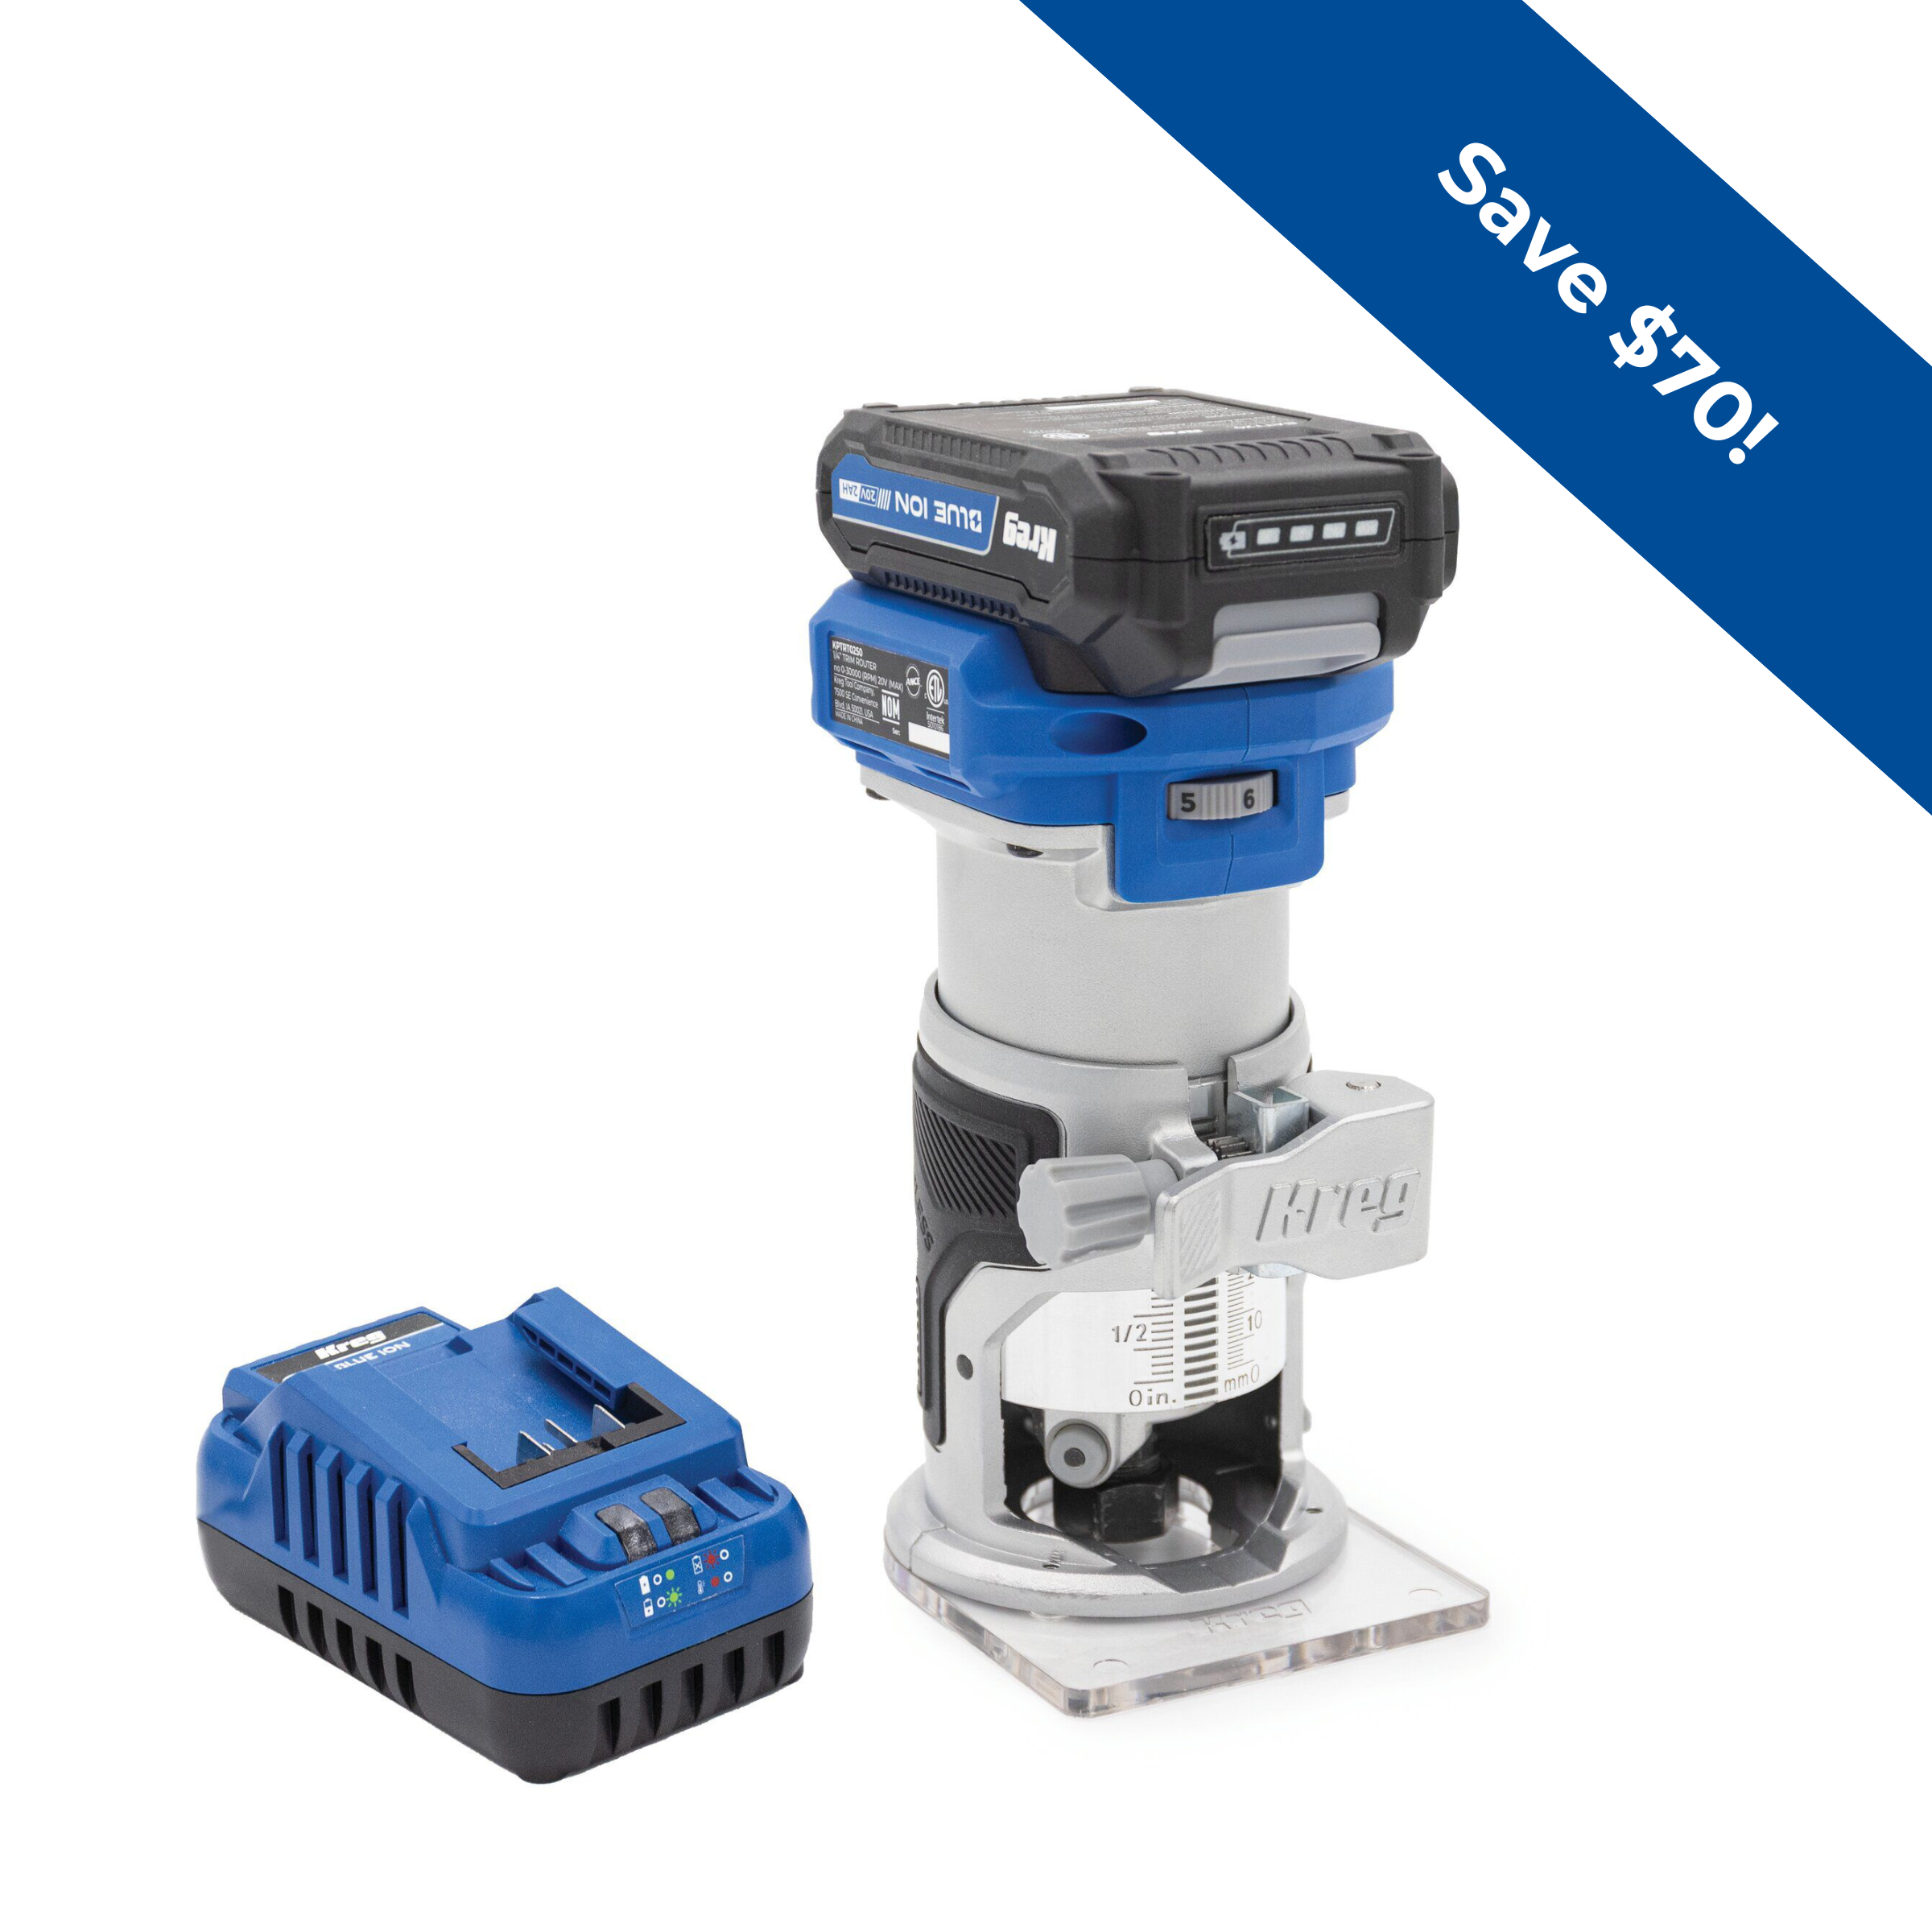
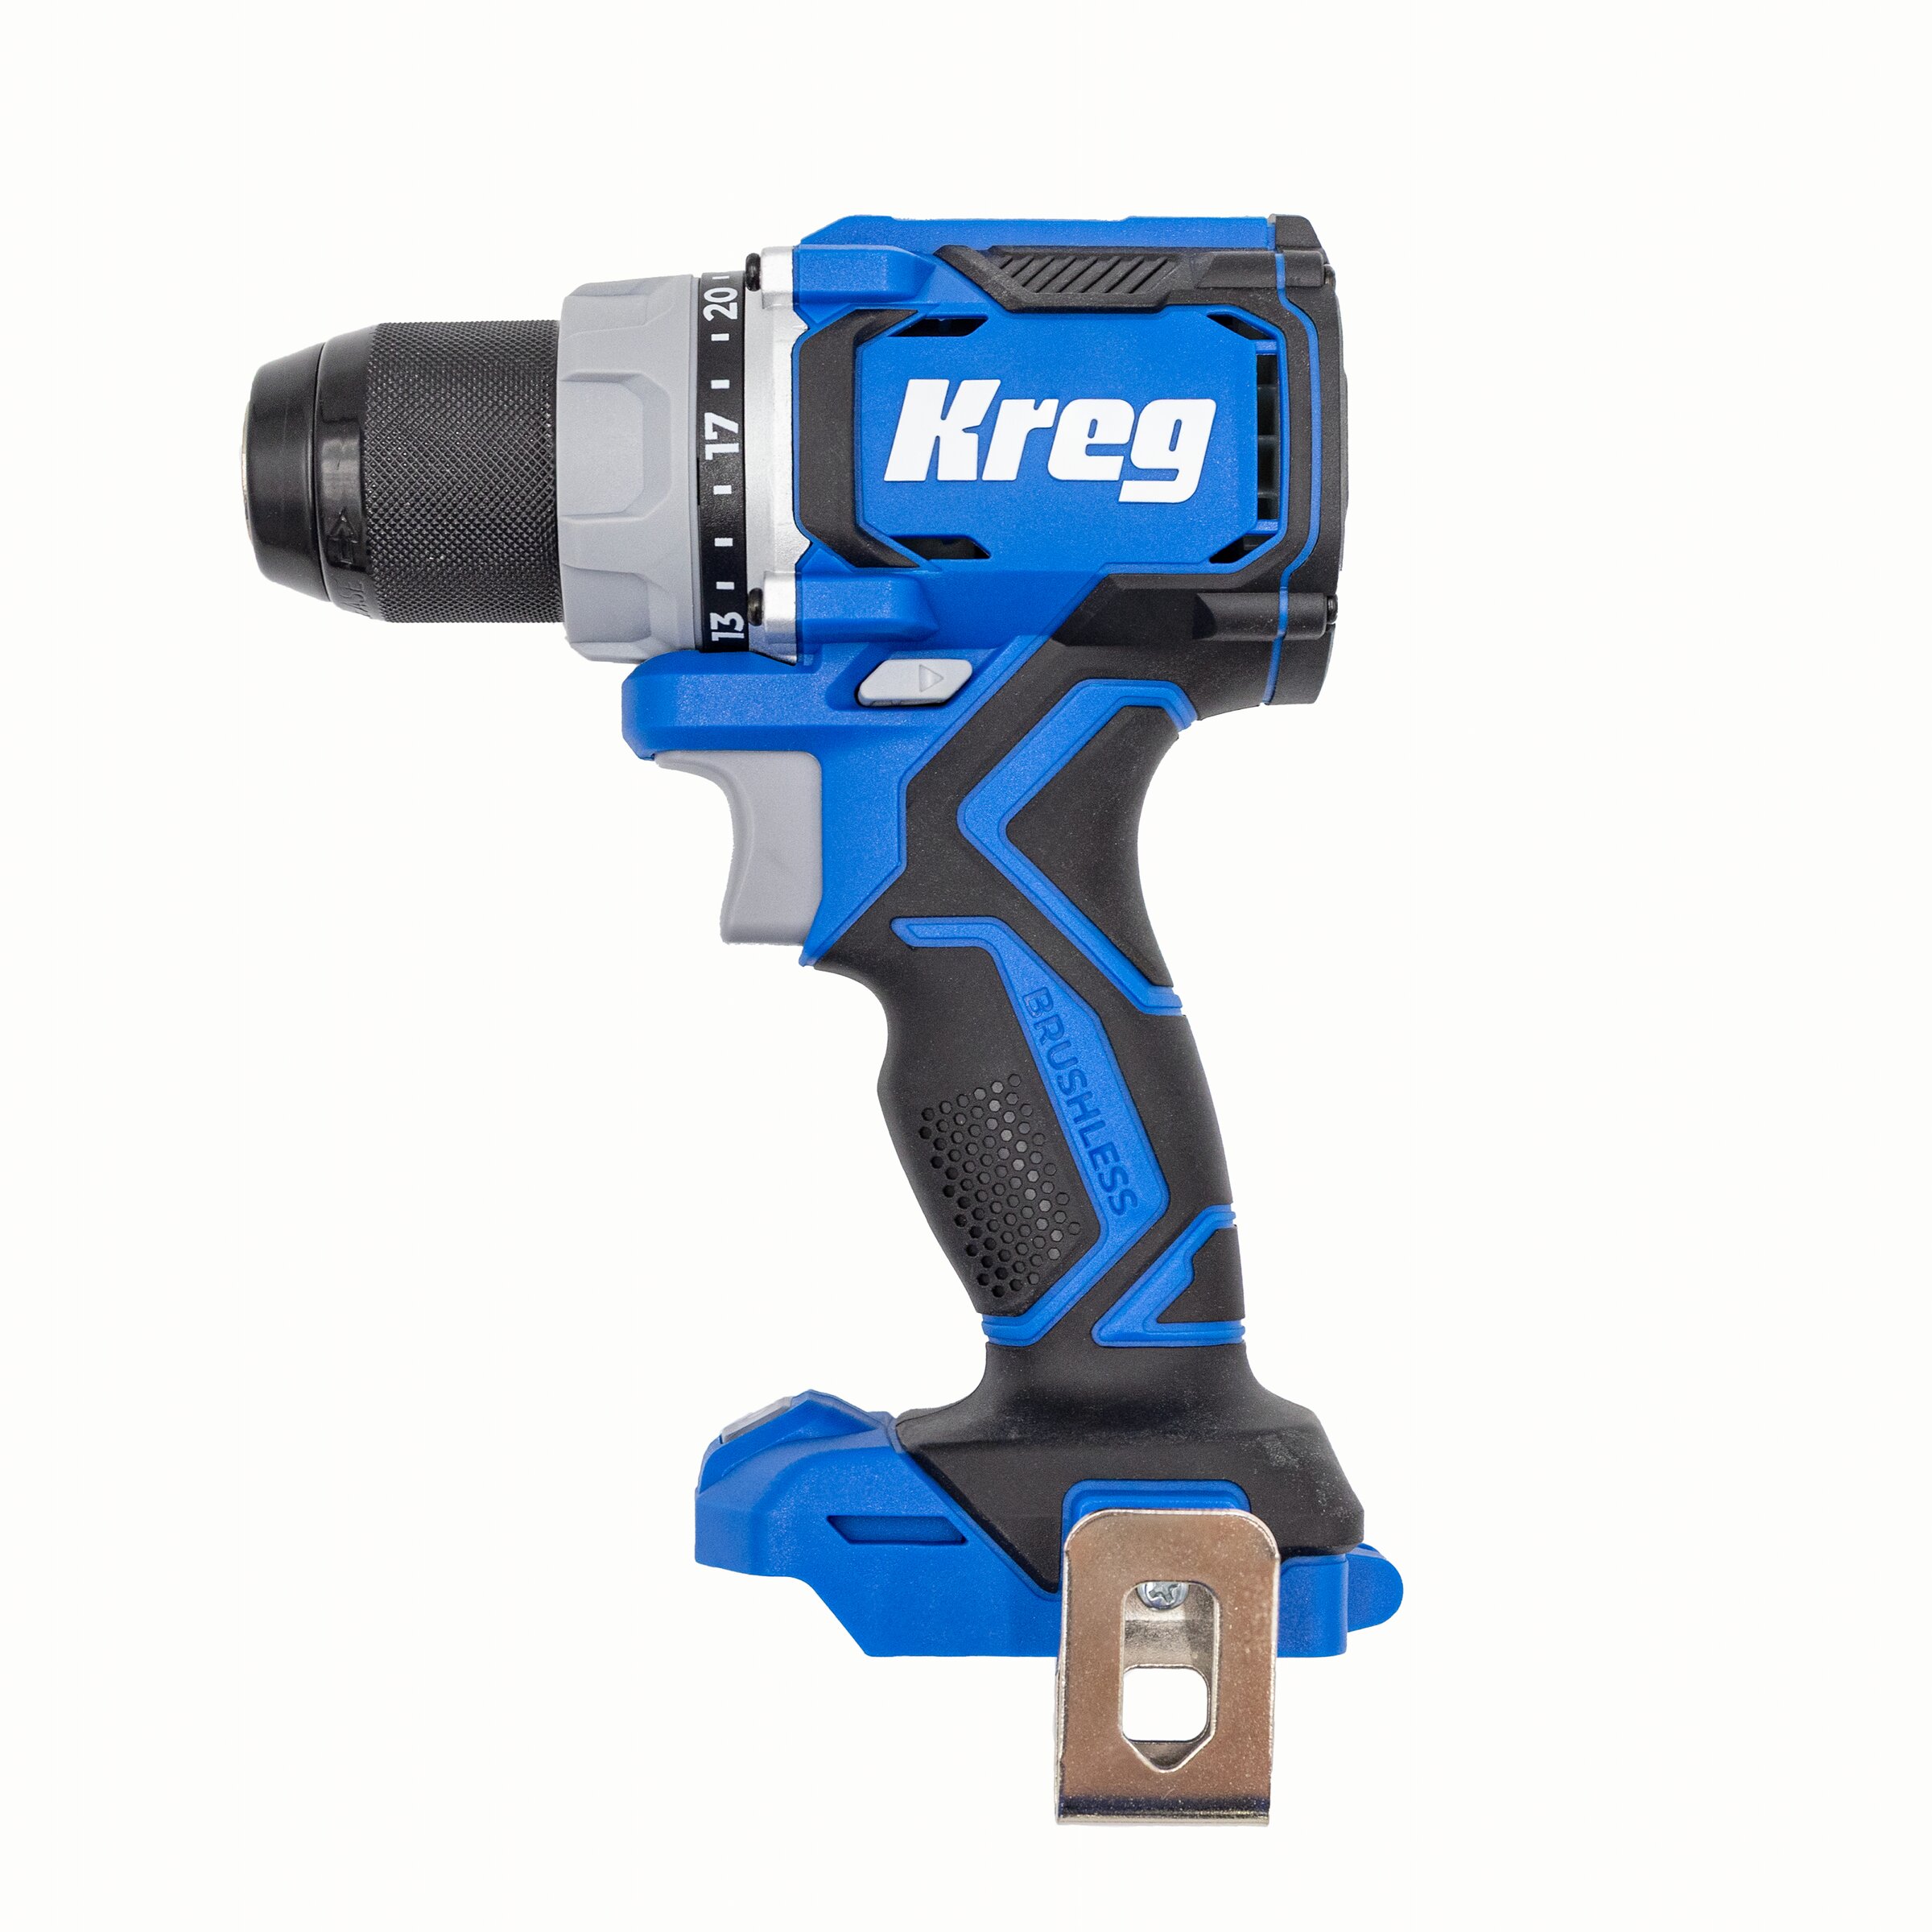
Kreg Tools


Other Tools
-
Miter saw

-
Table saw
-
Tape measure
-
V-notch trowel
-
Caulking gun
-
Brad nailer
-
Pin nailer
-
Tin snips
-
Rubber mallet
-
1/2" straight bit
-
Compass
-
Chamfer bit
Materials
Wood Products
- 1 Plywood , 1/4" , 4"x 4"
- 1 Project panel (edge-glued softwood) , 3/4" , 36" x 20"
- 54 Linear-feet Oak , 3x4" , 1" x 2"
Hardware & Supplies
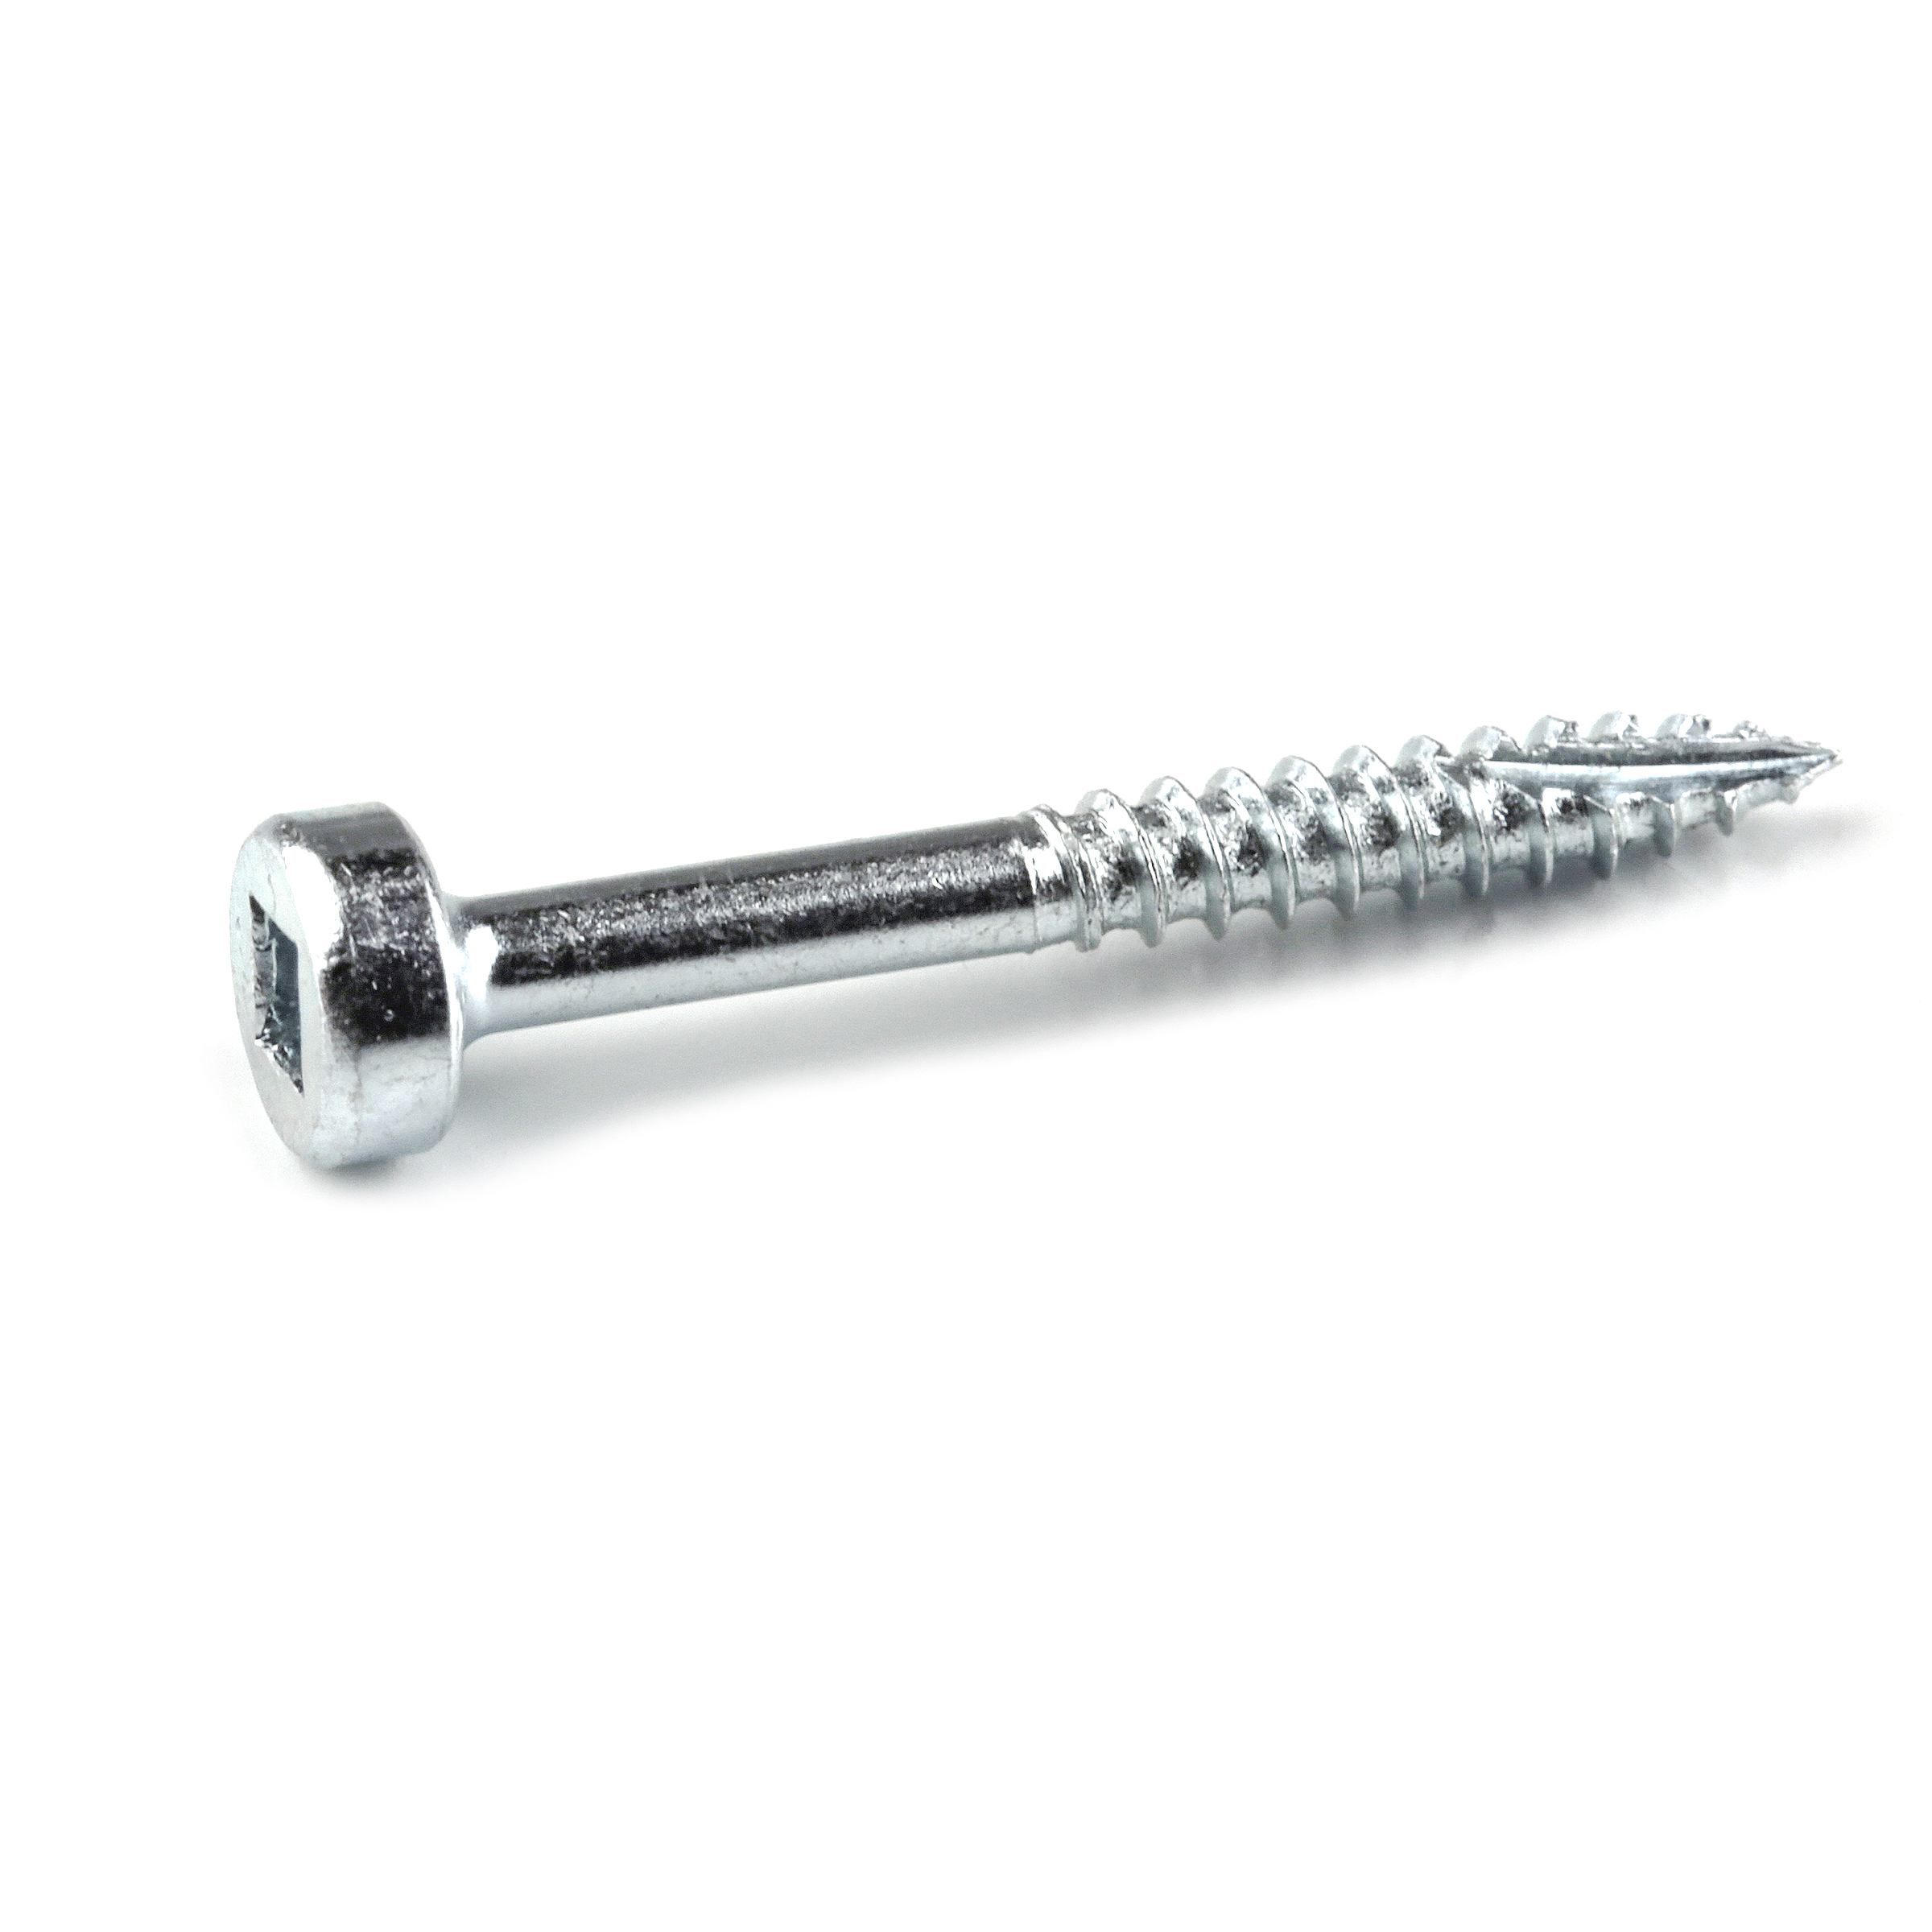
- -- Kreg pocket hole screws 1 ¼”, zinc, fine grit (see tools list)
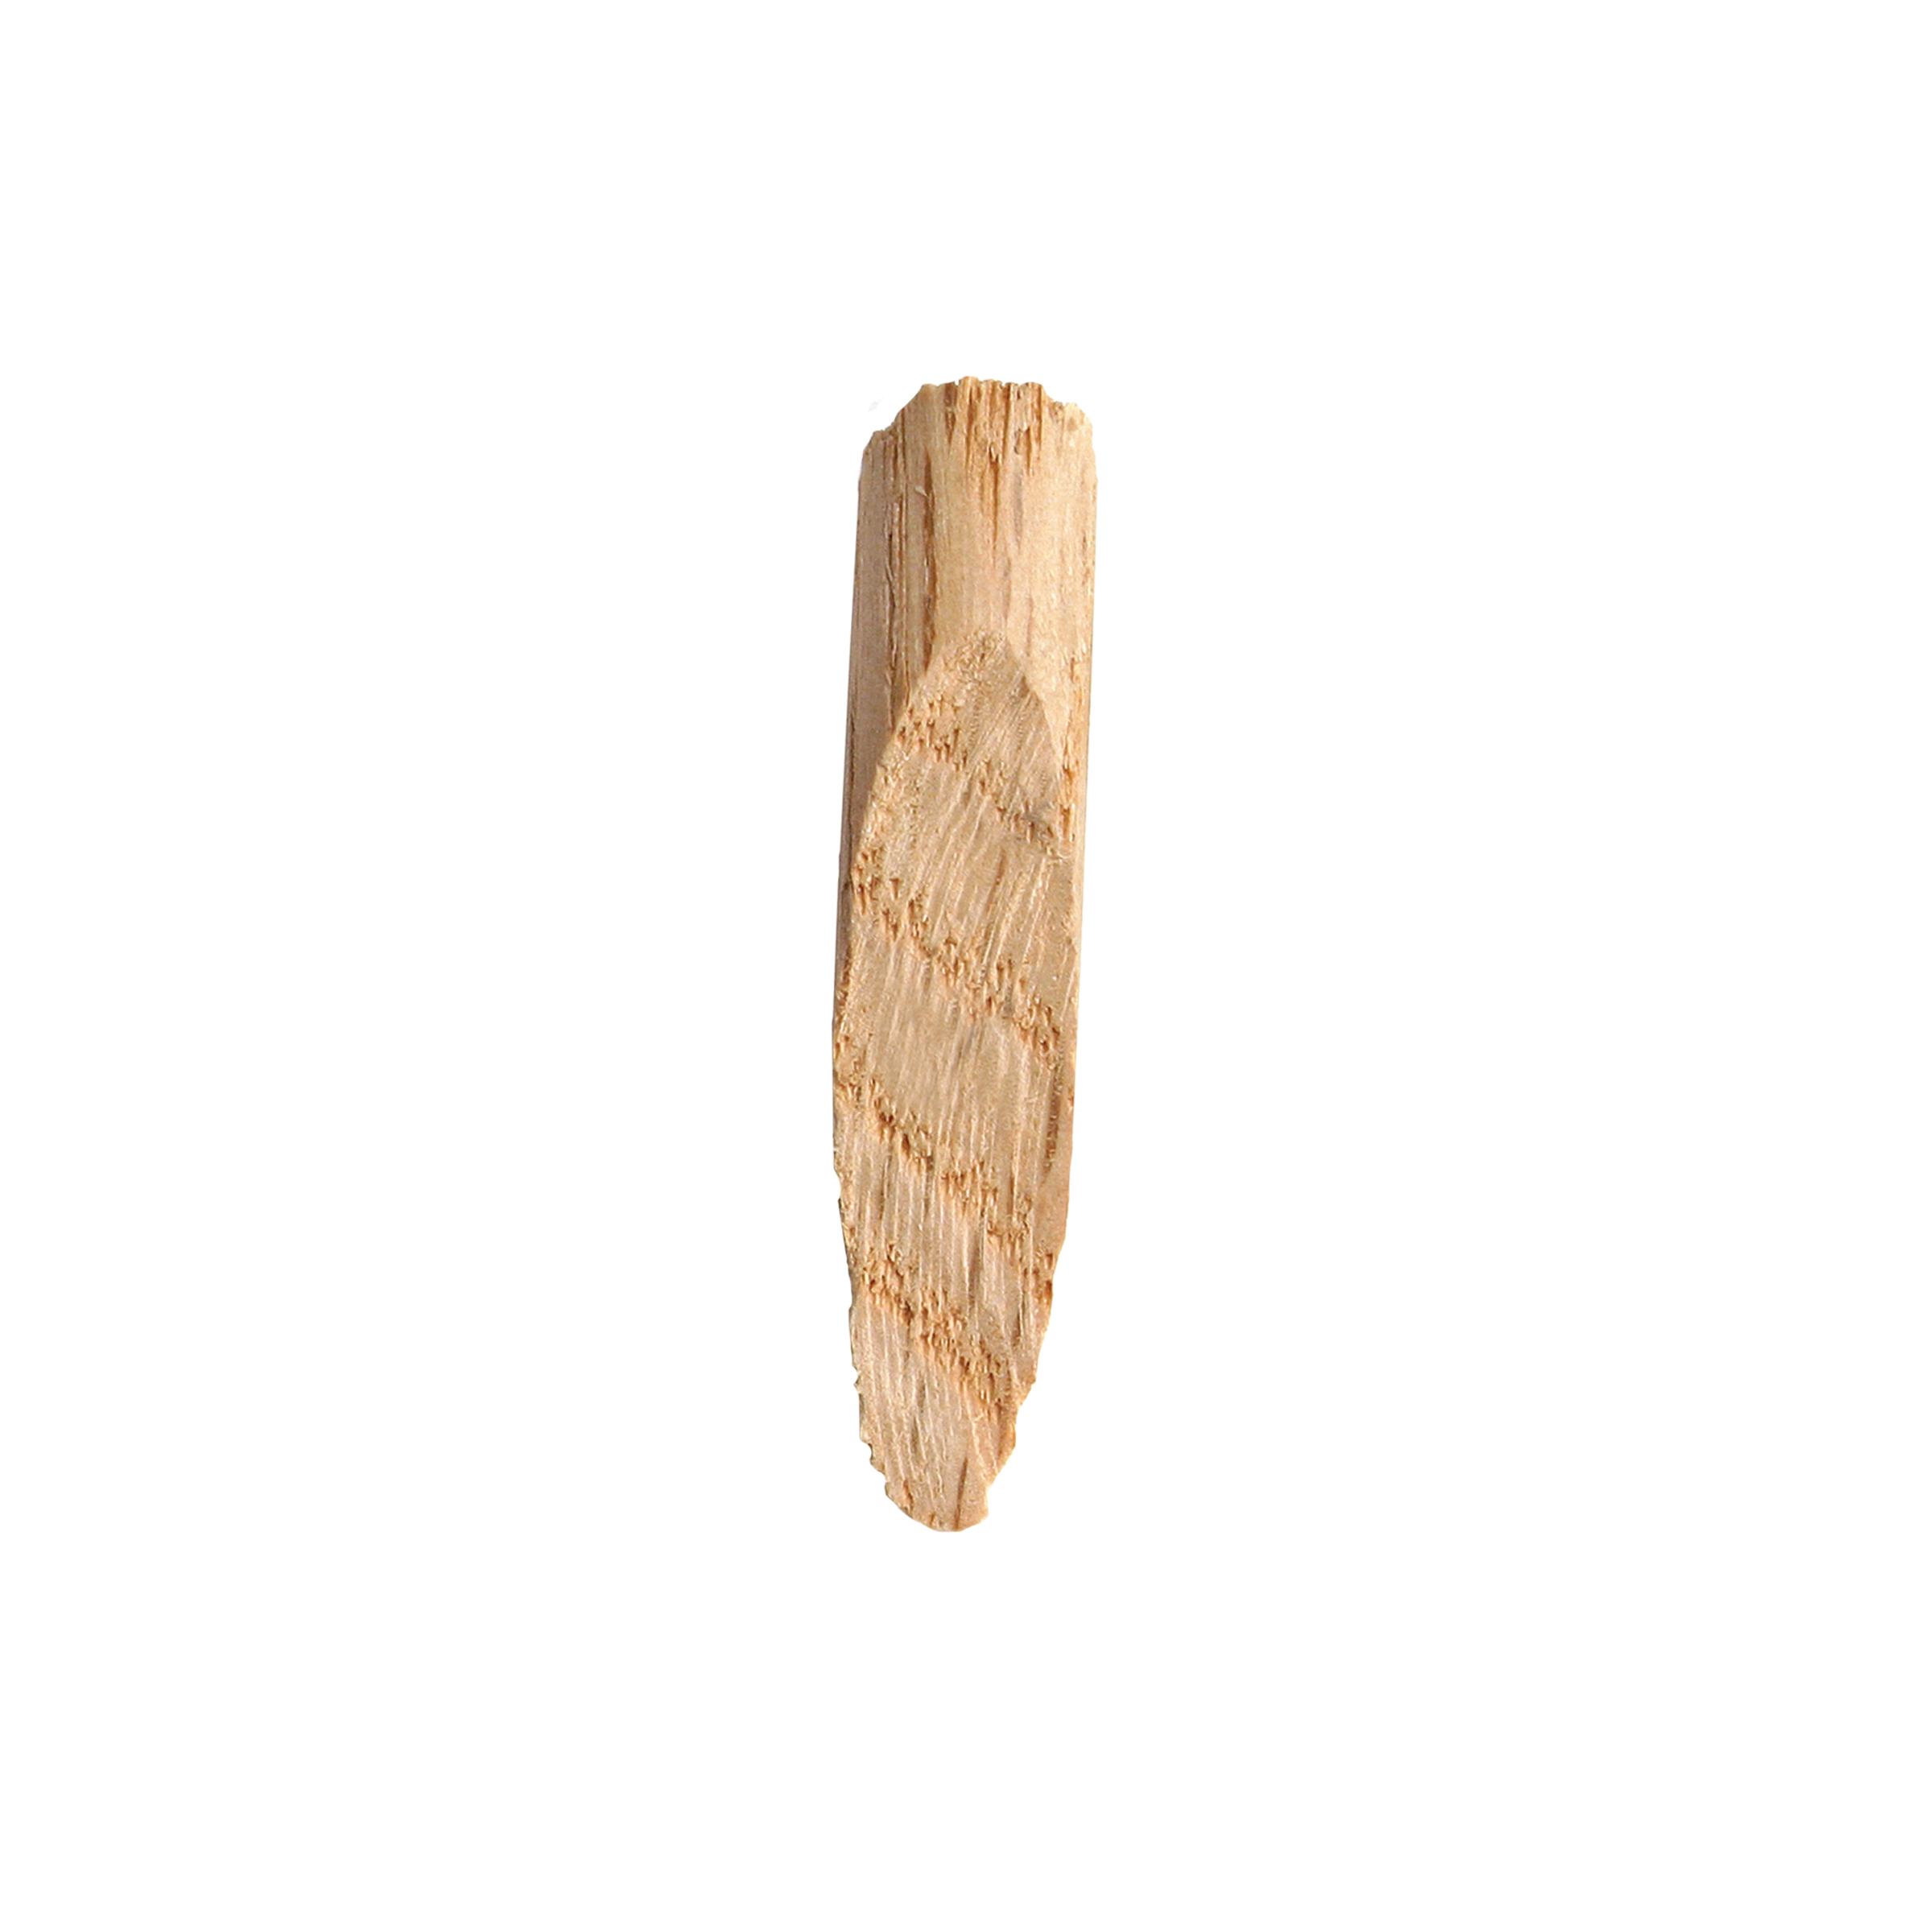
- -- Kreg pocket hole plugs, oak (see tools list)
- -- ¾” brad nails
- -- 1 ¼” brad nails
- -- ¾” pin nails
- -- 1 ⅜” pin nails
- -- 3x4 galvanized steel flat sheet (30-gauge duct metal)
- -- Construction adhesive
- -- Sandpaper
- -- Wood glue
- -- Wood putty
- -- Wood stain
- -- Spray paint
- -- Spray lacquer
- -- Silicone
- -- Magnets (18x3mm)
- -- Metal french cleat
Cut List & Parts
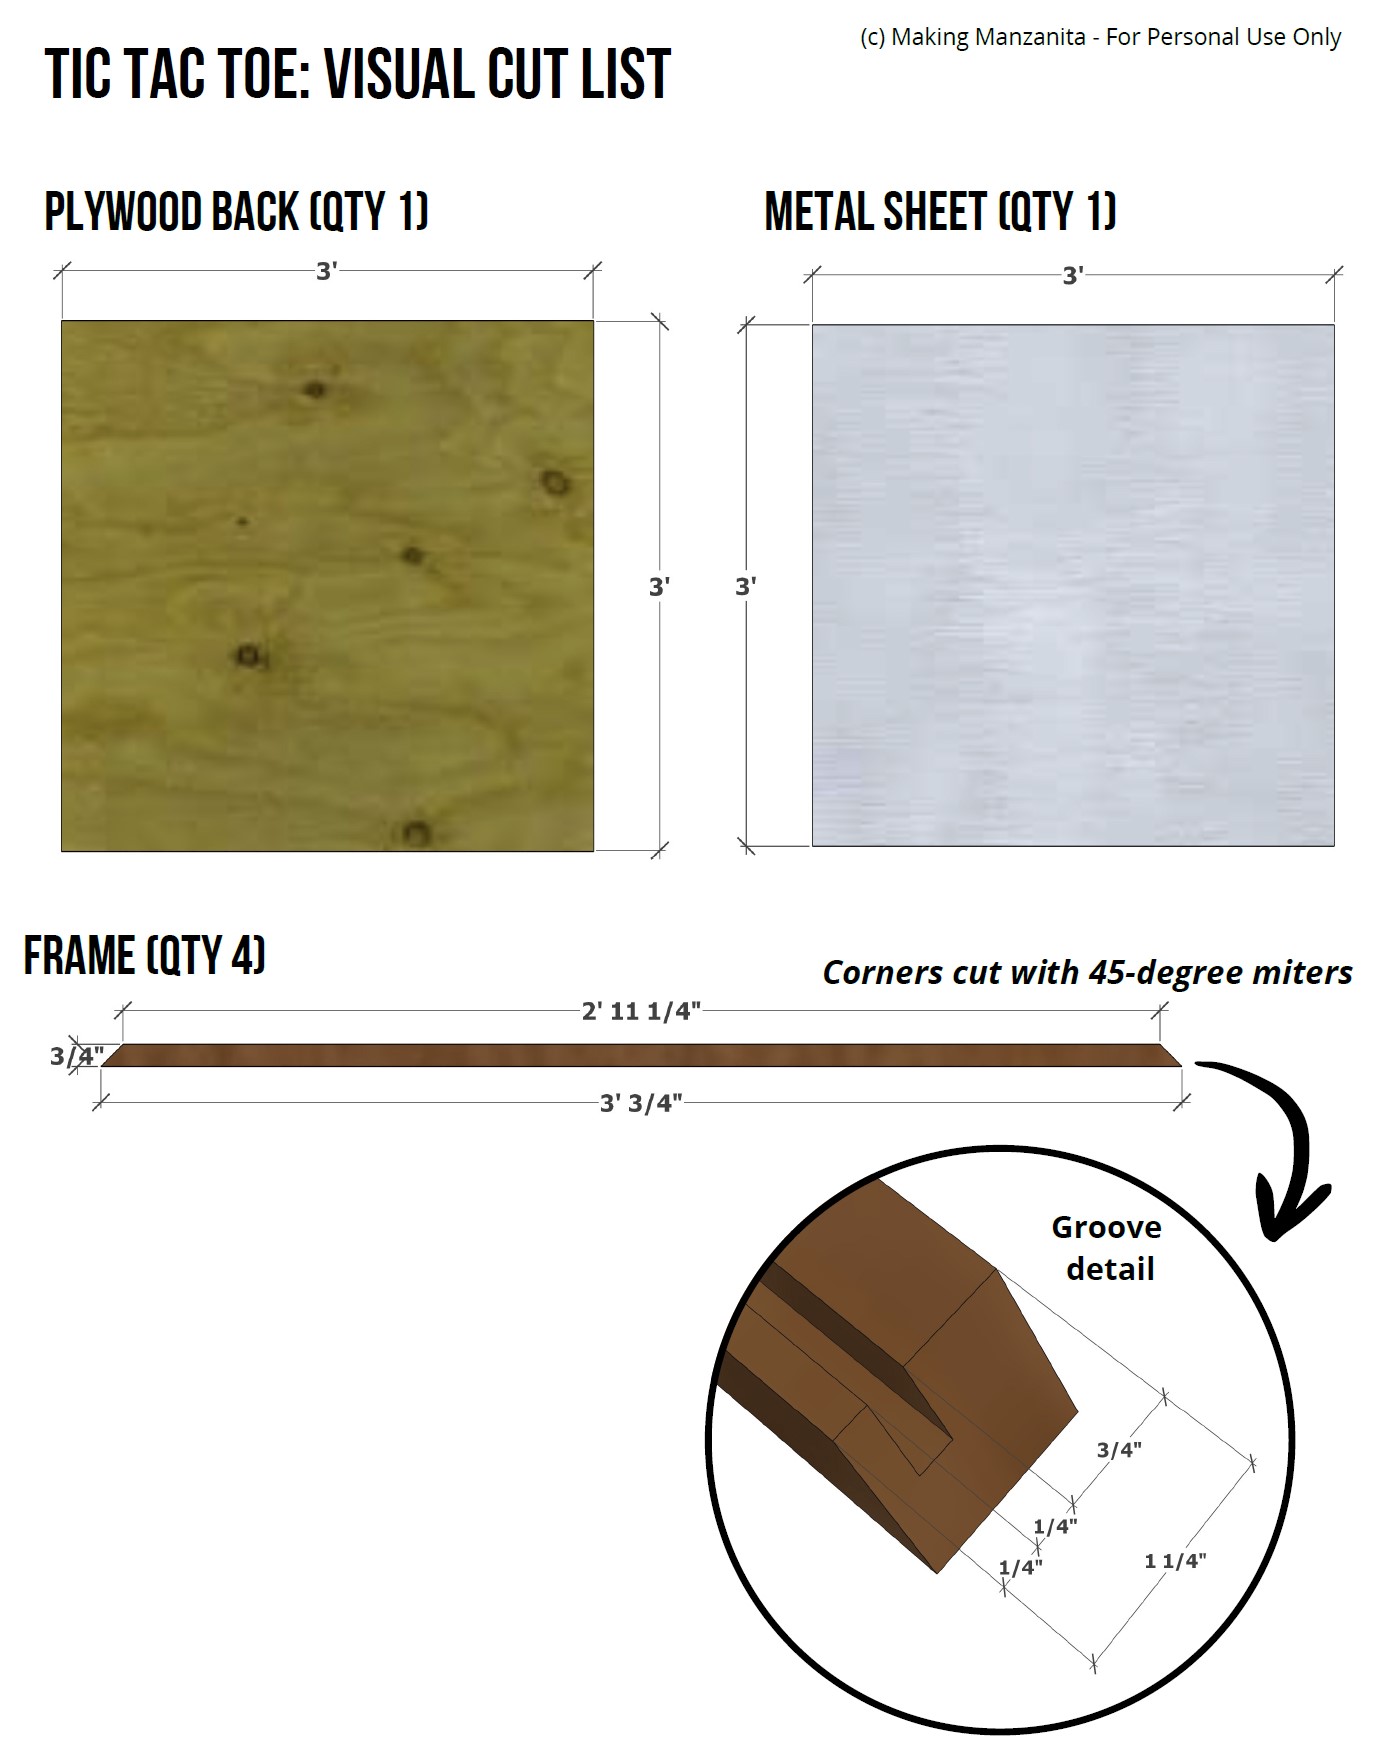
- 1 Plywood Back 1/4" x 3' x 3'
- 1 Metal Sheet 3' x 3'
- 4 Frame 3/4" x 1 1/4" x 3' 3/4" with 45-degree miters on corners
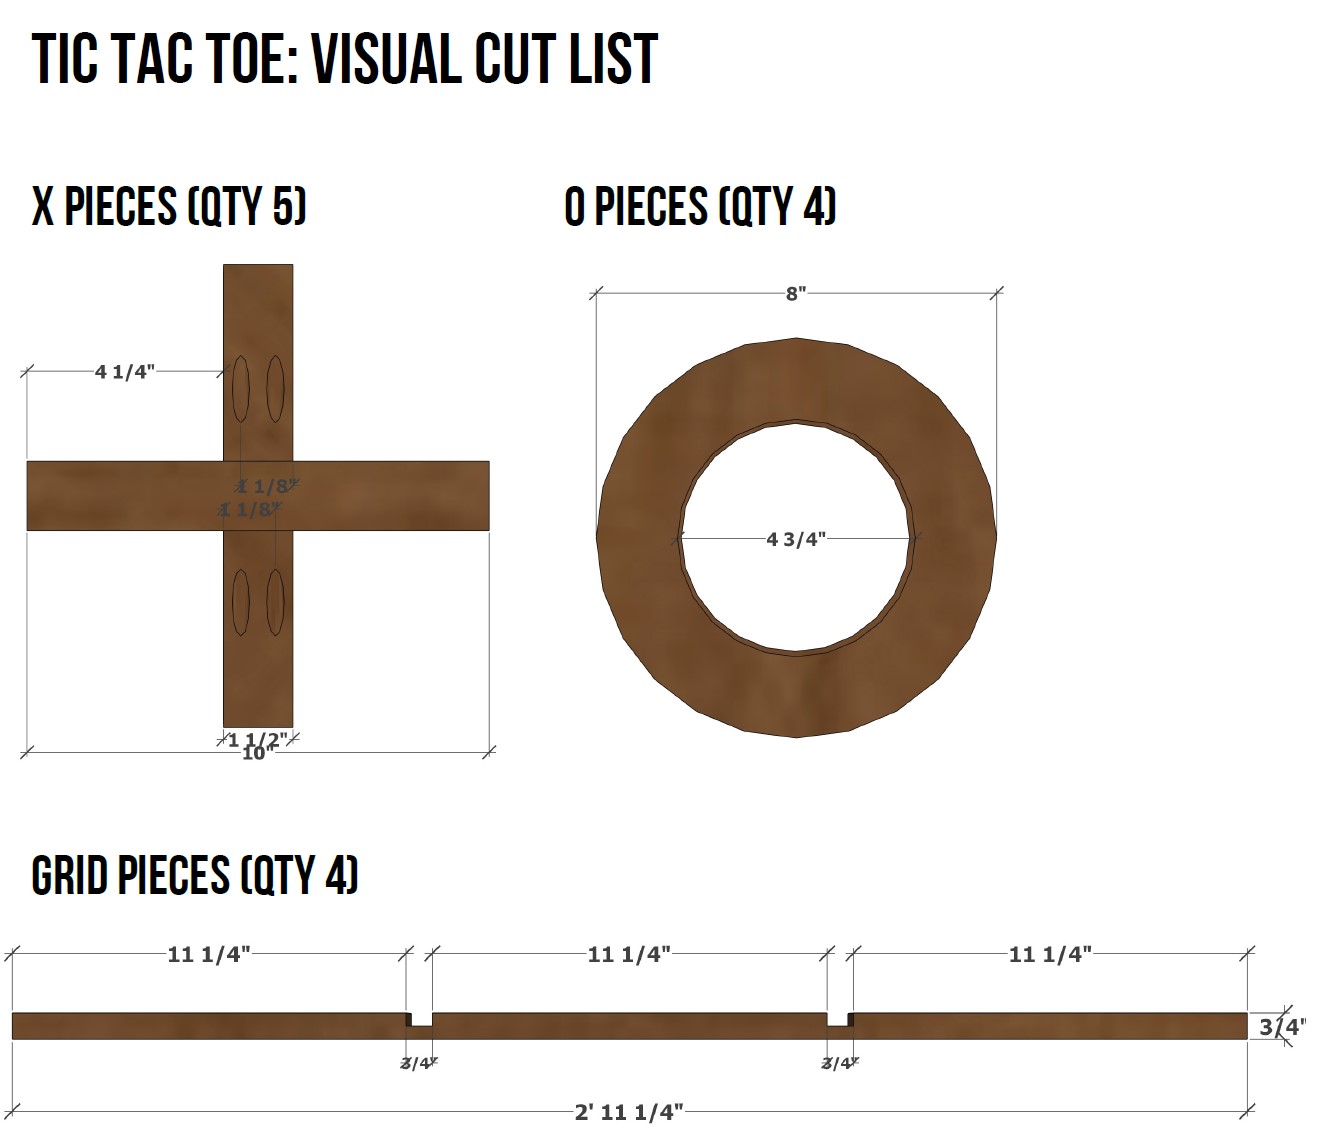
- 5 X Long Pieces 3/4" x 1 1/2" x 10"
- 10 X Short Pieces 3/4" x 1 1/2" x 4 1/4"
- 4 O Pieces 3/4" x 8" circles with inside cut out at 4 3/4" diameter
- 4 Grid Pieces 3/4" x 3/4" x 2' 11 1/4" with grooves cut as shown
Directions
-
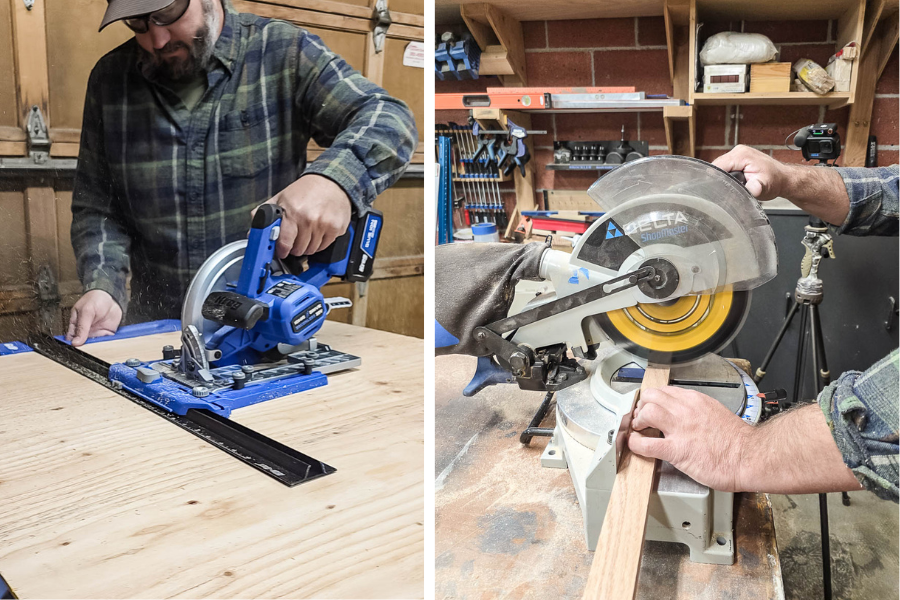
Cut wood
Cut the wood down to size according to the visual cut list in the woodworking plans. We used the Rip-Cut to cut down the sheet of plywood to size and a miter saw to cut the lengths of the boards. We used a table size to cut the grid pieces down and to cut the groove on the inside of the frame.
-
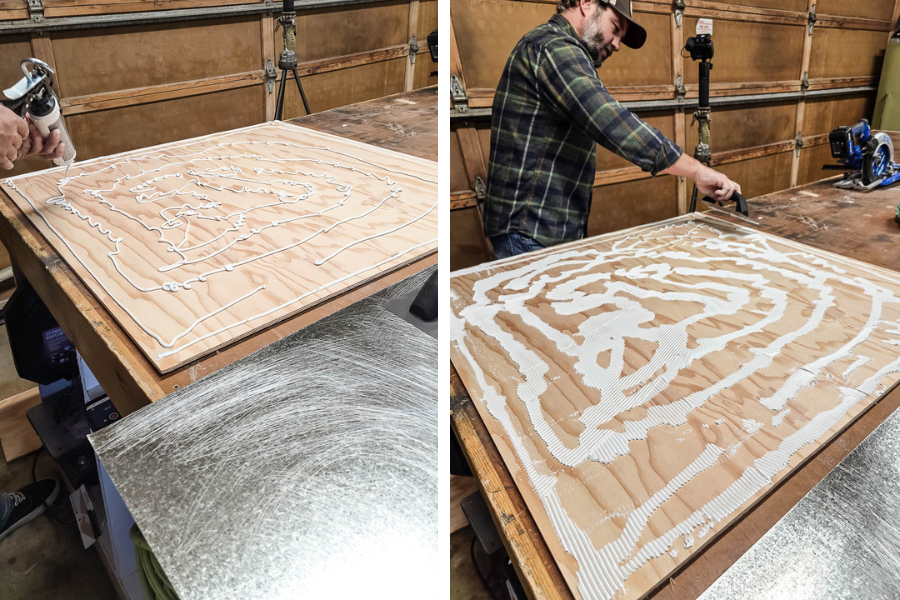
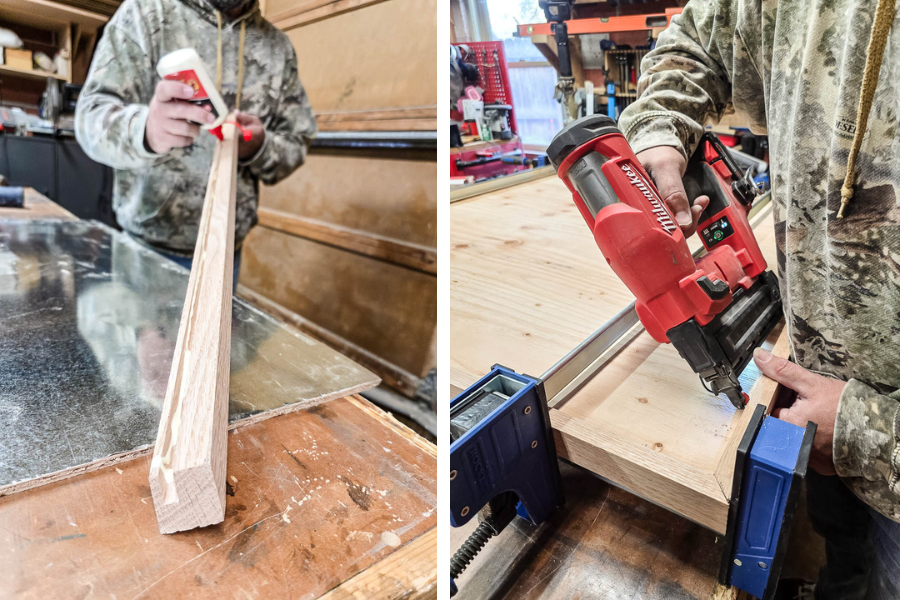
Attach the metal sheet
Lightly sand one side of the sheet of metal with coarse-grit sandpaper and wipe to clean. This will give the metal a texture so the adhesive can grip it when you attach it to the plywood sheet. Apply construction adhesive to the 3x3 plywood sheet, trowel it with a v-notched trowel, and press the metal sheet into place, lining up one edge. Use a rag over a block of scrap wood to press the metal down uniformly. Let dry. After it has dried thoroughly, the excess metal that is hanging over one side can be trimmed down with tin snips.
-
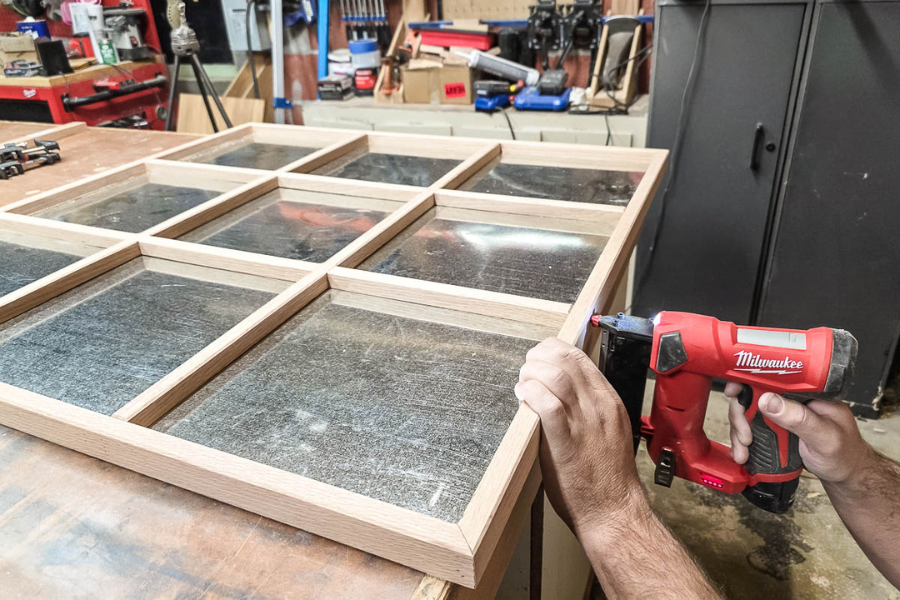
Attach frame
Apply wood glue to the inner edge of the groove and push it into place over the edges of the plywood and metal sheets. Tap into place with a rubber mallet if needed. Clamp into place and nail from the inside edge on the back (plywood side, not metal side) with a brad nail gun and ¾” brad nails. Use 1 ¼” brad nails on the mitered corners of the frame. Let dry.
-
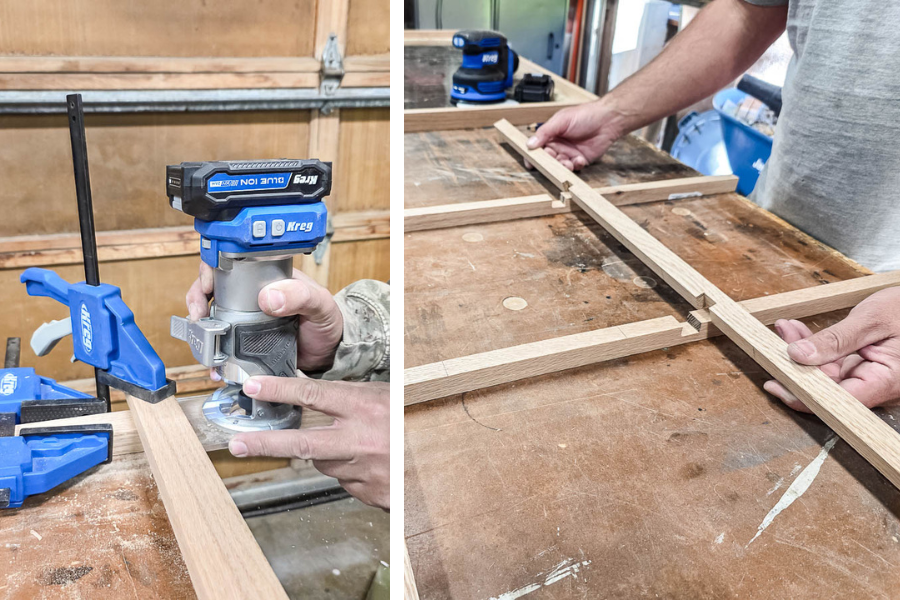
Route out grooves on grid pieces
We are using a cross-lap joint to connect the grid pieces so they interlock. Mark your wood where you want the groove made and clamp down a piece of scrap as a guide for your router. Using a ½” straight router bit, cut a ⅜” deep groove. Repeat on the intersecting board on the opposite side, so they interlock together.
-
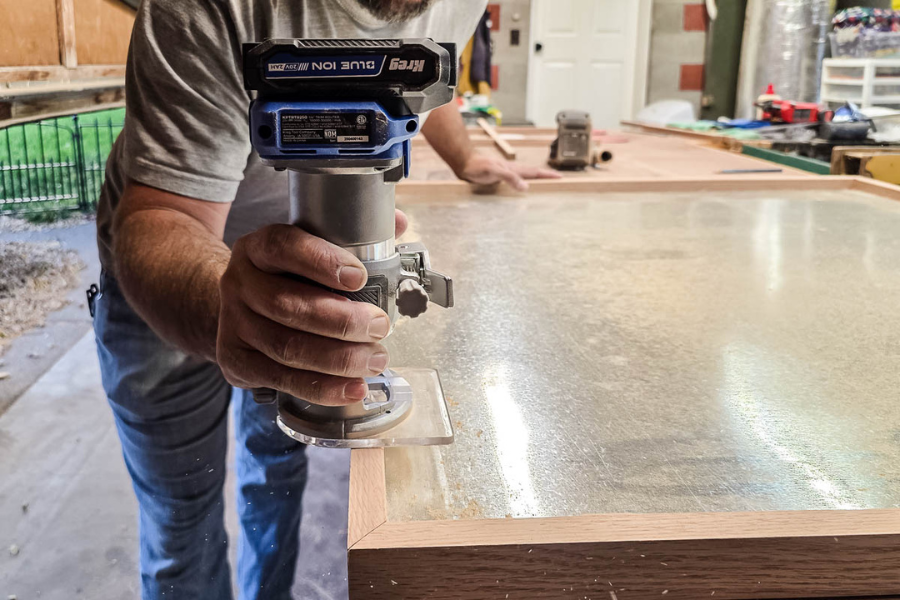
Chamfer edges of frame and grid pieces
Using the Kreg trim router and a chamfer bit, chamfer all of the edges of the frame and the grid pieces to make them smoother and more professionally looking.
-
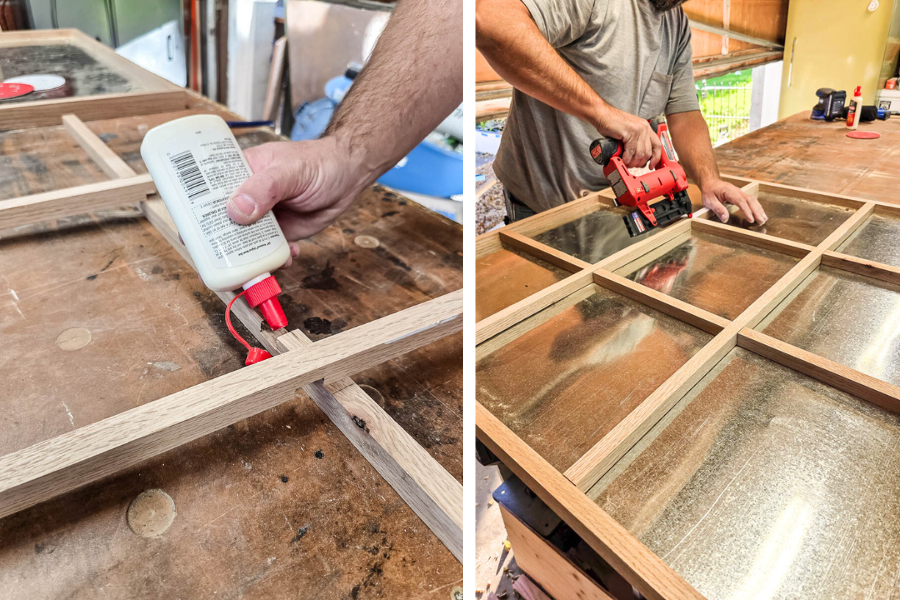
Attach grid pieces together
Add wood glue to the inside of the grooves and attach the grid pieces together. You can put the entire grid inside the frame (on the metal side) to make sure everything is squared up before you secure. Once it is square, nail the interlocking joints with a pin nailer and ¾” pin nails. Use 1 ⅜” pin nails to secure the grid to the frame from the outside edge.
-
Attach grid to frame
Set the grid into place on the frame and nail from the outside of the frame with a pin nailer and 1 ⅜” pin nails.
-
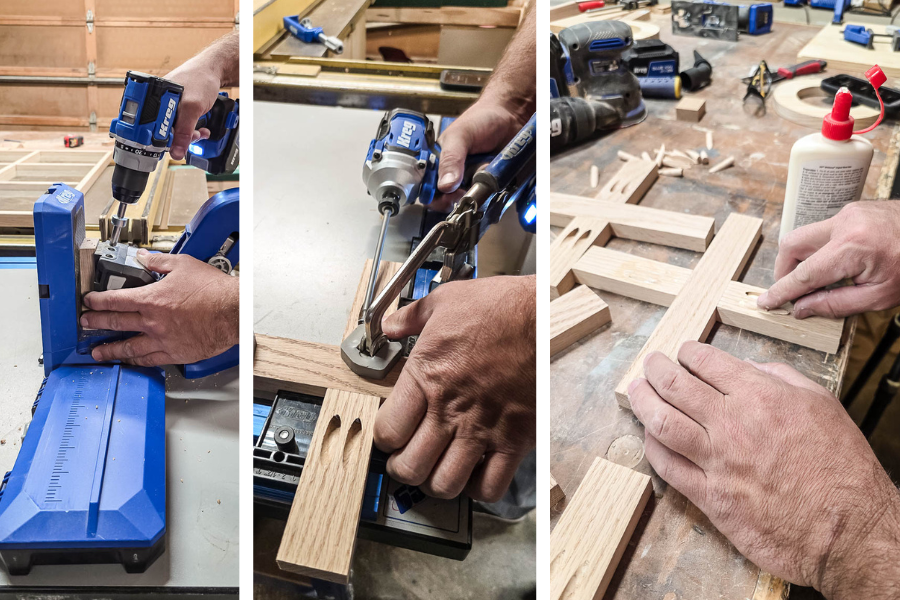
Make X pieces
Drill pocket holes as shown in the woodworking plans on the X’s. We’re using the 720Pro jig. Clamp down on a flat surface and drive pocket hole screws to secure X’s. Then sand smooth with 150-grit sandpaper. Fill pocket holes with plugs and wood glue, and let them dry. Fill any gaps with wood putty and let it dry. Come back once dry and sand smooth to remove excess plugs and wood putty. Lastly, chamfer edges with a router.
-
Make O pieces
On the project panel (or sheet good), make a 4 ¾” diameter circle and an 8” diameter circle on the board with a compass. Then, use a jigsaw, carefully cut out the O pieces. Sand smooth with 150-grit sandpaper. Finish them up by chamfering the edges with a router.

-
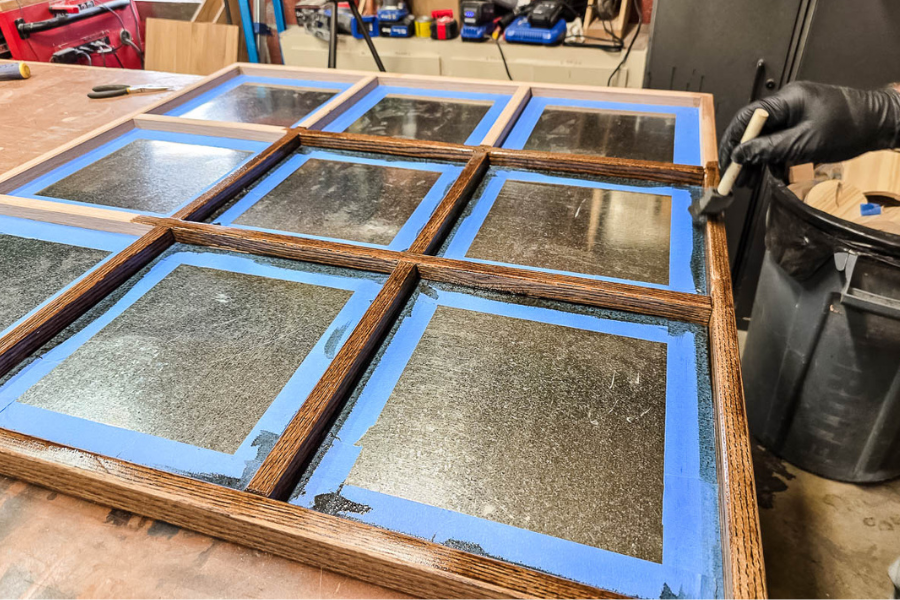
Stain and seal
Stain the wood with the color of your choice. We used Dark Walnut for the board and X’s and painted the O’s with white spray paint. Seal everything with several light coats of spray lacquer and let it dry.
-
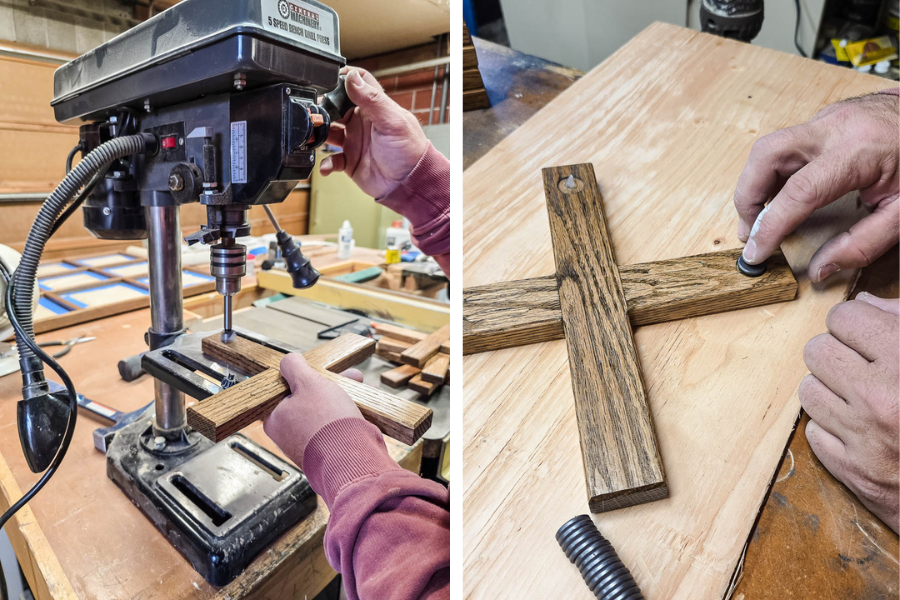
Attach magnets
Using a drill press, drill a hole in the back of the X’s and O’s the same size as your magnets, about 1/16” deep, so the magnet will be slightly inset. Next, attach the magnets. We added a little silicone to help adhere them.
-
Hang on wall
Hang on the wall with a metal French cleat.