Stylish Serving Tray
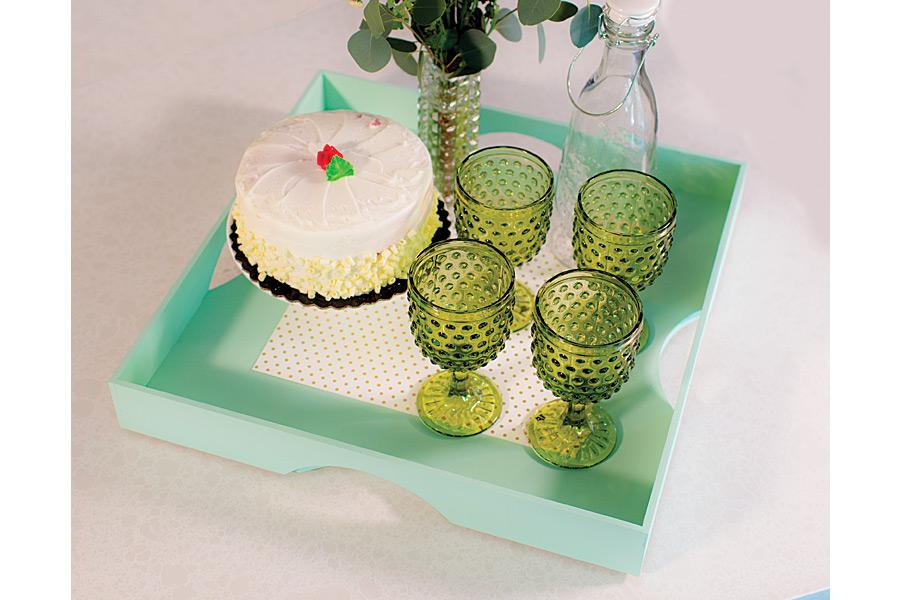
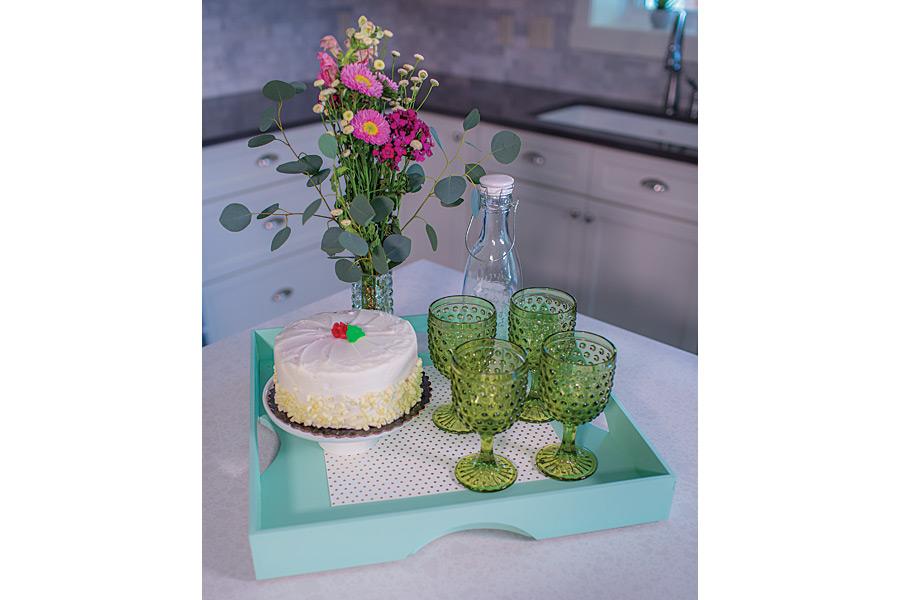
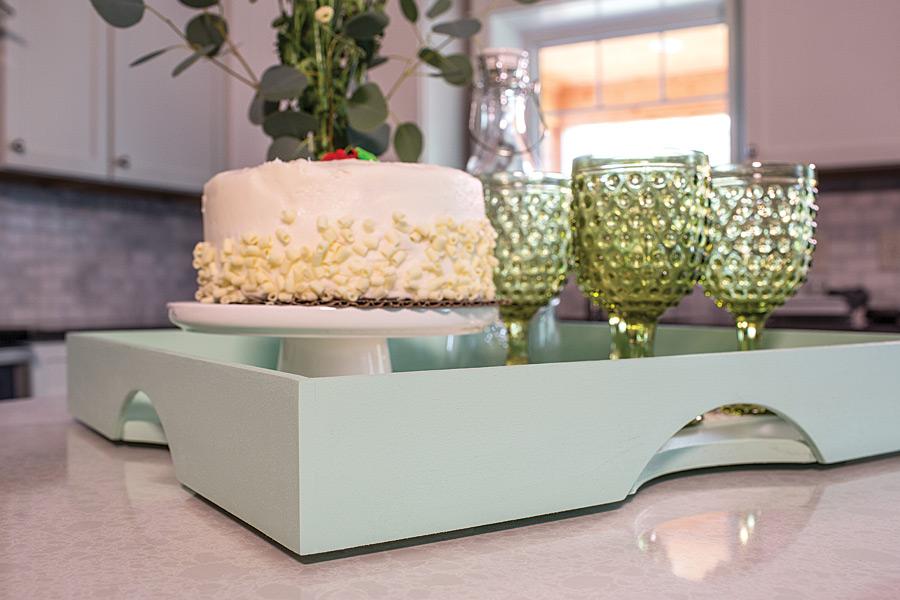
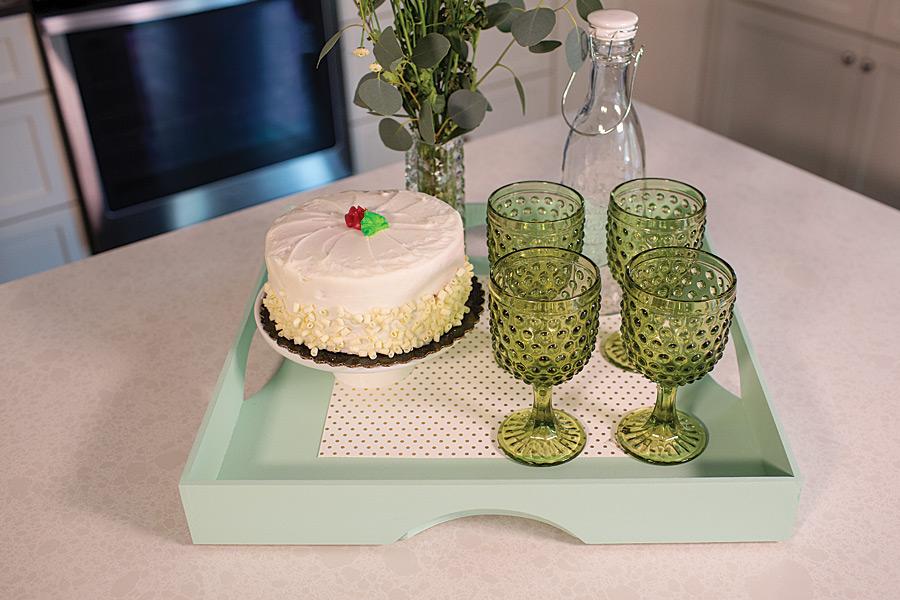
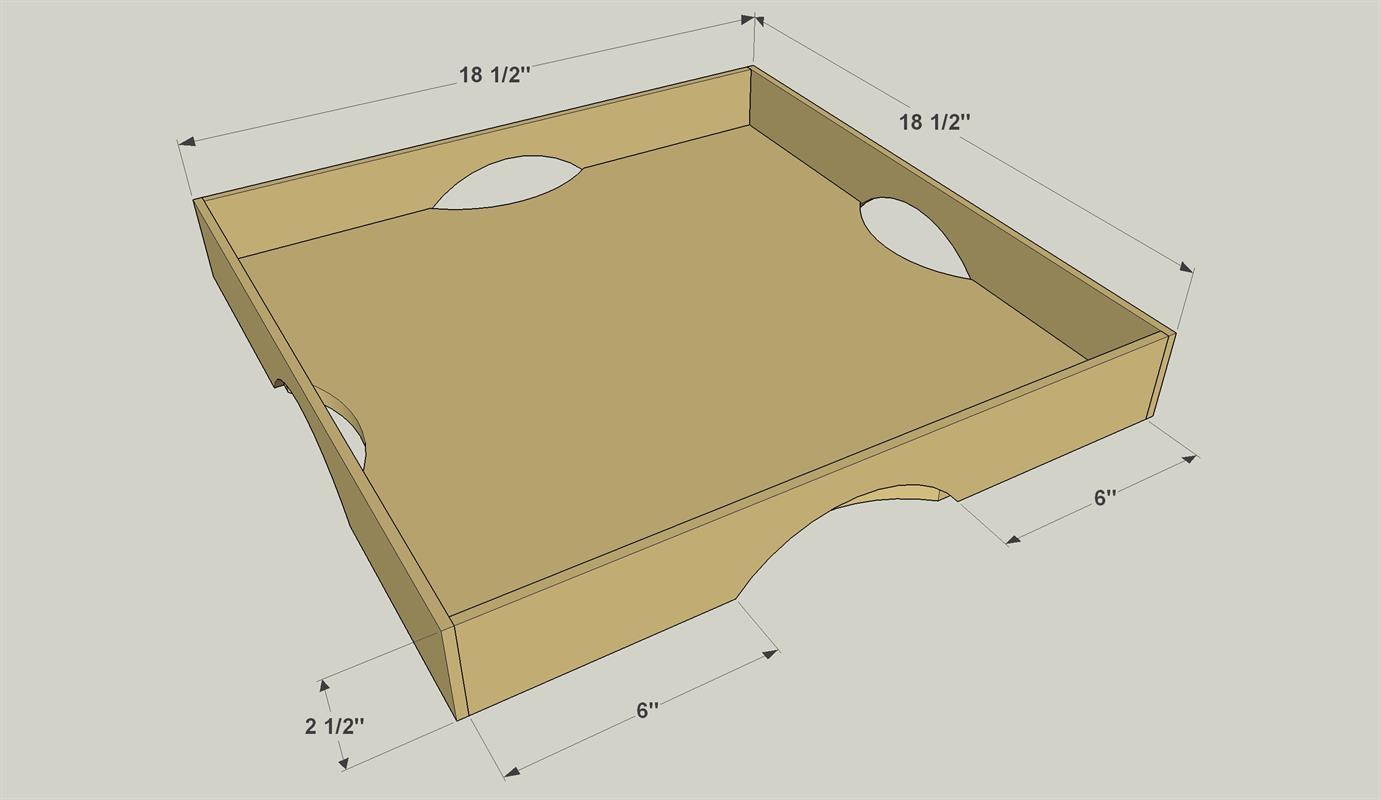
By Kreg ToolCarry food and drinks in style with this elegant serving tray. The cutouts make great carrying handles and add to the good looks, and they disguise the fact that this tray is simple to build from just a couple of 1/4" thick “hobby boards” and a 24" square piece of plywood.
Directions
-
Create the Sides and Feet
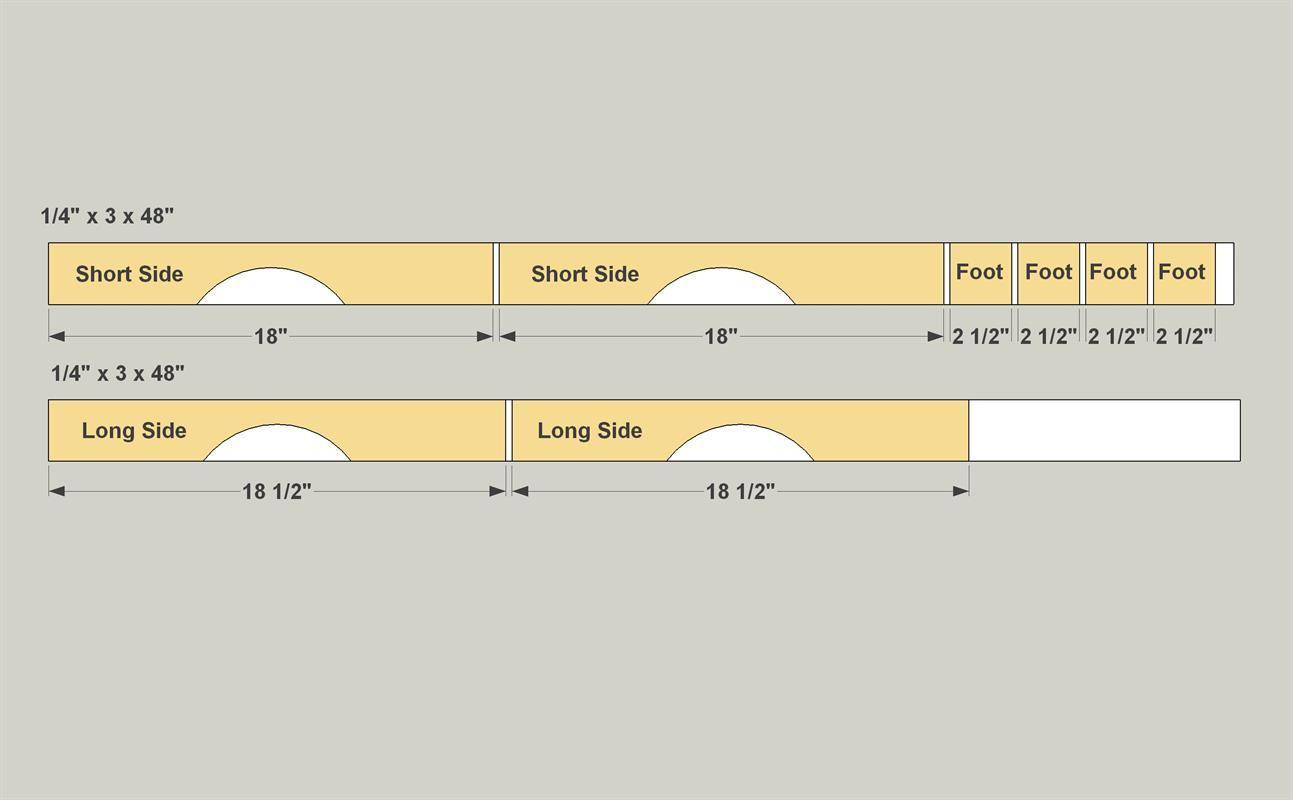
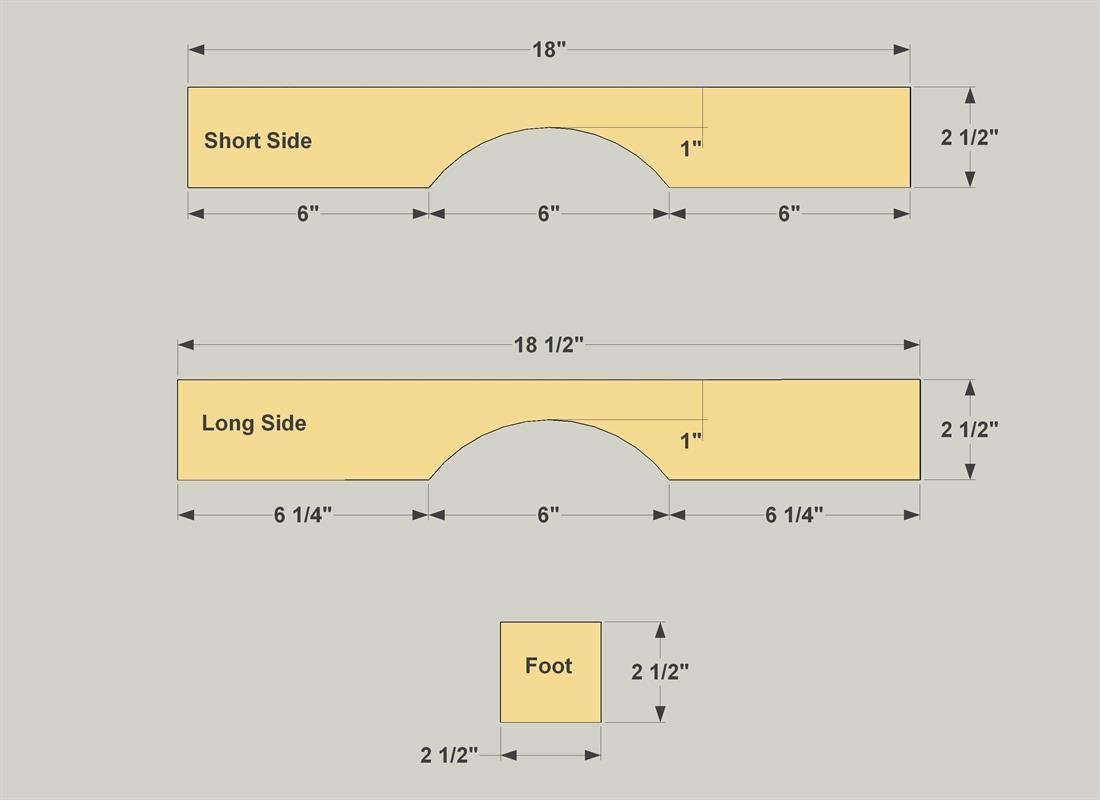
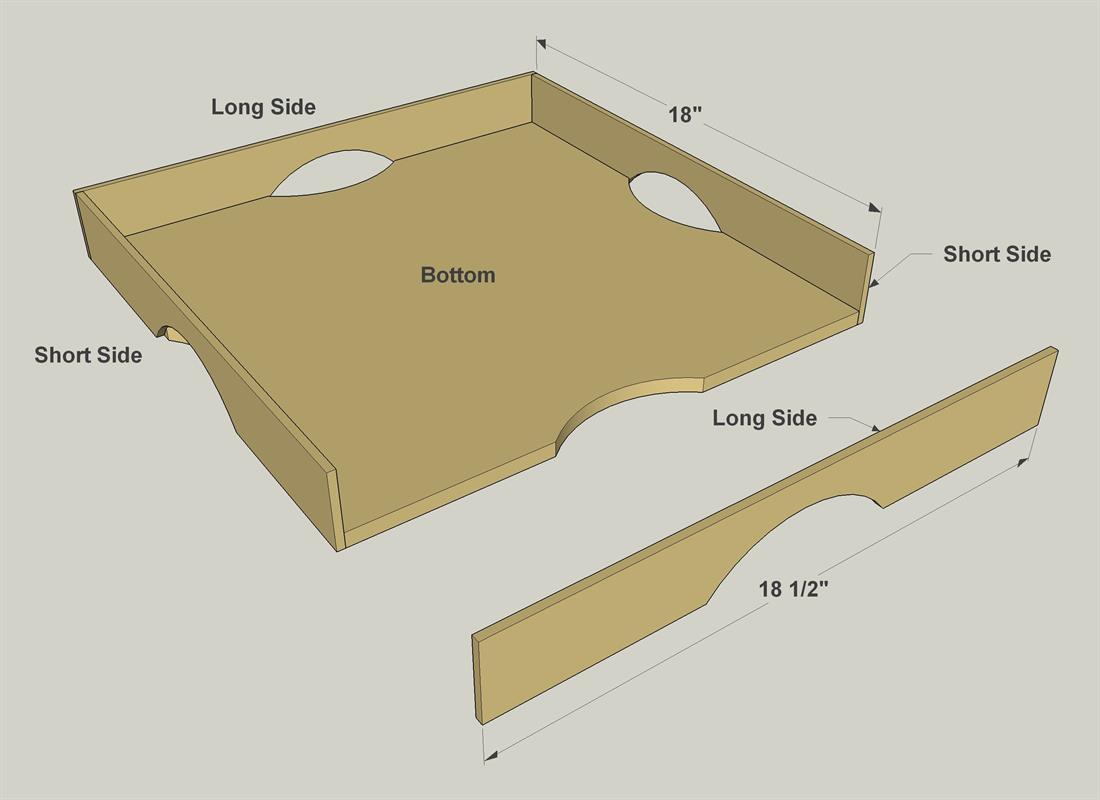
Cut two Short Sides, two Long Sides and four Feet to length from 1/4"-thick boards, as shown in the cutting diagram. Next, cut out the arches in the sides using a jigsaw and a fine-tooth blade. The best way to do this is to cut one arch, sand it smooth, and then use it to mark the other three pieces. Be sure the arch is centered on the length of each piece.
-
Create the Bottom
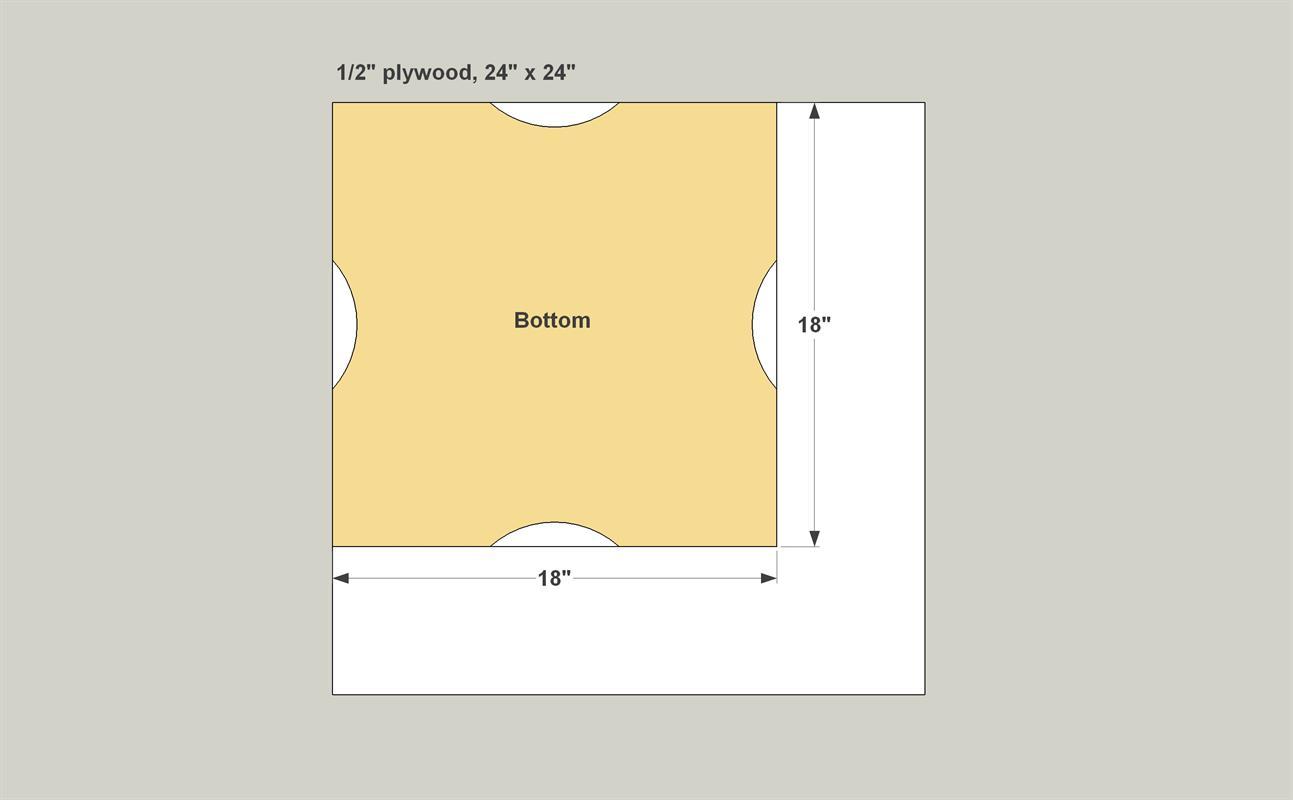
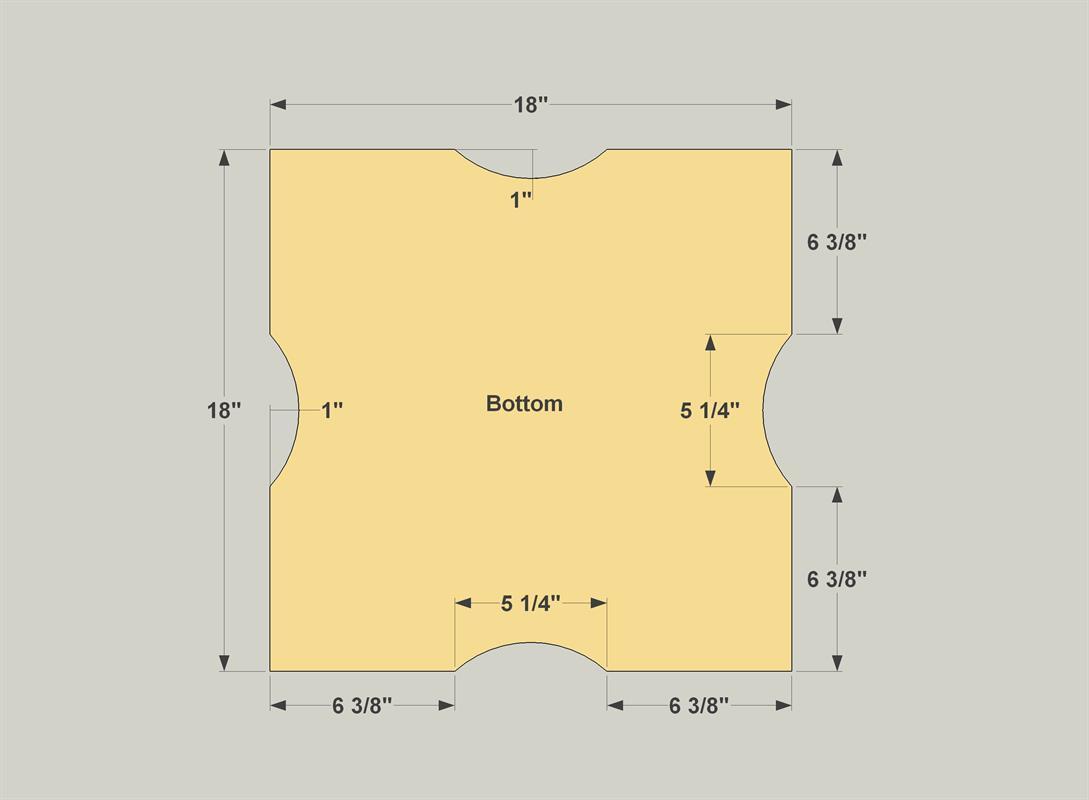
Cut the Bottom from 1/2"-thick plywood, as shown in the cutting diagram. Lay out the arches and cut them with a jigsaw. Sand the arches smooth, and then fill any voids in the edges of the arches with wood filler. Then sand the filler smooth.
-
Attach the Sides
Sand all of the pieces smooth, then you can glue the tray together. Start by attaching the Short Sides, making sure the ends are flush with the ends of the Bottom. Then glue on the Long Sides. You can use masking tape to hold everything in place while the glue sets.
-
Add the Feet
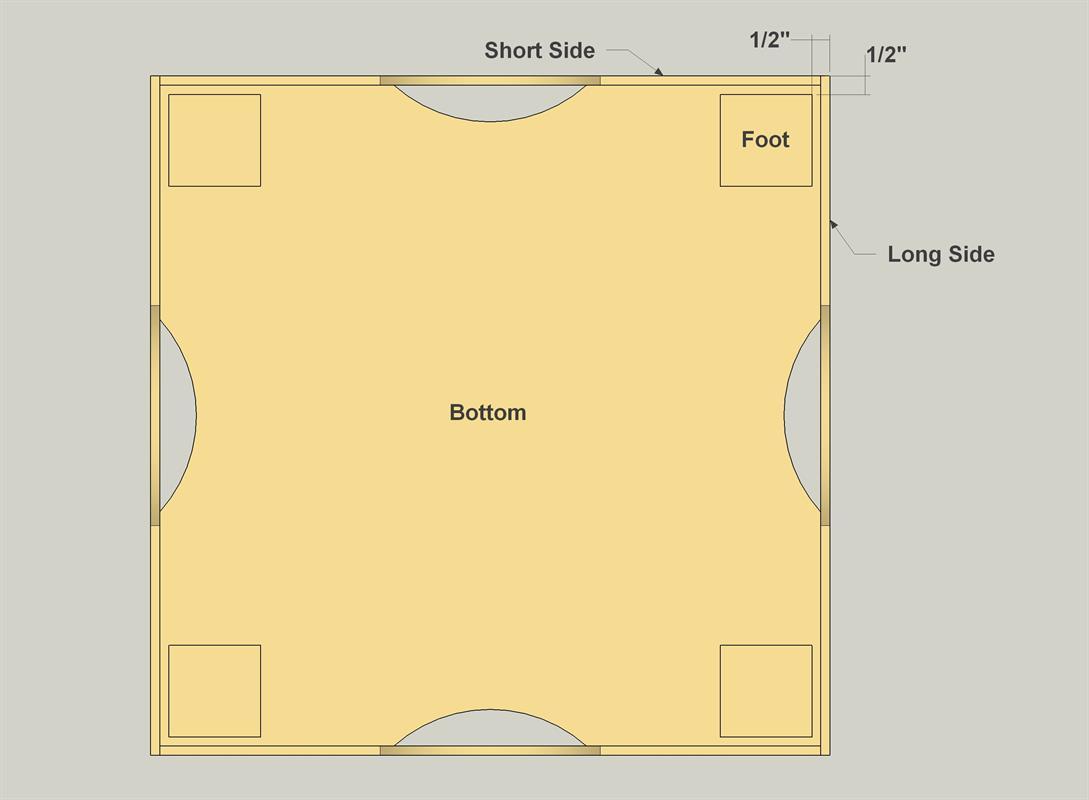
Sand the Feet smooth, and then glue them in place on the underside of the Bottom. Again, you can use masking tape to hold the feet until the glue sets.
-
Sand and Finish
After the glue sets, sand off any glue squeeze-out, and then you can paint, stain, or clear finish the serving tray to suit your taste. We painted ours, and then cut a square of colorful wallpaper and attached it as an accent.


