Stocking Post
By Simply CianiProject No. 8 of our "12 Projects Of Christmas" series continues with this multi-use stocking post. No mantle? No problem! This post looks beautiful next to any tree but the uses aren't just for one time a year, use this post year round to organize backpacks, jackets and bags!
Directions
-
Step 1:
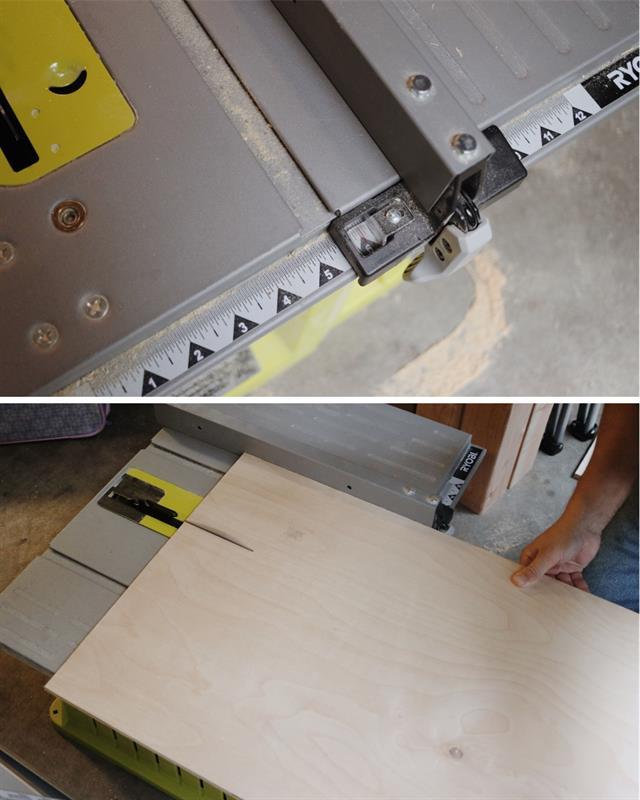
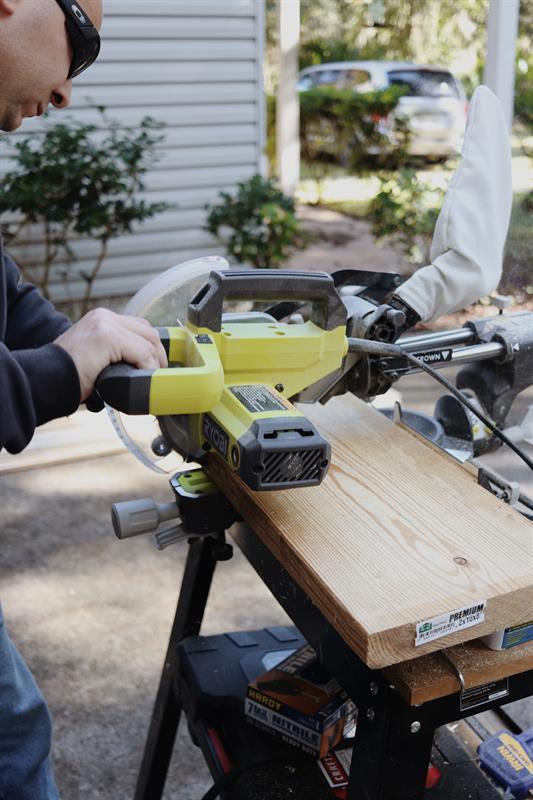
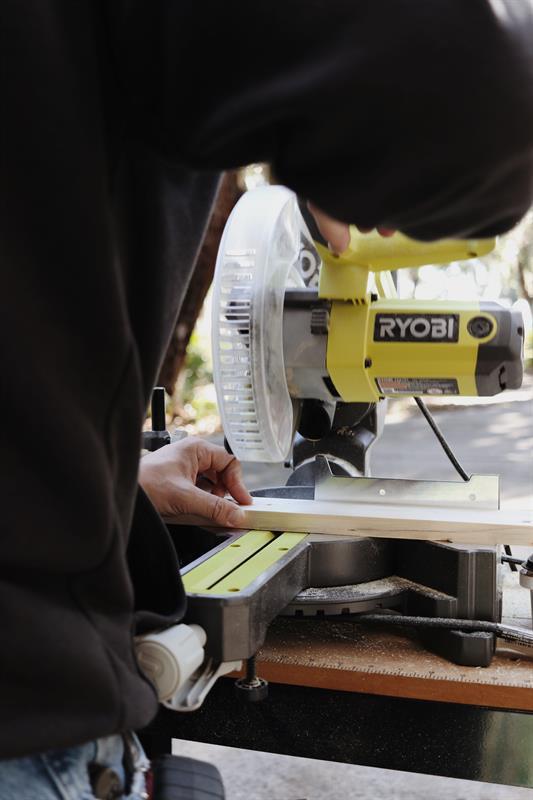
Rip your 1/2" plywood into (4) 6" strips using your circular saw and Kreg Rip Cut or your table saw. After your strips are ripped, cut the 6" wide boards to 3' long using your miter saw.
-
Step 2:
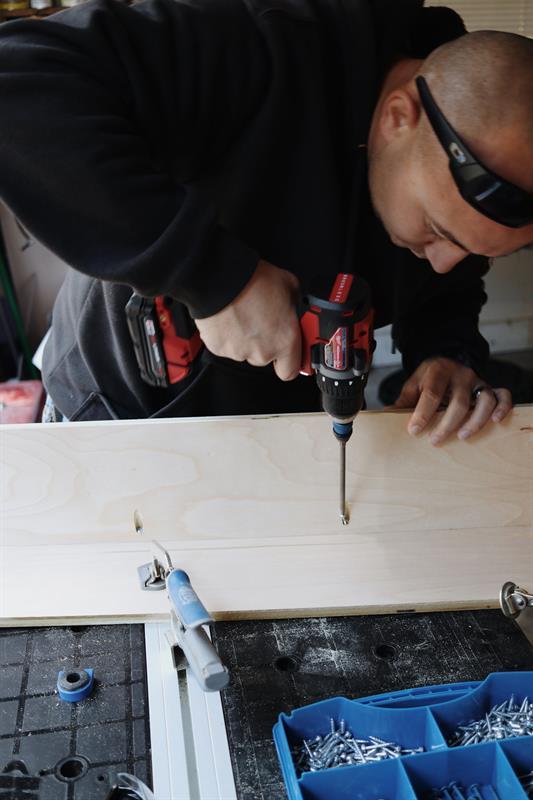
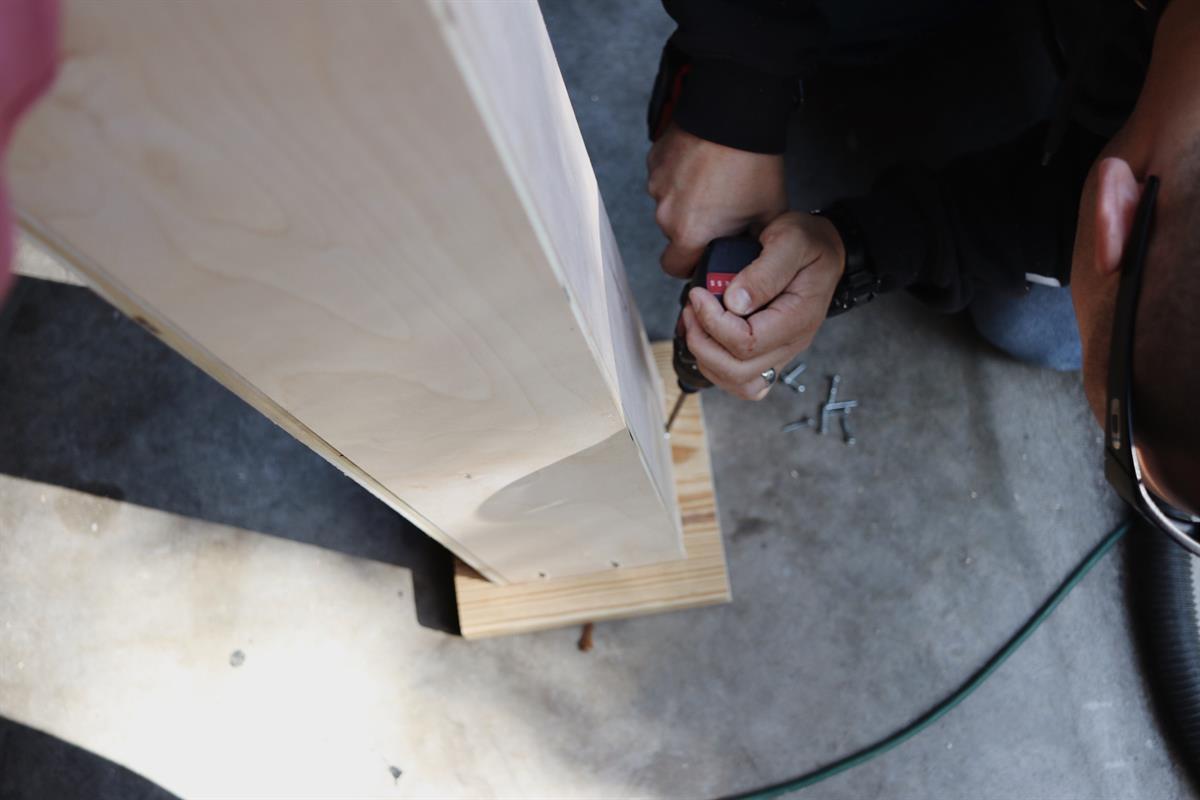
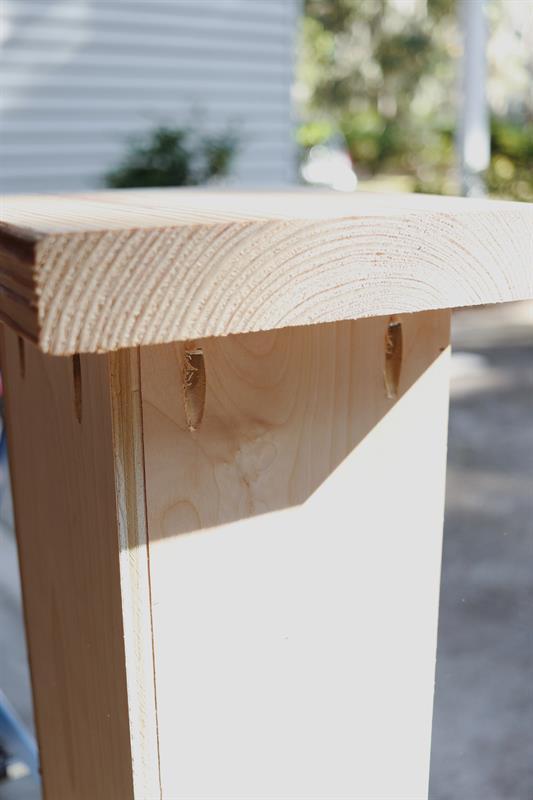
Drill (3) pocket holes into one side of (2) of your plywood boards using your Kreg Jig K5 set to 1/2". Then drill (2) pocket holes into both the top and bottom of the front of all (4) boards on the 6" side.
-
Step 3:
Line up your plywood boards flush to one side with each other then attach together using 1" Kreg screws. This will create the 2 opposite corners of your post.
-
Step 4:
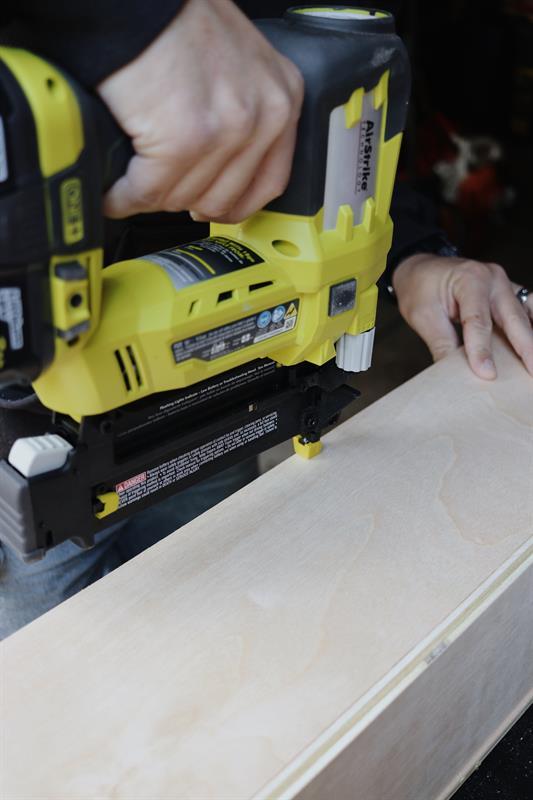
Next, take the (2) assembled corners of your post and overlap the sides, and line up flush at the top and bottom of your boards, creating a box. You will then attach the (2) pieces of your post together using 1" brad nails and your brad nailer.
-
Step 5:
Cut (2) 2" x 10" boards to 9-1/4" in length
-
Step 6:
Place your assembled post centered on top of (1) of the 2" x 10" x 9-1/4" wood boards and attach using 1" Kreg screws.
-
Step 7:
Take your other 2" x 10" x 9-1/4" board and place on top of your post, centered, then attach using 1" Kreg screws.
-
Step 8:
Cut your 1" x 3" trim into (4) boards at 8" in length and (4) boards at 6-1/2" in length. Then cut your 1" x 2" trim into (4) boards at 10-7/8" in length and (4) boards at 9-1/4" in length.
-
Step 9:
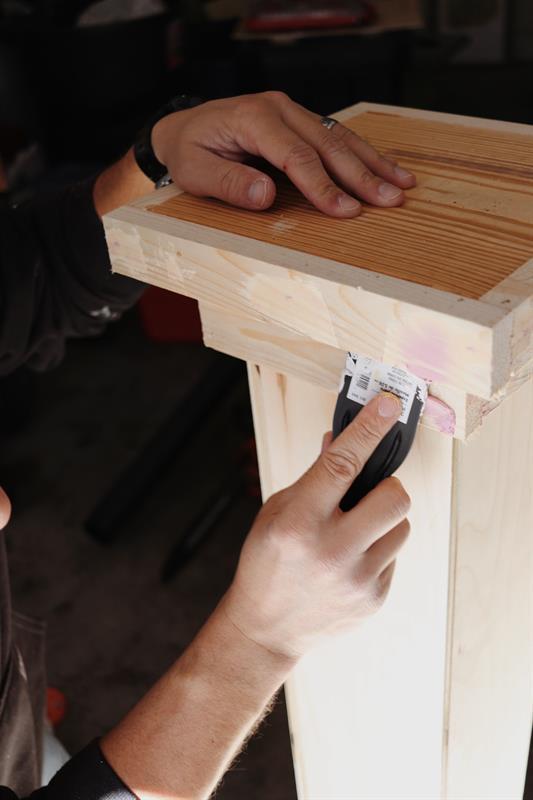
Attach your 1" x 2" trim on the edges of your 2" x 10" x 9-1/4" boards on the top and bottom of your post. Attaching the (4) shorter trim boards first, then the (4) longer trim boards secondly with 1" brad nails and your brad nailer. Then attach your 1" x 3" trim on the top and bottom of your plywood post, attaching the (4) shorter trim boards first, then the (4) longer trim boards secondly. Once all trim is secure, fill all nail holes and any gaps using wood filler and sand once dry.
-
Step 10:
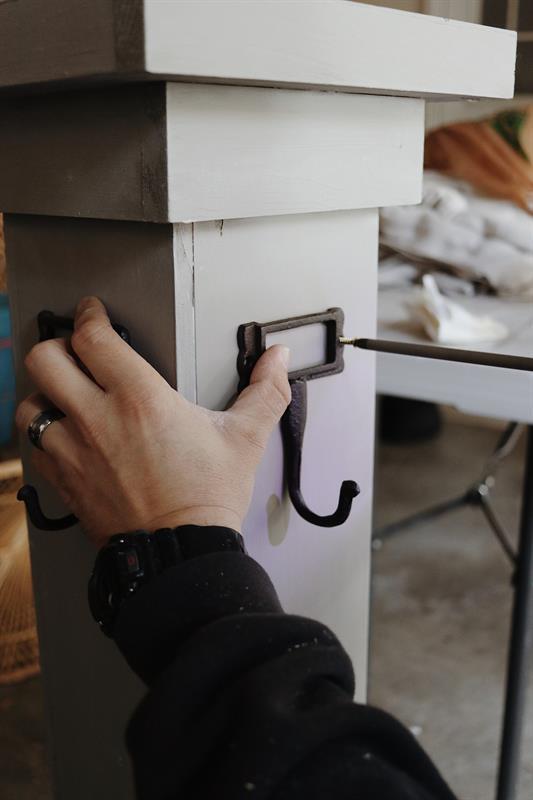
Paint or stain then add your hooks. For our post, I decided to paint it in 2 coats of Annie Sloan - French Linen then sealed with Miss Mustardseed Milk Paint - White Wax. The (4) hooks we purchased from Hobby Lobby and love how you can easily personalize each one with a name tag!
-
Not Just For Christmas:
As I stated in the description of this project, it isn't just useful one month out of the year, but for all 12! Keep this post by your front or back door year round to store and organize backpacks, jackets, bags, keys, etc... I am all about projects that are multi-function and this one is one that you will get daily use out of.


