Sliding Barn Door Media Center
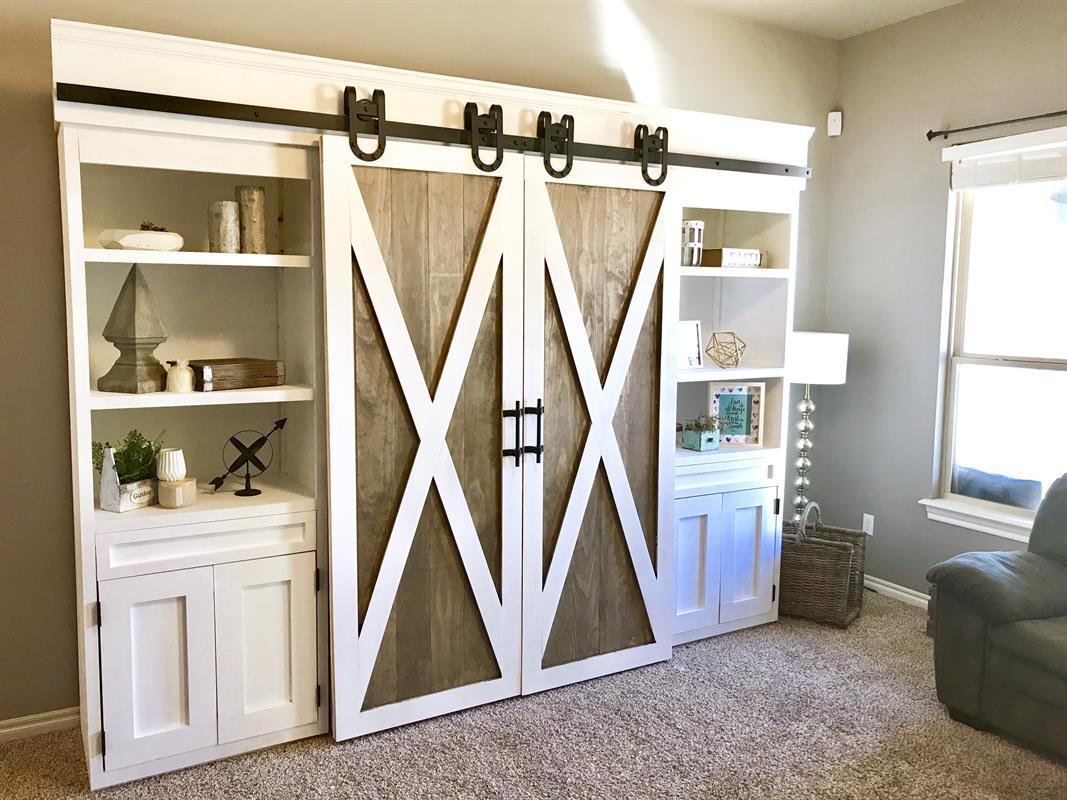
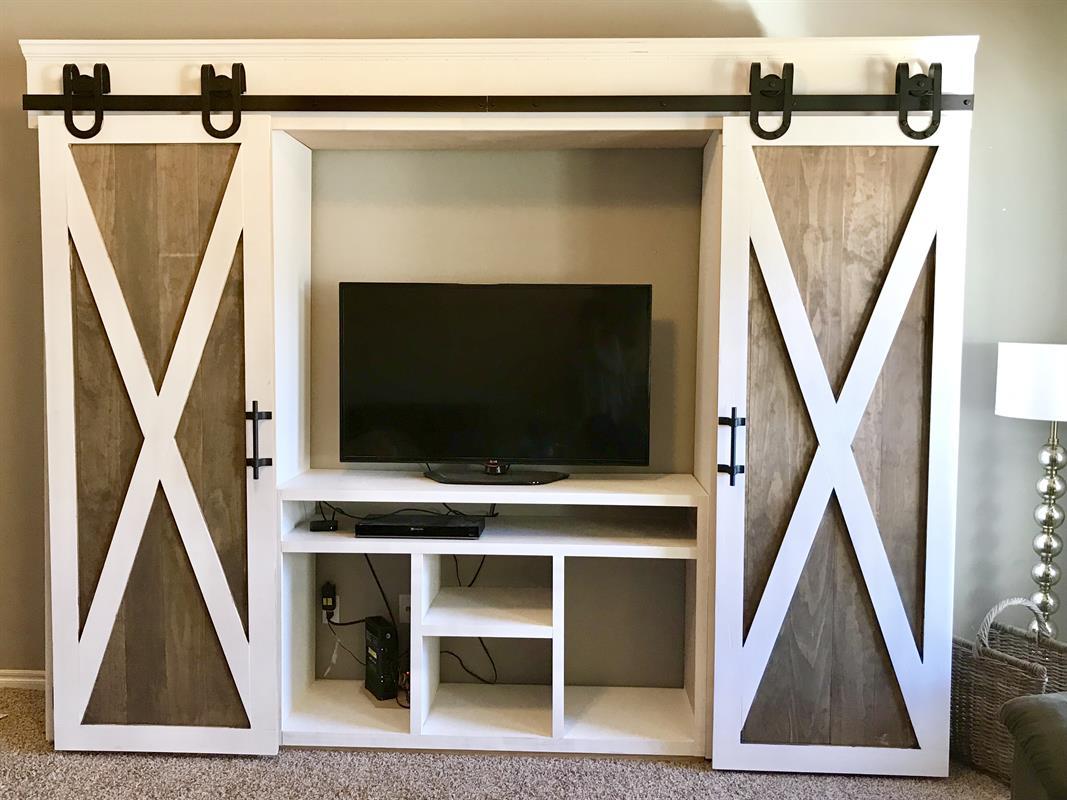
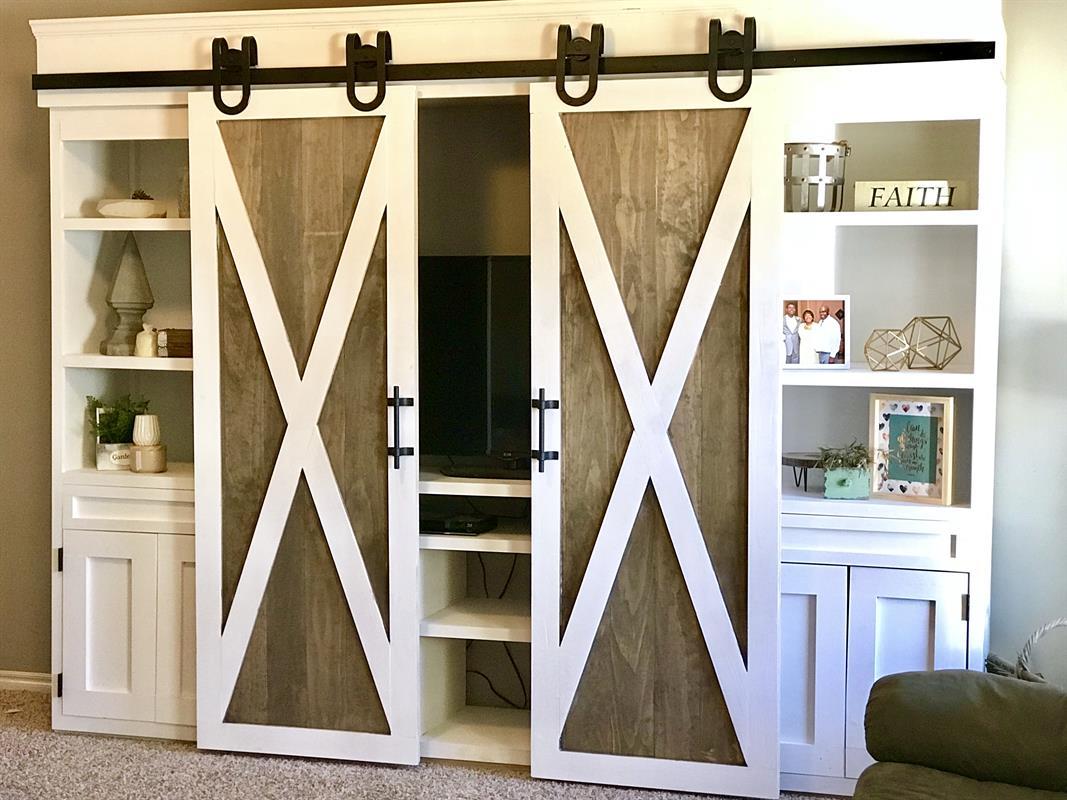
By Smashing DIYLooking for a statement piece for your living room? This sliding barn door media center is the perfect functional piece to bring a sophisticated feel to your home.
Directions
-
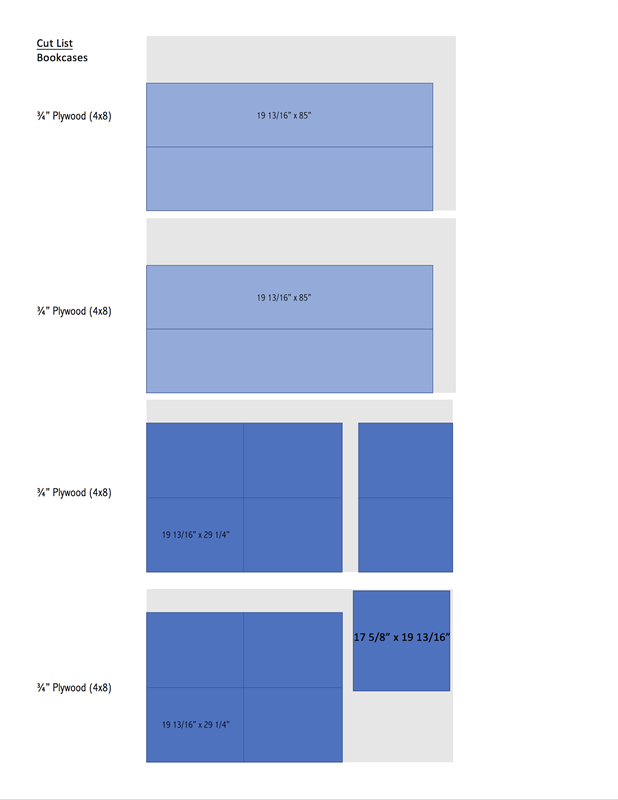
Cut out Bookcase Notches
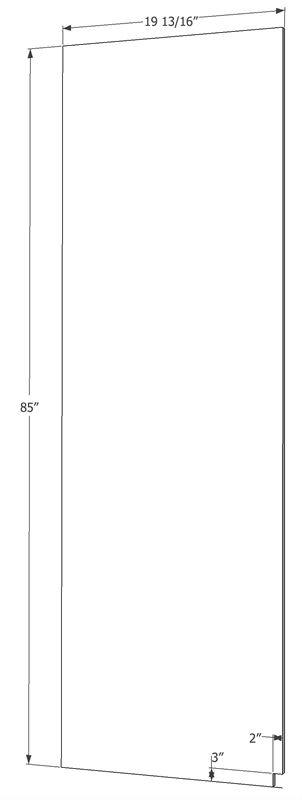
Cut out notches on the bottom of all four bookcase side pieces.
-
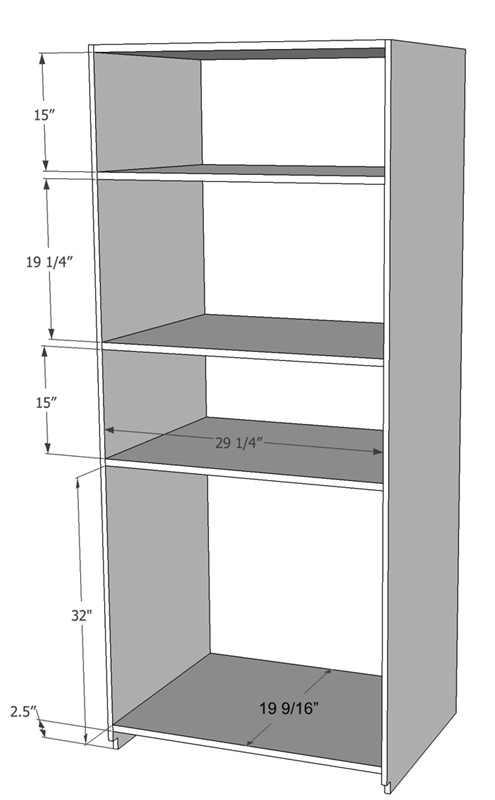
Add Shelves to Bookcases
Add 5 shelves to both bookcases using a Kreg Jig K4 Pocket Hole System on a 3/4" setting, with 1 1/4"" pocket hole screws to attach along with wood glue. Shelves should have 1/4" spacing left in the back.
-
Add Bottom Trim
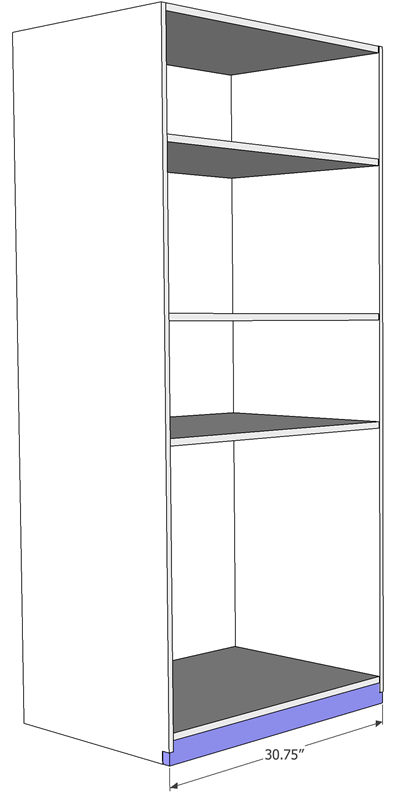
Cut out notches for bottom 1x3 trim using a jig saw and add to bookcase using wood glue and brad nails.
-
Add Bottom Braces
Add bottom braces to both bookshelves sing a Kreg Jig K4 Pocket Hole System on a 3/4" setting, with 1 1/4"" pocket hole screws to attach along with wood glue.
-
Add Bookcase Trim
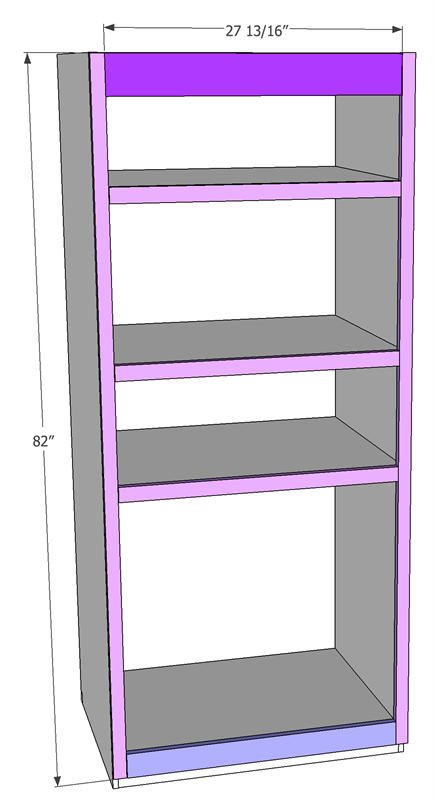
Add 1x2 trim to the sides of both bookcases using wood glue and brad nails and then add the bottom trim piece (ripped down from a 1x3 piece) and then add the top 1x6 trim piece along with the 1x2 shelf trim.
-
Attach Back Braces
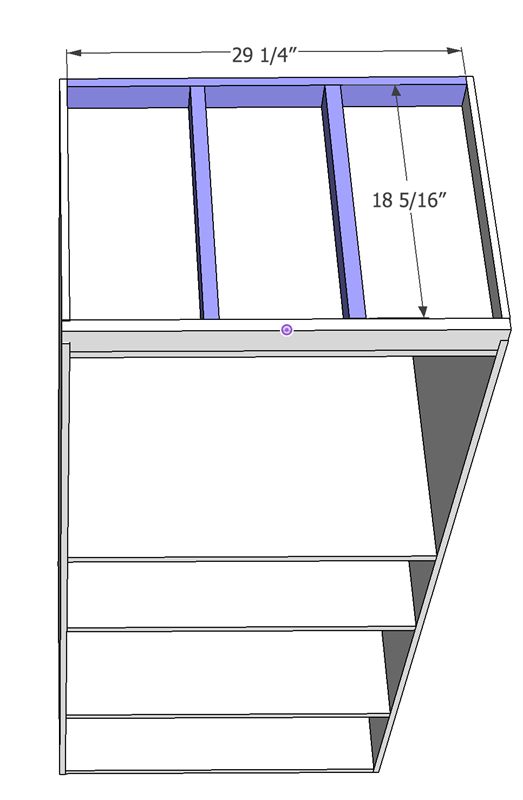
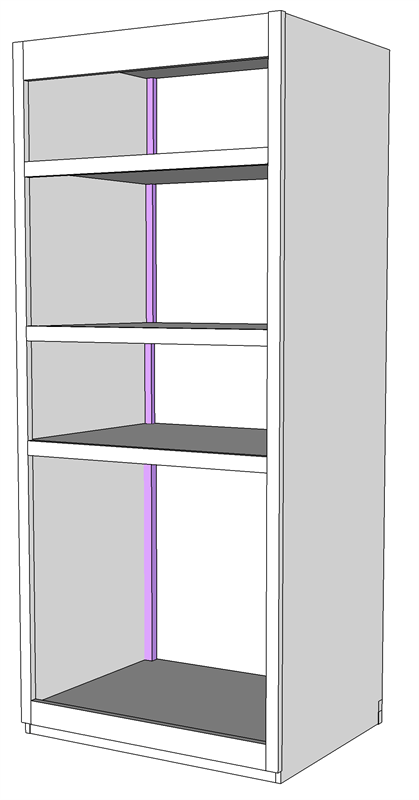
Attach 1x2 braces using wood glue and brad nails to the back of both bookcases between each shelf. The 1x2 braces should be inset 1/4".
-
Add Bookshelf Backing
Add 1/4" plywood backing using wood glue and staples.
-
Assemble Bookcase Doors
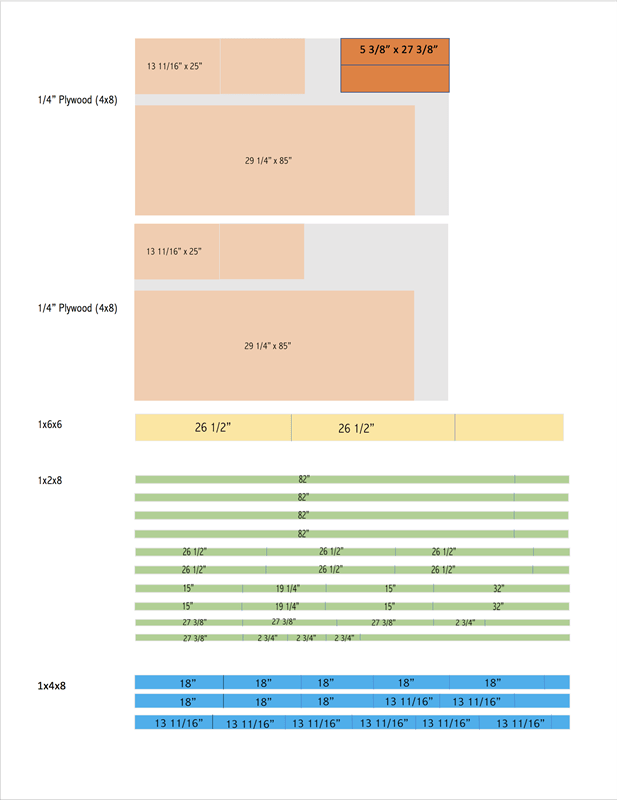
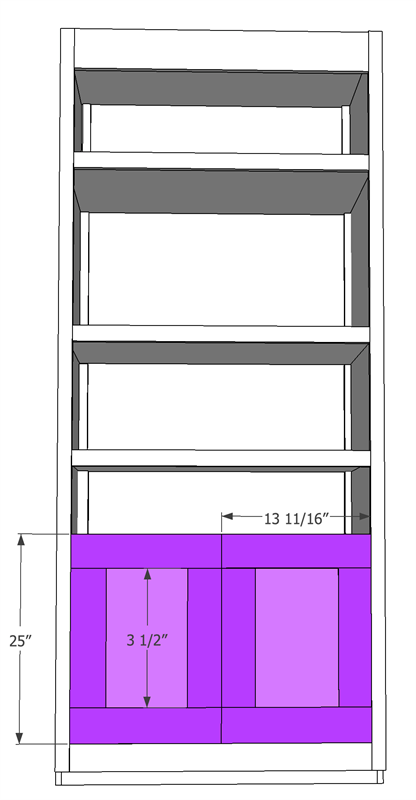
Using 1x4s, assemble bookcase doors by attaching two 13 11/16" pieces with two 3 1/2" pieces using a kreg jig on a 3/4" setting and 1 1/4" pocket hole screws along with wood glue. The attach 1/4" plywood backing to each door using wood glue and staples.
-
Assemble and Attach Faux Drawer
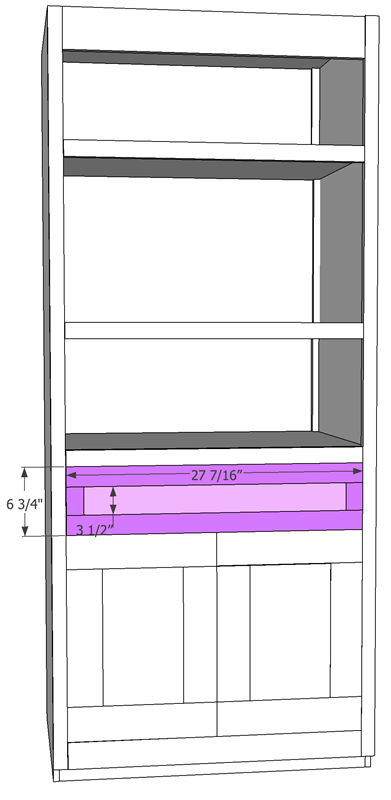
Assemble faux drawer using 1x2s, wood glue and brad nails and attach 1/4" plywood backing. Attach Faux Drawer by adding a 1x3 to the back of the drawer and attach to the side trim on each bookcase.
-
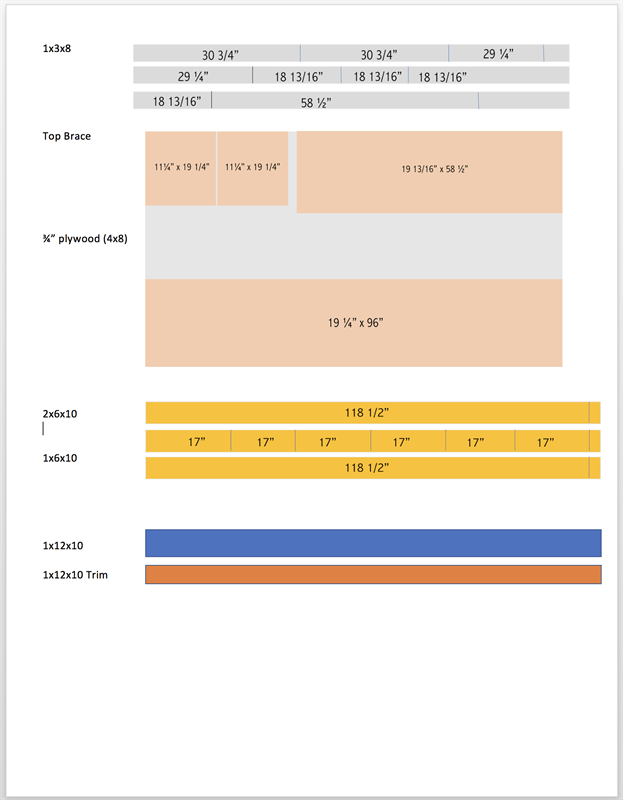
Assemble Top Brace
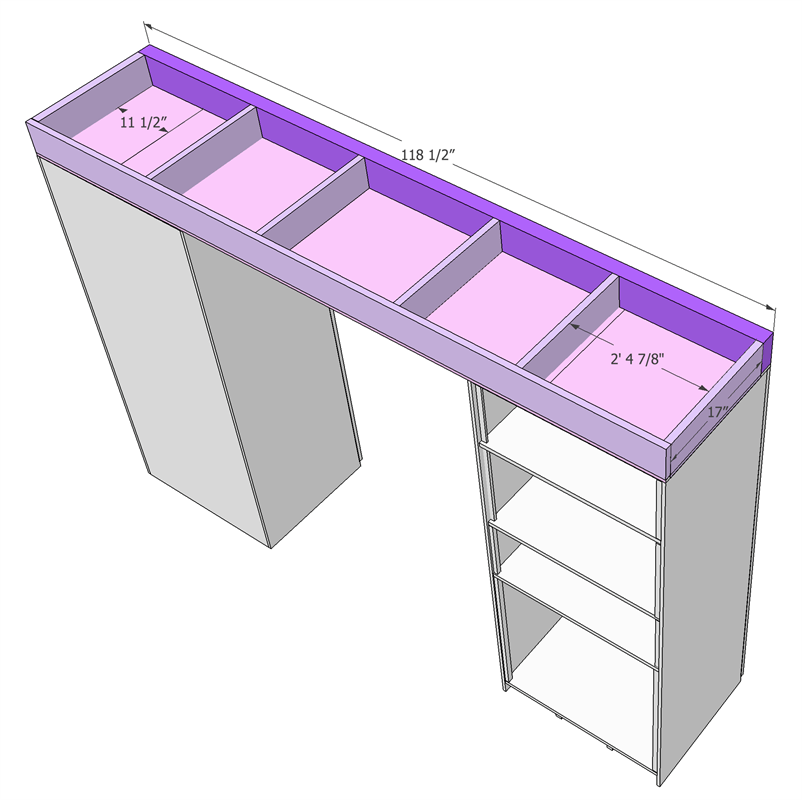
Attach the six 1x6 wood slats to the 2x6 wood piece using pocket holes and wood glue and then attach to 1x6 back long piece and then attach 96" plywood and 11.5" plywood pieces underneath.
-
Attach 1x10 Trim
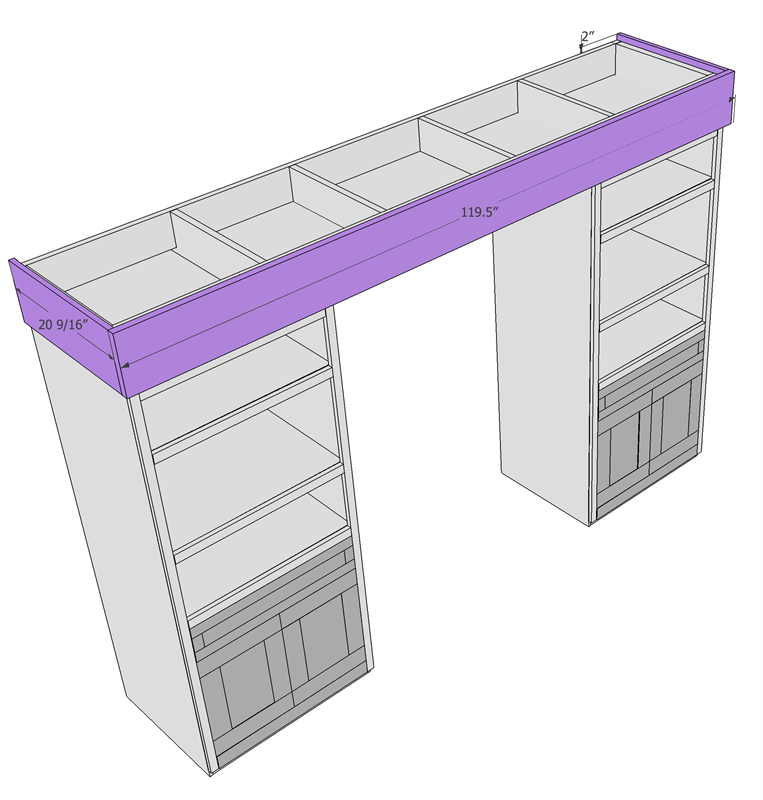
Using wood glue and brad nails add 1x10 trim to the top of the media center. The 1x10 trim should over lap over both bookcases by 2".
-
Attach Trim Moulding
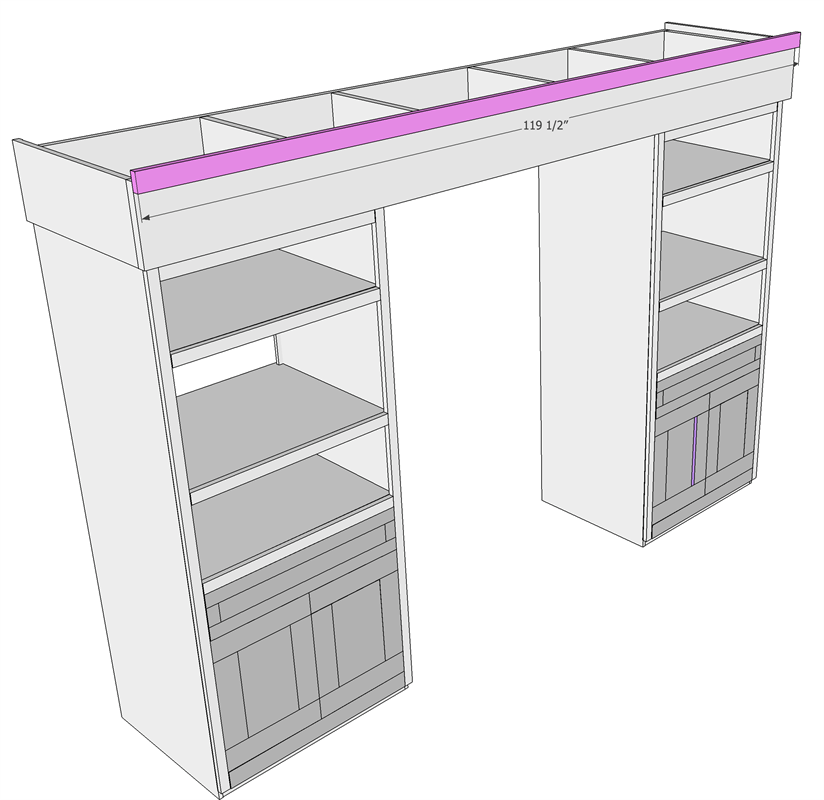
Attach Trim Moulding to top piece using wood glue and brad nails.
-
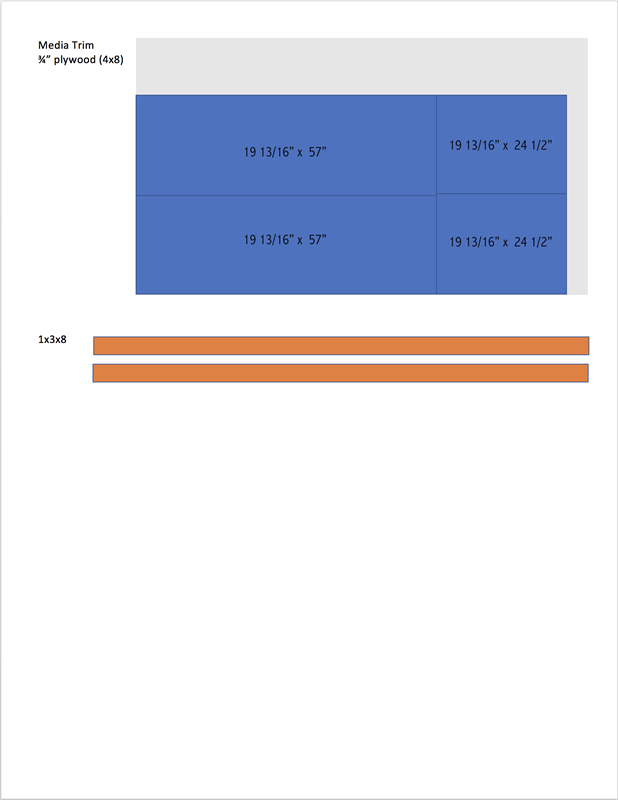
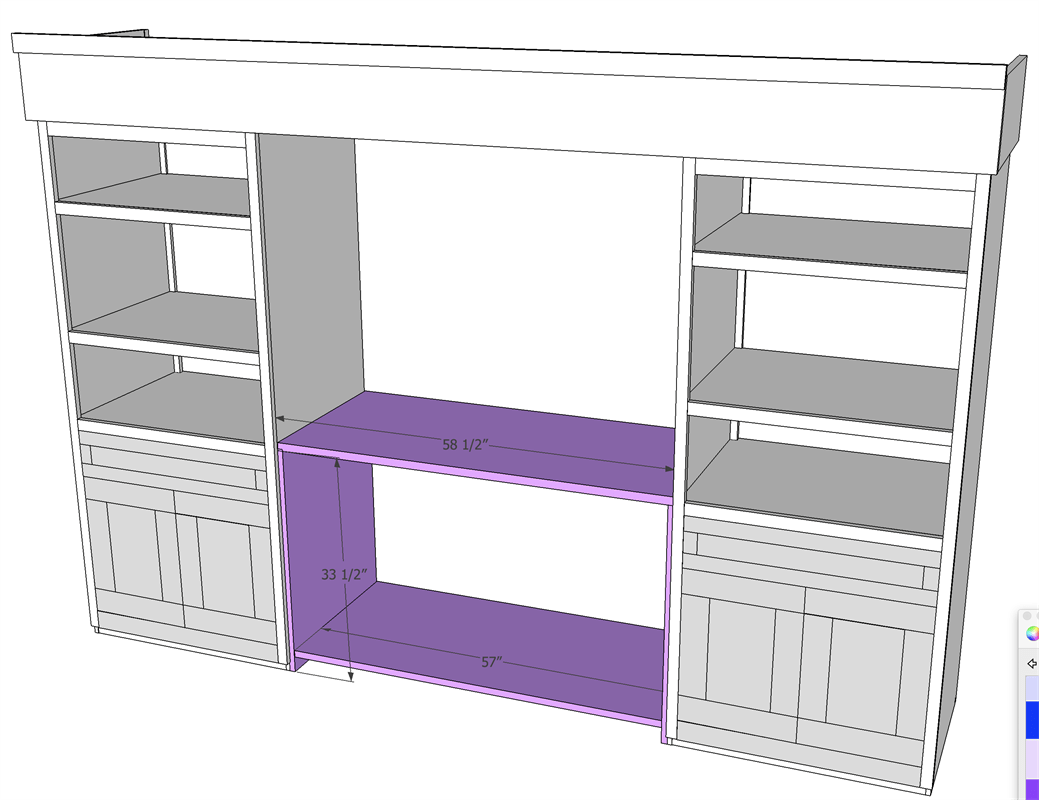
Assemble Middle Frame
Attach 3/4" plywood pieces together using a keg jig on a 3/4" setting and 1 1/4" wood screws. Bottom 3/4" piece should be inset 2.5" (same as bookcase)
-
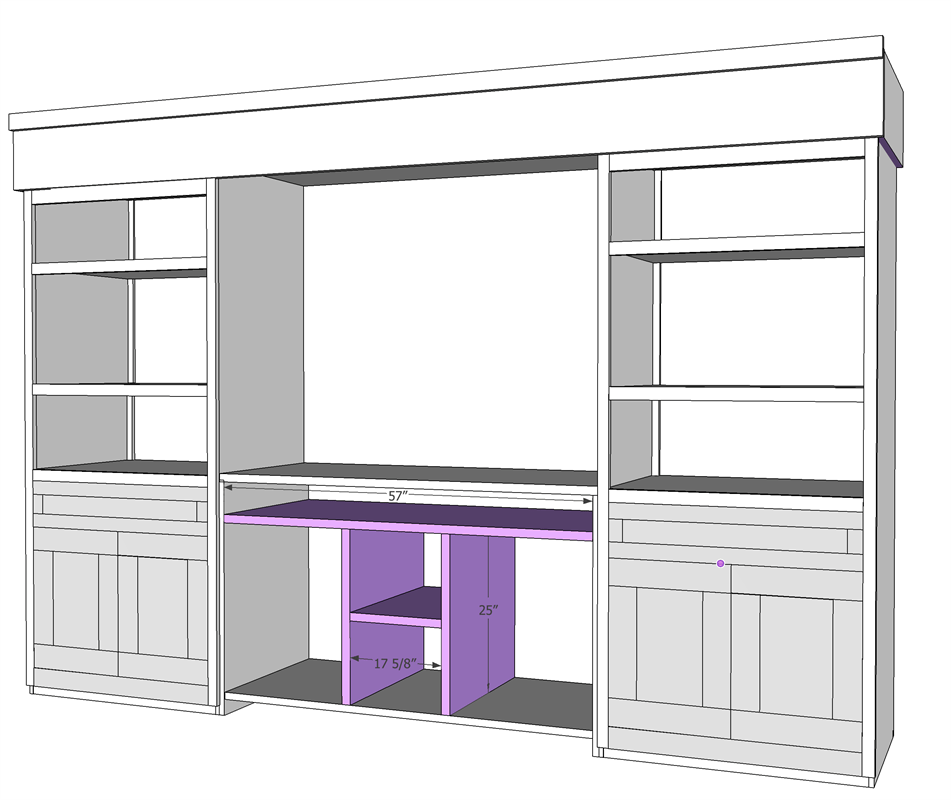
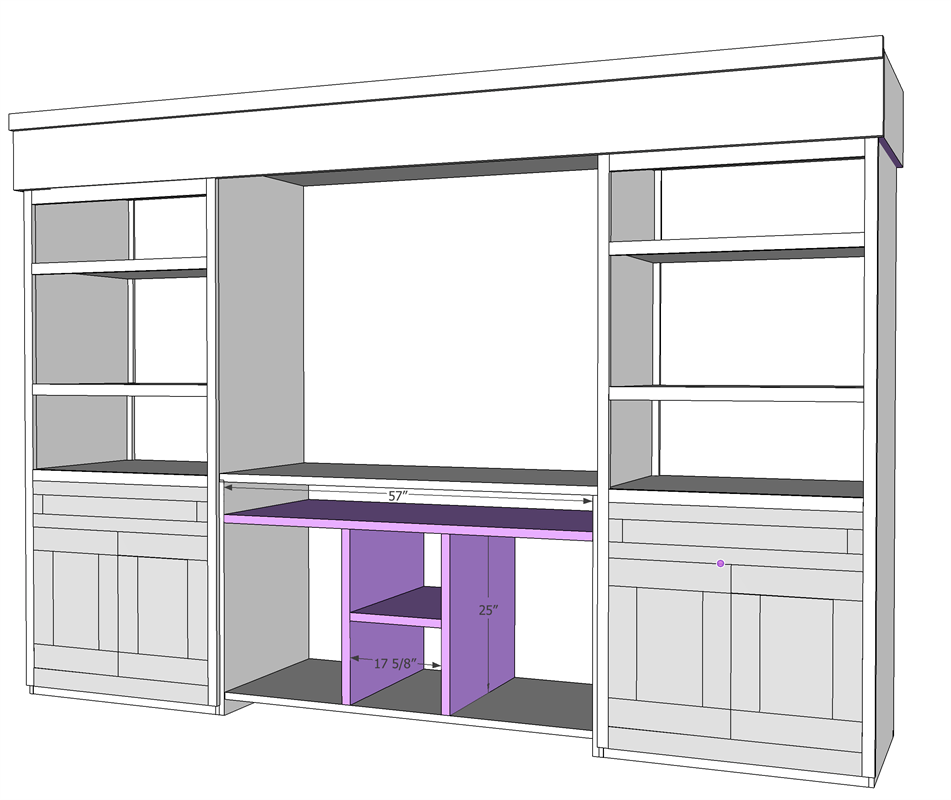
Add Middle Shelving
Using a kreg jig on a 3/4" setting and 1 1/4" pocket hole screws attach middle shelving to middle unit.
-
Add Trim to Middle Unit
Using wood glue and brad nails add the outer trim to the middle unit.
-
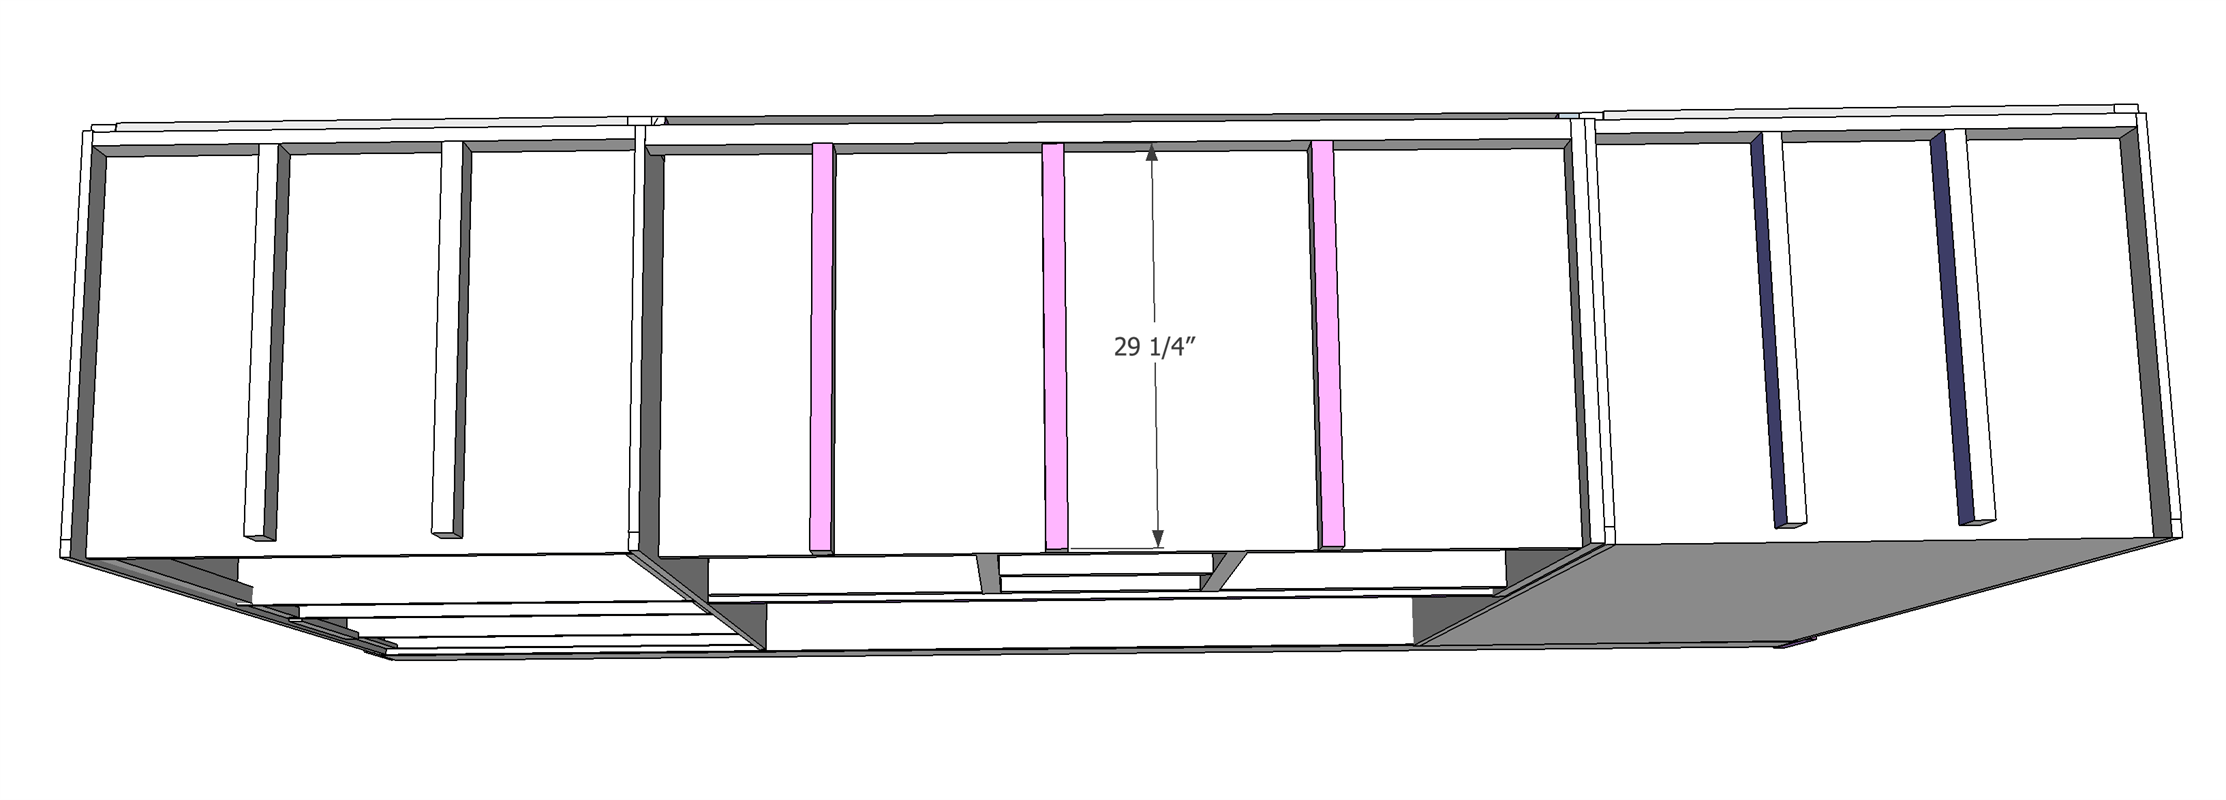
Add Support Slats
Using a keg jig on a 3/4" setting add 1x3 slats to the bottom of the middle unit
-
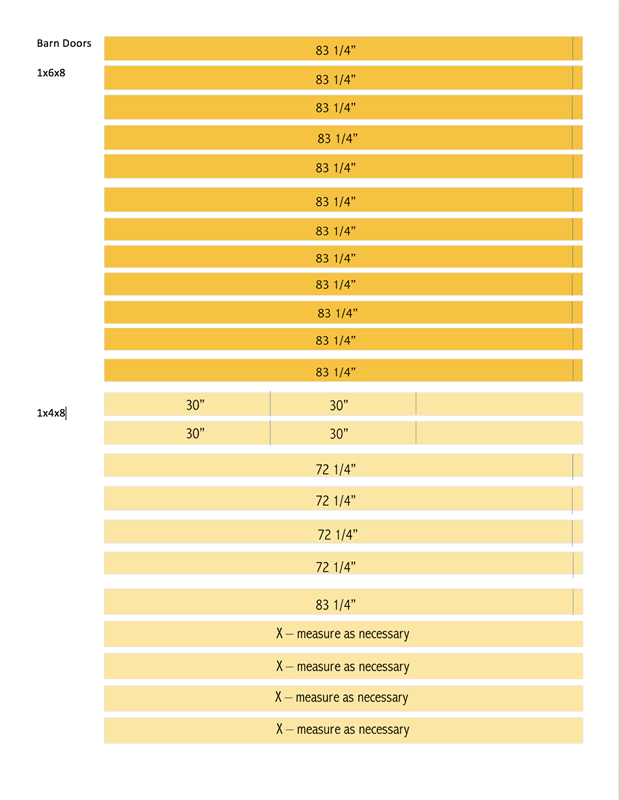
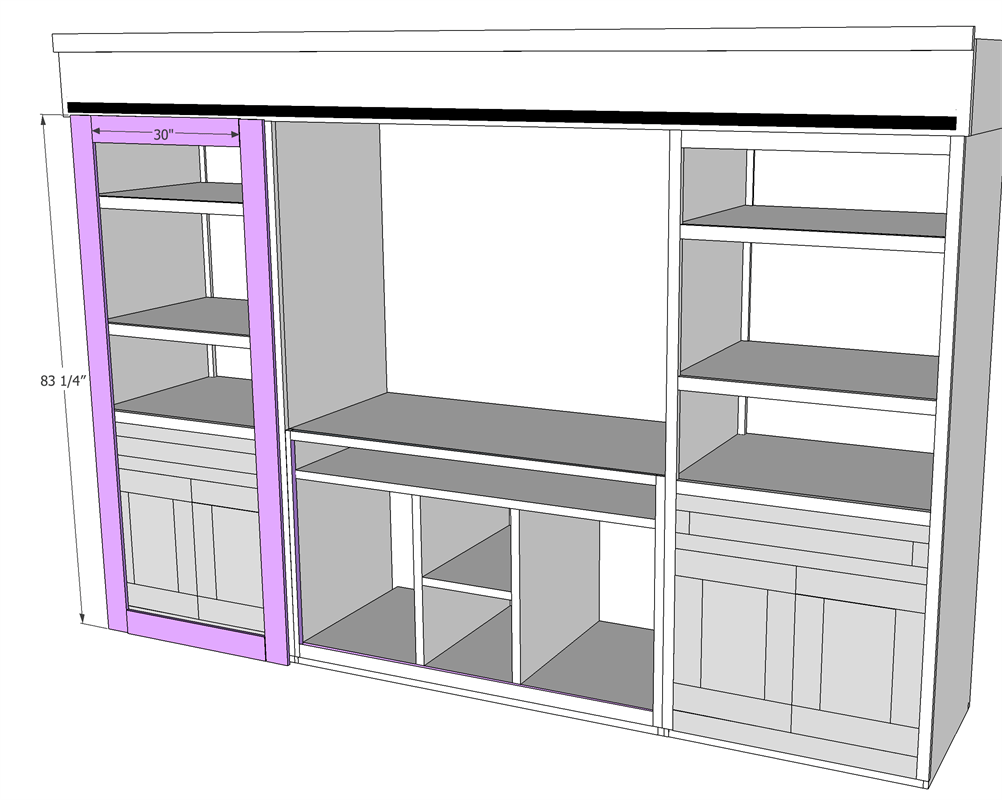
Assemble Barn Door Frame
Using a kreg jig on a 3/4" setting, attach 1x4 wood pieces together using wood glue and pocket hole screws
-
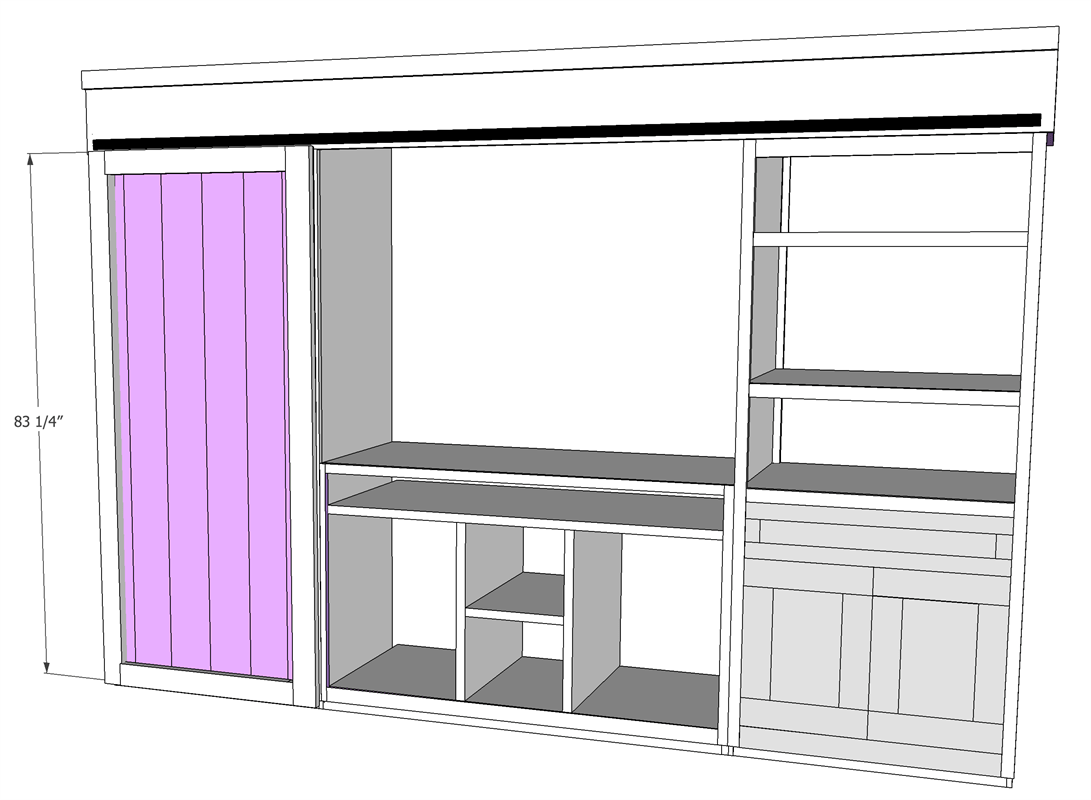
Add Barn Door Slates
Add six 1x6 slates to the back of the assembled barn door using glue, brad nails and 3/4" pocket holes and add desired design. The two outer 1x6 slates will need to be ripped down in order to fit all six slated behind the door
-
Visit Handmade-Haven.com
For details on this project visit my blog!
https://www.handmade-haven.com/blogs/news/sliding-barn-door-media-center


