

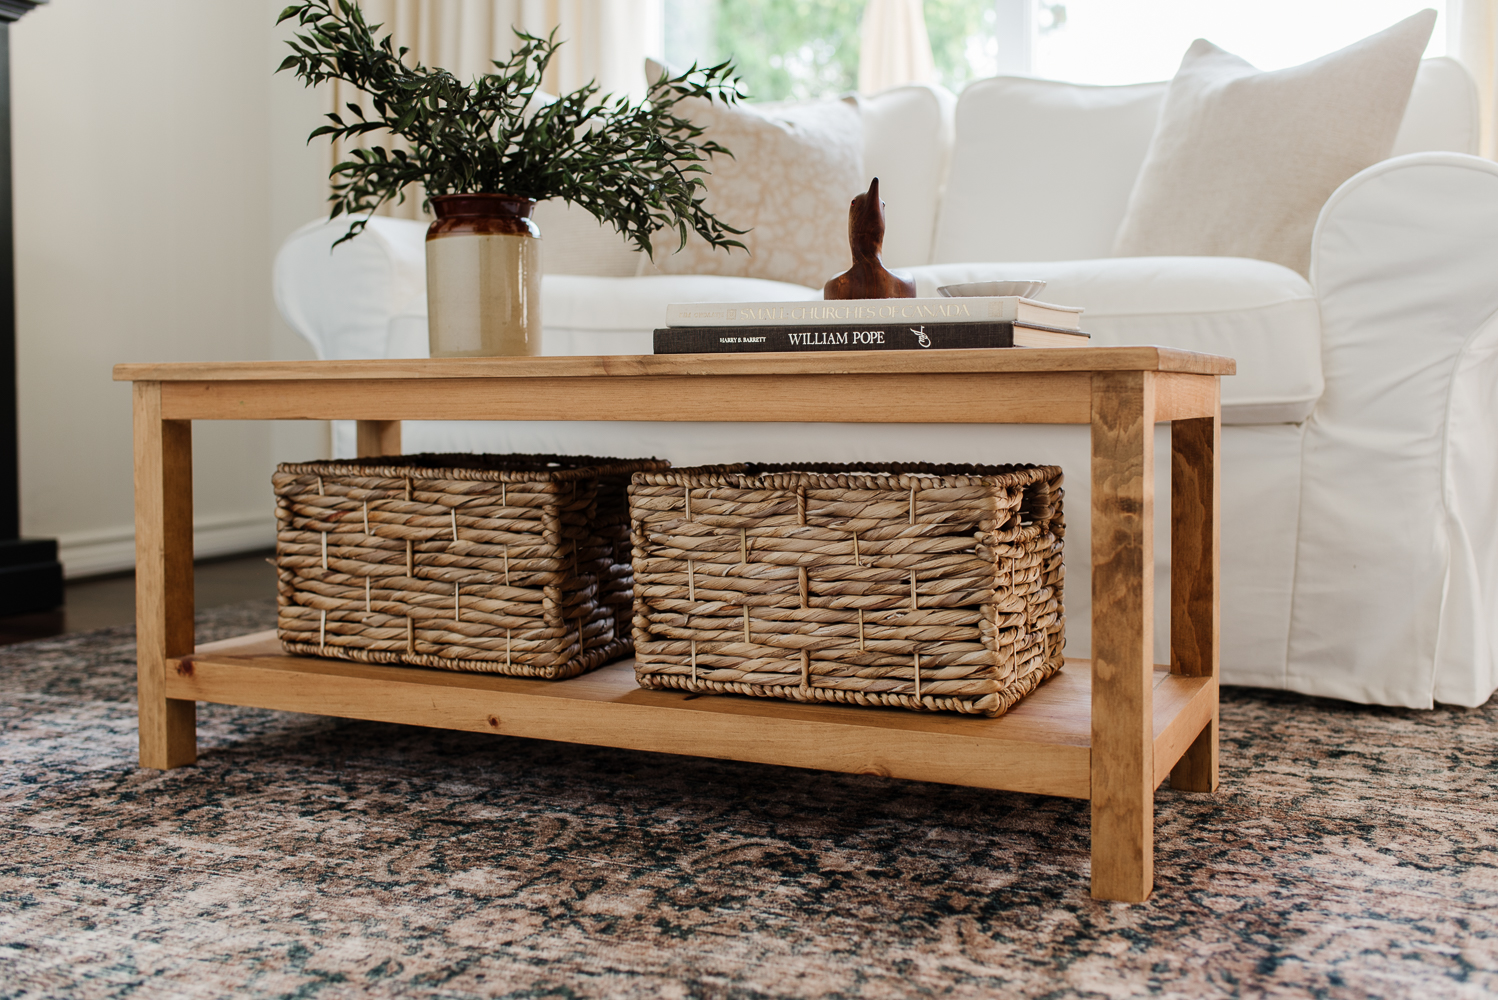
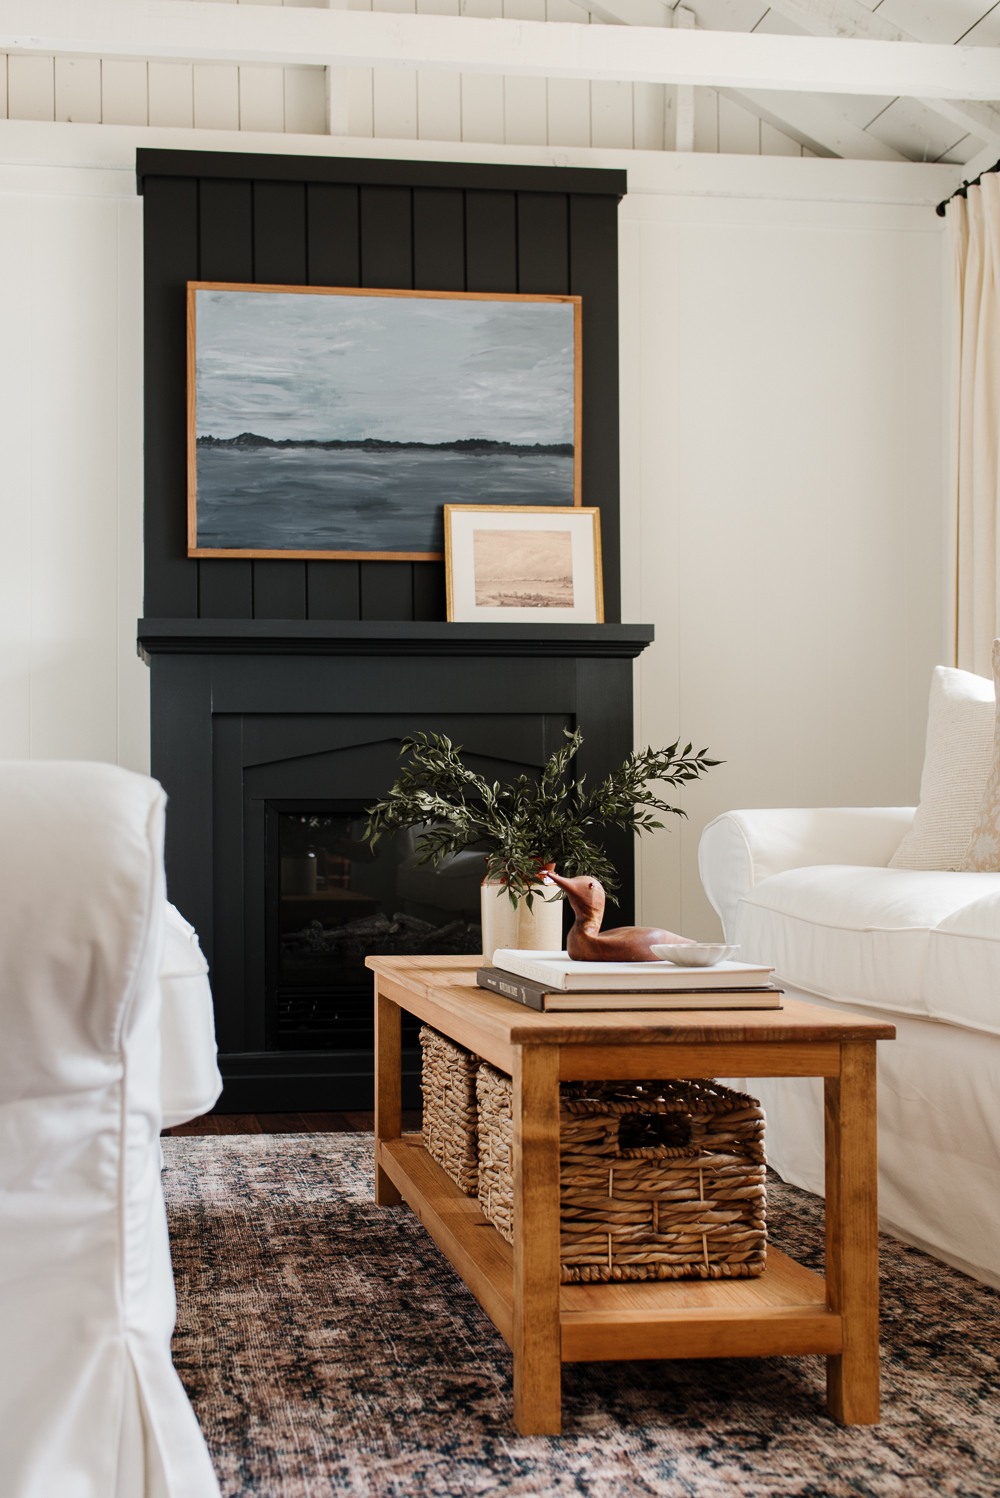
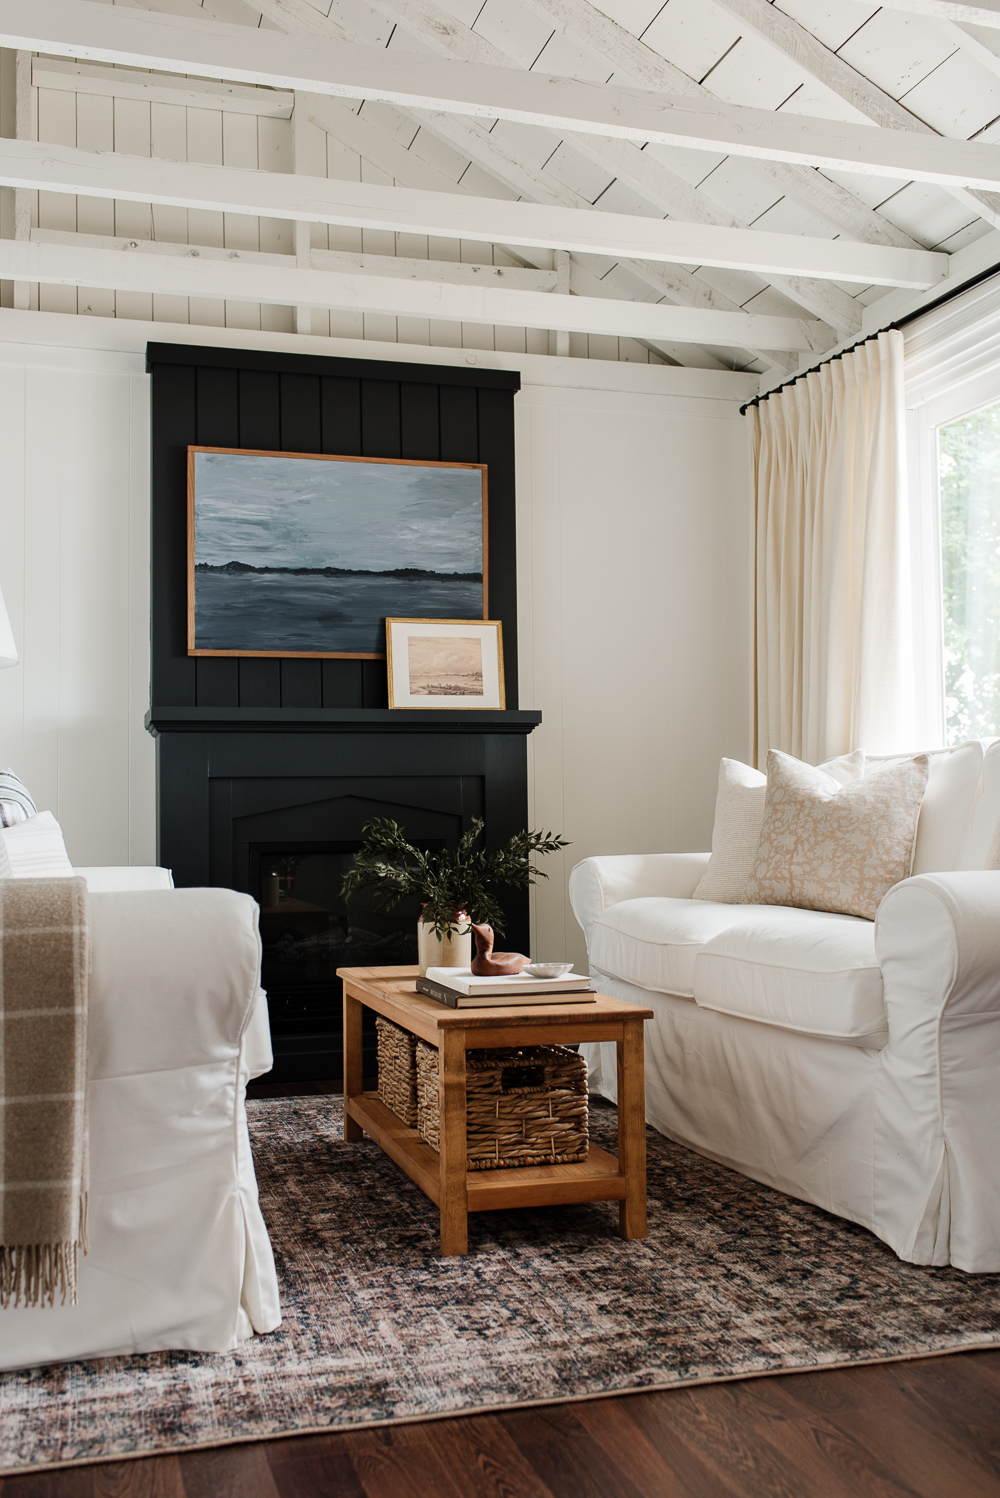
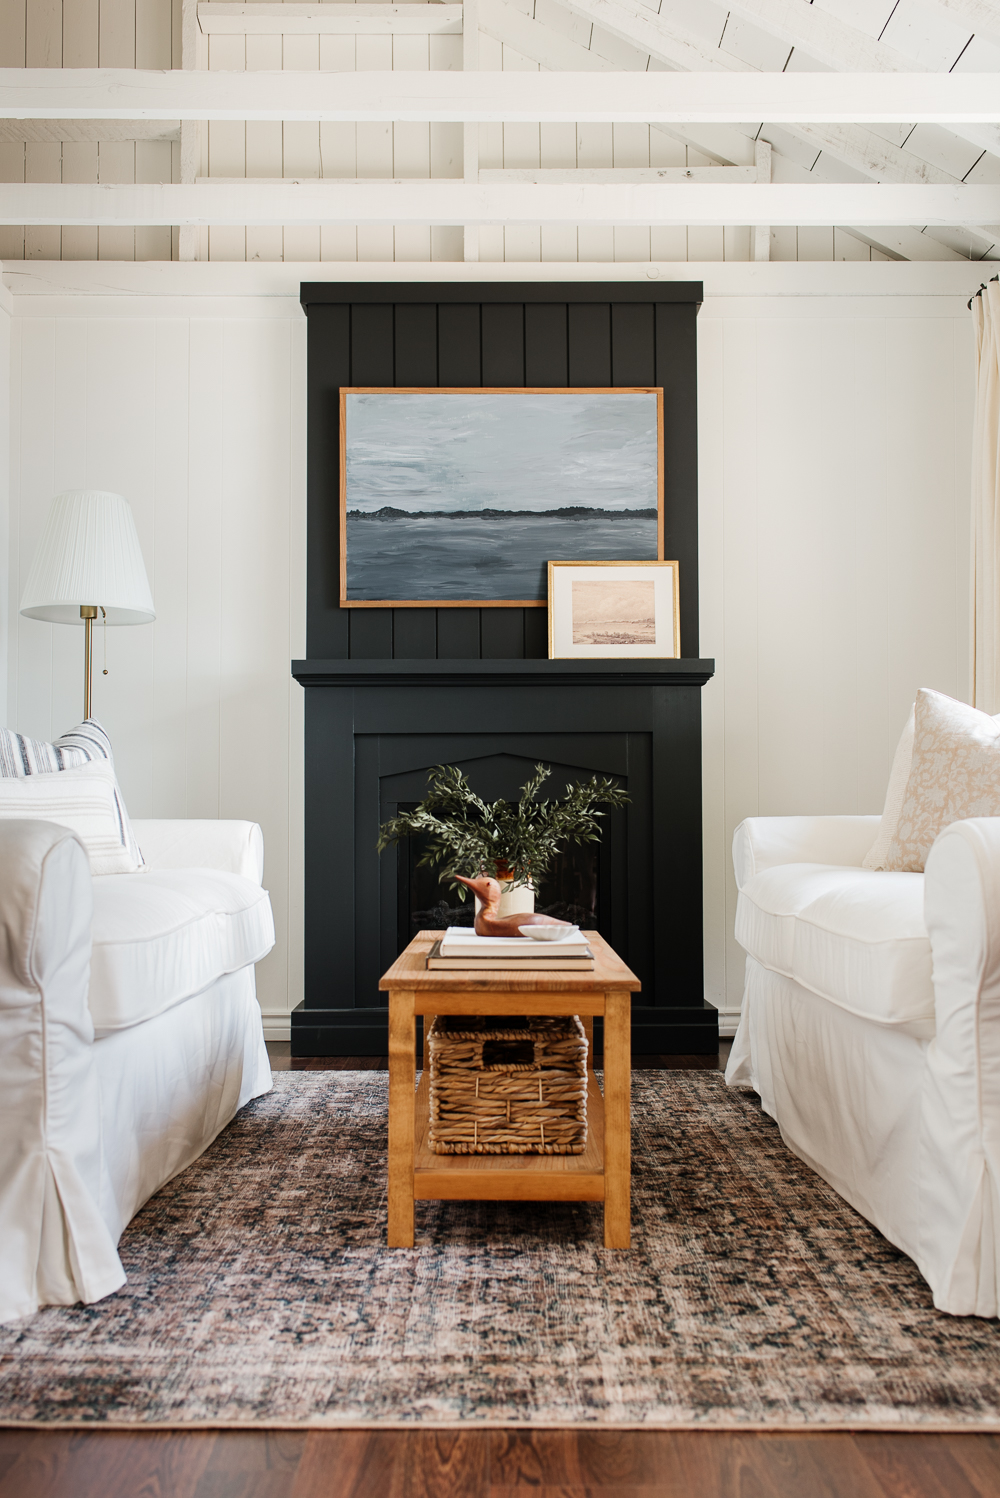
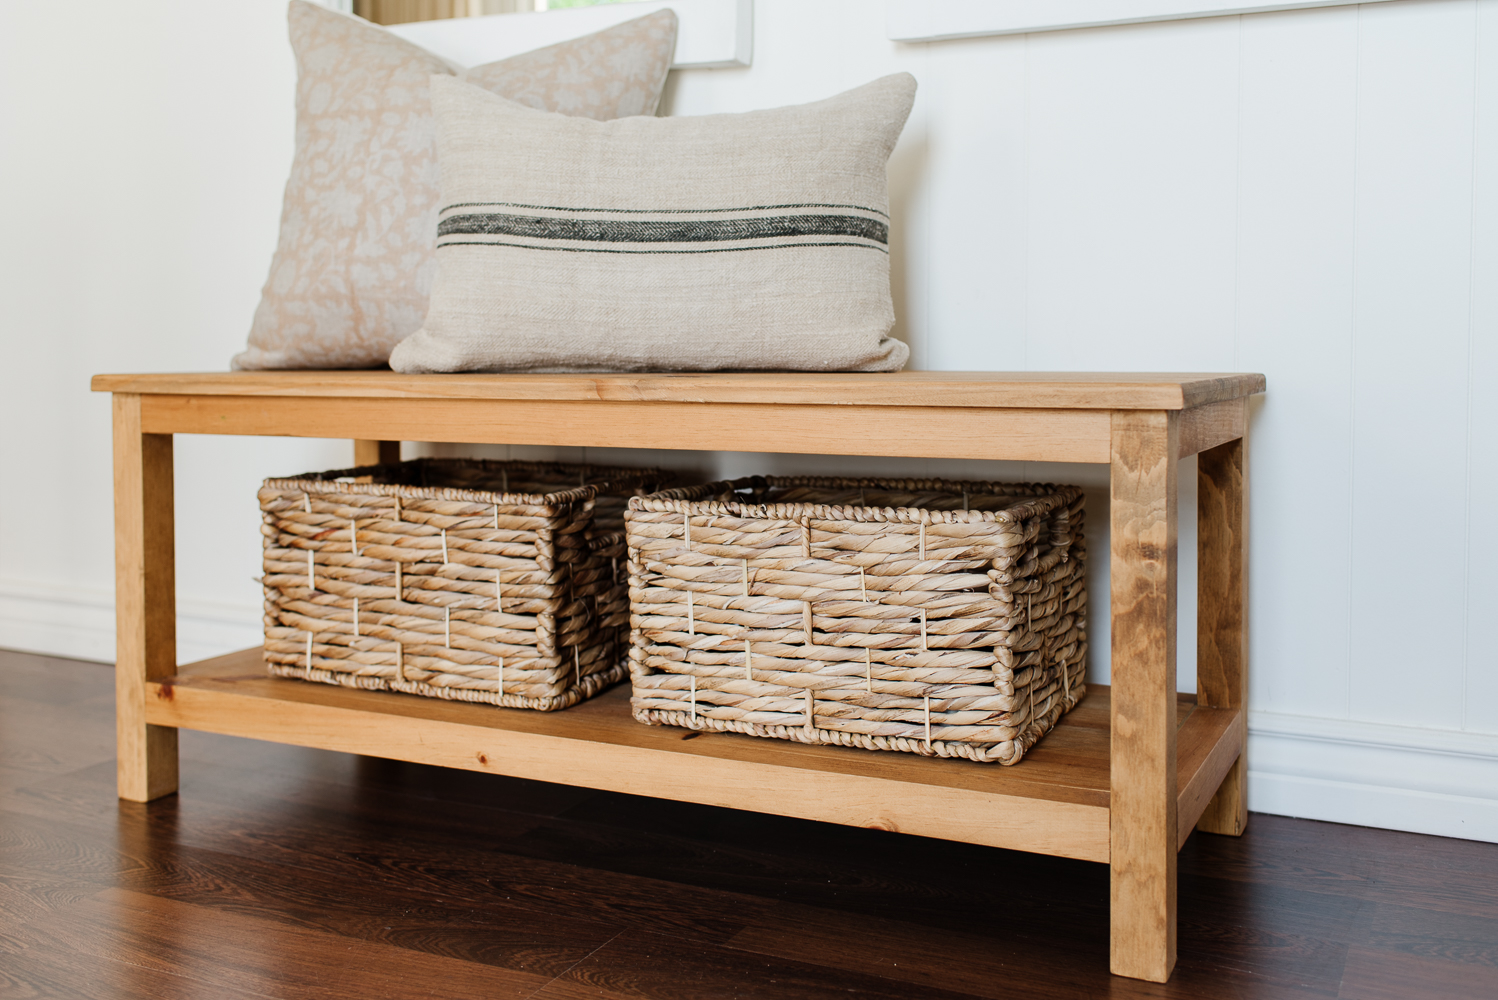
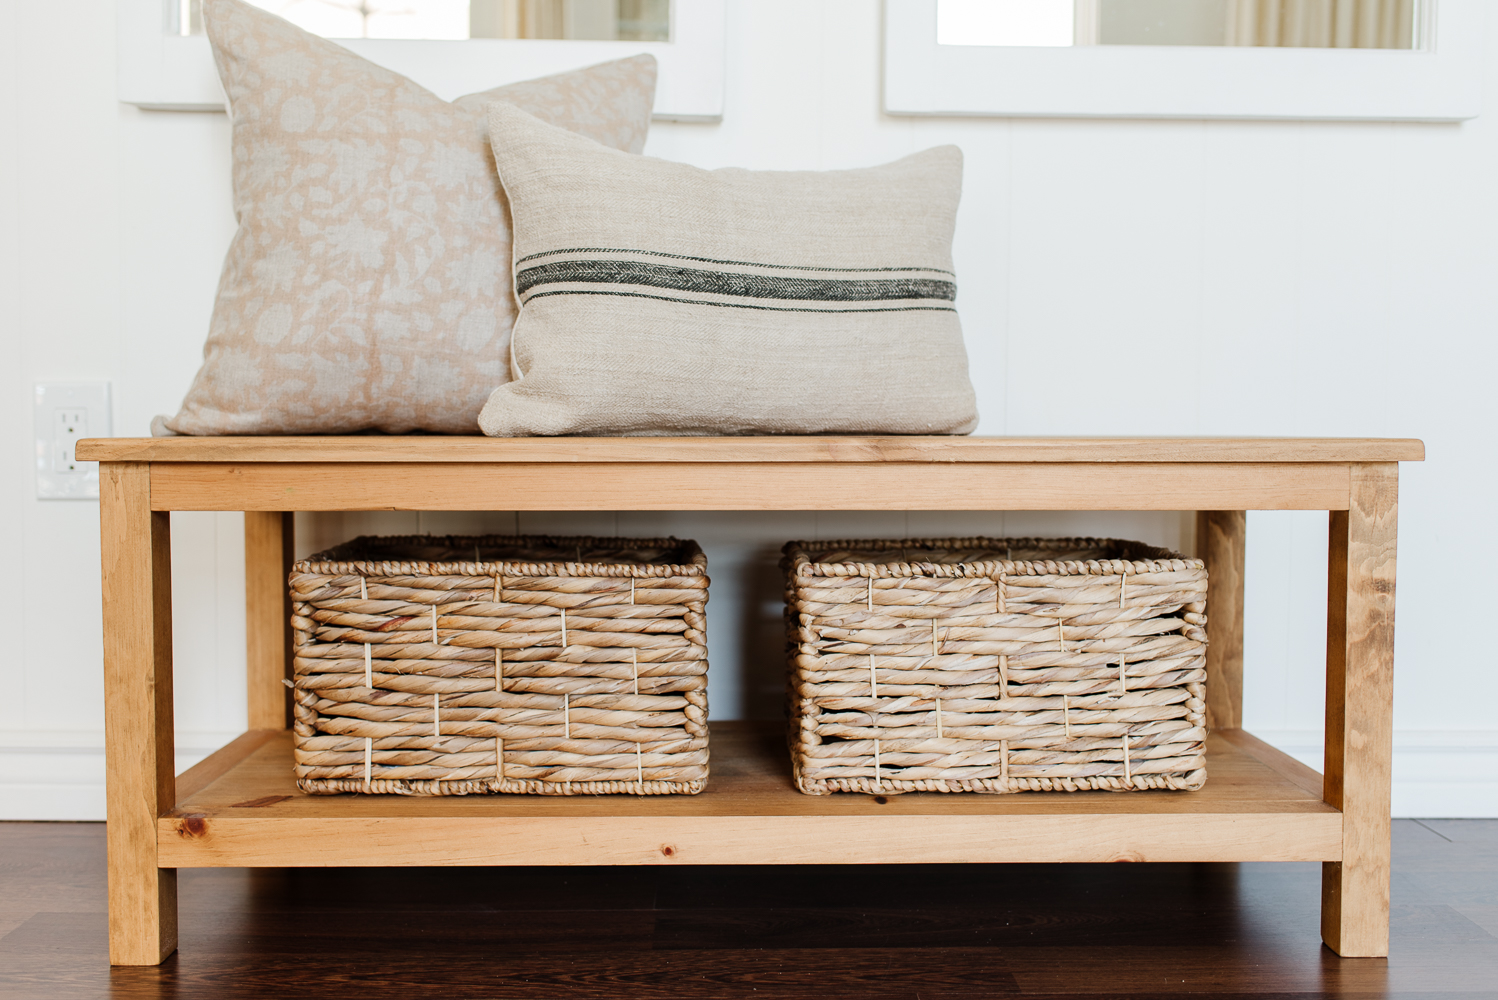


This coffee table build is perfect for the beginner. It suits a small space like an apartment, condo or cottage. It could also be used as a entryway bench with storage underneath.
Tools
Kreg Tools


Other Tools
-
Tape Measure

Materials
Wood Products
- 3 Board , 2 x 2 x 96"
- 1 Laminated Panel , 3/4" x 16" x 96"
Hardware & Supplies
- 32 2 1/2" pocket hole screws
- 28 1 1/4" pocket hole screws
- 1 Wood Glue
- 1 Stain and Finish
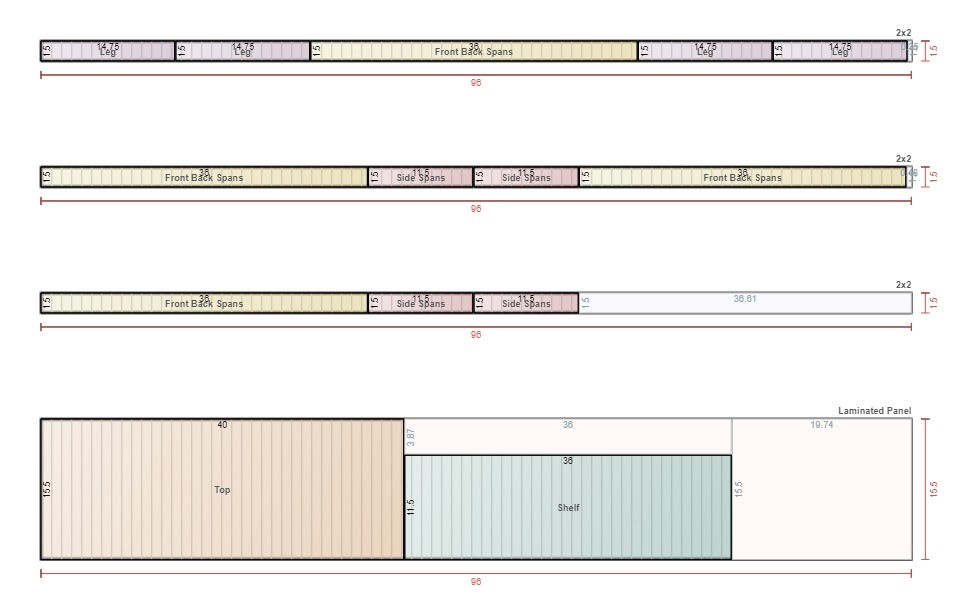
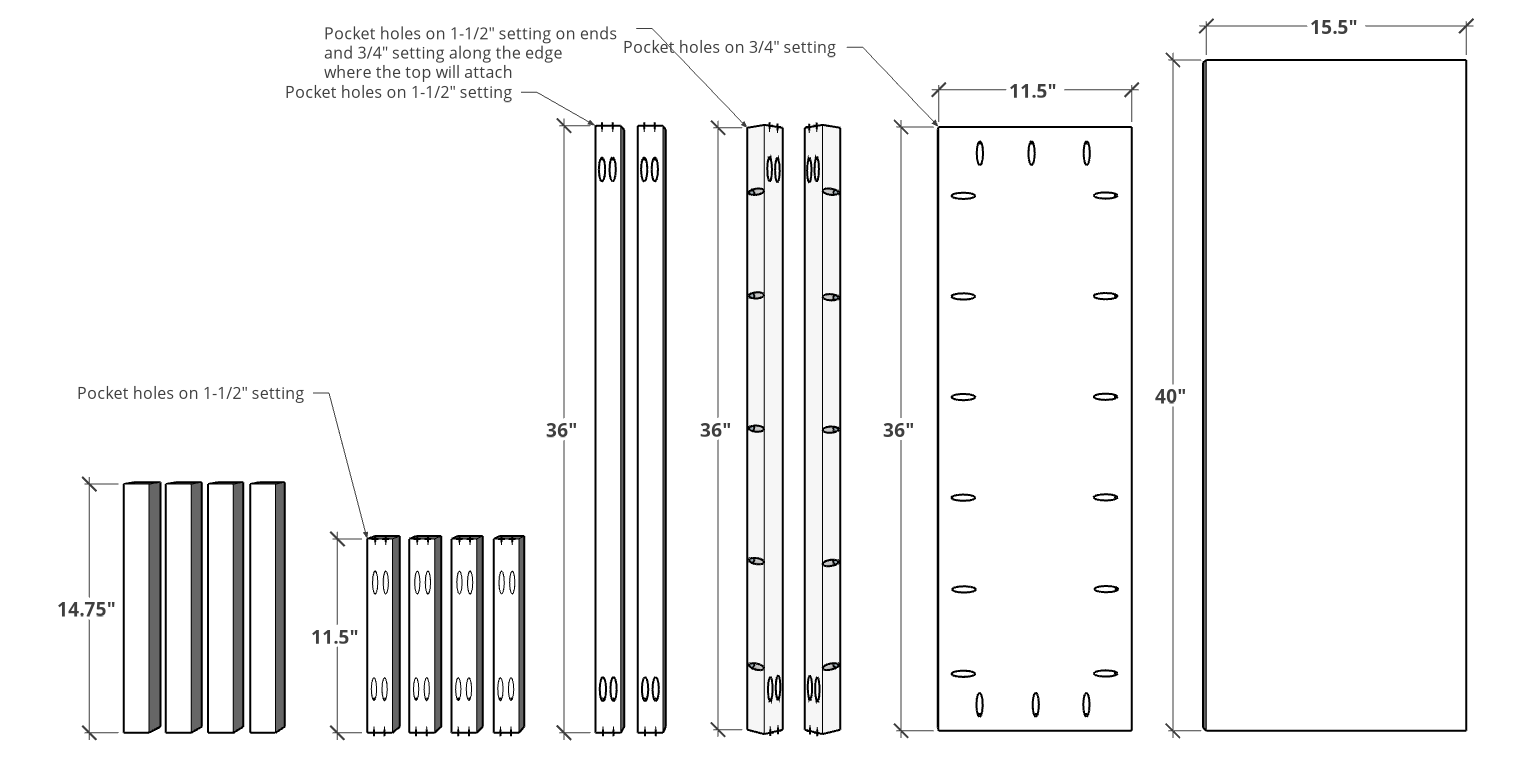
Cut List & Parts
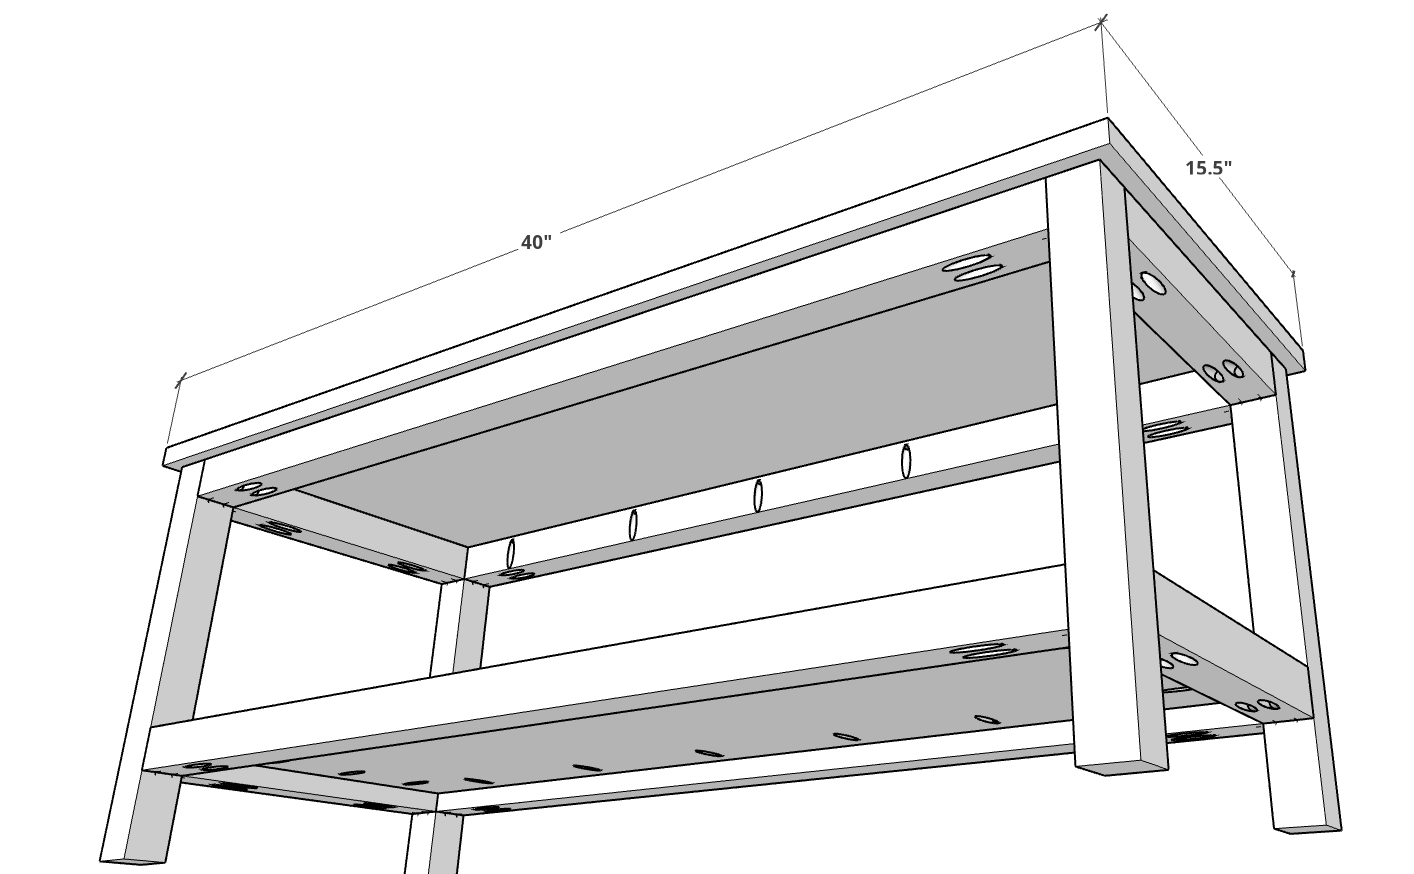
- 4 Legs , 1 1/2" x 1 1/2" x 14 3/4"
- 4 Side Spans , 1 1/2" x 1 1/2" x 11 1/2"
- 4 Width Spans , 1 1/2" x 1 1/2" x 36"
- 1 Shelf , 3/4" x 36" x 11 1/2"
- 1 Top , 3/4" x 40" x 15 1/2"
Directions
-
Drill Pocket Holes
Drill pocket holes in the locations shown. Ensure you drill the pocket holes on the 36" SPAN pieces in the correct direction to attach the top. It may help to lay things out in advance.
Pay close attention to the locations and the depth settings for the frame pieces versus the shelf.
-
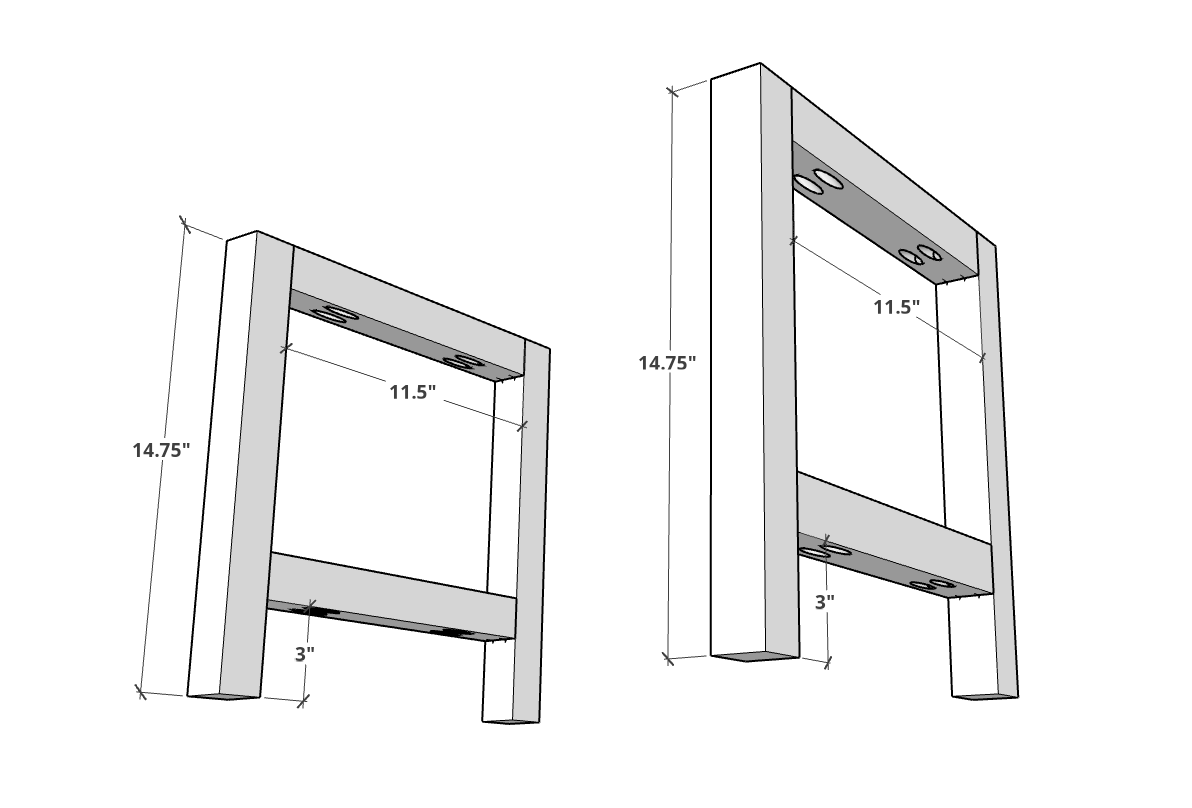
Assemble the End Frames
Layout the LEG and SIDE SPAN pieces on a flat surface and ensure all pocket holes are facing downward so you will not see them in the final product.
Assemble the end frames as shown using wood glue and 2-1/2" pocket hole screws. The bottom SPAN pieces should be 3" from the bottom of the leg (or you can customize if you'd like them higher or lower, this will not impact any of the rest of the build).
-
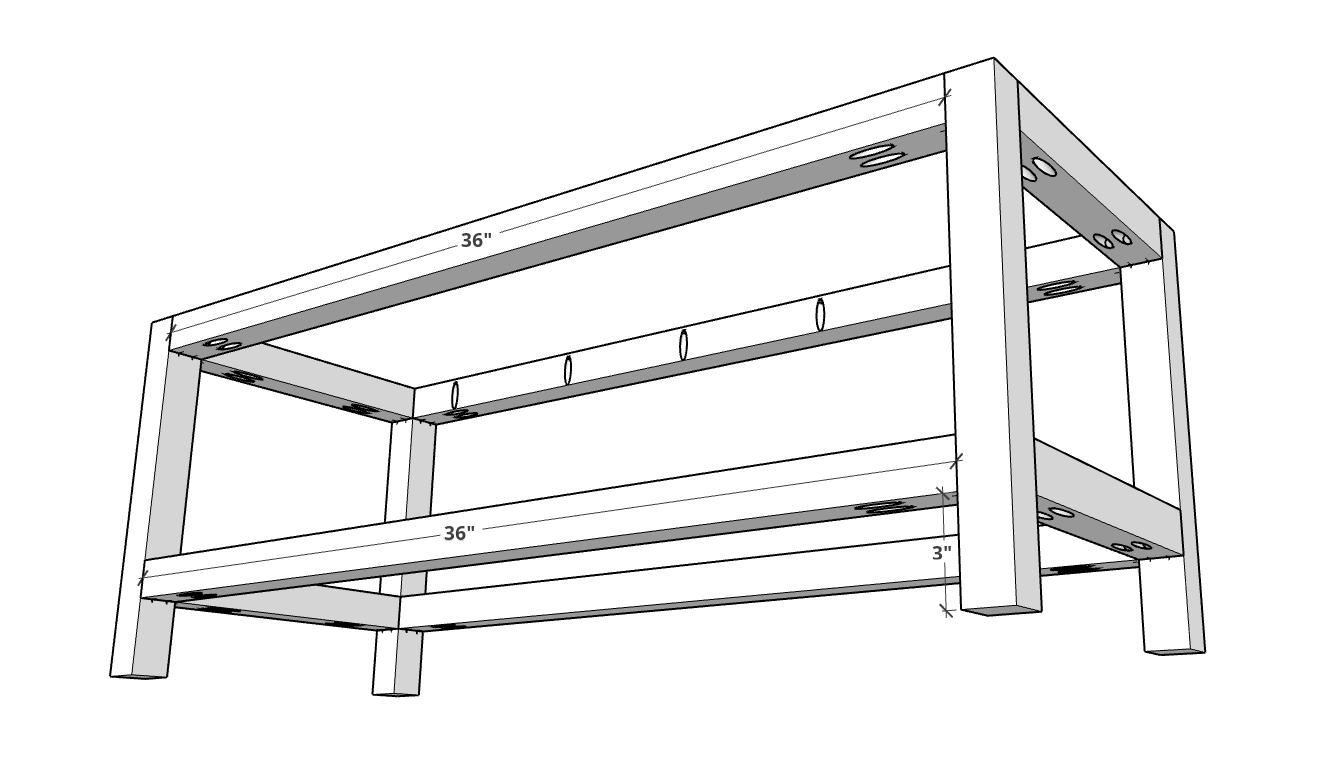
Attach Spans
Attach the spans on the front and back. Ensure the pocket holes that will be used to attach the top are facing in the correct direction. Use wood glue and 2-1/2" pocket hole screws.
-
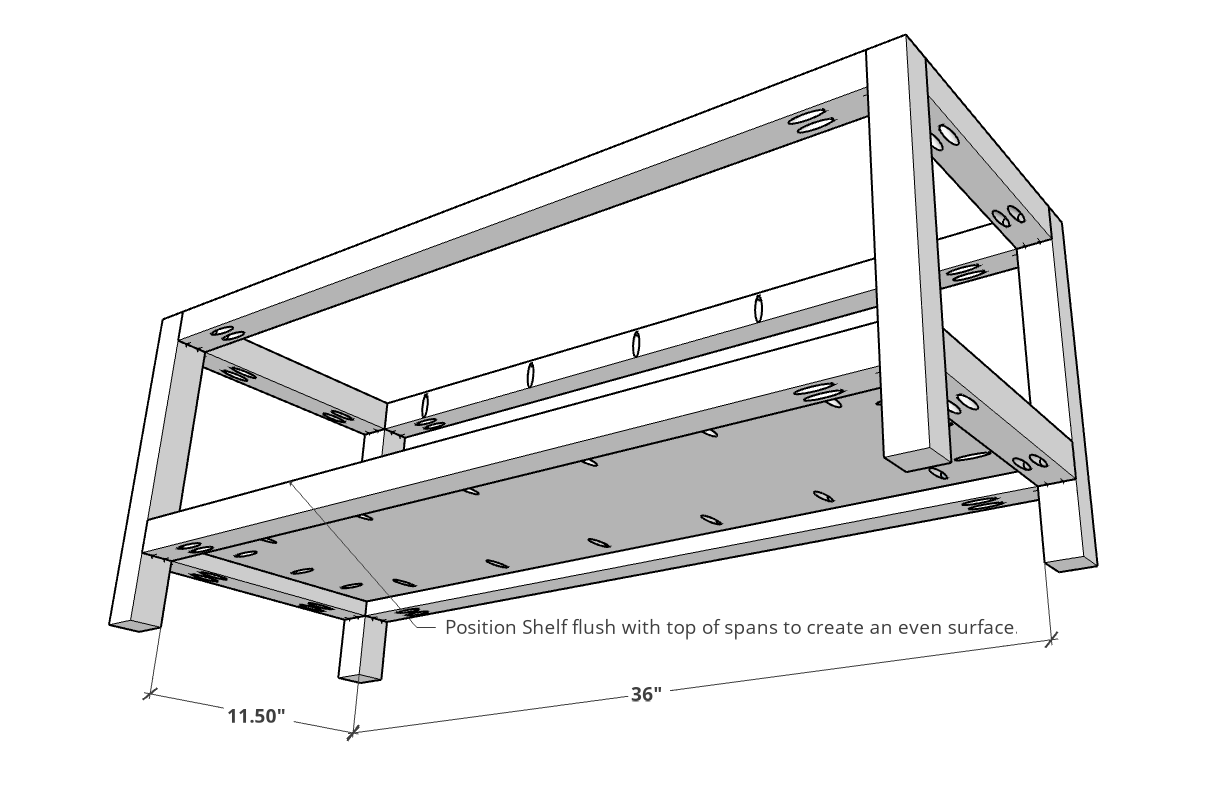
Attach Shelf
Insert the shelf piece in the open area and keep it flush to the top of the spans on all sides.
Proceed to attach using 1-1/4" pocket hole screws.
-
Attach Top
Center the top on the frame with 1/2" overhang on all 4 sides.
Attach with wood glue and 1-1/4" pocket hole screws from the under-side.
-
Sand, Paint/Stain
Sand, stain or paint the final product.
Find more free woodworking plans and design ideas at www.nickandalicia.com!