How To Build a Shoe Shelf – DIY Shoe Shelf Plan
By Love and Renovations

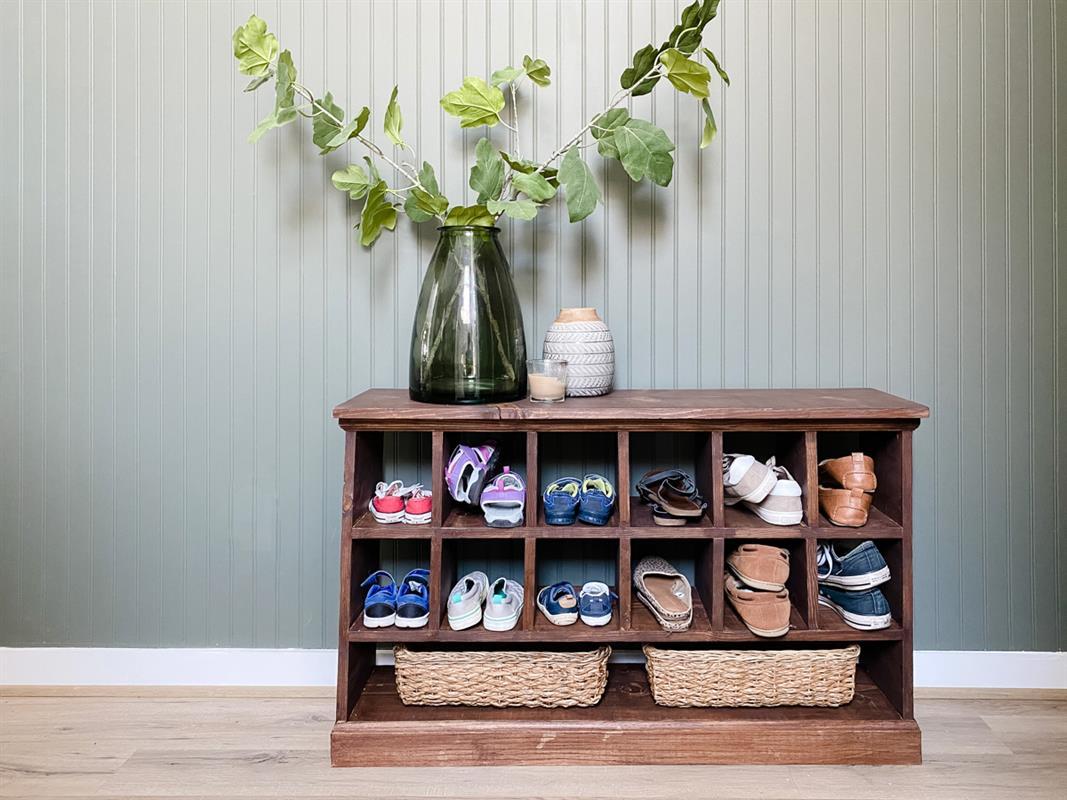


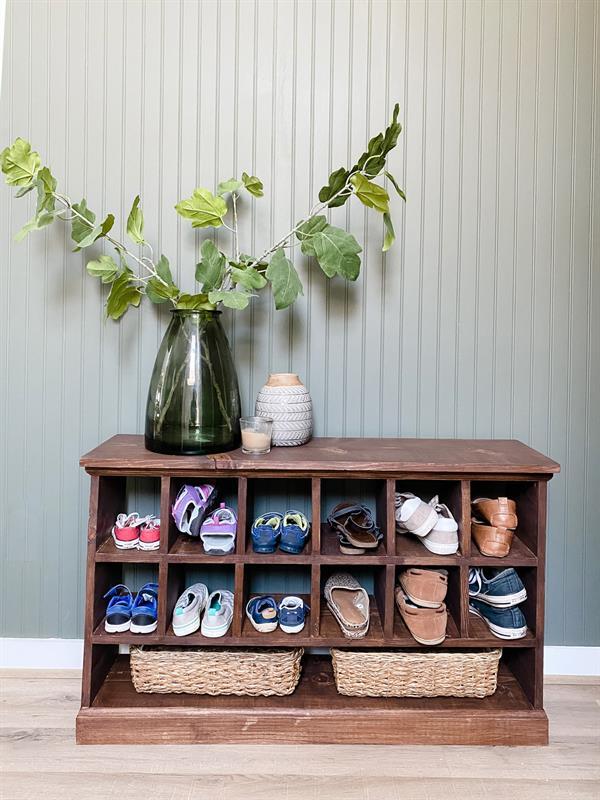
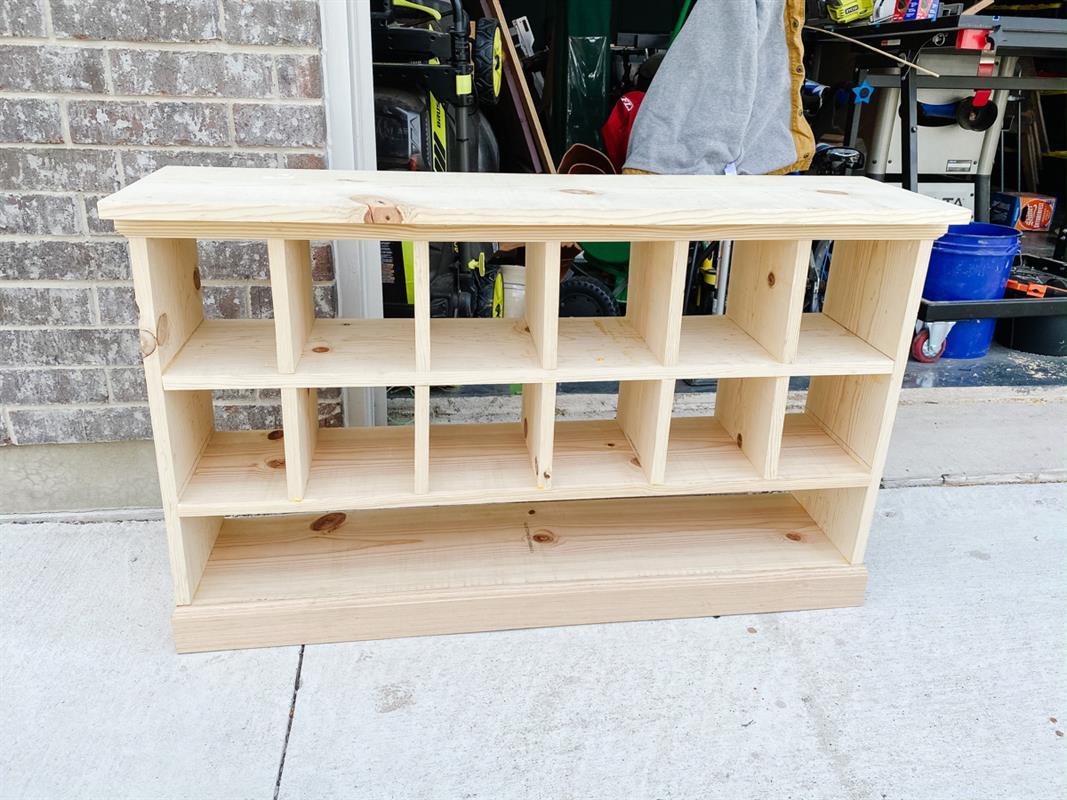
This small shoe cubby is the perfect piece to put in your entry or in a coat closet to organize your family's shoes, socks, and anything else you need to grab before walking out the door. It also doubles as a great bench!
Tools
Kreg Tools


Other Tools
-
Miter Saw

-
Square
-
Table Saw
-
Tape Measure
-
Nail Gun
Materials
Wood Products
- 3 Board , 1x10 , 96"
- 1 Board , 1x12 , 48"
- 1 Baseboard , 3" , 96"
- 1 Decorative trim , 1.5" , 96"
Hardware & Supplies
- 44 Pocket hole screws
- 30 Screws
- 20 Pin nails
- 1 Sandpaper
Directions
-
Step 1. Cut wood according to cut list
Start by cutting the top and side pieces of the shoe cubby according to the cut list.
I recommend cutting each of the remaining pieces as you reach the step in the project, measuring to double-check that they work with your piece and there are no variances (due to a slightly off-square piece or slightly thicker wood).
It's also recommended to sand all of the wood prior to assembling the piece.

-
Step 2. Attach side pieces to the top piece
Use pocket holes and wood glue to attach the two 22 1/4" pieces to the top piece. Attach them flush to the back of the board and 0.5" in on either side.

-
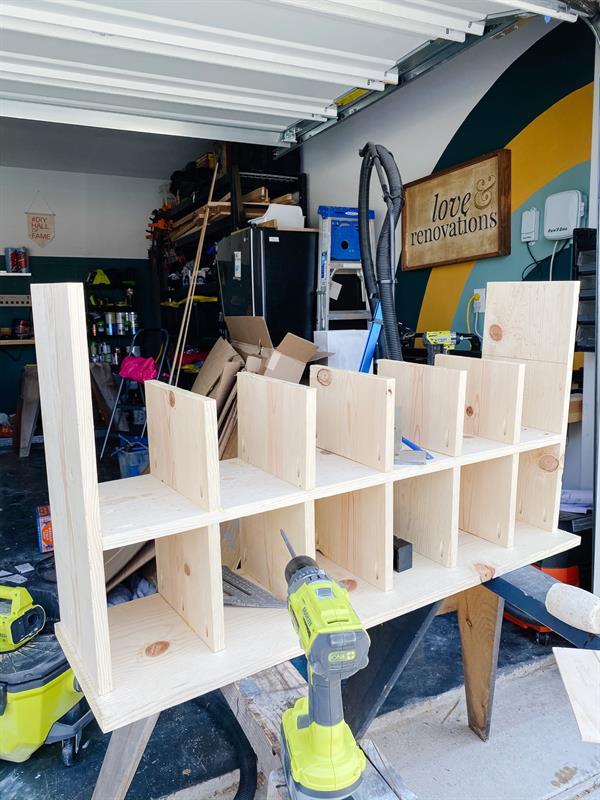
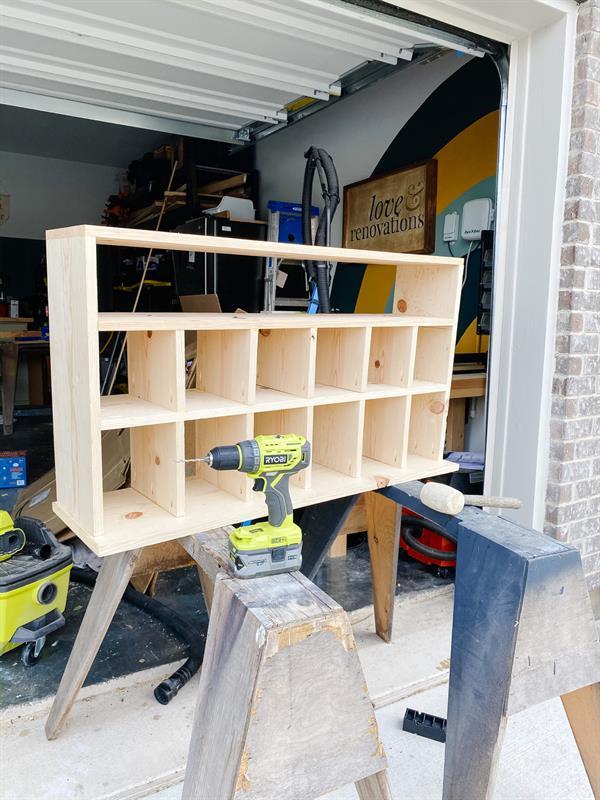
Step 3. Attach dividers + shelves
Use wood glue and pocket holes to attach five 8 1/4" pieces to the top piece, spaced 6" apart. The first row is taller than the second to account for the trim piece.
Once the vertical dividers are attached, attach the first 39.5" piece across the top of them, using pocket holes to attach it to the side pieces.
-
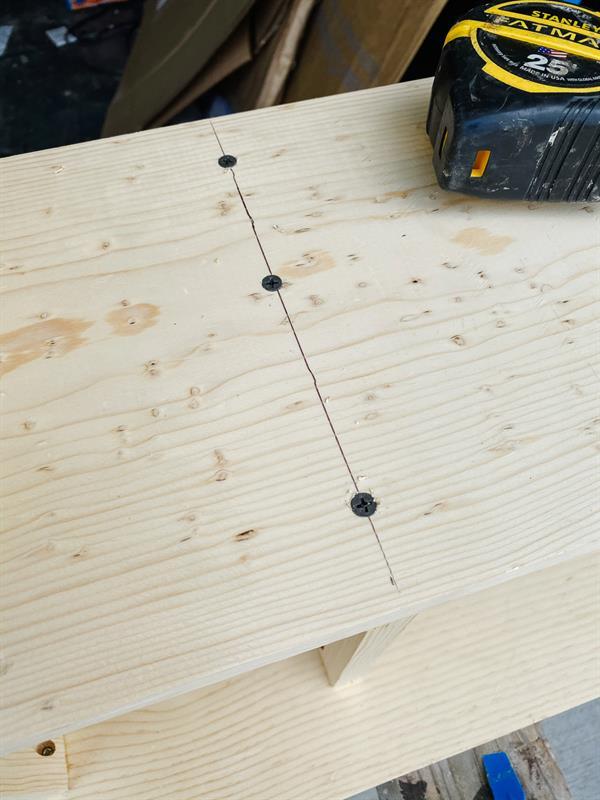
Step 4. Attach dividers from bottom
In-between each shelf, attach the vertical dividers to the shelf below them by screwing in from underneath.
-
Step 5. Repeat for a second shelf
Repeat attaching the dividers and shelves, using the 7" pieces this time.
-
Step 6. Attach bottom shelf
Measure and cut the piece for the bottom shelf (should be approximately 41"). Attach the bottom shelf to the shoe storage cubby using screws and wood glue.
-
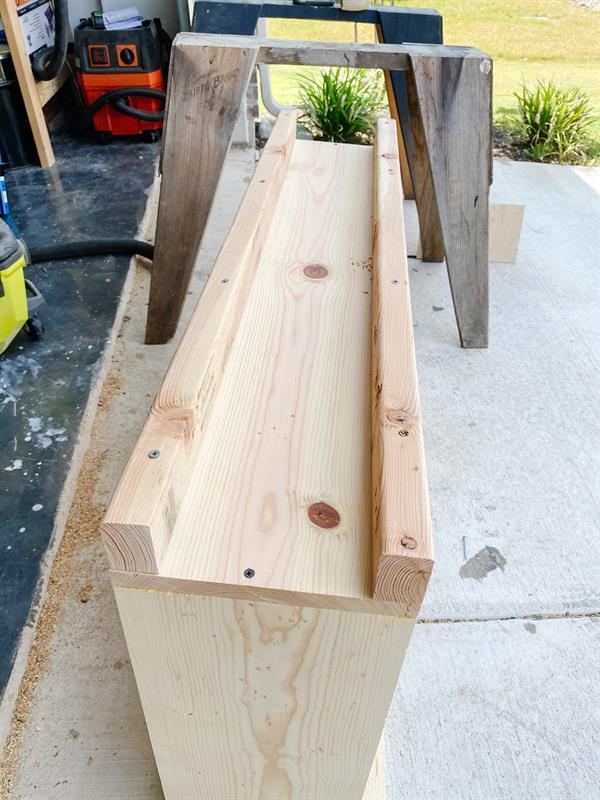
Step 7. Attach bottom supports
Cut two pieces of 2x4 wood to fit the length of the bottom of your shoe storage cubby. I also recommend ripping down the pieces of 2x4 so that when you add the trim piece, the 2x4 plus the bottom shelf is the same width.
For example, my trim piece was 3" tall, and the bottom shelf was 0.75" thick. So, I ripped down my 2x4 supports to 2 1/4" before attaching them.
Attach using wood glue and screws.
-
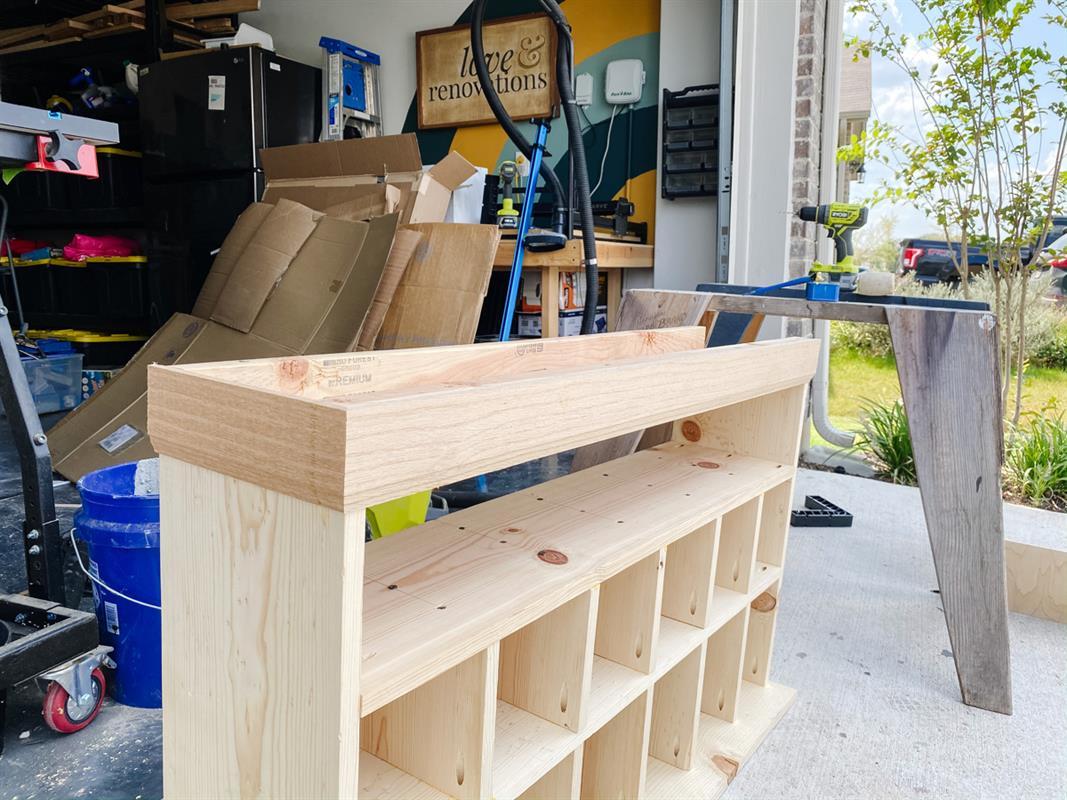
Step 8. Attach trim to bottom
Use wood glue and pin nails to attach the baseboard piece along the bottom three sides of the shoe cubby, using mitered edges.
-
Step 9. Attach trim to top
Use wood glue and pin nails to attach the smaller trim along the underside of the top piece of the shoe cubby.
-
Step 10. Finish and seal
Finish the shoe cubby using your desired method and be sure to seal it.