

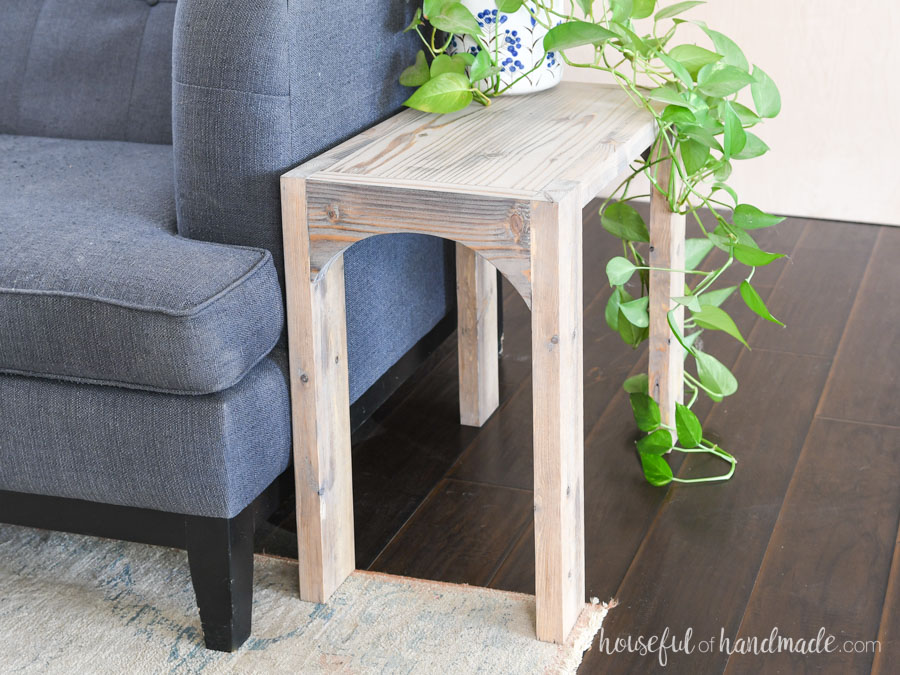
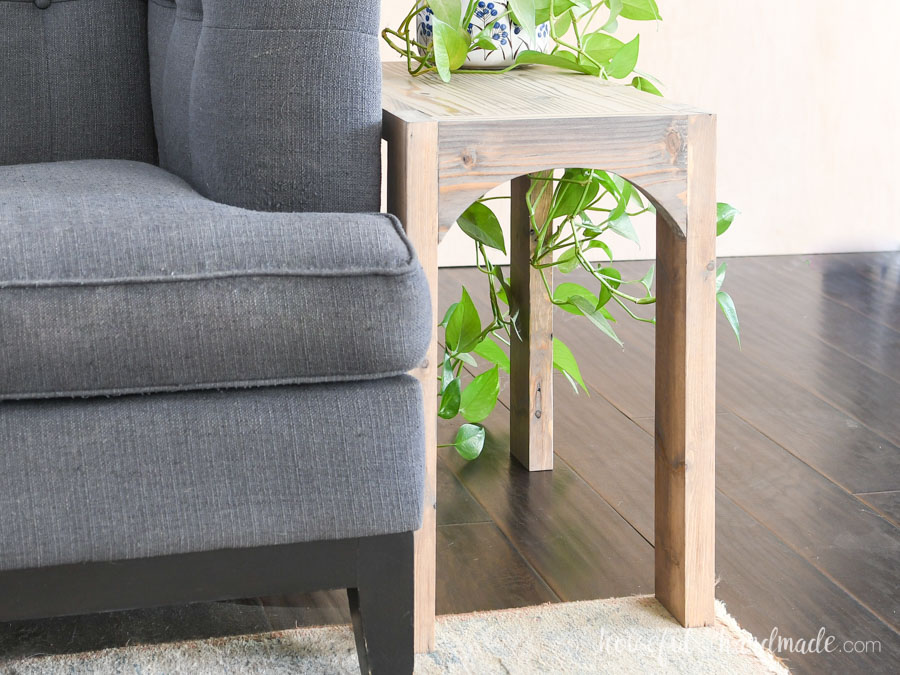
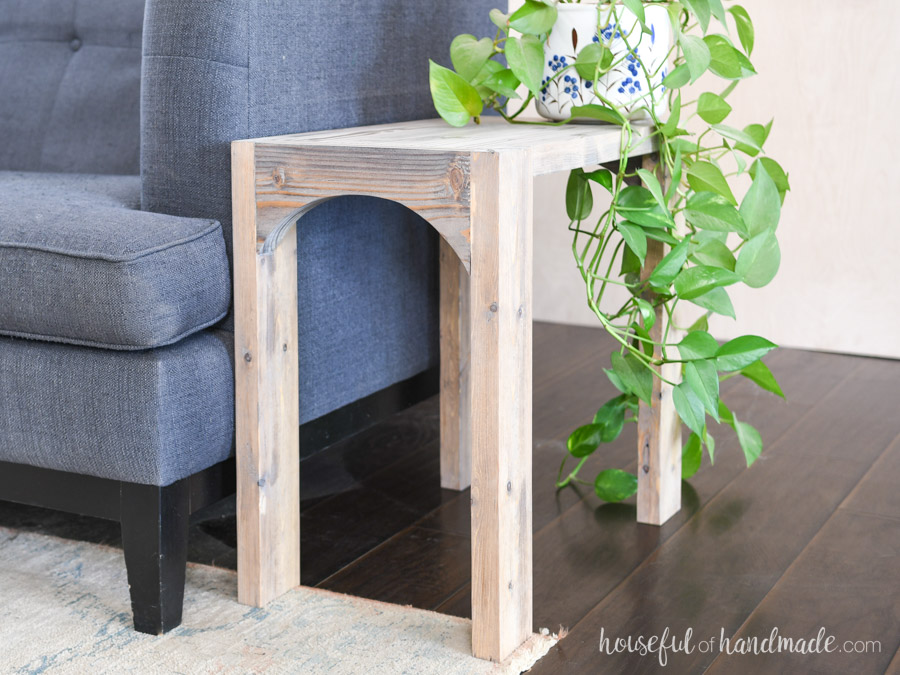


Build a beautiful new side table with lots of rustic charm. This chunky side table has arches for a modern touch and looks great in any style room.
Tools
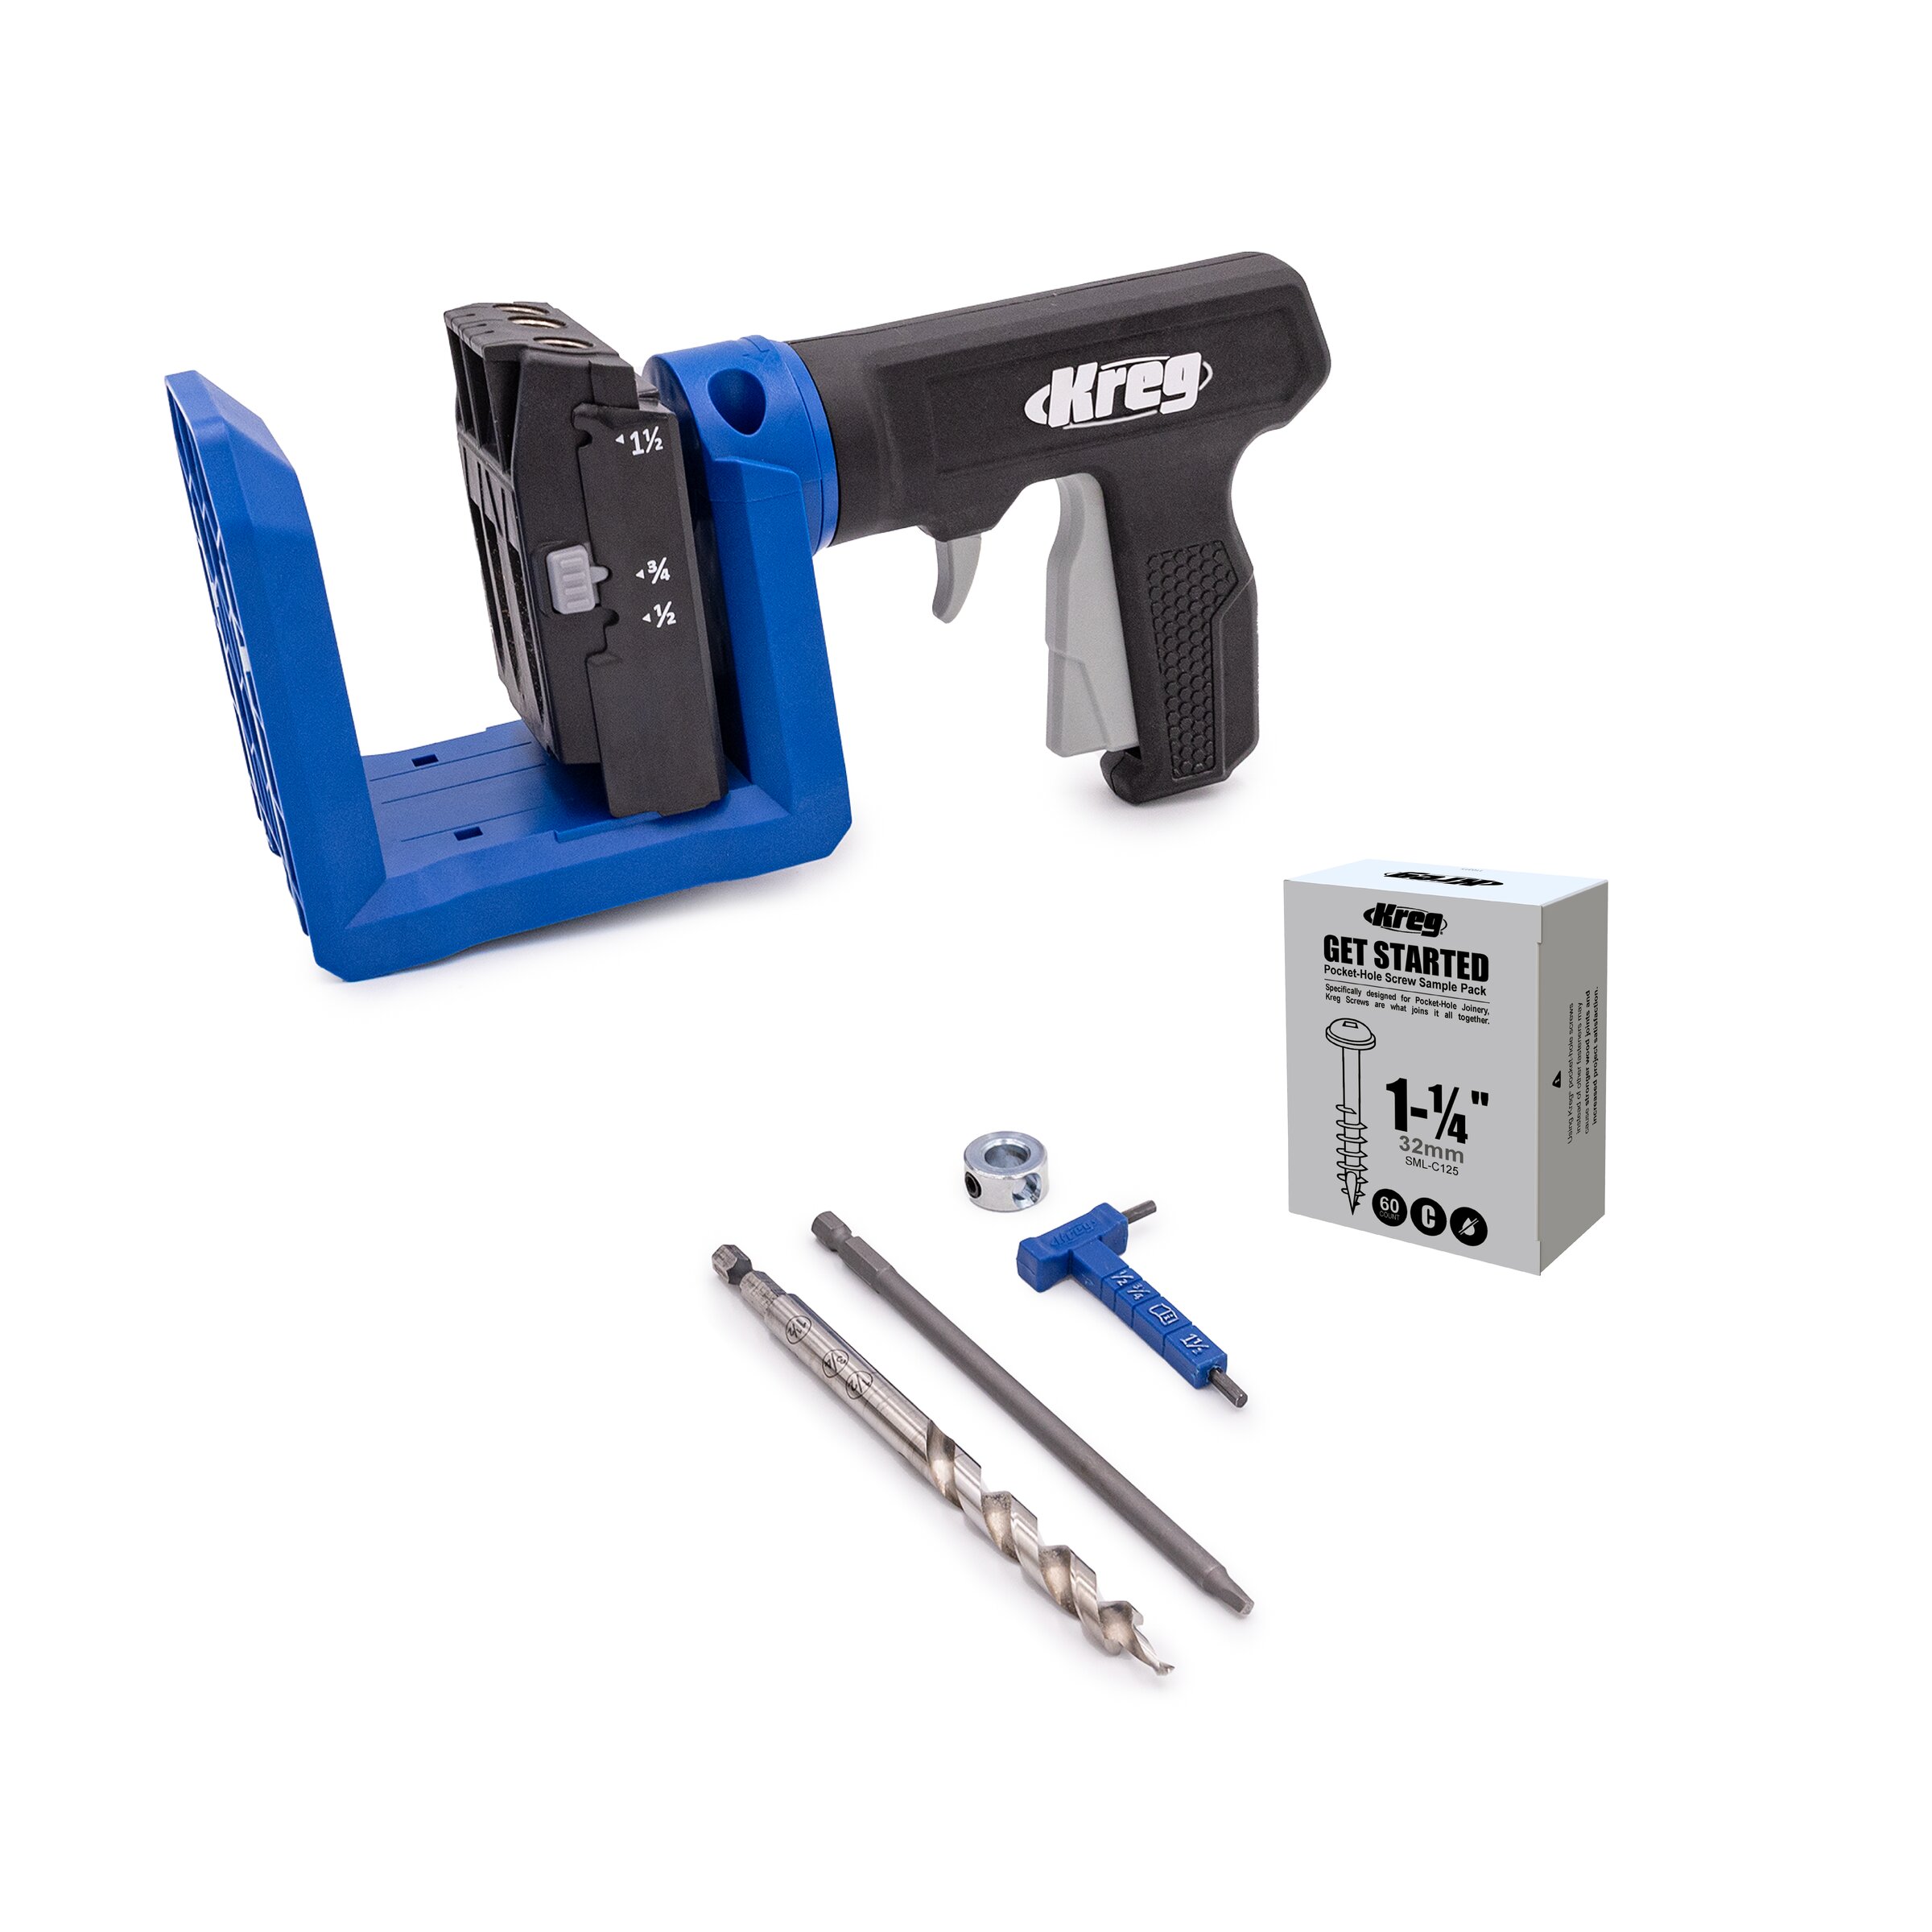
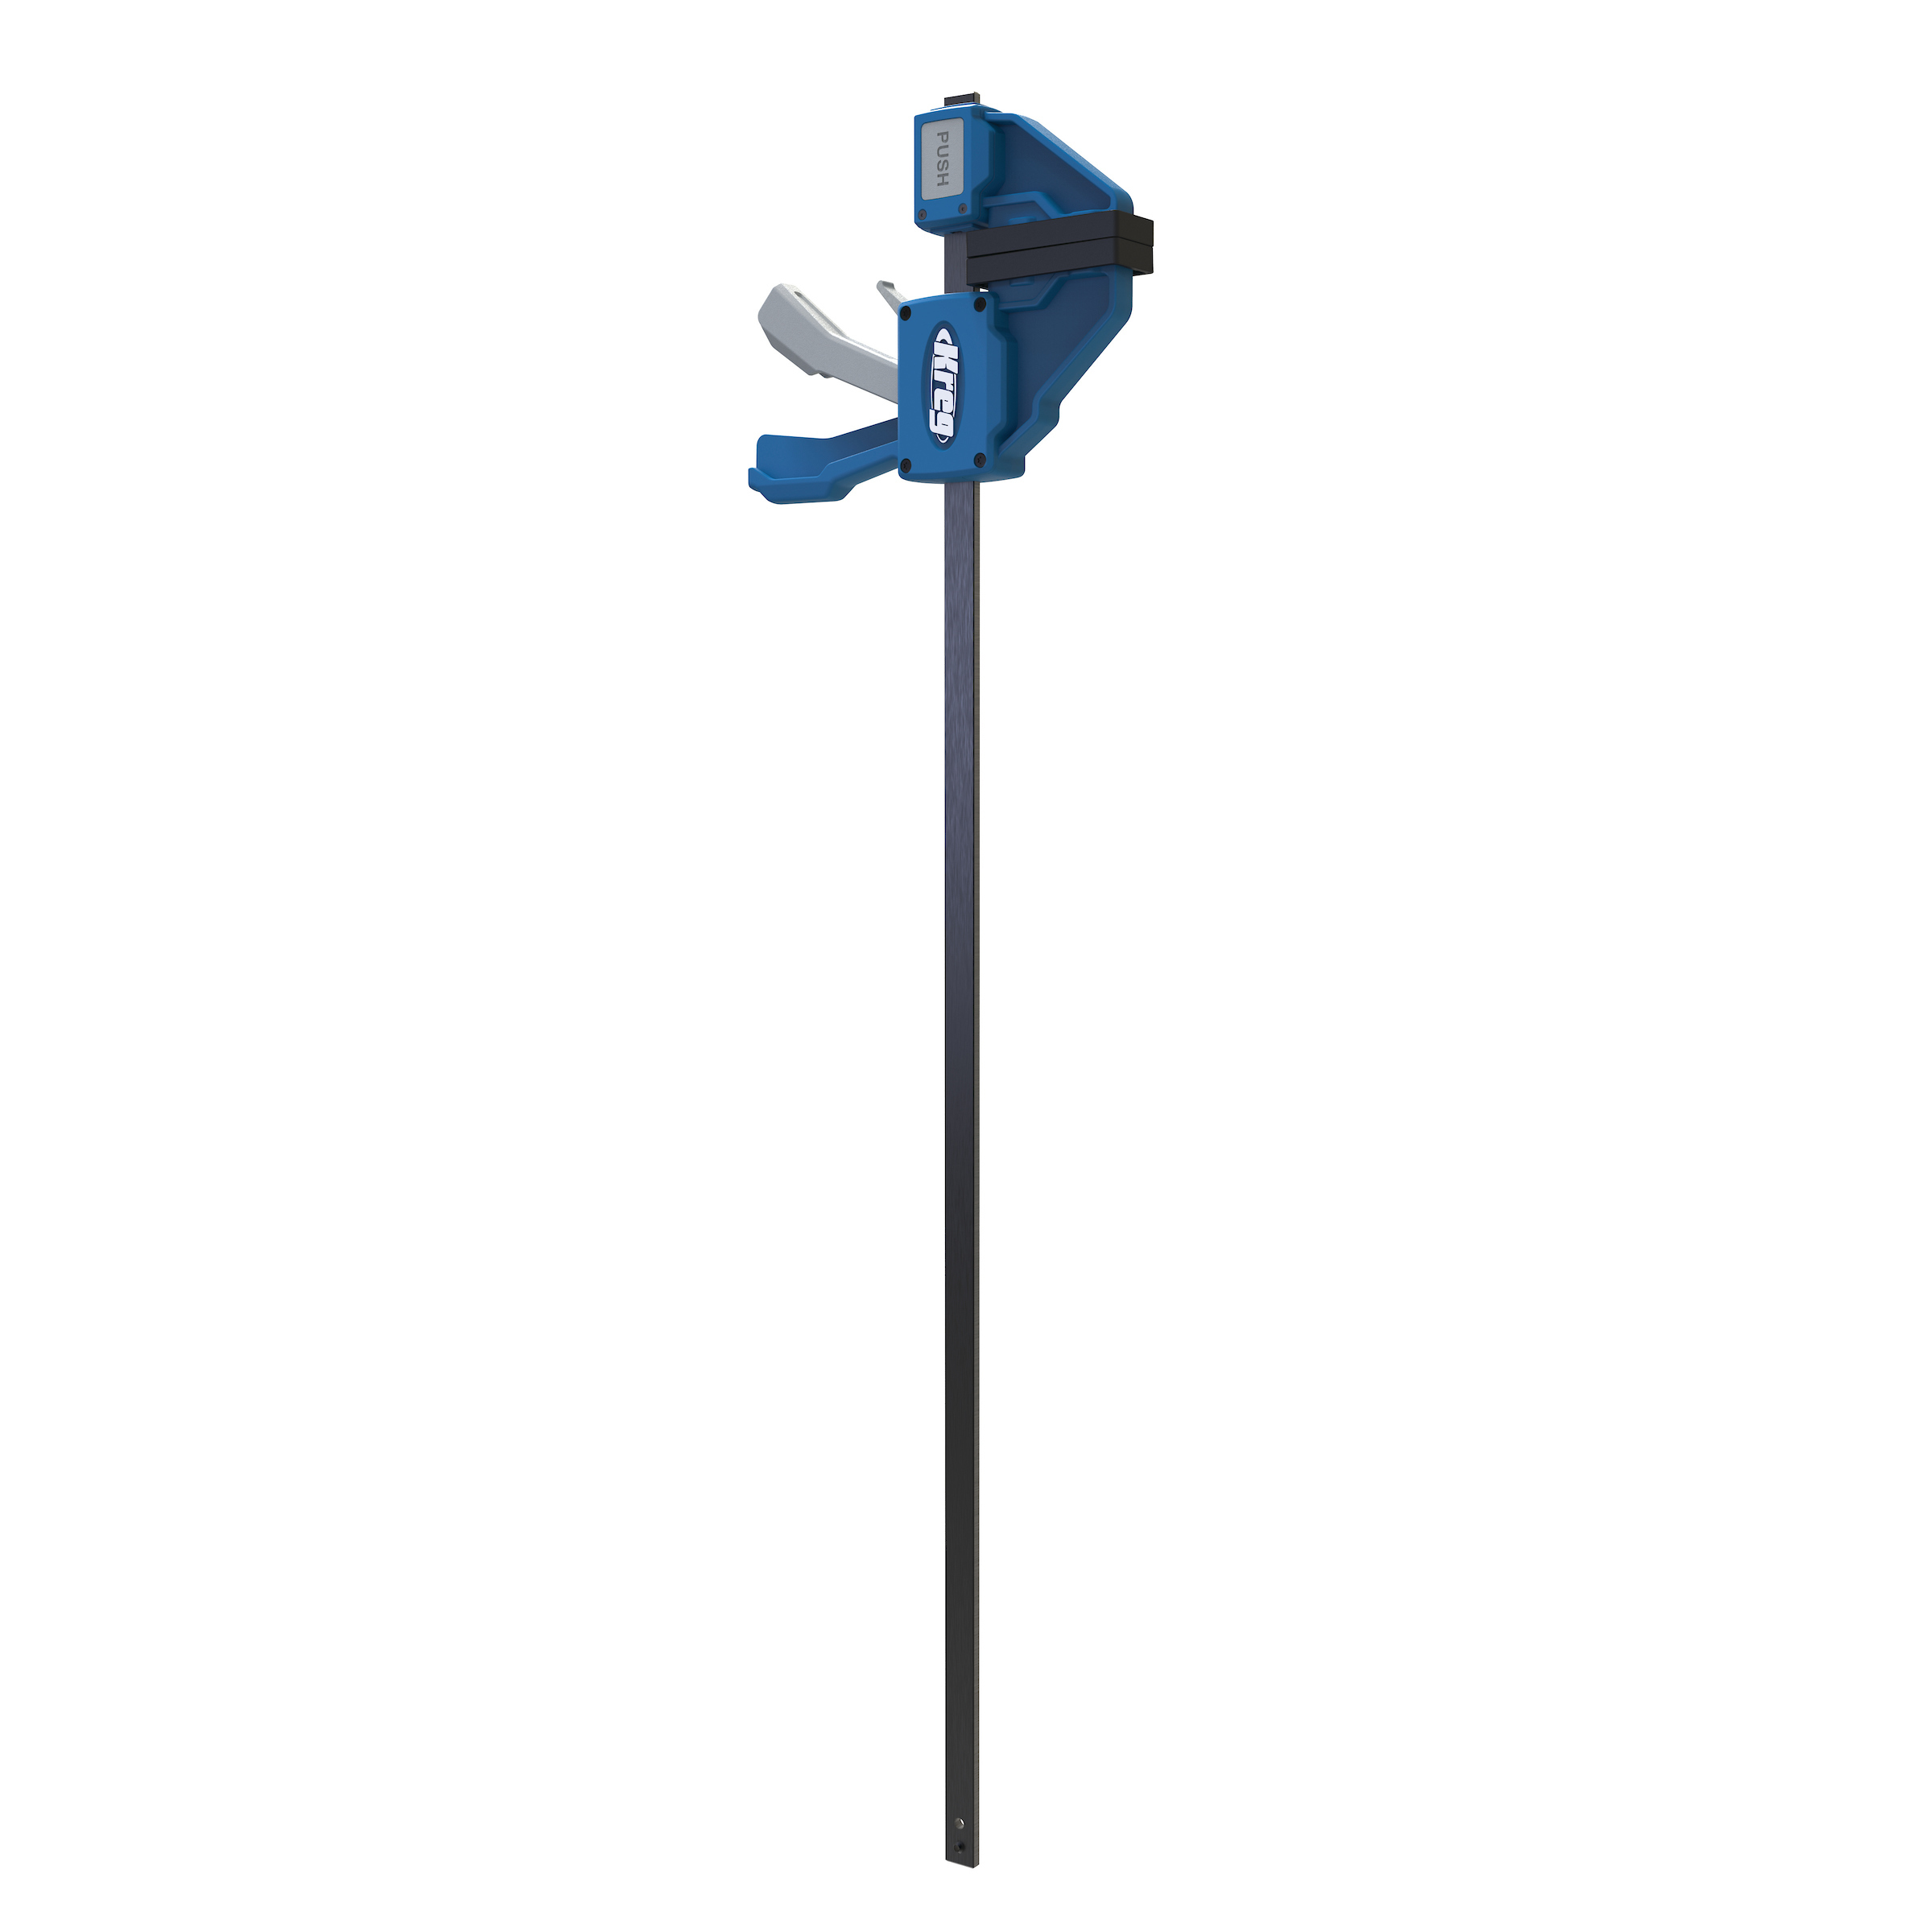
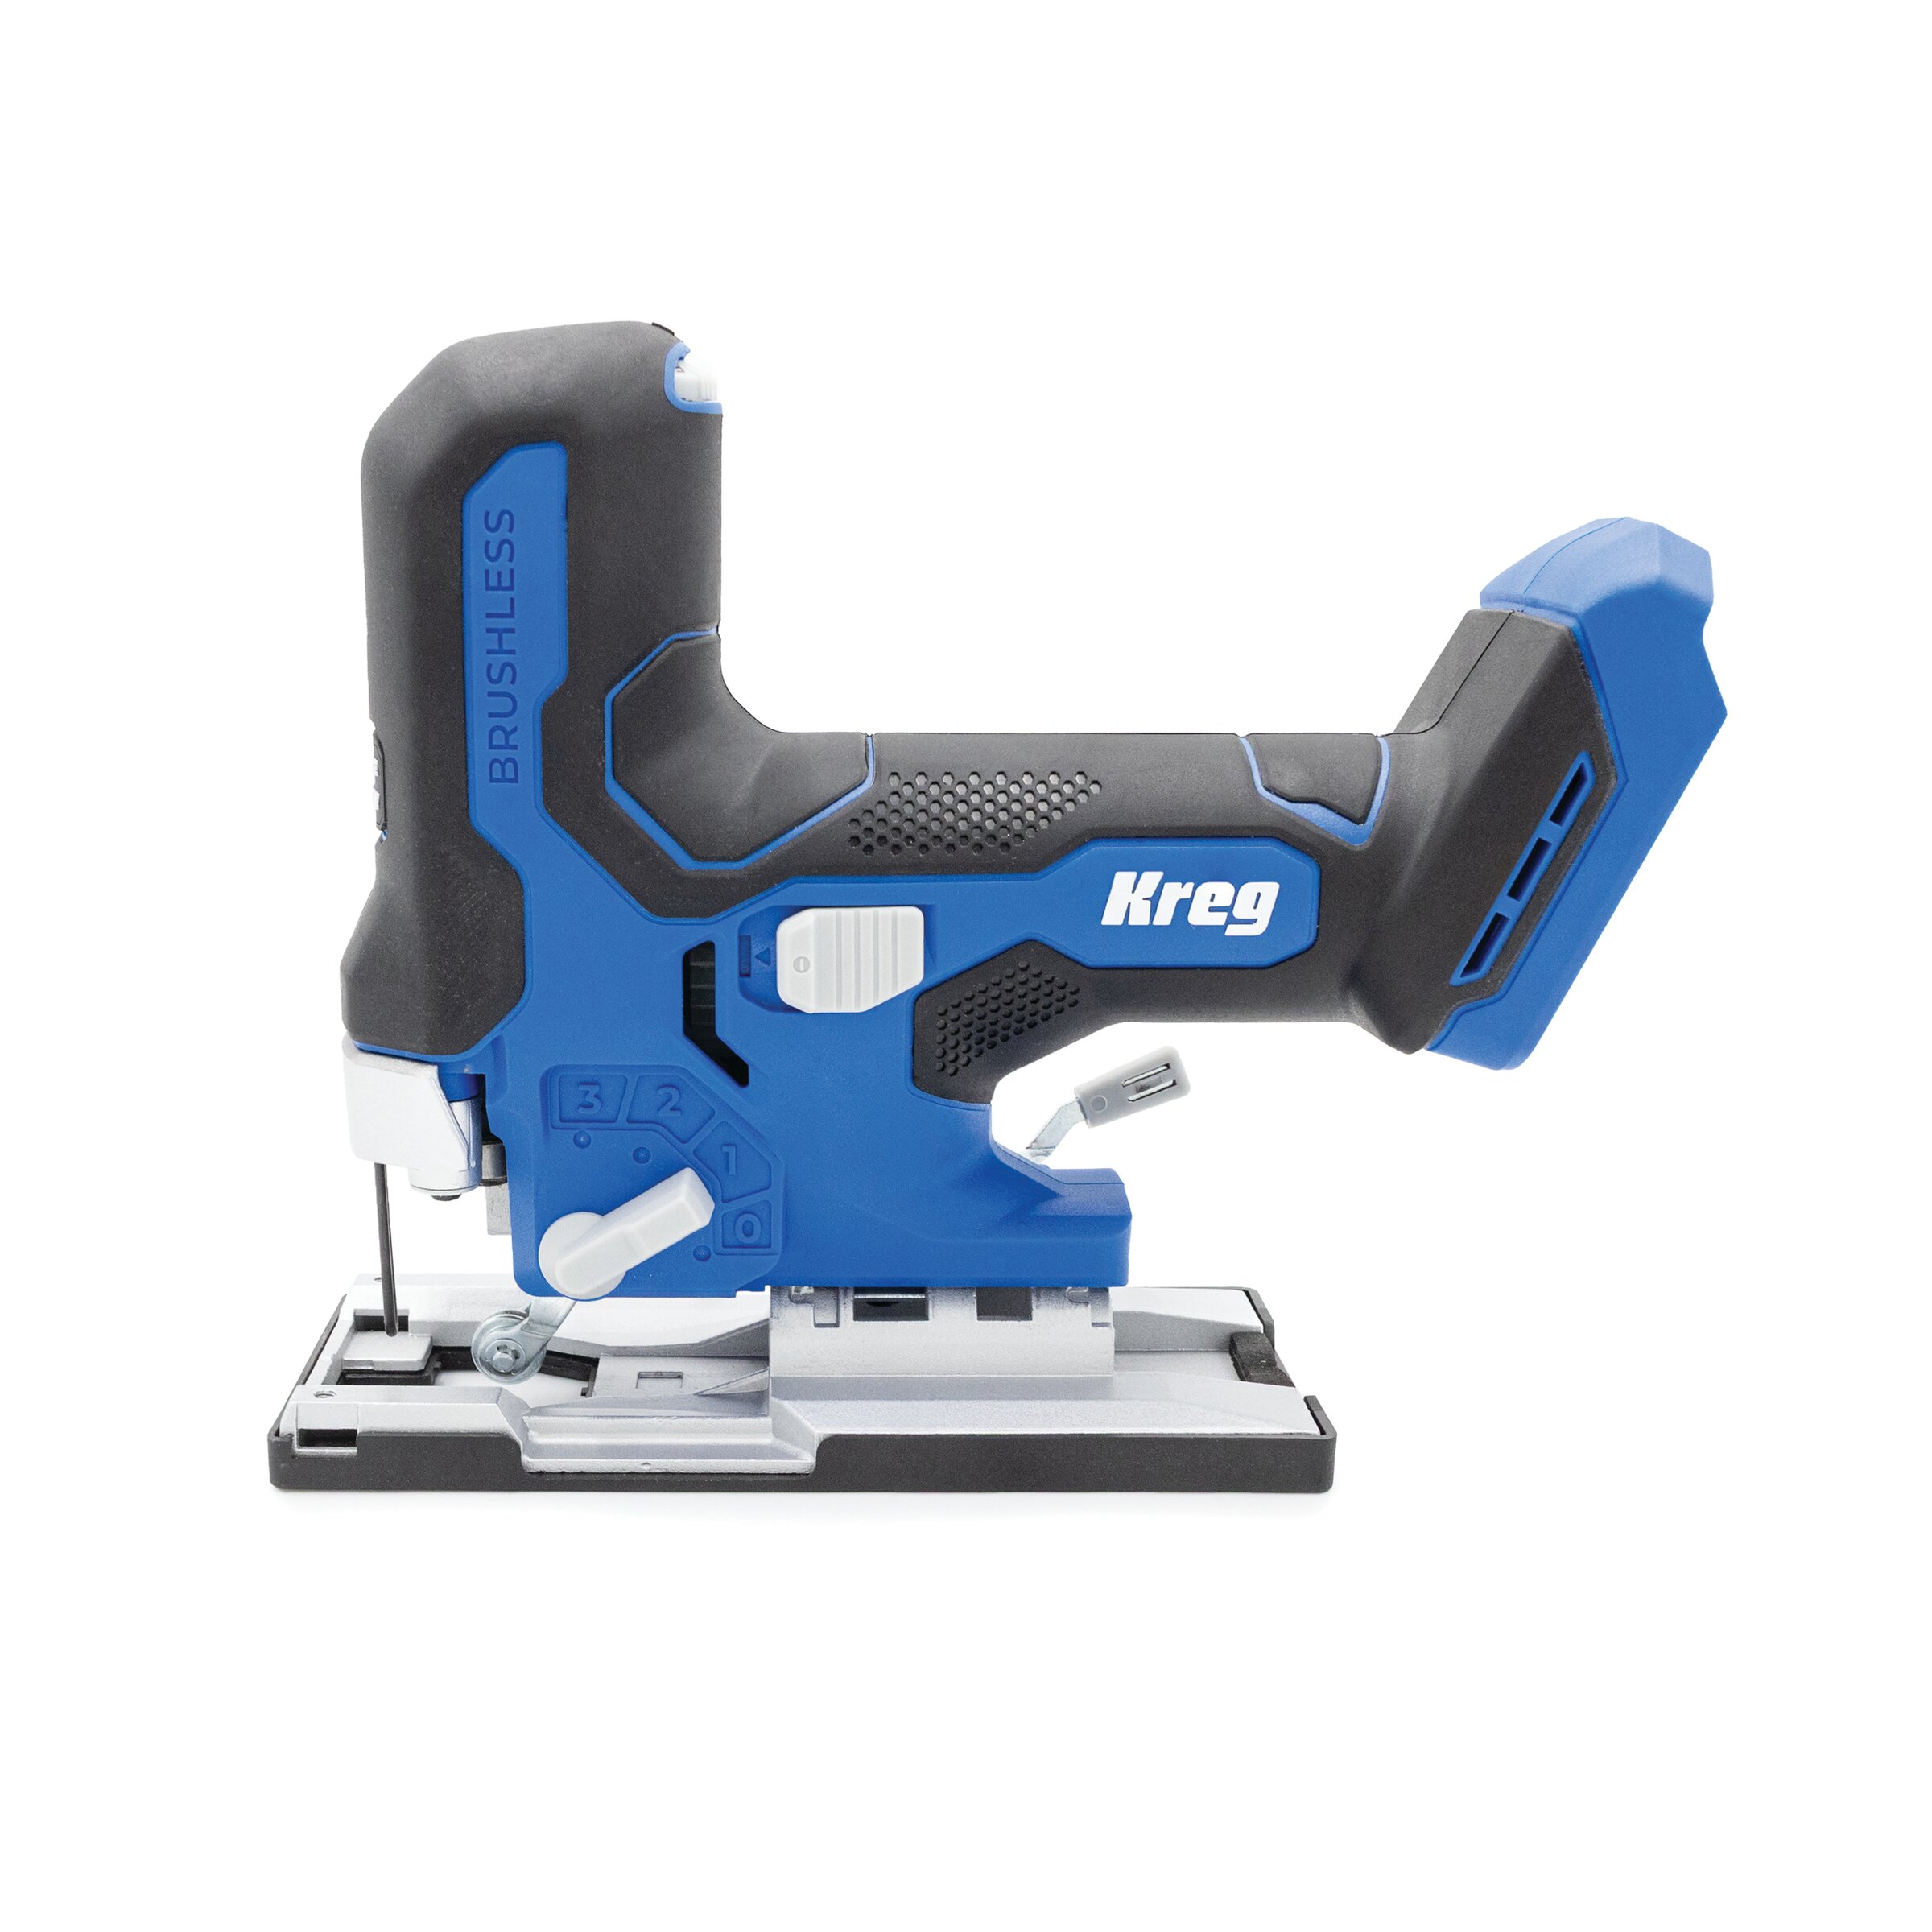
Kreg Tools


Other Tools
-
Miter saw

Materials
Wood Products
- 1 Board , 2x4 , 8' long
- 1 Board , 2x6 , 6' long
- 1 Board , 2x2 , 3' long
Hardware & Supplies
- 23 2 1/2" pocket hole screws
- 1 Wood glue
- 1 Stain/sealer/paint
Directions
-
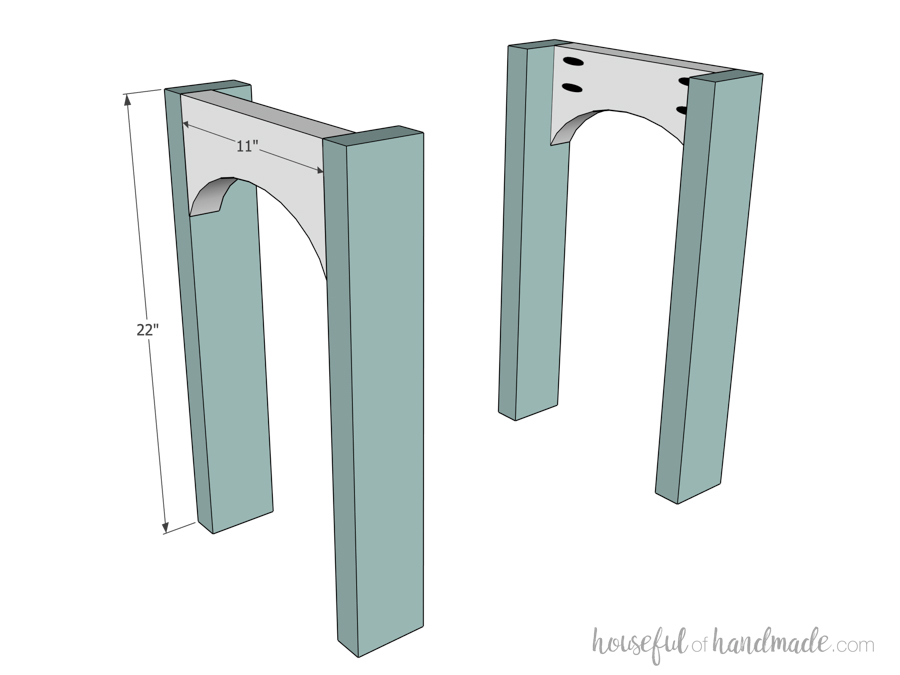
Build Legs
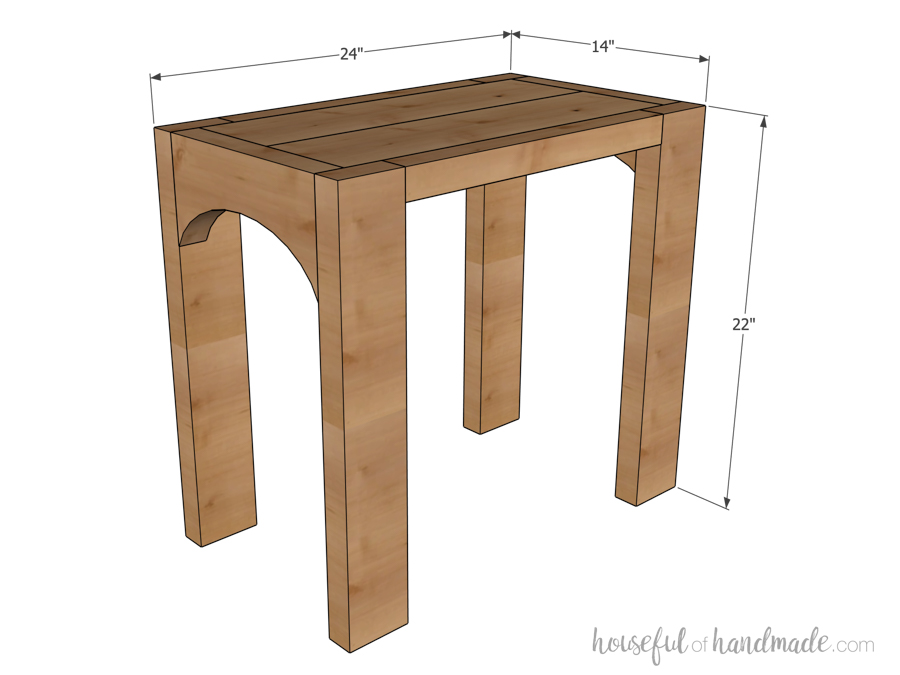
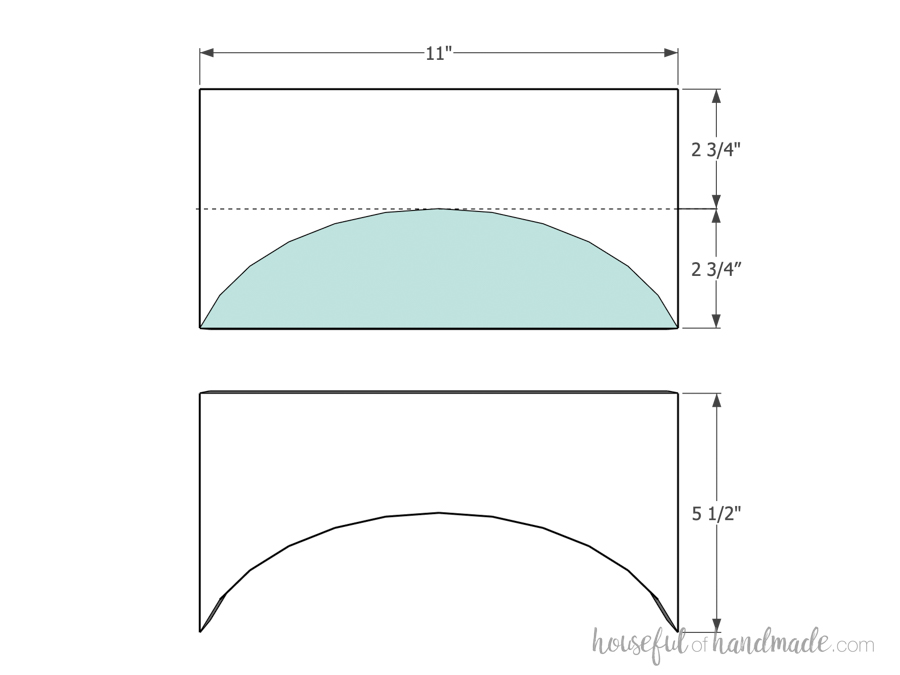
Draw a line across the center of the arched end boards. Draw an arch in the lower half of the boards that goes from one side to the other and touches the center line. I used a string tied to a pencil to sketch out my arch.
Cut the arch out of the board with a jig saw.
Measure Before you Cut!
Press the two top center boards together and double check your measurement. They should be 11" wide together, but if not, adjust your length for the arched end to match the actual measurement.
-
Build sides
Set your Kreg pocket hole jig to drill holes in 1 1/2" thick material. Drill 2 pocket holes on the ends of the arched boards in the top half.
Attach the arched boards between two leg boards so they are flush to the top and the front edge of the boards. Secure with 2 1/2" pocket hole screws and wood glue.
Repeat for the second side.
-
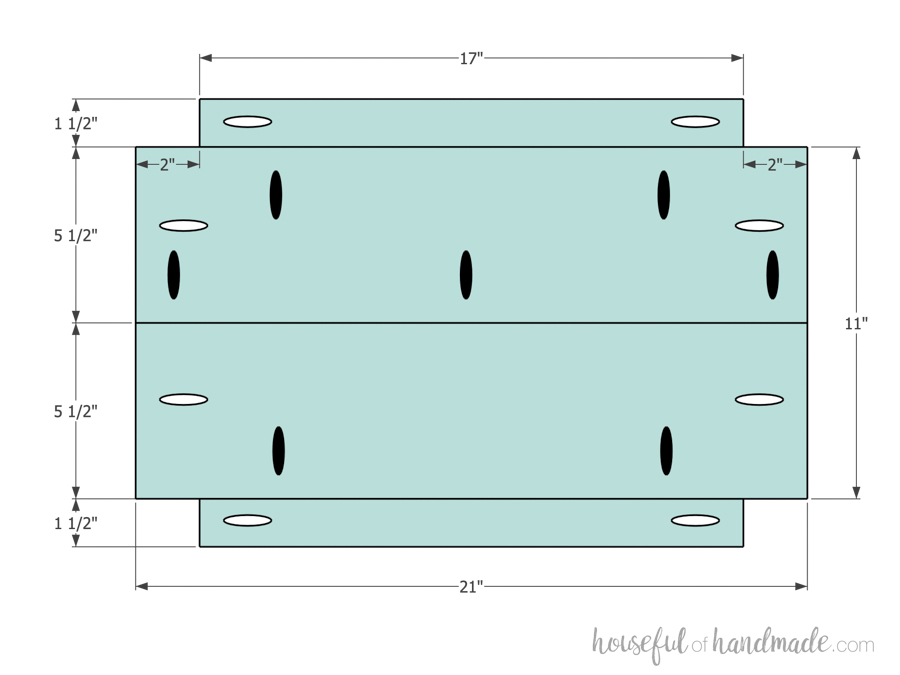
Build top
With your pocket hole jig still set for 1 1/2" thick material, Drill pocket holes in the top boards as shown in the diagram. I drilled the black pocket holes to assemble the top first, then added the white one later (used to attach to the legs).
Add glue to the seams and attach the boards so they flat to the top/bottom. Use project clamps to keep them flat as you secure with 2 1/2" pocket hole screws.
Measure to Cut Again!
To get the best fit, place one of the cut top center boards in between the two legs and clamp firmly together. Measure the area between the legs and cut your 2x2 top edge boards to that measurement.
-
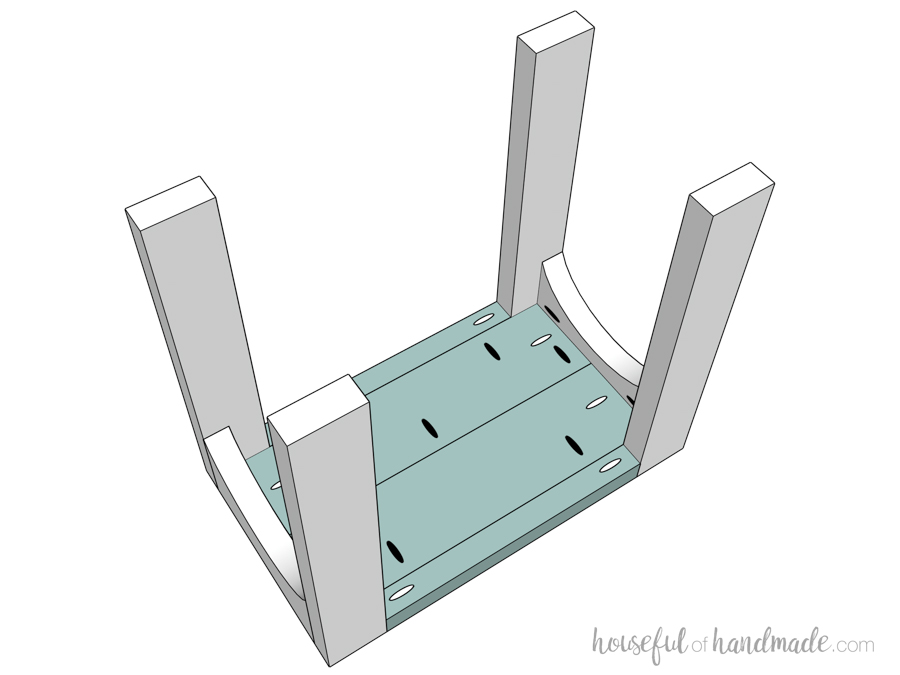
Attach top
Place the top between the legs. If it is tight, use the Versa-clamp as a spreader to carefully open the legs so you can slide the top in place.
Secure with 2 1/2" pocket hole screws through all the white pocket hole positions from Step 3.
-
Finish
Sand your finished side table. Then stain/seal or paint it however you want. To get a rustic flat look on my table, I stained it with a Chestnut color first, then added a coat of white stain to flatten the color.
And you are done! Enjoy your new side table and make sure to Houseful of Handmade for the matching coffee table and sofa table coming soon.