

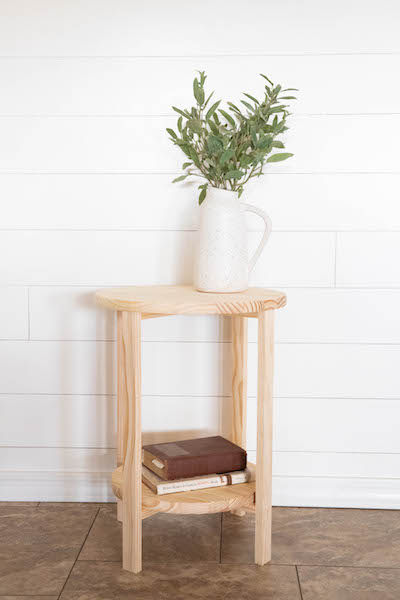


This simple round side table is the perfect project for someone who is looking to get started with building furniture. The project only requires two power tools and is a quick and easy and affordable build that looks beautiful when finished.
Tools
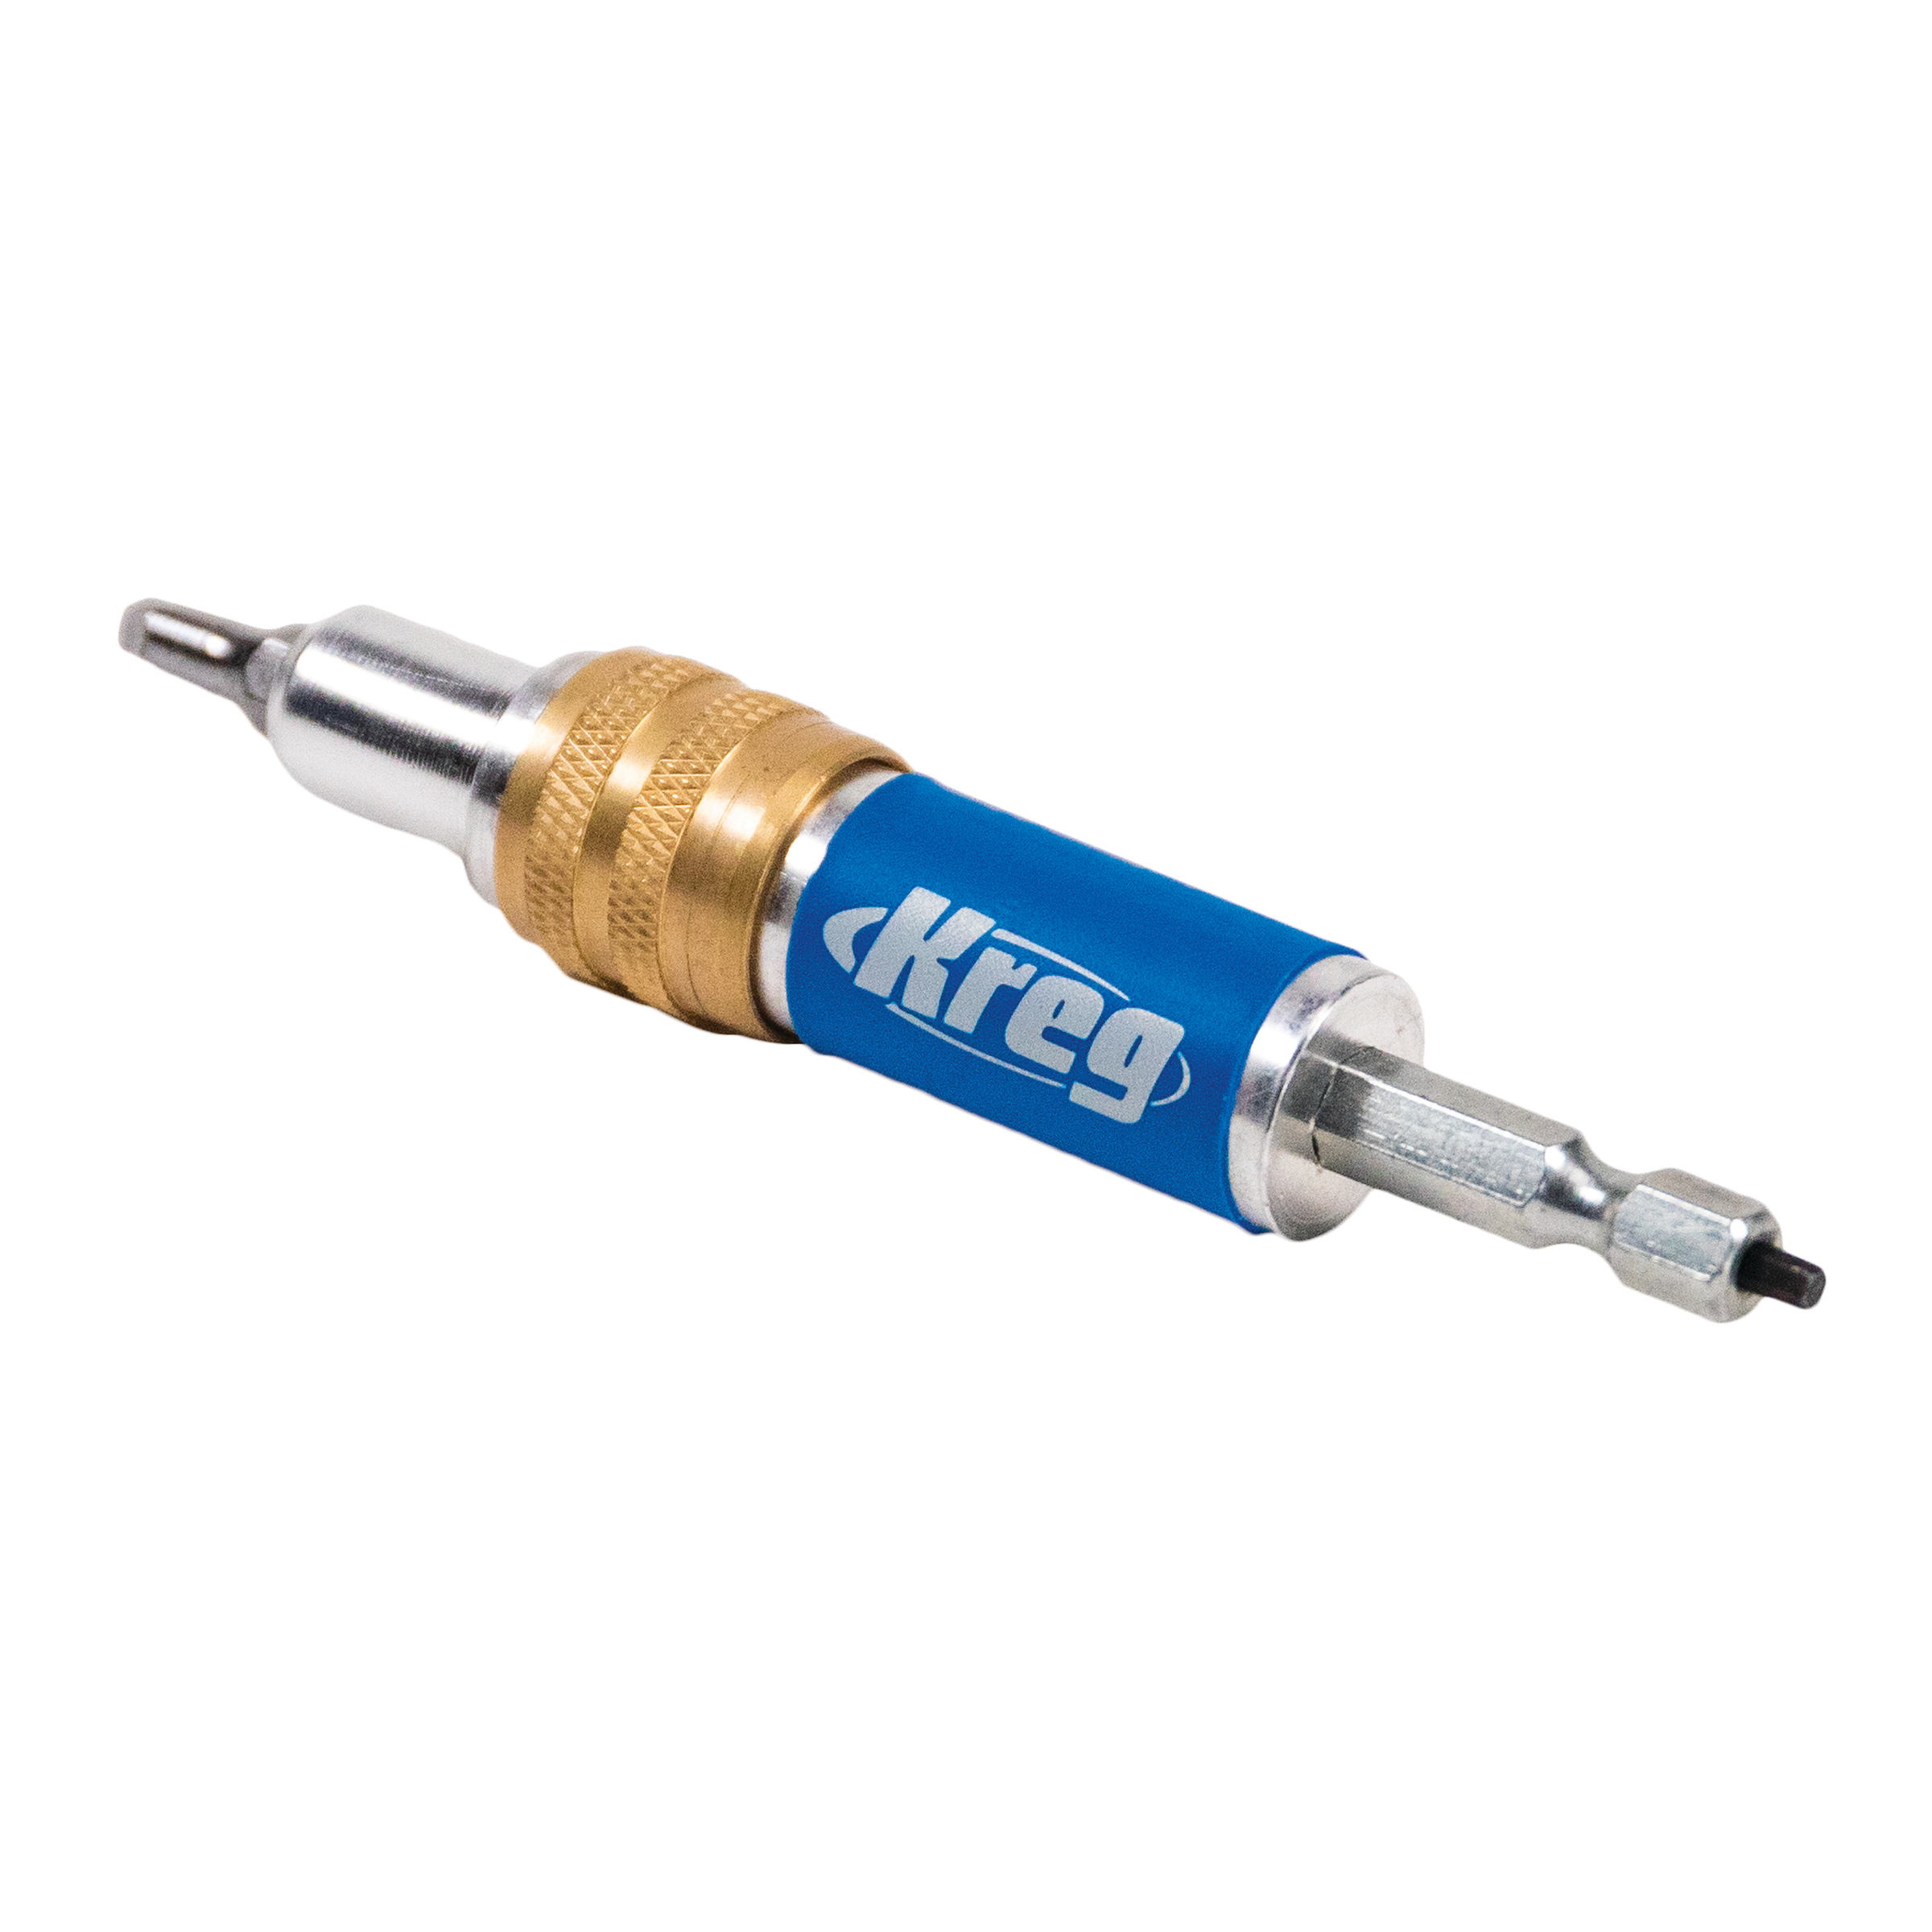
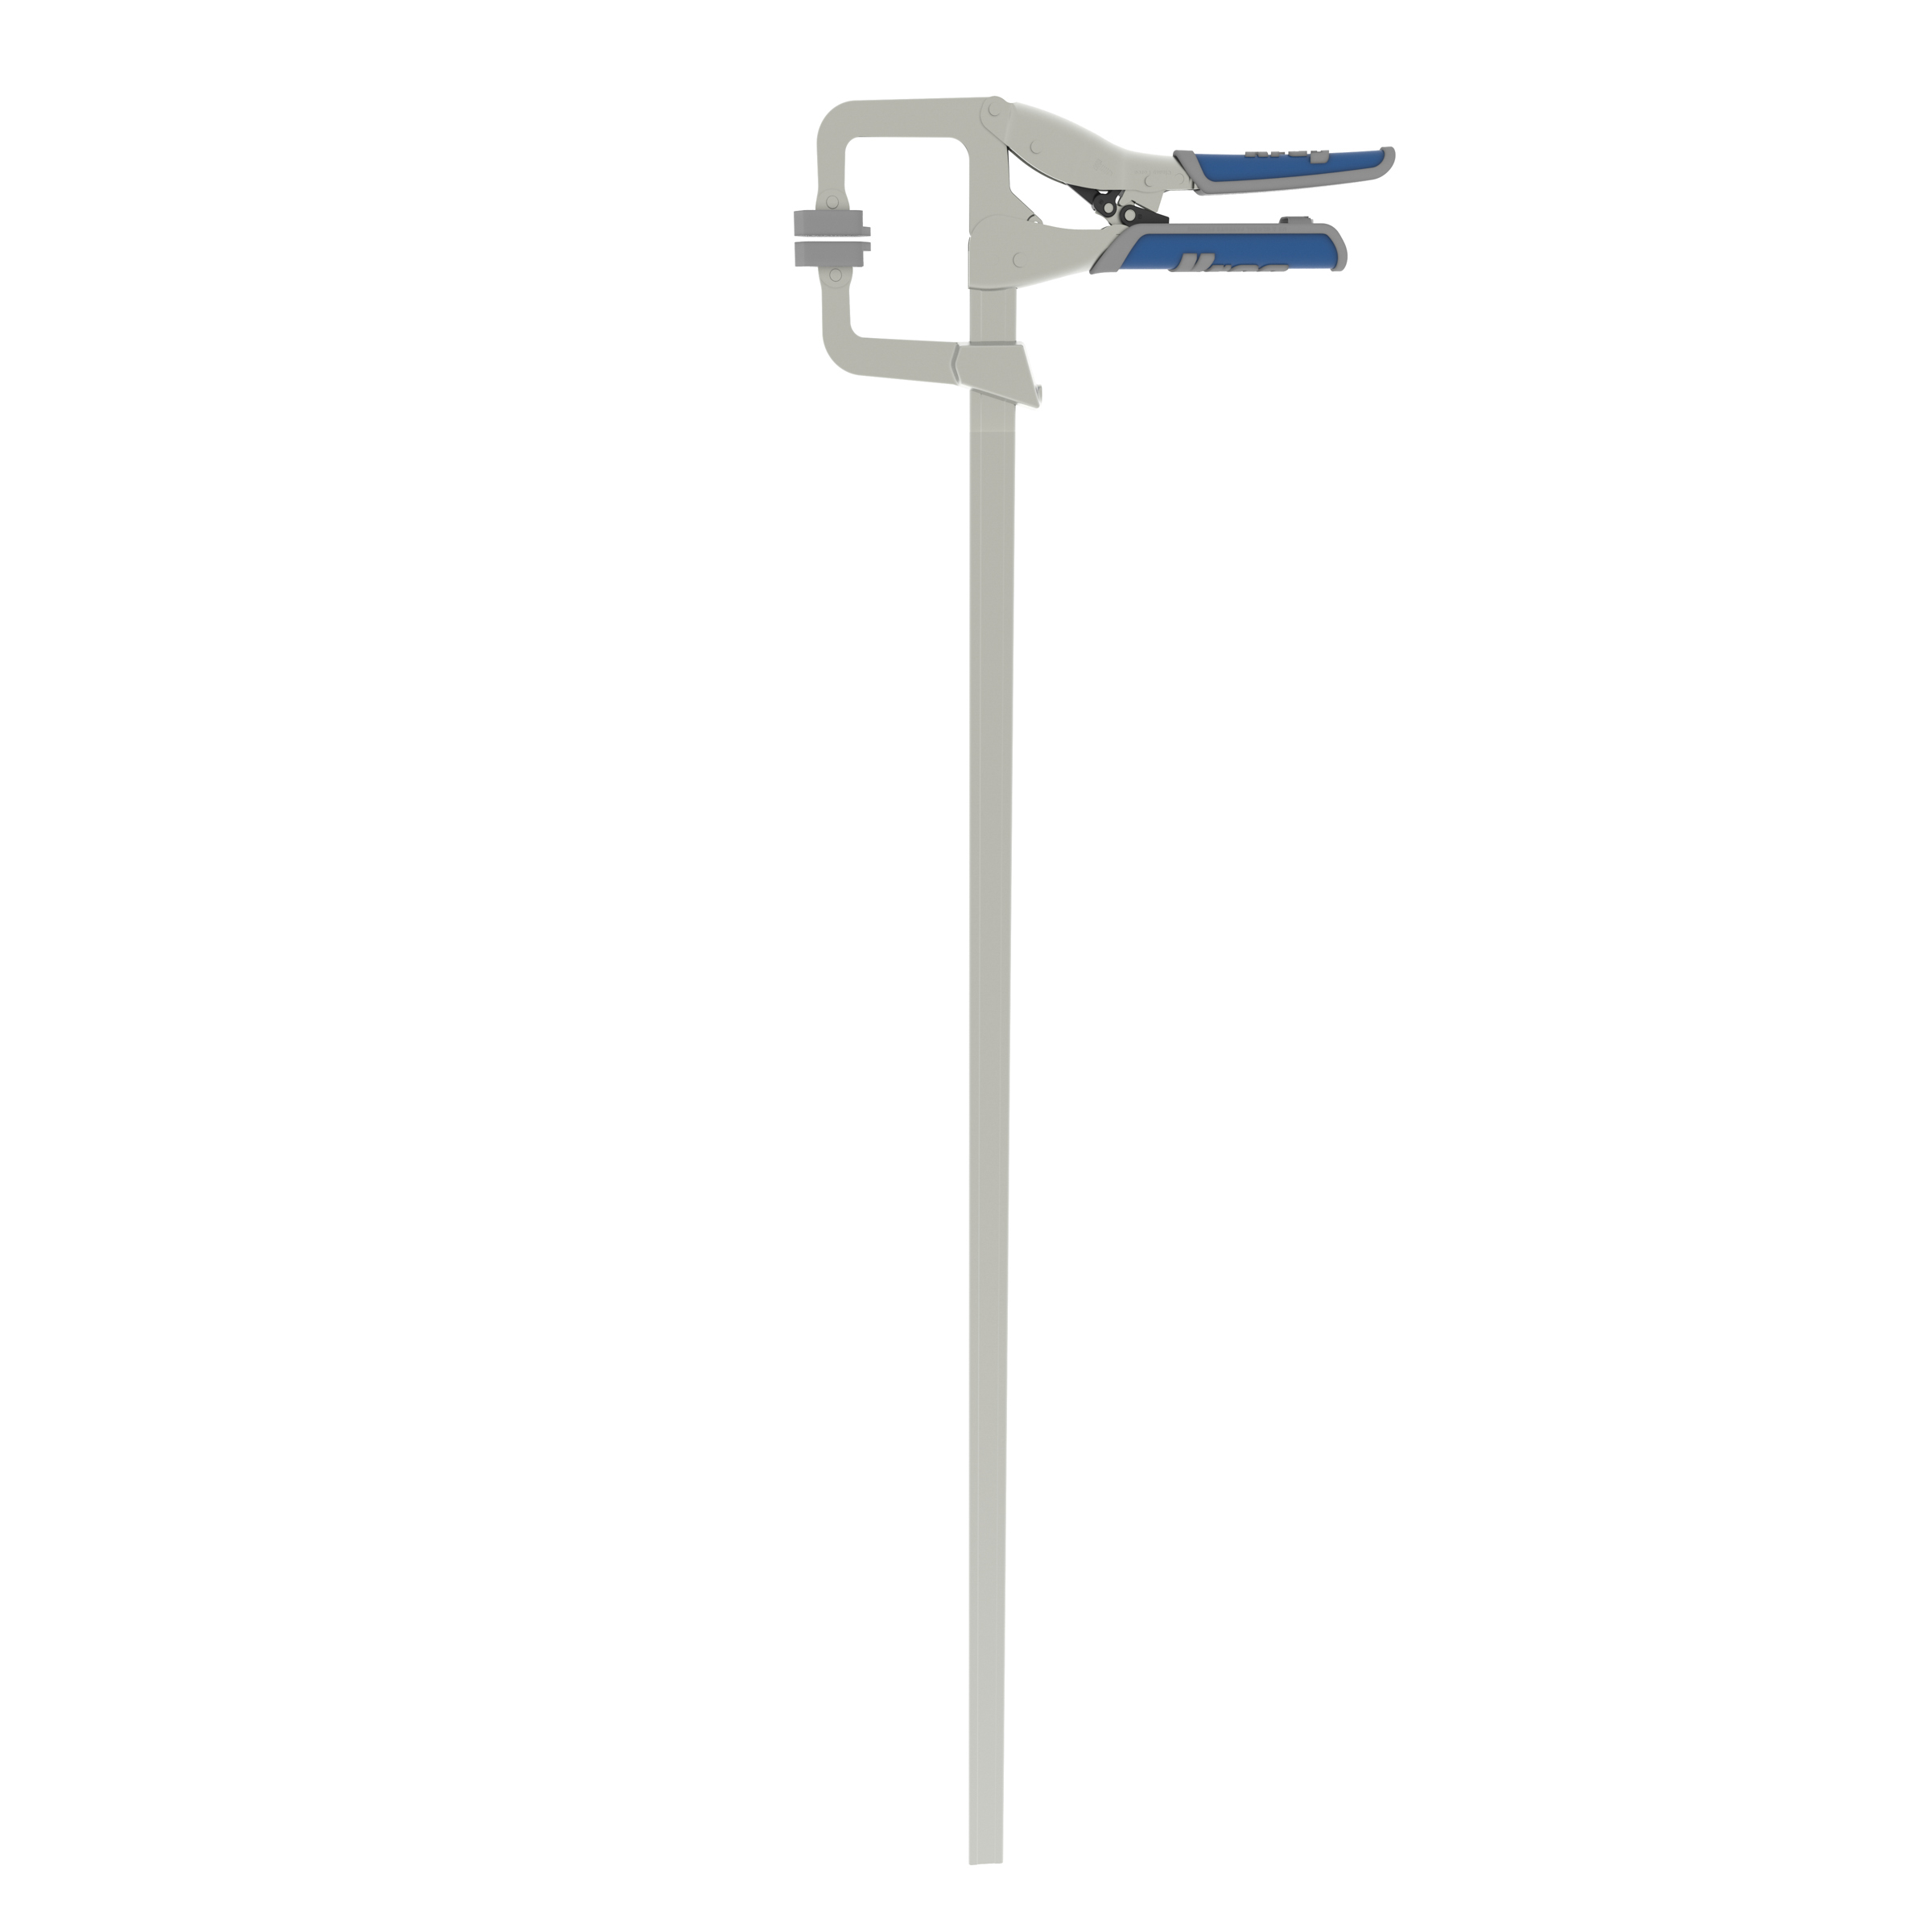
Kreg Tools


Materials
Wood Products
- 1 1” thick pine round , 18” diameter
- 1 1” thick pine round , 15” diameter
- 4 Select pine boards , 1x2x4’ long
Hardware & Supplies
- 1 Box of 1 ¼" pocket hole screws (See tools list)
- 1 Box of 1" pocket hole screws (See tools list)
Directions
-
Cut boards and drill pocket holes
Cut all of the 1x2s down to size using a circular saw and the Kreg Crosscut Station. Drill pocket holes into the ends of the 16” pieces and the 7 1/4” pieces.
-
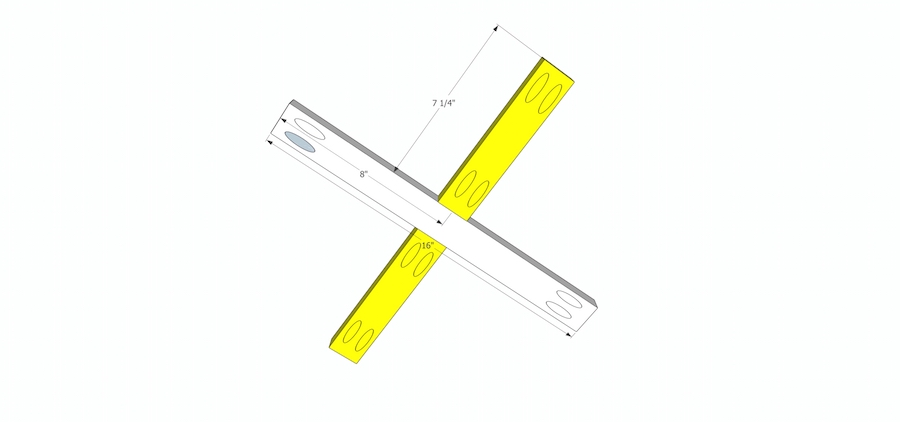
Assemble the Cross Supports
Find the center point of the 16" boards (8") and the enter point of each end of the 7 1/4" boards (3/4"). Add glue to one end of the shorter boards and line it up with the pencil mark on the 16" board. Clamp in place and attach with 1 1/4" pocket-hole screws. Follow these same steps for the second cross support.
-
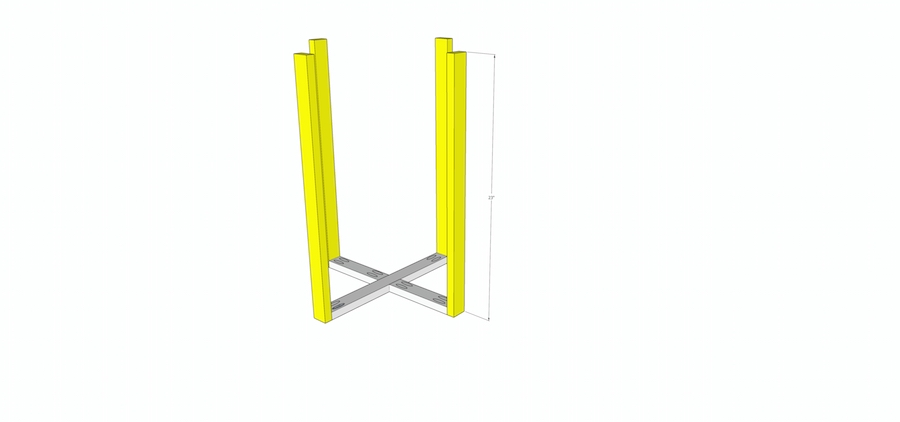
Attach The Legs
On a flat work surface, line two opposite legs up to the upper support section you just assembled. Add glue to the ends of the support pieces and clamp in place. Attach with 1 1/4” pocket-hole screws. Follow these same steps for the last two legs.
-
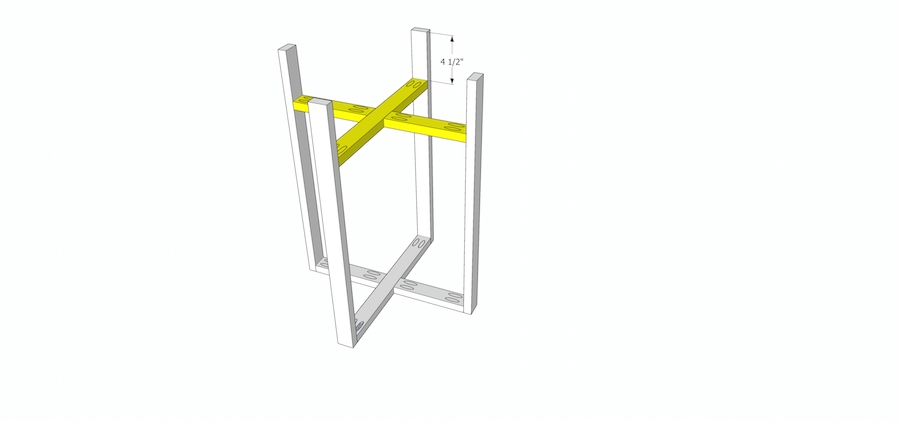
Attach the Bottom Support Section
Using a tape measure or the Kreg multi-mark tool, mark 4 1/2" from the bottom end of each of the legs. Add glue to all four of the ends of the support section and then line it up to the pencil marks. Clamp one side in place and attach with 1 1/4” pocket screws. Unclamp and clamp the other two legs in place and attach with 1 1/4” pocket screws.
-
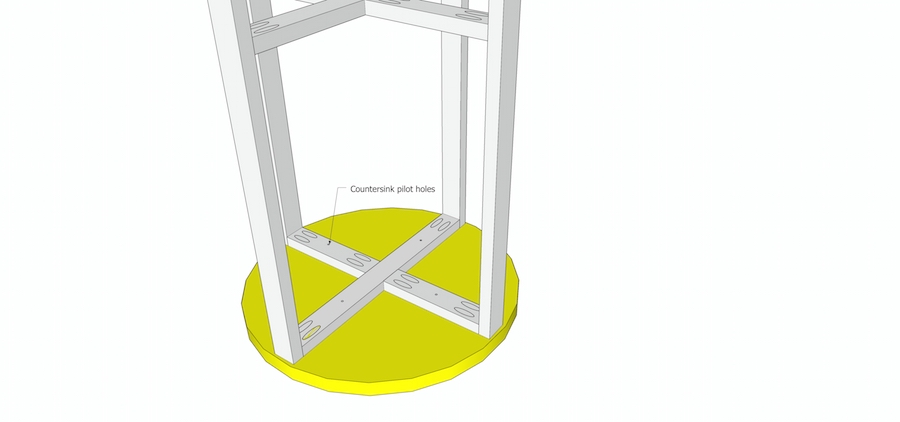
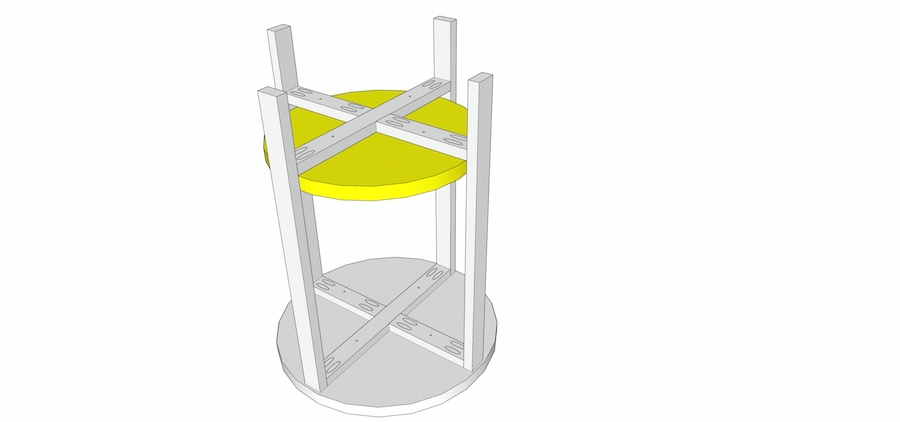
Drill Pilot Holes and Attach Rounds
Flip the table base over to be upside down. Using the Kreg Quick Flip drill bit, drill a countersunk hole into the bottom of the supports, 4 holes for the upper section and 4 for the lower section. Center the table base on the underside of the 18” round and drive 1” pocket hole screws into the pilot holes. Center the 15” round on the lower support section and clamp in place. Secure with 1” pocket screws.
-
Finish the table
This table can be finished in a variety of ways. You can paint it, stain it, or do a combination of the two. If planning to finish this with a two toned look, it is recommended to paint or stain the base prior to attaching the rounds to it. Finish the rounds separately as well, then attach everything once both finishes are dry.