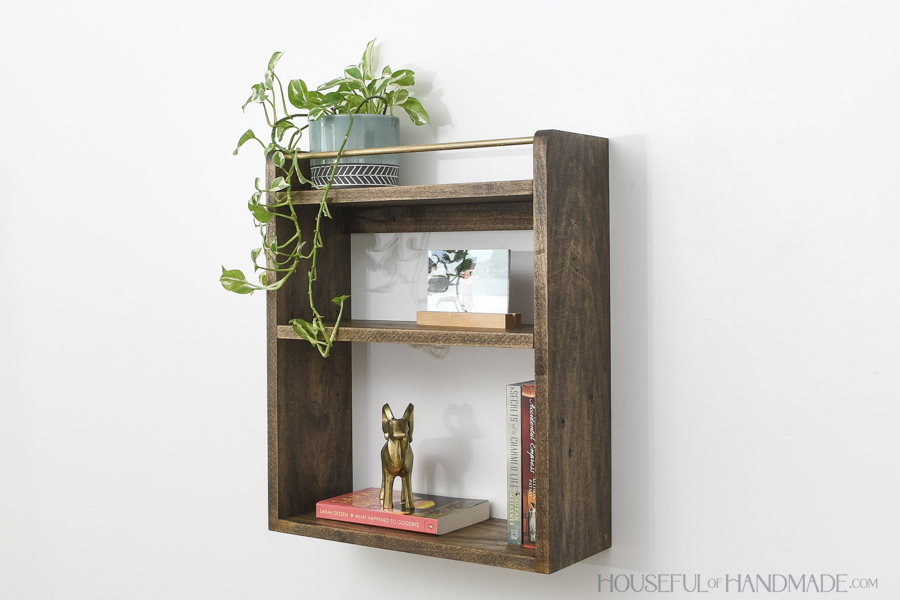
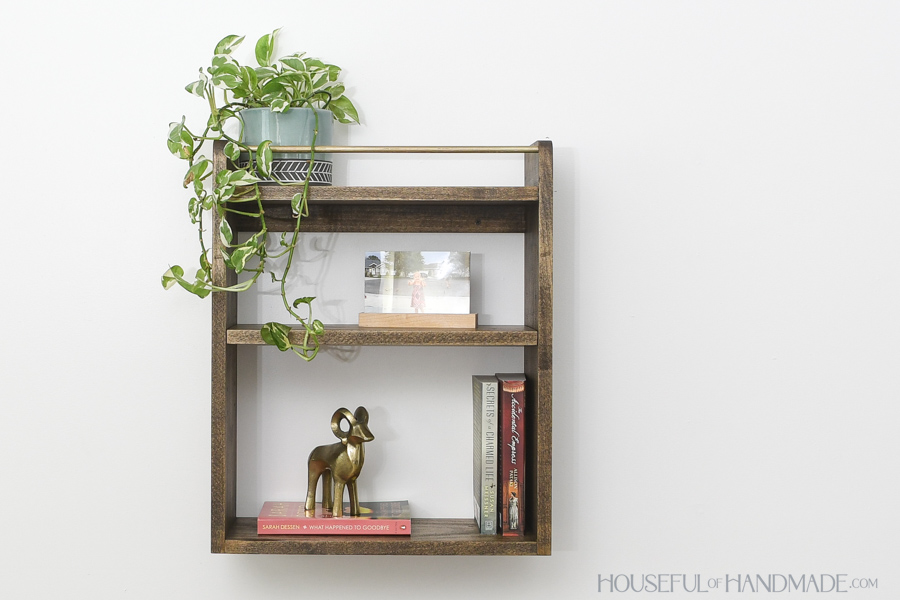
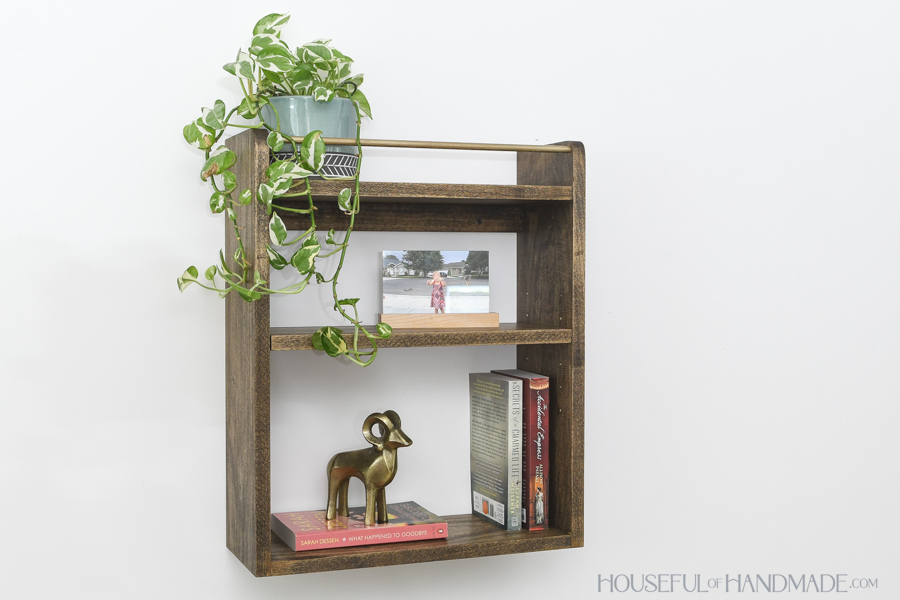
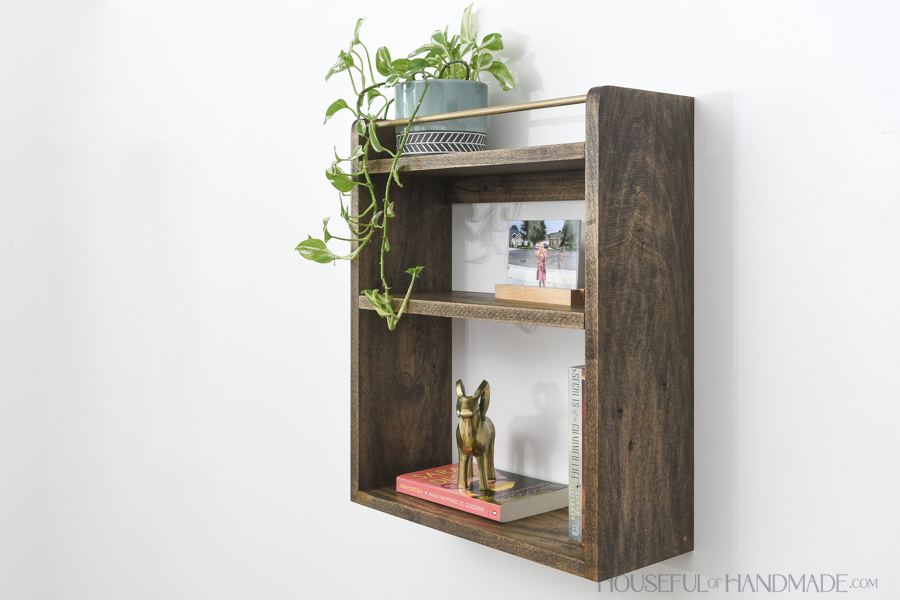


Add storage and display place to your room with these simple wall shelves. With an adjustable shelf and decorative rail on the top, you will love using these wall shelves to hold all your favorite things.
Tools
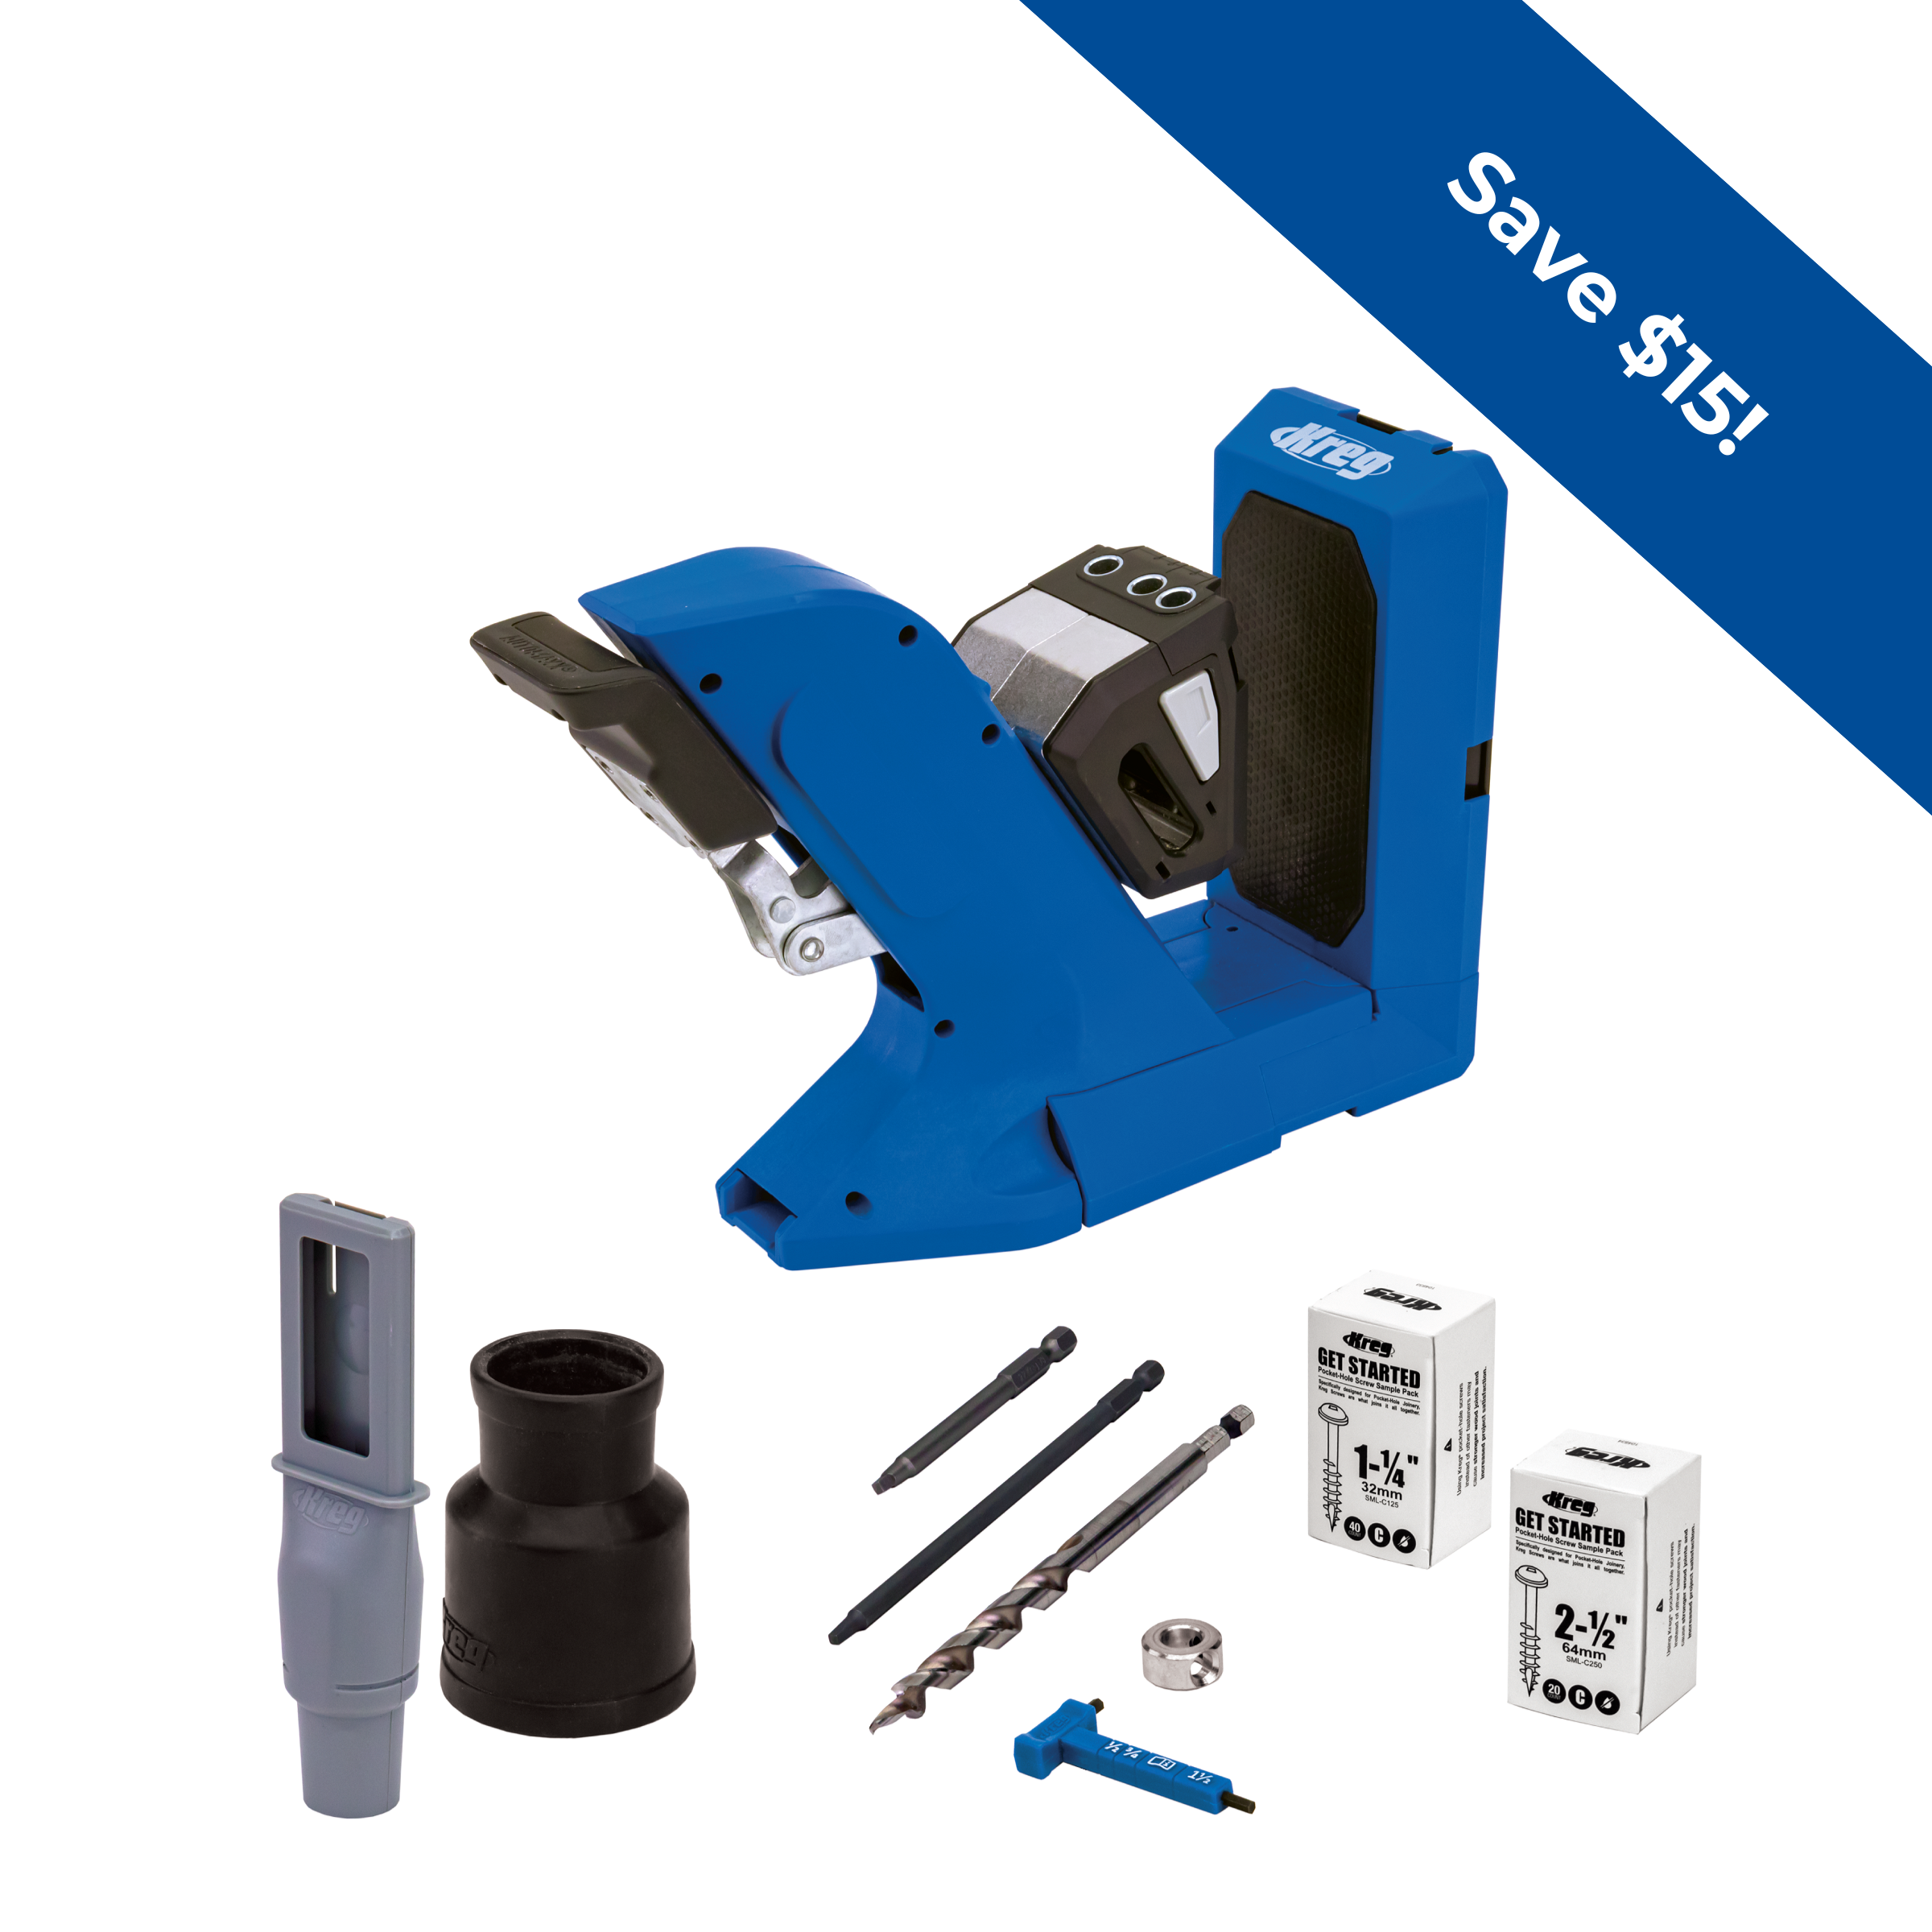
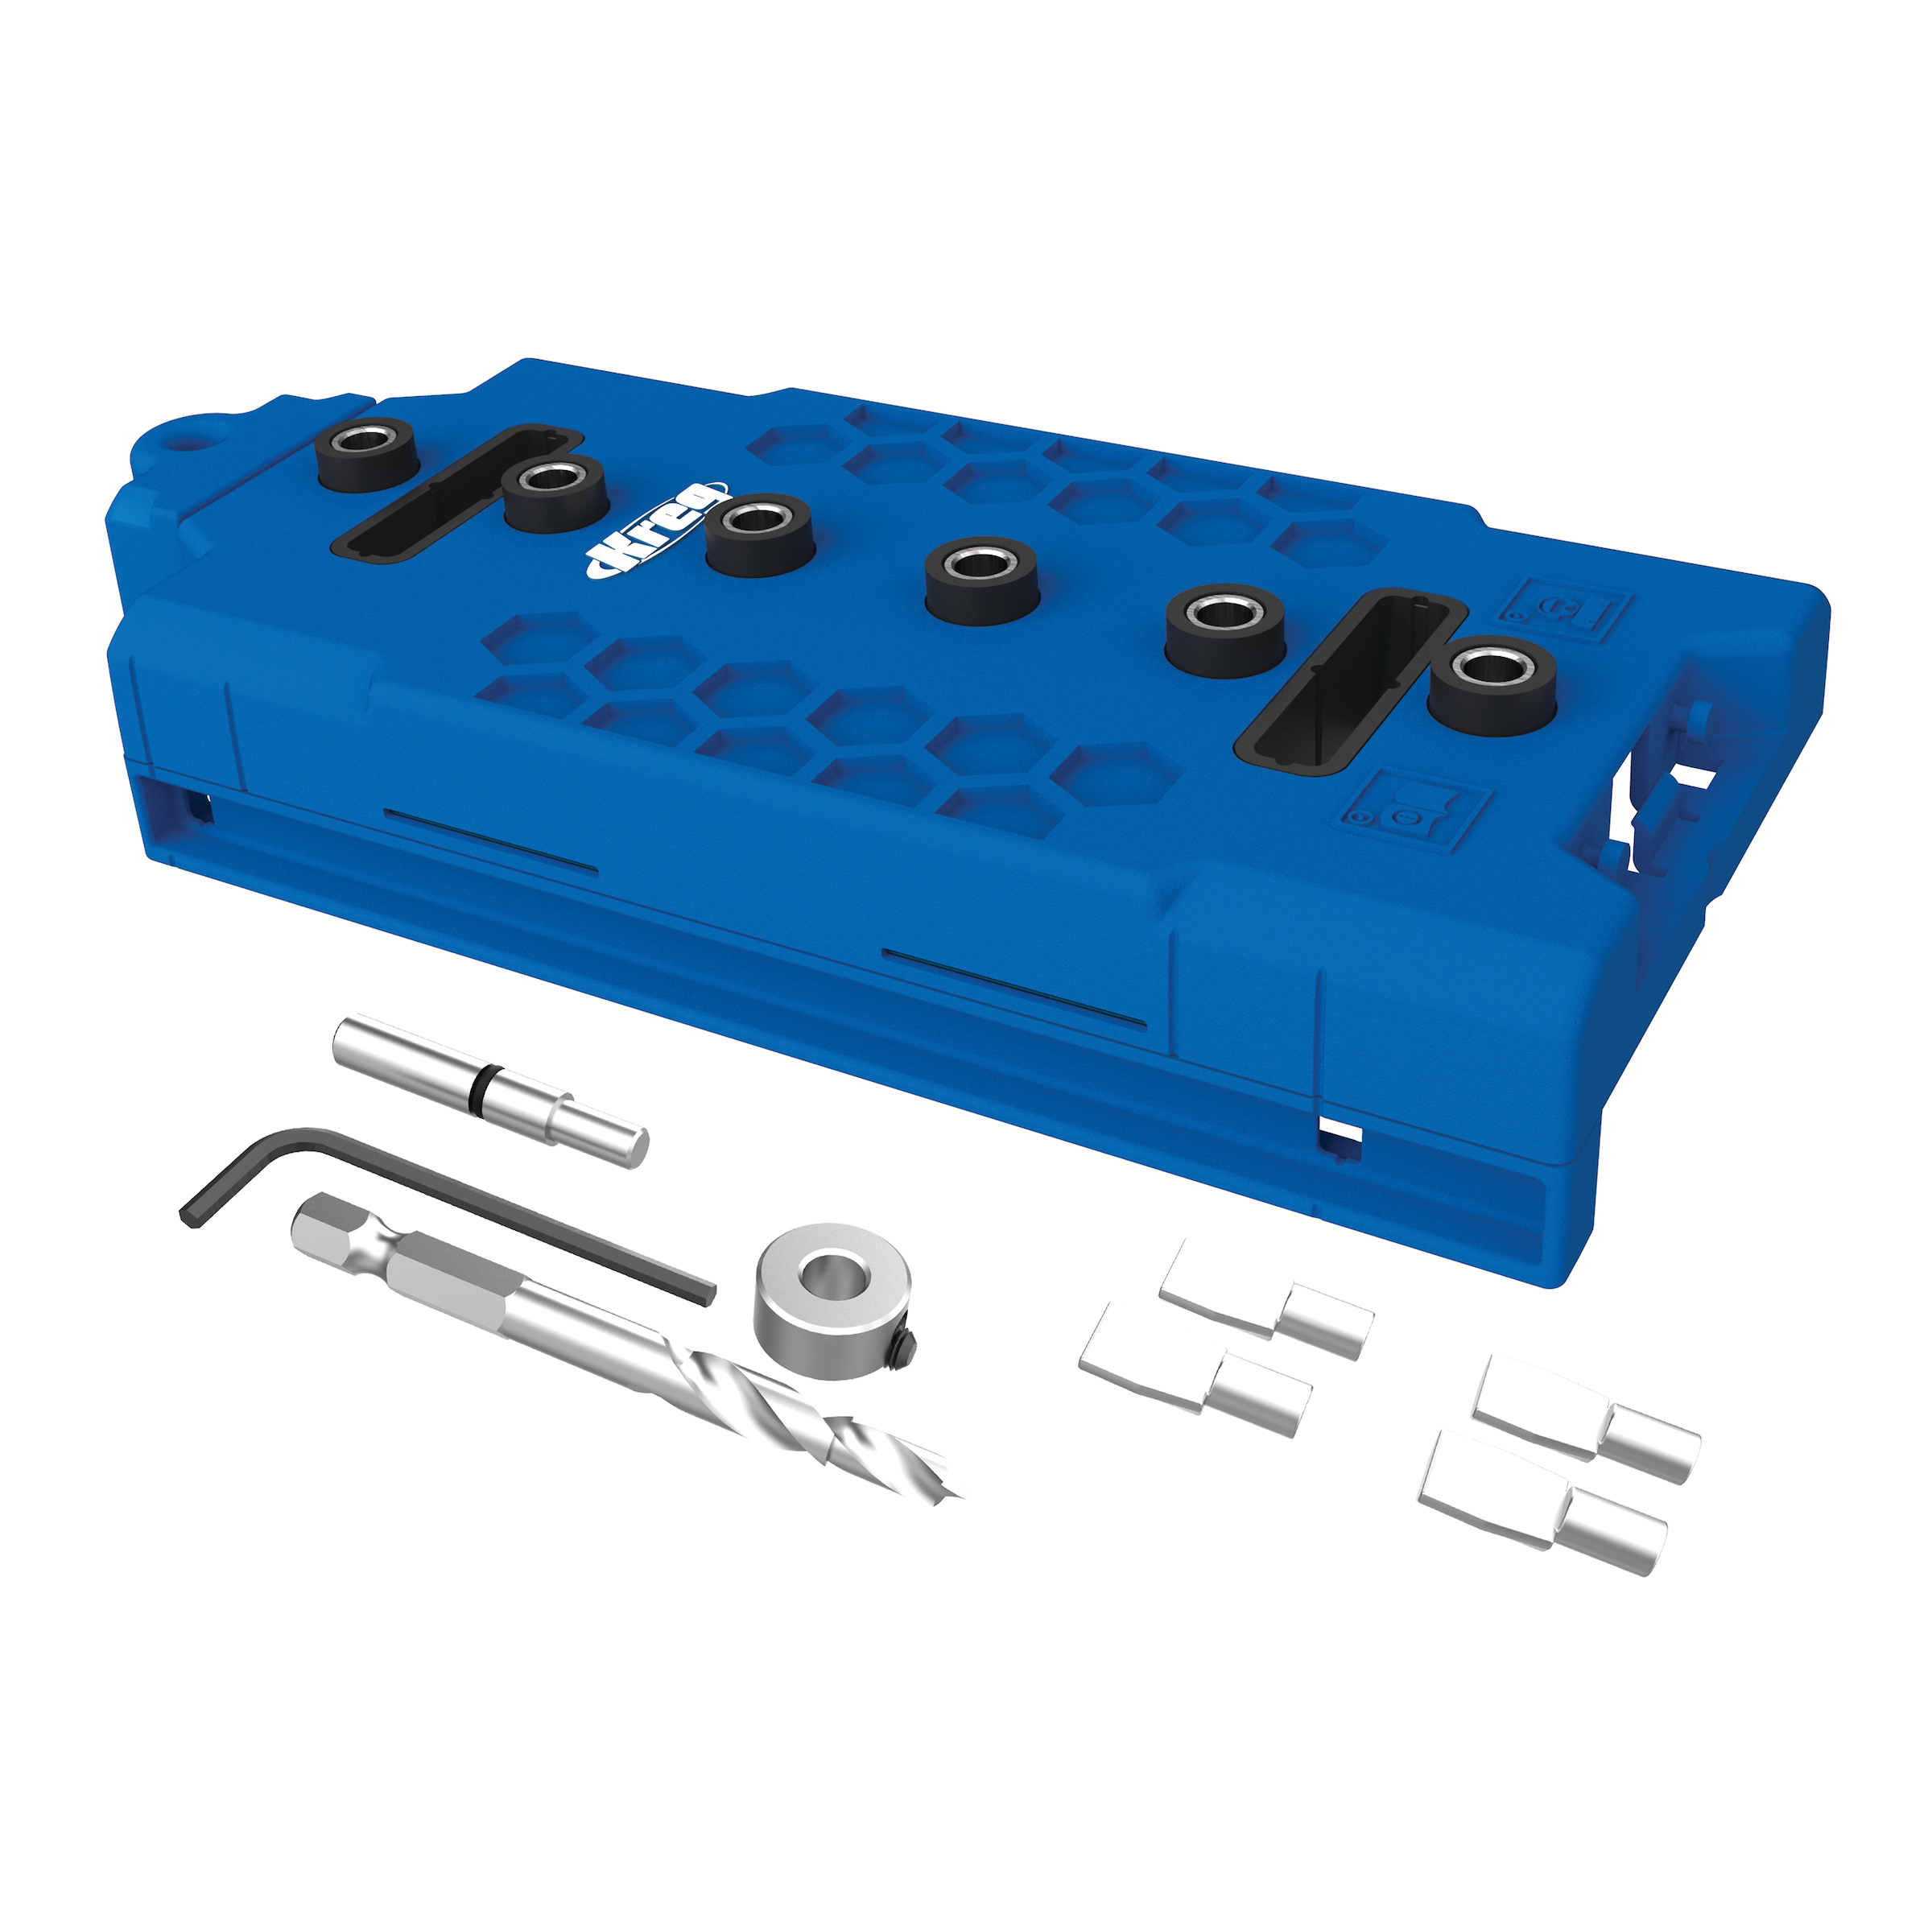
Kreg Tools


Other Tools
-
Miter saw

-
Level
Materials
Wood Products
- 1 Board , 1x8 (3/4" x 7 1/4") , 8' long
- 1 Board , 1x2 (3/4" x 1 1/2") , 2' long
- 1 Dowel , 3/8" , 2' long
Hardware & Supplies
- 16 1 1/4" pocket hole screws
- 1 Wood glue
- 4 5mm shelf pins
- 2 2" wood screws
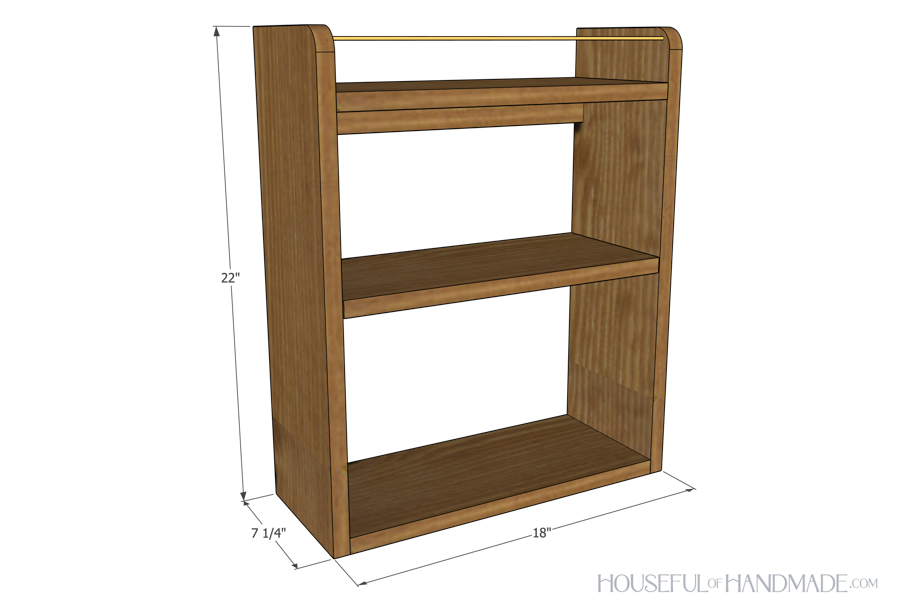
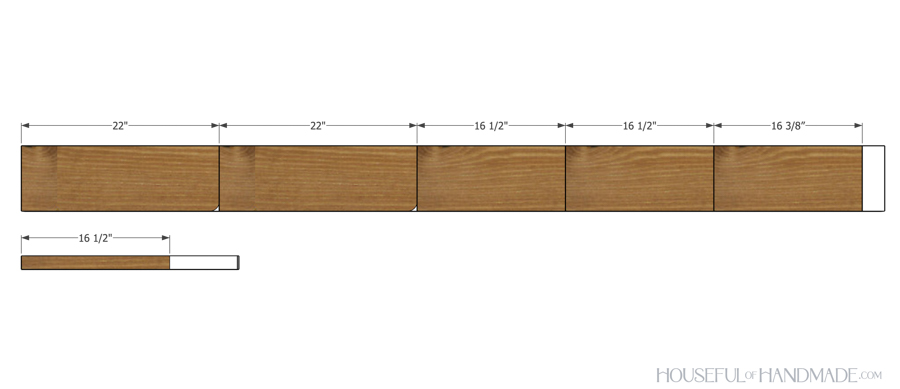
Cut List & Parts
- 2 Side, 1x8 , 3/4" x 7 1/4" x 22"
- 2 Top/bottom, 1x8 , 3/4" x 7 1/4" x 16 1/2"
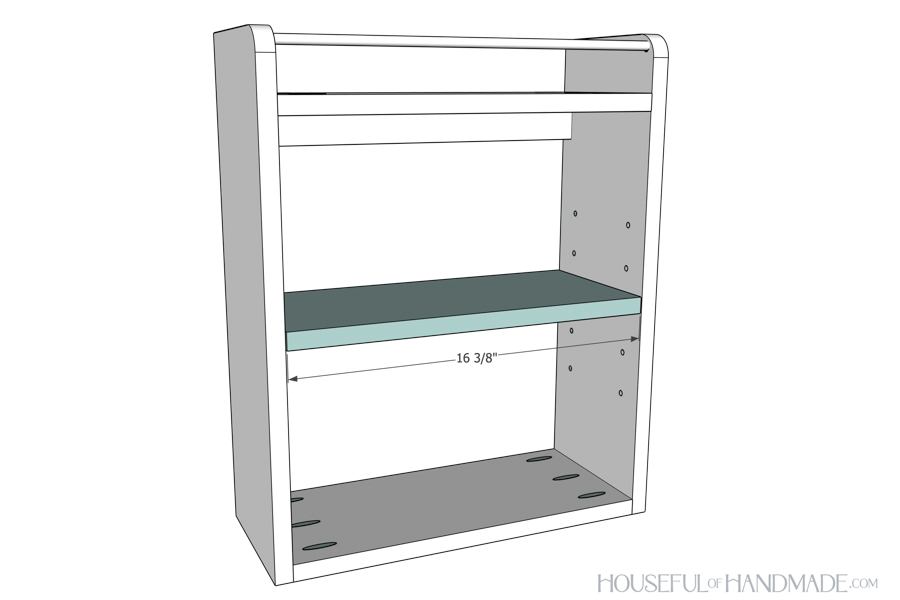
- 1 Shelf, 1x8 , 3/4" x 7 1/4" x 16 3/8"
- 1 Back support, 1x2 , 3/4" x 1 1/2" x 16 1/2"
- 1 Rail, dowel , 3/8" x 17 3/8"
Directions
-
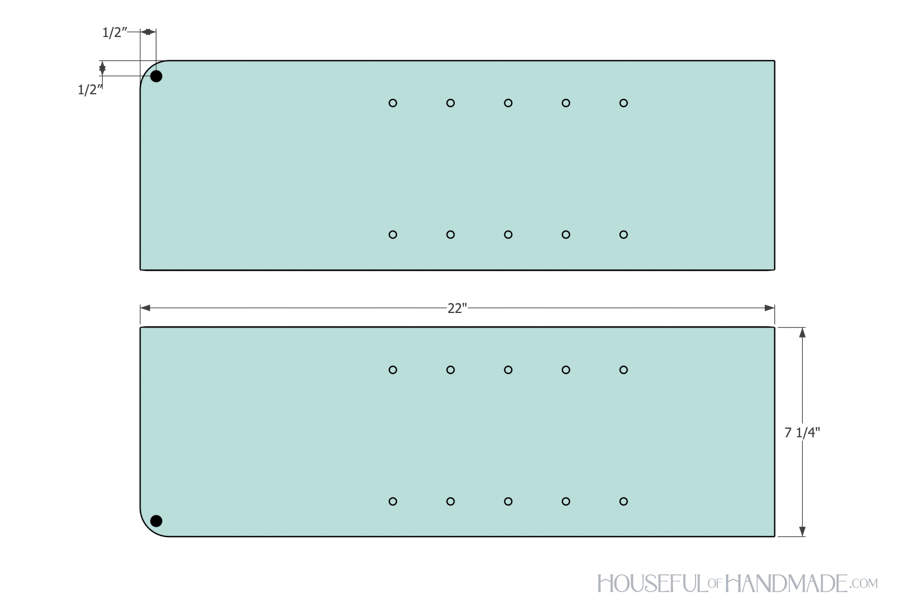
Prep the sides
On the two side pieces, measure in 1/2" and down 1/2" on the top front corner. Drill a 3/8" hole 3/8"deep so the center is on this mark.
If desired, round over the front of the corner. I used a small cap to trace a small curve in the corner then sanded it to the line.
Lastly, use the shelf pin jig to drill shelf pin holes in the sides. The top shelf board will be 2 1/2" below the top of the sides so you only need a few shelf pin holes in the middle of the lower ~20".
-
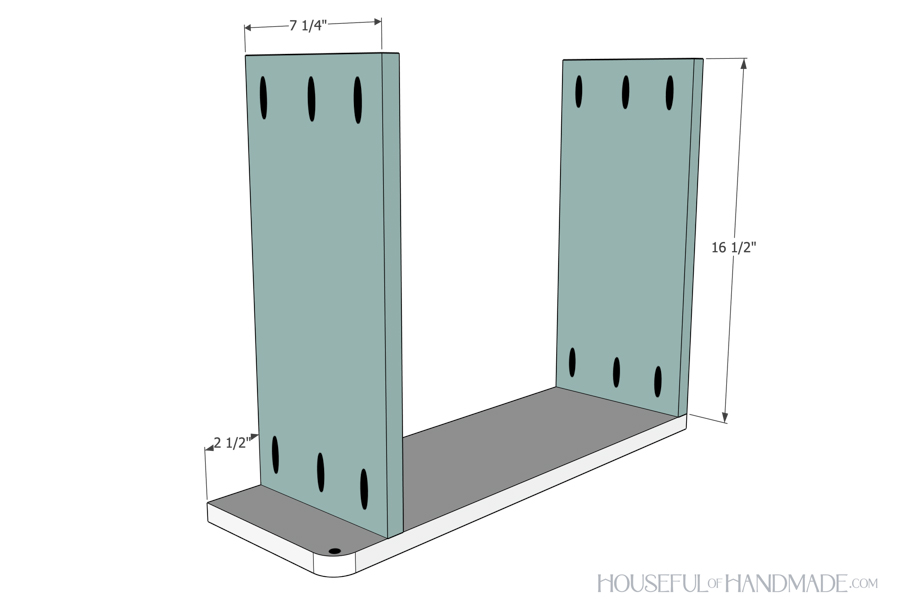
Add top & bottom
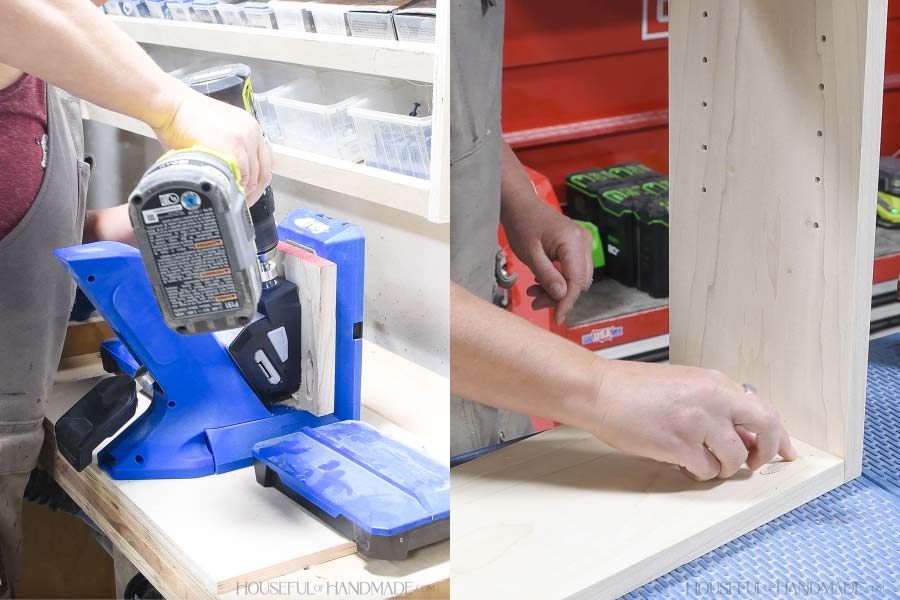
Set your pocket hole jig to drill holes in 3/4" material. Drill 3 pocket holes in both sides of the top and bottom boards.
Attach the top board to one side so it is 2 1/2" down from the top. Attach the bottom board so it is flush with the bottom of the side. Secure with wood glue and 1 1/4" pocket hole screws.
Face pocket holes up
It may seem odd, but if you face the pocket hole toward the top of the shelf, the items on the shelf will help hide them when it is hung on the wall. Pocket holes on the bottom of the shelves will be more visible.
-
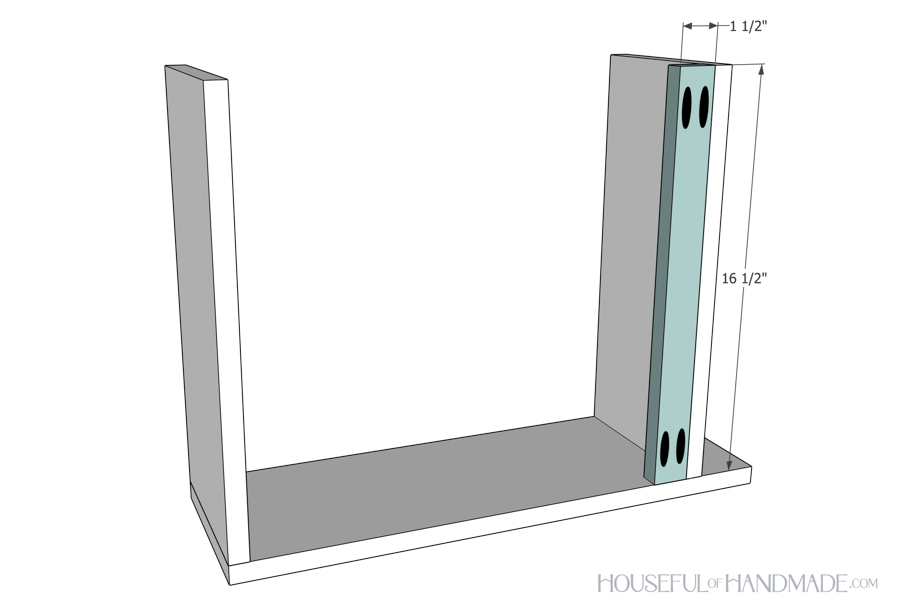
Add back support
With the pocket hole jig still set for 3/4" thick material, drill 2 pocket holes on each end of the back support board.
Attach it to the side board directly below the top board so it is flush with the back. Secure with wood glue and 1 1/4" pocket hole screws.
-
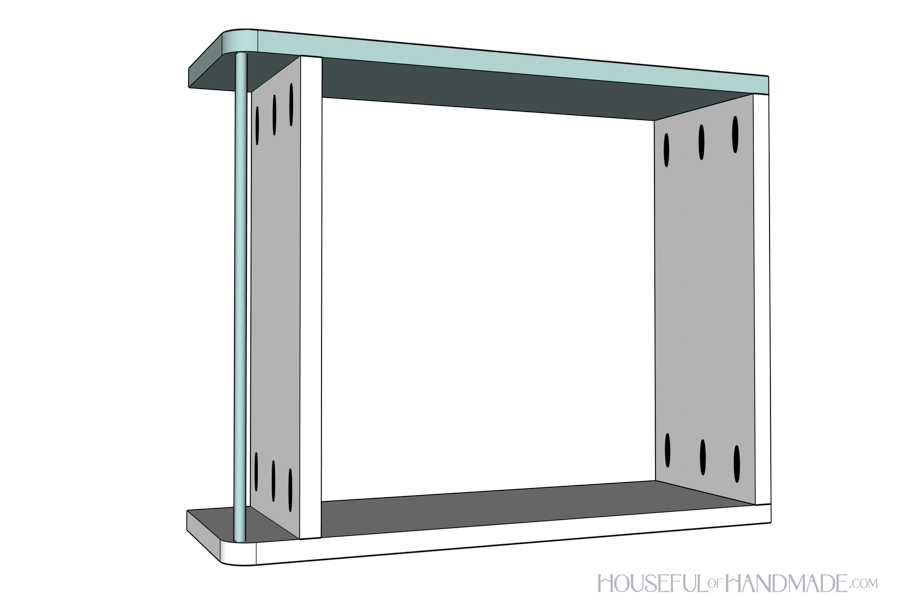
Attach rail and other side
Slide the rail dowel into the hole on the top of the side board. Then slide the second side piece on top of it so the dowel is seated in the hole in it as well.
Line the side up so the top board is 2 1/2" below the top and the bottom is flush to the bottom. Secure all boards to the second side with 1 1/4" pocket hole screws and glue.
Finishing Tip
I wanted the rail to be finished differently than the rest of the shelf so I painted it before attaching it. Then I taped it off when staining the shelf to get the two different colors.
-
Fill pocket holes
Fill the pocket holes to better hide them. I used the Kreg plug cutter to cut custom plugs to match the species and grain of my shelf (I used poplar).
-
Finish
Sand and finish your assembled shelf and the shelf board. I stained mine with a dark walnut color and painted the rail with gold spray paint so it looked like metal.
Place the 4 shelf pins into holes to hold your adjustable shelf where you want it.
-
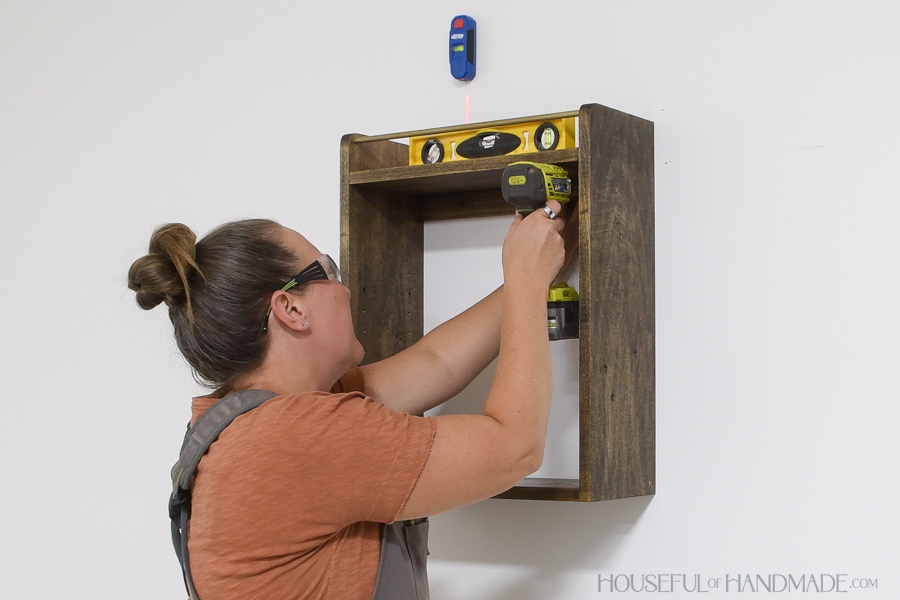
Hang and enjoy
To hang your shelf on the wall in your room, ensure it is level. Then use the 2" wood screws through the back support into the wall studs to secure. If you cannot get both screws into a stud, use a heavy duty wall anchor on the one that is not in a stud. But make sure at least 1 screw is in a wall stud for a strong shelf.
Now you can load your cute new shelf up with all your favorite things and enjoy! Then visit me at Housefulofhandmade.com to find even more fun things to build for your home.