

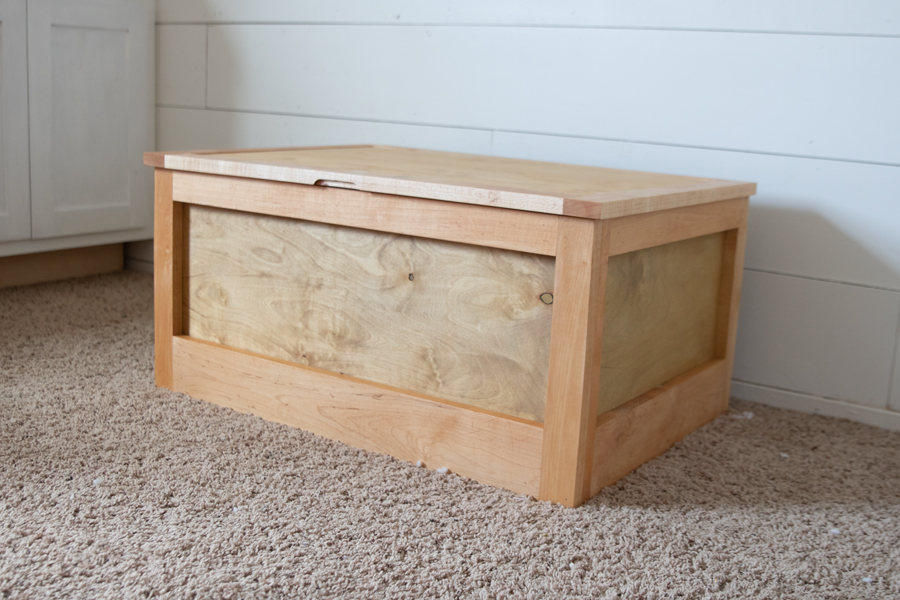
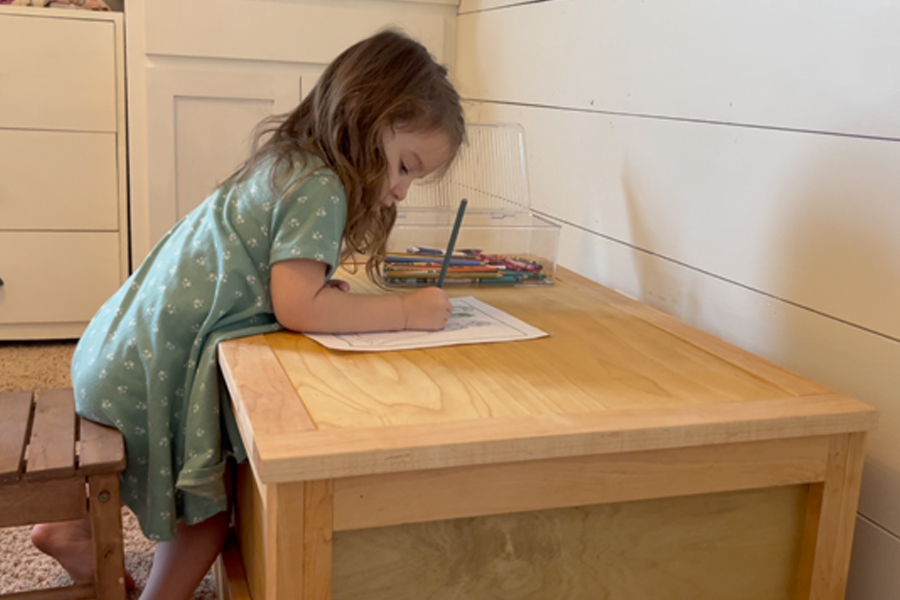


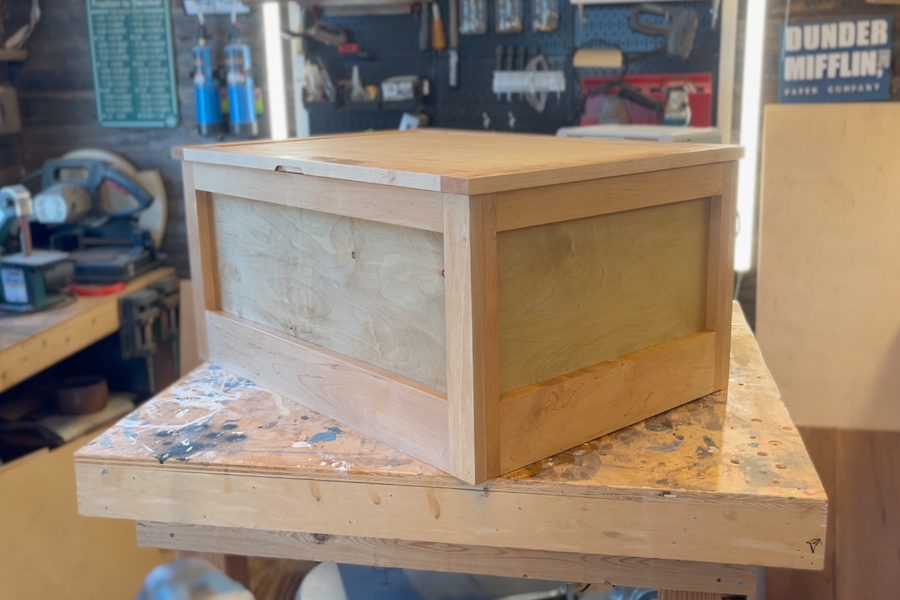
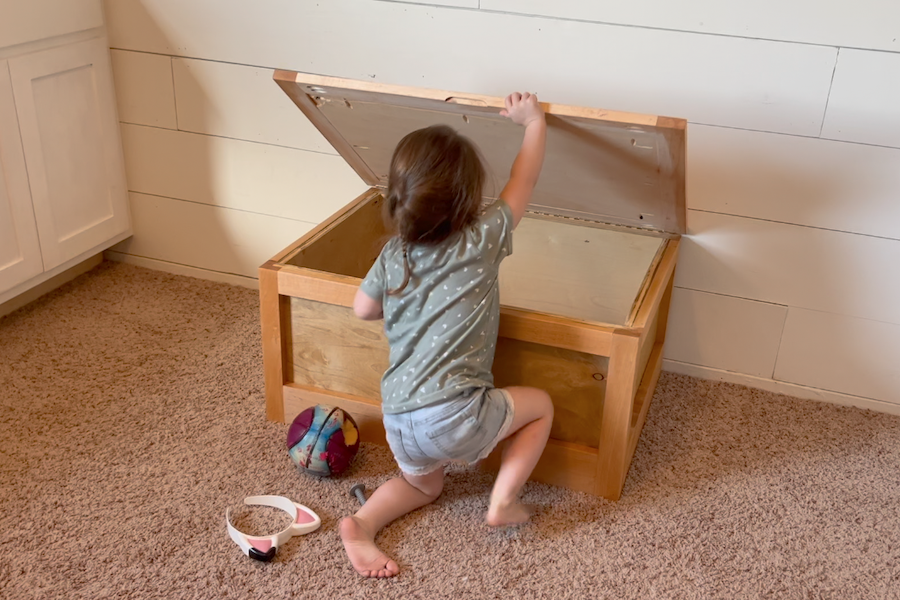
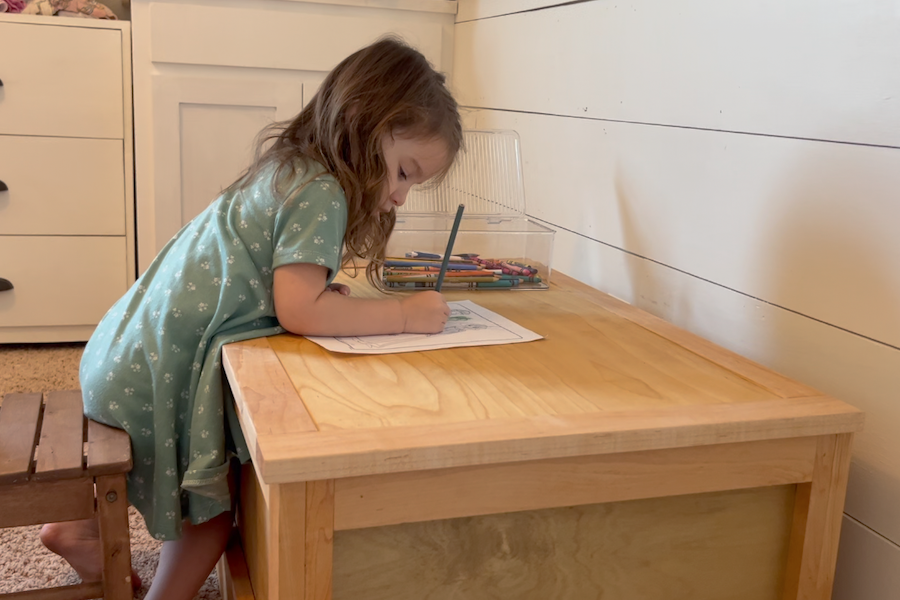
Toyboxes are not typically associated with any class of high end furniture. I designed this shaker style toy box to change that! This maple storage solution doubles as a work table and can easily be converted into a coffee table once the kids have outgrown it!
Tools
Kreg Tools


Other Tools
-
Miter saw

-
Table saw
-
16 Gauge Nail Gun
Materials
Wood Products
- 1 Maple Boards , 1x4
- 1 Maple Plywood , 3/4"
- 1 Birch Plywood , 1/2
Hardware & Supplies
- 1 Box of 1 1/4" Kreg Pocket Hole Screws (See tools list)
- 1 24" Piano hinge or a set of soft close toy box hinges
- 1 Linseed Oil
- 1 Wood Glue
Cut List & Parts
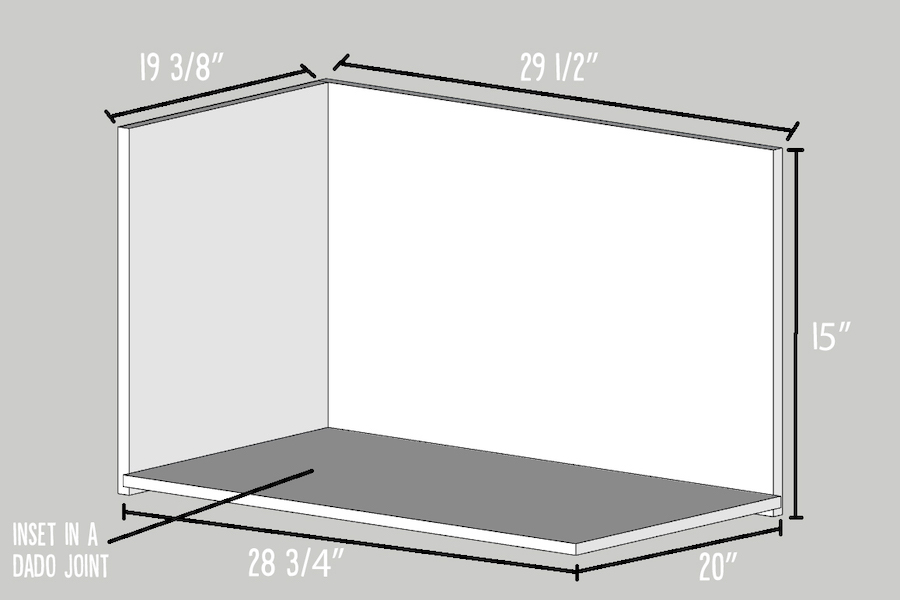
- 2 Maple plywood- Body , 29 1/2” x 15”
- 2 Maple plywood- Body , 19 3/8” x 15”
- 1 Birch plywood to be inset as the base of the toybox , 20” x 28 3/4”
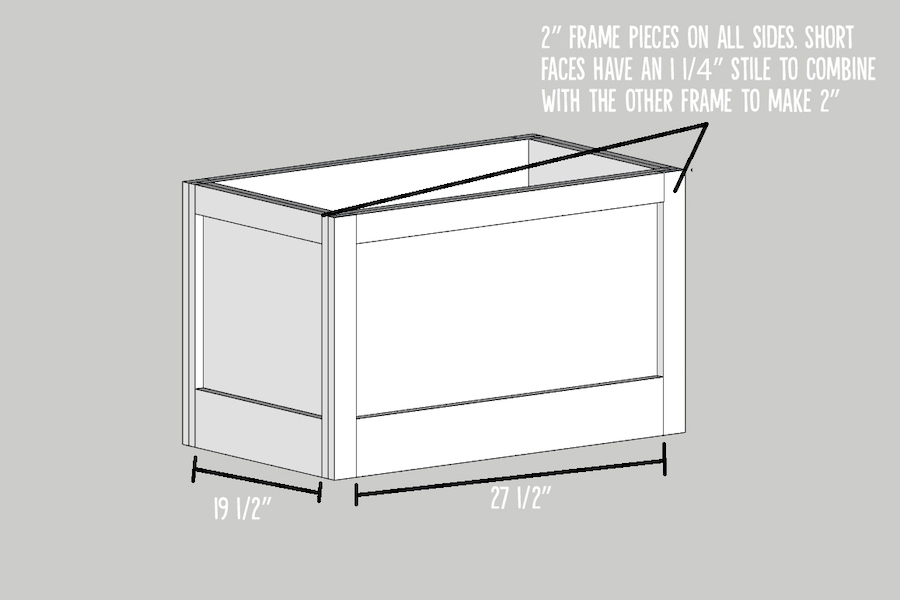
- 4 Solid maple to make up the stiles on the long faces of the box , 2” x 15” x 3/4"
- 4 Solid maple to make up the stiles on the short faces of the box , 1 1/4” x 15” x 3/4"
- 2 Solid maple to make up the top rails on the short faces of the box , 2” x 19 1/2” x 3/4"
- 2 Solid maple to make up the bottom rails on the short faces of the box , 4” x 19 1/2” x 3/4"
- 2 Solid maple to make up the top rails on the long faces of the box , 2” x 27 1/2” x 3/4"
- 2 Solid maple to make up the bottom rails on the long faces of the box , 4” x 27 1/2” x 3/4"
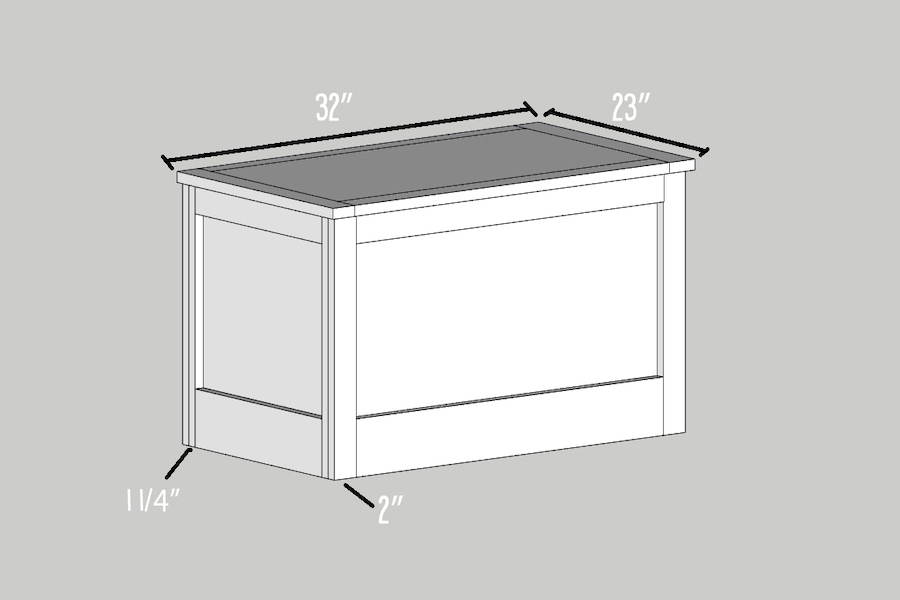
- 2 Solid maple to make up the stiles of the lid , 2” x 23” x 3/4"
- 2 Solid maple to make up the rails of the lid , 2” x 28” x 3/4”
- 1 Maple plywood to be the core of the lid , 28” x 18 7/8” x 3/4"
Directions
-
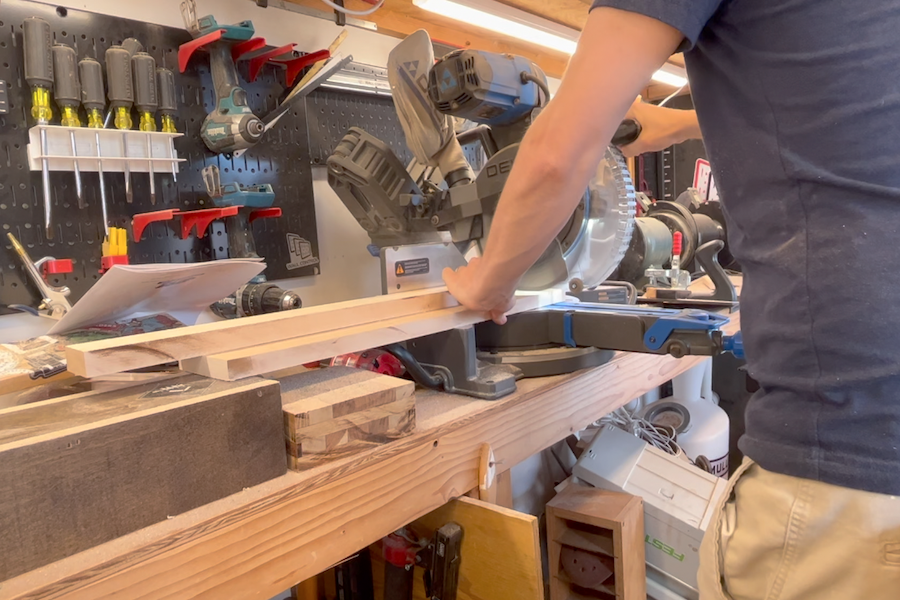
Cut
Cut the pieces that make up the body of the box.
-
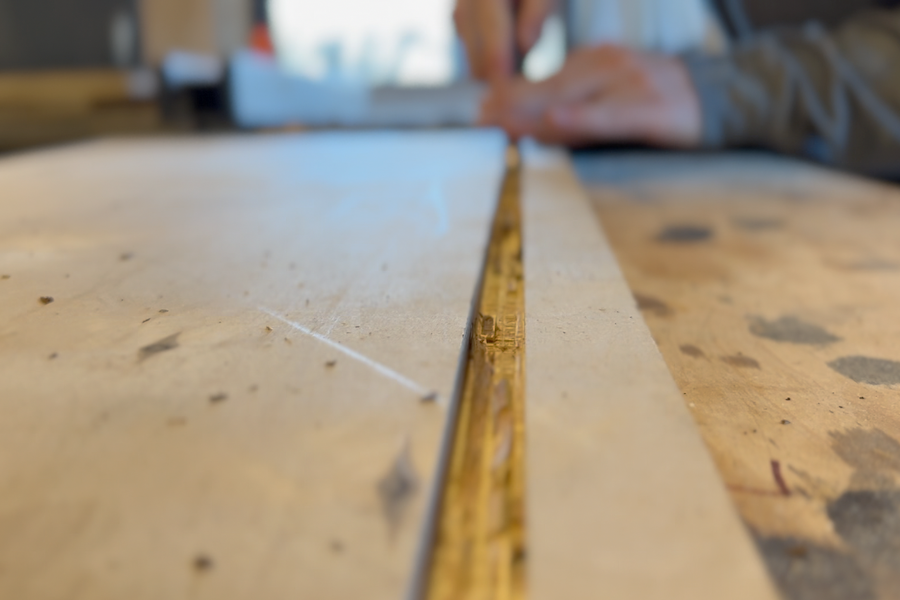
Cut
Cut a rabbet in all of the pieces to fit a 1/2 bottom.
-
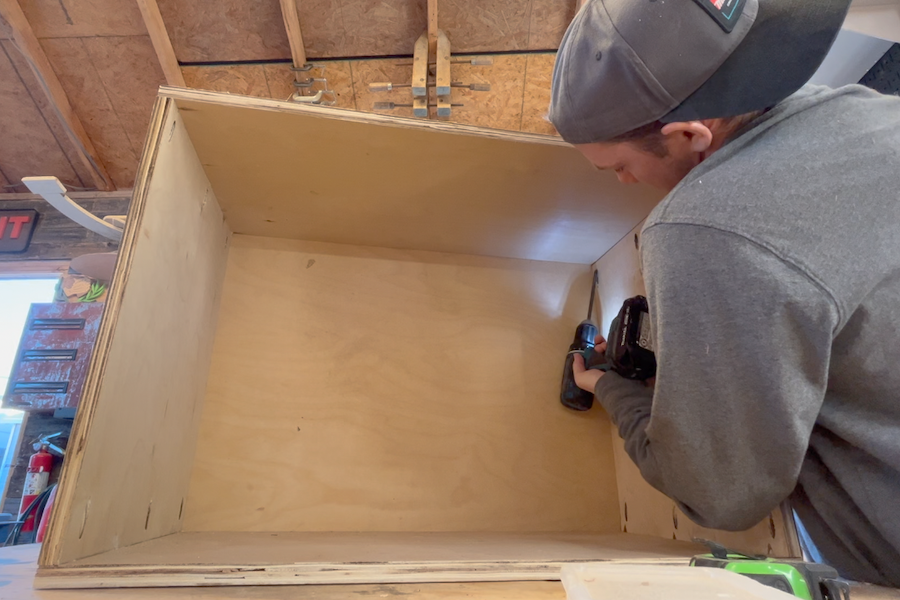
Join
Join all of the pieces together with pocket holes and glue.
-
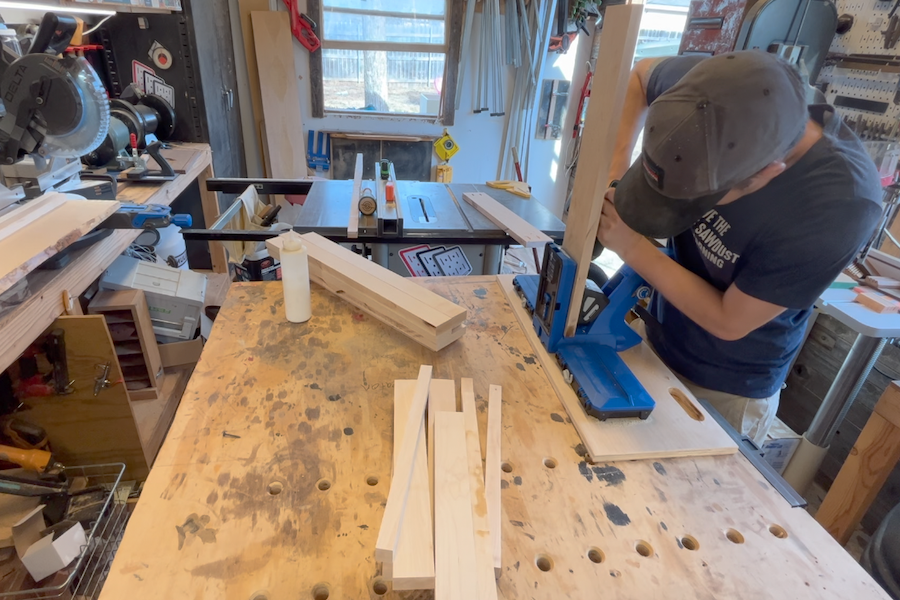
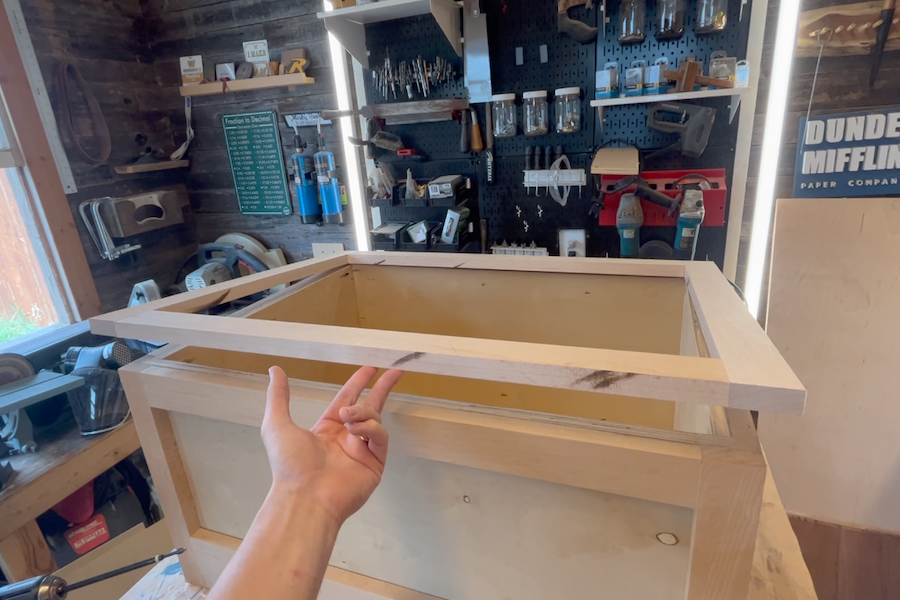
Cut
Cut the frame pieces that will make up the panels on the box.
-
Screw
Pocket hole all of those pieces and join them together.
-
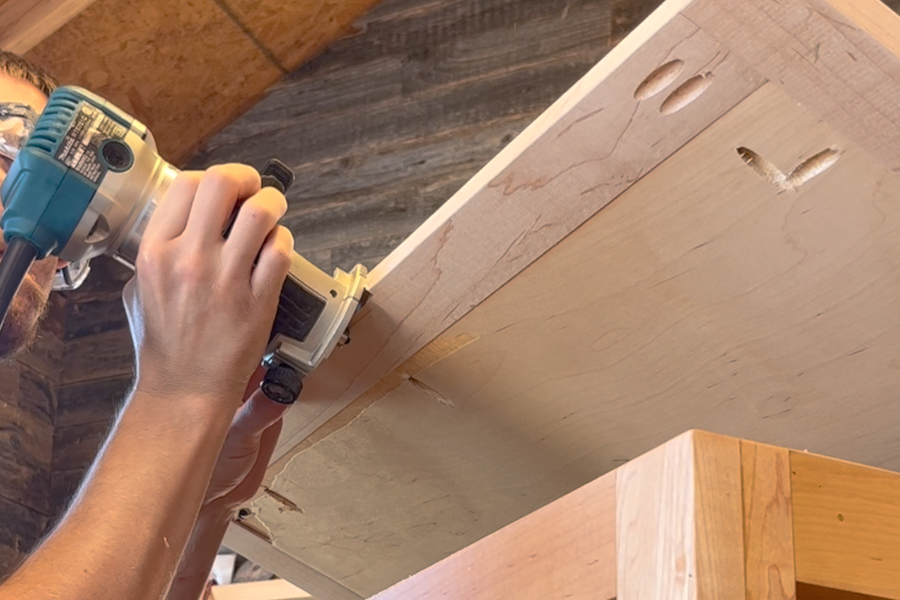
Glue
Glue and nail your panels to the faces of the box.

-
Build
Construct the lid from the same material as the panels and secure a piece of 3/4” plywood in the center.
-
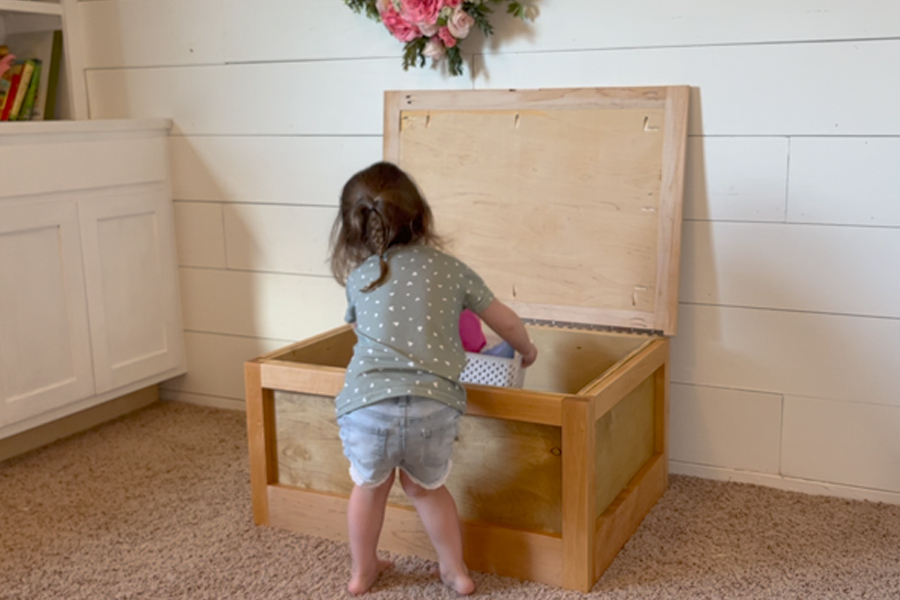
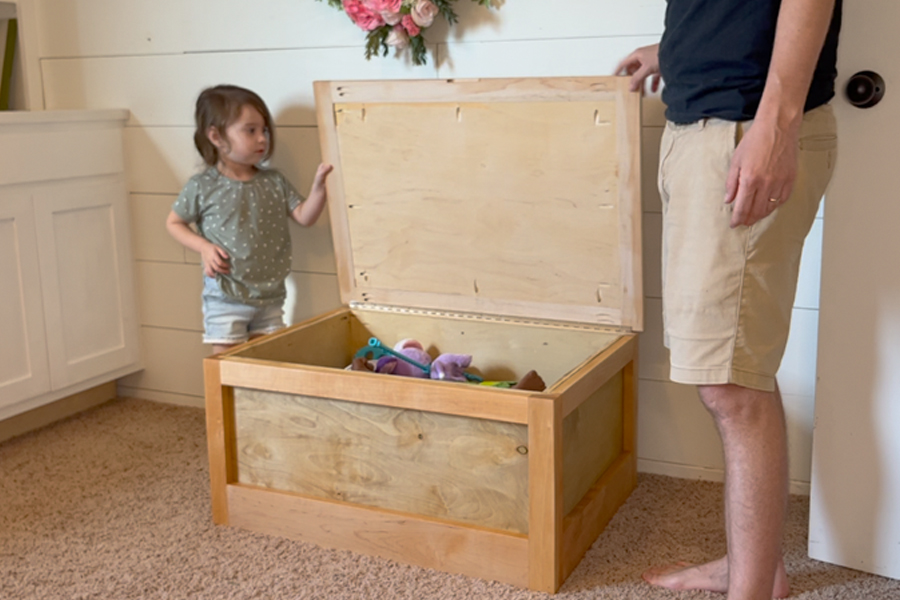
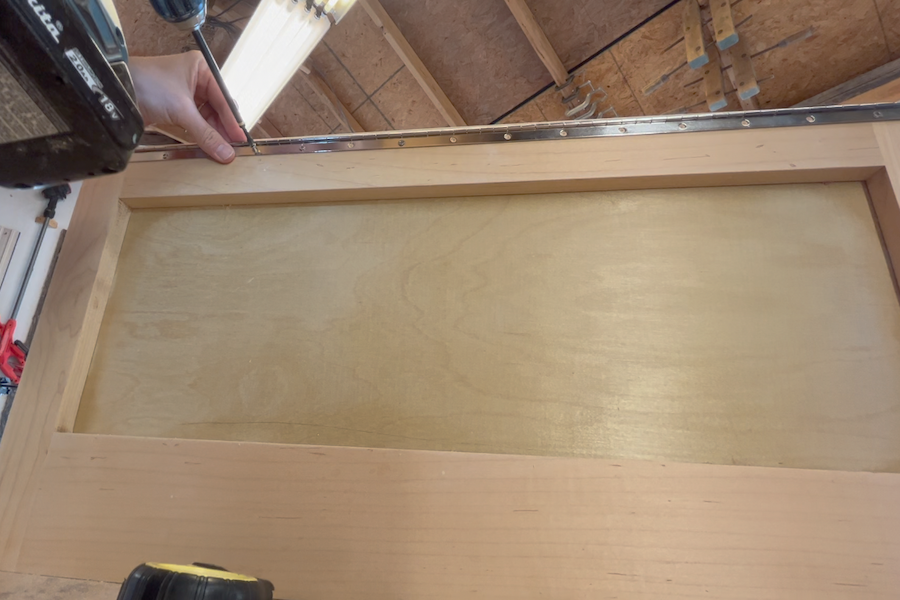
Attach hinge
Attach the lid to the toy box with a 24” piano hinge.
IMPORTANT: Remember to take precautions to ensure children’s safety around the toy box. If children will have unsupervised access to the toy box, use soft close toy box hinges or struts instead of the piano hinge.
-
Create Groove
Use your router to create a finer groove in the lid.
-
Protection
Finish your toy box with a clear coat to protect it.
-
Clean
Clean up the floor!
-
Finished!
And get to work!
Watch the Shaker Toybox Youtube Video here: https://youtu.be/bRXLd4fo788
http://YouTube.com/TheReformationWoodshop
http://Instagram.com/TheReformationWoodshop