


Come and build this cute scalloped planter with us! It has lots of character, AND is adjustable for different sized plants.
Tools
Kreg Tools


Other Tools

Materials
Wood Products
- 5 Cedar Board , 1 x 4 x 96
- 1 Cedar Board , 2 x 4 x 96
Hardware & Supplies
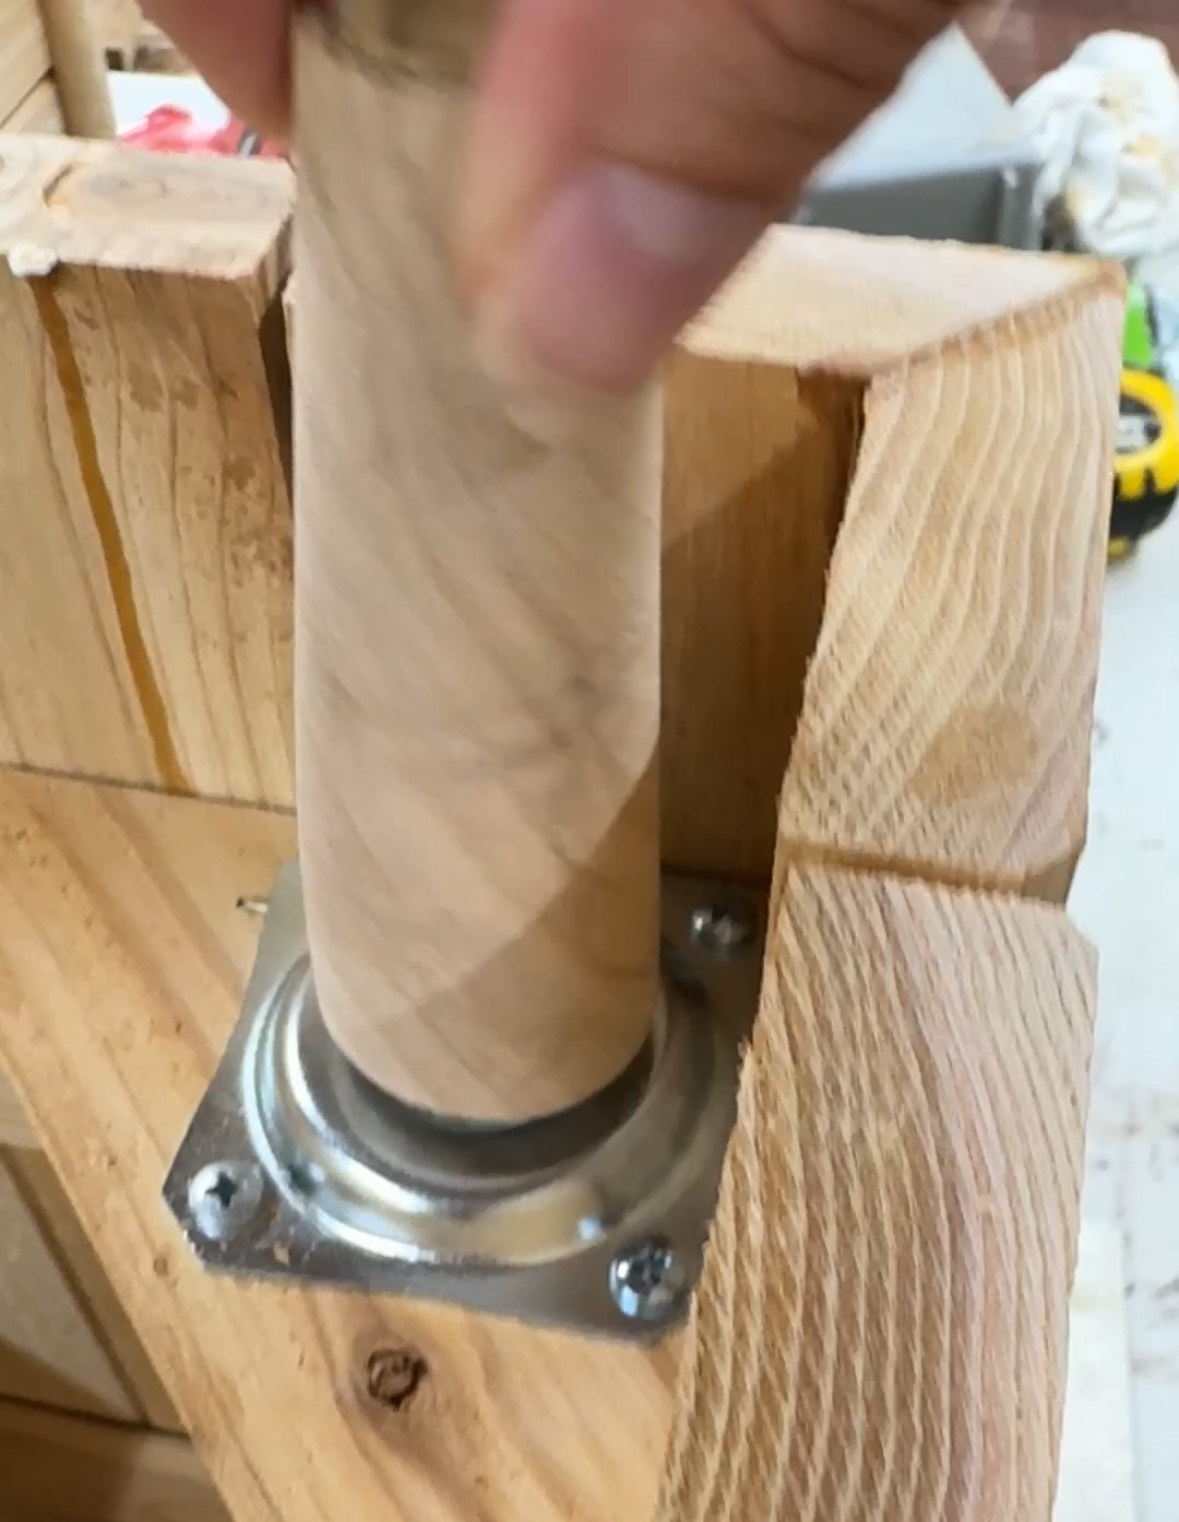
- 4 6" Tapered Leg
- 4 Leg Bracket
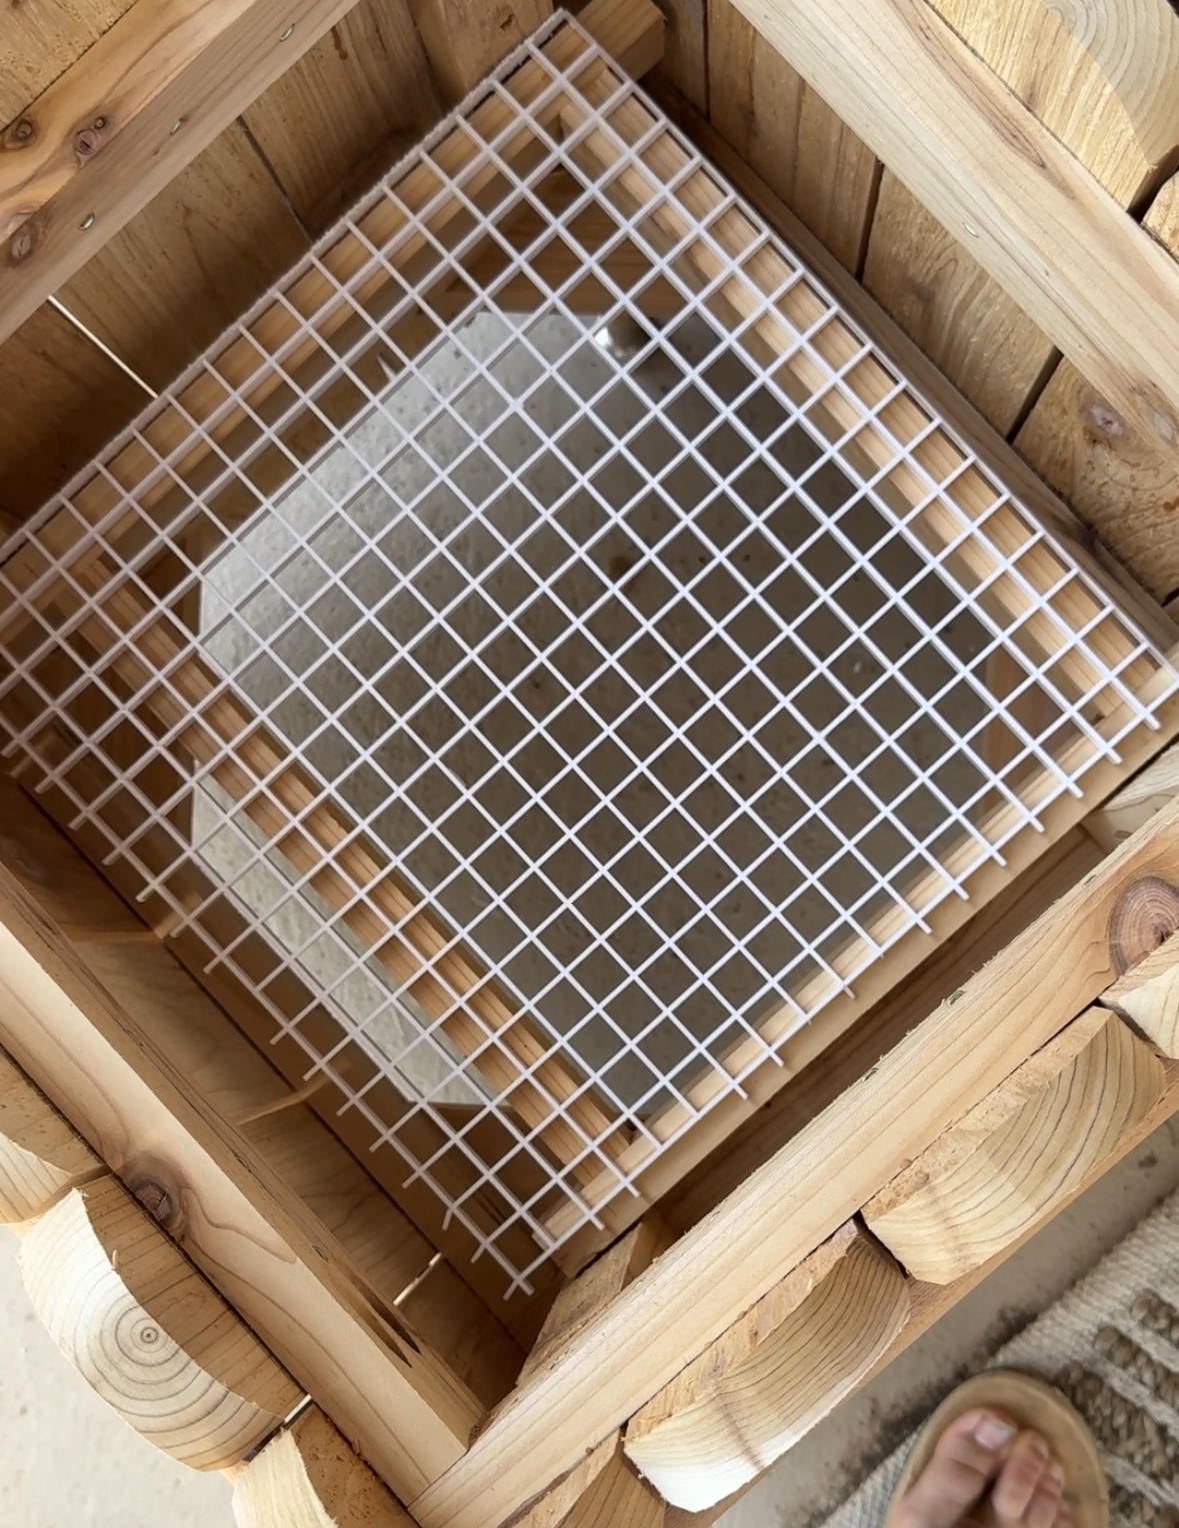
- 1 Shelf Support (12 pack)
- 1 Louver Light Panel
Directions
-
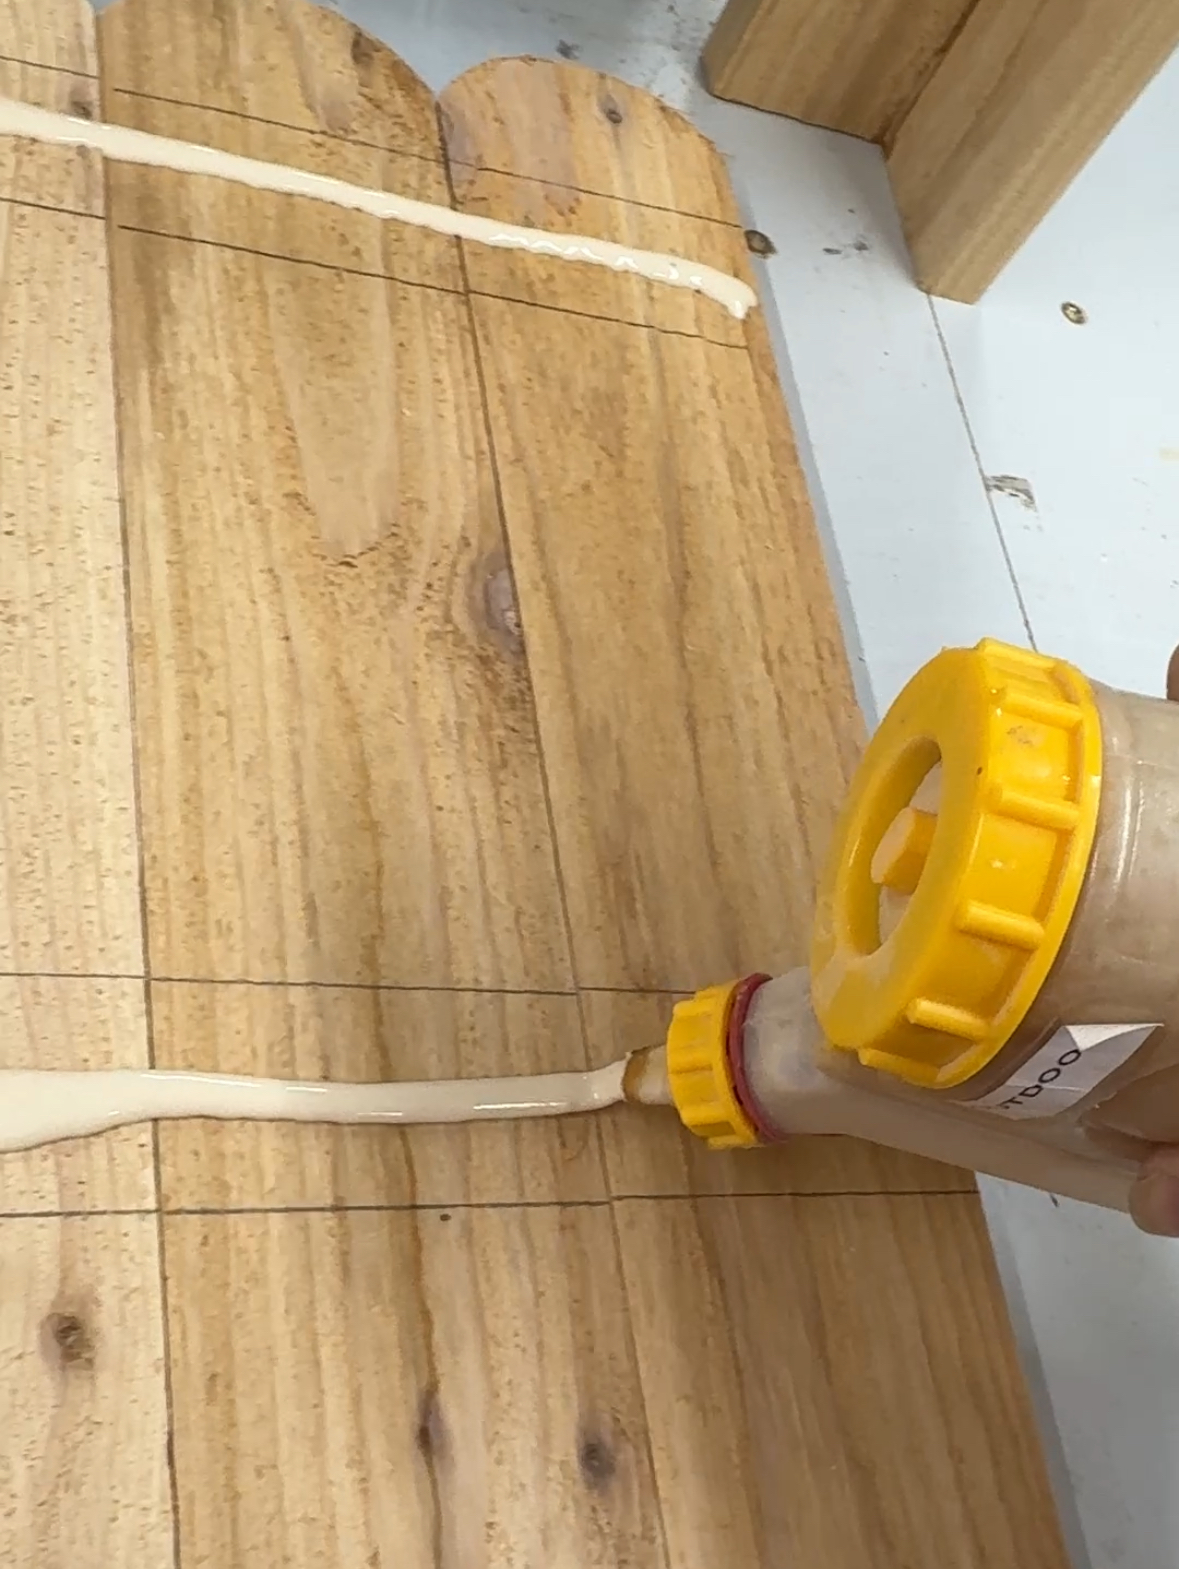
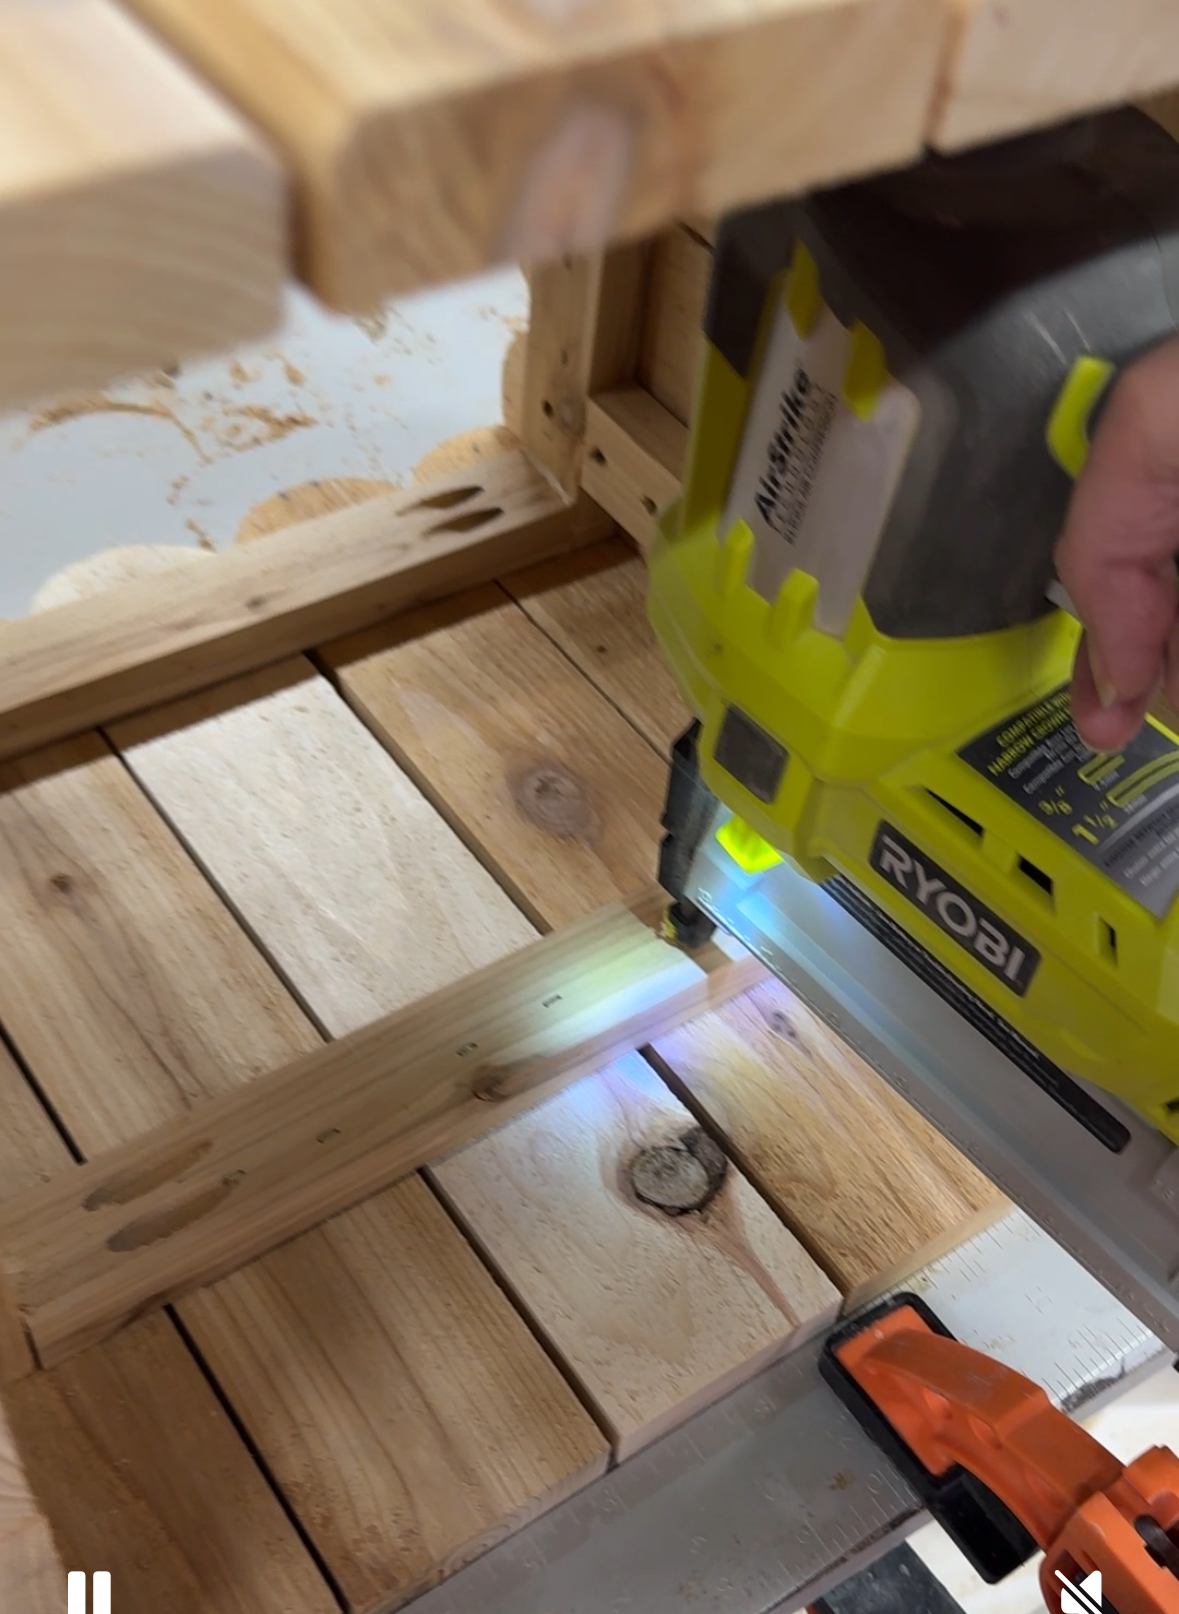
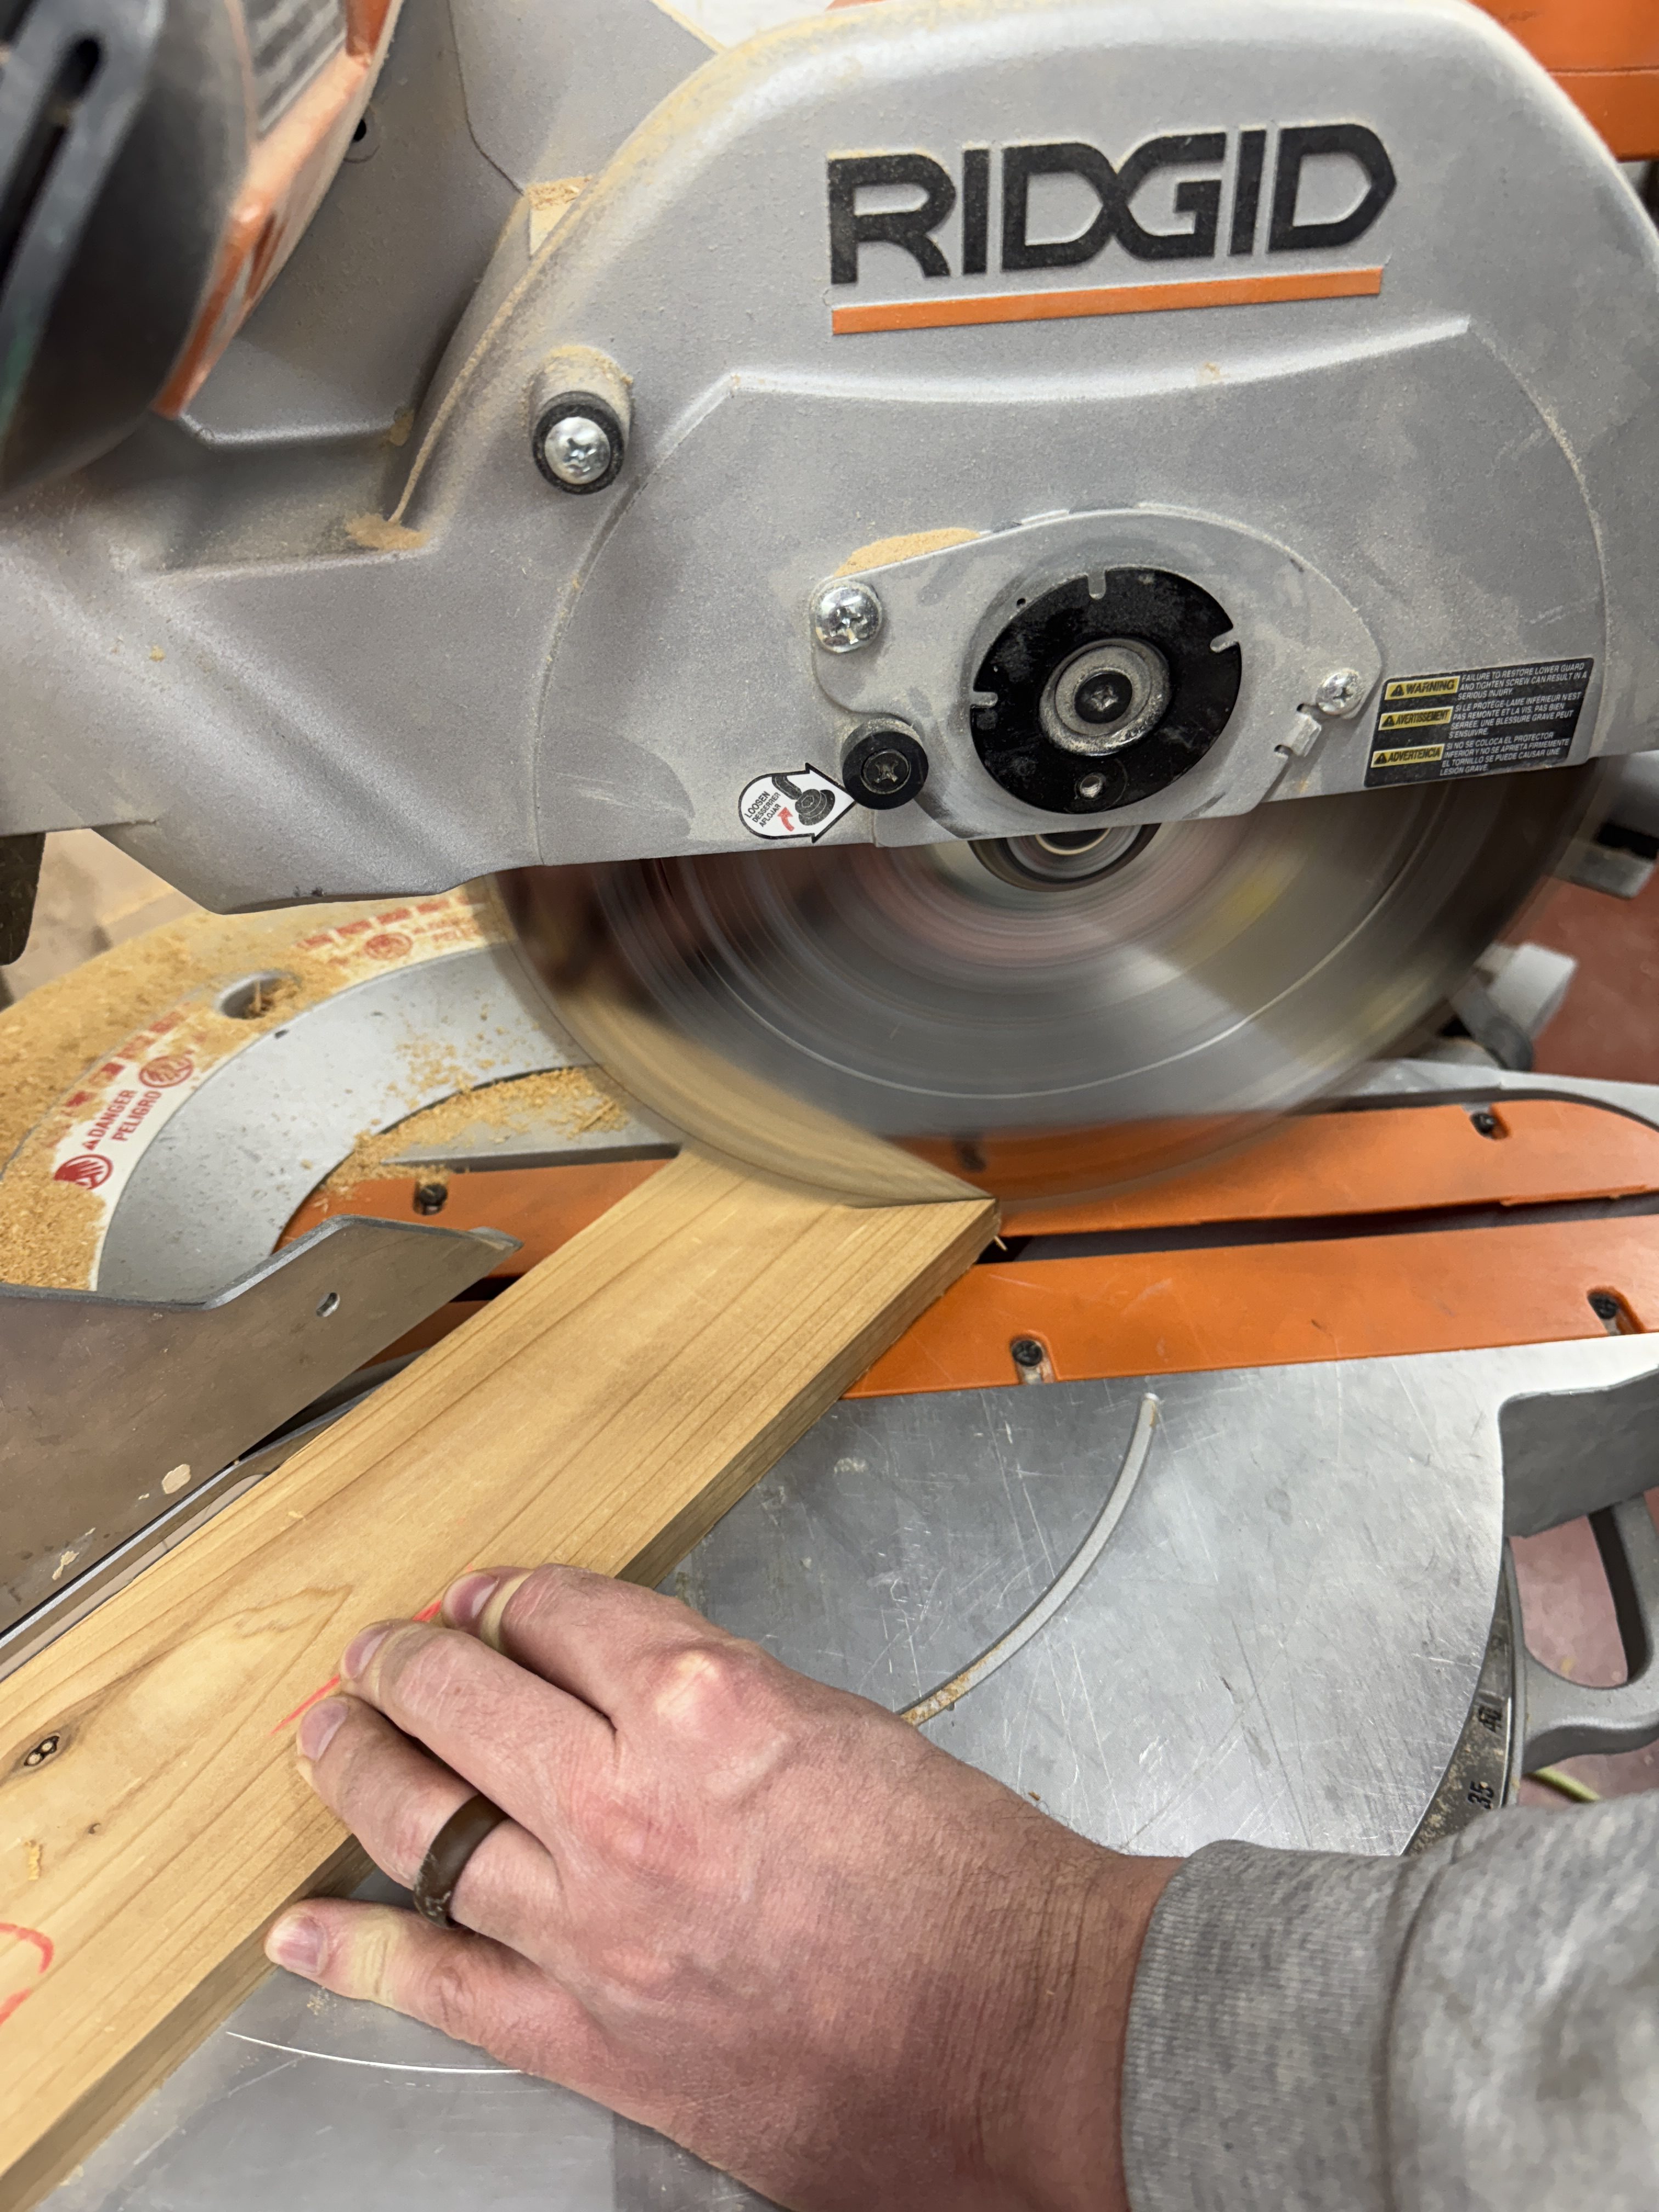
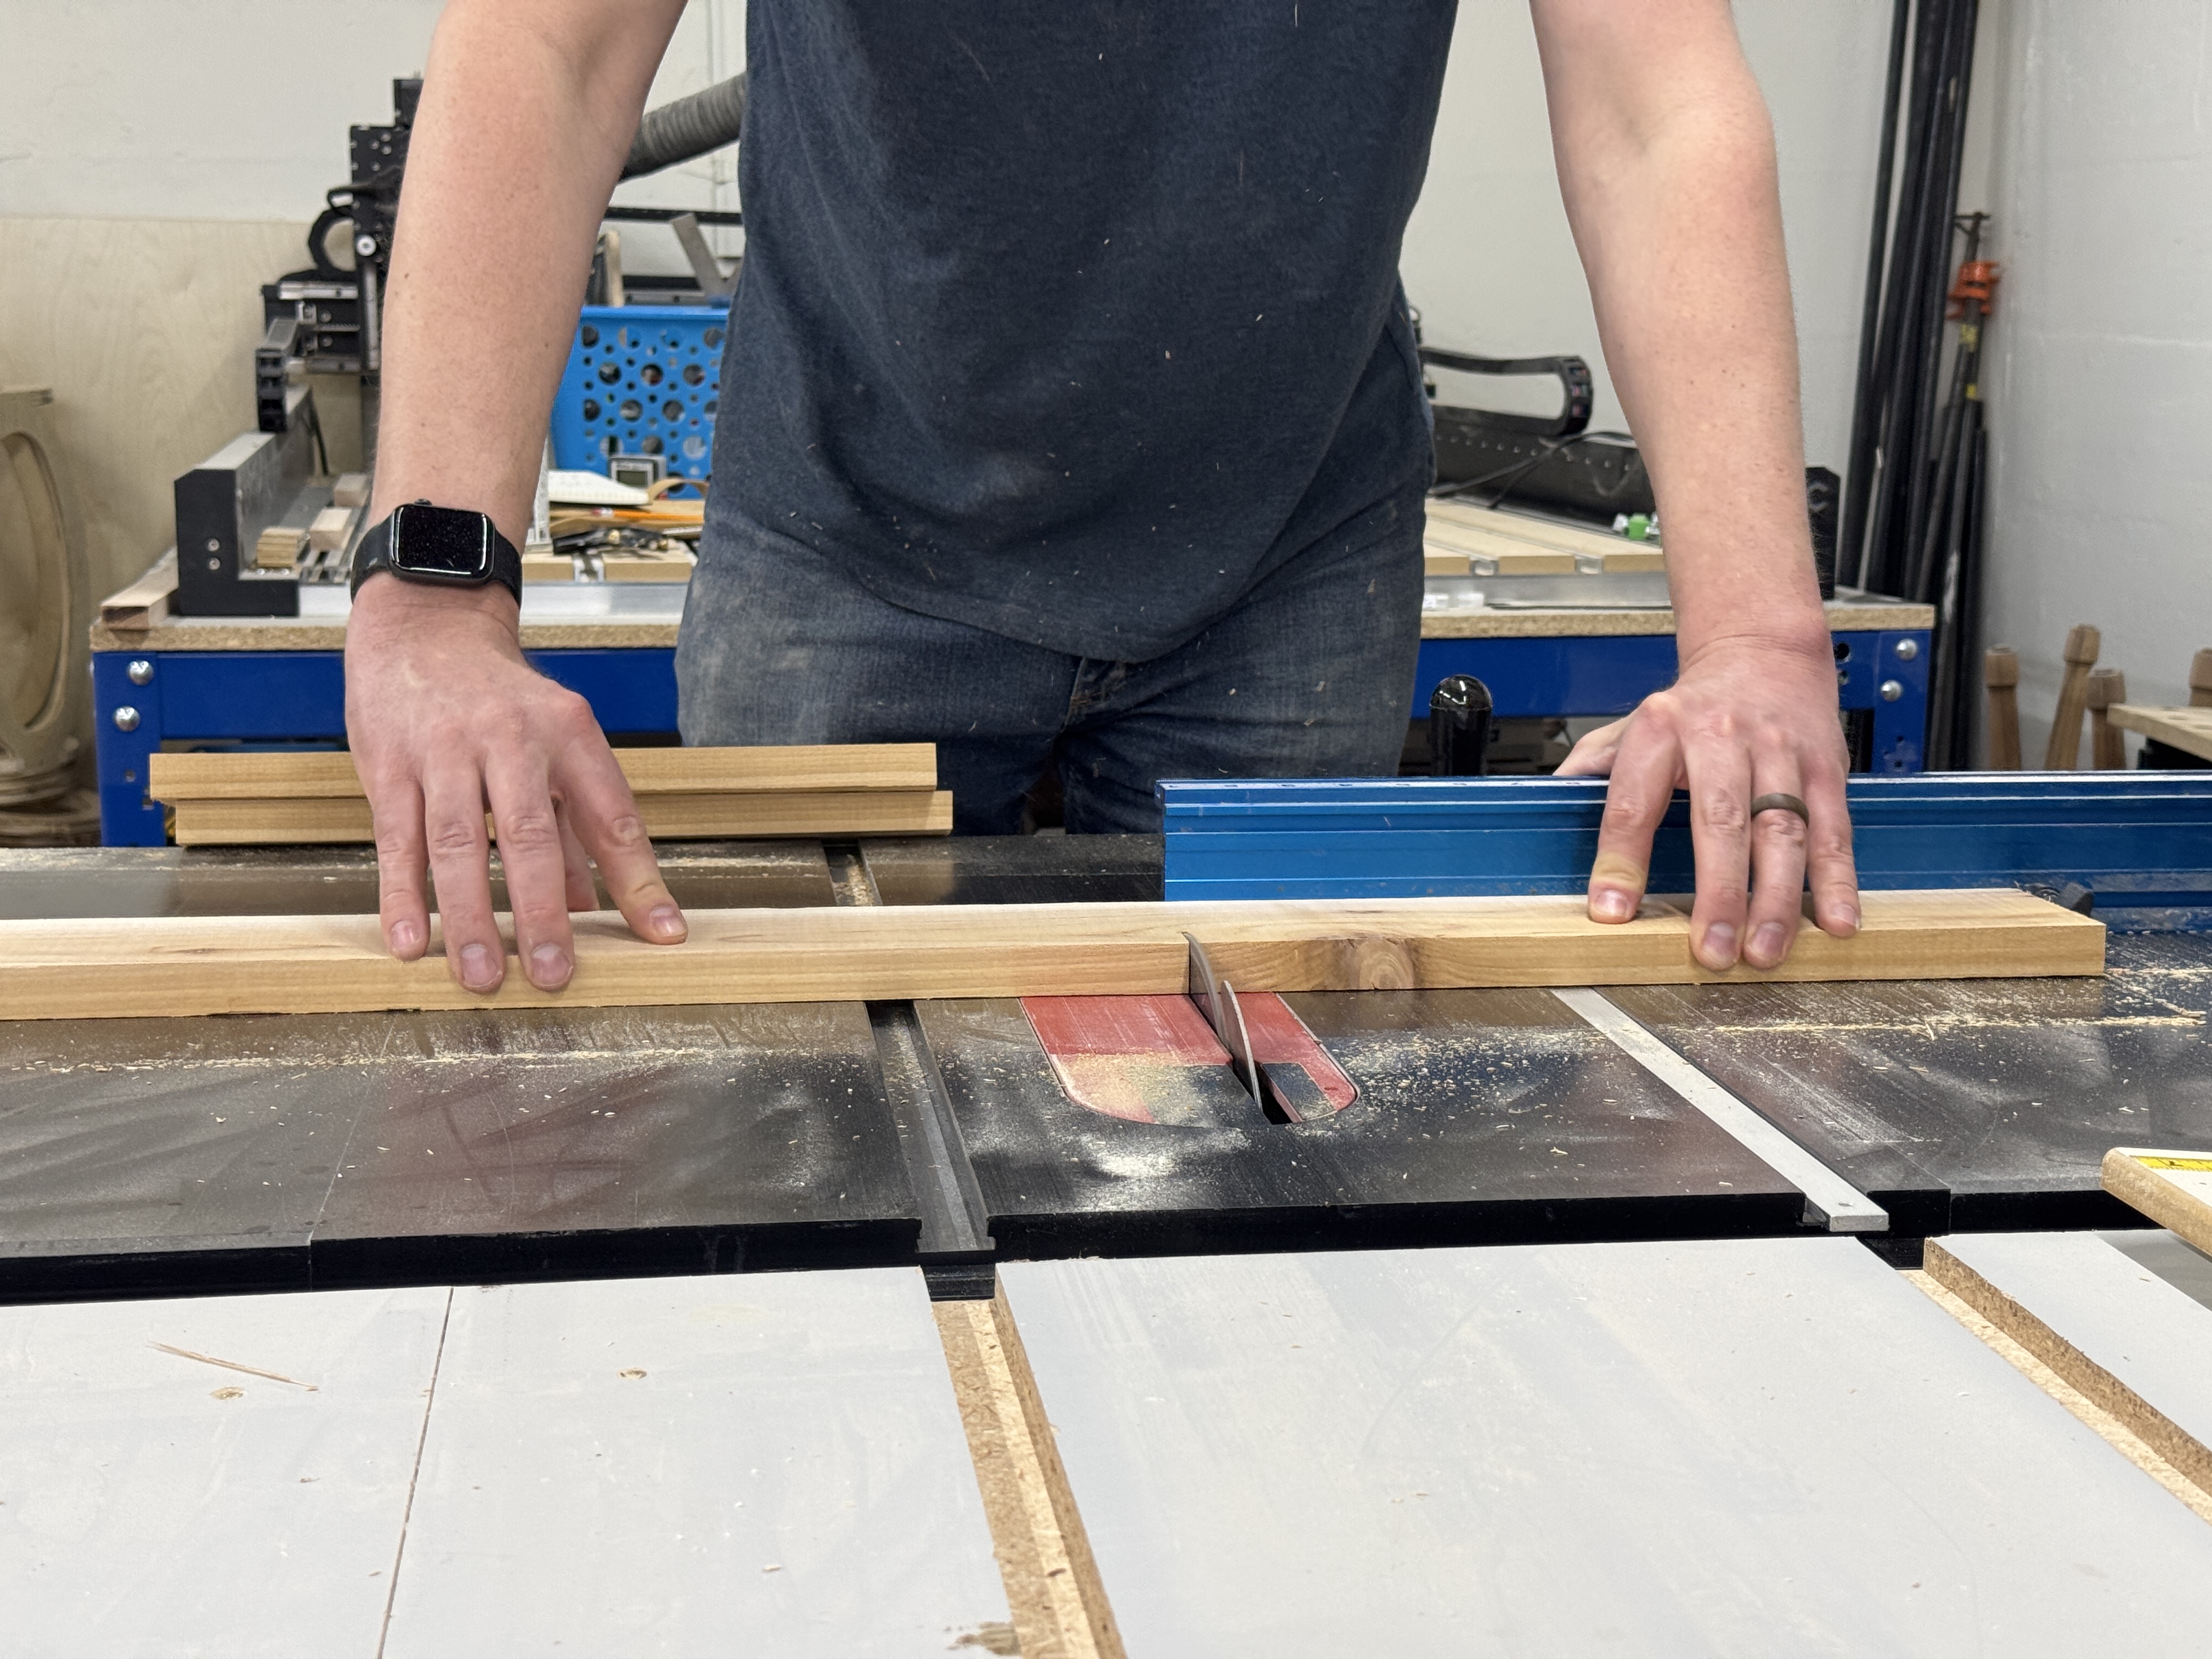
Cut pickets down to size
Cut the pickets to length, then rip them down to three inches on using the table saw.
-
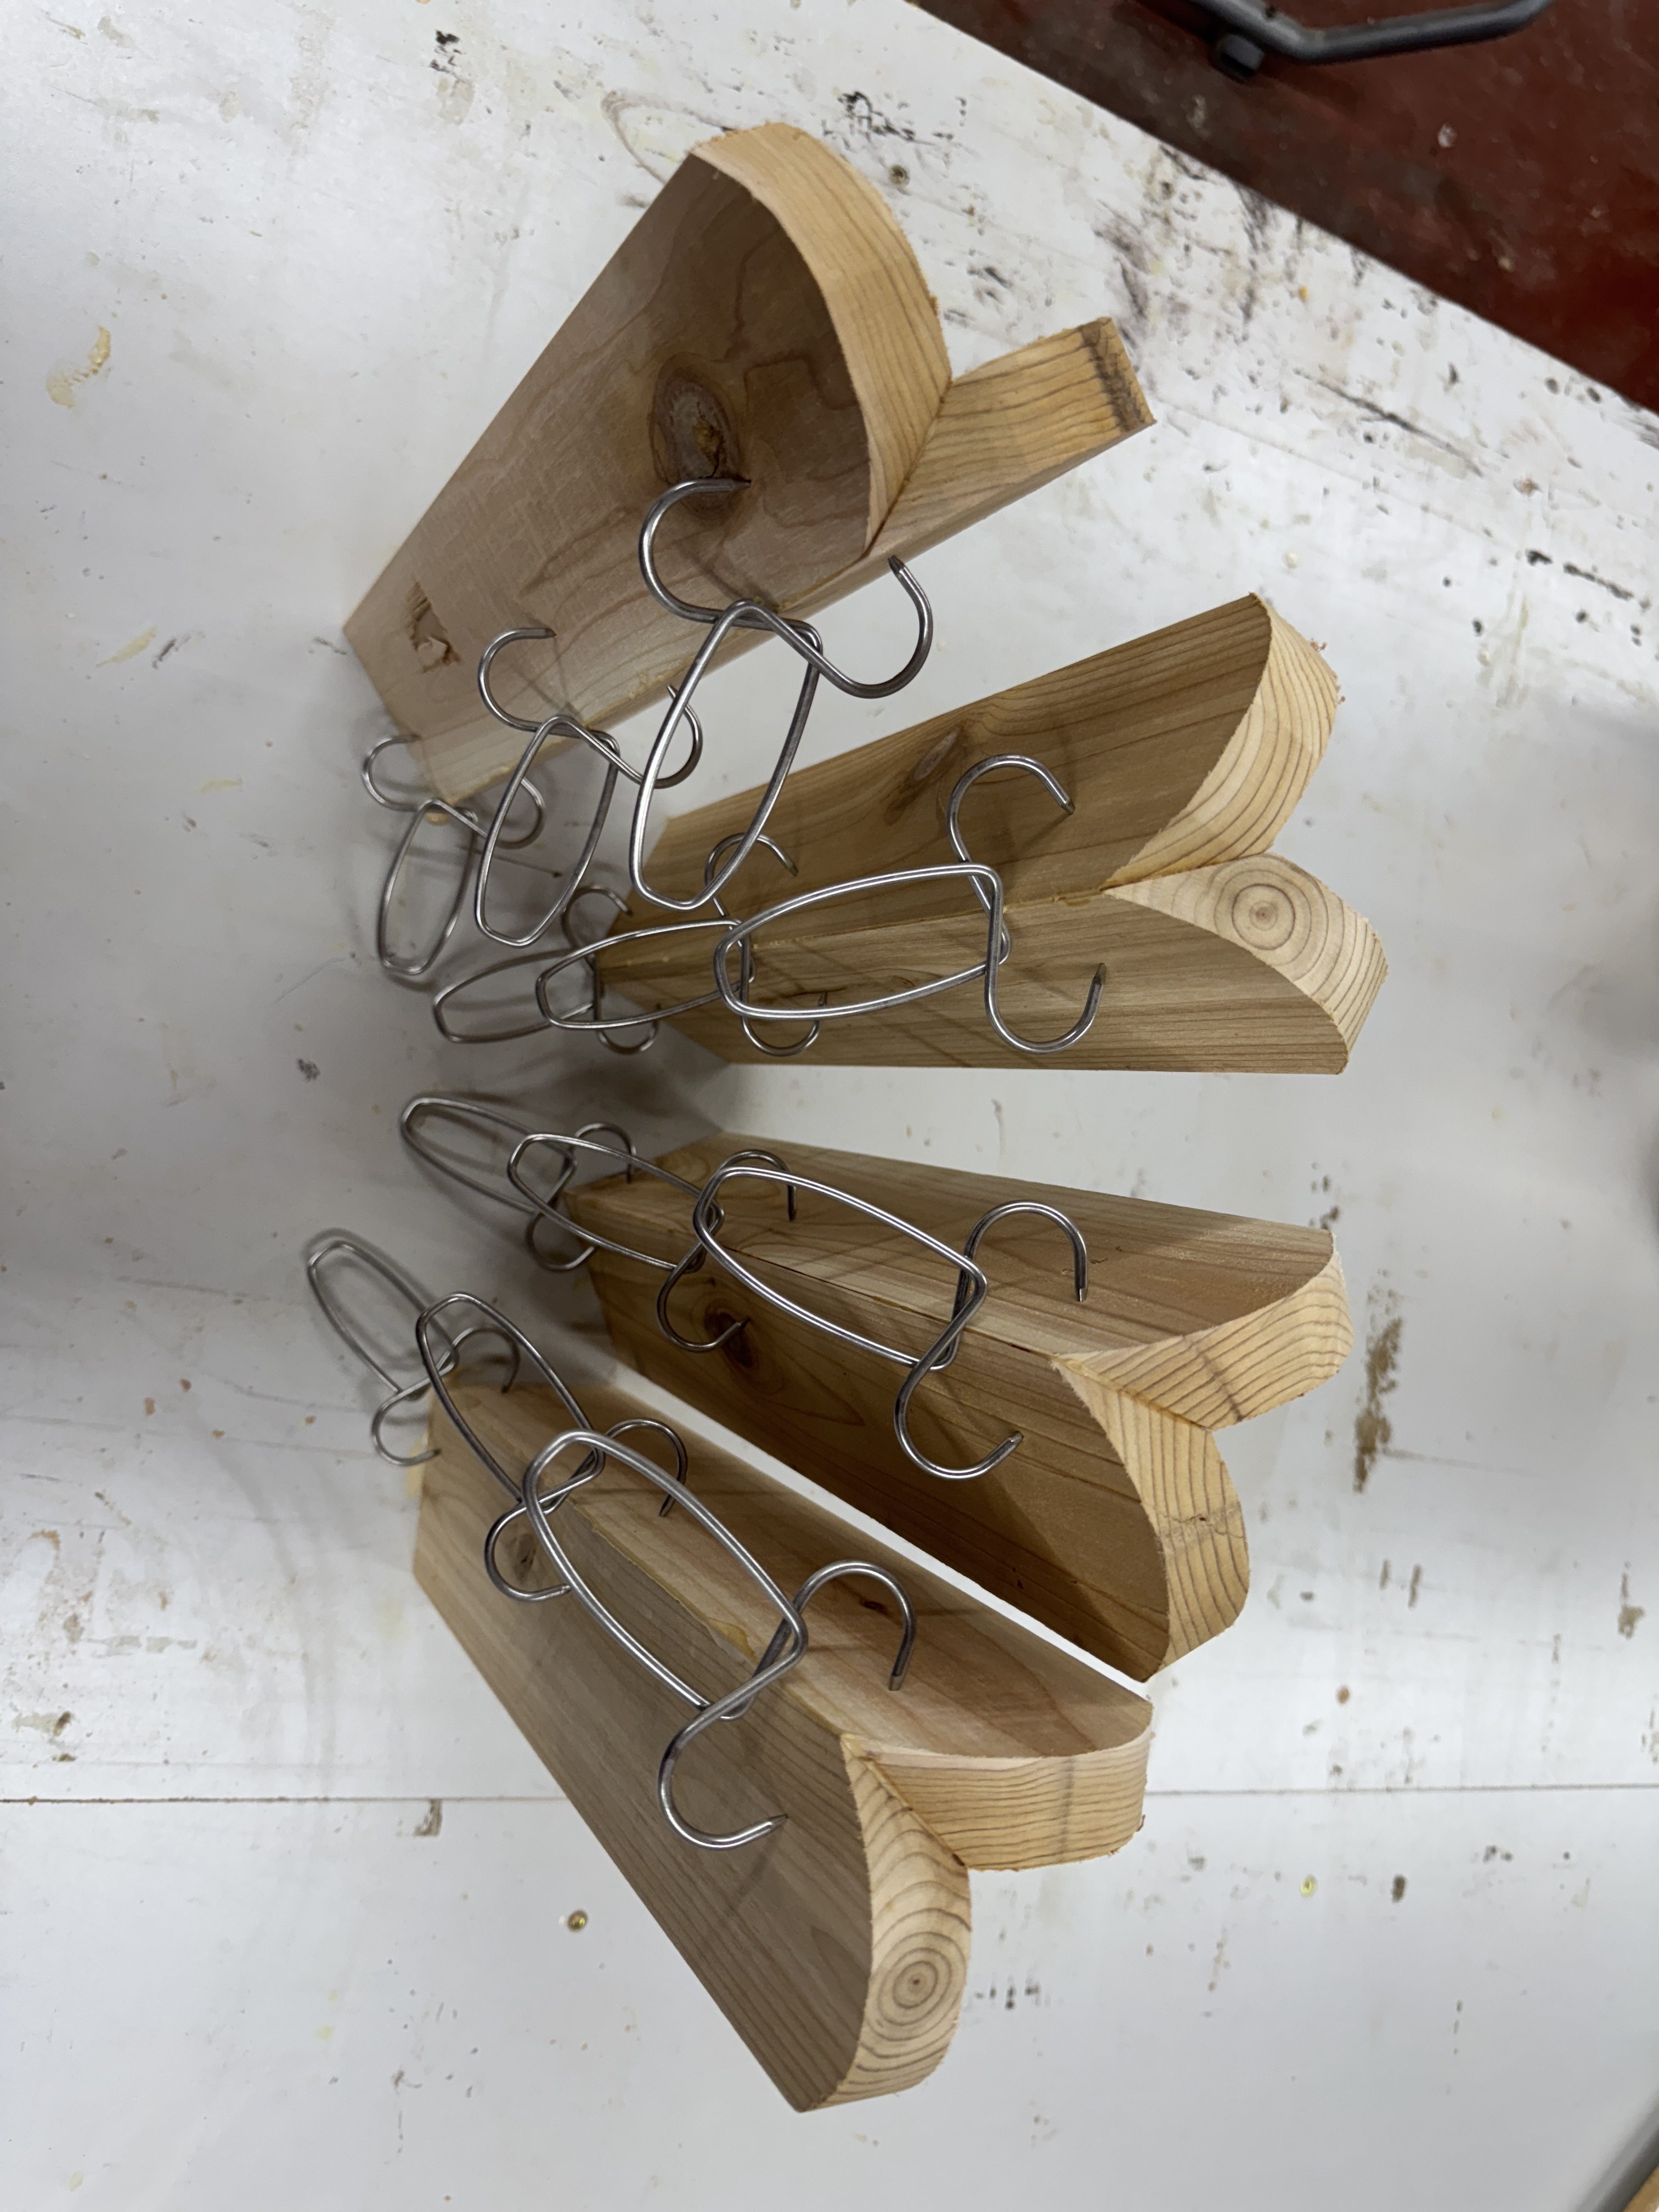
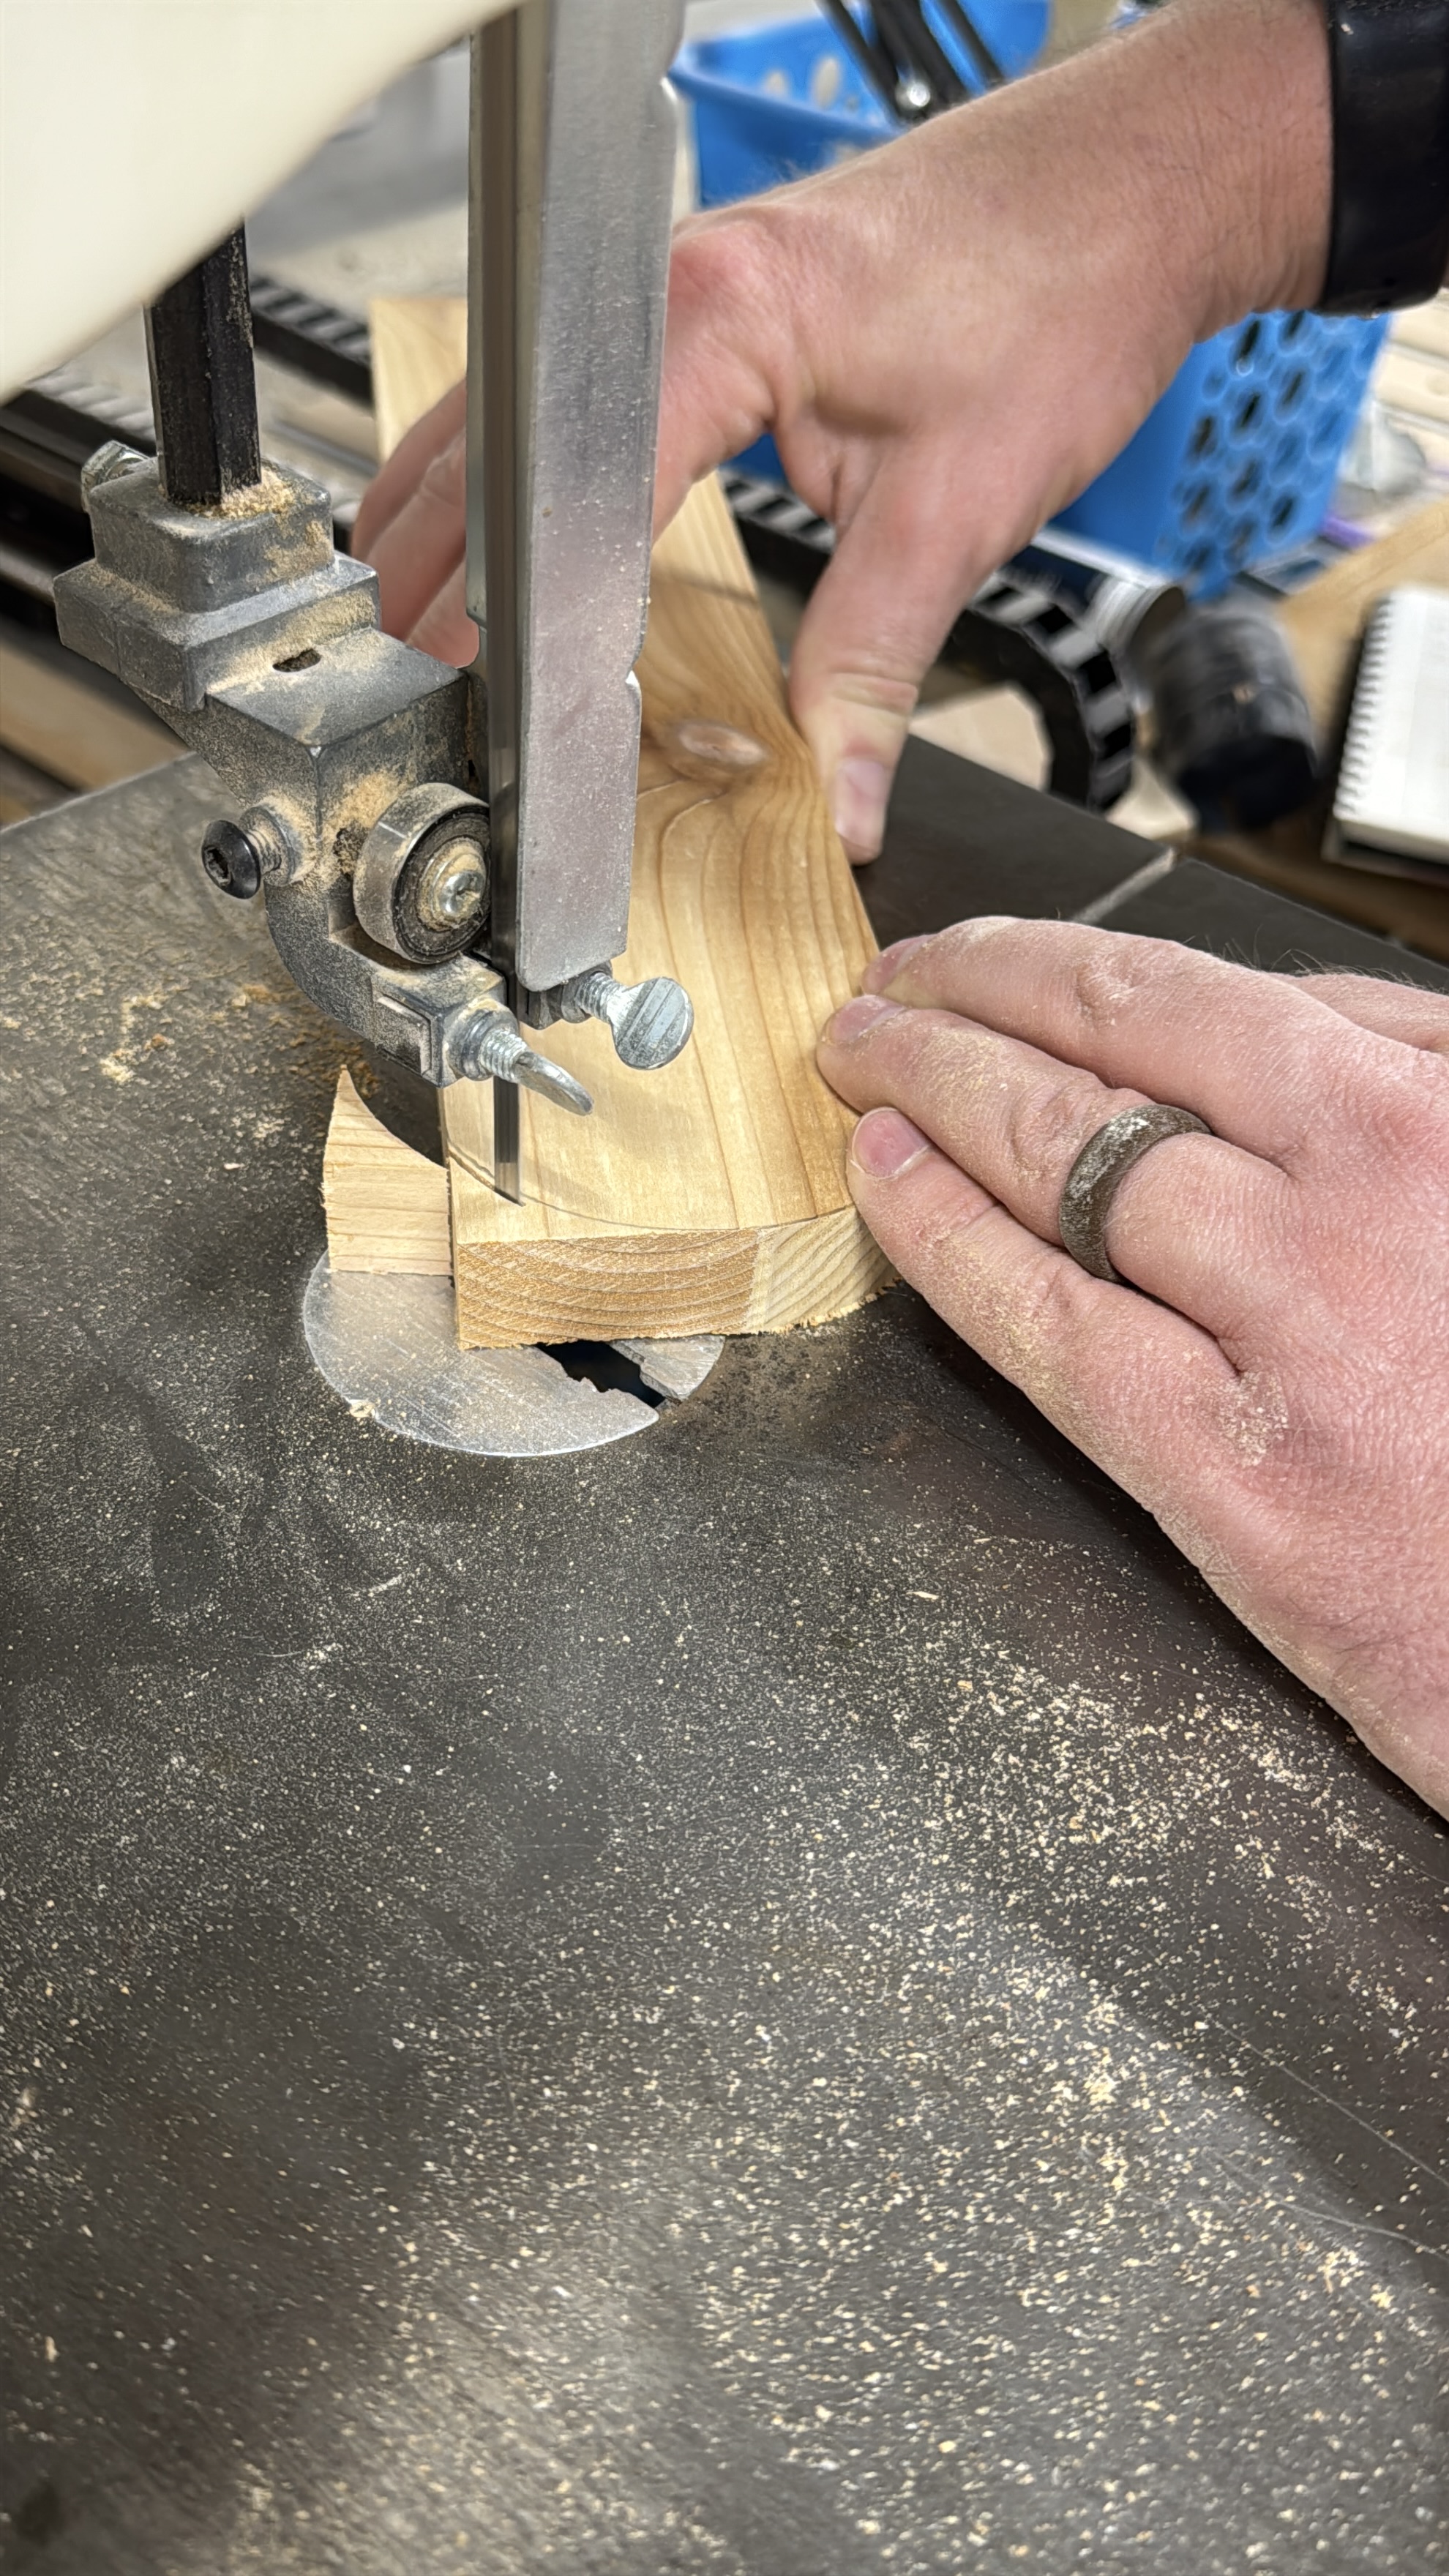
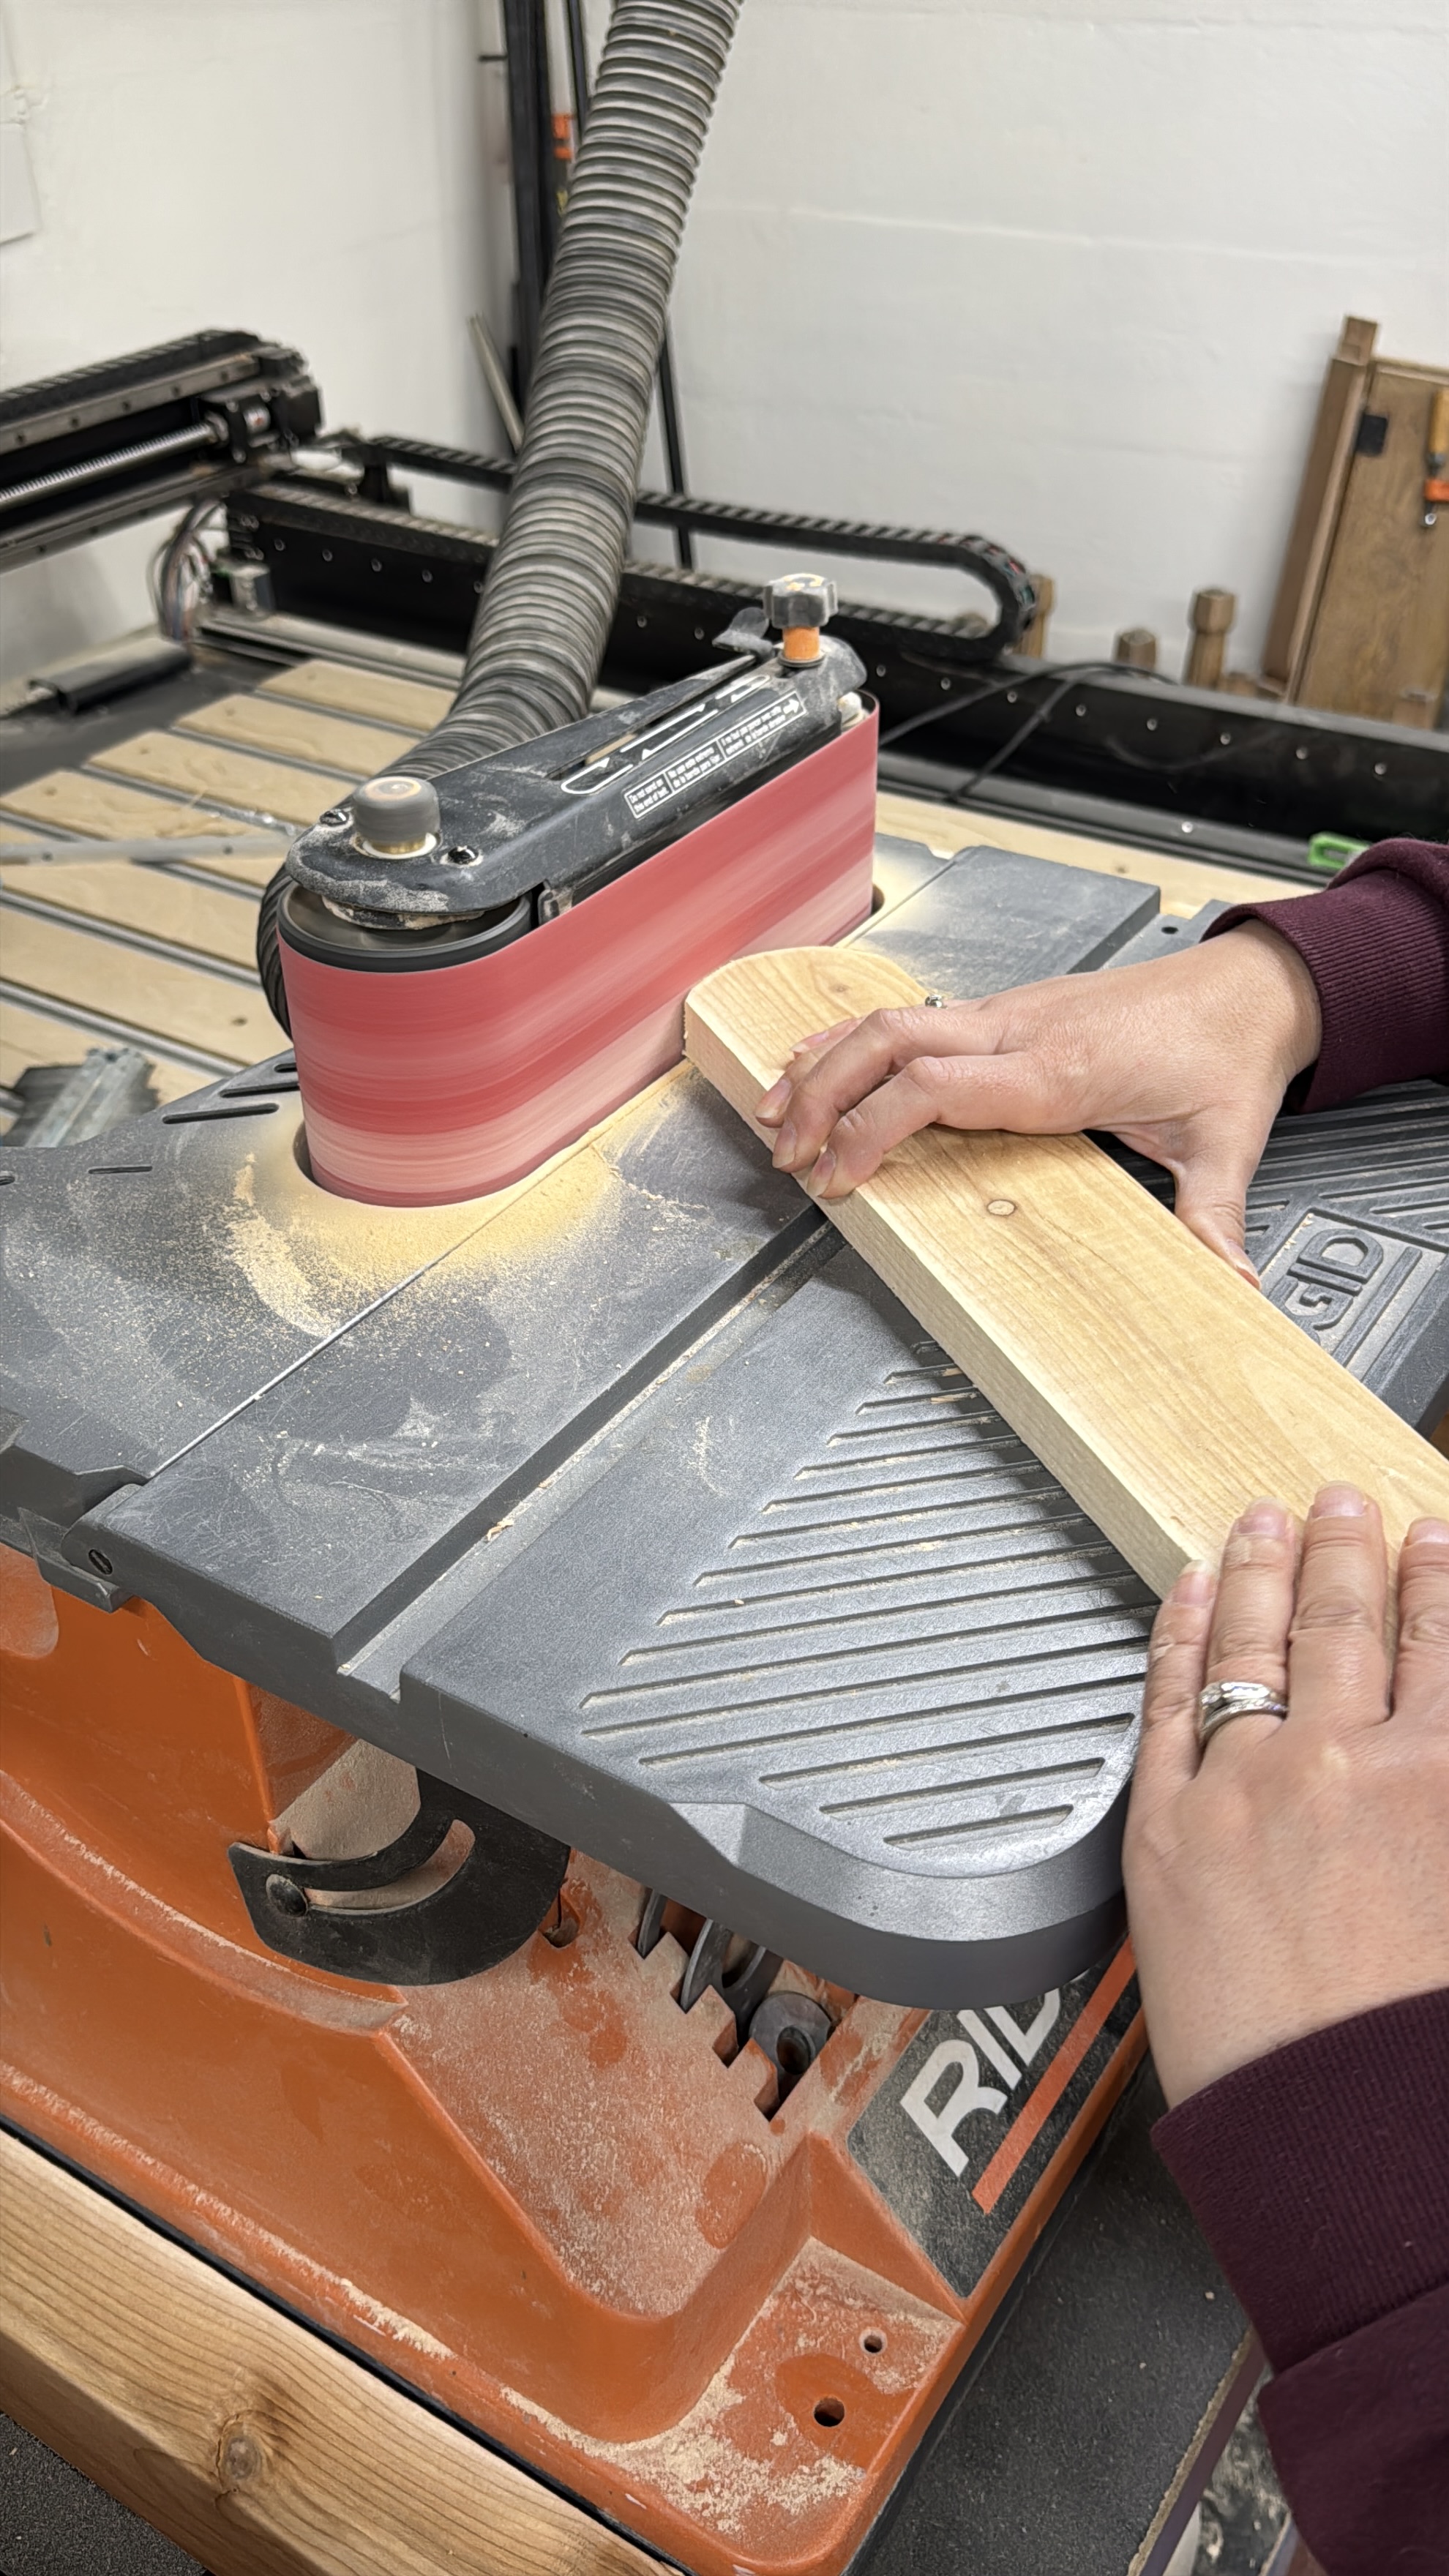
Scalloped Edge
You can use whatever shape you want for your scalloped edging. We used a two inch radius. Trace them out, cut them on your saw of choice. We used a band saw and finished them using an oscillating belt sander.
-
Mitered Corners
Take eight of the pickets and miter the corner with a forty-five degree miter. Glue / clamp them and set them of to the side to dry.
Tip:
Be sure to make a right and left.
-
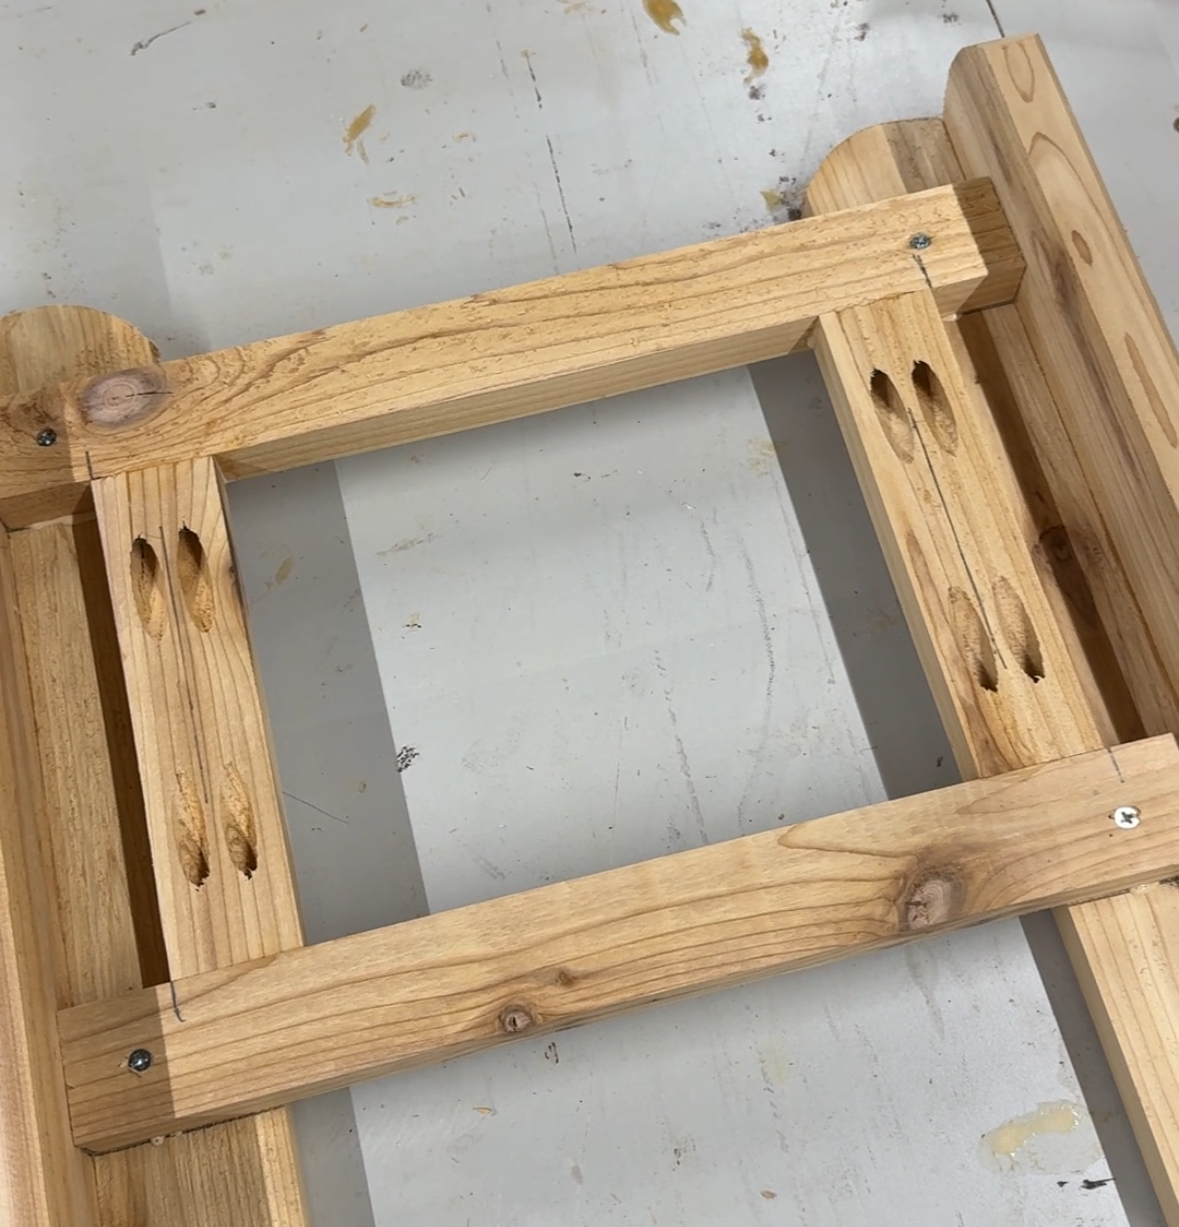
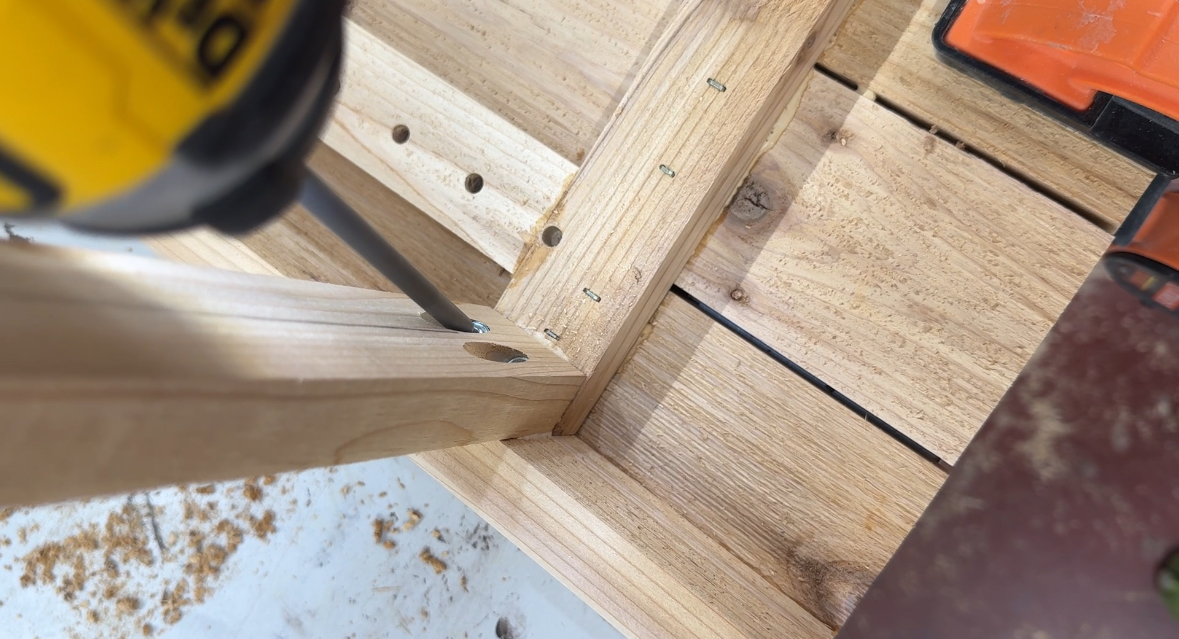
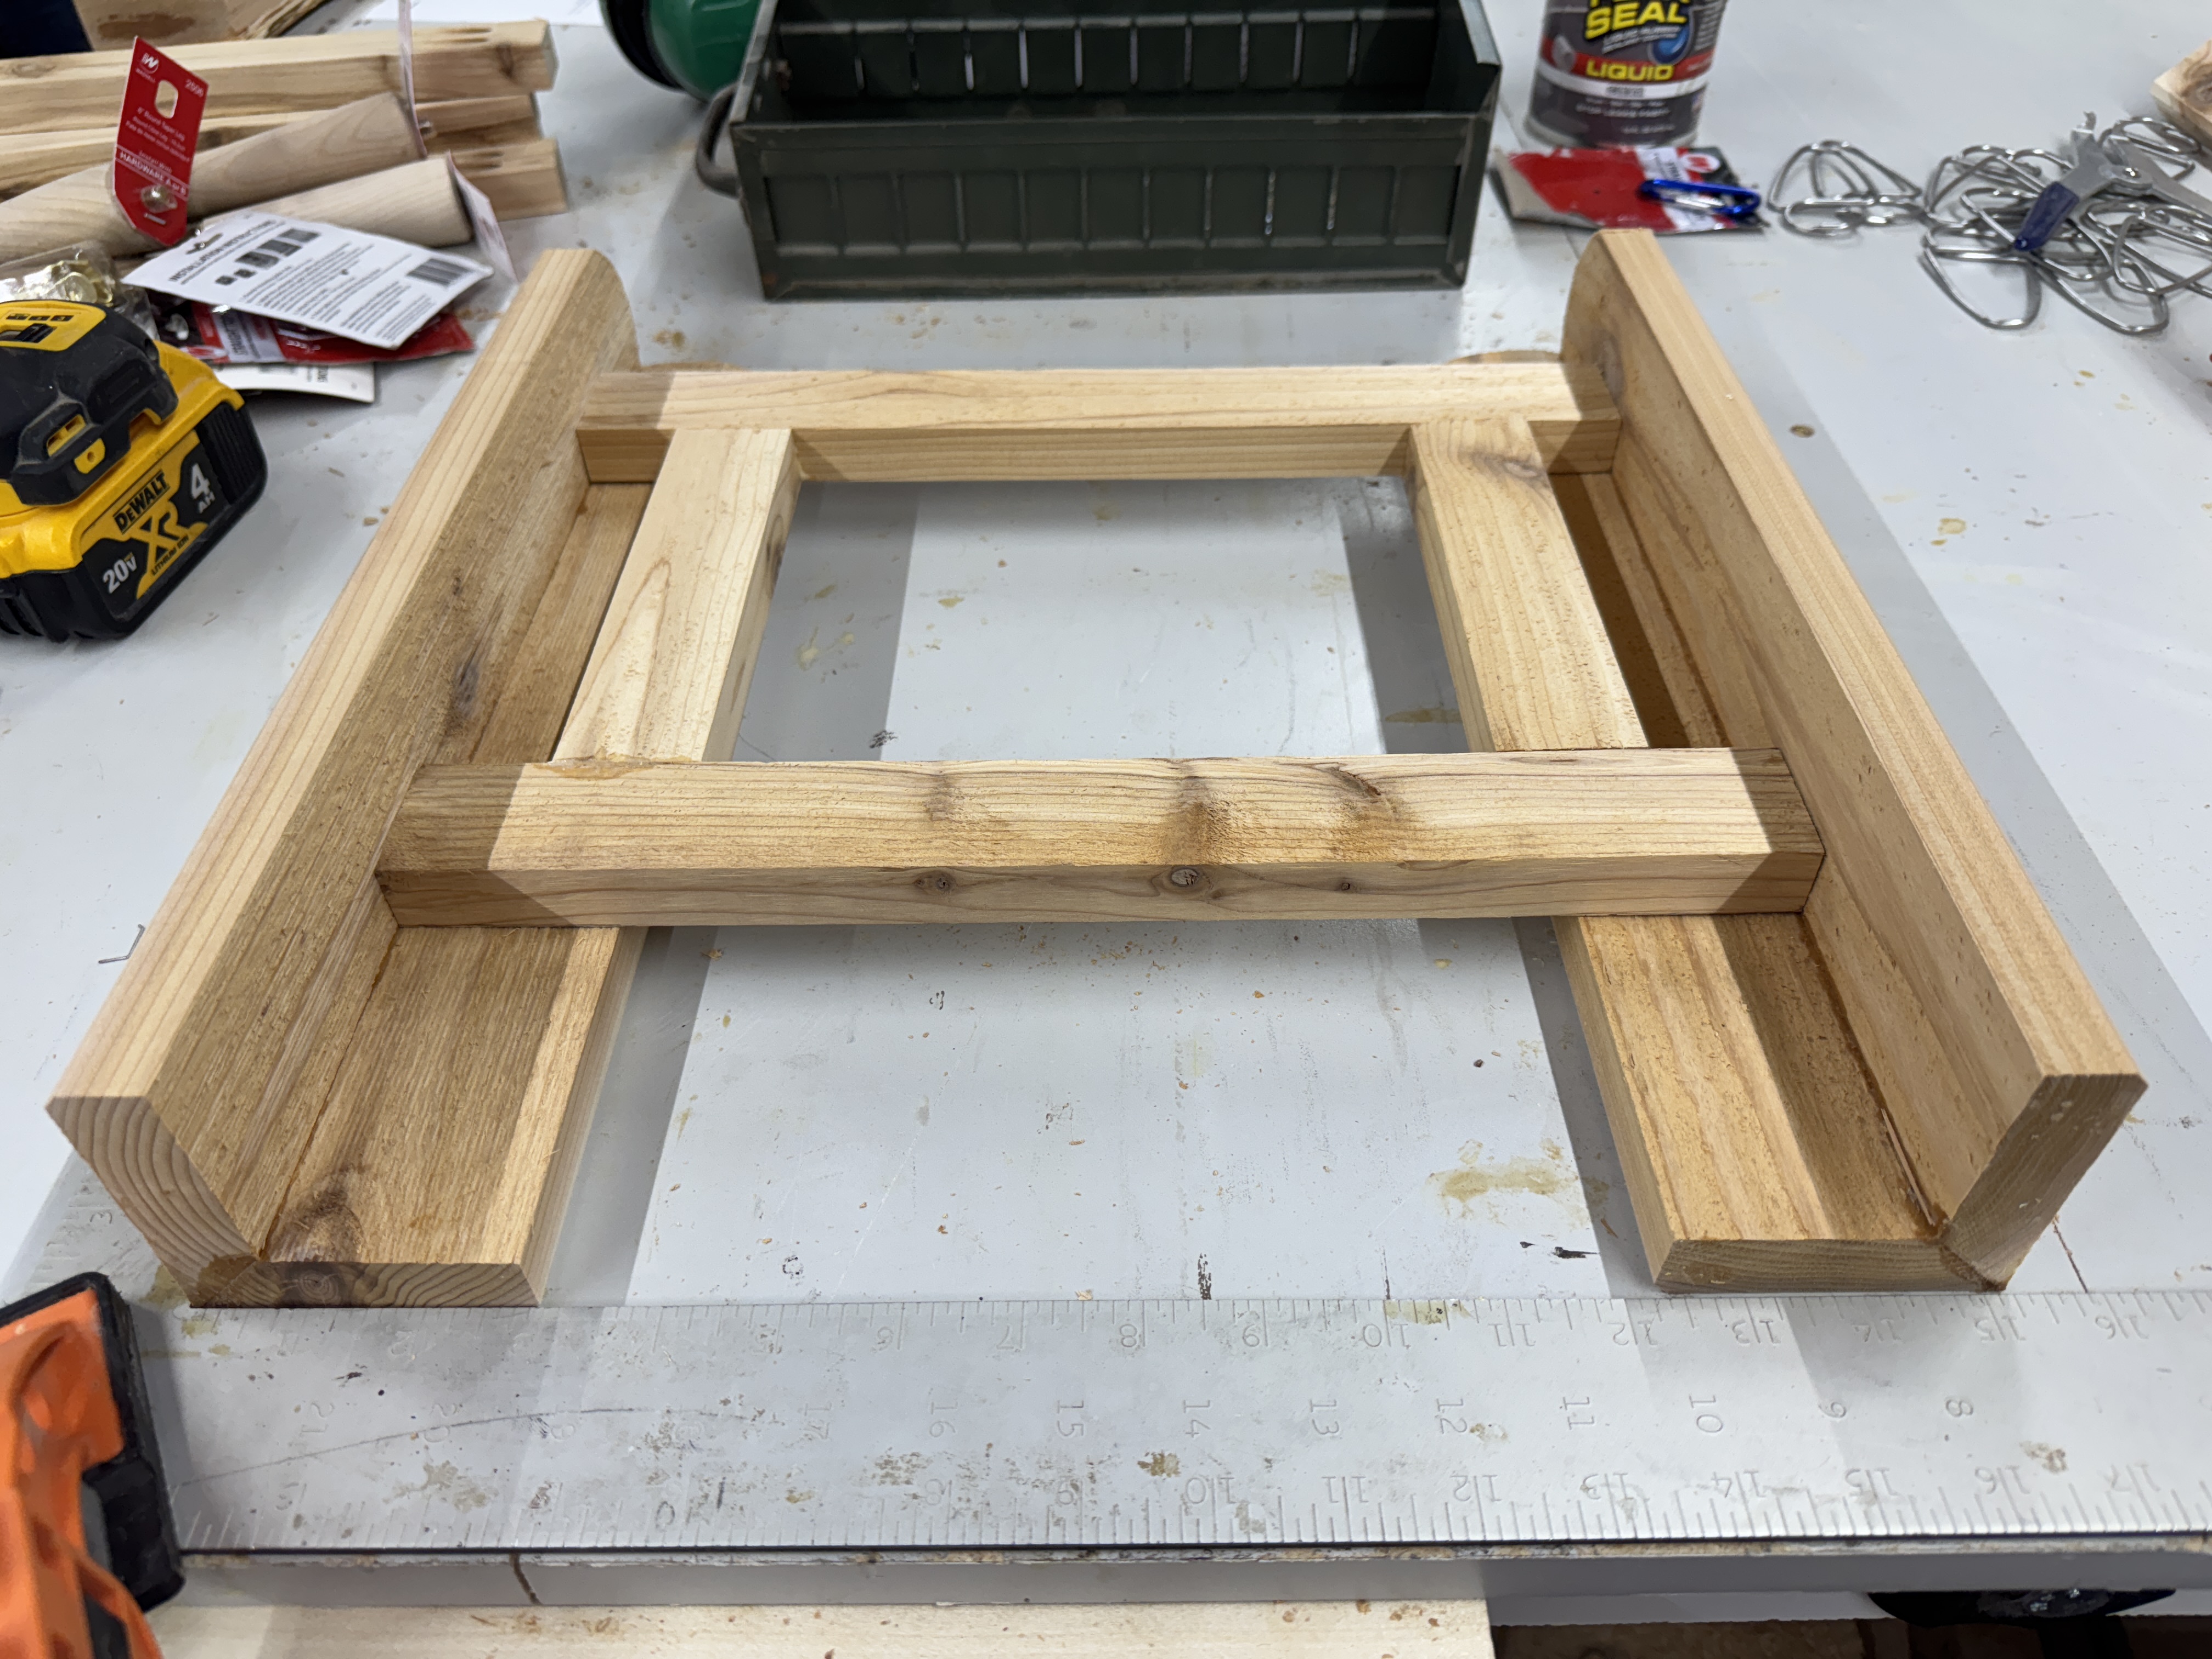
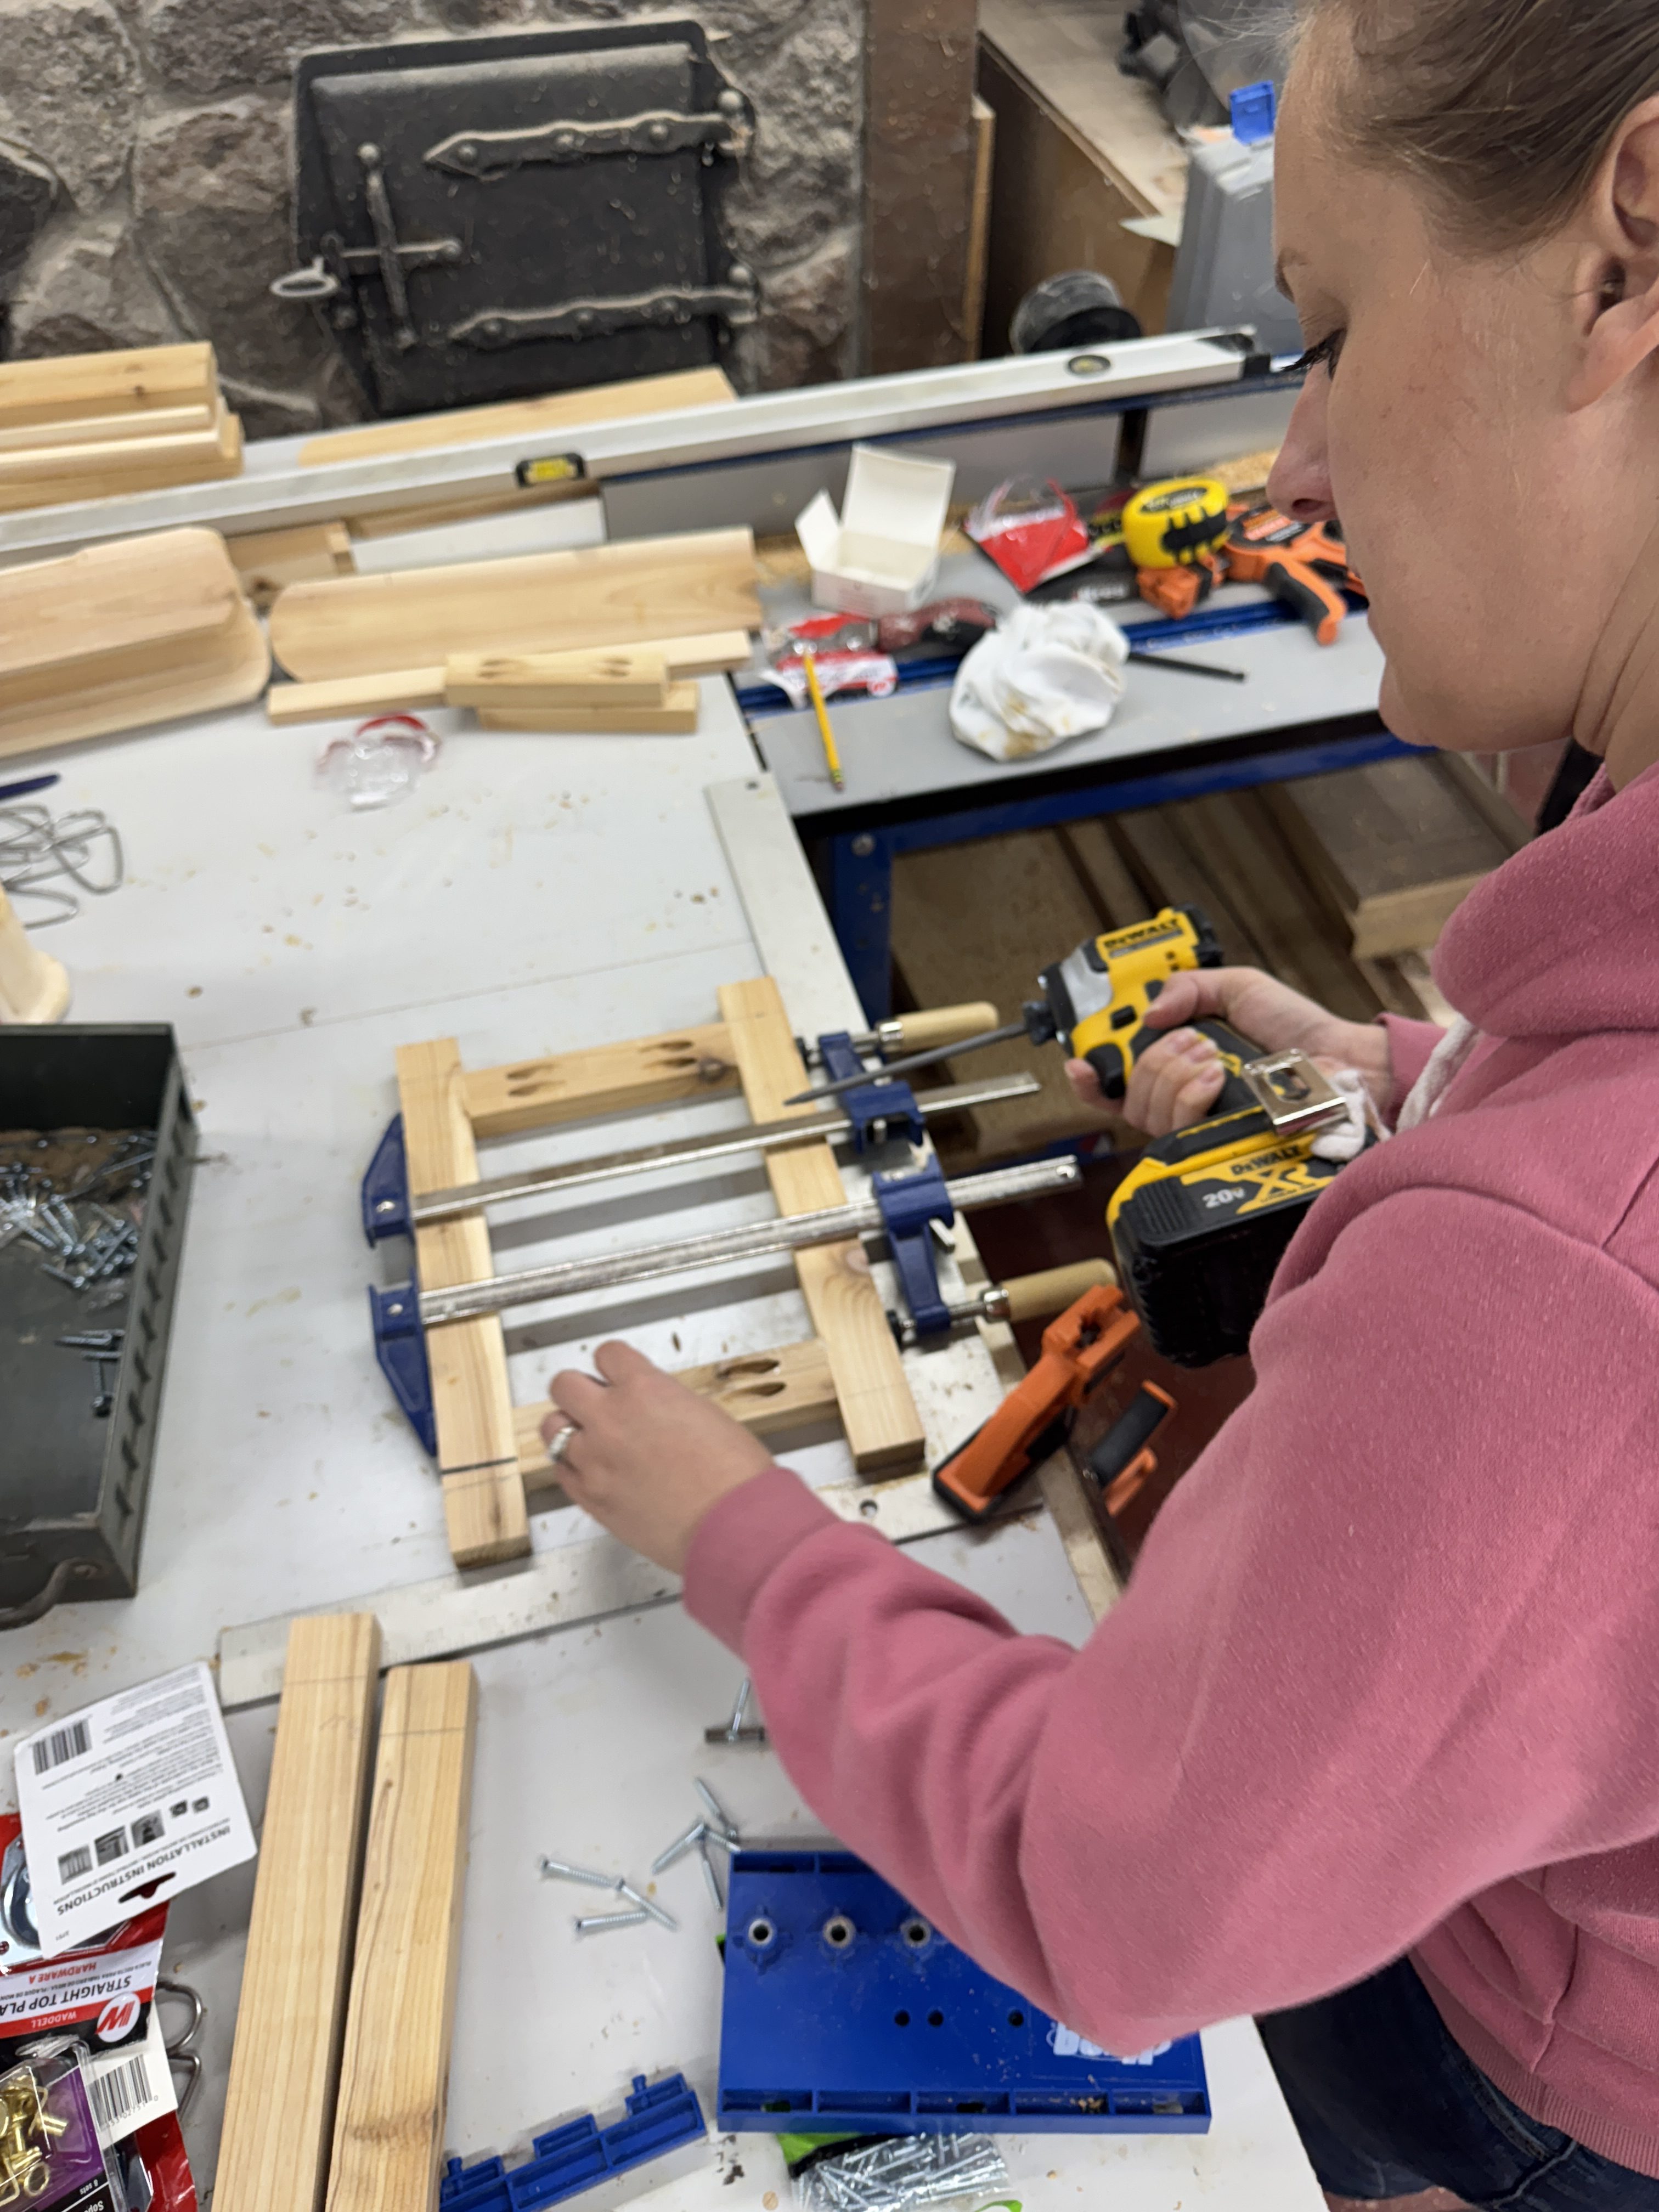
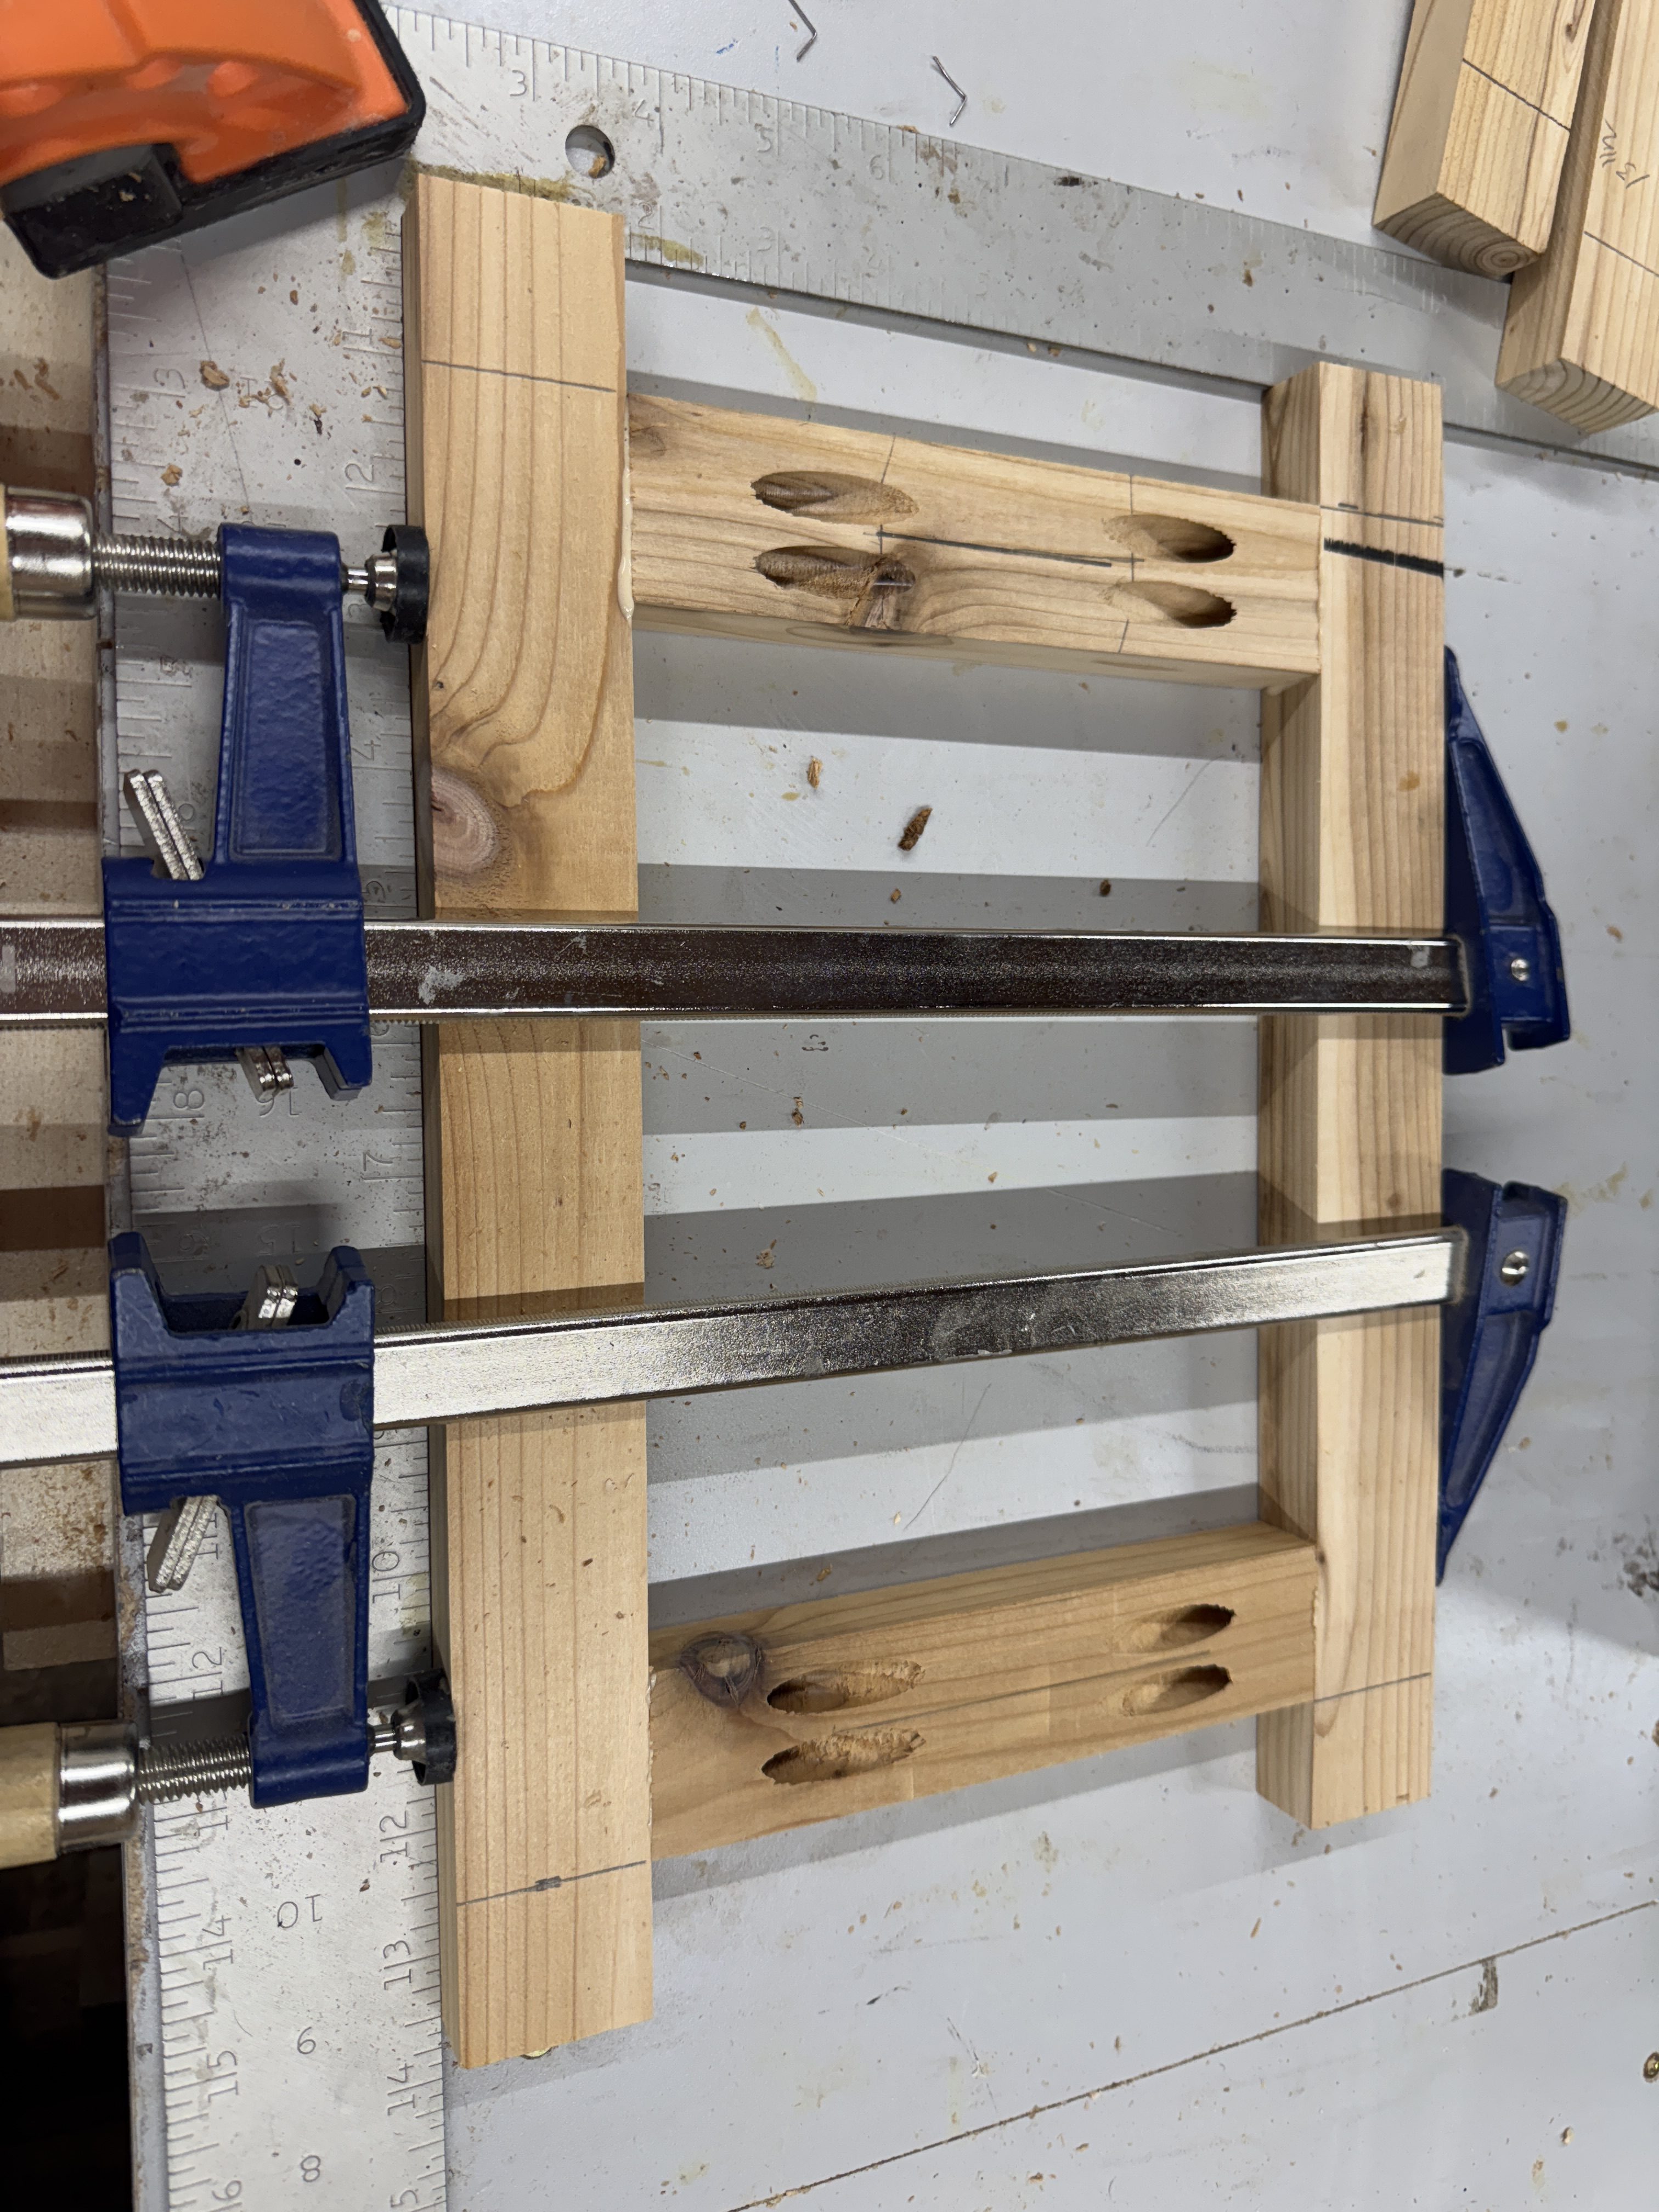
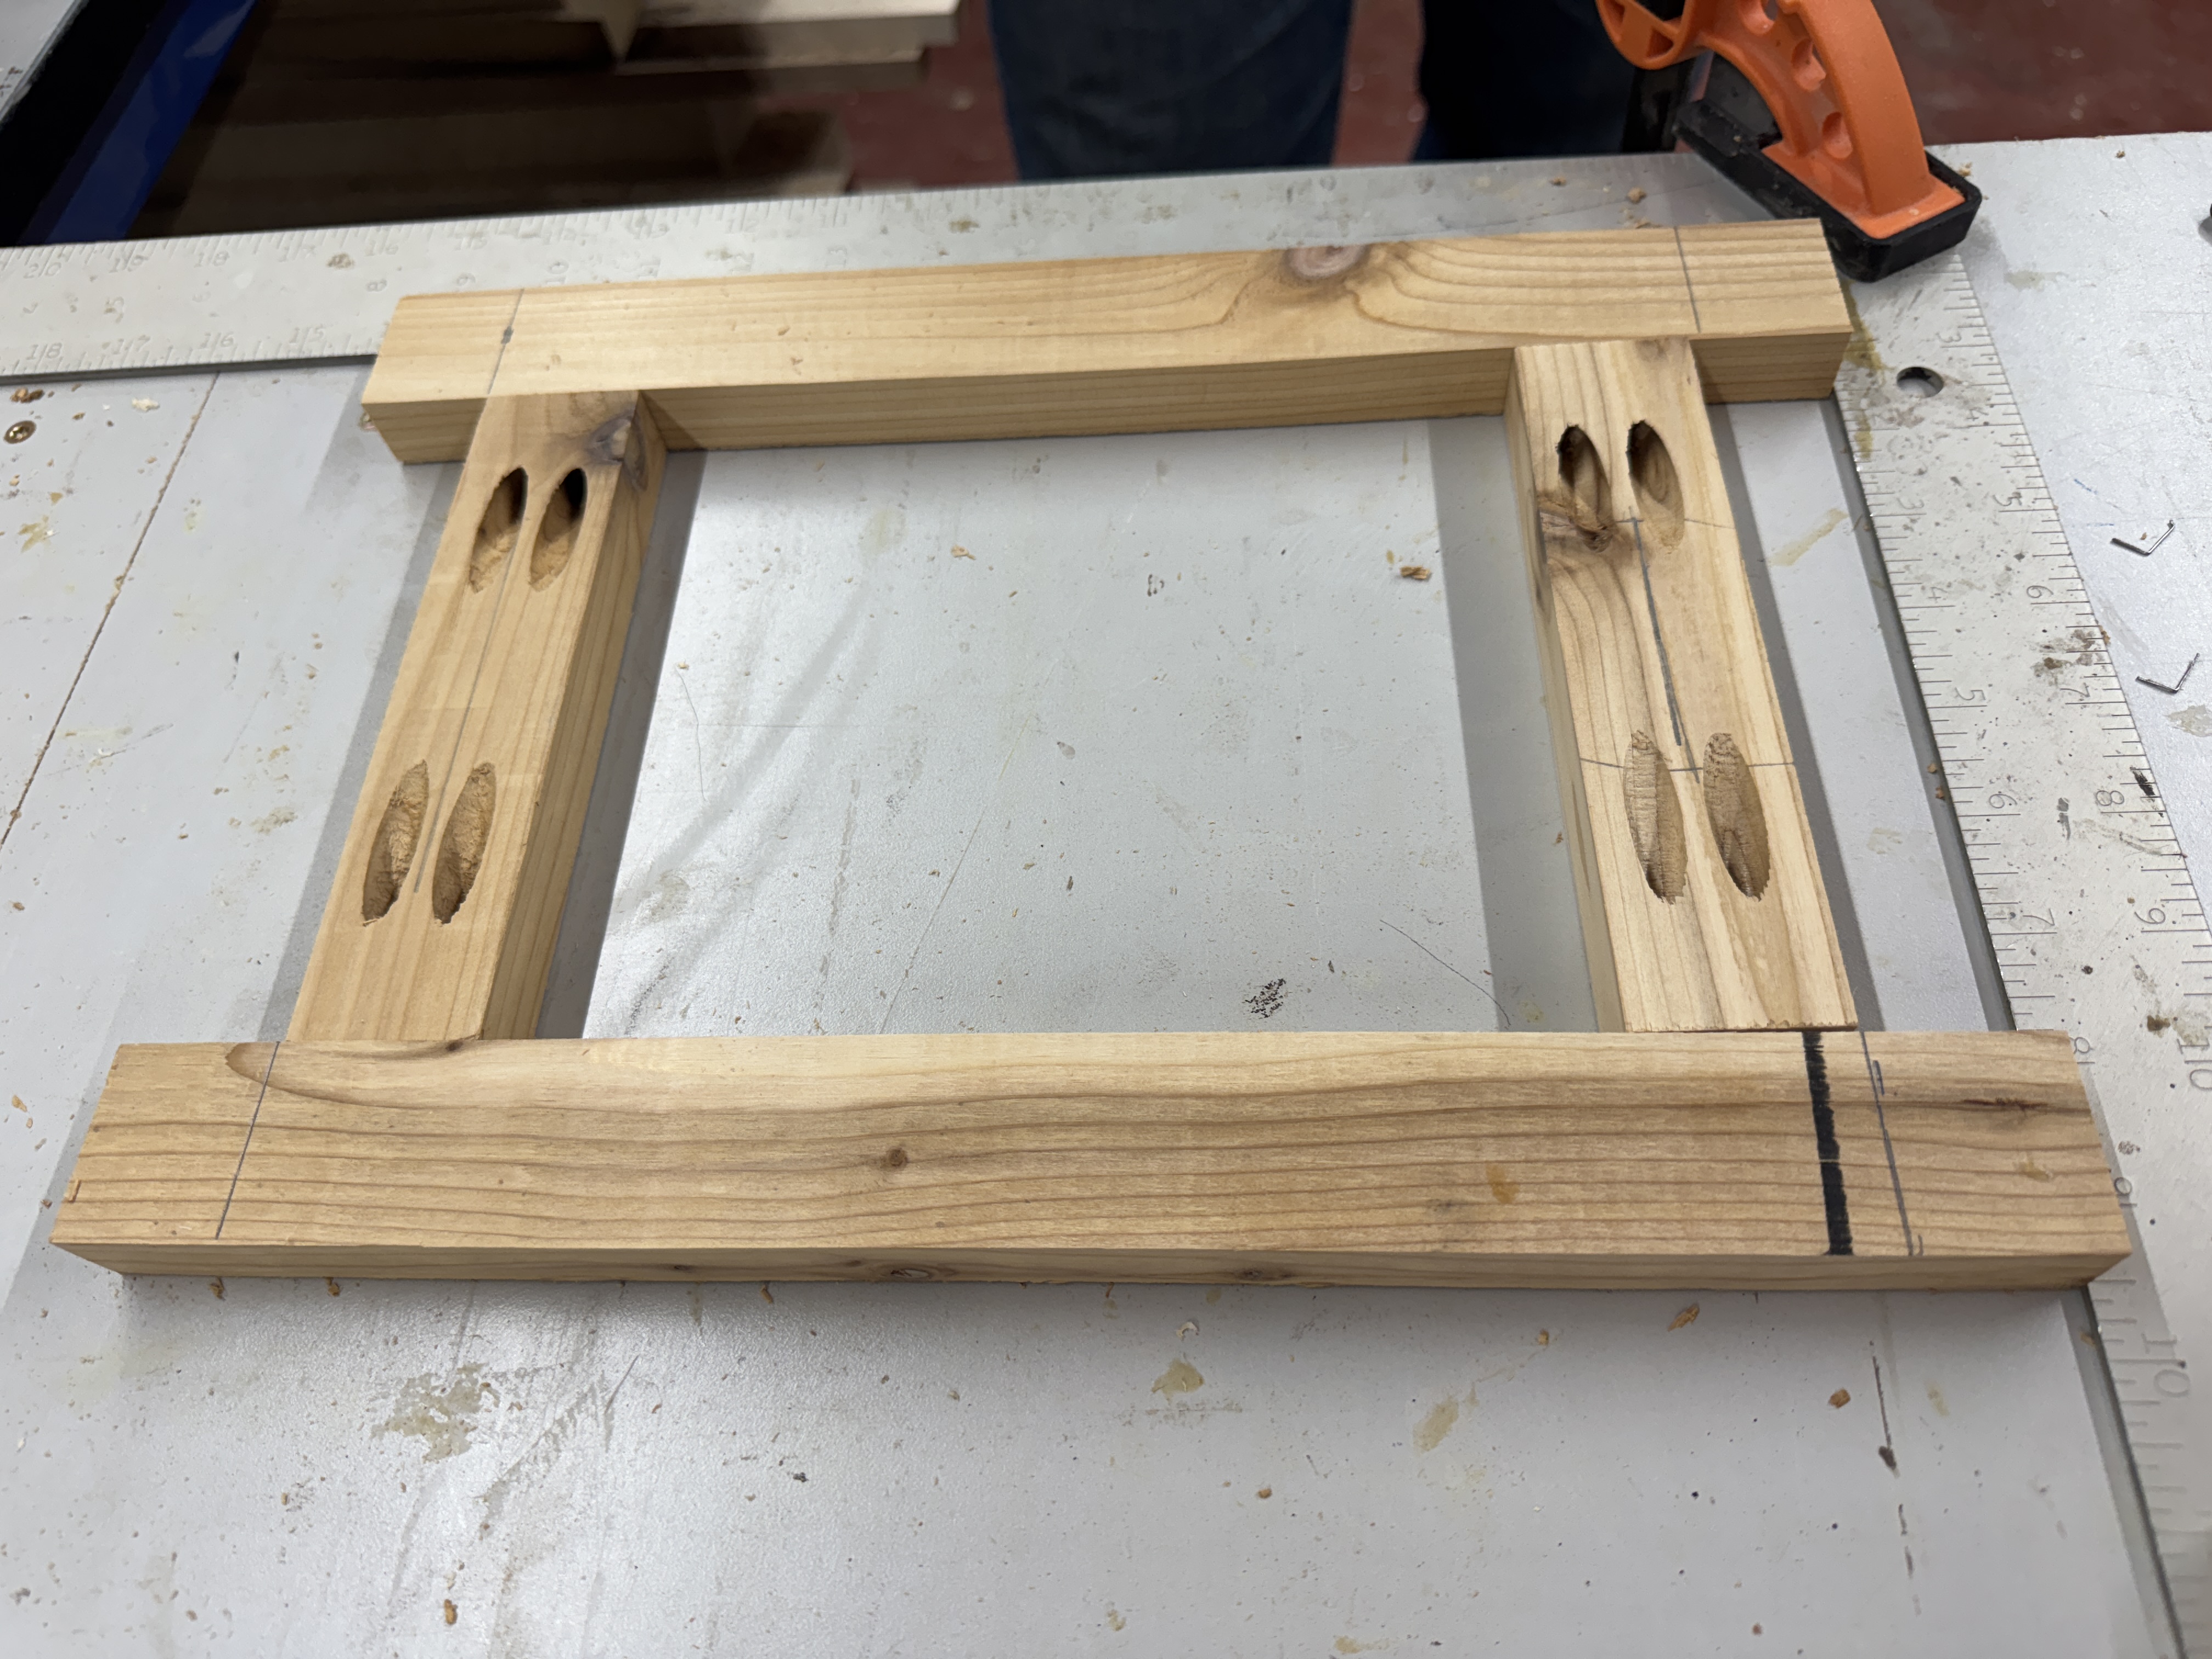
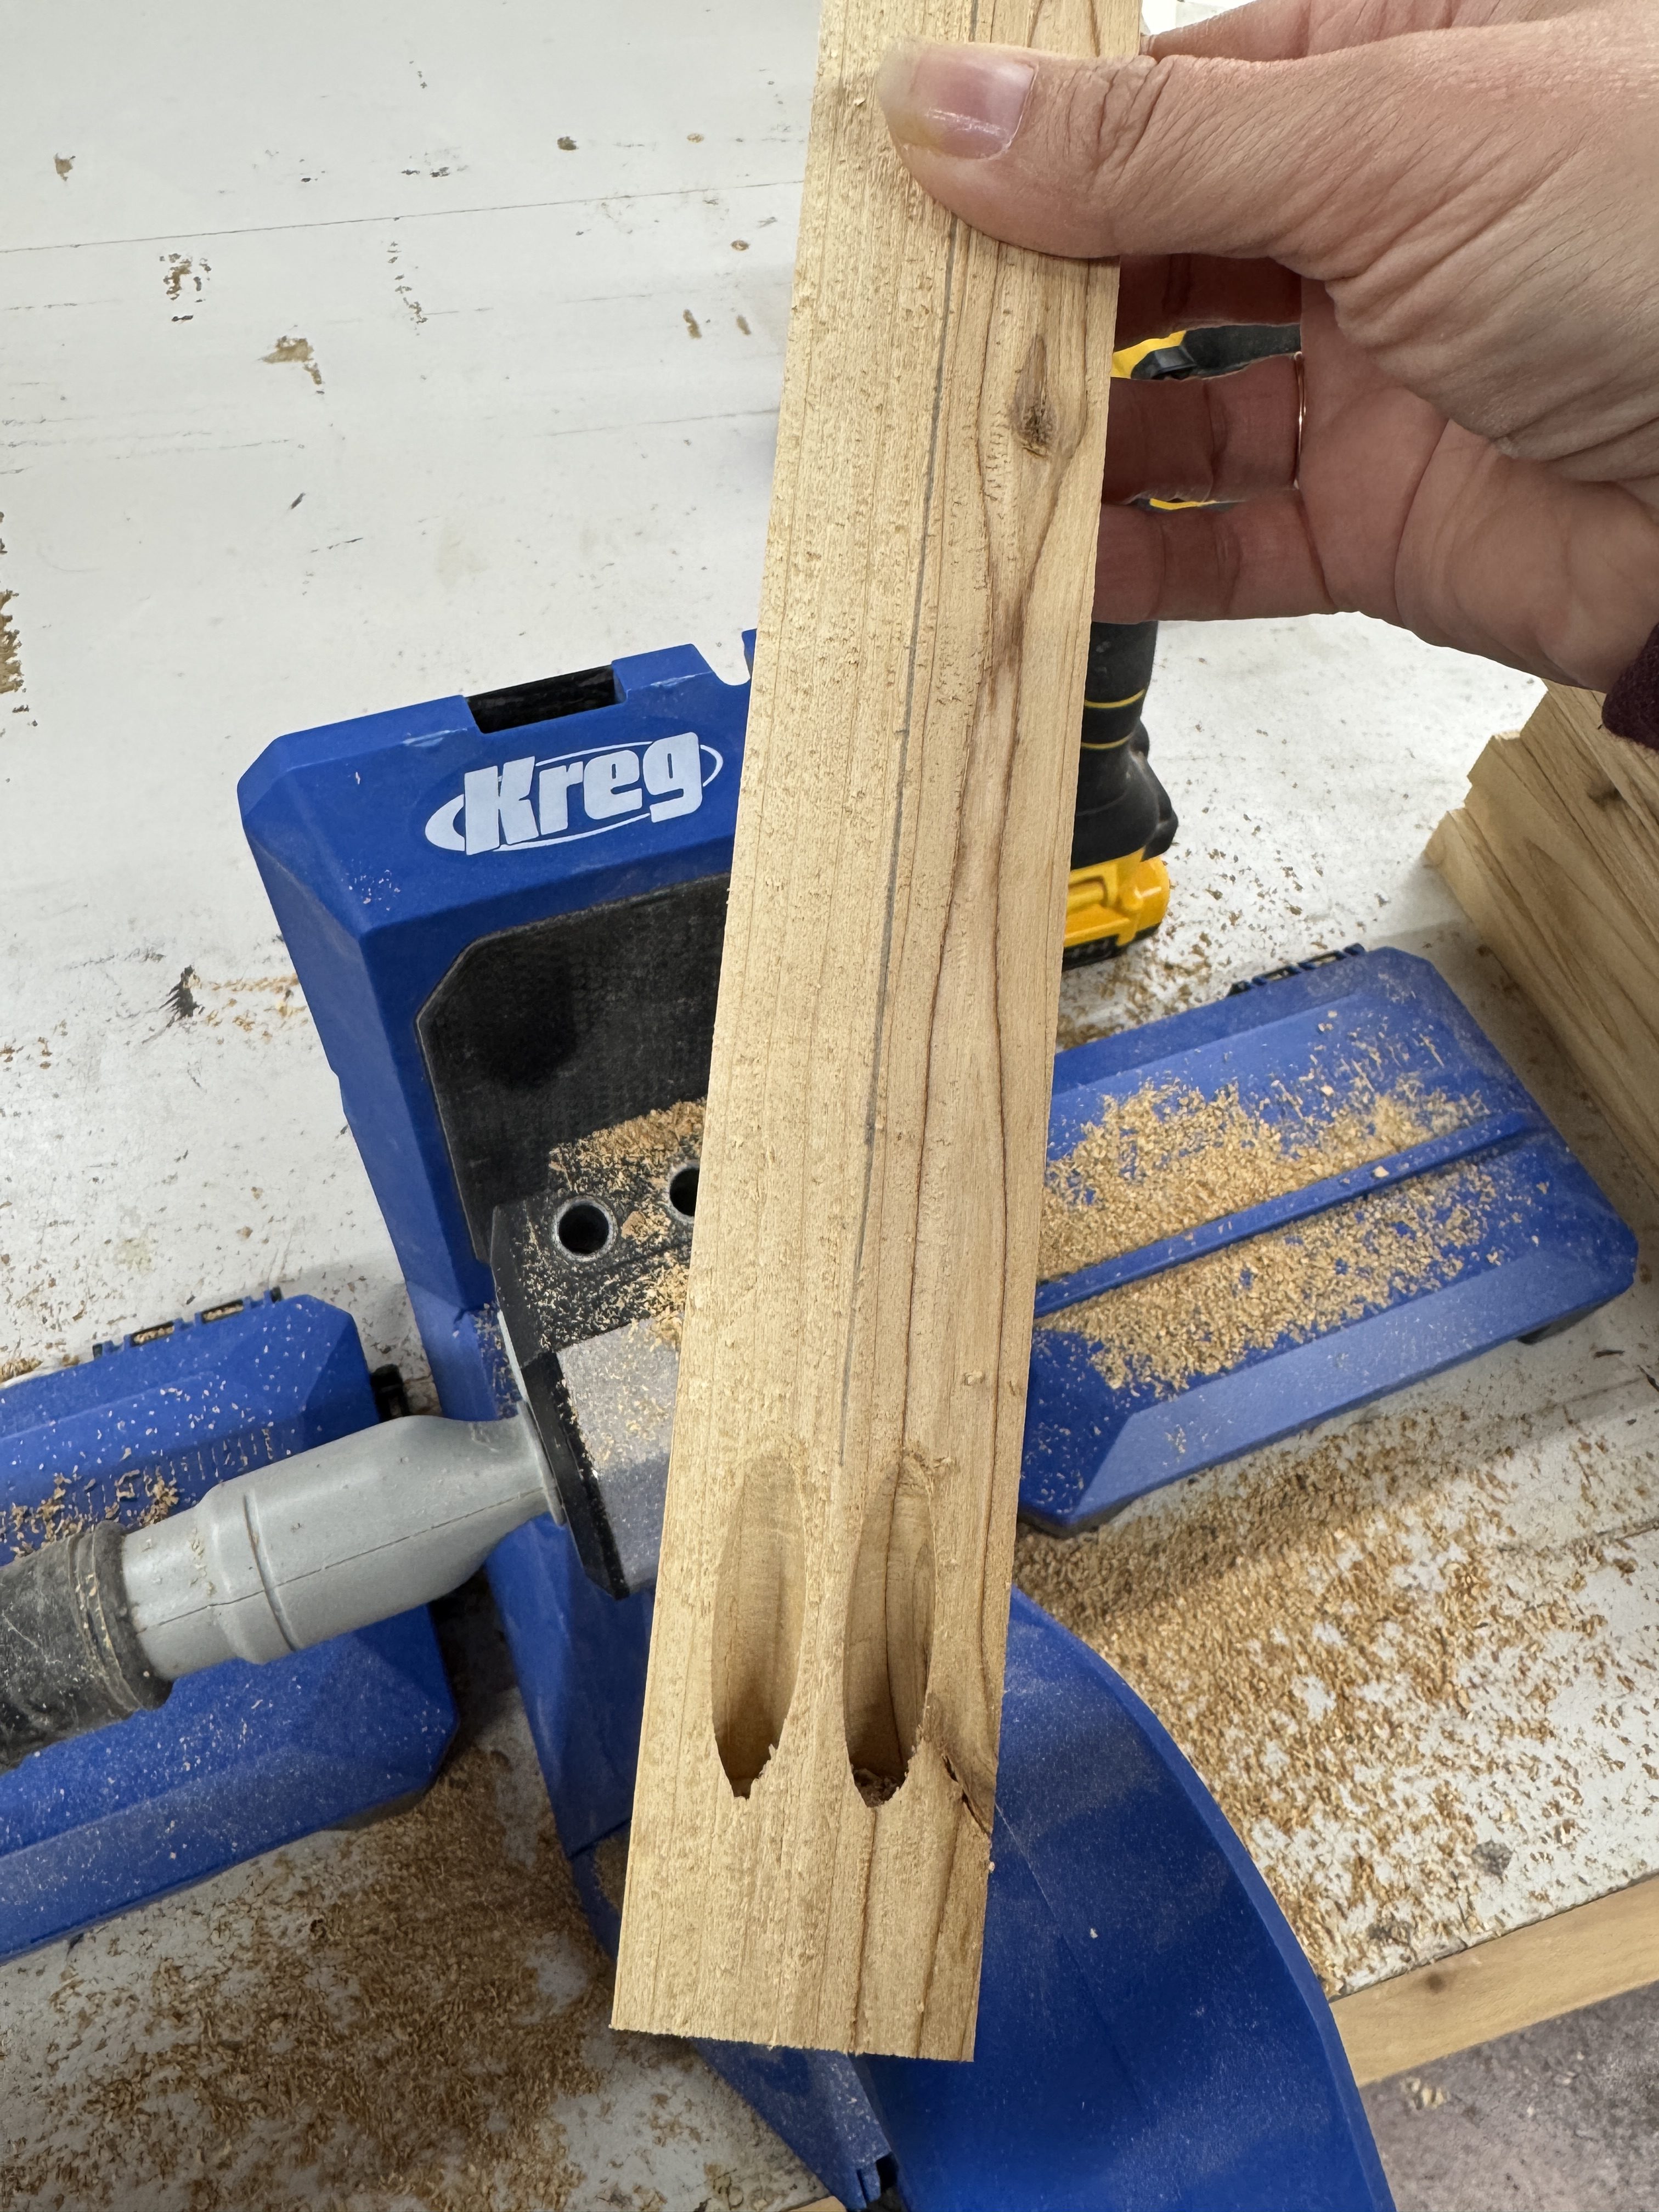
Pocket hole the Carcass Stiles and Sides
Pocket hole the carcass, stiles and sides.
-
Assemble the Carcass Front and Back
Glue and screw the stiles to the top and bottom.
Tip:
We used a framing square to try and keep things square.
-
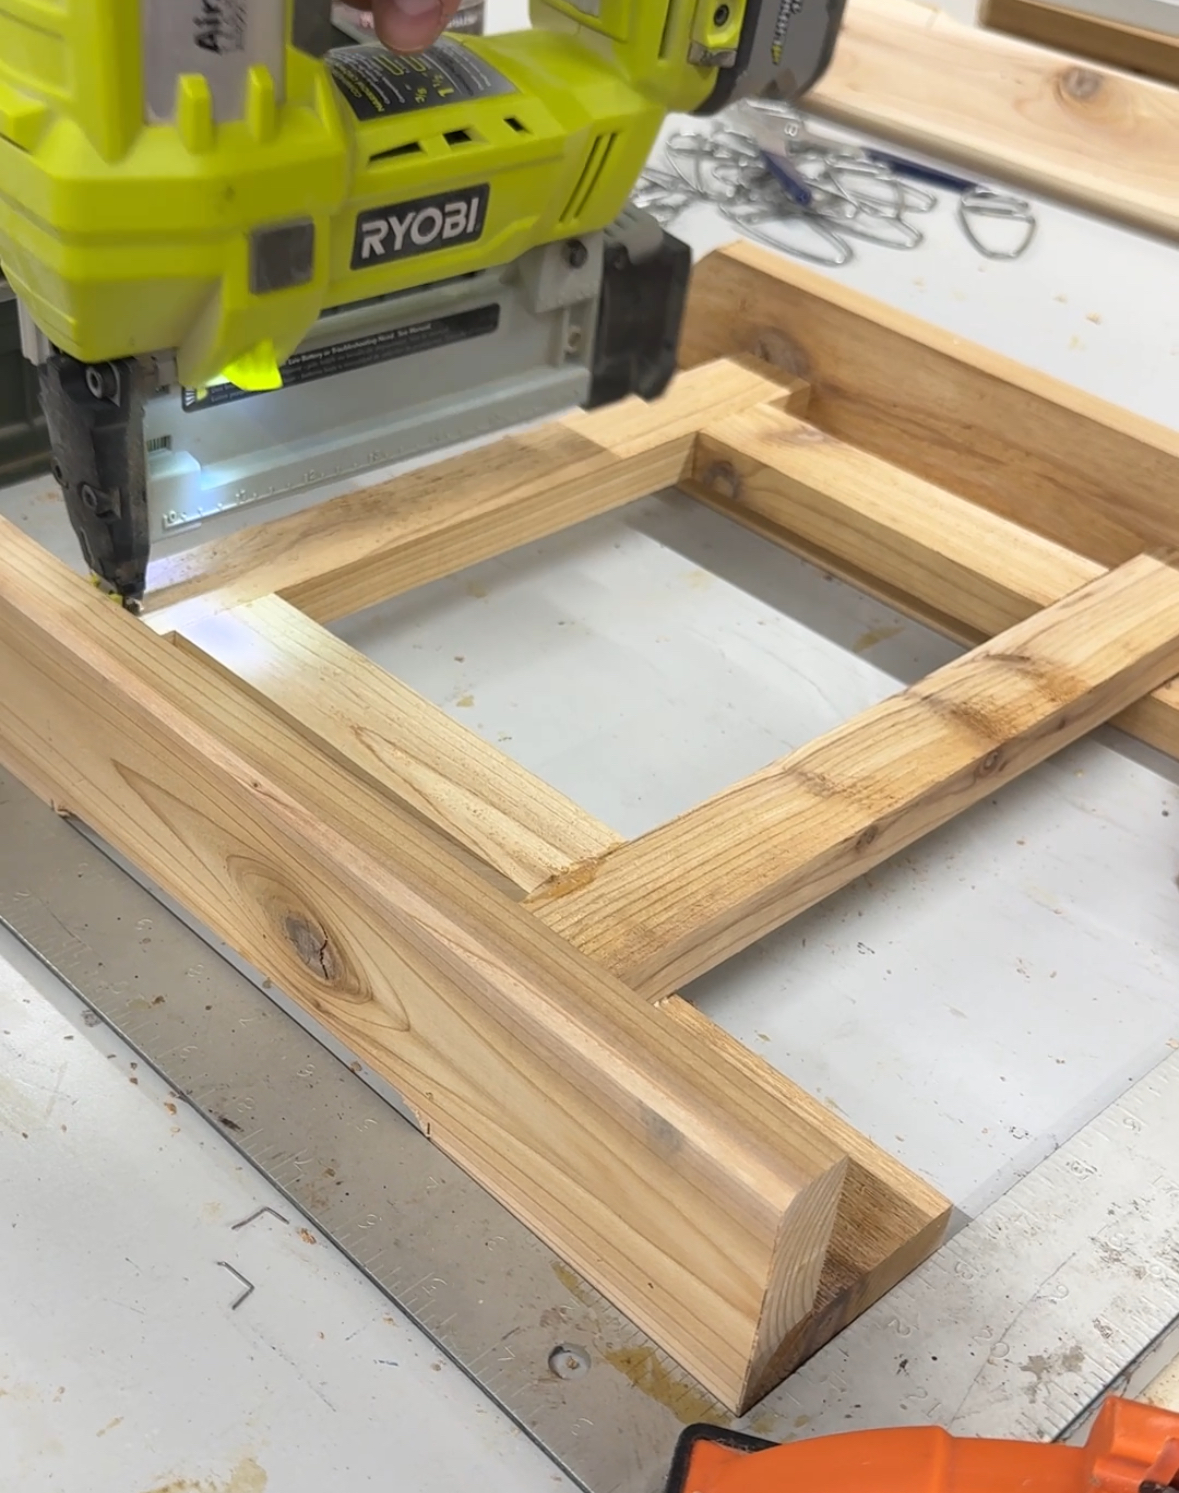
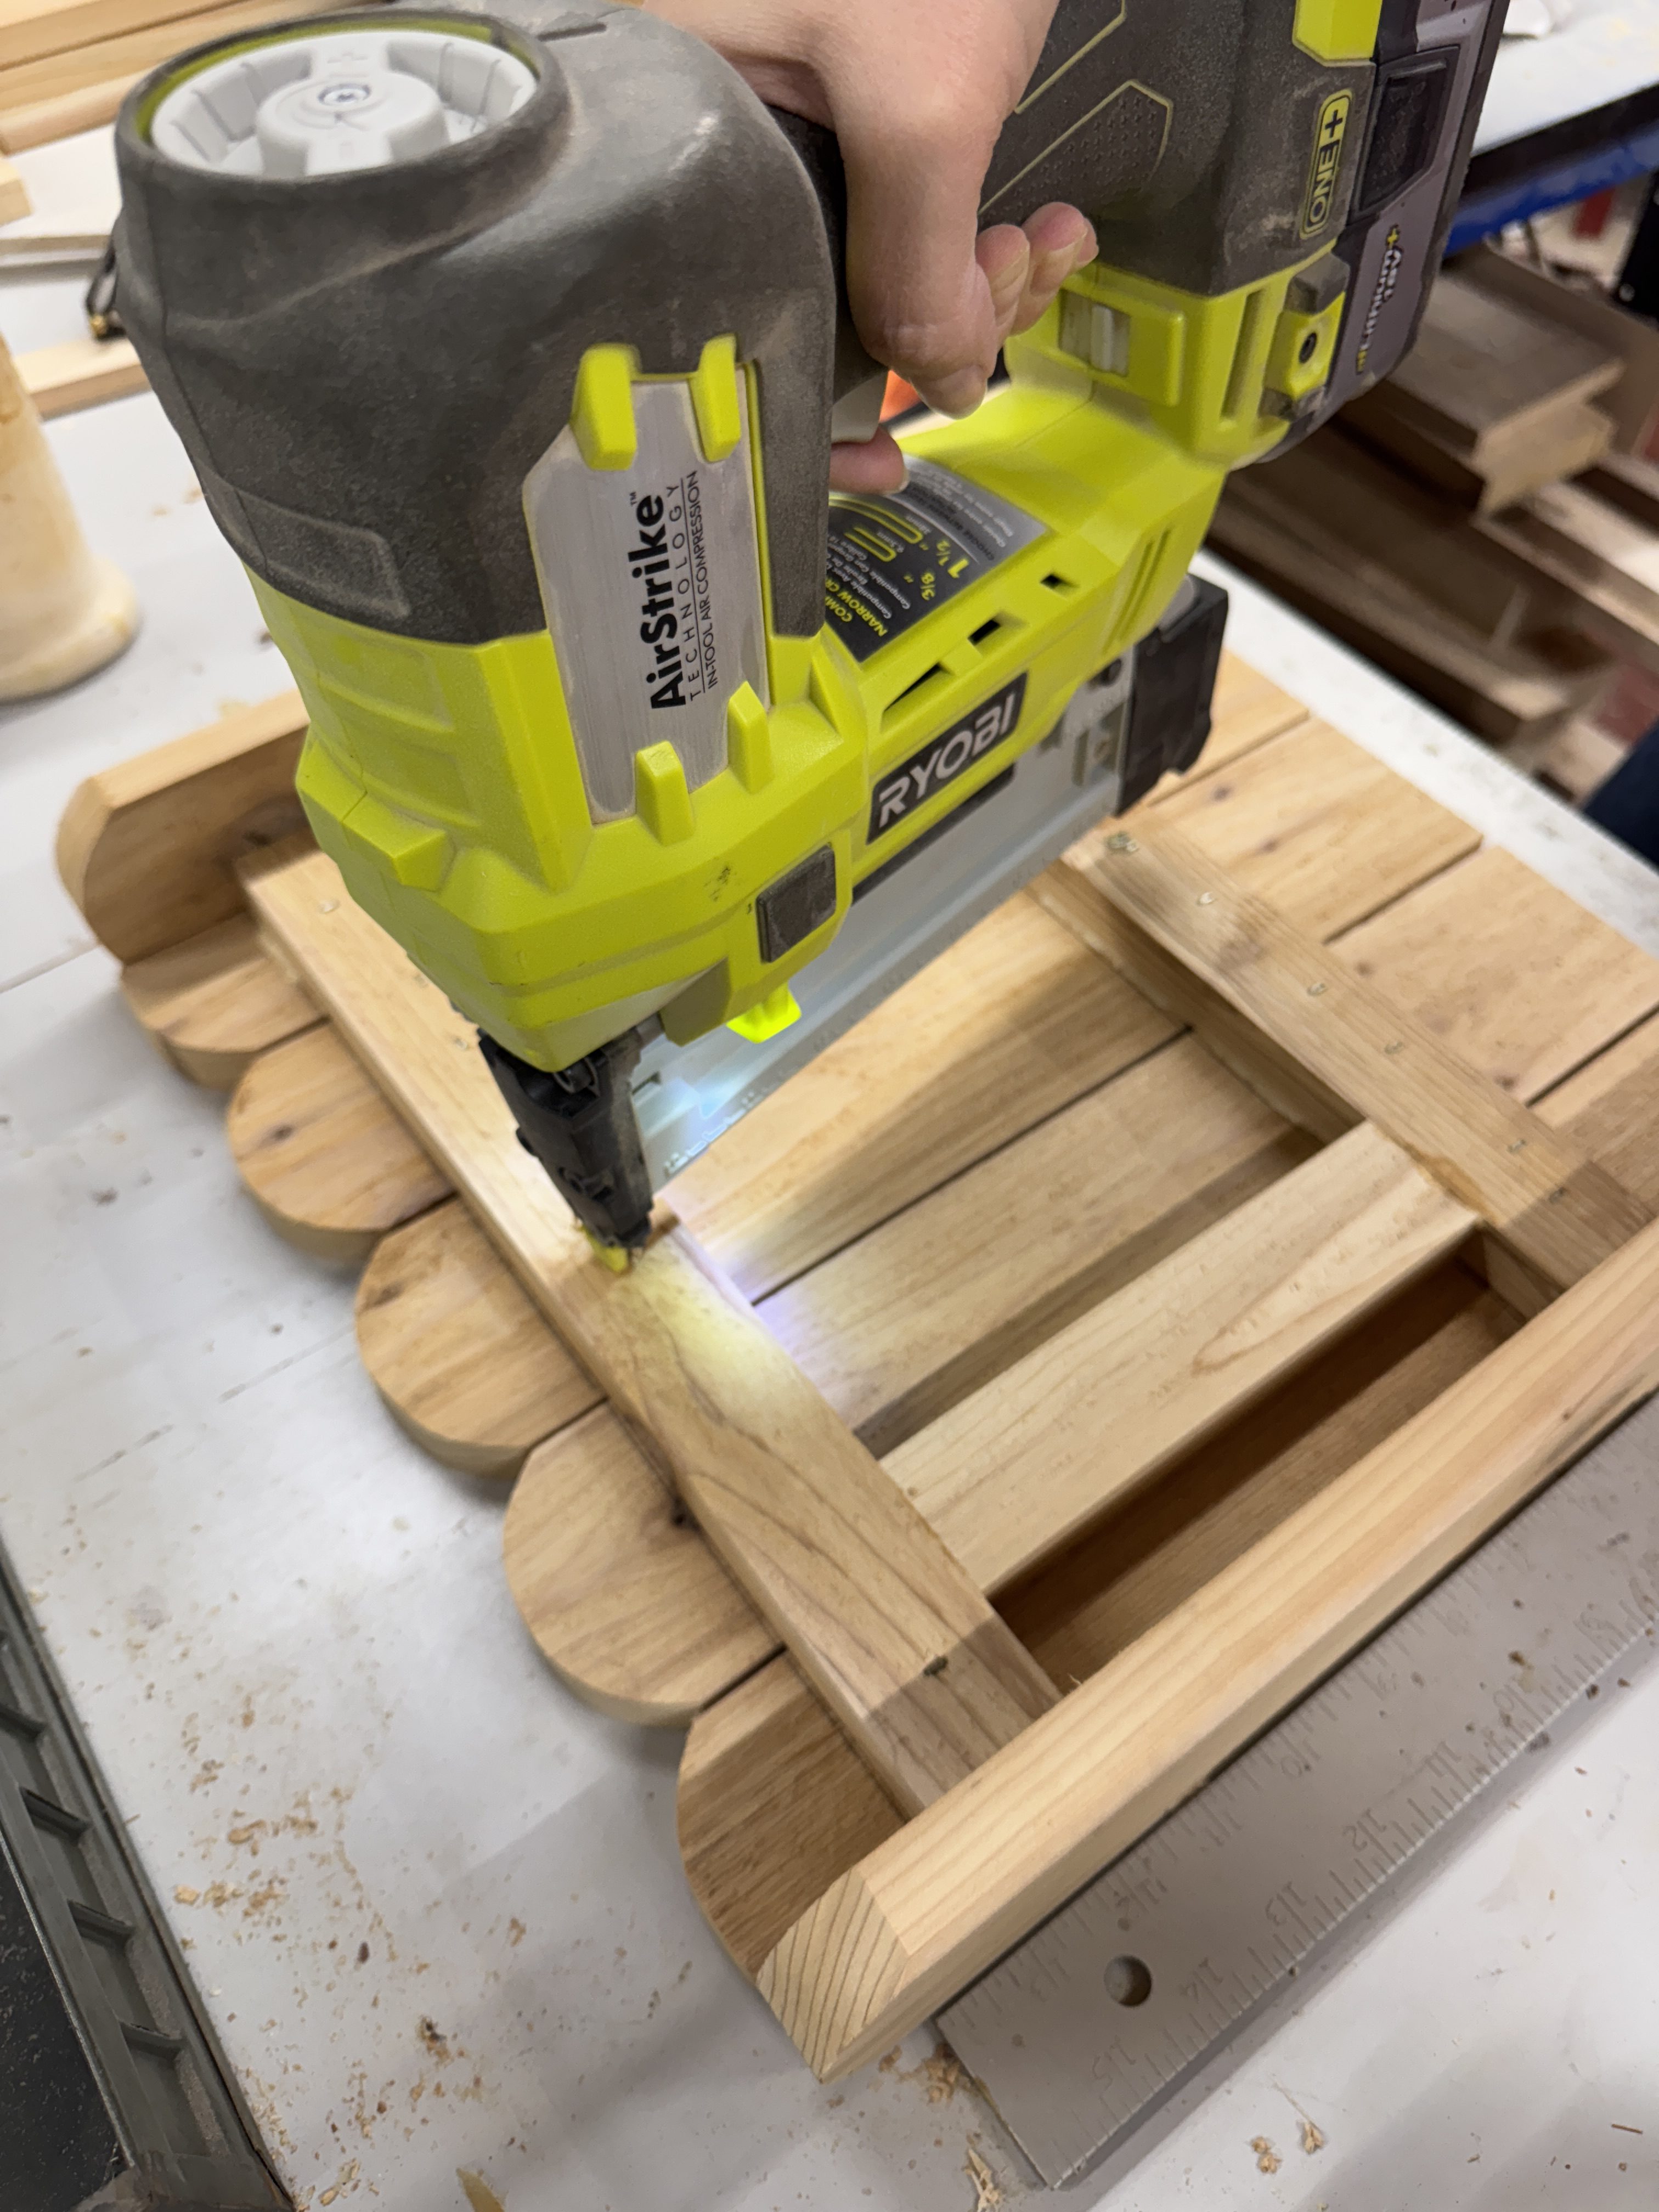
Assembling the front and back
Using a narrow crown staple gun, attach the corner pickets to the front and back, then add the remaining center pickets.
Tip:
Hide the pocket holes by having them face the pickets.
-
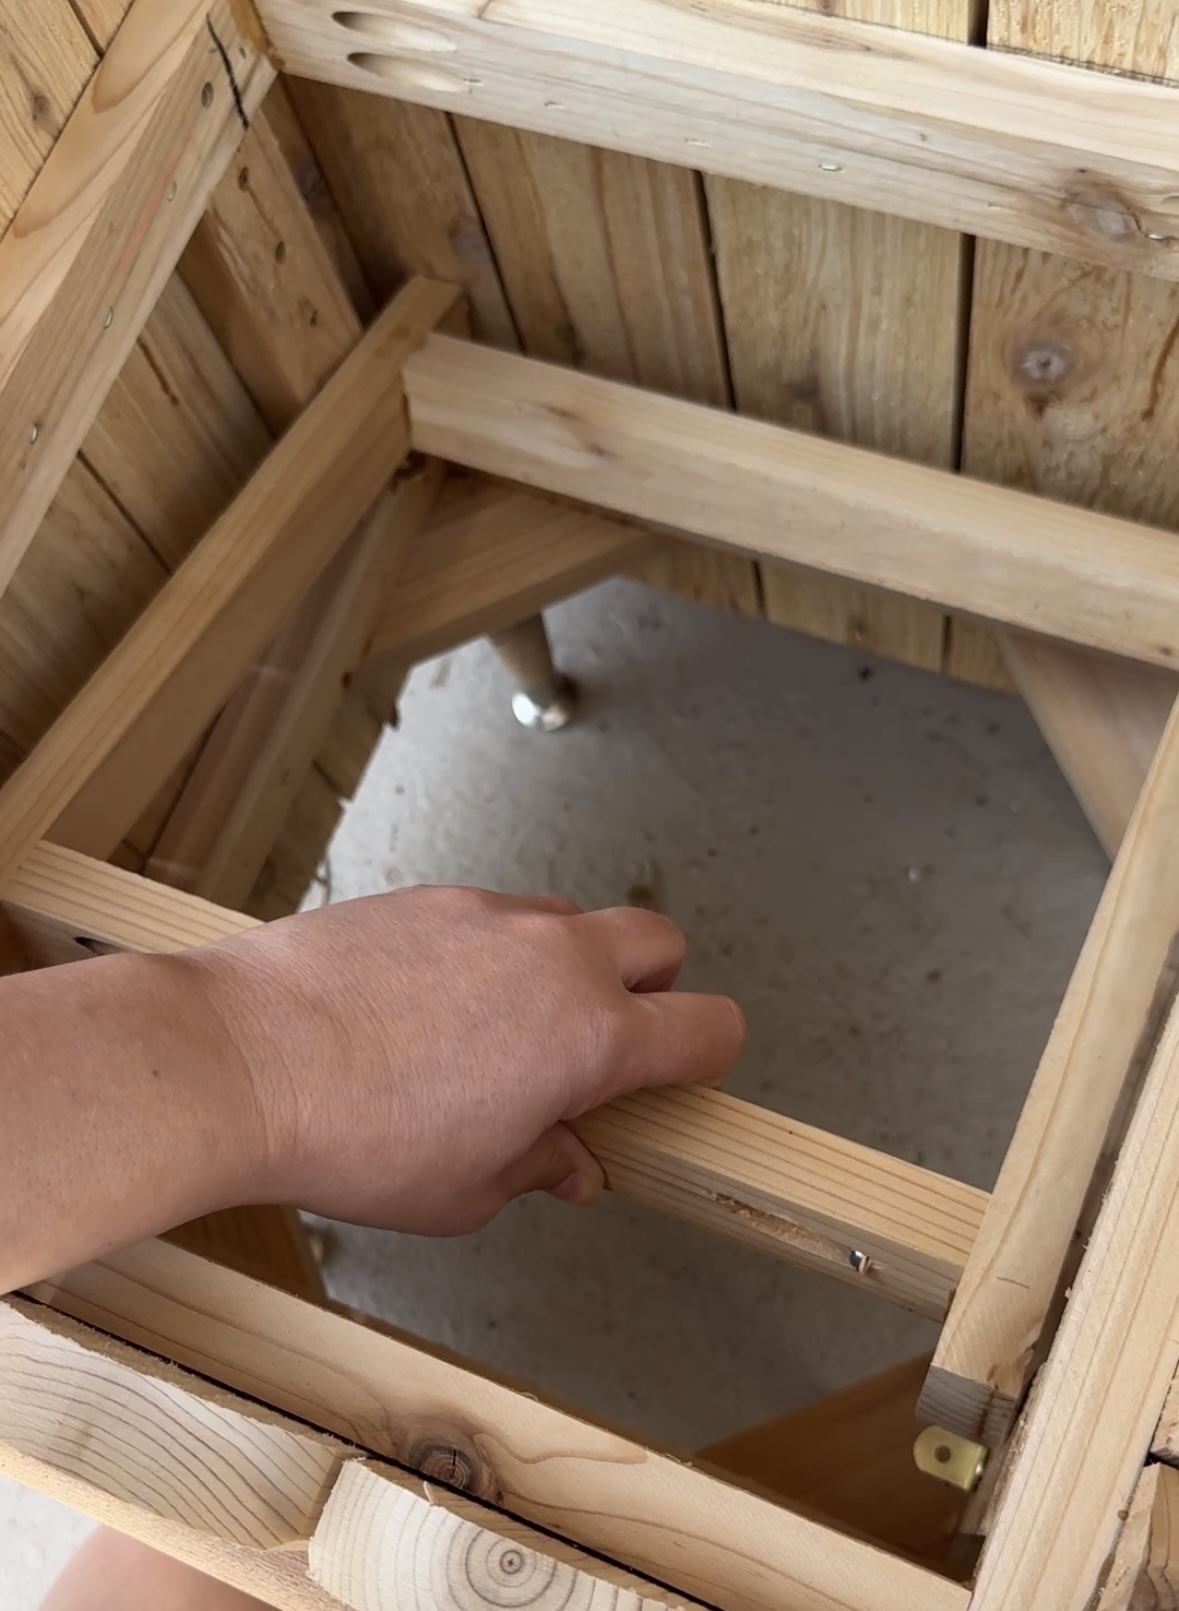
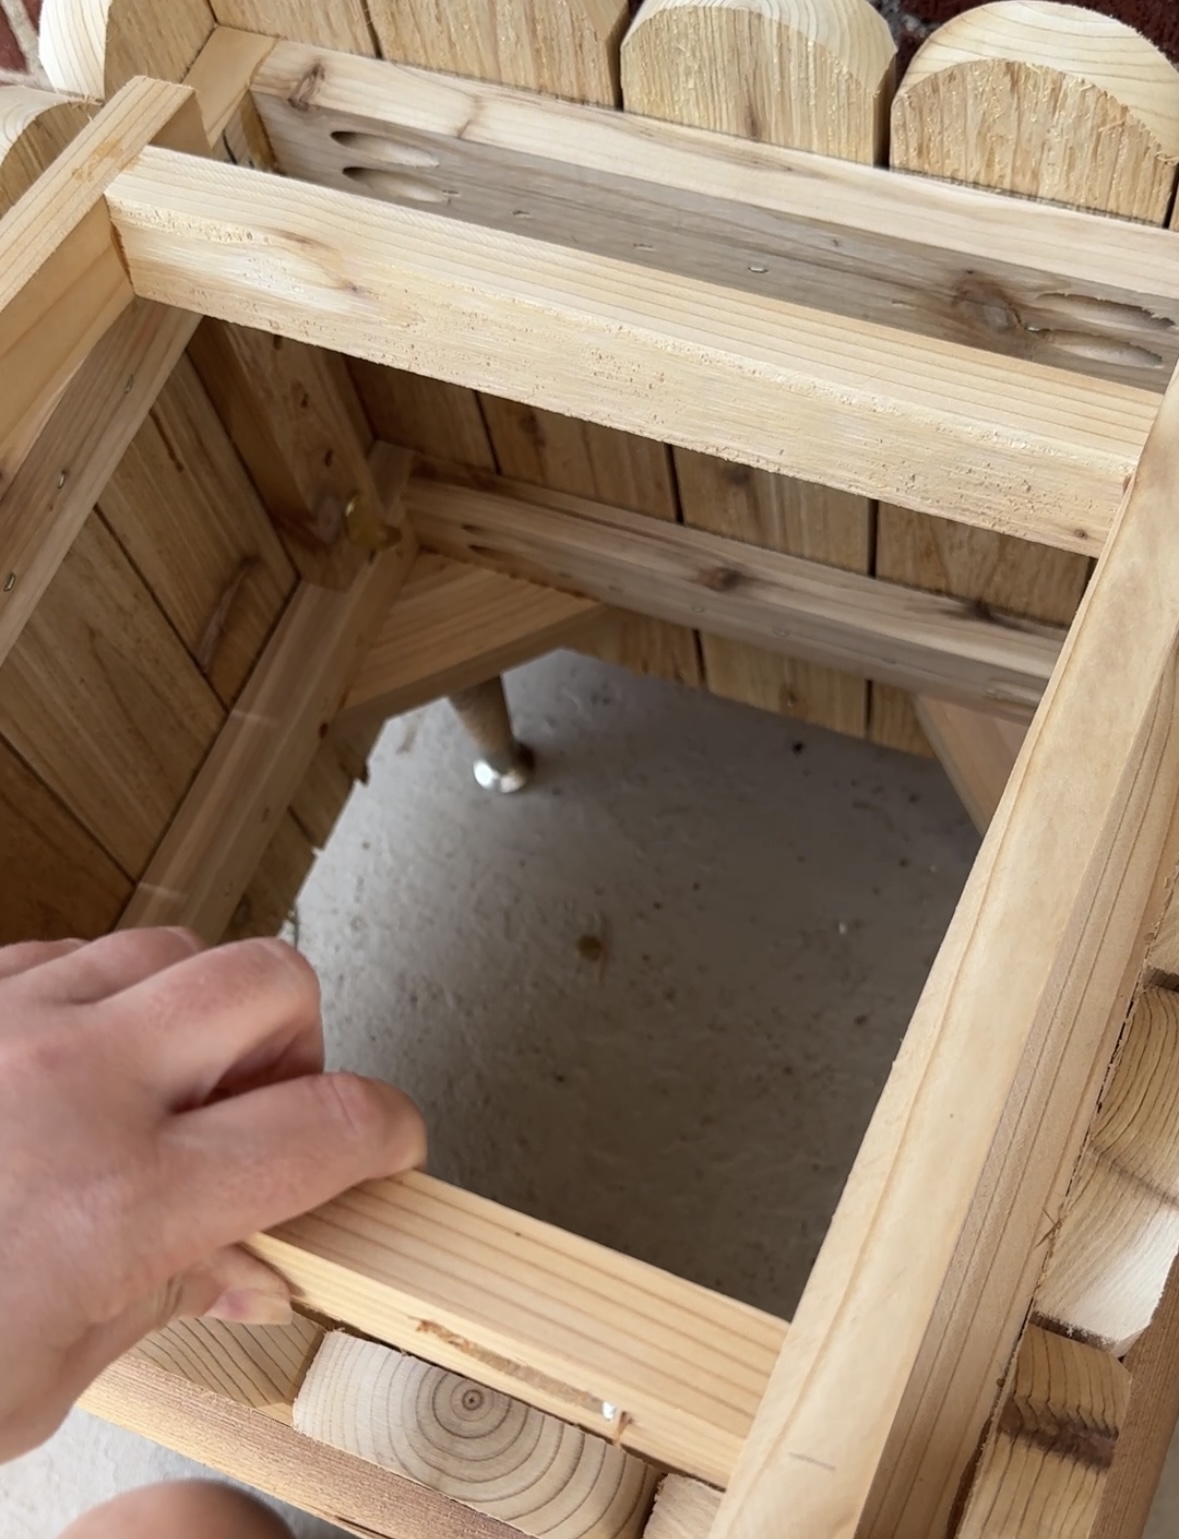
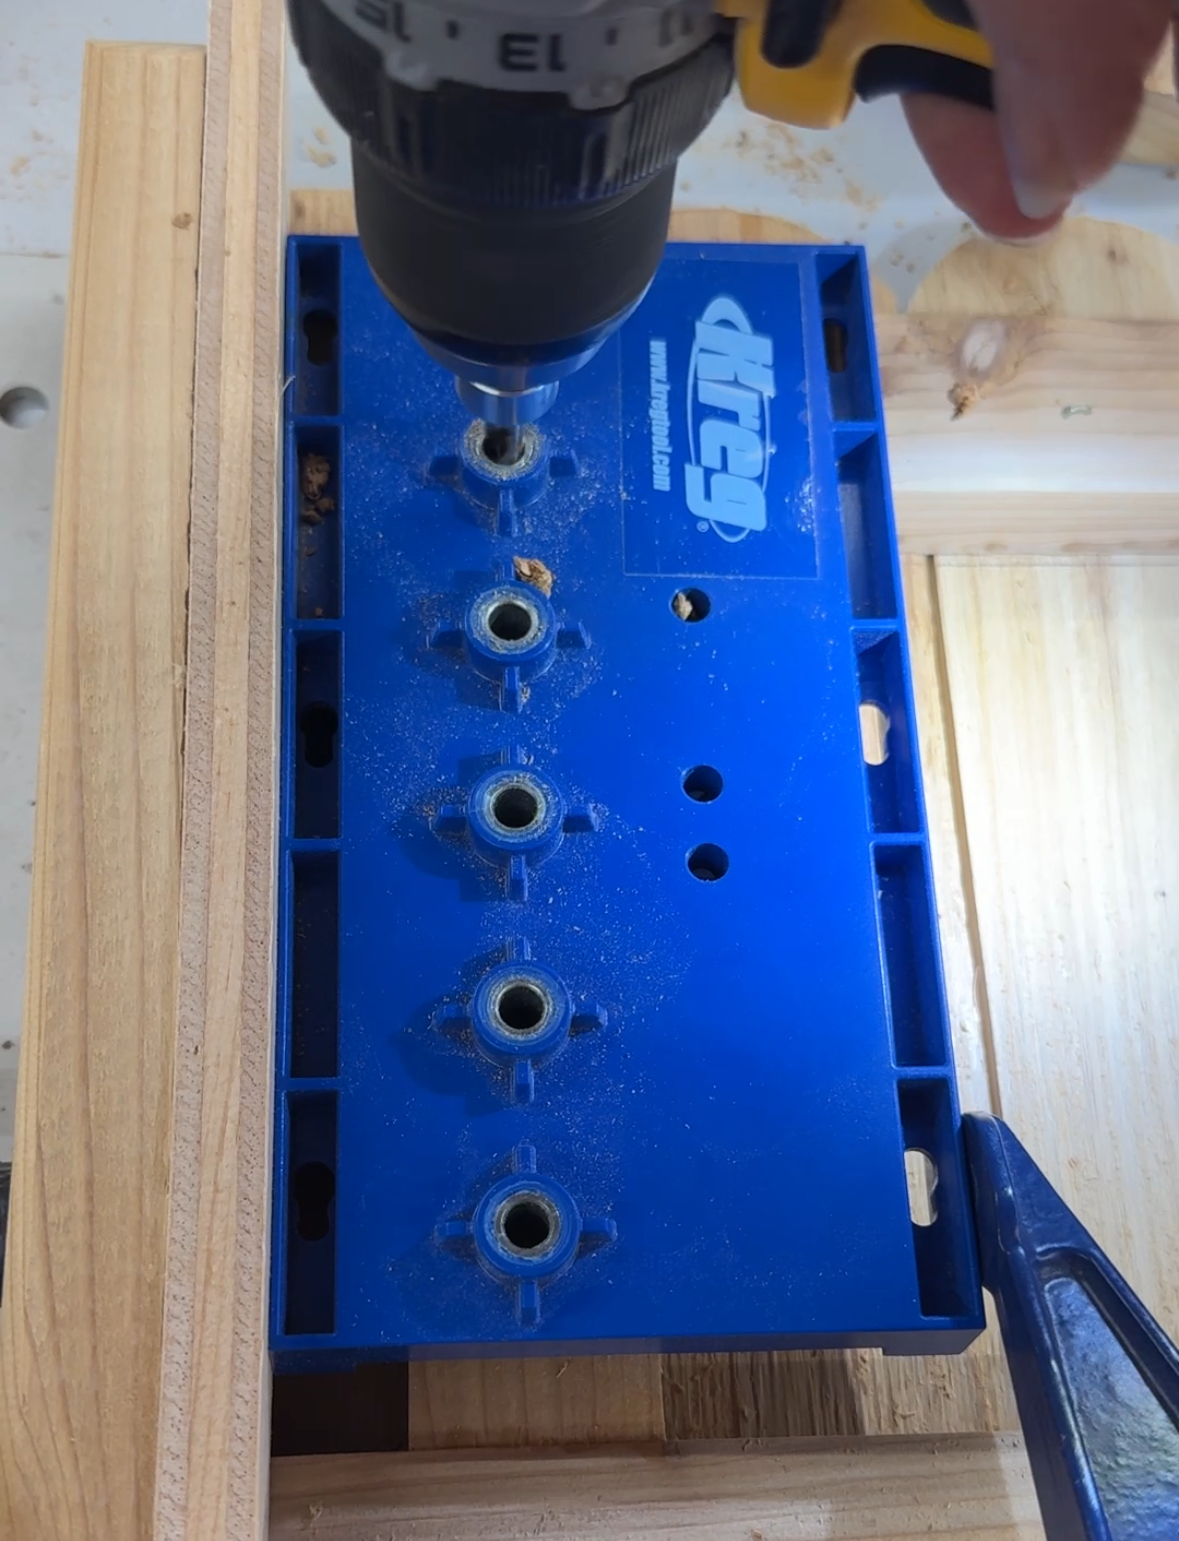
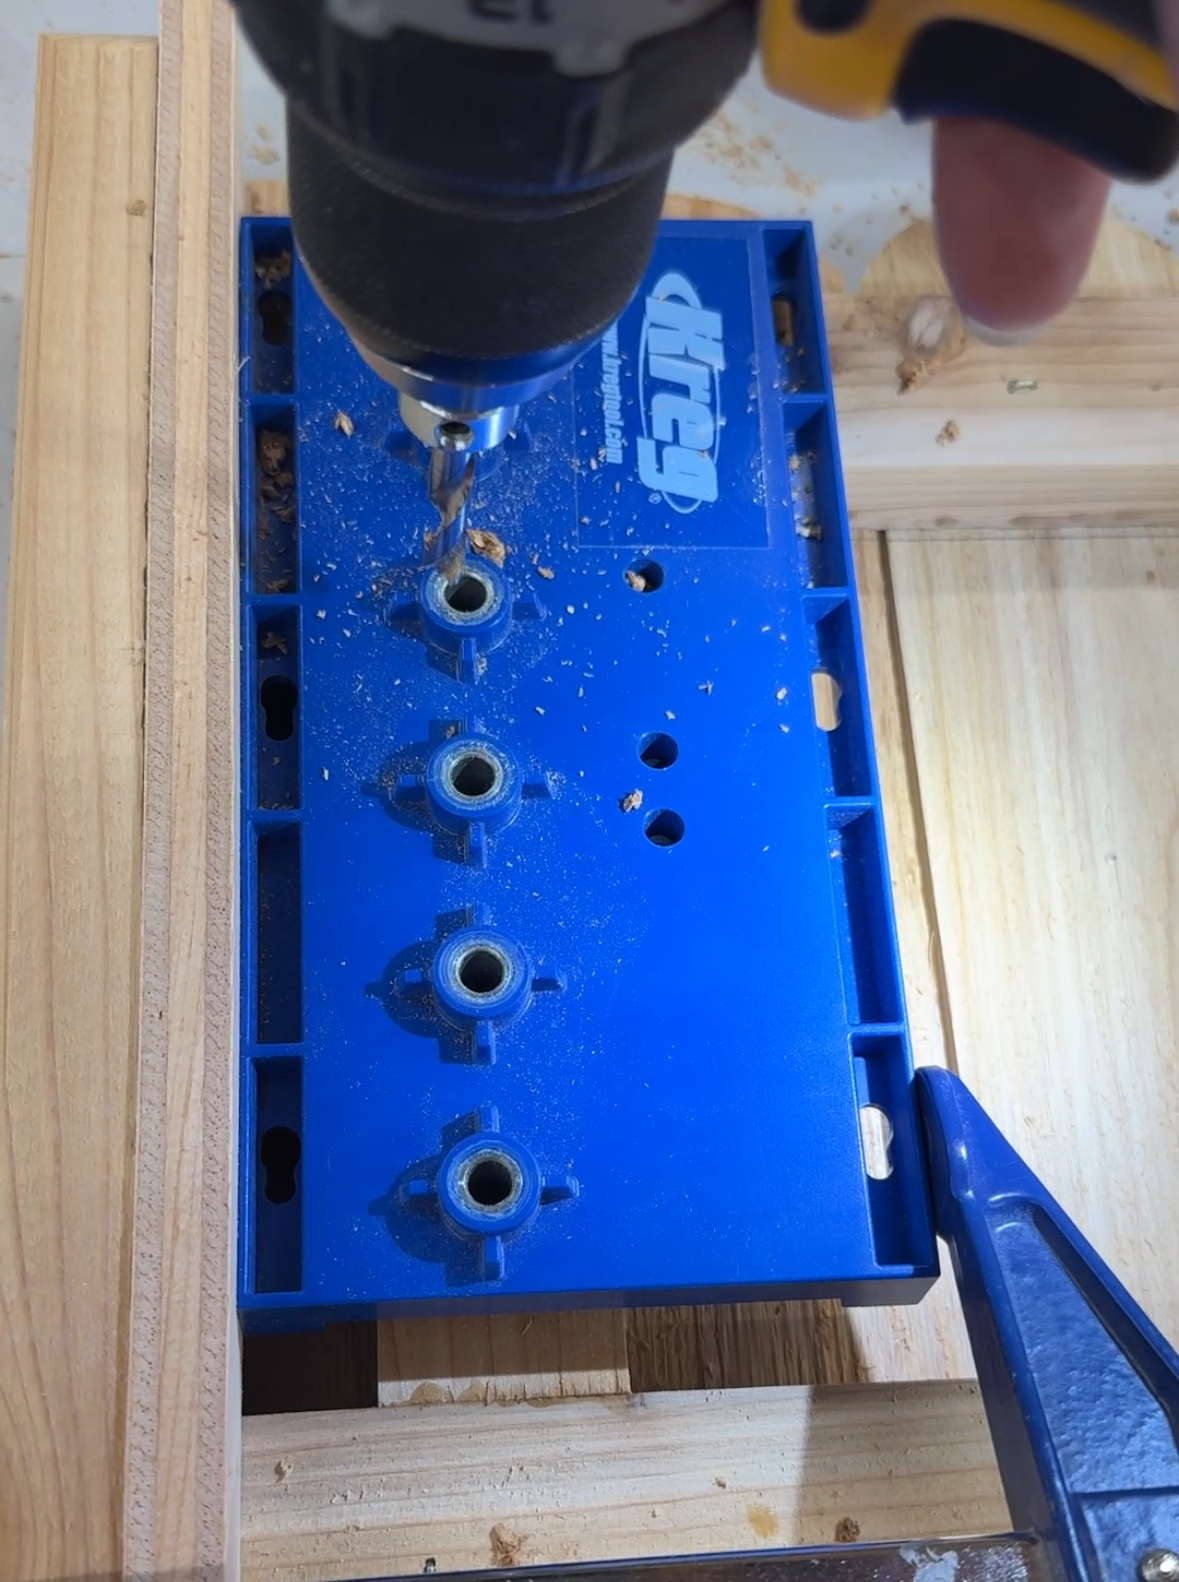
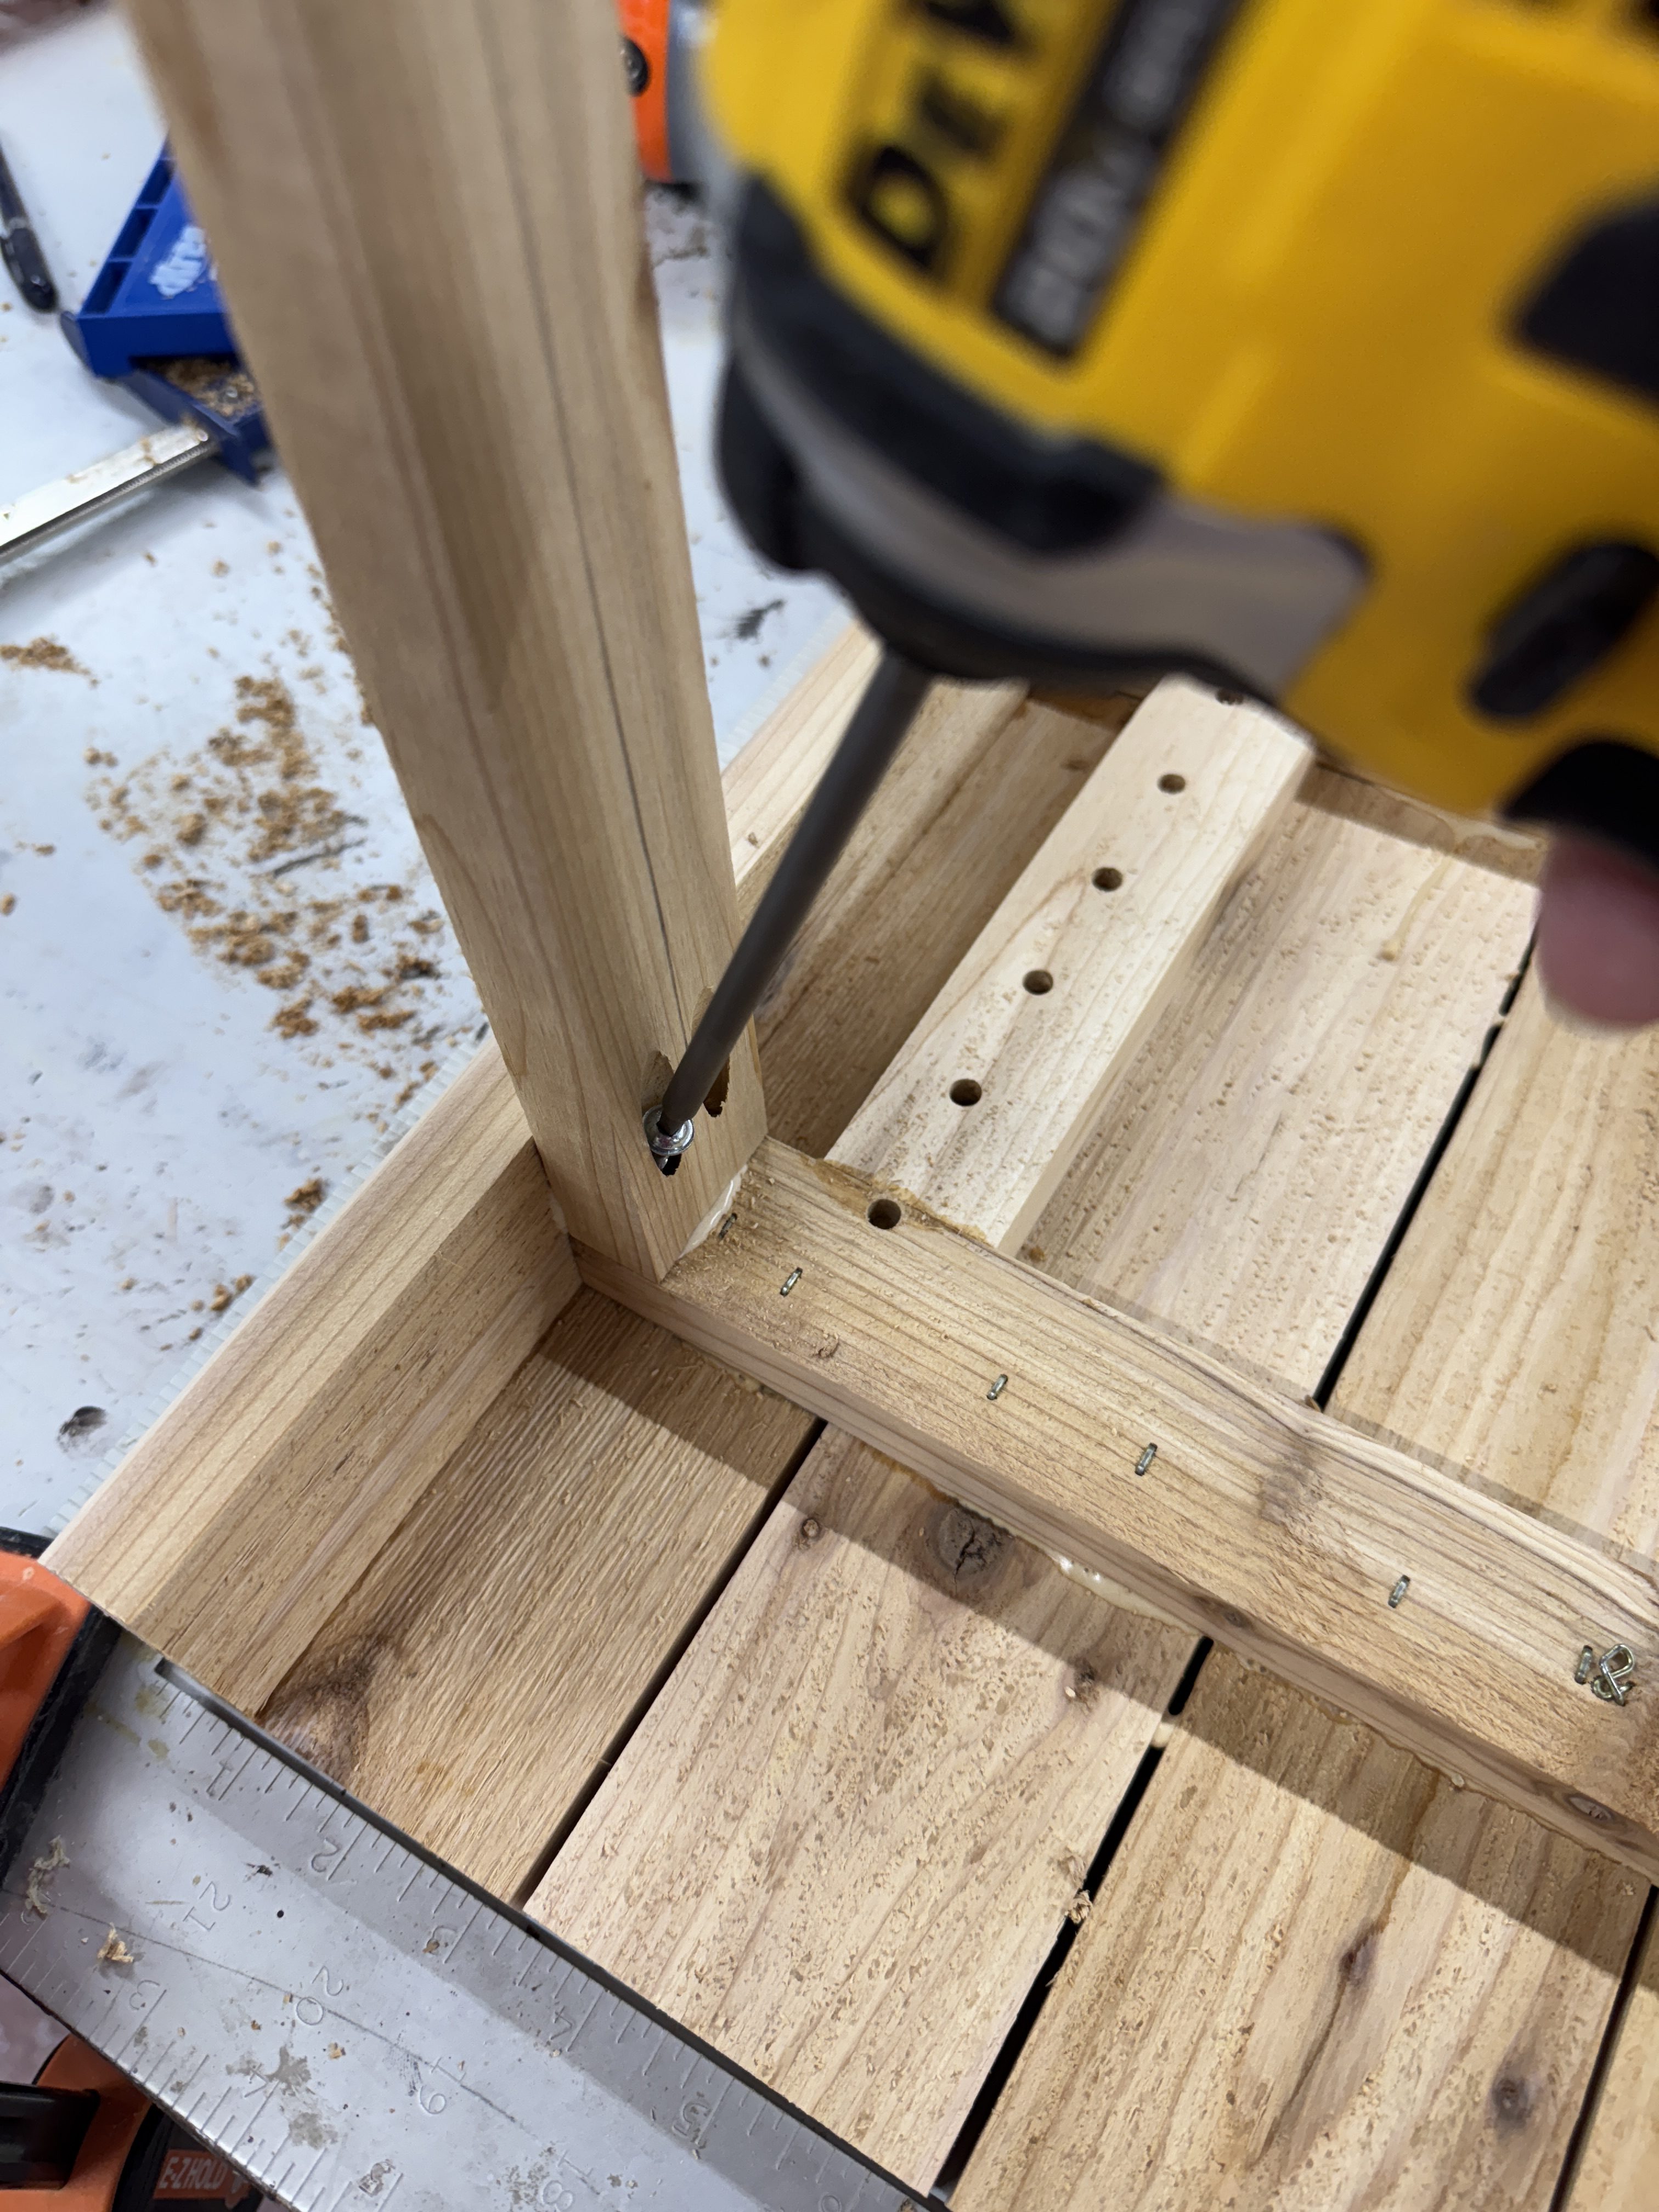
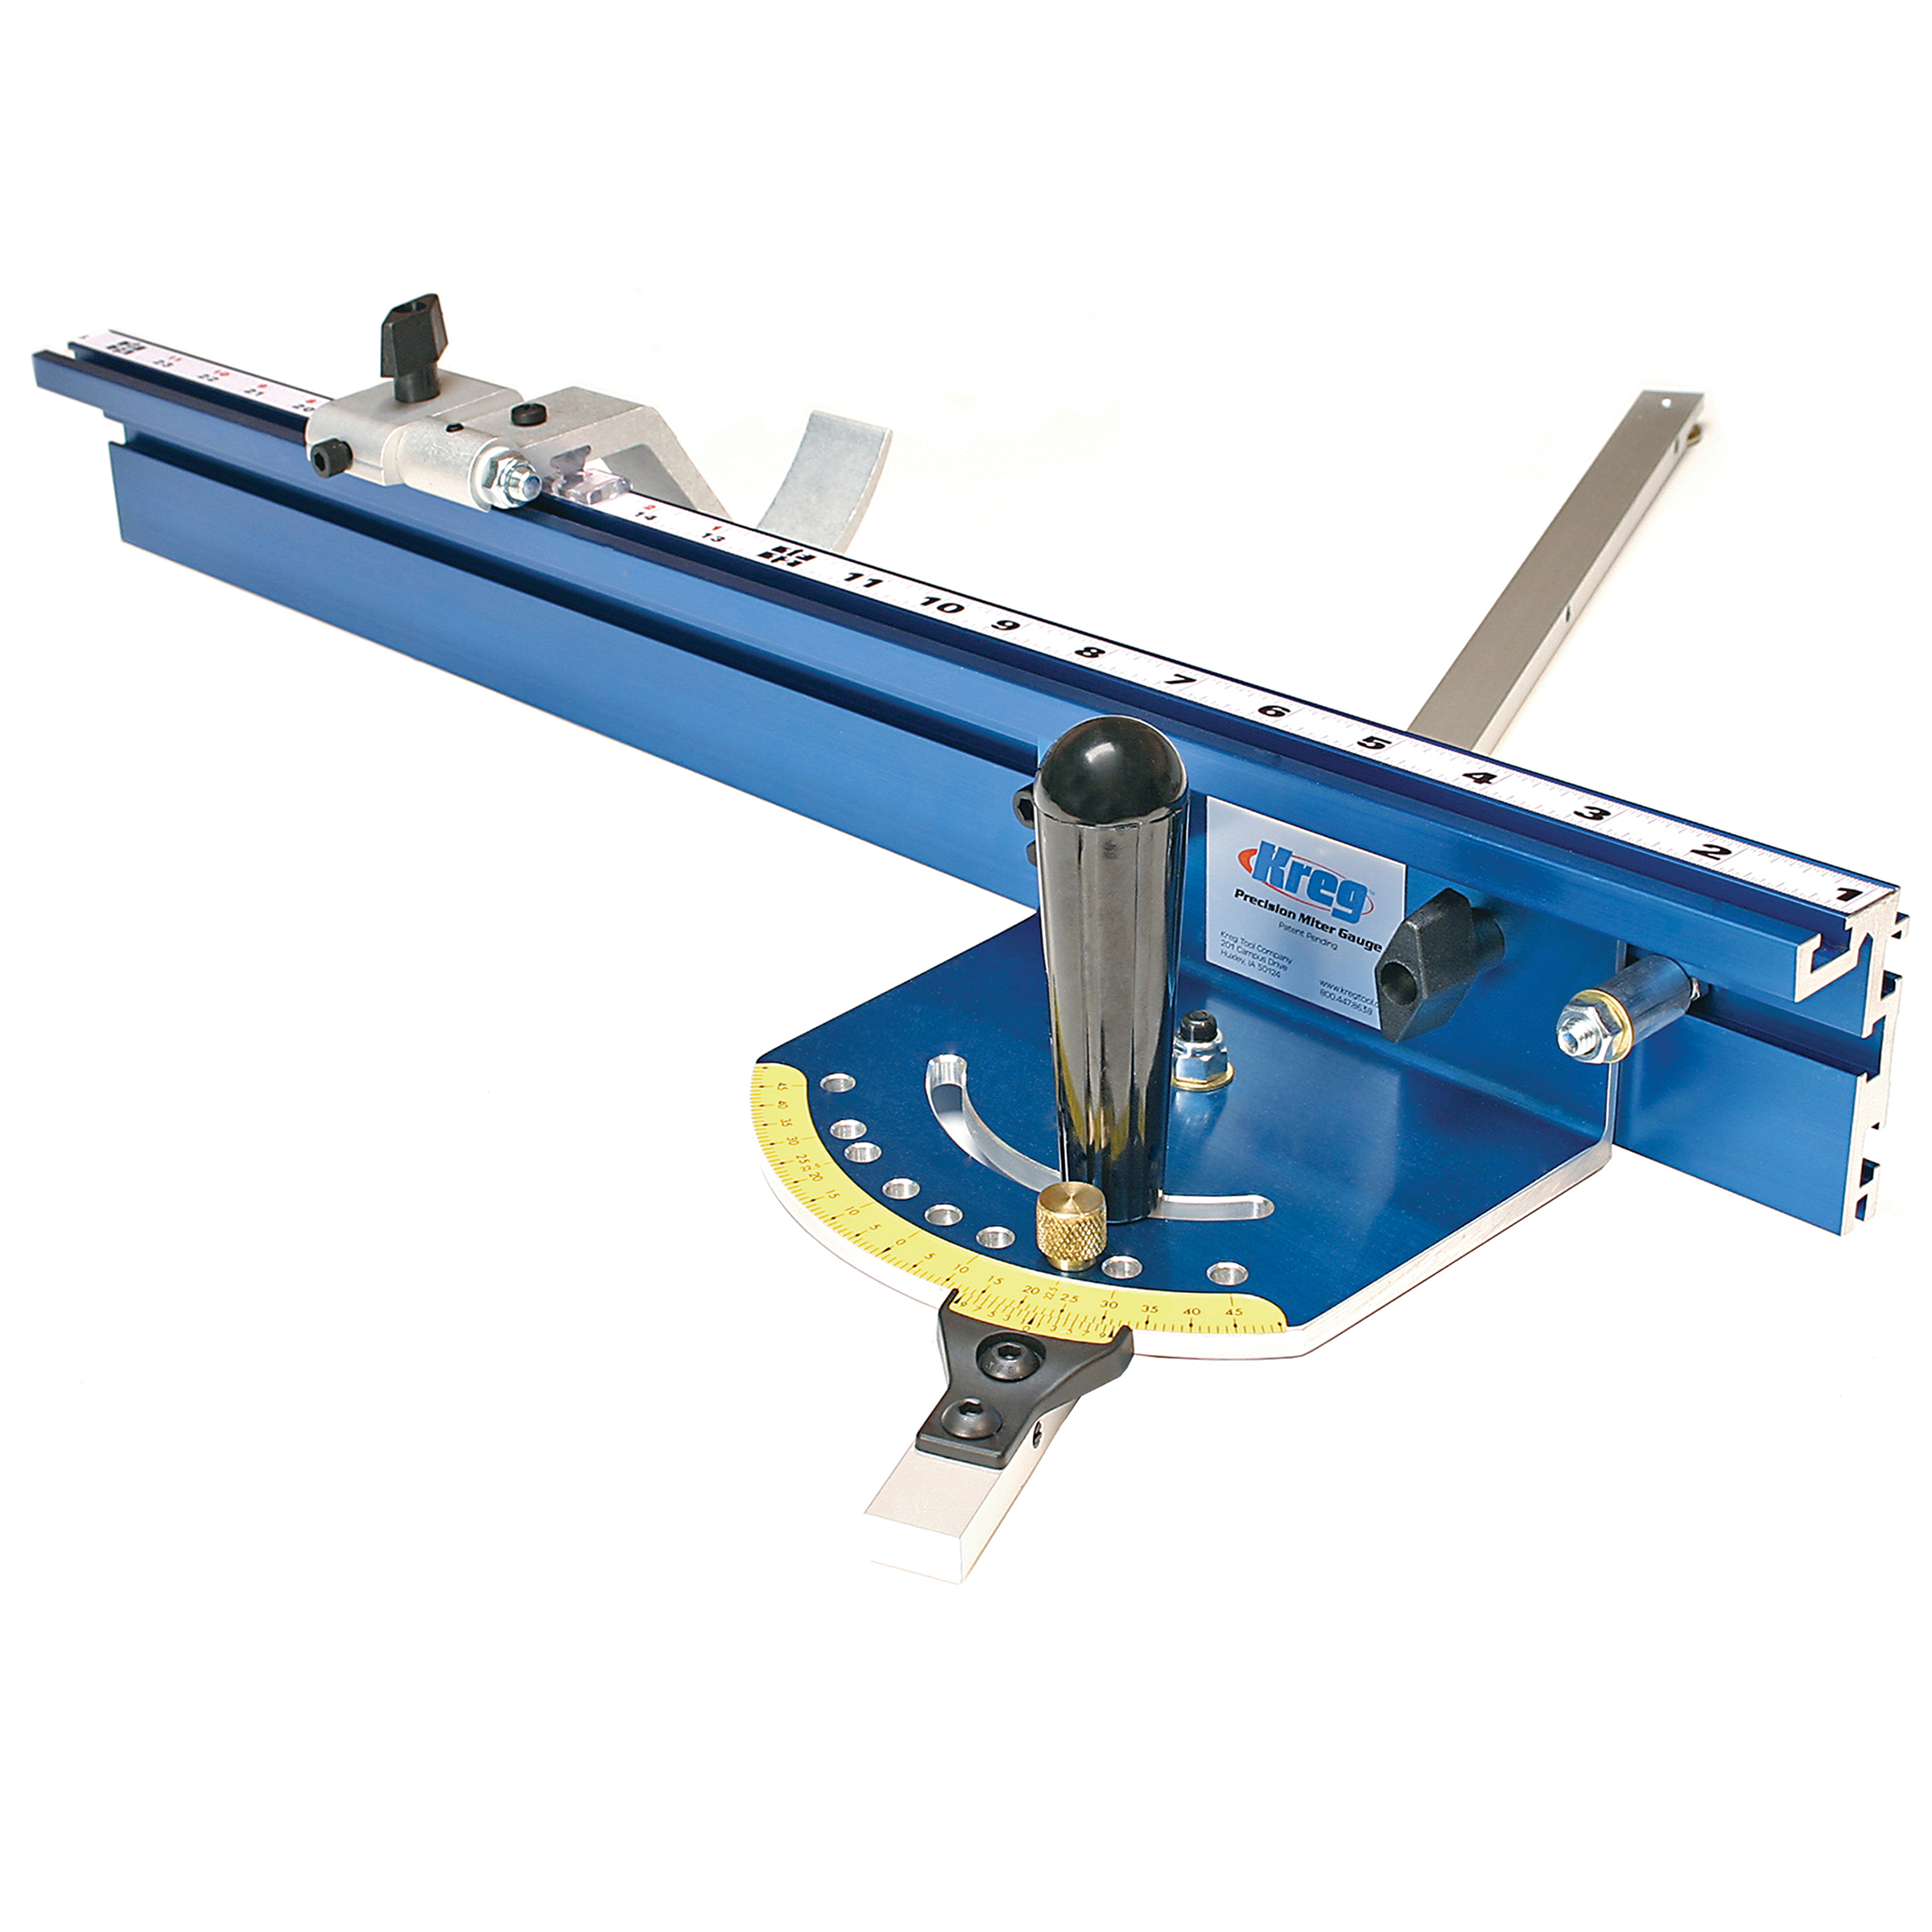
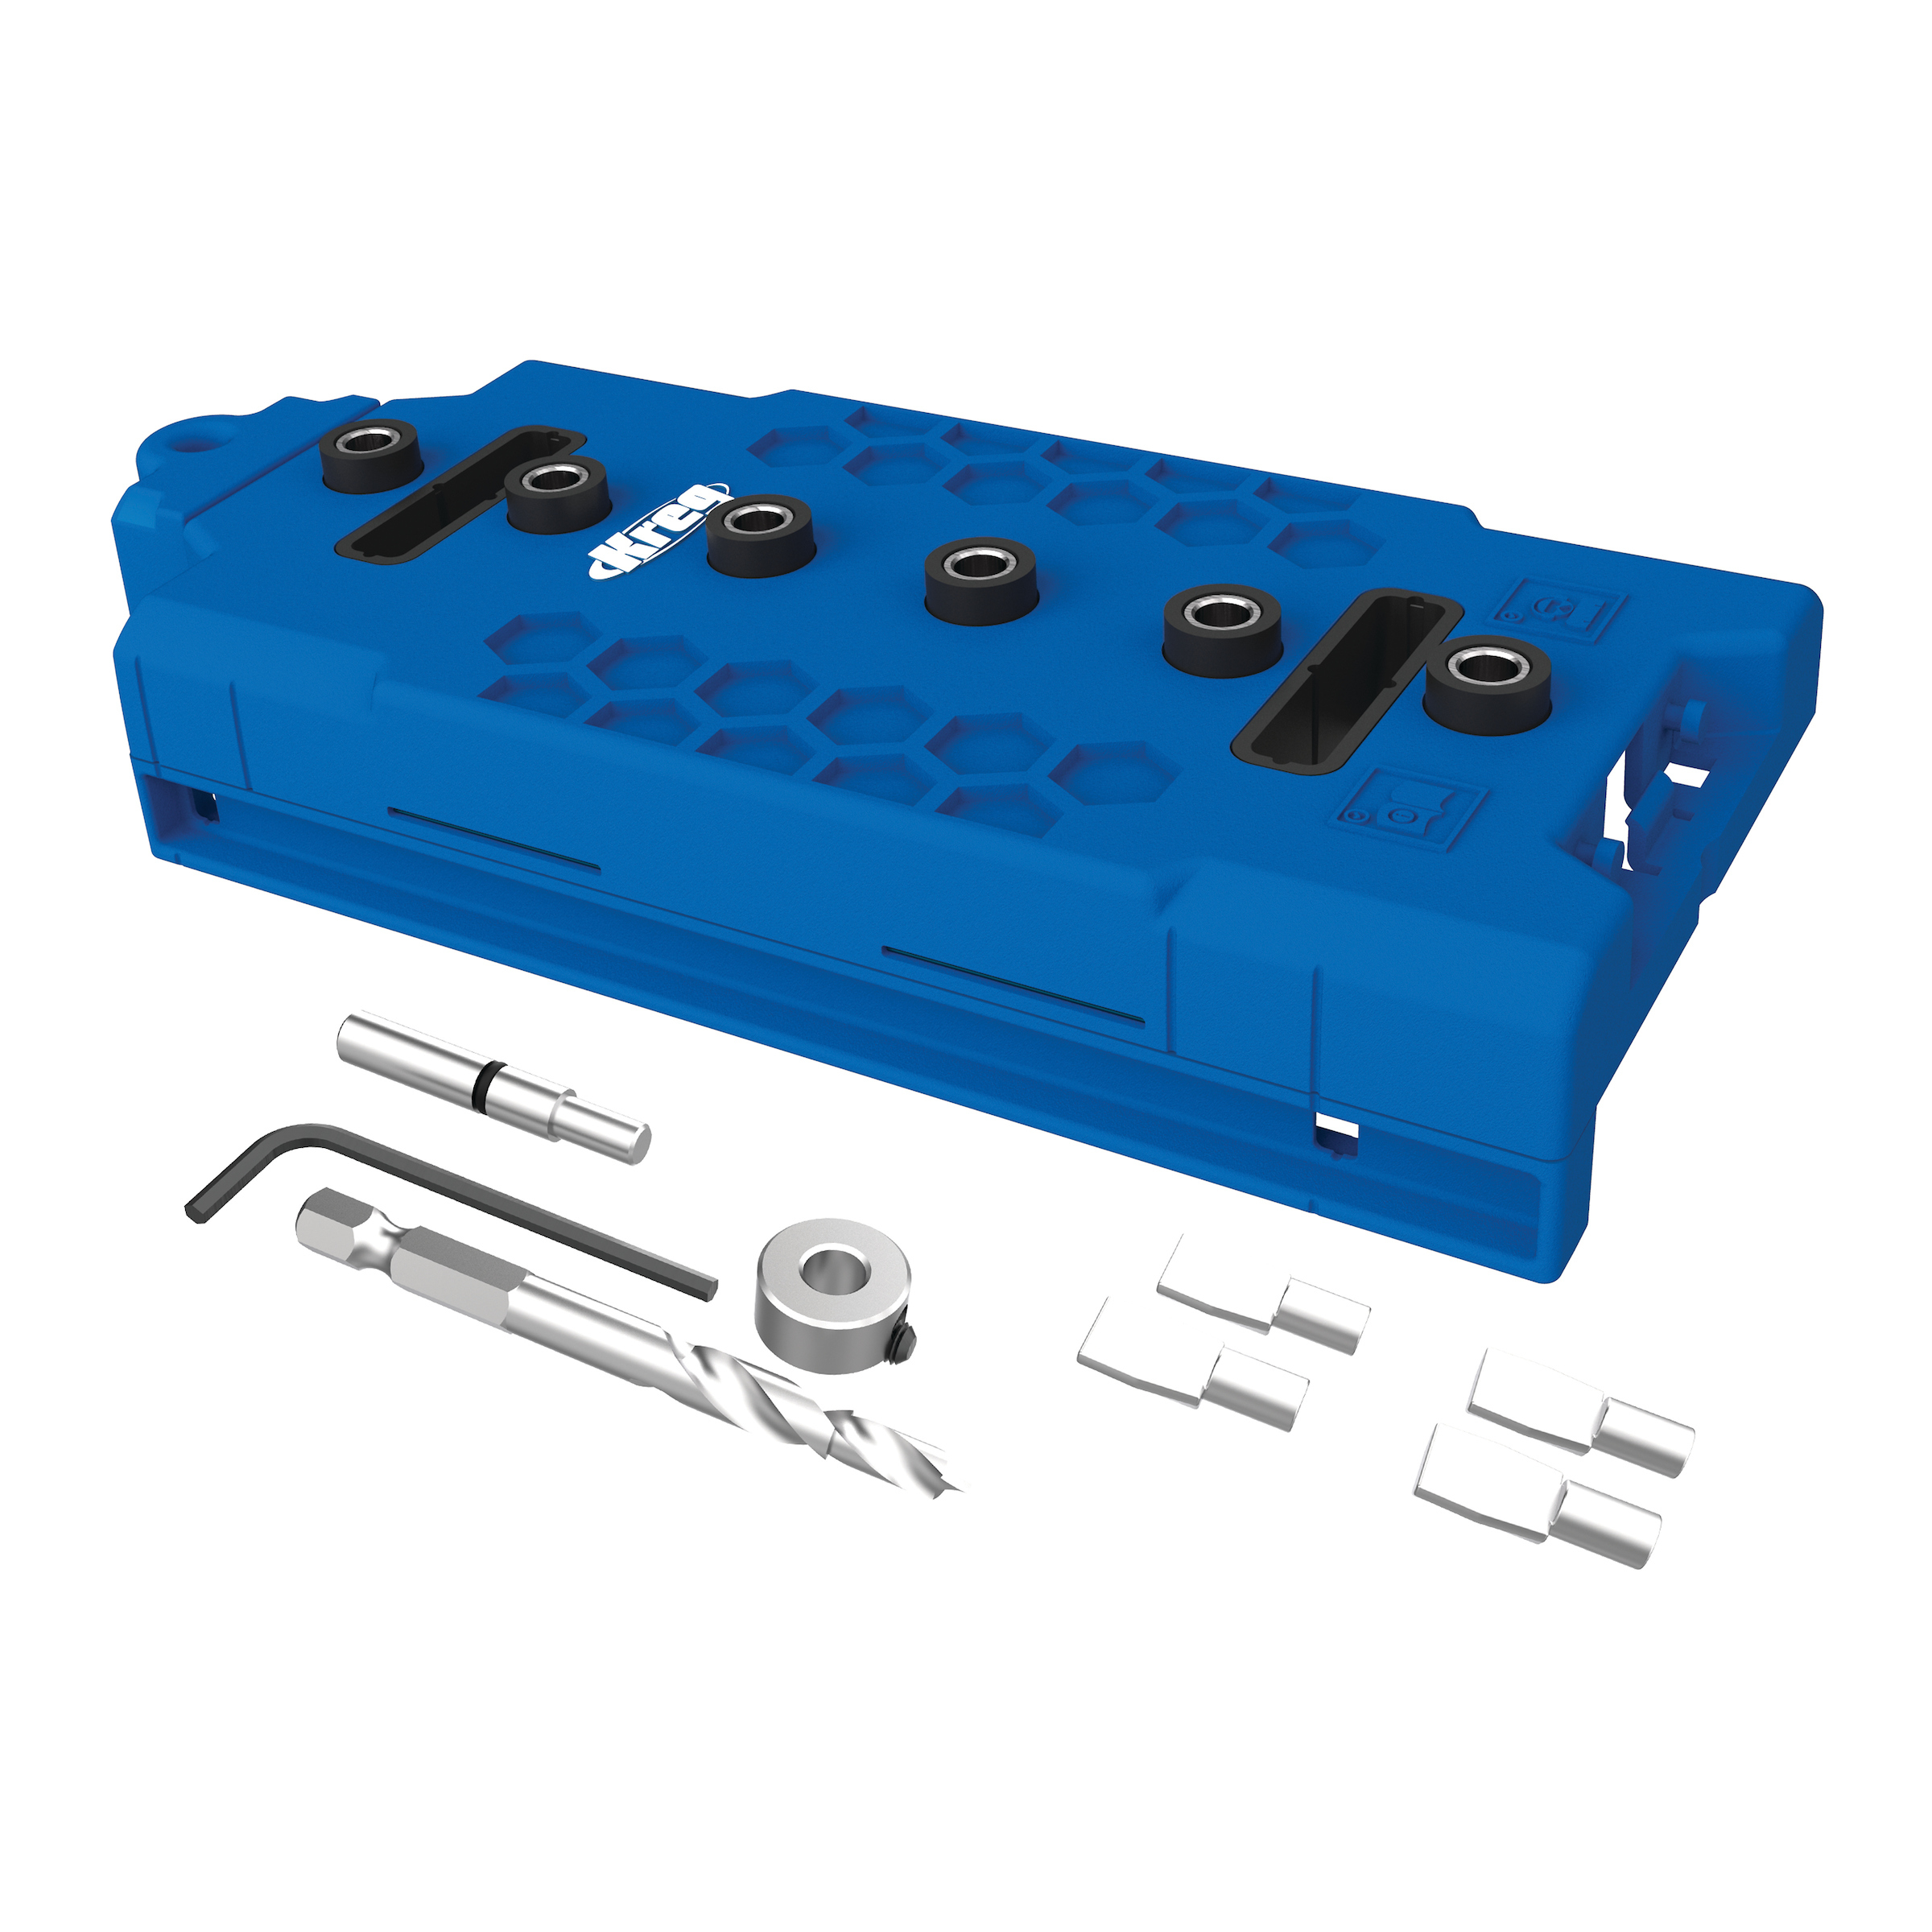
Shelf pin Jig
We wanted to maximize the versatility of these planters, so using a Kreg Shelf Pin Jig we drilled holes into the front and back, allowing for the plants to adjust up and down.
-
Sides
Attach the carcass sides, then attach remaining center pickets
-
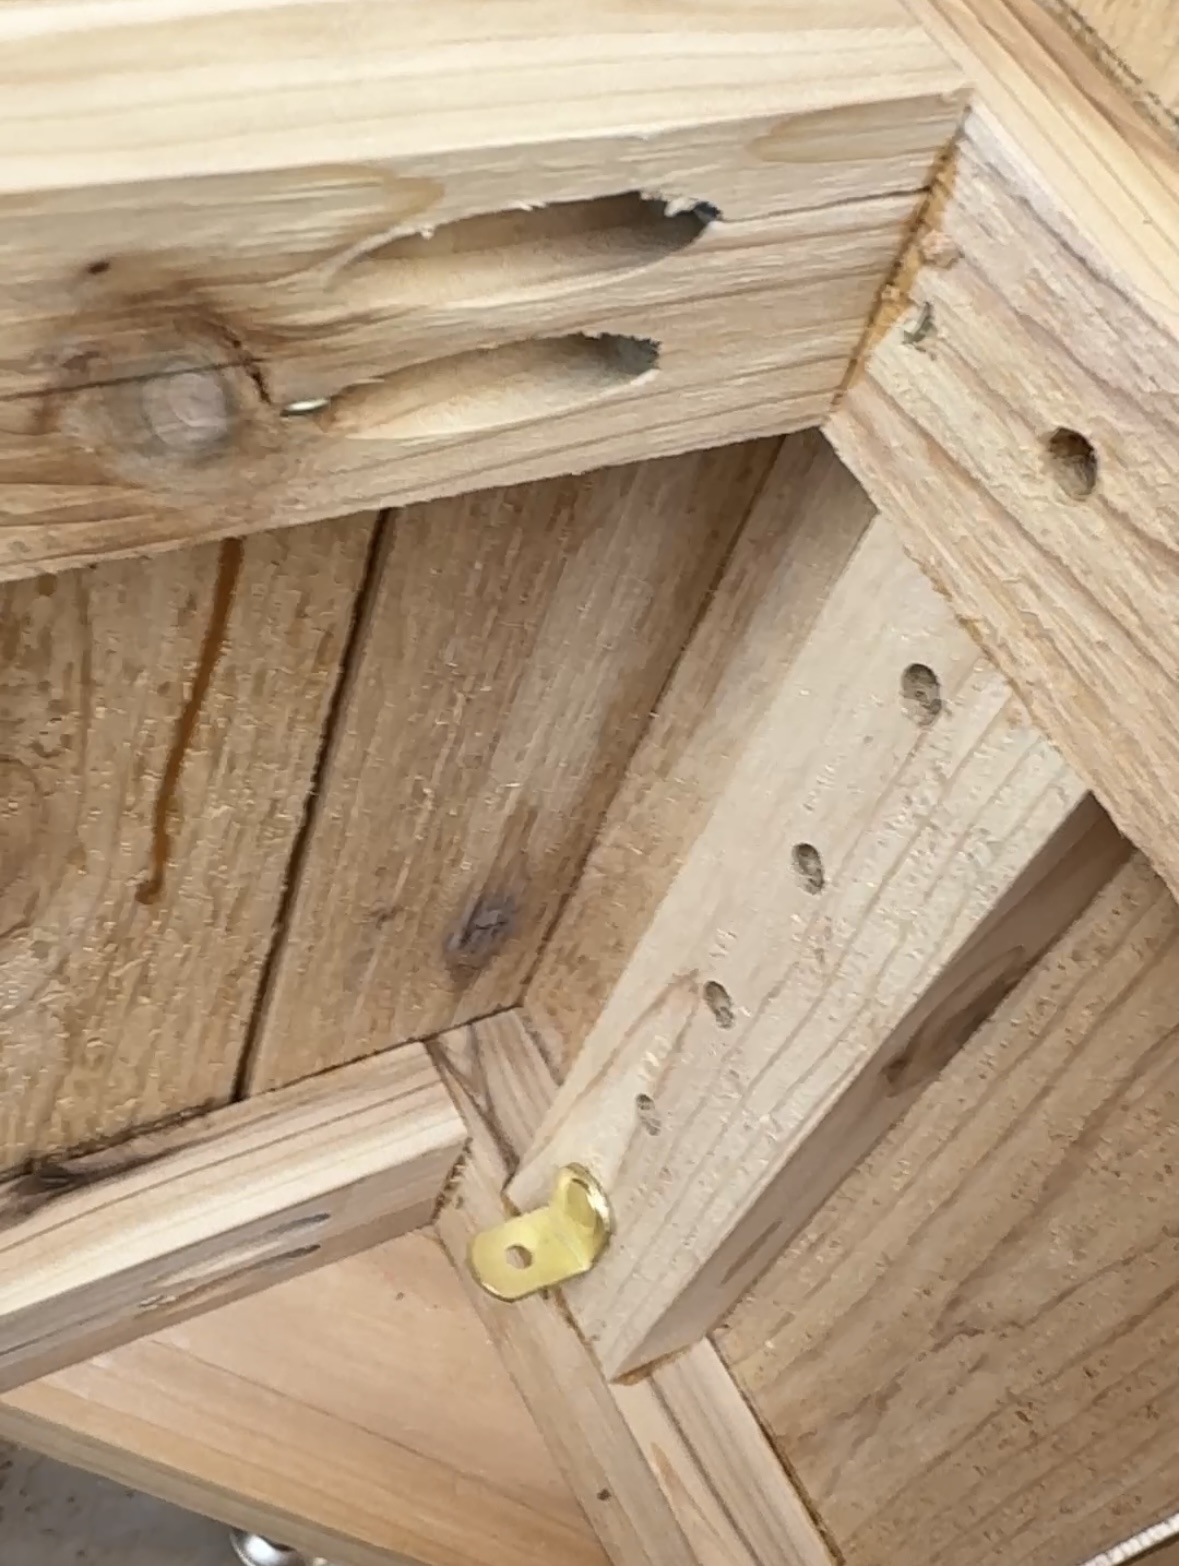
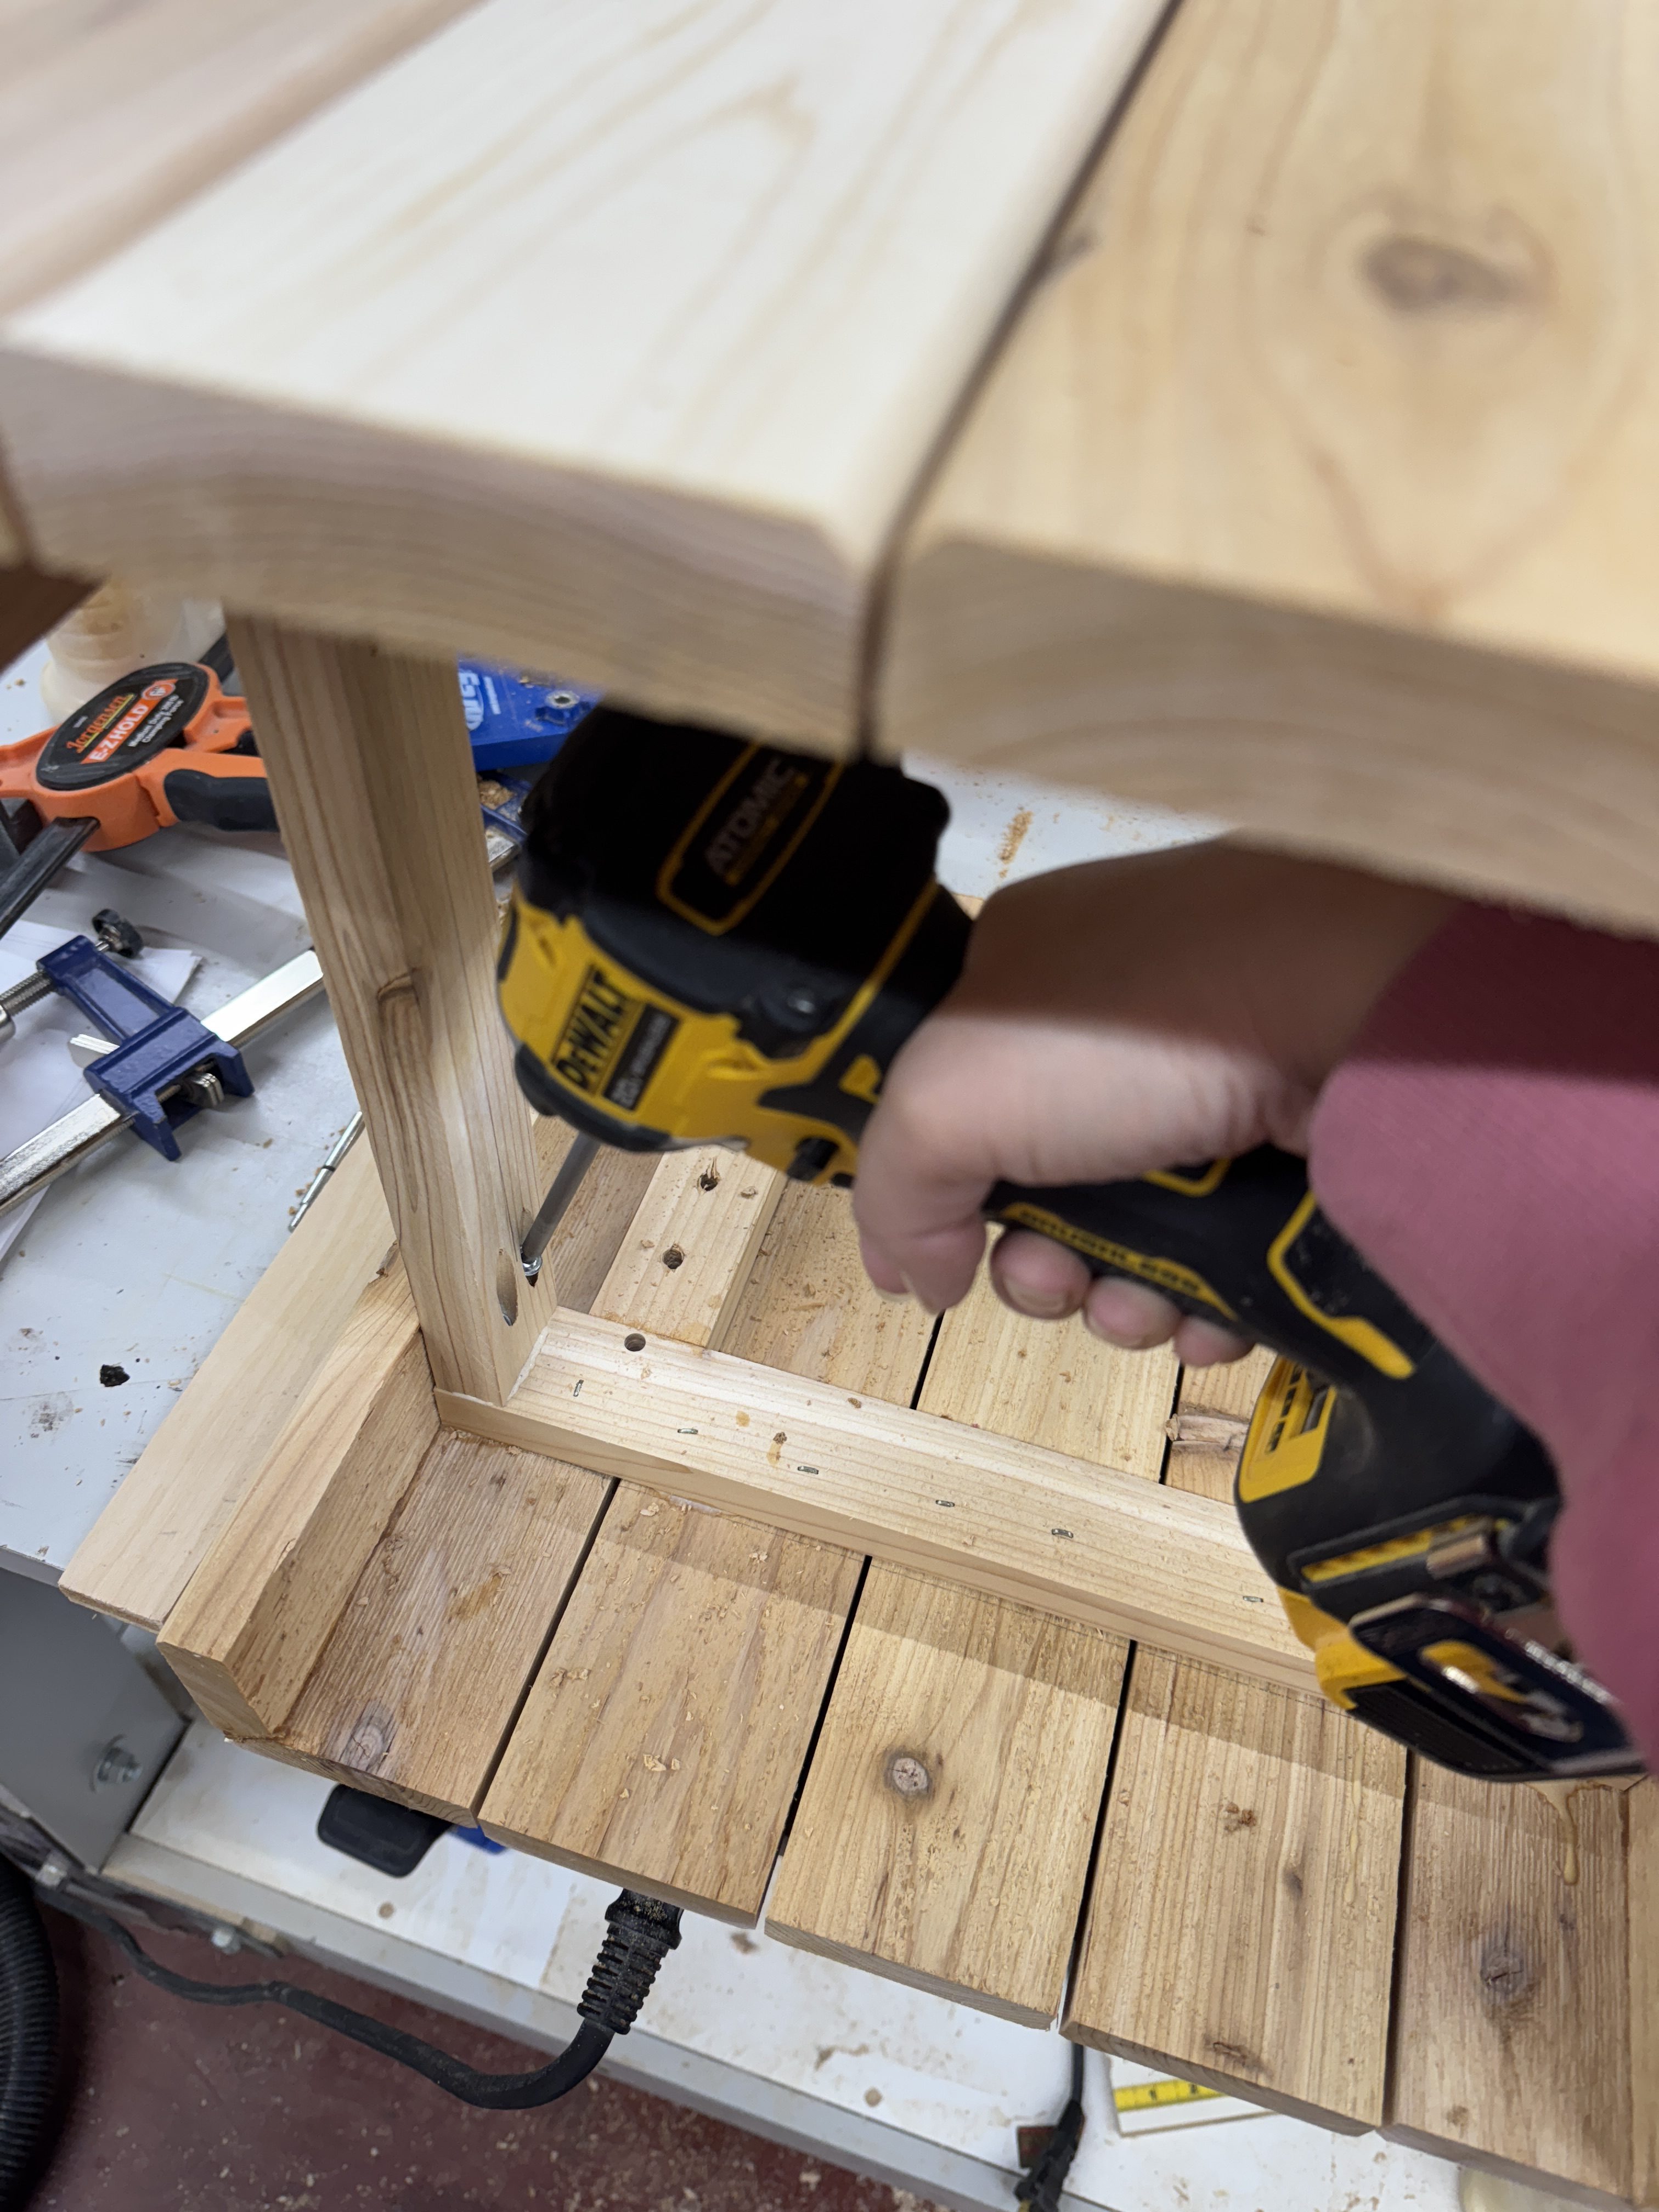
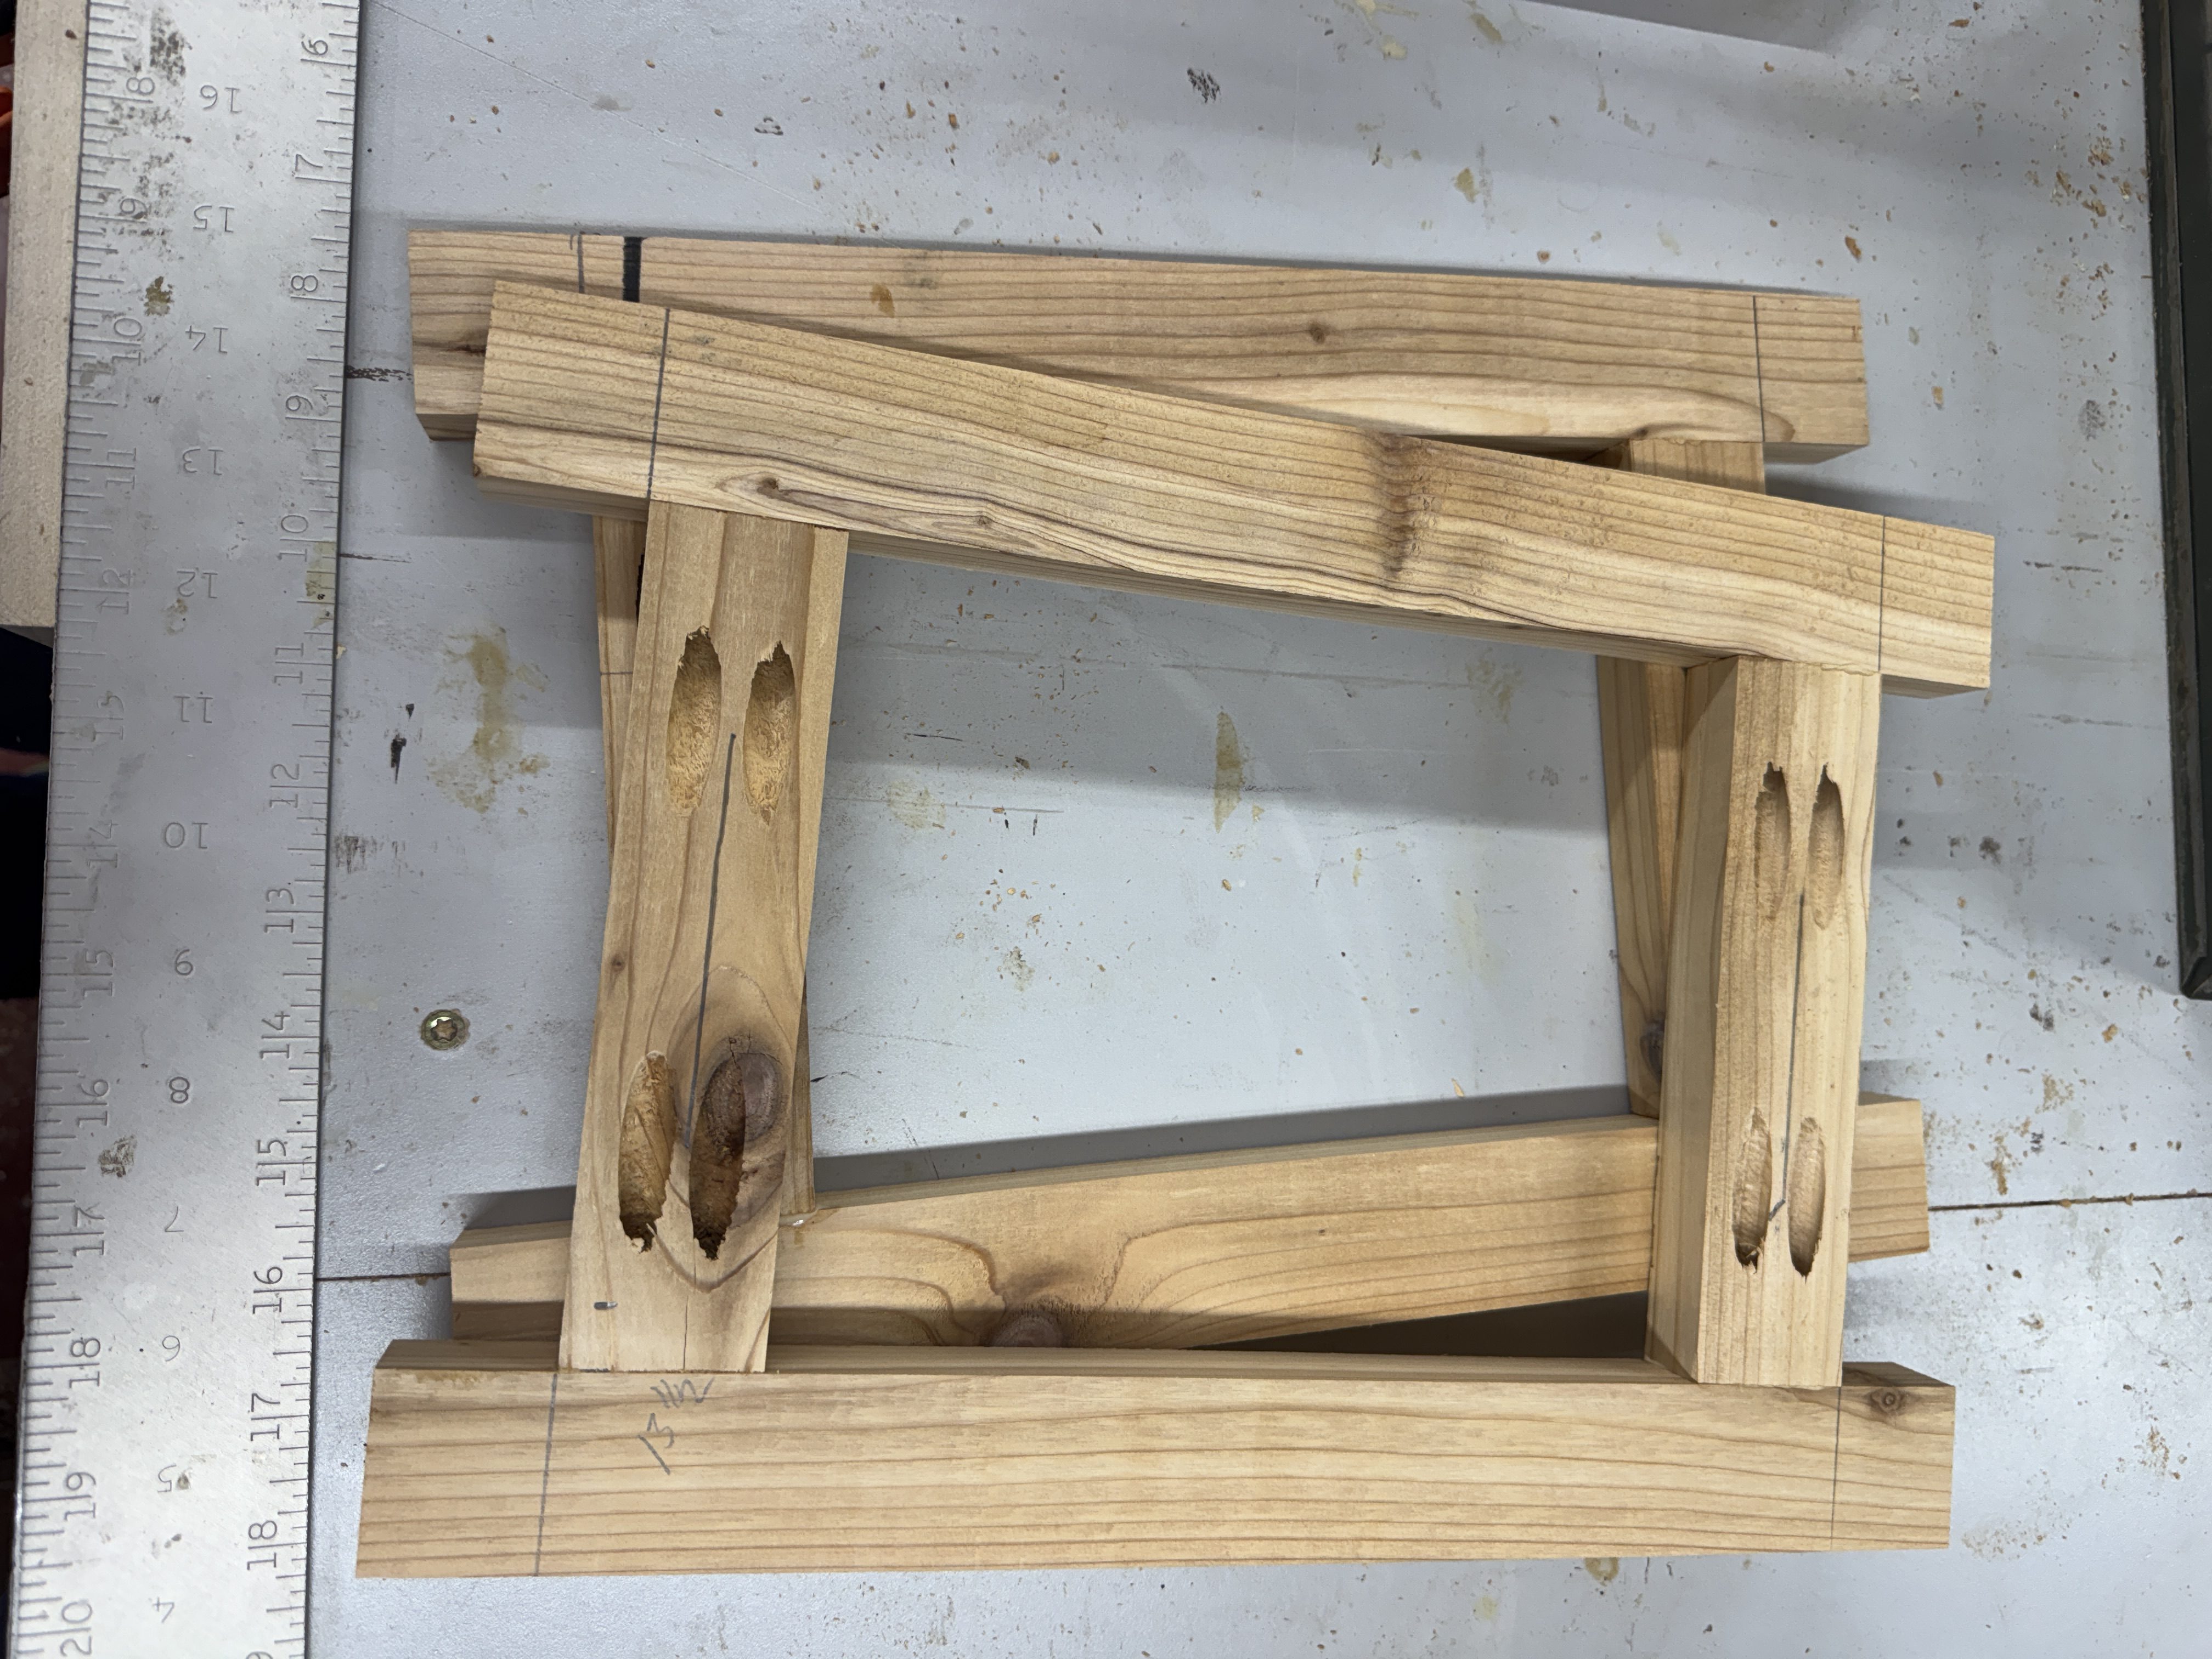
Leg Bracing
Cut leg bracing on the miter saw.
-
Add Legs
Attach the corner bracing to the bottom of the carcass, then screw the leg brackets and legs to the corner bracing.
-
Trim
Add trim of choice. We ripped down a 2x4, and routed the edges using a 5/8" round over bit. You can get 2 pieces out of the thickness of a 2 x 4.
-
Final assembly
Glue and screw the shelf together, cut the louver light cover to size and assemble.