Rustic Slide In End Table
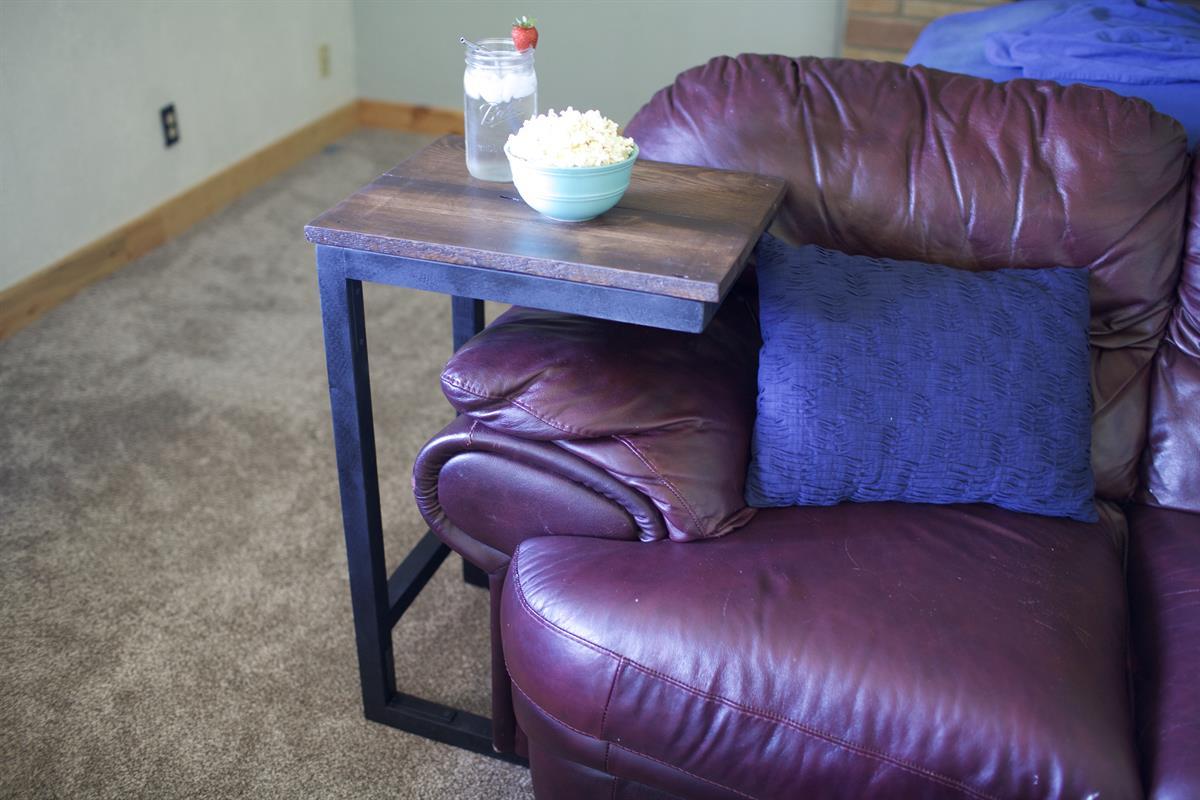
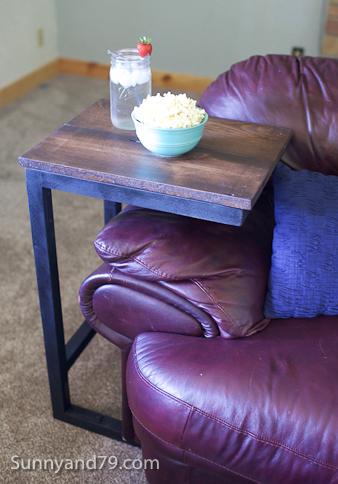
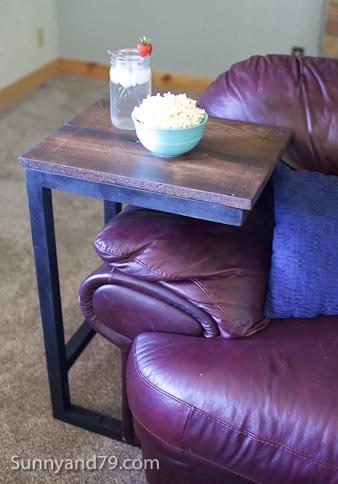
By sunnyand79I created this little table to keep things close by without taking up the space of another table. It slides right under the couch/sofa and takes up very little space. I've seen variations using metal legs, but wanted an inexpensive option that did not require the help of my husband.
Directions
-
Drill Pocket Holes for Base
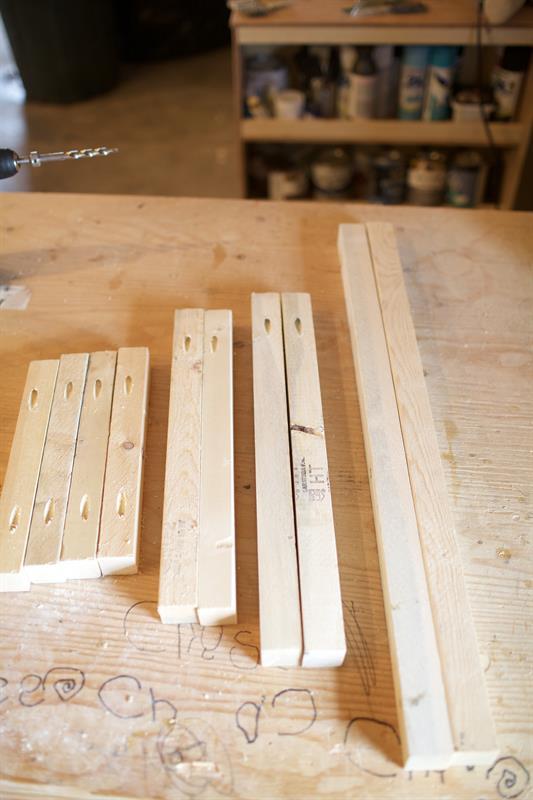
Drill (1) 1 1/2" pocket hole in both ends of each 12" 2x2.
Drill (1) 1 1/2" pocket hole in one end of the 17" and 20" 2x2 pieces. -
Create Frames for Base
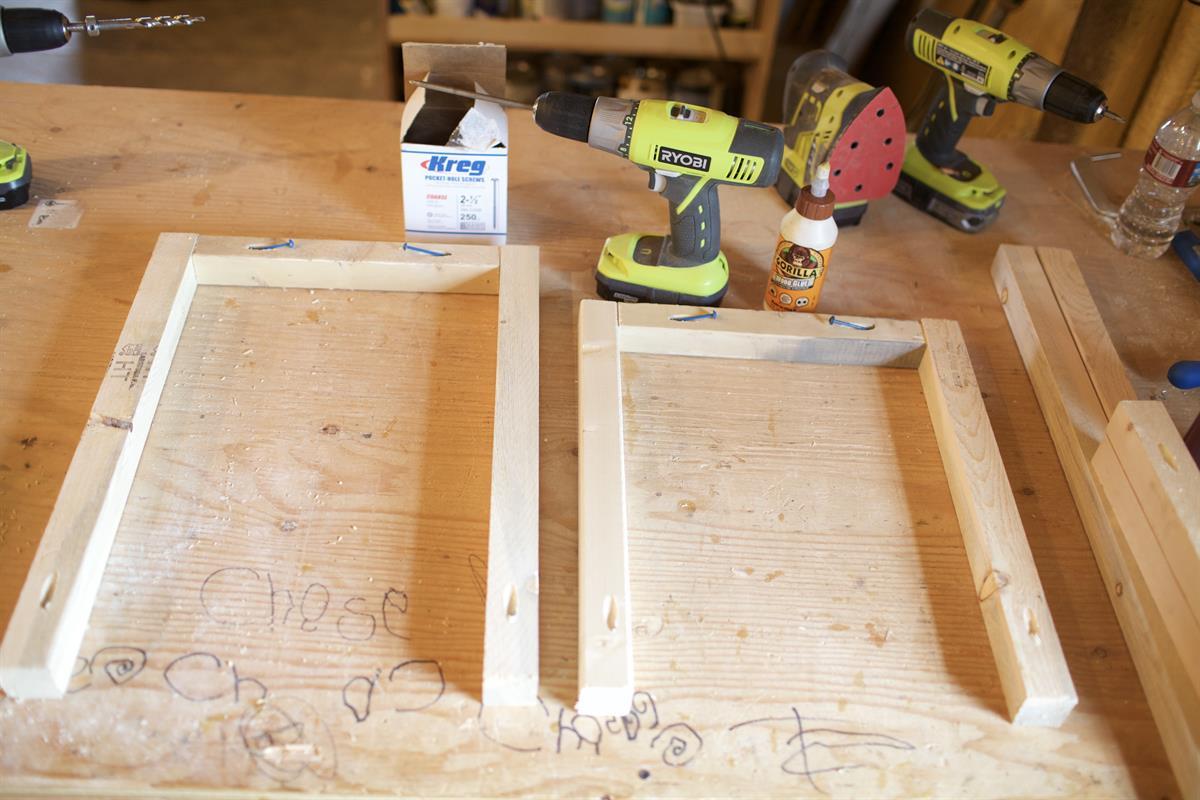
With wood glue and 2 1/2" Pocket Hole Screws- attach (1) 12" piece in between your (2) 17" pieces- on the side without pocket holes.
Attach another 12" piece in between your 20" pieces in the same way- on the ends of the 20" pieces without pocket holes.
You should have (2) square "U" shaped pieces.
Set those aside. -
Continue with Base
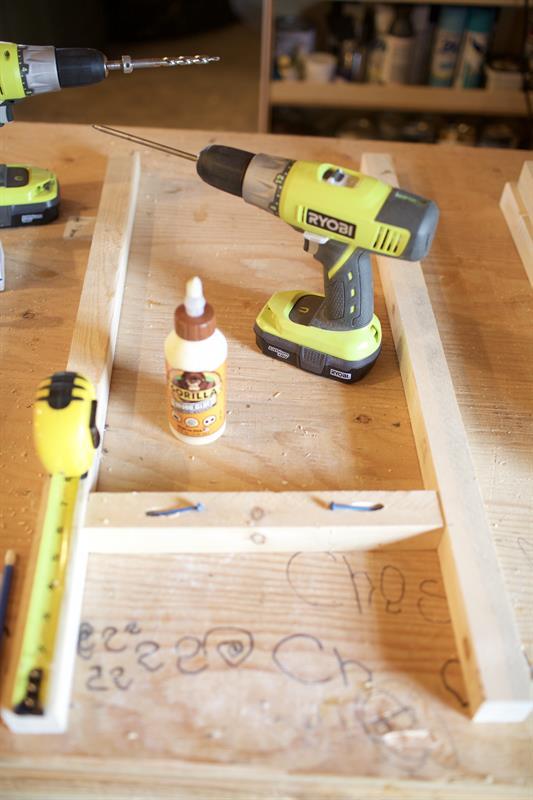
Now, take your (2) 30" pieces and another 12" piece.
Attach the 12" piece horizontally in between (2) vertical 30" pieces to create an "H" with the bottom of the 12" piece 6" from one end on both 30" pieces. Use wood glue and 2 1/2" pocket hole screws. -
Base Assembly
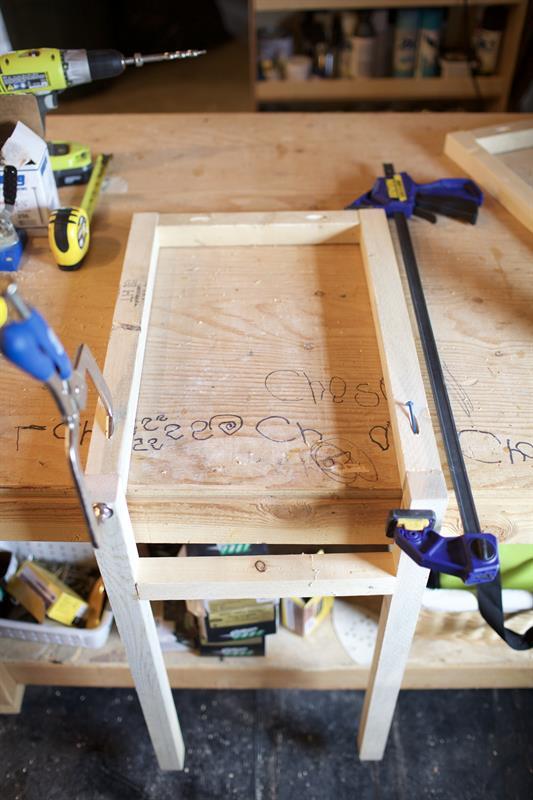
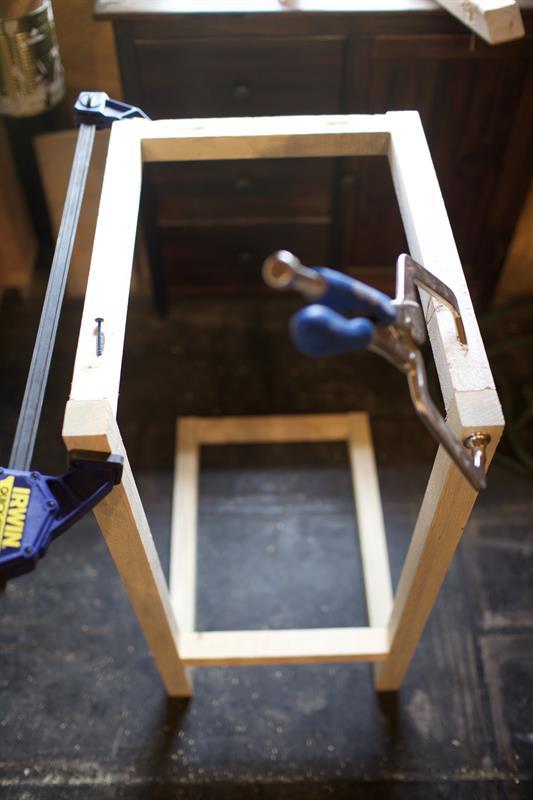
Now, take the "H" piece and your bigger "U" piece-with the 20" pieces. Lay the "U" on your work table with the pocket holes facing up and the open side facing the edge of your work table.
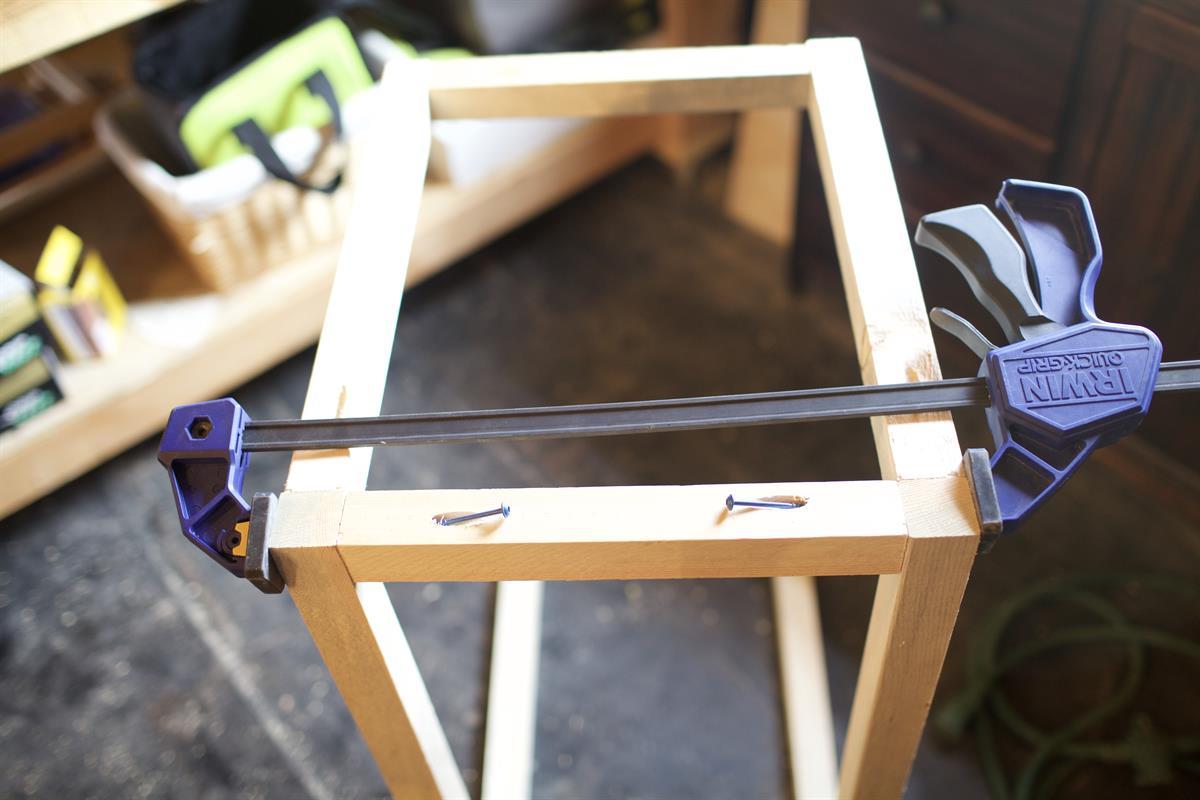
This is a little tricky, but I wanted to hide as many pocket holes as possible. Clamps or an extra set of hands really help.
With the short side of the "H" pointing upwards- match the ends up with the pocket holes on the "U" piece. I used a right angle clamp on one side and a bar clamp on the other. Attach using wood glue and 2 1/2" pocket hole screws.
Unclamp and flip over. You have just created the base of your table :) -
Top Frame Support
Now, take your other "U" piece and attach at the long ends of your "H" piece to create the support for your top. Use wood glue and 2 1/2" pocket hole screws.
-
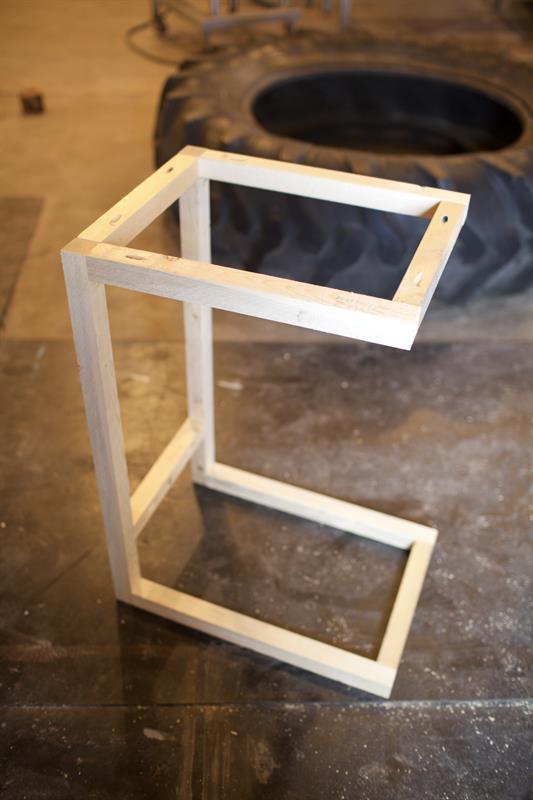
Final base support
Finally, add your remaining 12" piece to complete the base.
Connect using wood glue and 2 1/2" screws. They go on the other end of the base top- connecting the ends of the "H".
You can sand and paint or stain your base now. -
Build Table Top
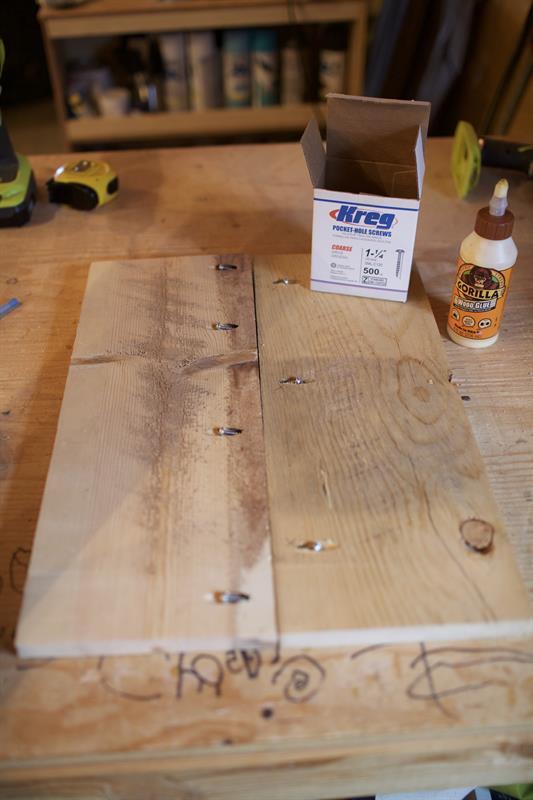
Take your (2) 1x8s @ 19 1/2". Drill 3/4" Pocket Holes along the long ends on one side of each board. Join together lengthwise using wood glue and 1 1/4" pocket hole screws to create a 19 1/2" x 15" table top.
Sand and finish as desired. -
Attach Top to Base
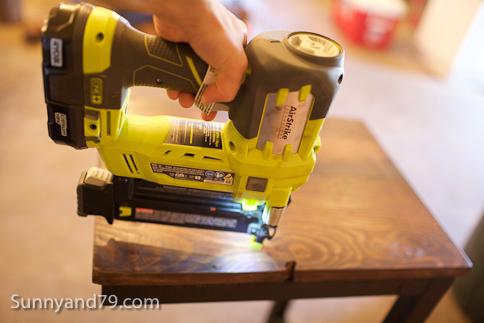
When your top and base are dry, attach the top to the base using wood glue and 1 1/4" brad nails.
-
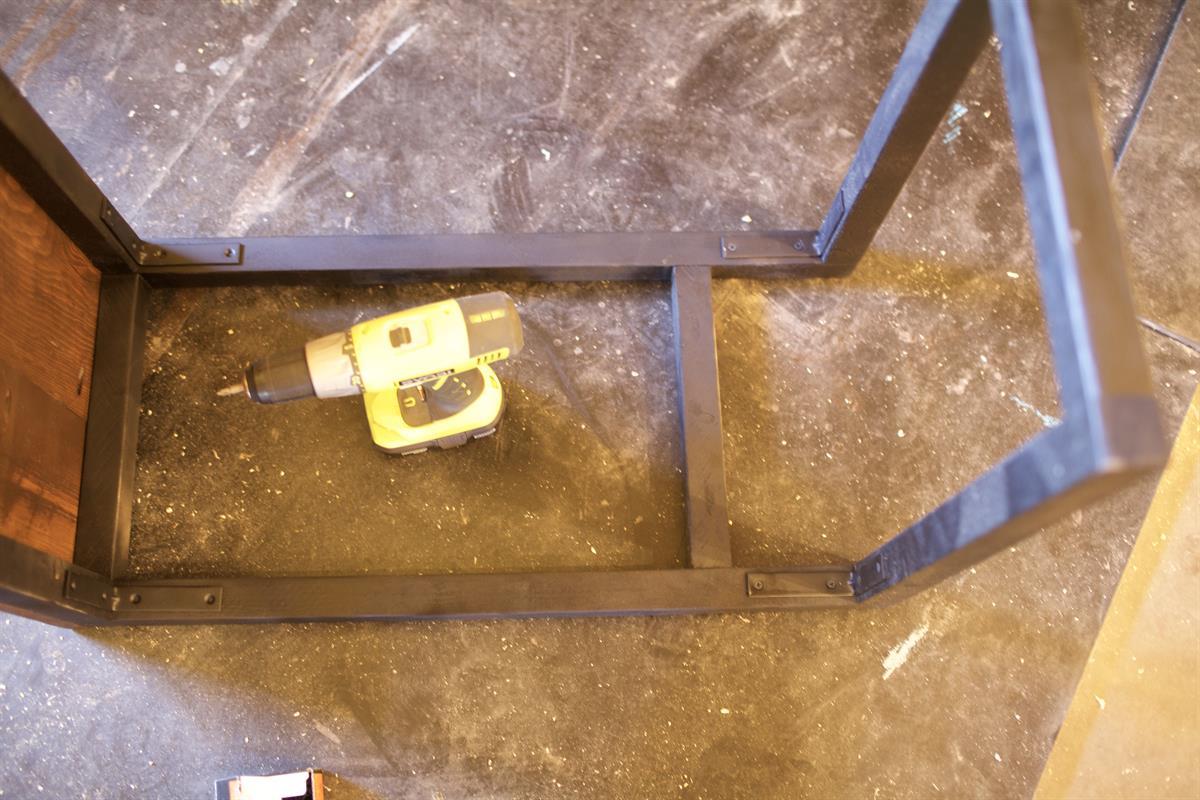
Attach Corner Braces
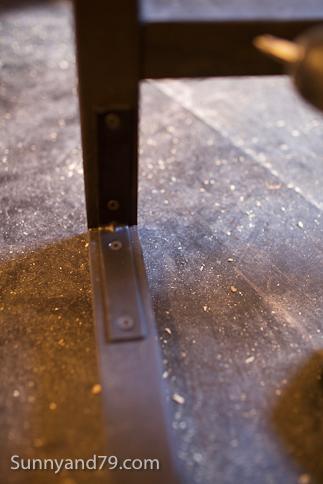
Spray paint your corner braces if desired, then attach them where your vertical "H" pieces connect to the horizontal pieces on the top and bottom- and you're done!
-
Finished!
Apply any touch ups or final finish and enjoy your new table!


