Rustic Side Table with Magazine Rack
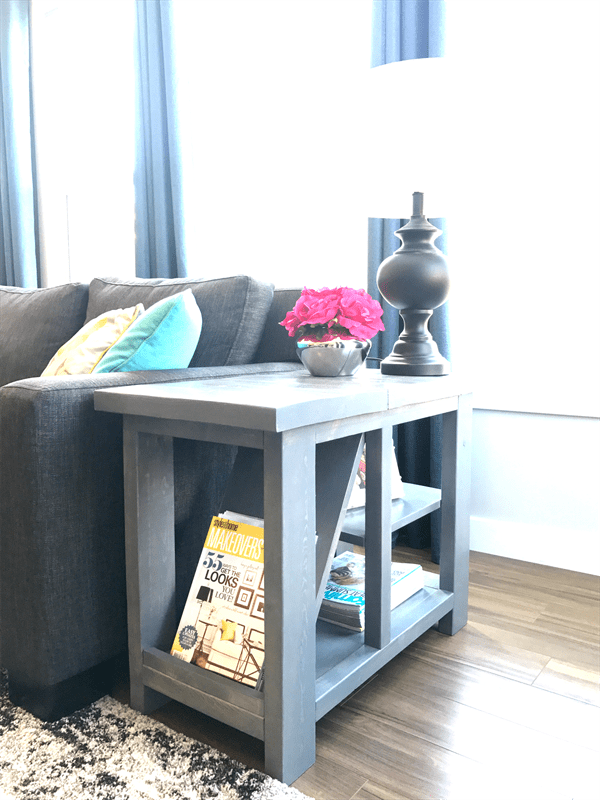
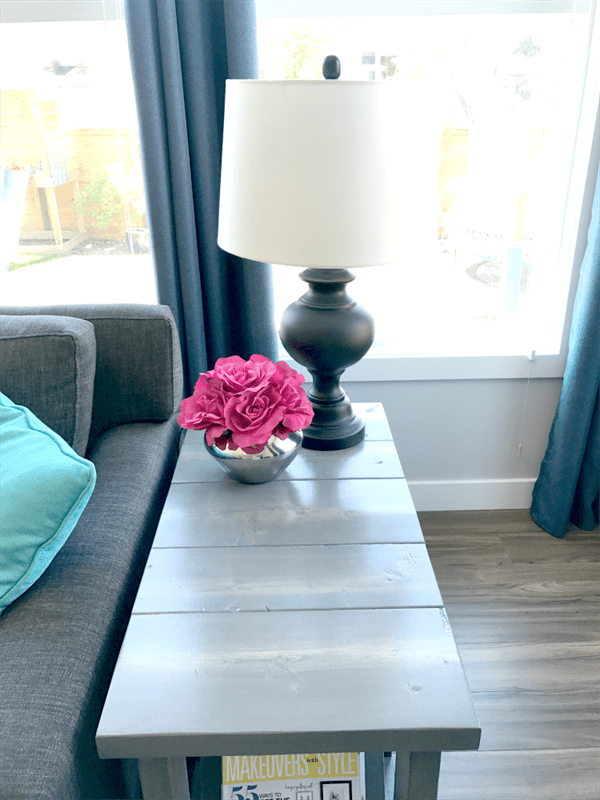
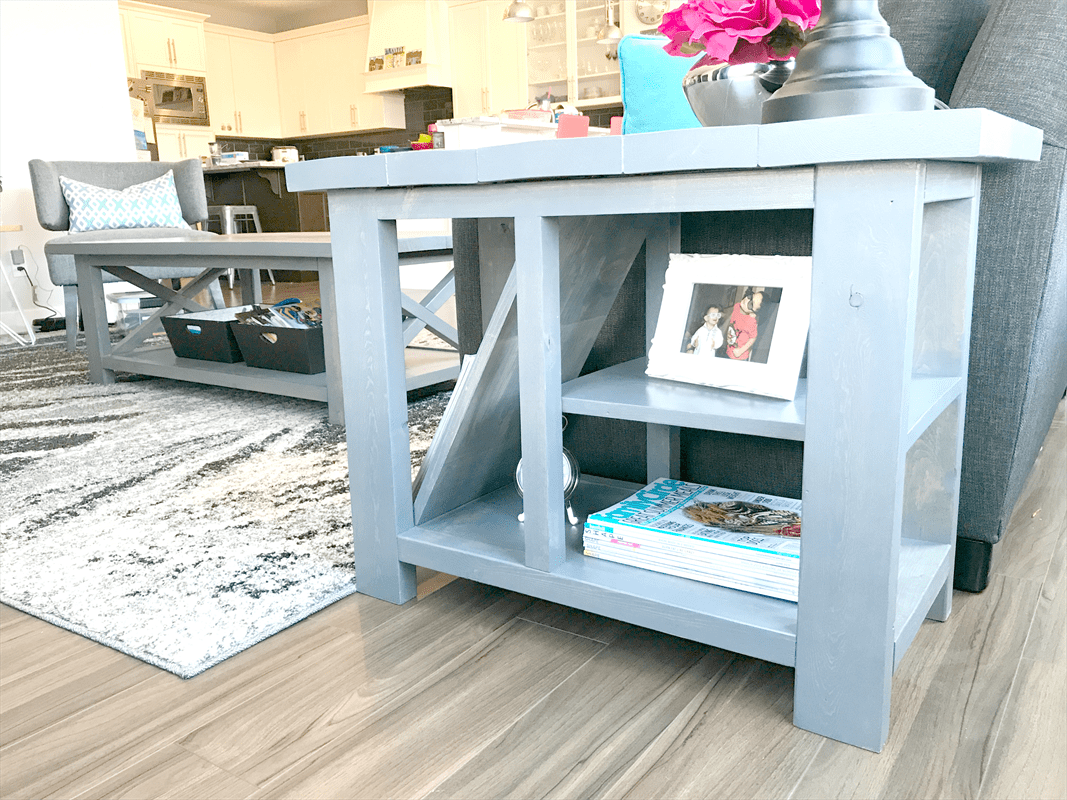
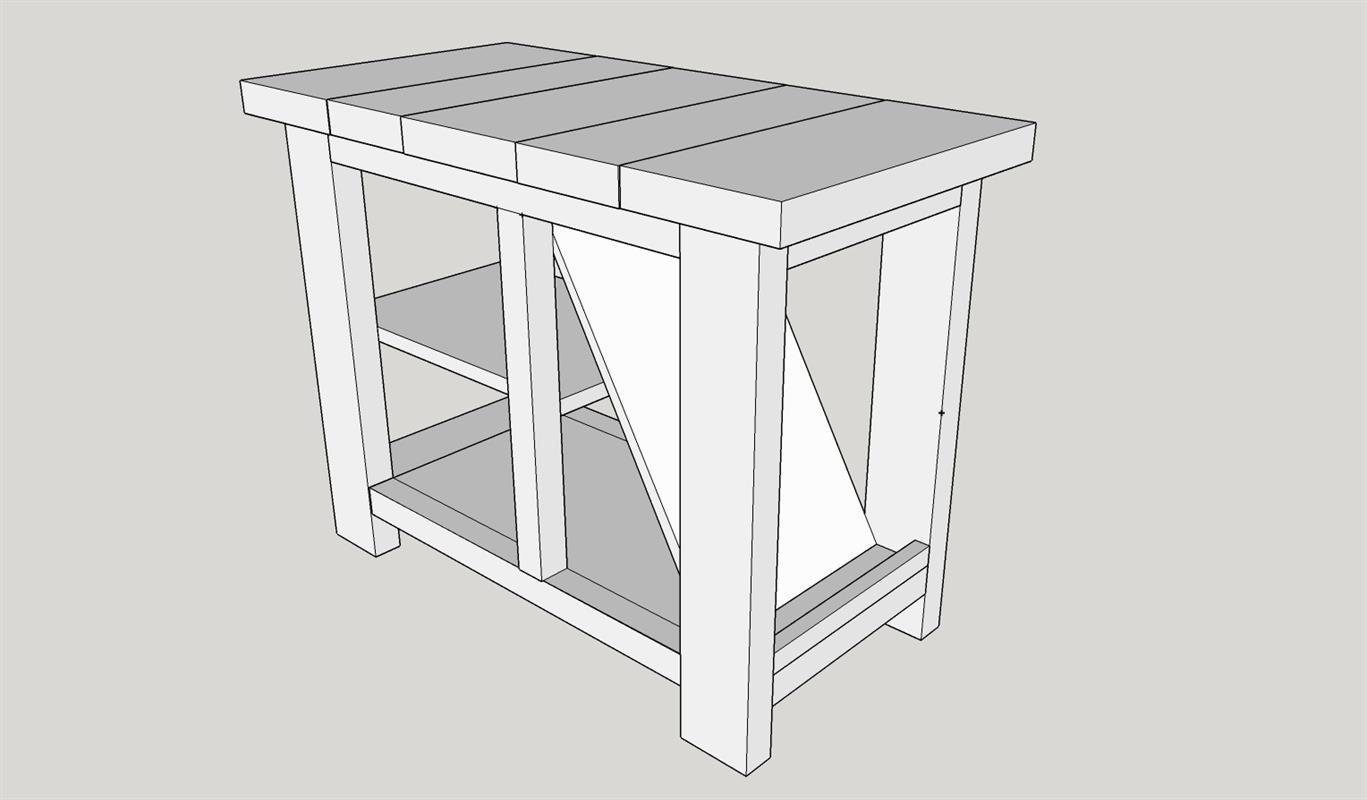
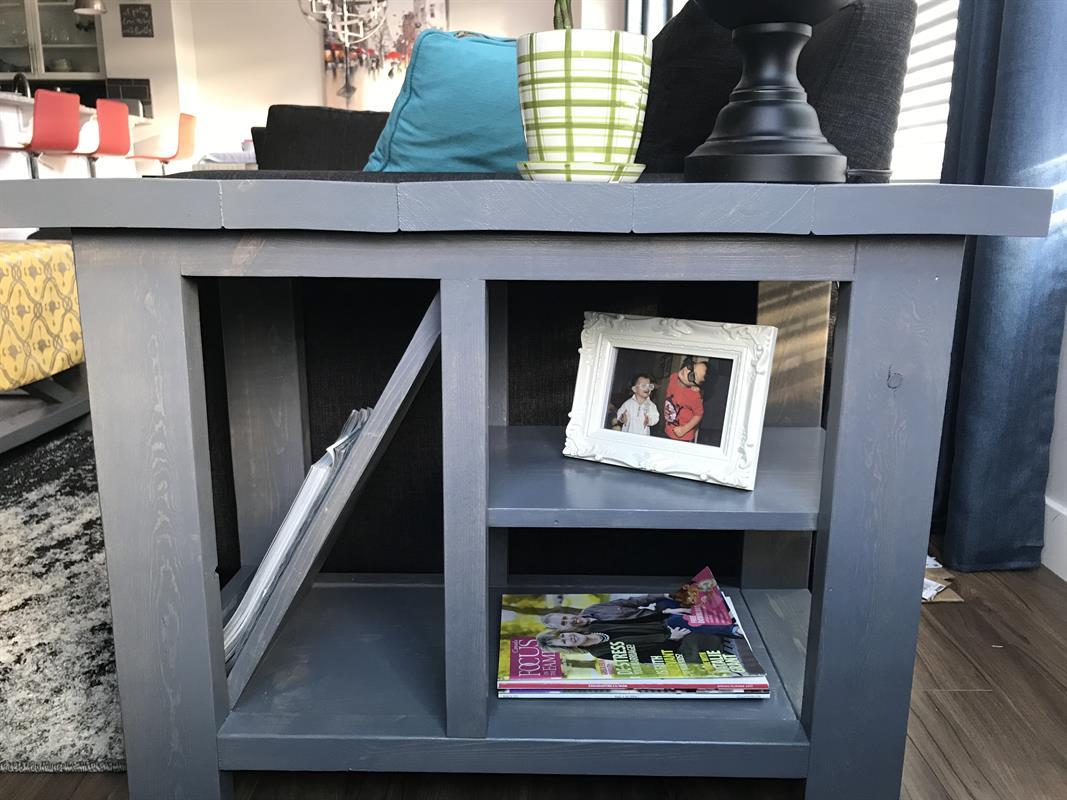
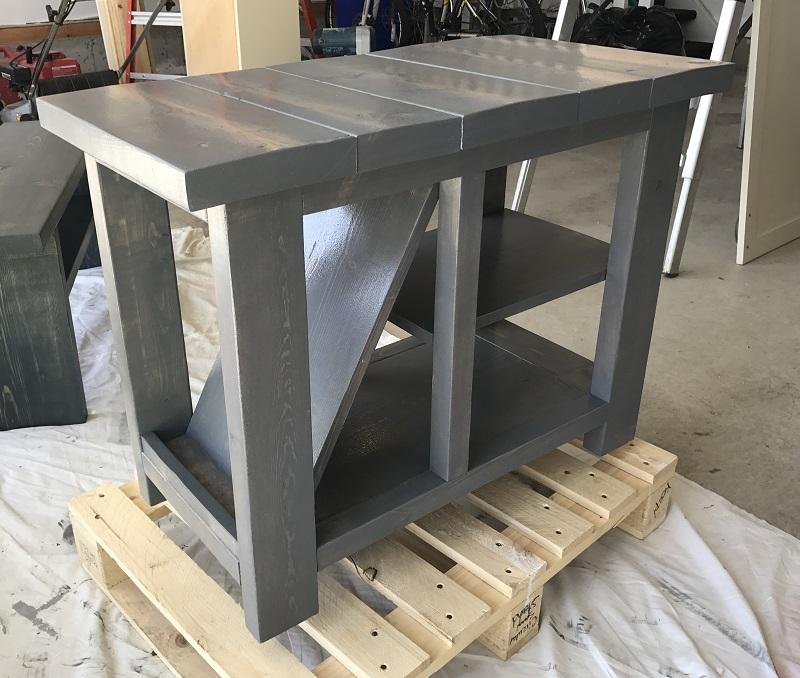
By Tamara's JoyThis Rustic Side Table is designed to be narrow and deep, a perfect fit for beside a sectional or sofa.
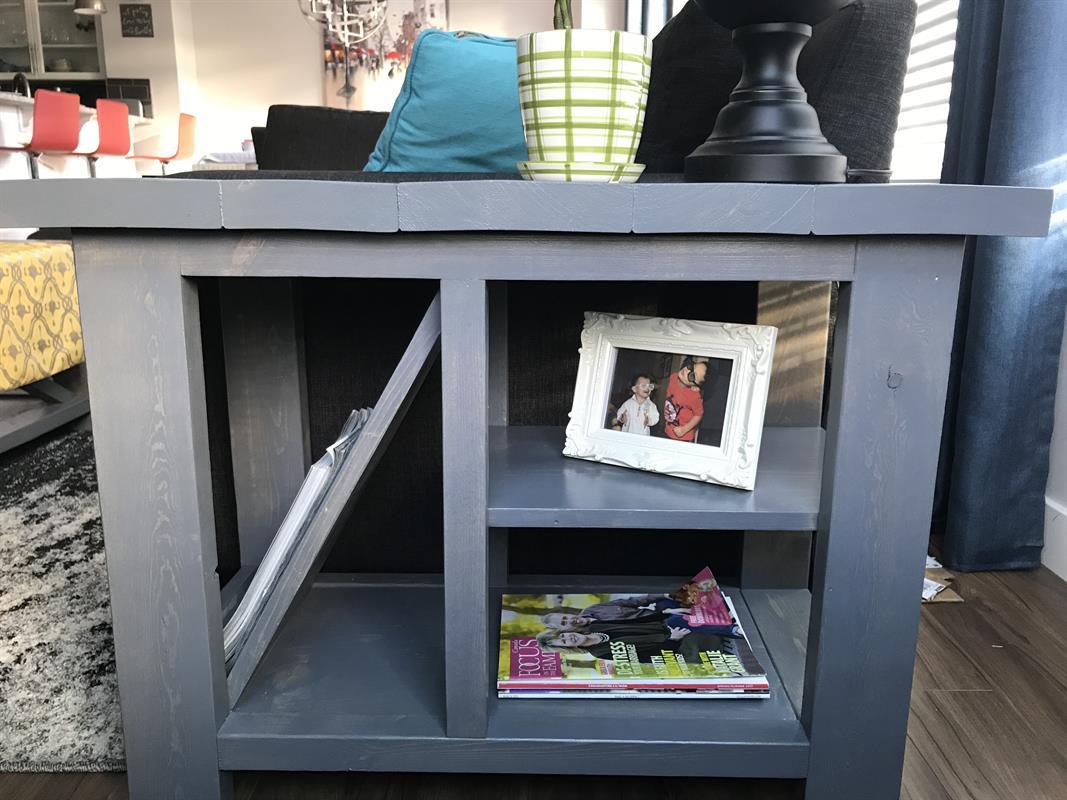
It also has plenty of storage and a magazine rack too.
The side table is a simple build that uses wood found at any local hardware store. It also uses very few tools to get the job done. Bonus!
Directions
-
Build the Legs
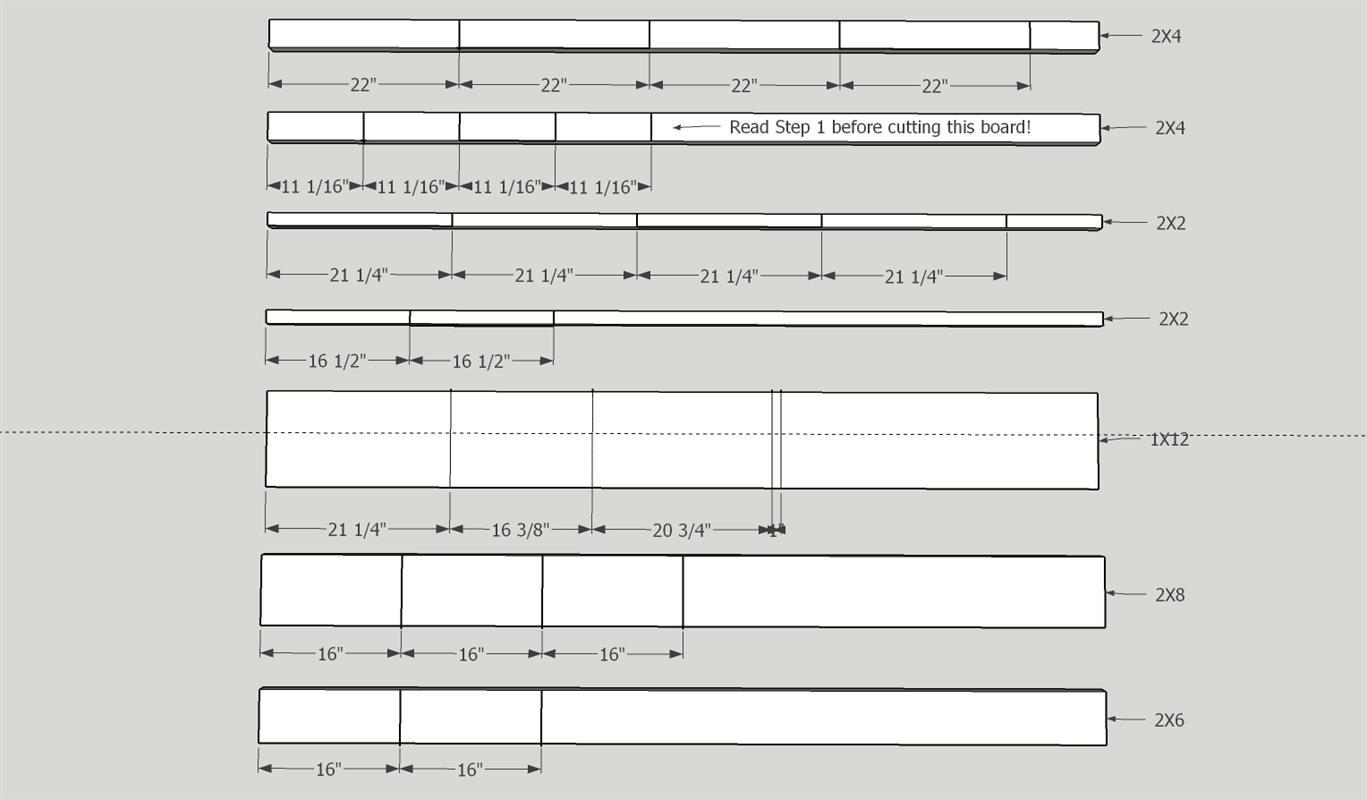
IMPORTANT: I used a 1X12 board that had a width of 11 1/16". I suggest you measure your 1X12 board first and adjust my 11 1/16" cut through out this project to the actual width of your 1X12 board to make things fit nicely.
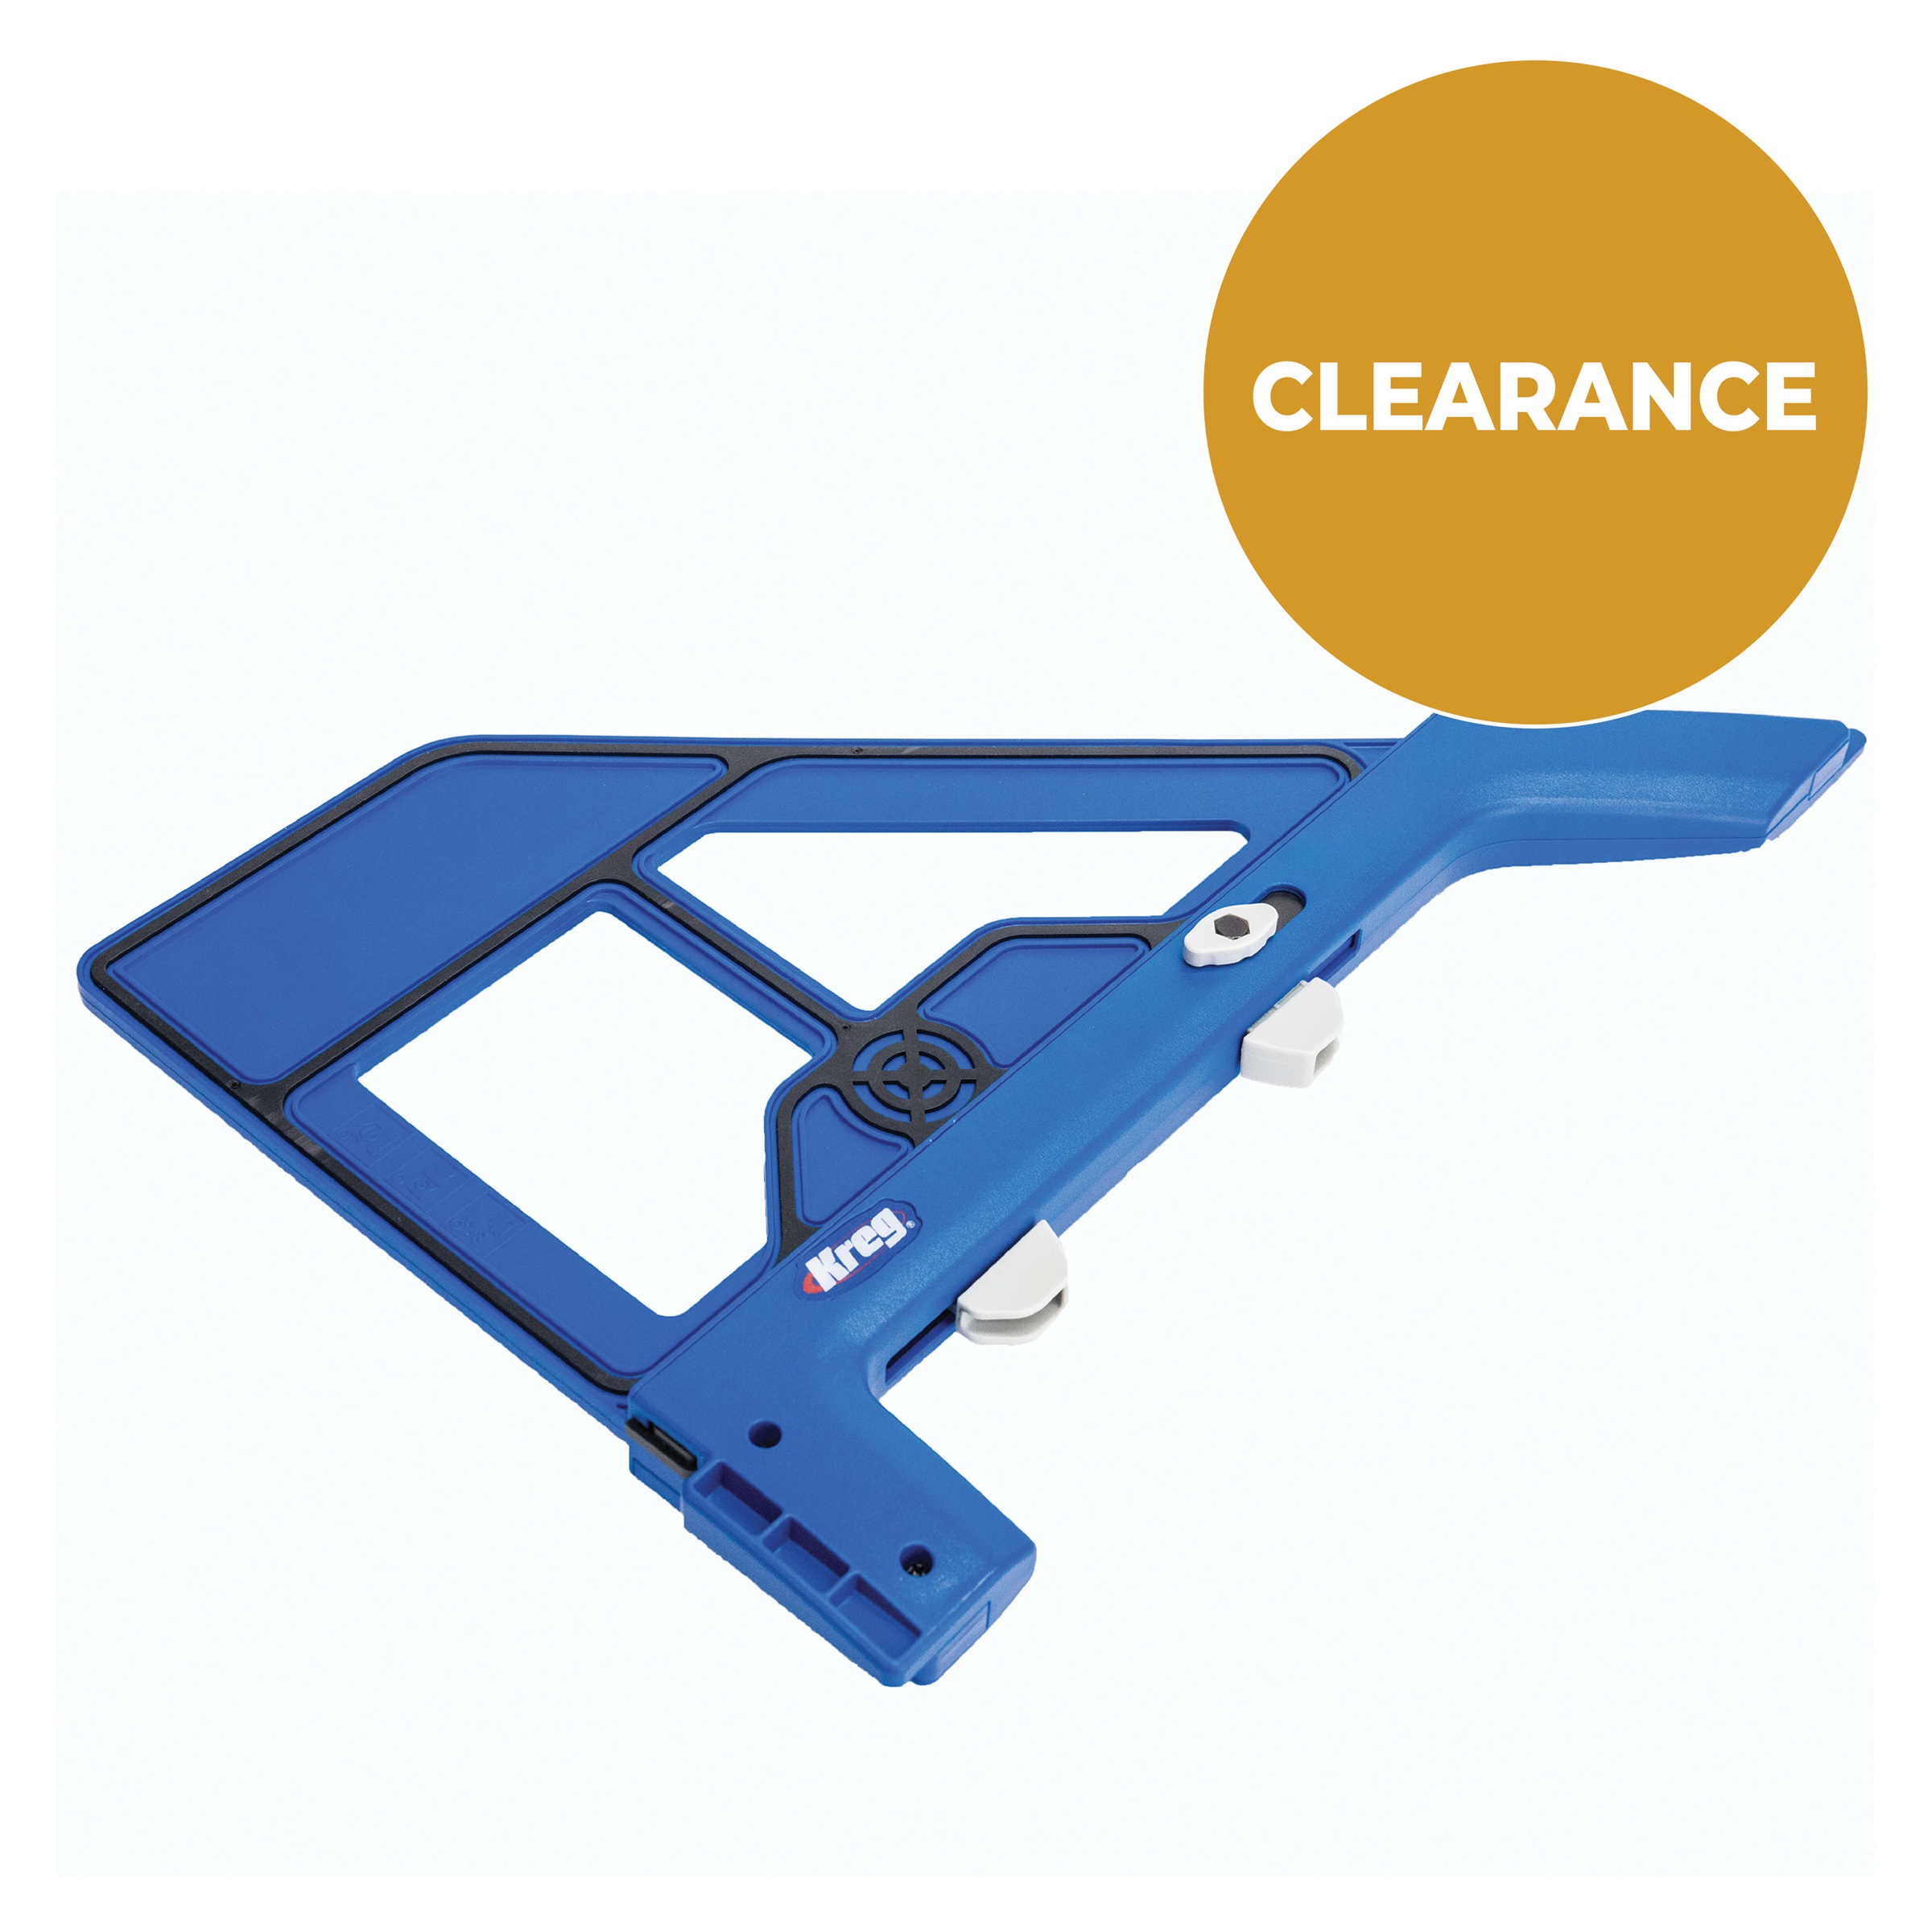
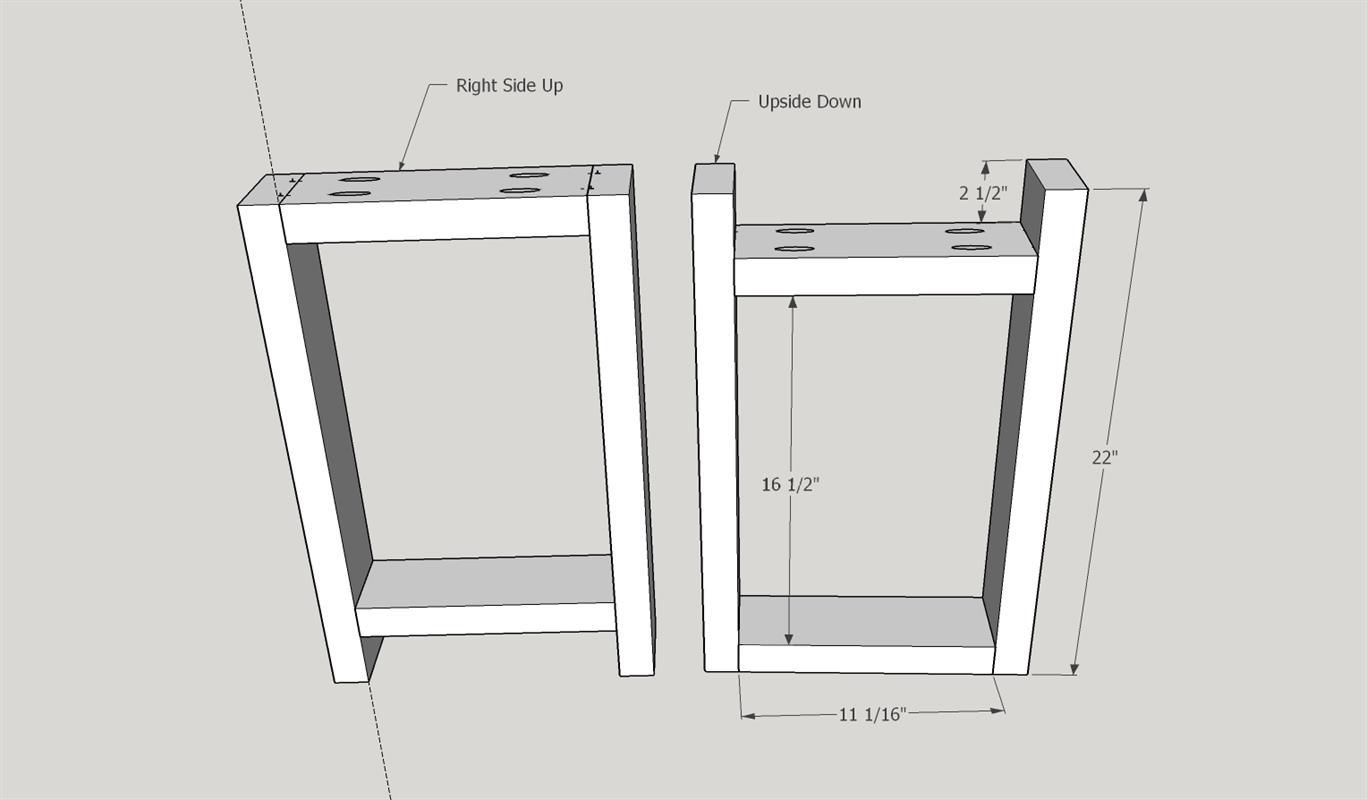
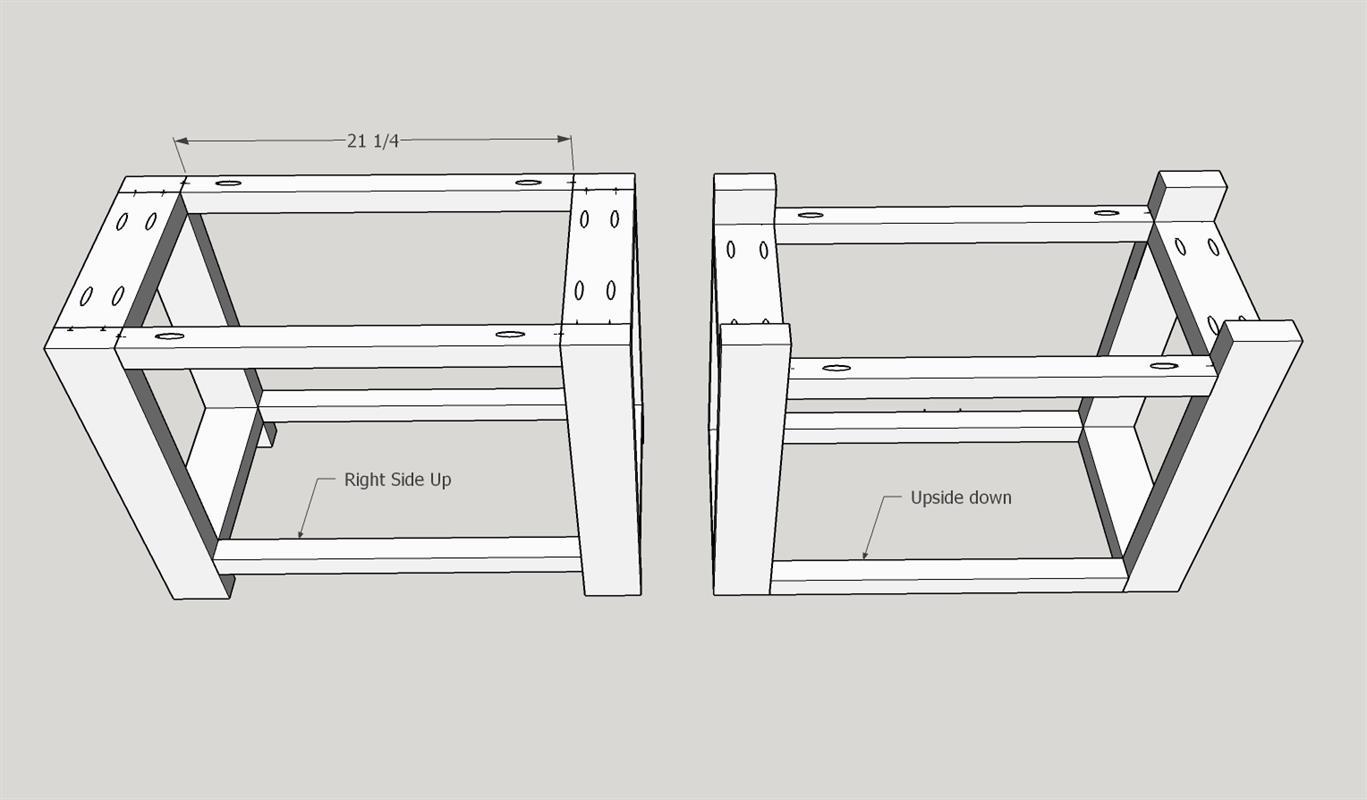
START: Take the Leg Braces cut at 11 1/16" and attach them to the 22" legs using the Kreg Jig Pocket Hole system. PS The RIGHT ANGLE CLAMP is SUPER helpful to attach items together snugly using the pocket hole system.
Make sure things are square.
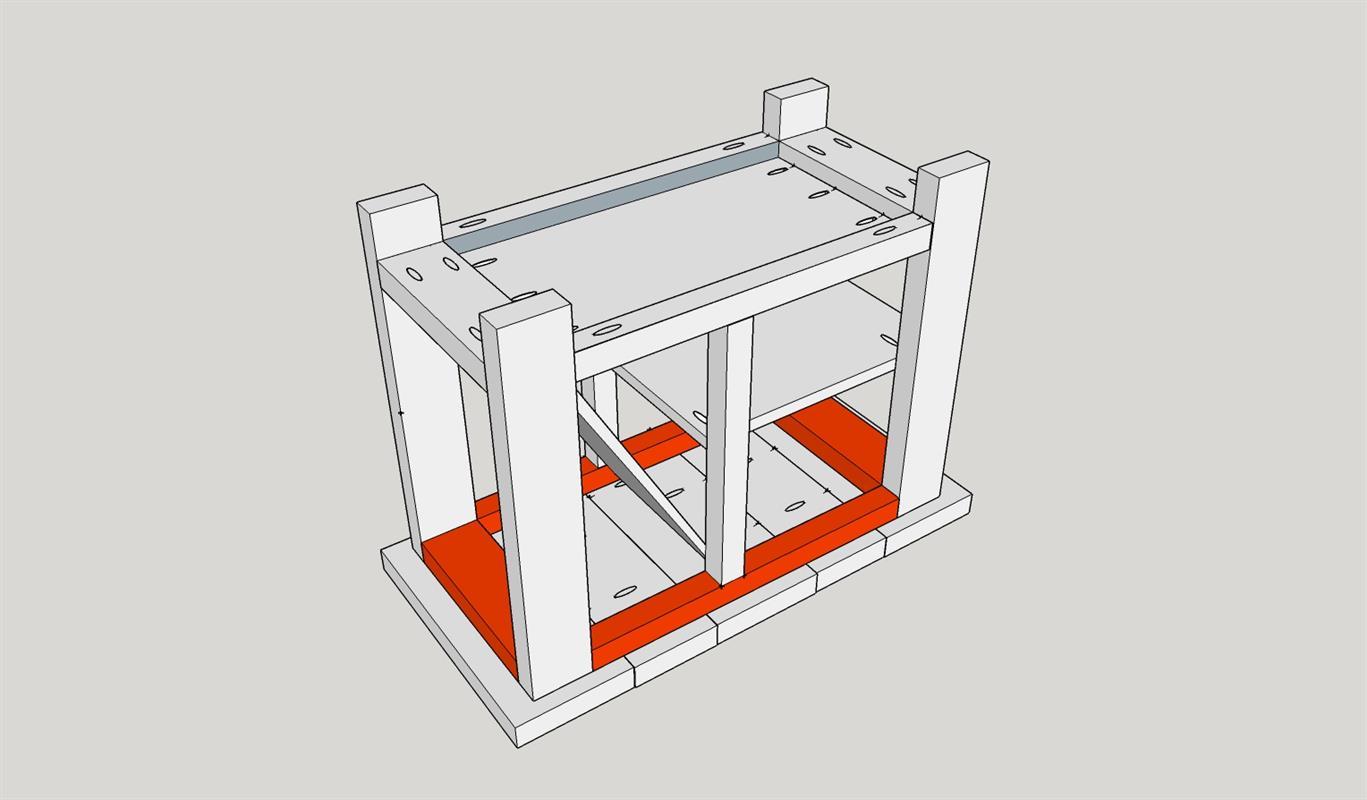
(look at the picture to see where the Kreg Jig holes should be hidden)
-
Attach Legs to form the frame
Take the four 21 1/4" 2X2 boards cut for the frame.
Attach them to the legs using the Kreg Jig System.
(look at the picture to see where the Kreg Jig holes should be hidden)
The top boards will be flush with the top of the legs.
The bottom frame should be attached 2 1/2" from the bottom of the legs.
Again, Make sure things are square.
-
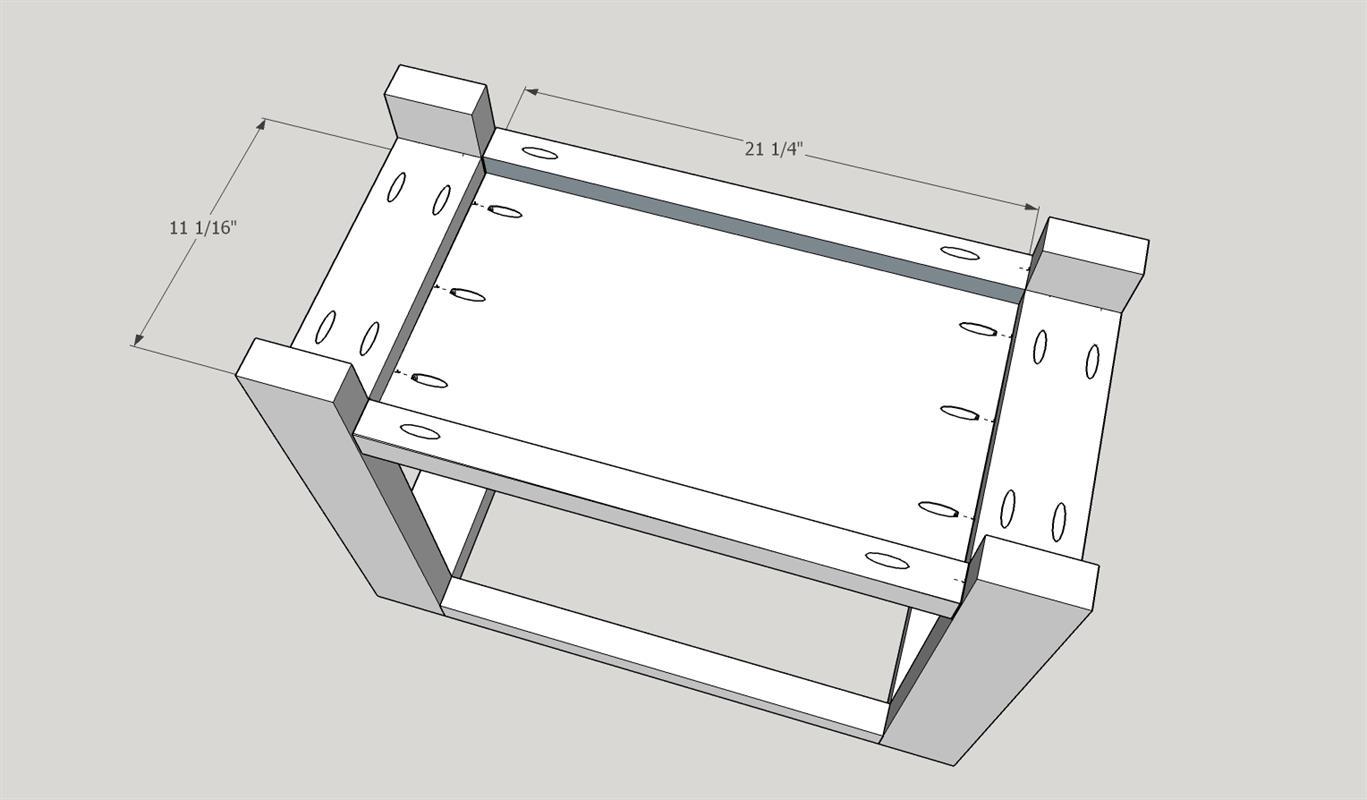
Attach Bottom into frame
Attach the 21 1/4" by 11 1/16" base into the bottom of the frame using pocket holes.
Keep it flush with the top of the bottom leg braces.
-
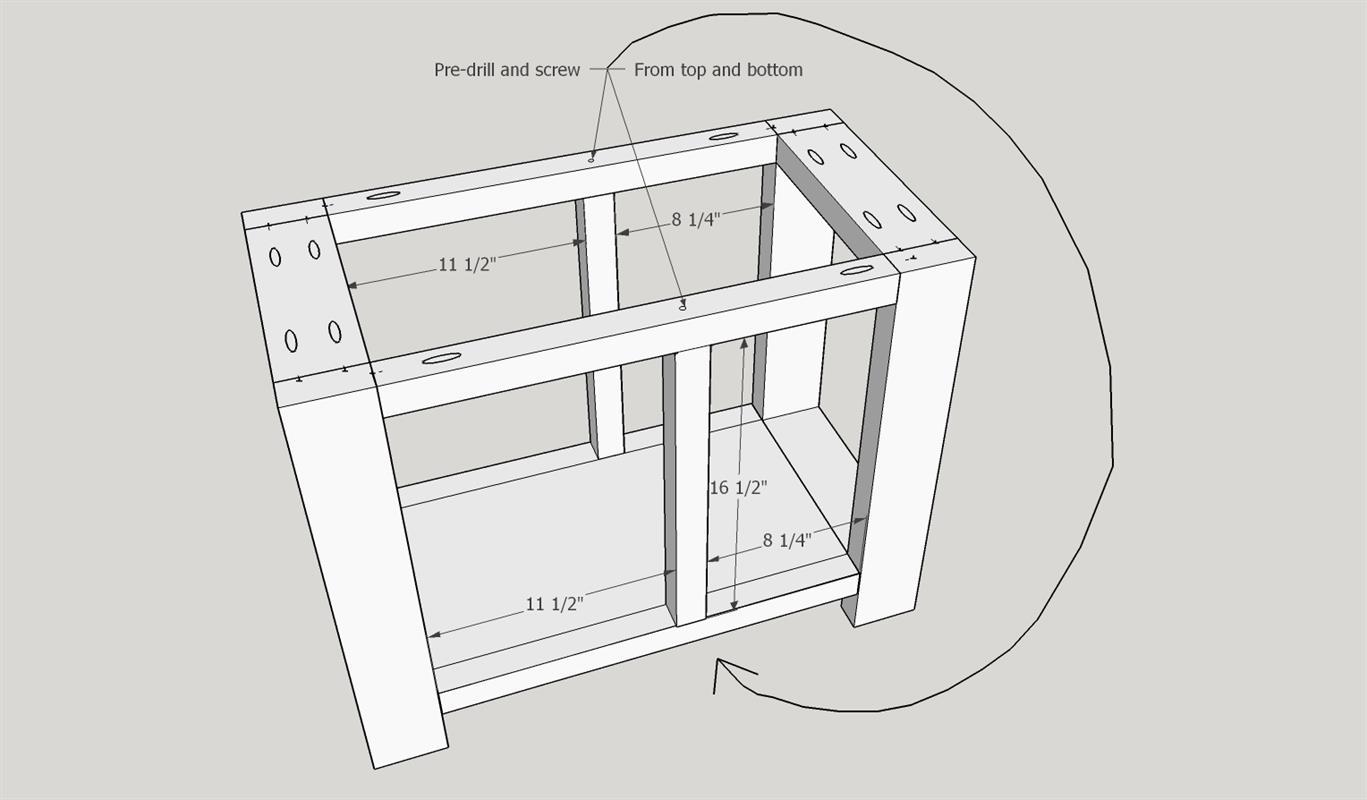
Attach center braces
Take the two 16 1/2" 2X2's and attach them to the frame by pre drilling holes through the frame itself. Then screw through the top and bottom.
This will hide the screws later.
Make sure there is 11 1/2" on one side of the bar and 8 1/4" on the other.
-
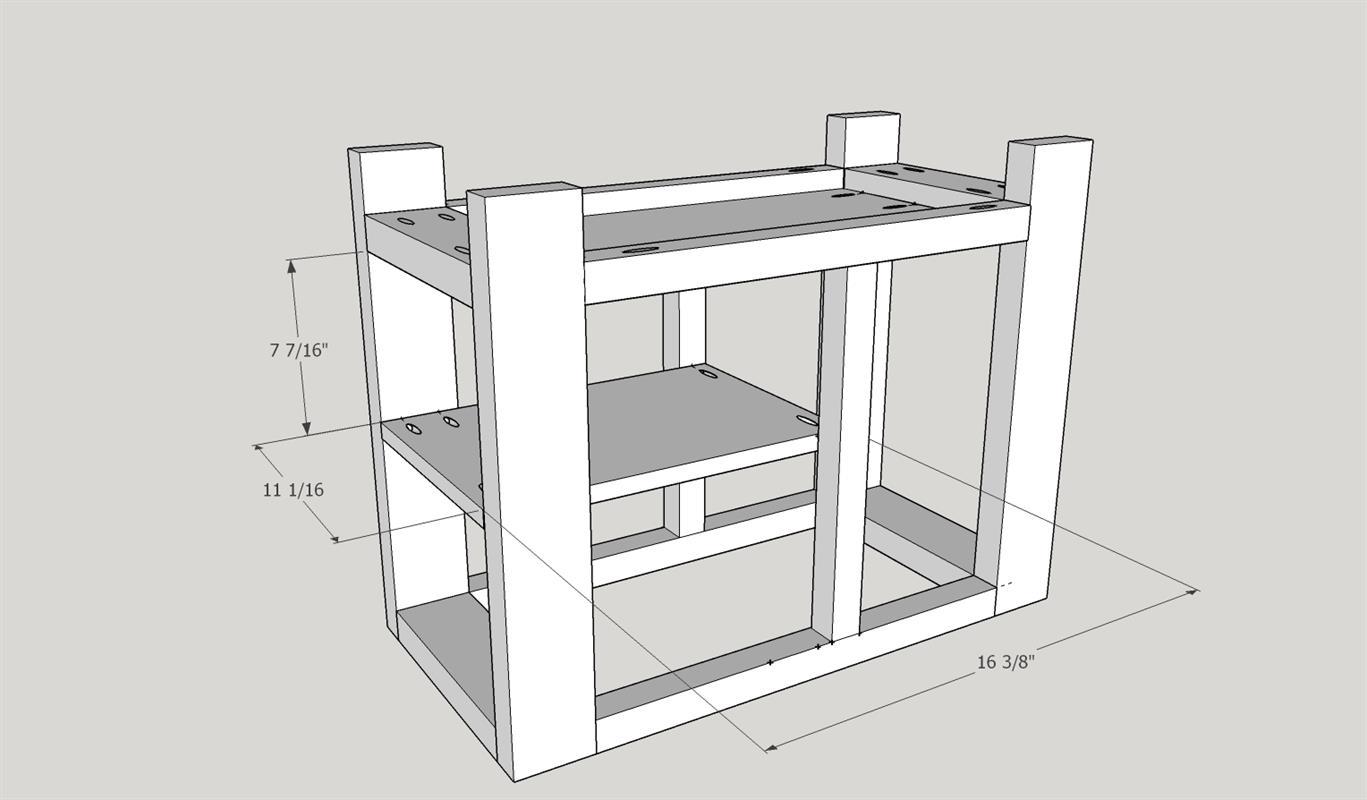
Add shelf
Add the shelf using the Kreg Jig Pocket Hole system.
Center the shelf between the top and the bottom before attaching it.
I added mine 7 7/16" from the bottom of the shelf to the top of the bottom leg brace.
-
Angle Cut the Magazine Display
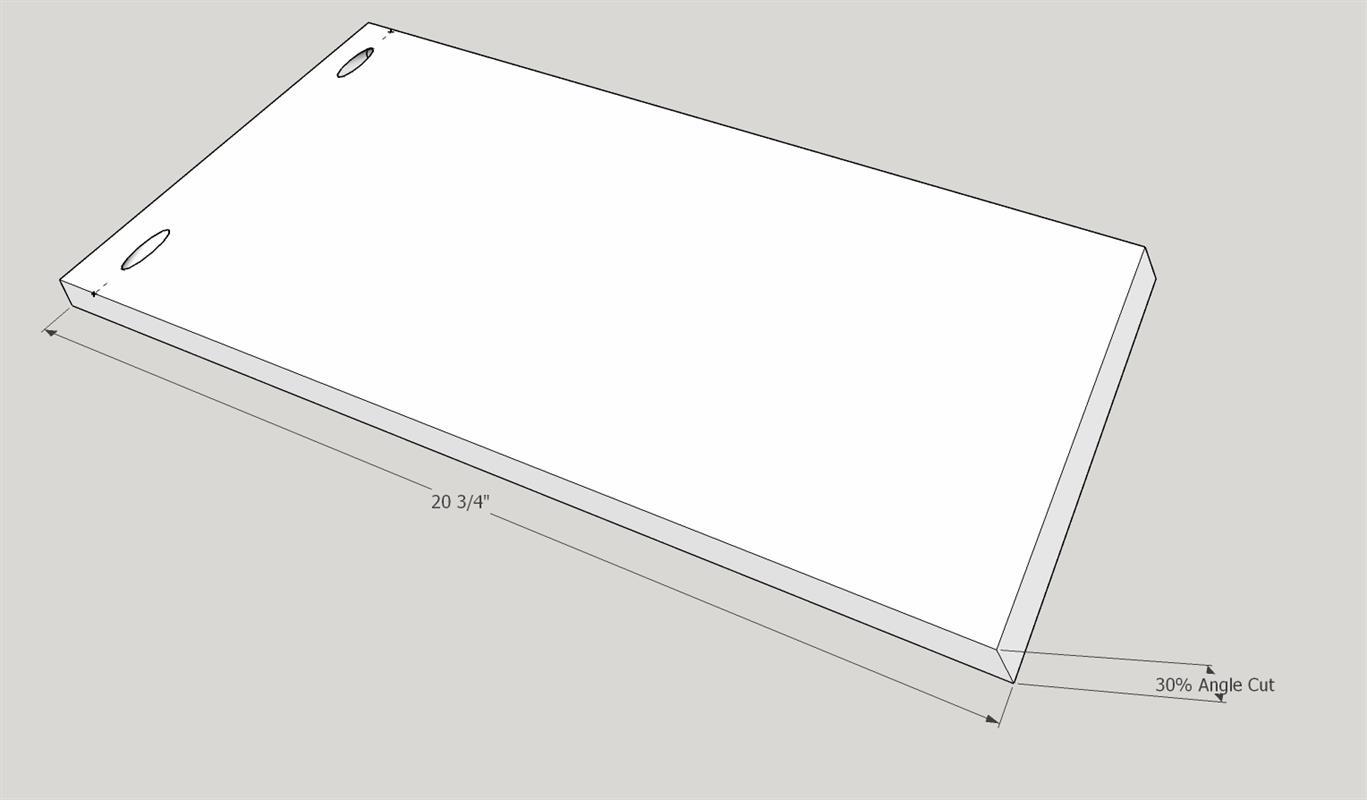
Cut the Magazine display on one end at a 30% angle. It will measure 20 3/4" from long end to long end.
Only one end needs to be cut at an angle as the other side will be hidden within.
Do not forget to adjust the fence on your miter saw before making this angled cut.
-
Attach Magazine Display
Attach the top of the magazine display using the Pocket Hole system.
Use a nail gun and wood glue to attach the angled side down.
-
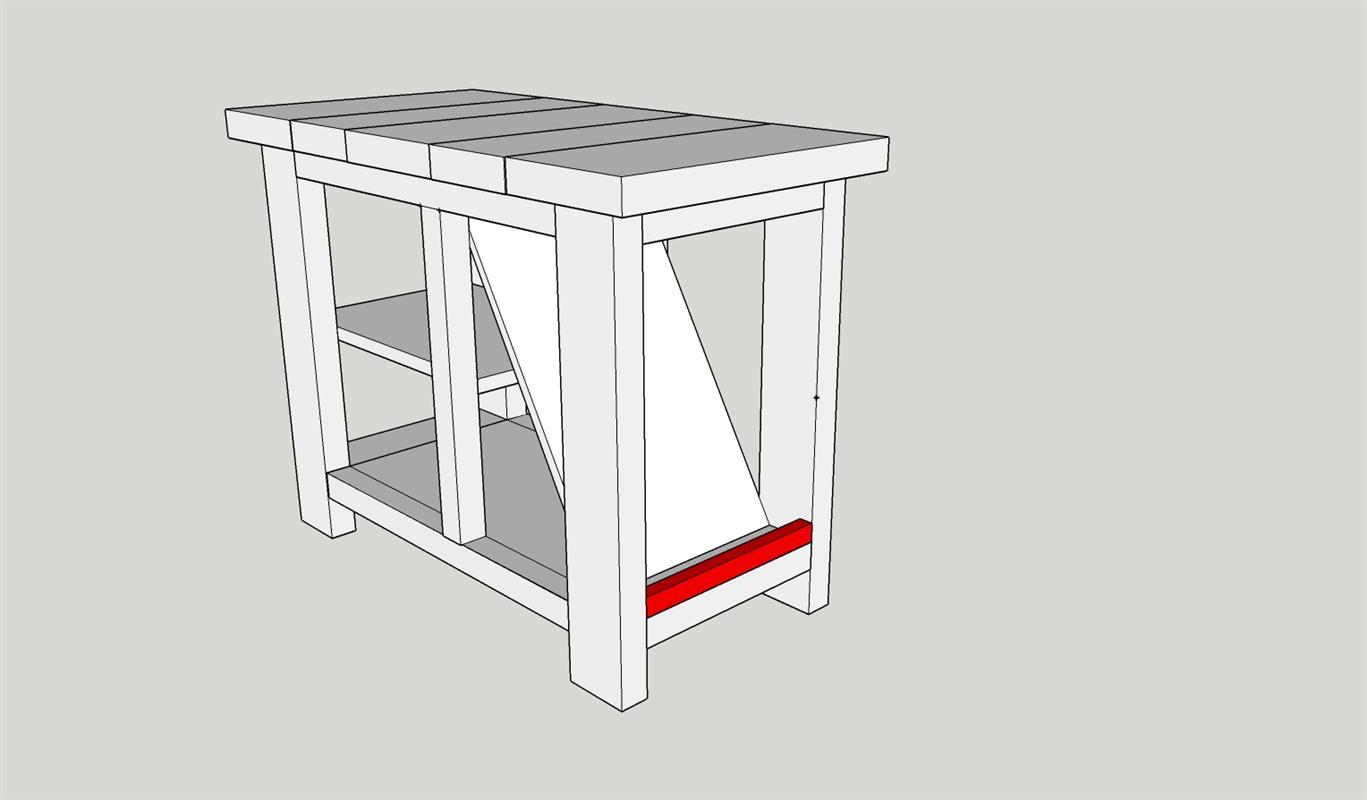
Attach Magazine Lip
This piece should have been cut off of your 1X12 first. It is a small piece but very important!
Using a nail gun and wood glue attach the 1" piece to the bottom leg brace in front of the Magazine display.
Make it flush with the front legs.
-
Put the table top together
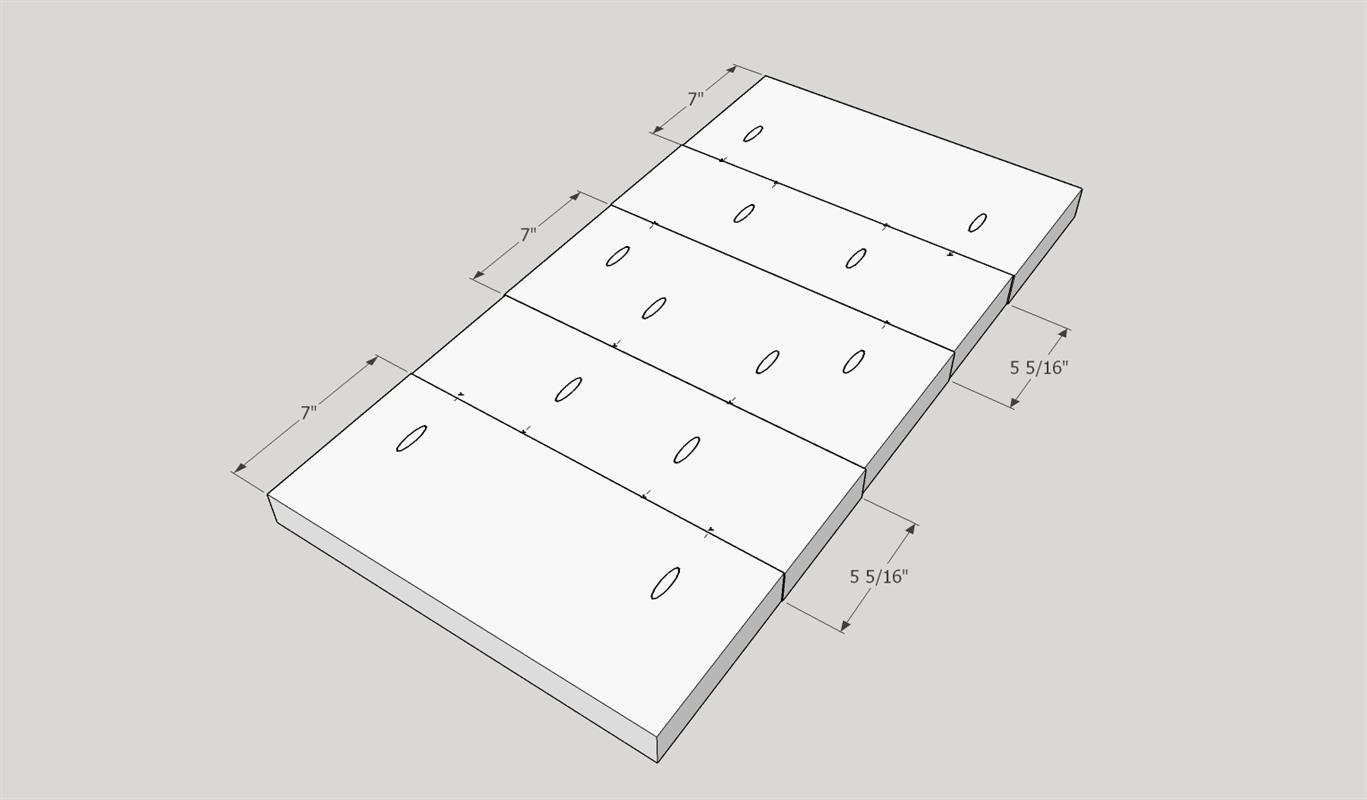
Take your table top pieces and attach them together using the pocket hole system and some wood glue.
The table top can be made in many ways.
It doesn't have to be 2X6 and 2x8's. Use whatever scraps you have around and make it work! That's the beauty of the "Rustic" Look :)
-
Attach table top to frame
Center the frame on top of the table top.
Pre-drill holes through the frame (highlighted orange) and attach the base to the top with screws.
-
Finish Up
Fill the nail gun holes with wood filler.
Sand, Stain & Poly!
-
Visit TamarasJoy.com
For more free plans, projects and more Visit Tamarasjoy.com


