Rustic End Table
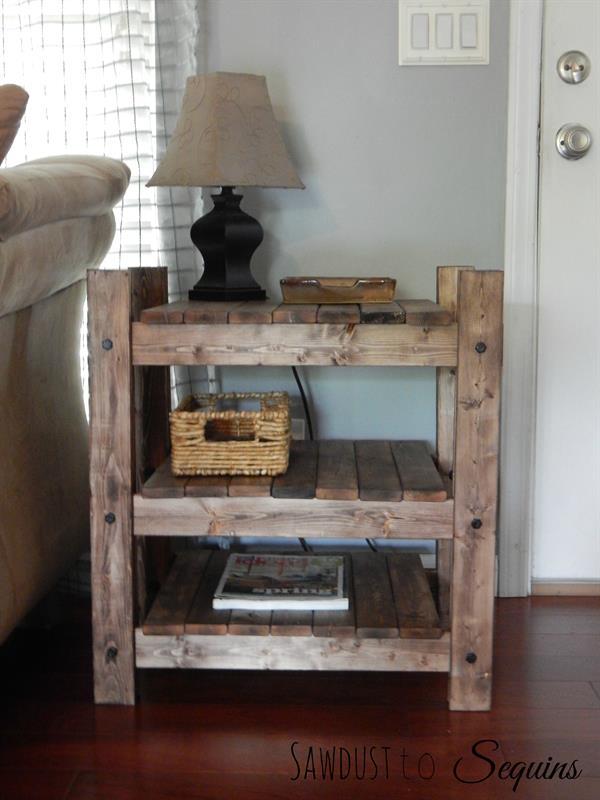
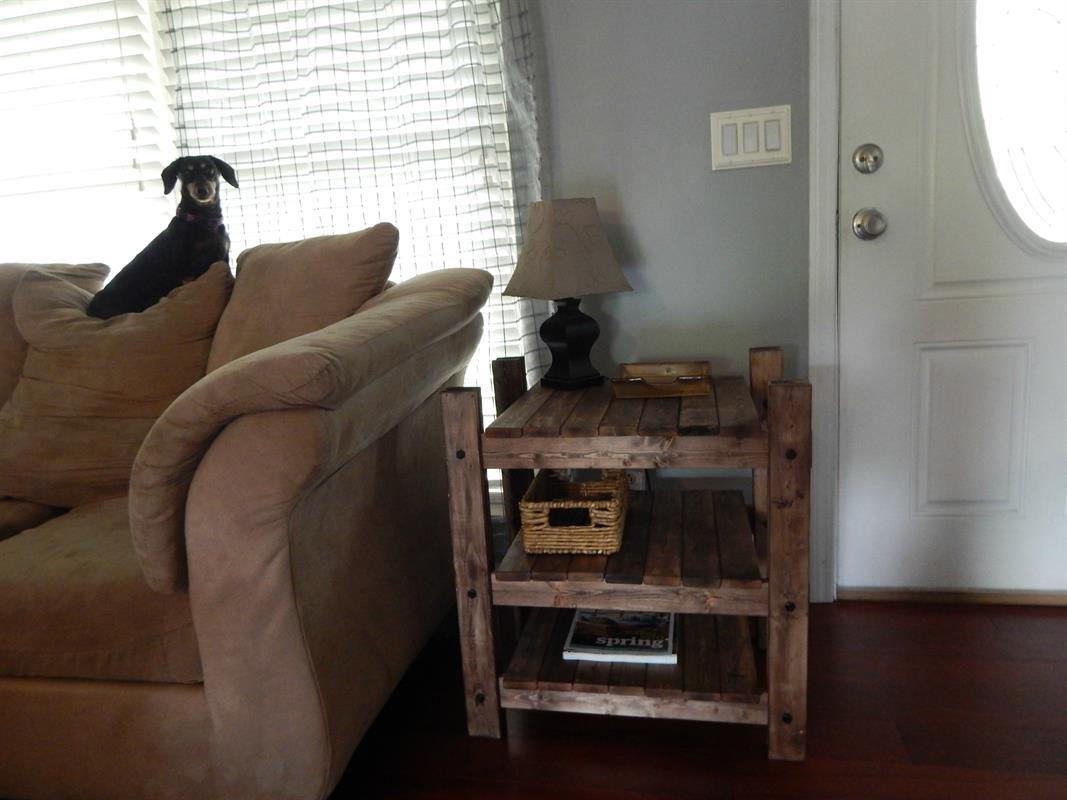
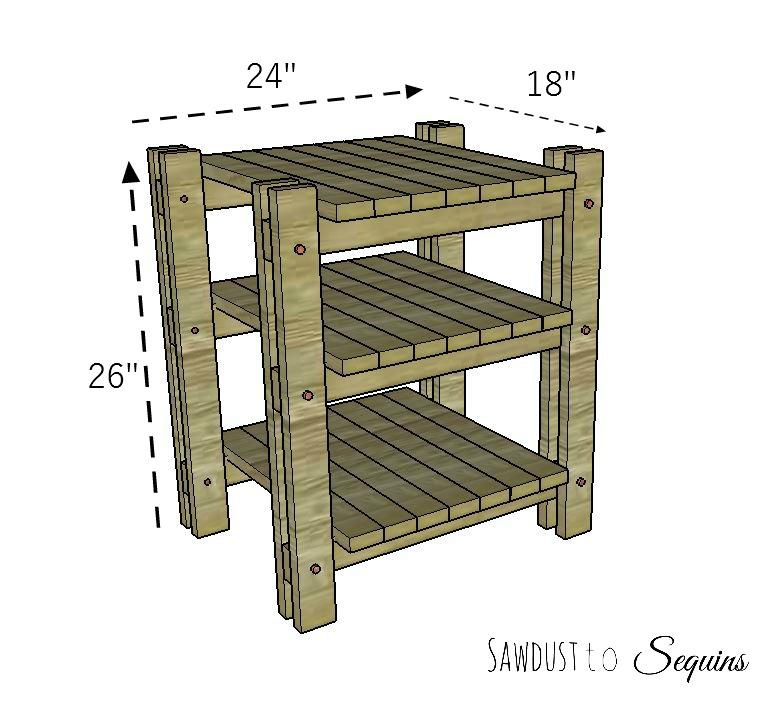
By The Crafted MakerRustic end table inspired by a very popular furniture store. This project is super simple to build and is held together with pocket hole screws and nuts and bolts. Easy weekend project.
Directions
-
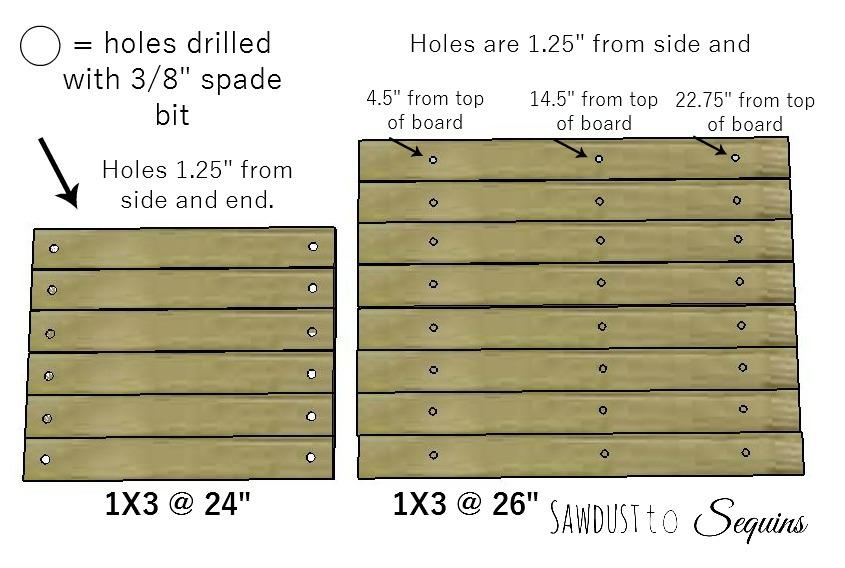
Drill Holes with Spade Bit
Cut boards according to cut list and drill holes in the 8- 1X3’s @ 26”and the 6-1X3’s @ 24”. Use the 3/8” spade bit for this step.
-
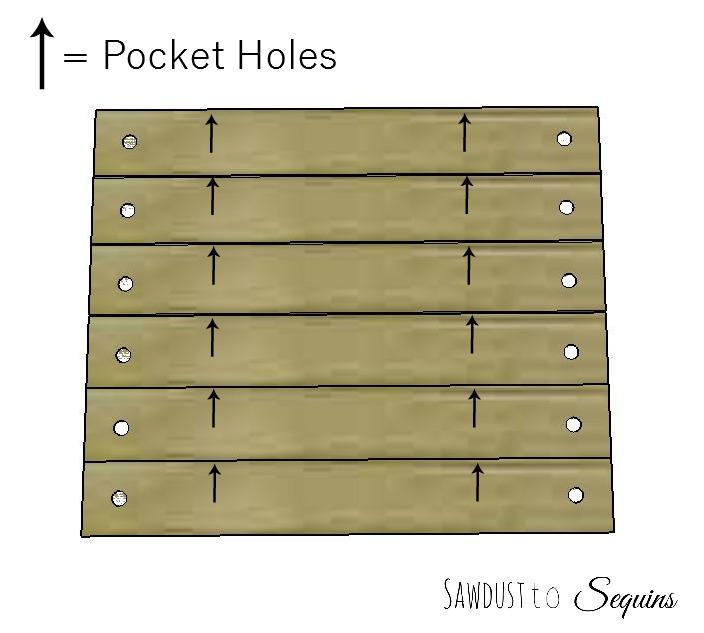
Drill Pocket Holes
Drill pocket holes in the 6- 1X3 @ 24”. This is what the shelf boards will attach to. You will only need two pocket holes per board to support the shelf board sections.
-
Sand and Stain
Completely sand your boards and paint or stain. This is very difficult to do once the table is assembled.
-
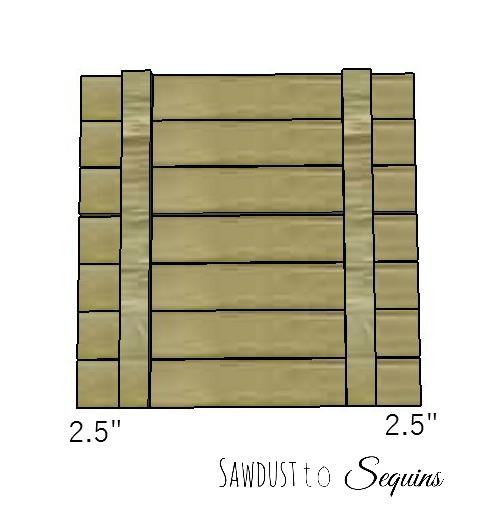
Make Shelf Units
Lay 2- 1X2 @ 17.5” boards across
7- 1X3 @ 18” boards and screw together
with 1 ¼” wood screws. Make three of these. -
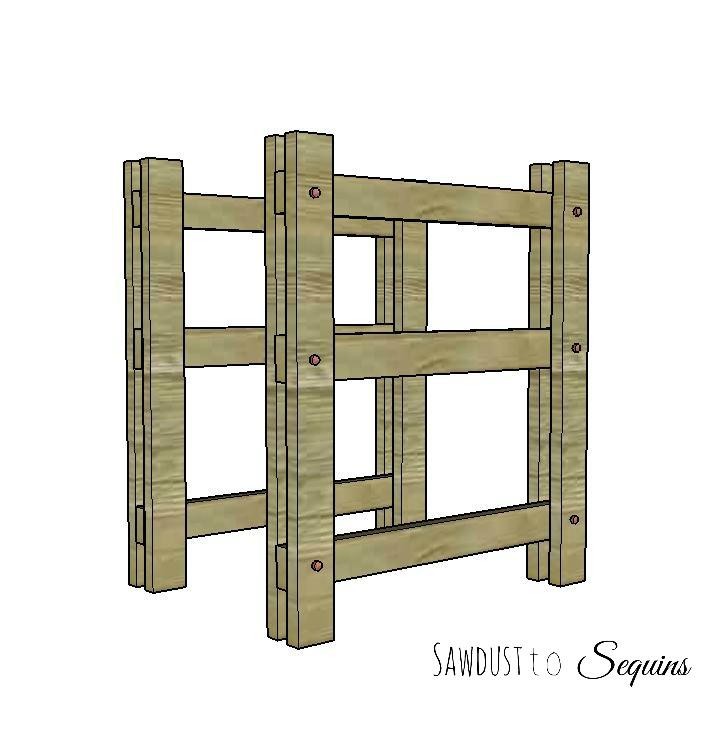
Build Leg Units
Place 3-1X3 @ 24” between 2- 1X3 @ 26”
Secure with a bolt, washer, and hex nut. The
holes drilled with the spade bit will be the
placement of the boards.
tighten nuts to ensure stability of
the table.
Make two leg units. -
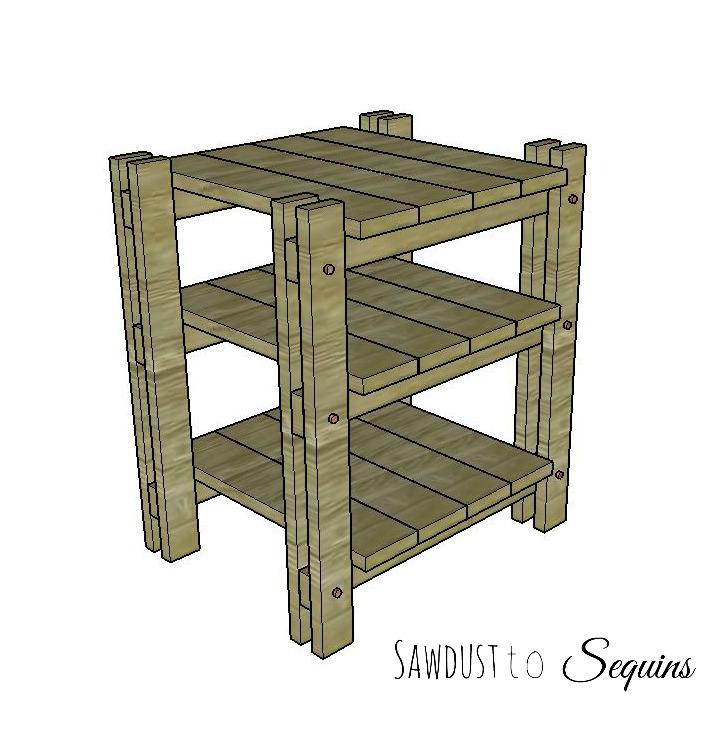
Attach Shelves to Leg Units
Take the shelf sections you have already
assembled and attach to the
leg units with pocket hole screws.
The shelf units should hang over 1” on
each side.


