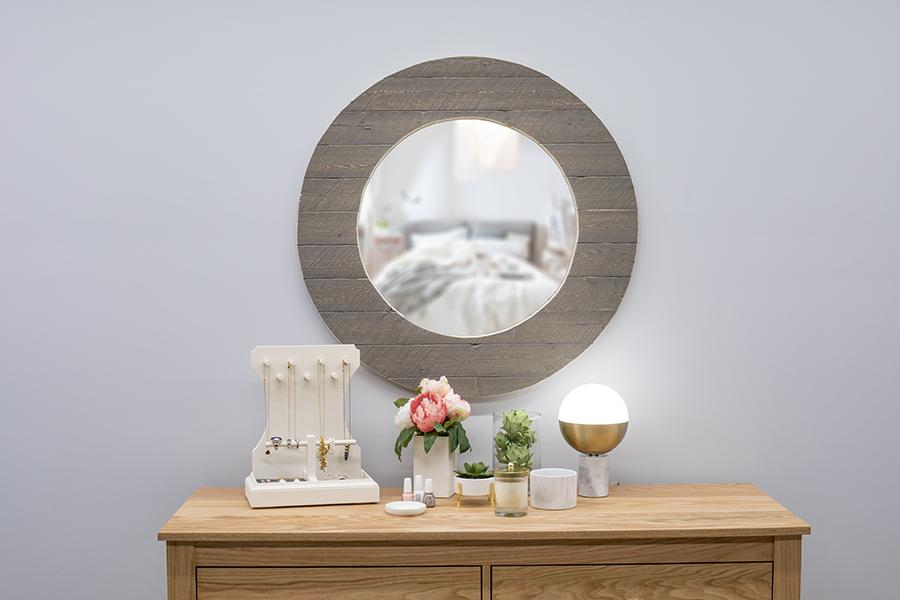
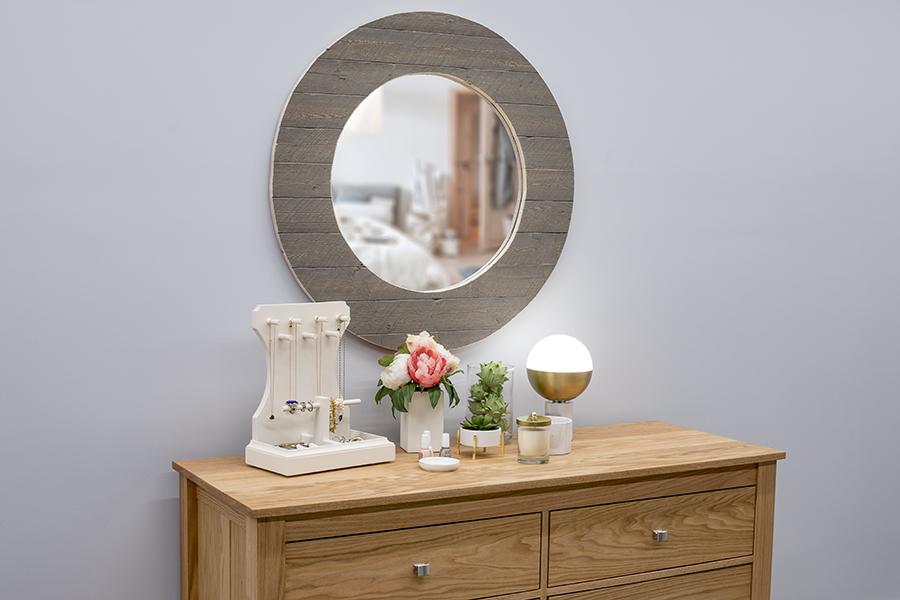
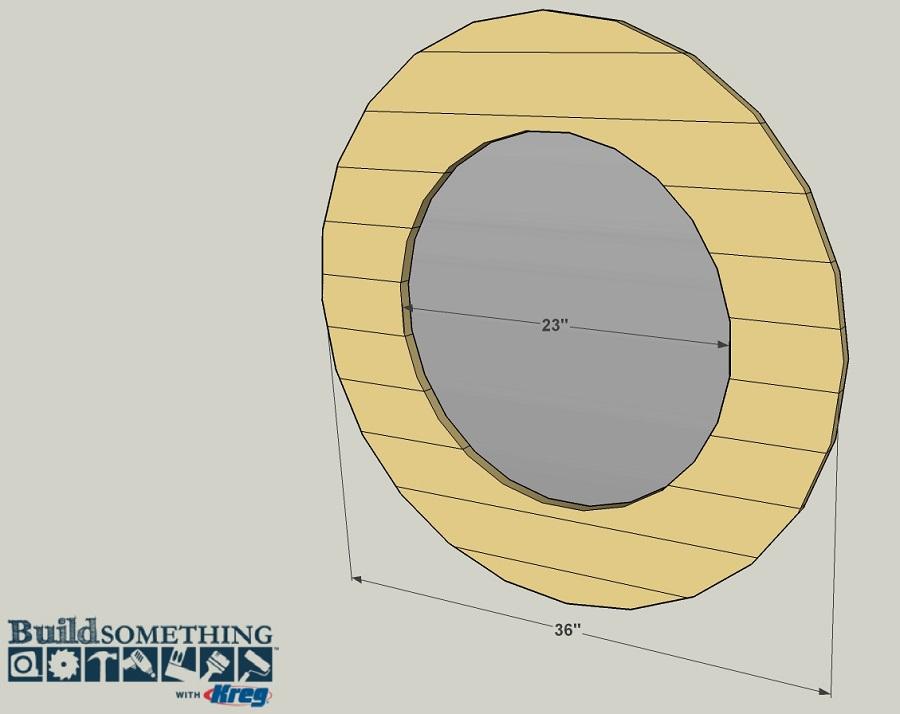


This decorative round wall mirror looks great in just about any space in your home. It’s easy to build by assembling 1×4 boards using Kreg Joinery™, and then cutting the round shape. Instead of requiring an expensive round mirror, all you have to do is mount a standard square mirror to the back.
Tools
Kreg Tools


Other Tools
-
Miter Saw

-
Square
-
Tape Measure
-
Beam Compass or Trammel Points
Materials
Wood Products
- 3 Board , 1x4 , 96"
Hardware & Supplies
- 38 1 1/4" coarse-thread Kreg pocket-hole screws
- 1 24" square mirror
- 6 Mirror clips
- 1 12" Hangman picture hanger
Cut List & Parts
- 16 Slat , 3/4" x 3 1/2" x lengths shown
Directions
-
Cut the Slats to Size
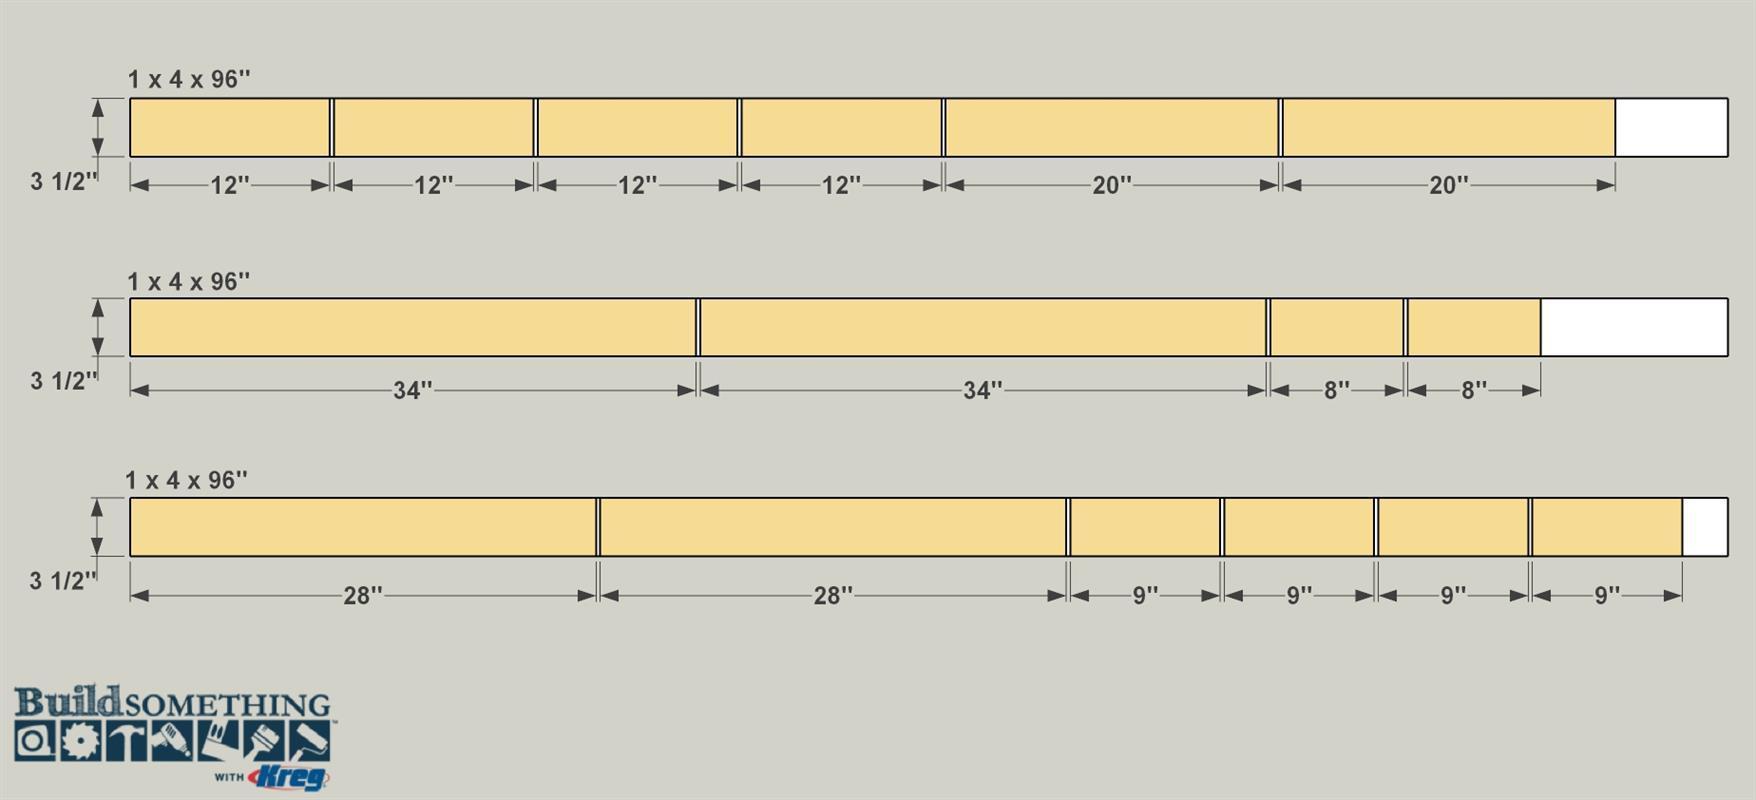
Start by cutting all of the slats to rough length from 1x4 boards, as shown in the cutting diagram. We used prefinished “barn wood” rustic boards that we found at a local home center. If they’re not stocked in your area, they may be available through special order. You could also use standard 1x4s, and then paint or stain them as you wish. You’ll need to cut the following Slats: two 8" four 9", four 12", two 20", two 28", and two 34" pieces.
-
Drill the Pocket Holes
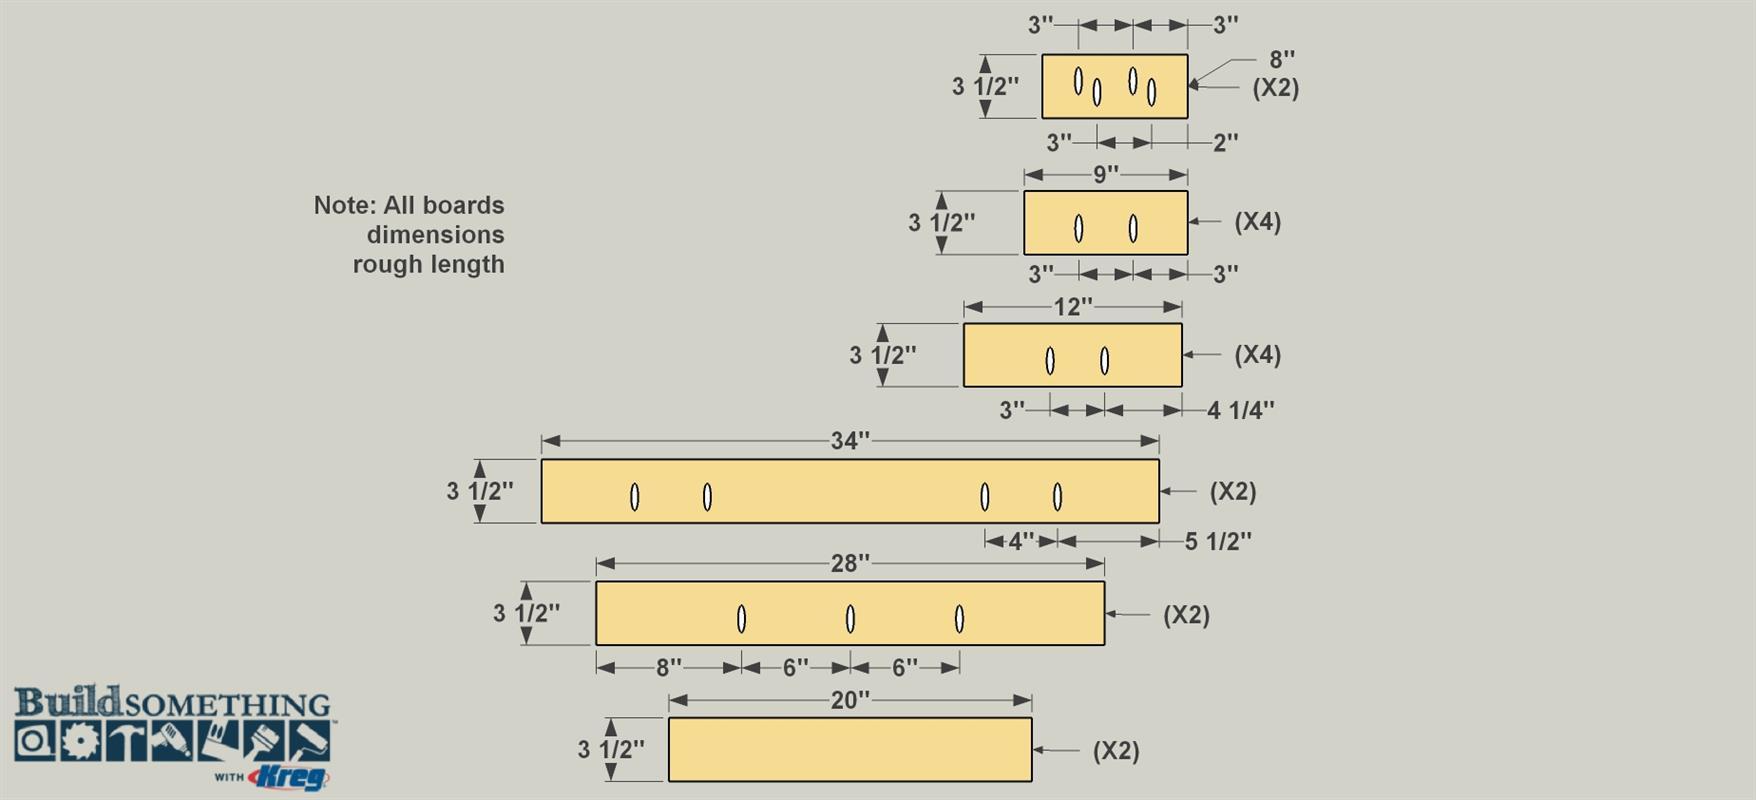
Set your Kreg Jig for 3/4" thick material, and then drill pocket holes in each of the boards at the locations shown. Note that the 8" Slats get two pocket holes that face one edge, and two that face the other edge. All of the other slats have pocket holes that face one edge only.
-
Assemble the Frame
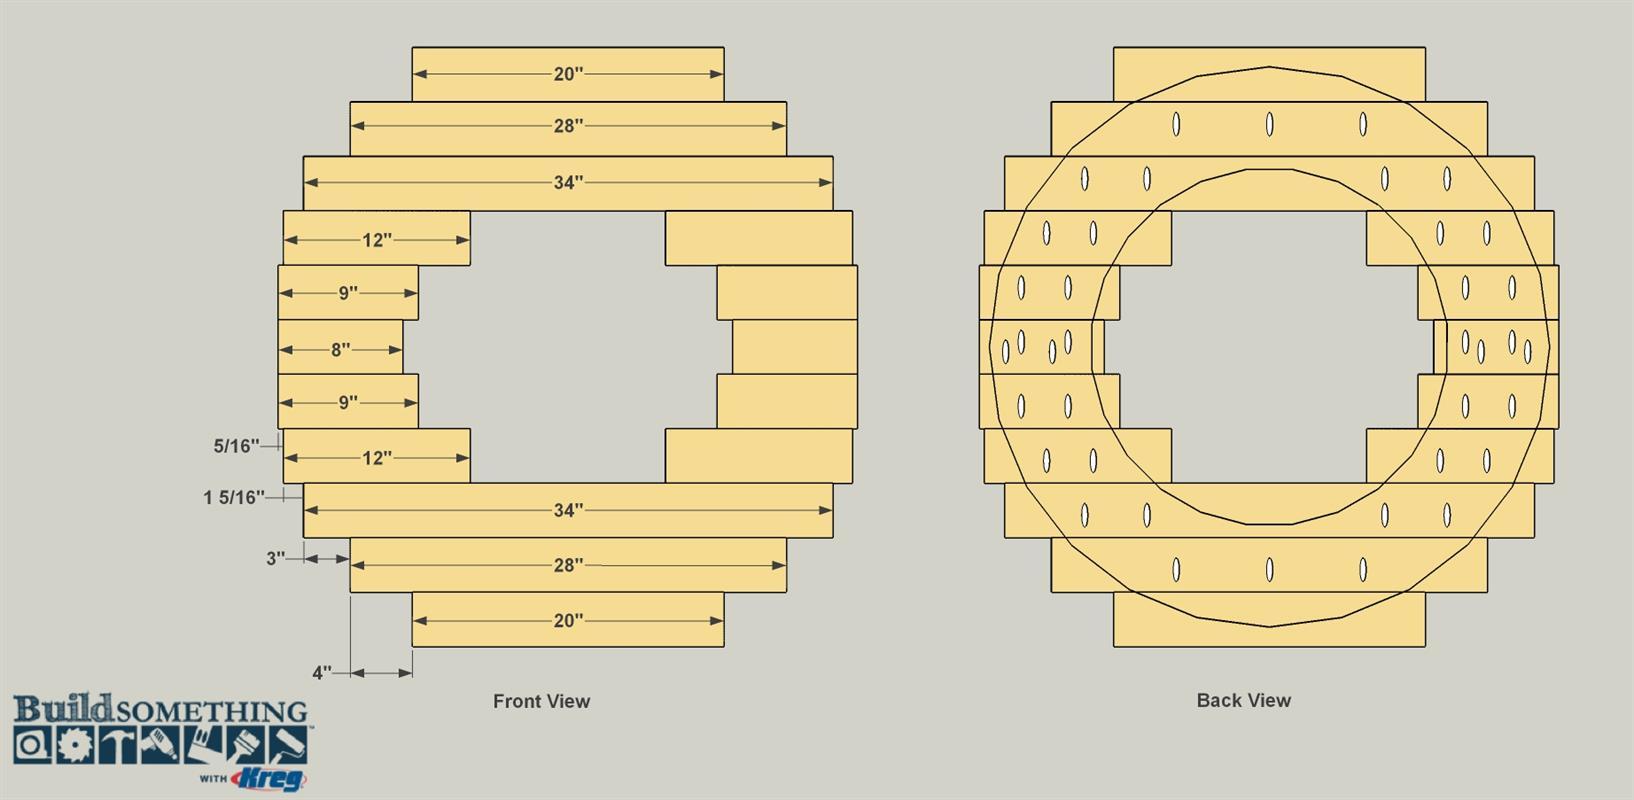
Lay the Slats out on a flat surface in the order shown. Apply glue to the mating edges of each board, then measure the proper offset and position each board accordingly. Attach all of the boards together using 1 1/4" coarse-thread Kreg Screws.
-
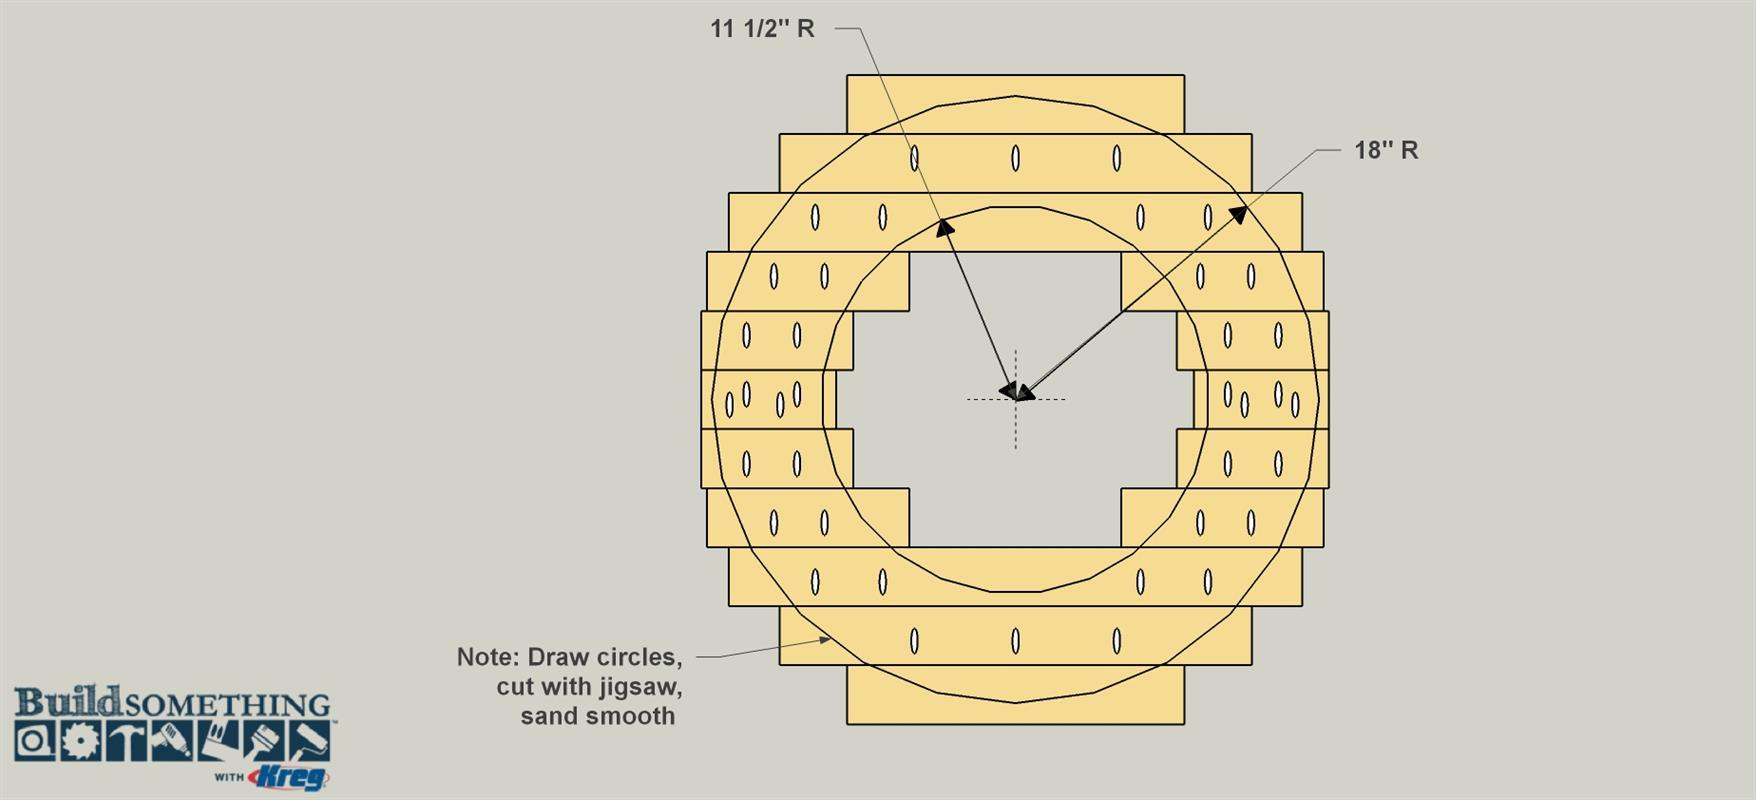
Cut Inner and Outer Circles
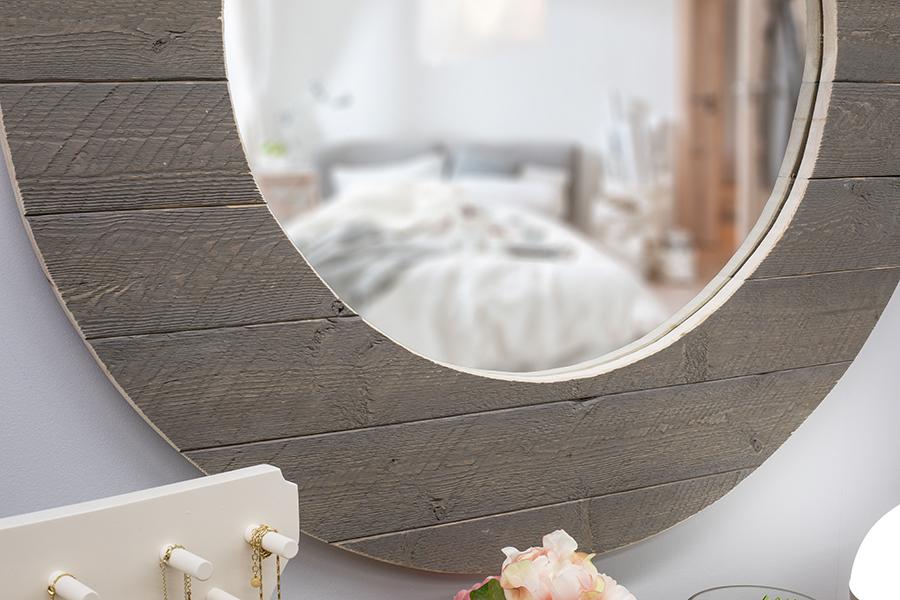
Lay the assembled frame on a flat work surface. Mark the center point of the inside and outside circles at the locations shown. Use a long beam compass to mark the two circles on the mirror frame. You could also drive a nail at the center point of the circles, tie a string around a pencil, and then wrap the string around the nail. Using a jigsaw, cut the inside circle and then the outside circle. Stay just on the “waste” side of each line. Then sand the cut to get the final shape and to make the edges smooth. We chose to leave the cut edges of the frame unfinished to compliment the rustic look. If you’re using unfinished boards, sand the front face smooth, and then apply the stain or paint of your choice.
-
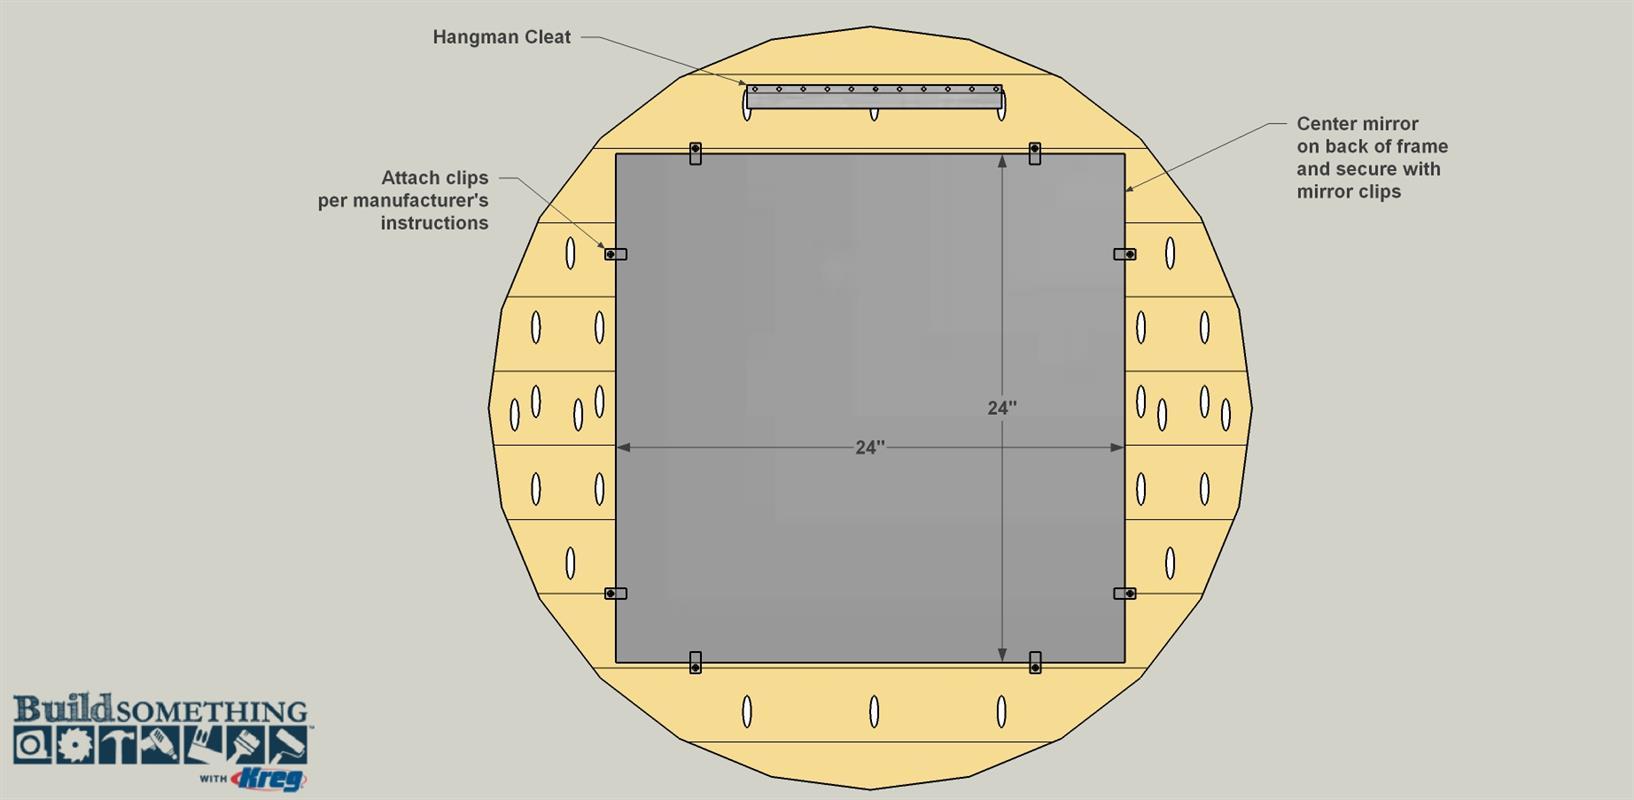
Attach the Mirror and Cleat
Now you can attach the mirror to the frame. Center it on the back of the frame, using mirror clips following the manufacturer’s instructions. Next, mount the hanging cleat. We like the cleat systems made by a company called Hangman. These have two parts. One cleat mounts to the mirror frame, and the other mounts to the wall. There’s even a built-in level on the wall cleat, so that you can get it on the wall straight. Once you have the two cleats mounted, you simply slip the cleat on the mirror over the cleat on the wall, and your installation is done.