Round Marble and Wood Side Table
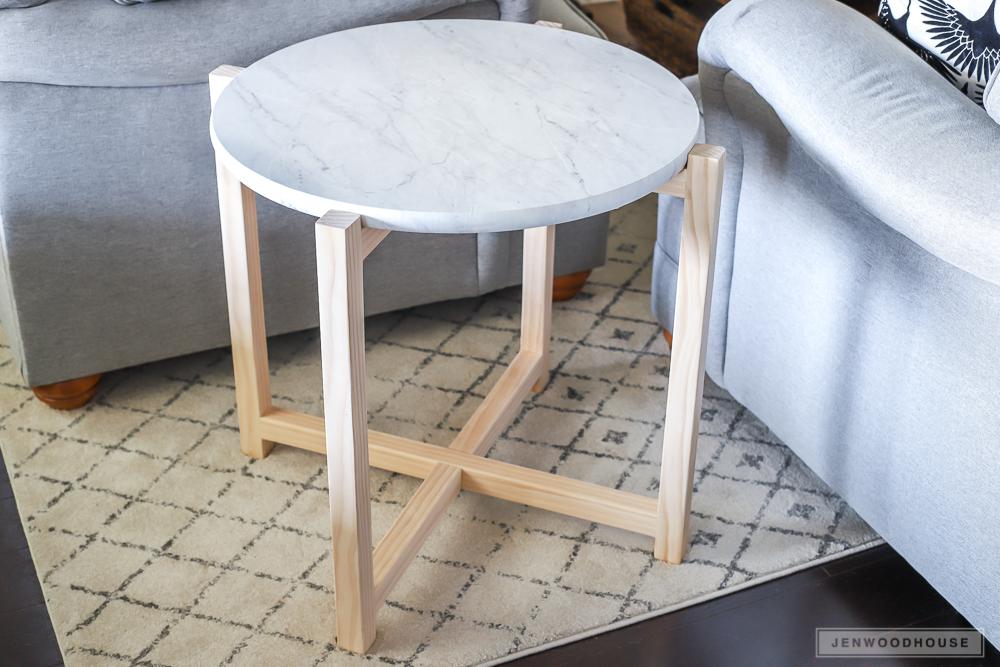
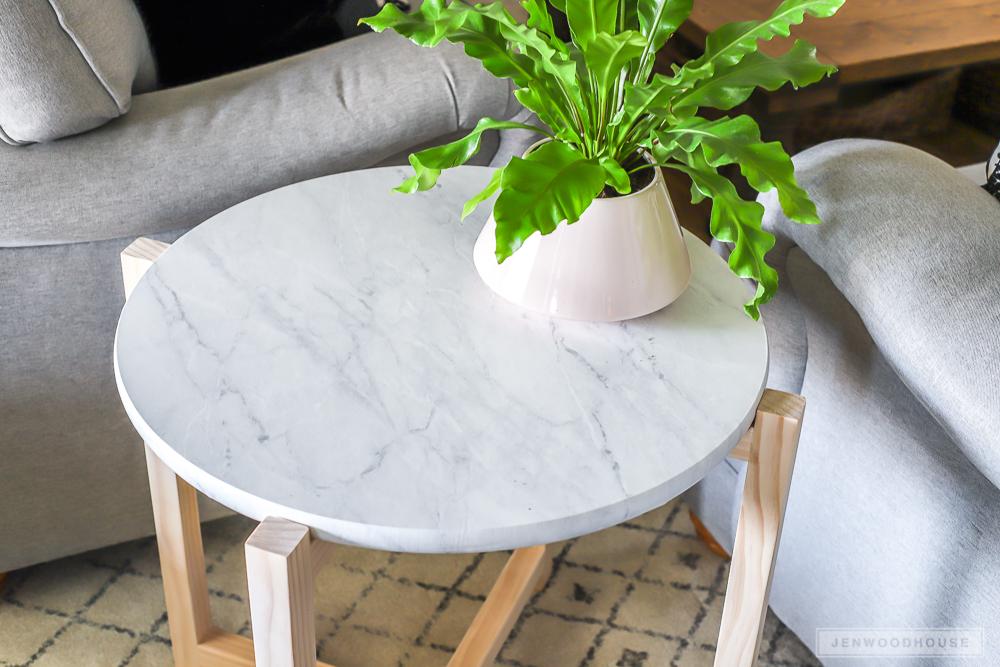
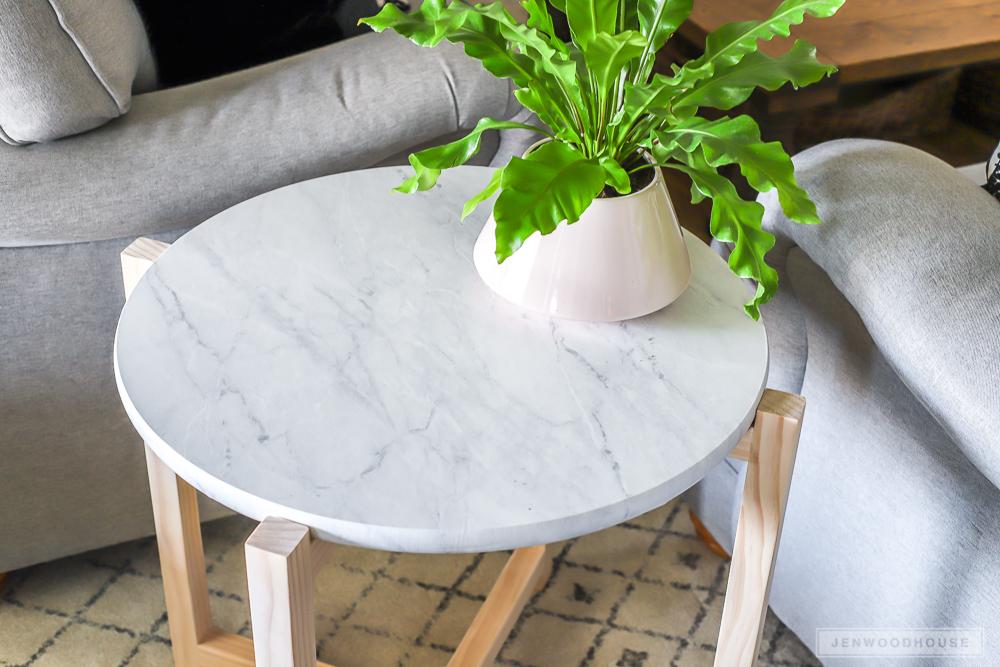
By Jen WoodhouseAdd a modern touch to your living space with this sleek round side table featuring a (faux!) marble top and natural wood base.
Directions
-
Cut the Boards
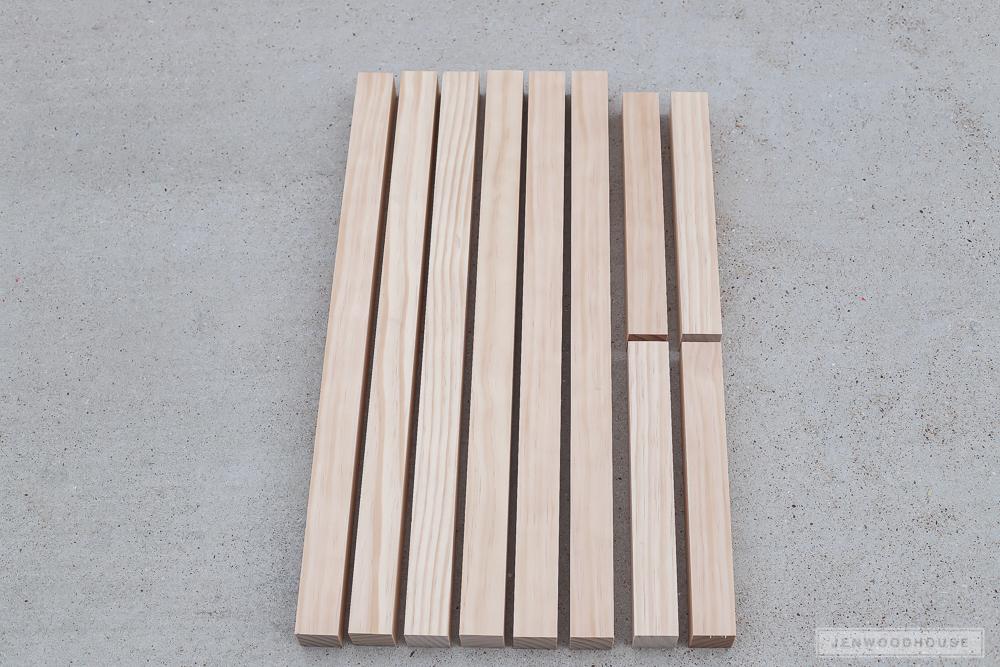
Using the cut list, measure, mark, and cut the 2x2 boards to length.
-
Drill Pocket Holes
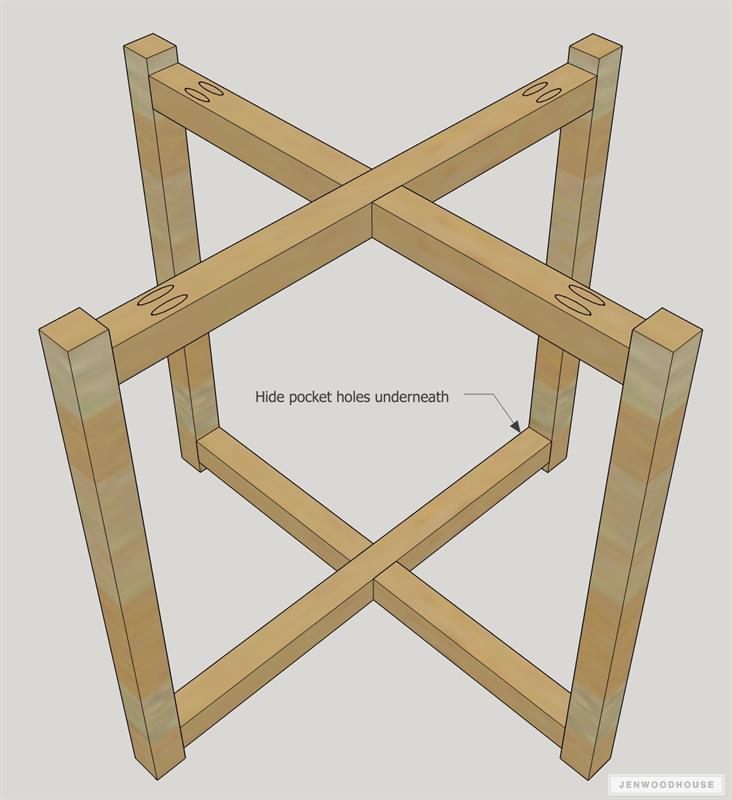
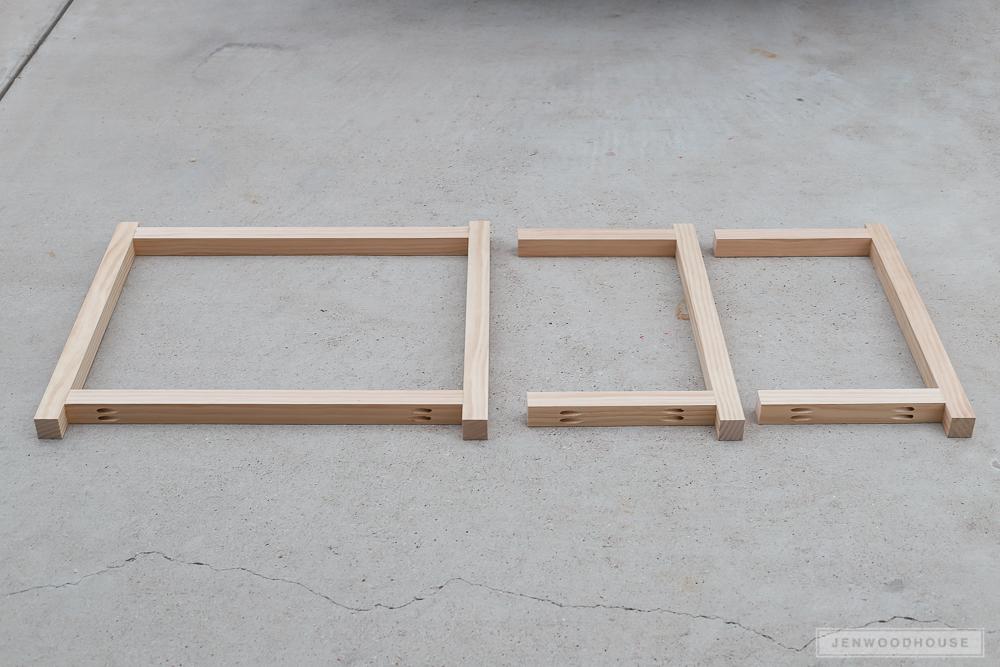
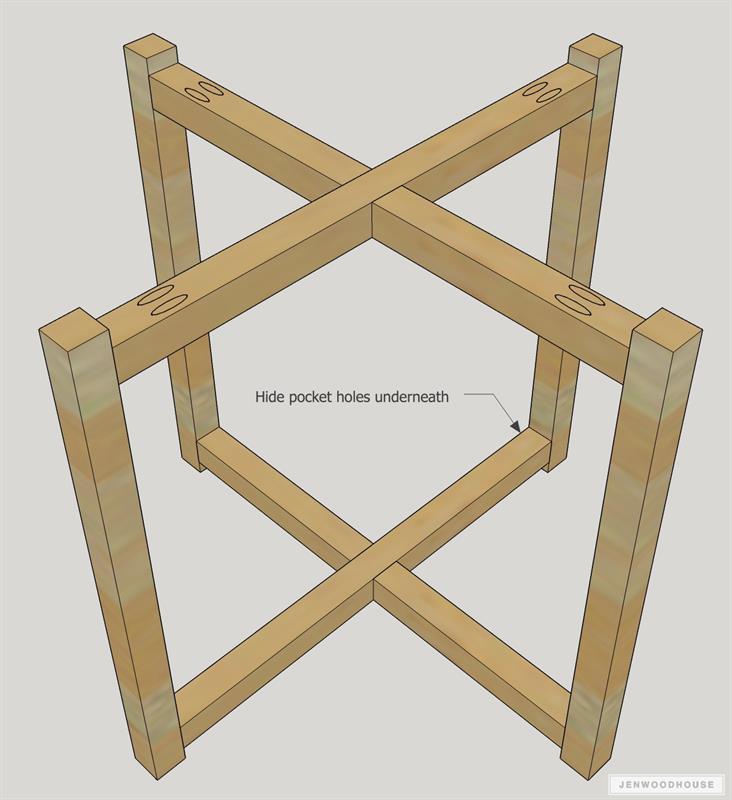
Using a Kreg pocket hole jig, drill 1 1/2-inch pocket holes into the ends of all of the stretchers. Notice that the pocket holes in the top rails are placed on the top (the tabletop will cover them) while the pocket holes in the bottom rails are hidden underneath.
-
Construct the Table Base
Construct the table base as shown with 2 1/2-inch pocket screws and wood glue. The stretchers are placed 3/4" inset from the edges of the legs. I chose to use pocket hole joinery here, but in hindsight, if I were to build this table again, I would use pocket screws to attach the stretchers to the legs and use a half lap joint at the cross sections. Sand, stain and/or paint, and finish as desired.
-
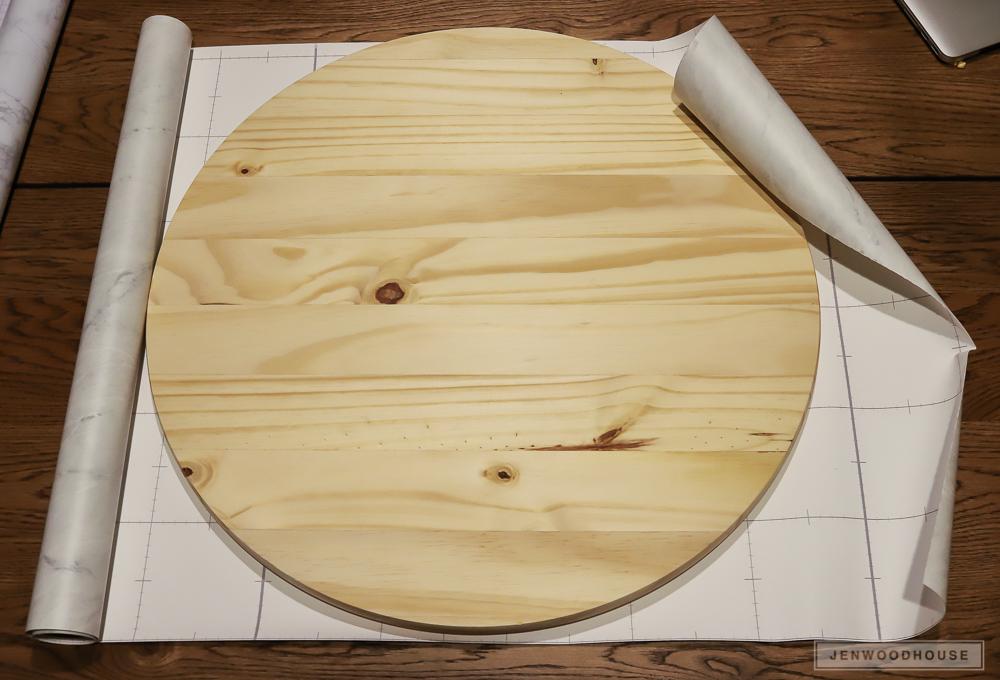
Apply Marble Contact Paper to Top
Cut out adhesive contact paper to size. Peel the backing and apply the contact paper to the wood round. I found the marble contact paper on Amazon.
Alternately, if you'd like to use a real marble slab, you can often find inexpensive stone remnants at your local granite installer.
-
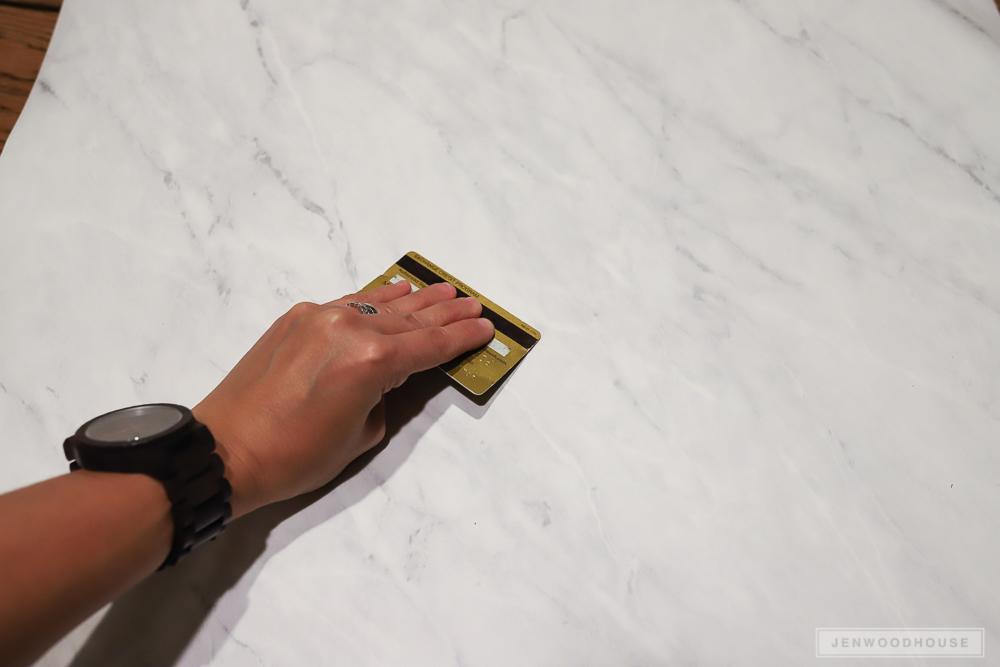
Smooth Out Any Bubbles
Smooth out any bubbles in the contact paper with a straight edge.
-
Cover the Edges
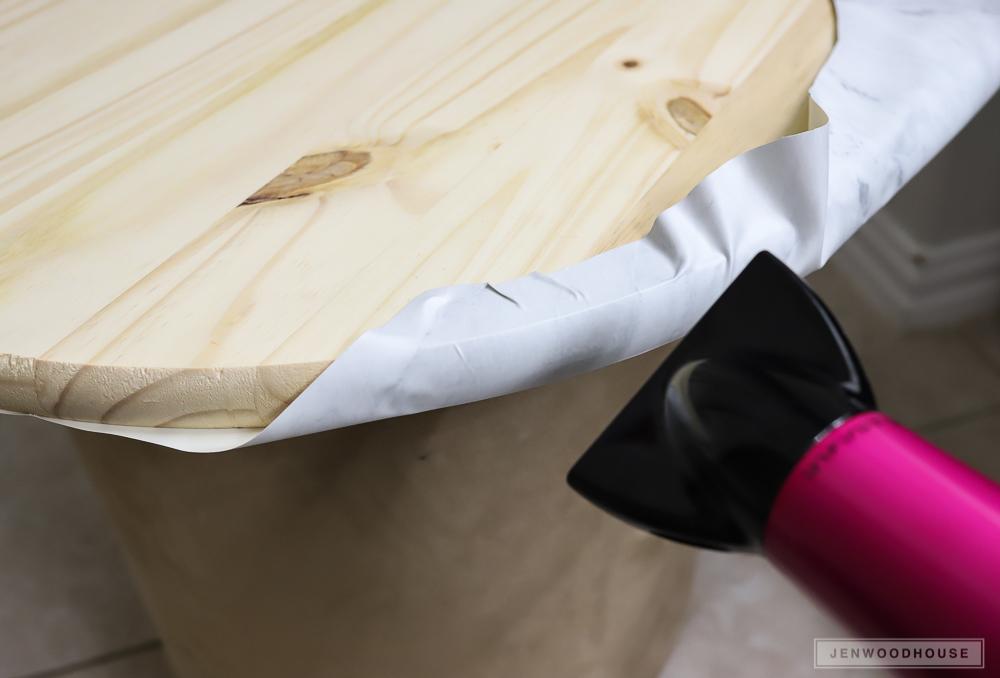
To cover the rounded edge of the table top, use a hairdryer to apply heat as you pull the contact paper over the edge. The heat will stretch the contact paper and remove any wrinkles.
-
Attach the Top
Pre-drill pilot holes into the top rail of the table base. Attach the top with 2-inch wood screws and wood glue driven from underneath.


