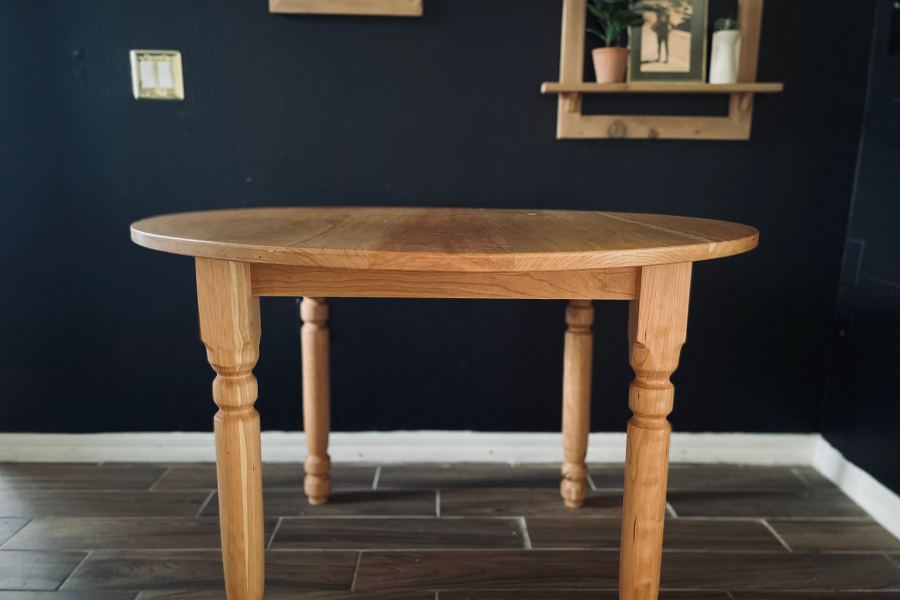


This DIY round kitchen table is the perfect addition to your home. We all know the best stories are told around the dinner table, so why not give your table a story as well. Although a more advanced project due to the woodturning component, it's well worth the time an effort put into learning a new skill and creating a piece of furniture that will be truly unique.
Tools
Kreg Tools


Other Tools
-
Table Saw

-
Lathe
-
Miter Saw
-
Clamps
-
Tape Measure
-
Speed Square
-
Socket Wrench
Materials
Wood Products
- 2 Cherry Wood , 1x7.5x100
- 1 Cherry Wood , 1x7.5x144
- 1 Cherry Wood , 1x8x98
- 1 Cherry Wood , 1x9x101
- 1 Cherry Wood , 1x11x104
Hardware & Supplies
- 20 1 1/4" Stainless Steel Pocket-Hole Screws
- 4 Kerf Mount Corner Brackets
- -- Wood Glue
- 4 Hanger Bolts
Directions
-
Prep the Wood
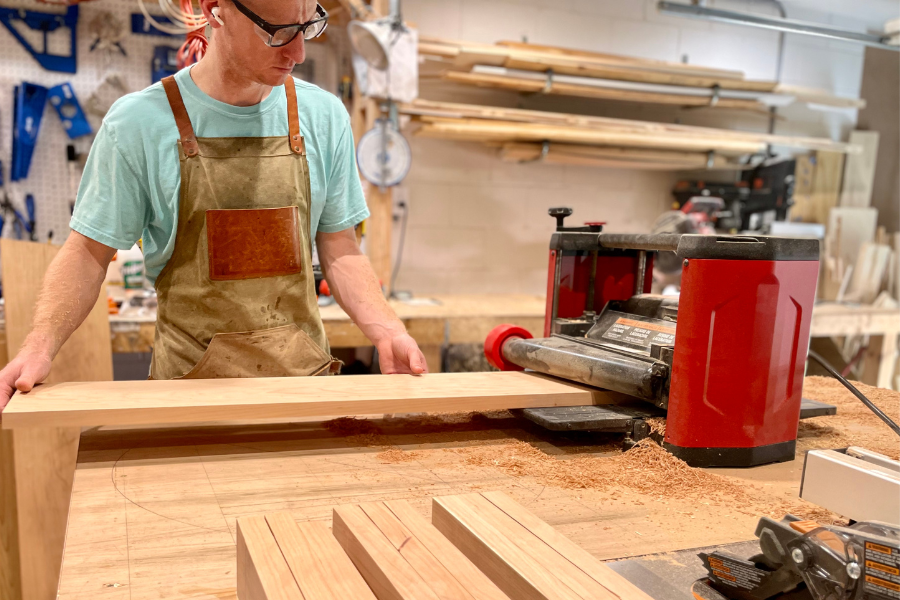
If you’re using rough cut lumber, you’ll want to smooth/flatten it out using your planer on the face and backside of the wood. Use your table saw (or joiner if you have one) to cut down the edges and give each piece of wood a nice straight edge. That way when you join the pieces together, the seams are snug together without any gaps.
For our table, we cut the wood down to 15/16” thick and used 5 pieces to make up the tabletop. We wanted the table to be 45 1/2” wide, so we cut each piece to 48” long and then used 5 pieces of wood to make up the width of about 48”. This gave us a nice square to cut the circle from.
Tip:
As a reminder, these are the dimensions that worked for our space but feel free to use a similar method for smaller or larger circle tables.
-
Table Top Joining
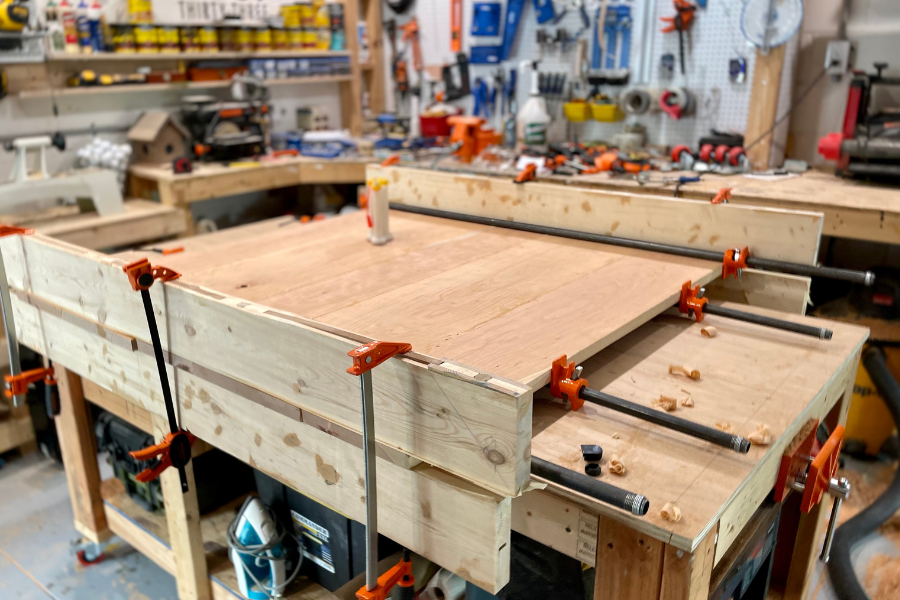
Once you have your table top pieces cut to size and ready to go, it’s time for the glue up! Using several clamps and wood glue, line up your pieces, apply glue to all inside edges (don’t be afraid to use a lot) and clamp the pieces together. Let it set overnight. As you’ll see in the picture, we used extra wood to clamp the ends to keep the pieces from buckling. Highly recommend this or you’ll most likely buckle the joints or end up with a warped table. Also, be sure to use painters tape or something on the edges of the scrapwood being clamped so it doesn’t adhere to the table top due to the wood glue.
Once your tabletop is set, remove the clamps and scrape off any excess glue. Depending on if it’s needed, sand the bottom side of the table to make sure it’s smooth enough to cut your circle without the jig getting caught.
-
Cut the Circle
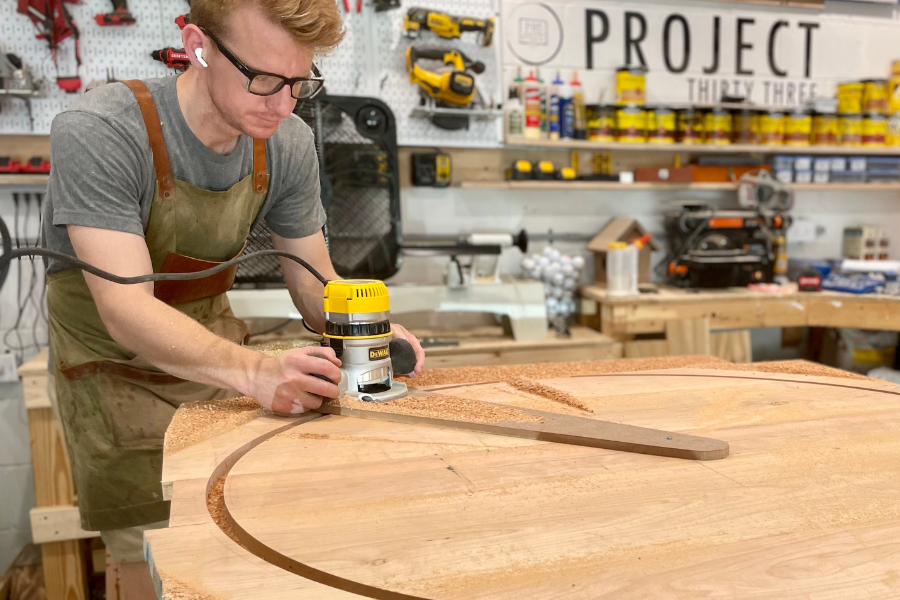
Using a store bought circle cutting jig or a DIY version, it’s time to cut your circle! On the bottom side of the tabletop, find the center and mark it. Since our table is 45 1/2” wide, we’ll want to position the inside edge of the router bit to 22 3/4” from the center. Mount your router to the jig and screw the opposite end of the jig to the center mark.
We recommend testing out the jig before turning the router on. Do a full circle to make sure it doesn’t get caught on anything that could cause damage or injury.
Turn your router on and slowly lower the bit into the wood, no more than 1/16 of an inch. Once you complete a full circle, lower it down again and complete another circle. Complete this process several times until you’ve cut through about 3/4 of the tabletop thickness. It’s important to take your time with this and only lower the router a little bit each time.
Next, using your jig saw, cut off the excess pieces. Don’t worry about getting close to the edge and making a clean cut, you’ll use your flush trim router bit to clean the edges once you’re done.
-
Table Legs
Using additional pieces of rough cut lumber, you’ll want to plane, rip and cut 12 pieces of wood for the 4 table legs. Cut down each piece to roughly 30” long, 3” wide and 1” thick.
Next, glue/clamp 3 of the pieces together to create a single table leg. Repeat 4 times. You’ll want to apply a generous amount of wood glue to the inside face of each piece of wood before clamping.
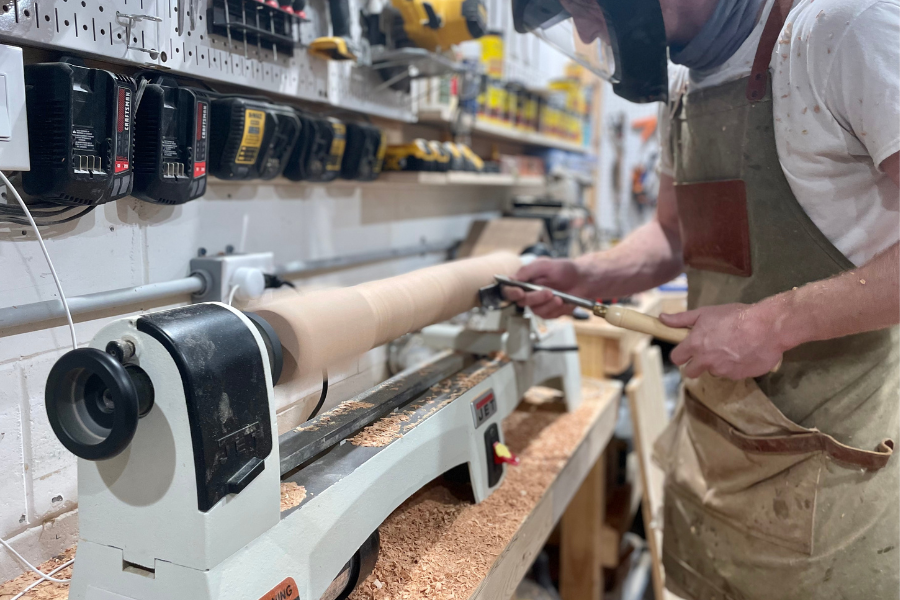
Once your glue has set overnight, remove the clamps and send the now 3”x3” piece of wood through the planer. This will clean it up nicely by removing all the excess glue and creating a smooth finish on all sides. The table legs we created were cut down to 2 7/8” wide on all sides and 29” long.
Lastly, head on over to your lathe and turn the wood to the design of your liking.
-
Table Aprons
Using additional pieces of rough cut lumber, you’ll want to plane, rip and cut 4 pieces of wood for the table apron that connects to the tabletop and each leg. Cut down each piece to 23 1/8” long, 2 3/4” wide and 1” thick.
Next, add approx. 5 pocket holes to the inside of each piece using your Kreg Pocket-Hole Jig 720PRO. These will be used to attach the base to the tabletop.
Lastly, you’ll want to cut small channels on the inside of the 4 pieces for the kerf mount corner brackets. *See next step before doing so.

-
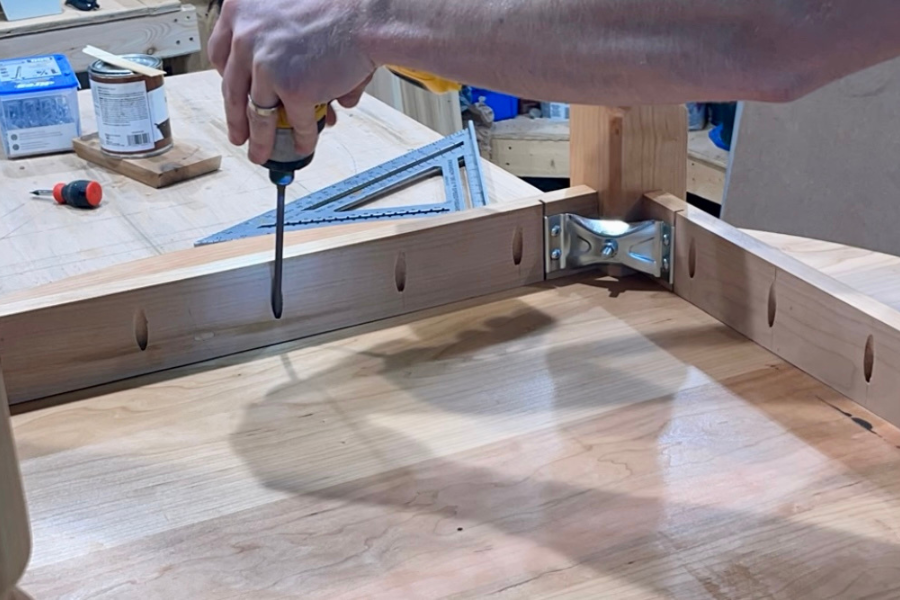
Brackets
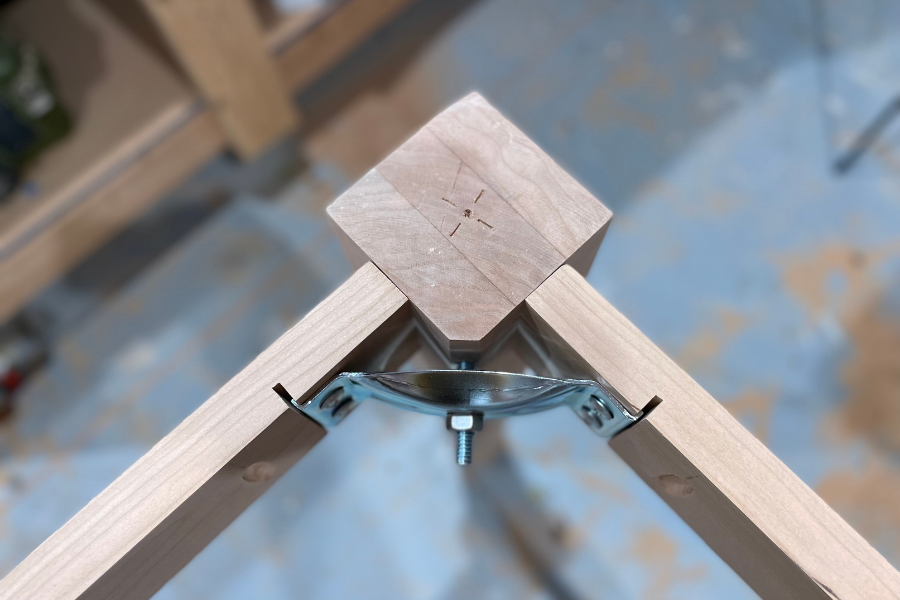
Using a hand planer, table saw or router – cut a 45 degree edge on the top inside of your table leg. This will be for the hanger bolt when attaching the kerf mount corner brackets.
You’ll most likely receive directions in the package for the kerf mount corner brackets. But if not, you’ll want to flip your table leg upside down on your workspace and align the apron pieces on each side. This will be when you decide where you want the apron to sit on the leg. We decided to go right in the middle. Align the 3 pieces (table leg and 2 apron pieces) to your liking and hold the bracket up against it and mark where the edges of the bracket meet the wood. This is where you’ll want to make your small channel for the bracket to sit within. No deeper than 1/8” or so. Highly recommend testing this with some scrap wood.
Once you have the channels cut, align the three pieces along with the bracket and mark where you’ll want to drill a pilot hole for the hanger bolt. Once you have that marked, drill the pilot hole and drive in the hanger bolt. Repeat steps for all 4 legs. Once you have the channels cut and hanger bolts installed, it’s time to assemble the base of your table with the kerf mount corner brackets.
-
Sanding and Finish
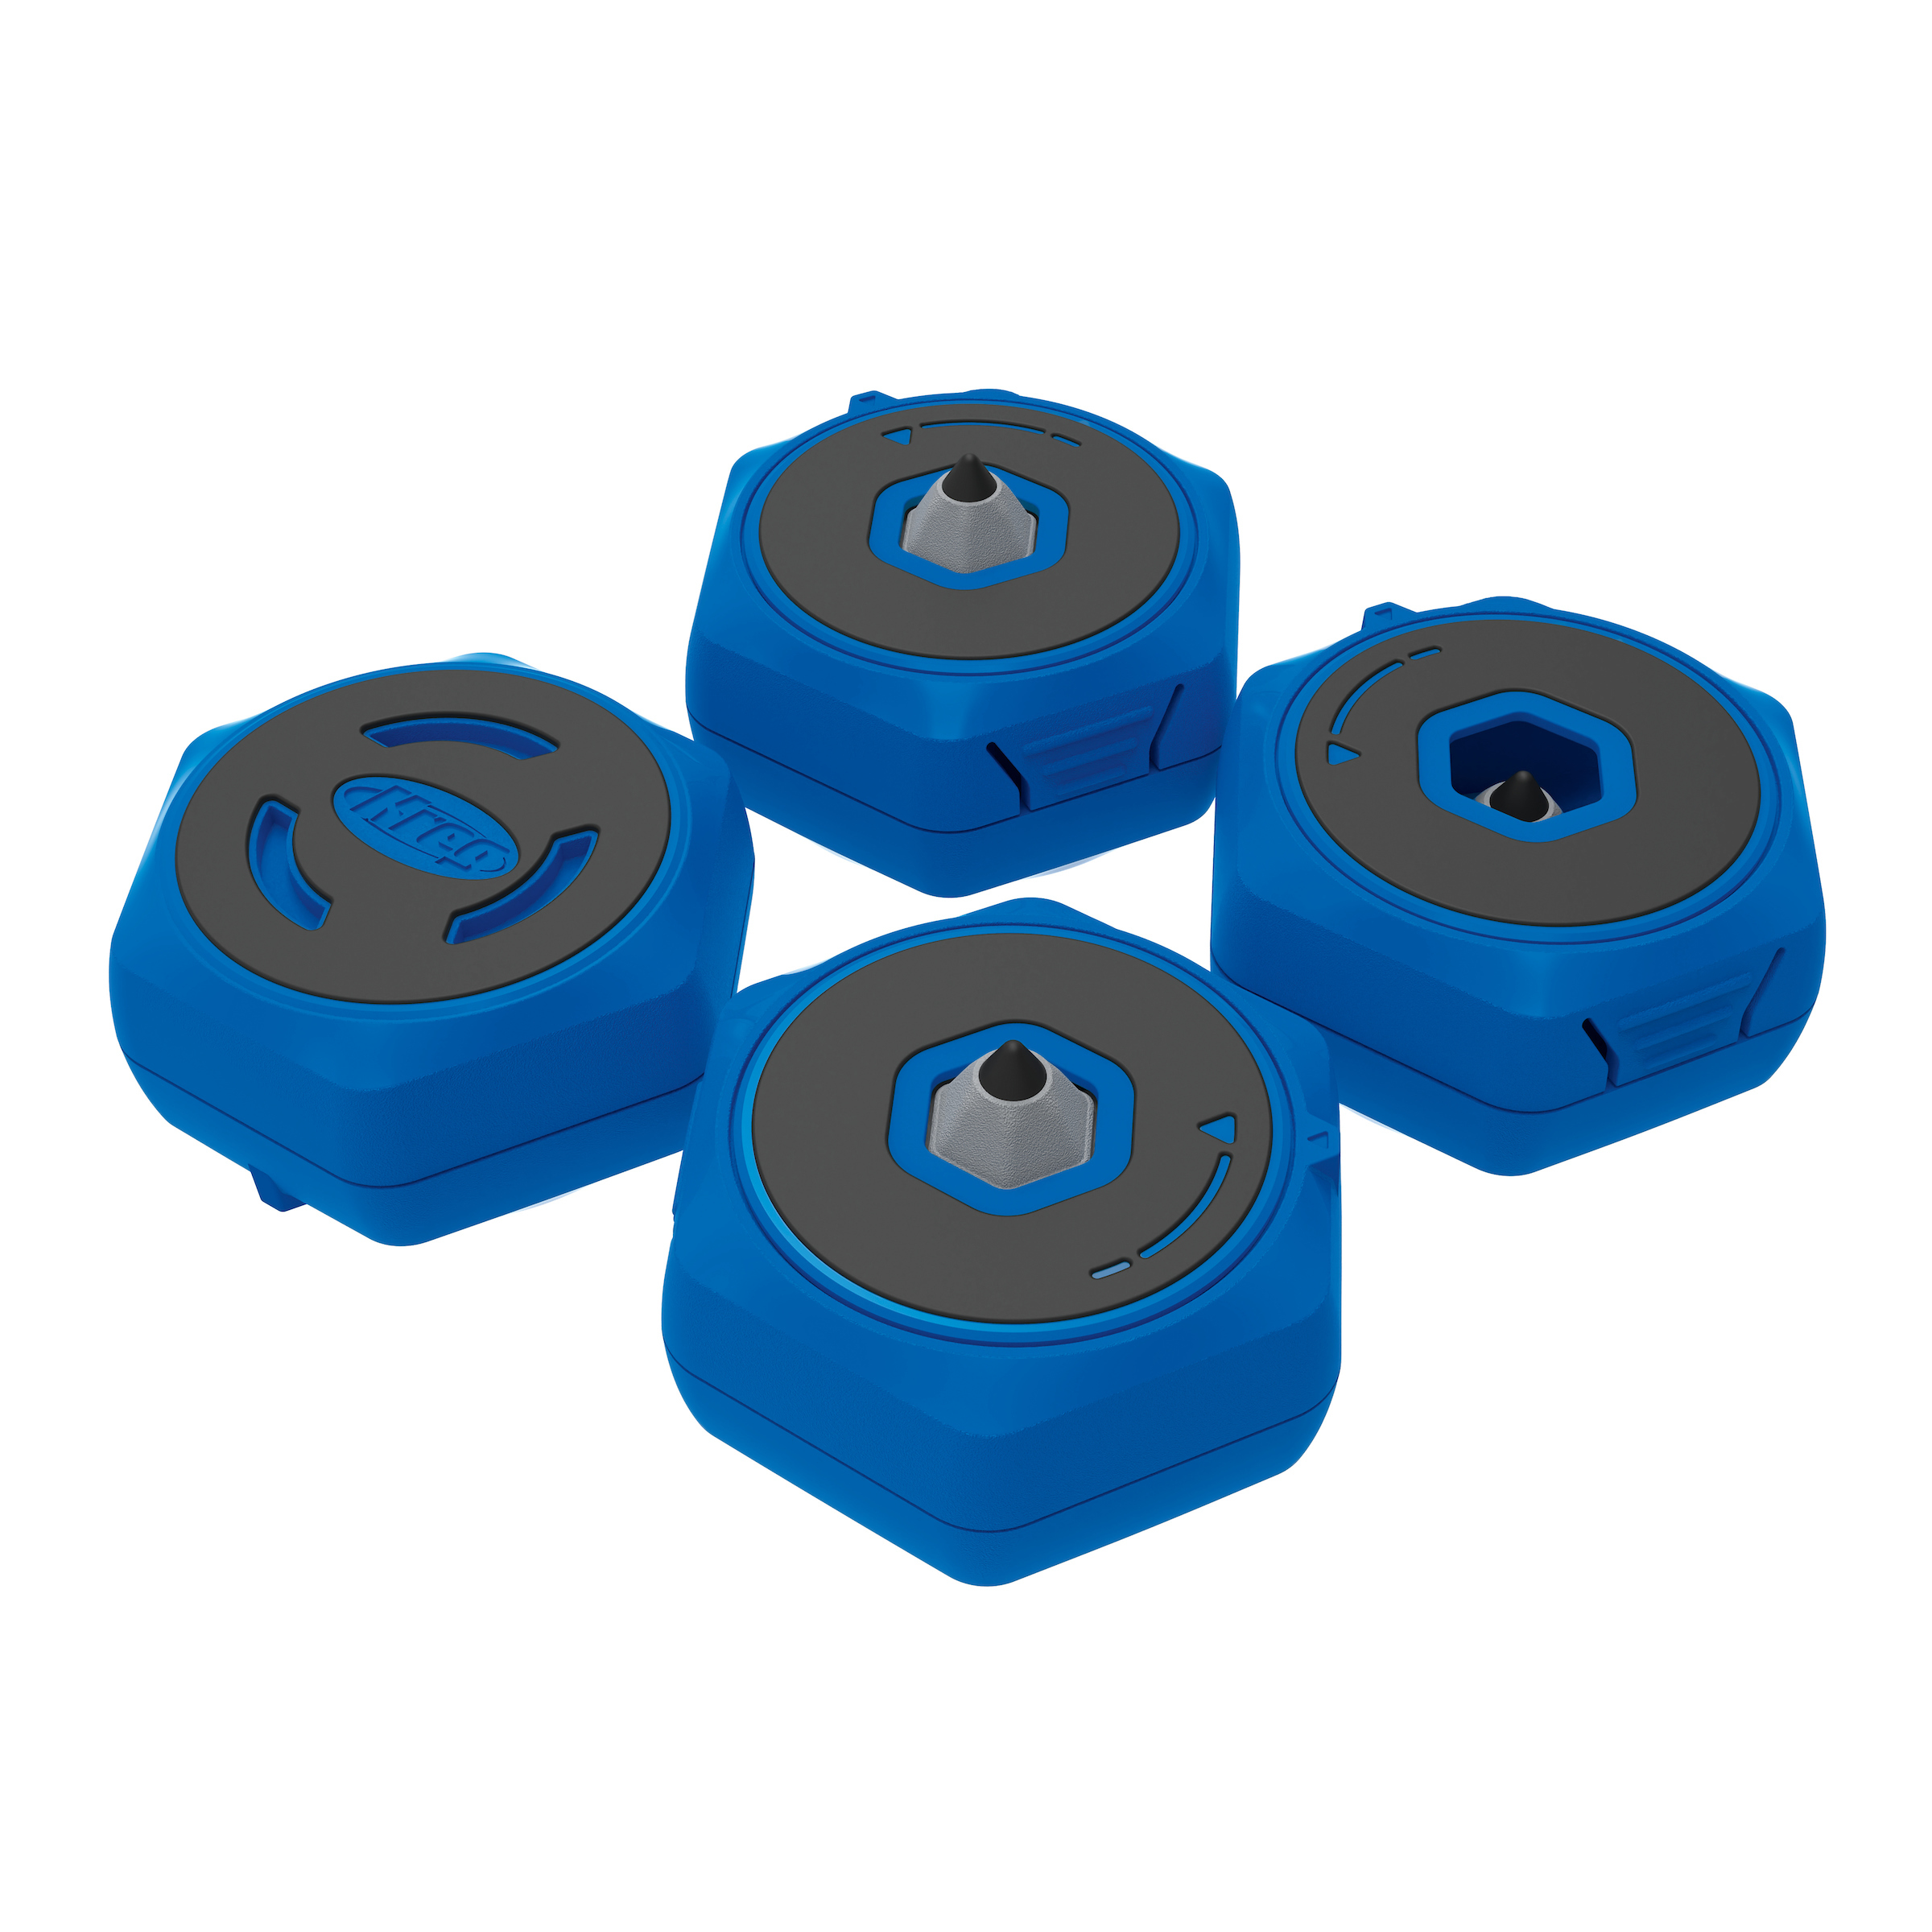
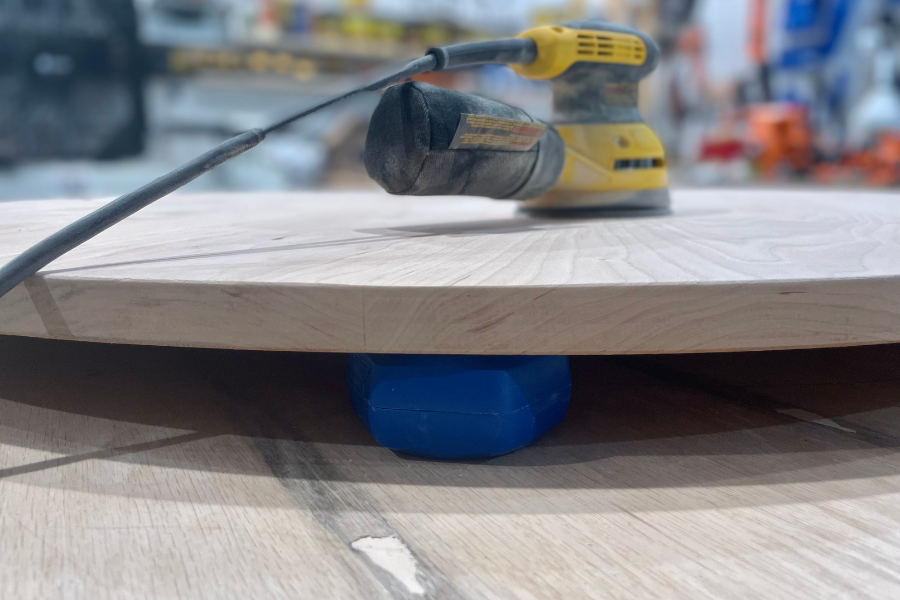
You’ll have already sanded the table legs while on the lathe but now it’s time to give the tabletop a nice smooth finish. We started with 80 grit sandpaper, then 120, 220 and finished with 320. The Kreg Multi-Purpose Project Blocks were perfect for this so the tabletop wouldn’t move around while sanding.
Once you're finished sanding and removing all the dust, it’s time to apply your finish to the tabletop and base. We used butcher block sealer, similar to what we use on our countertops, and it worked great. We also used the Kreg Multi-Purpose Project Blocks for this step to keep it elevated from our workspace.
-
Final Step
Finally, it’s time to attach your tabletop to the base! Your base should be fully assembled at this point. Align the base to the center of the bottom of the tabletop. Once perfectly in the middle, secure the base to the tabletop using the pocket holes and Kreg 1 1/4” Pocket Hole Screws.