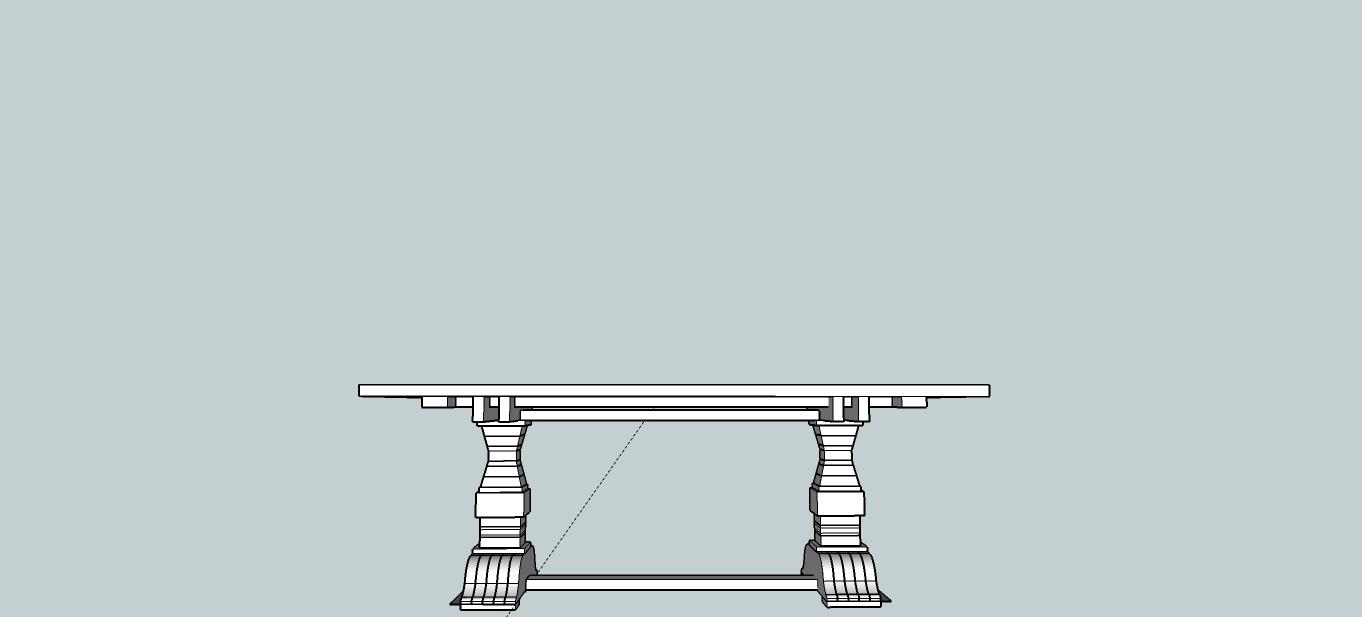
Restoration Hardware Inspired Dining Table
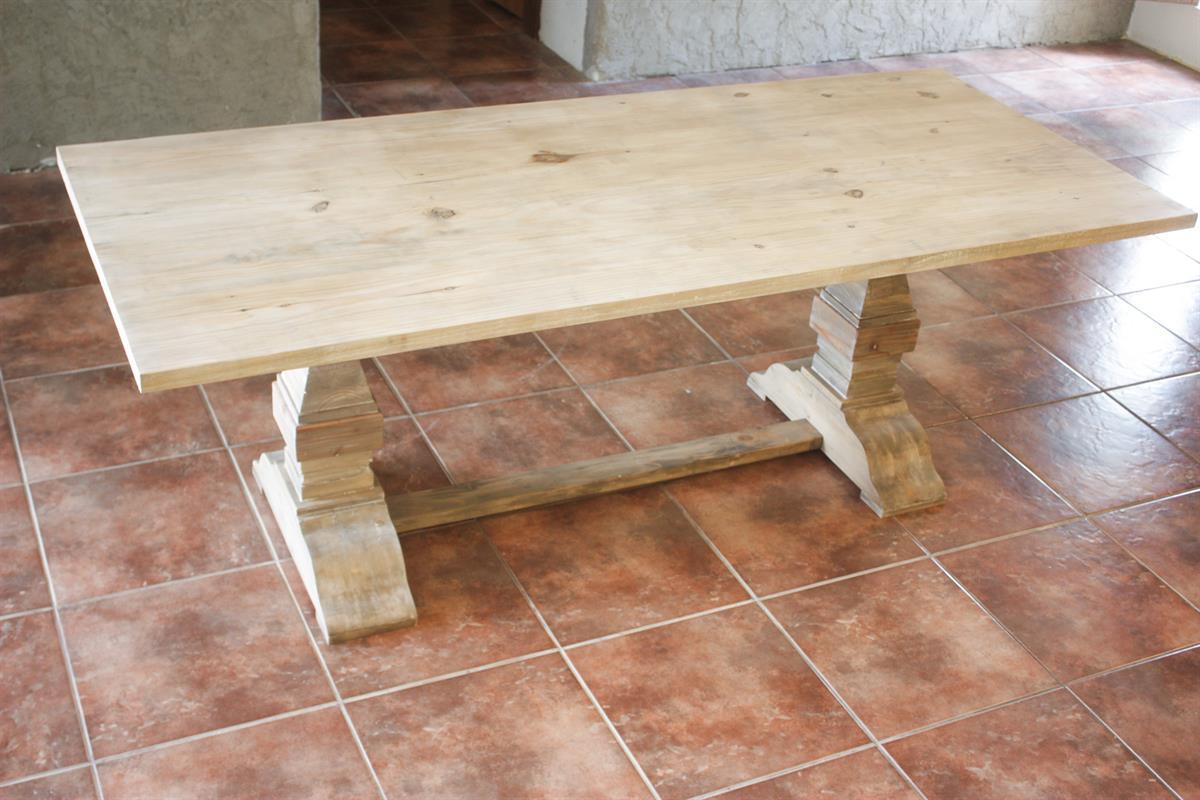
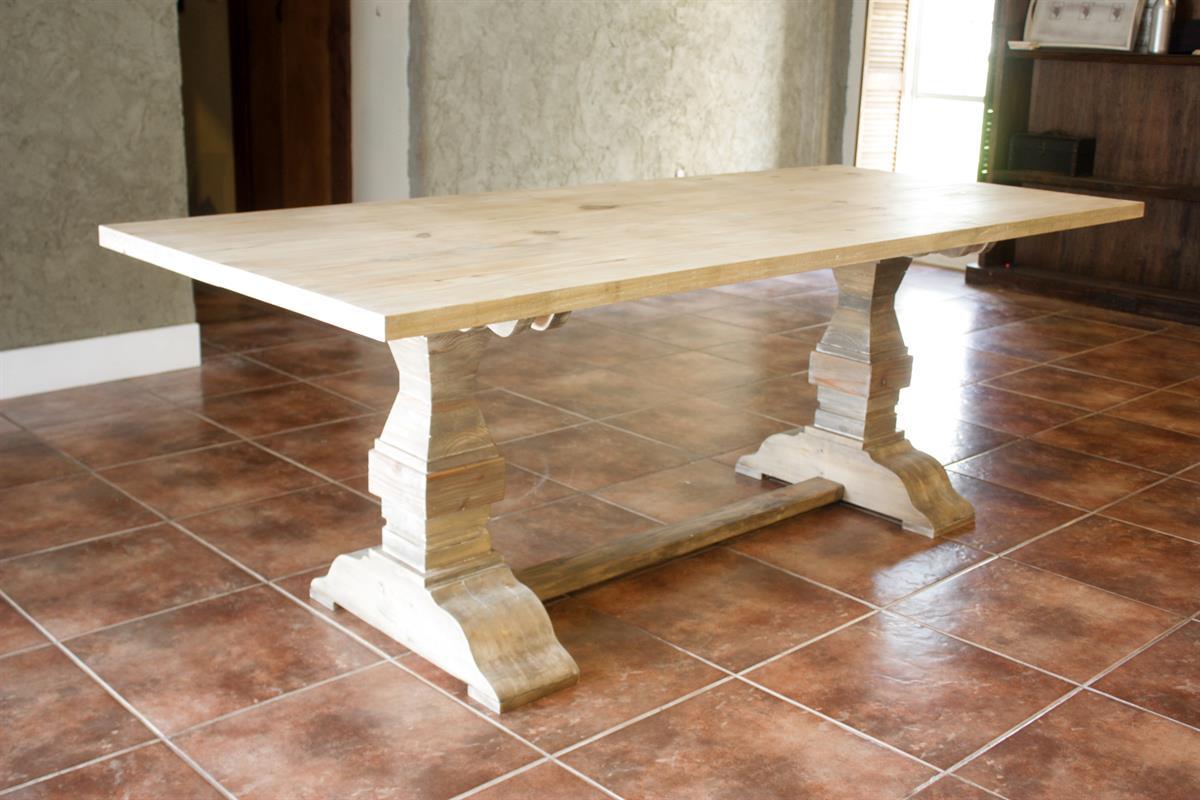
By The Inspired WorkshopFeast your eyes on this amazing RH inspired dining table that has a farmhouse feel with such elegance to fool even your snootiest dinner party guests into thinking you spent top dollar for your dining table! All for only 75 bucks, if you don’t already have most of the wood lying in your scrap pile!
Directions
-
Step 1
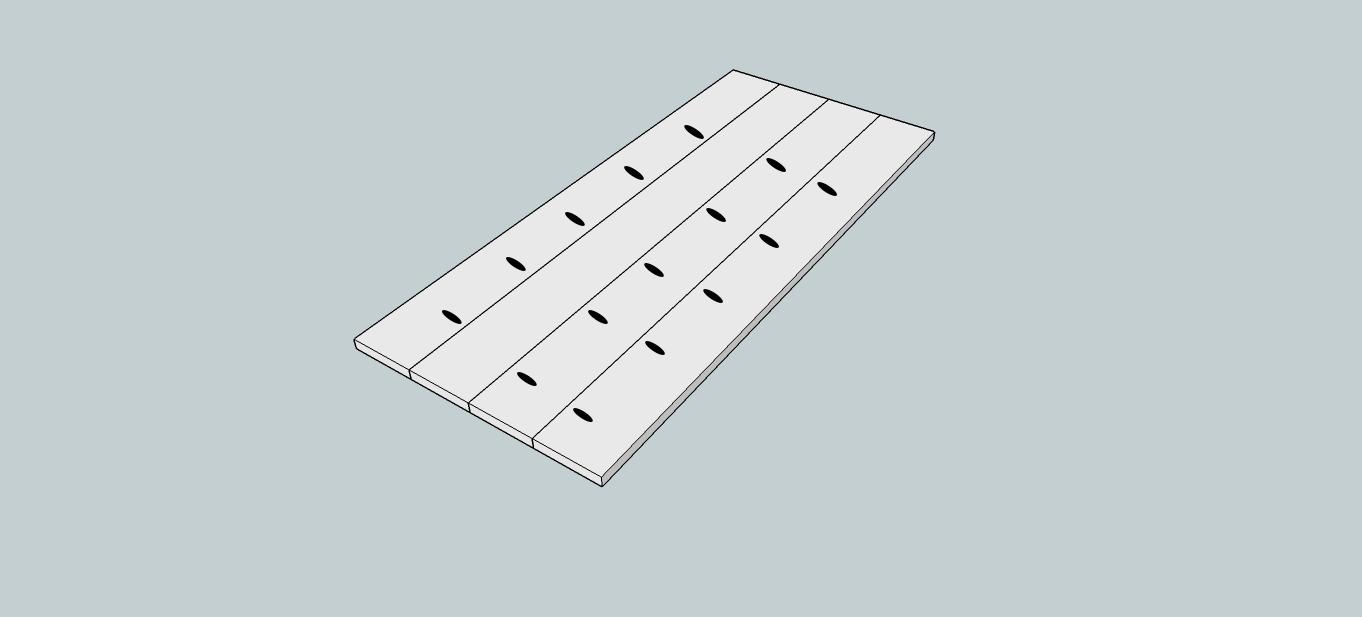
Cut table top boards (2x10x8) down to size of 84". Drill 1 1/2" pocket holes sideways into the boards to plank them together and attach with lots of wood glue and 2 1/2" pocket hole screws! I planed and joined my boards which you can do as well, it's definitely not a must, but it sure does help make a nice smooth, flush table top!! Using large clamps to keep the boards together just the way you want them while screwing in your pocket hole screws is helpful as well, making sure to use clamps under the boards and over the boards to keep from bowing up in the middle!
-
Step 2
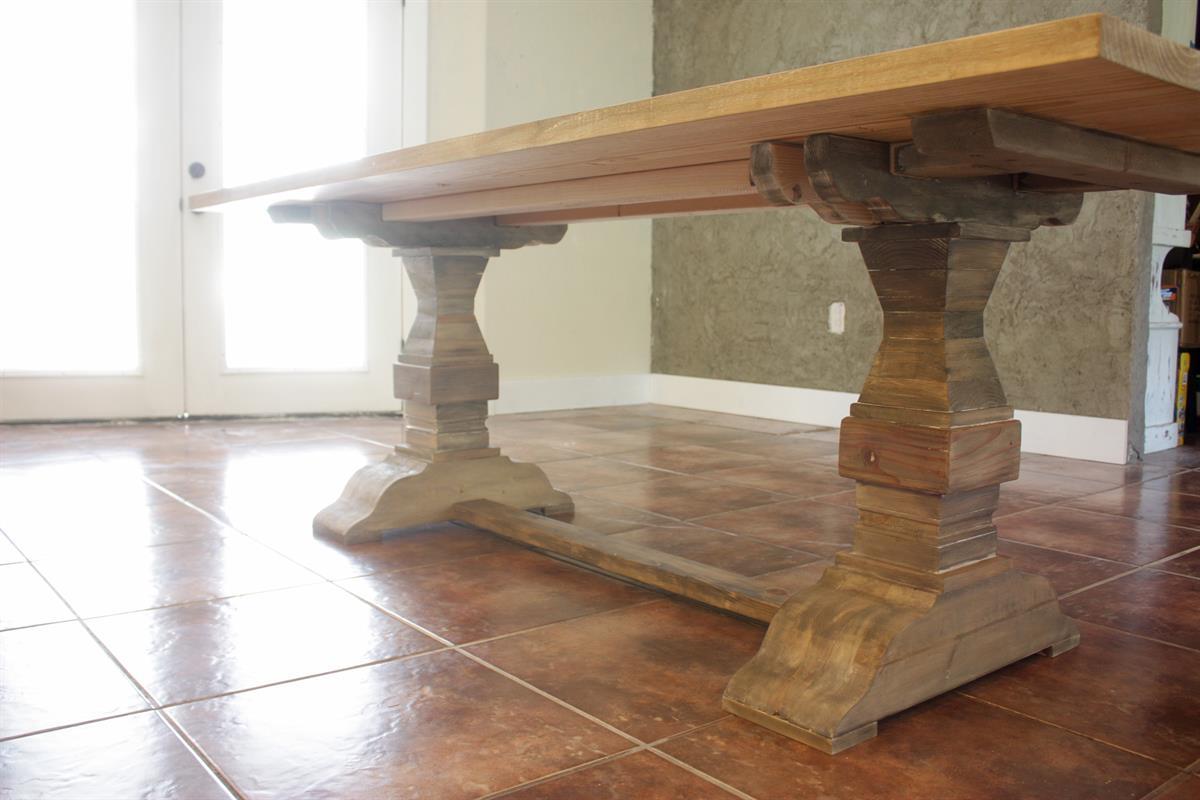
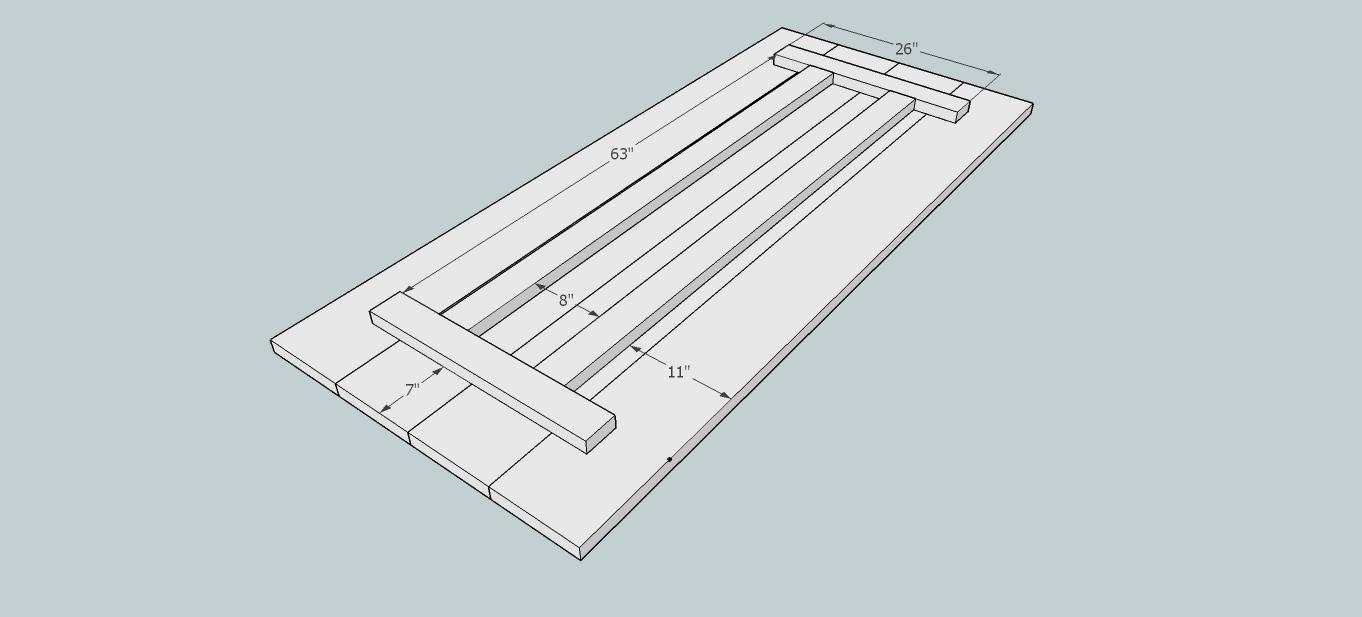
Add long and short table braces to the underside of the table top! I was originally going to breadboard my ends, but since I wasn't thinking, and didn't plane any boards to be my end pieces, this became my fix, the short table braces! They will help keep the boards from cupping and bowing...at least that's the idea! ;) I used a 1/2" counter sink drill bit and 2 1/2" pocket holes screws with plenty of glue, to attach the boards to the table top!
-
Step 3
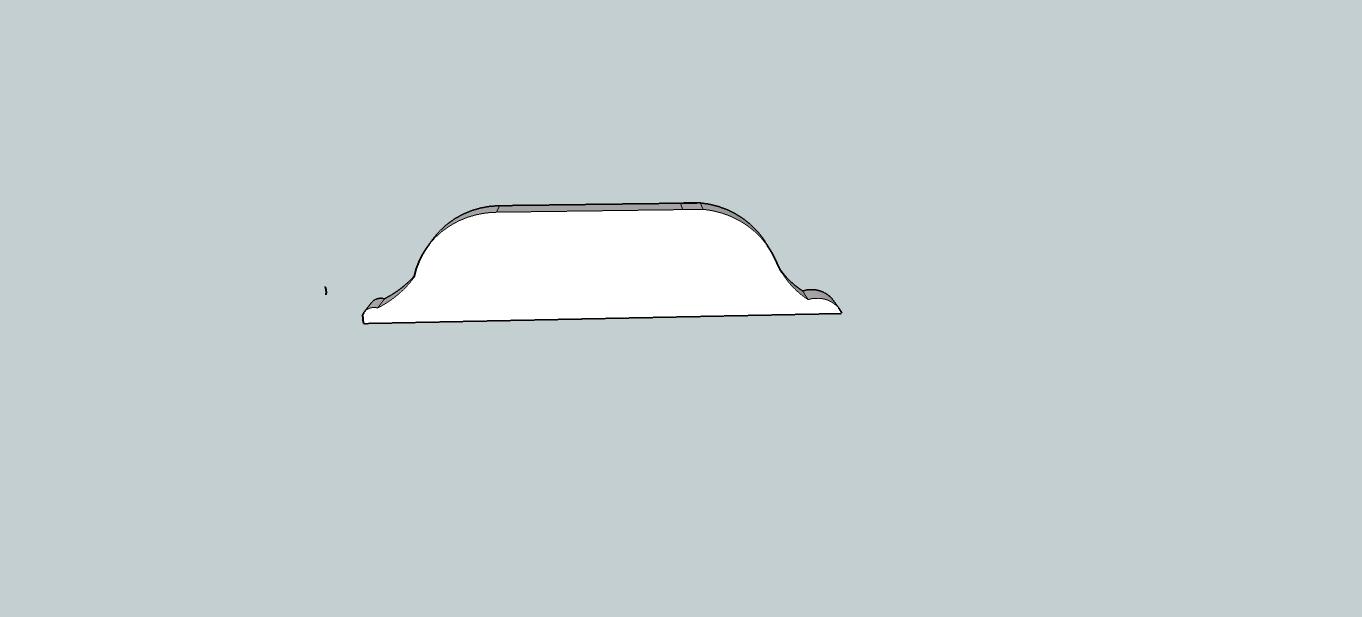
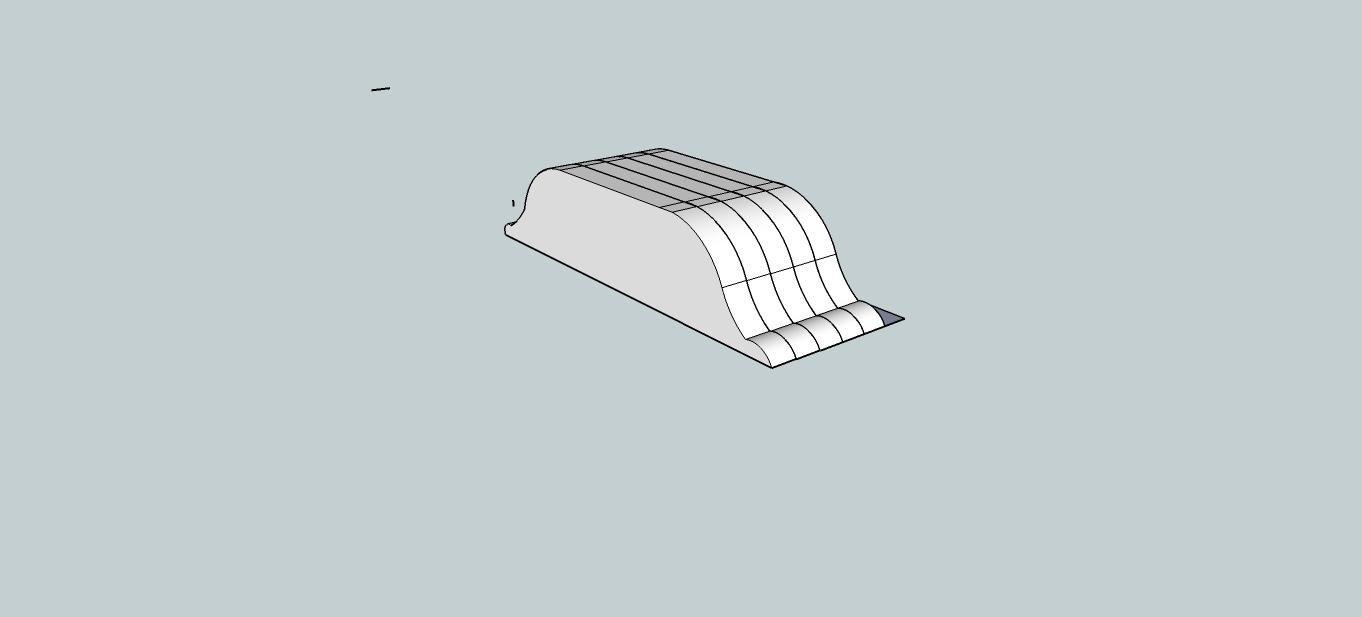
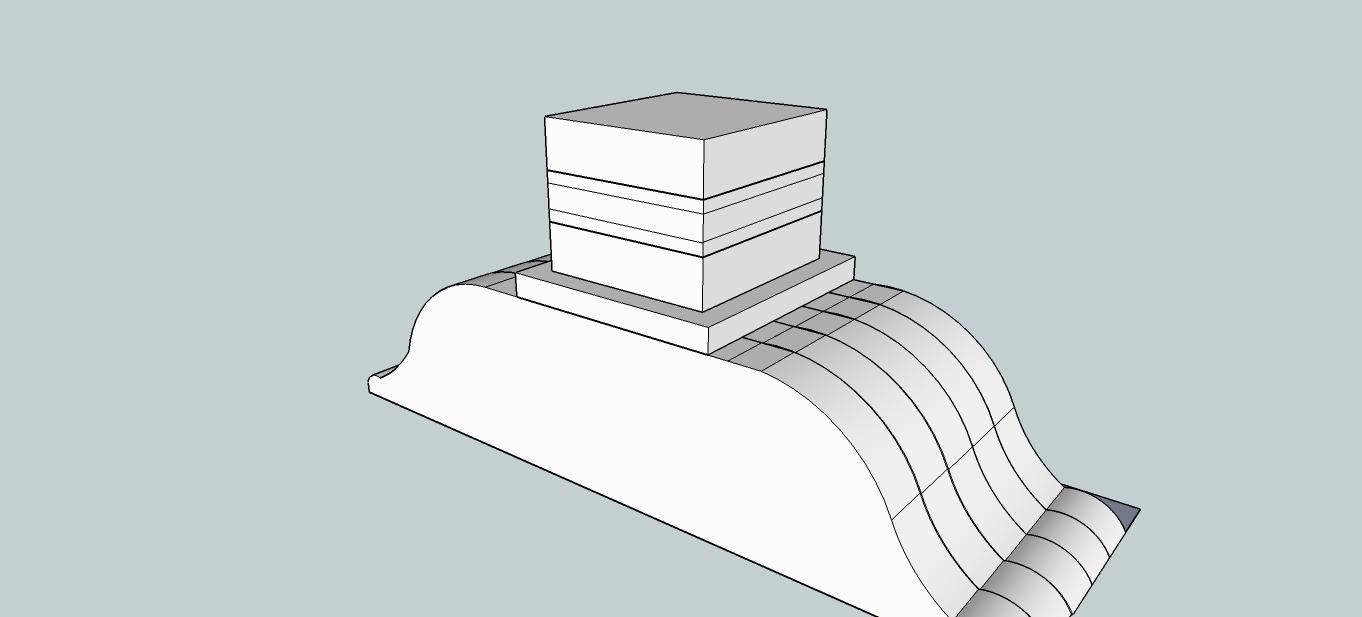
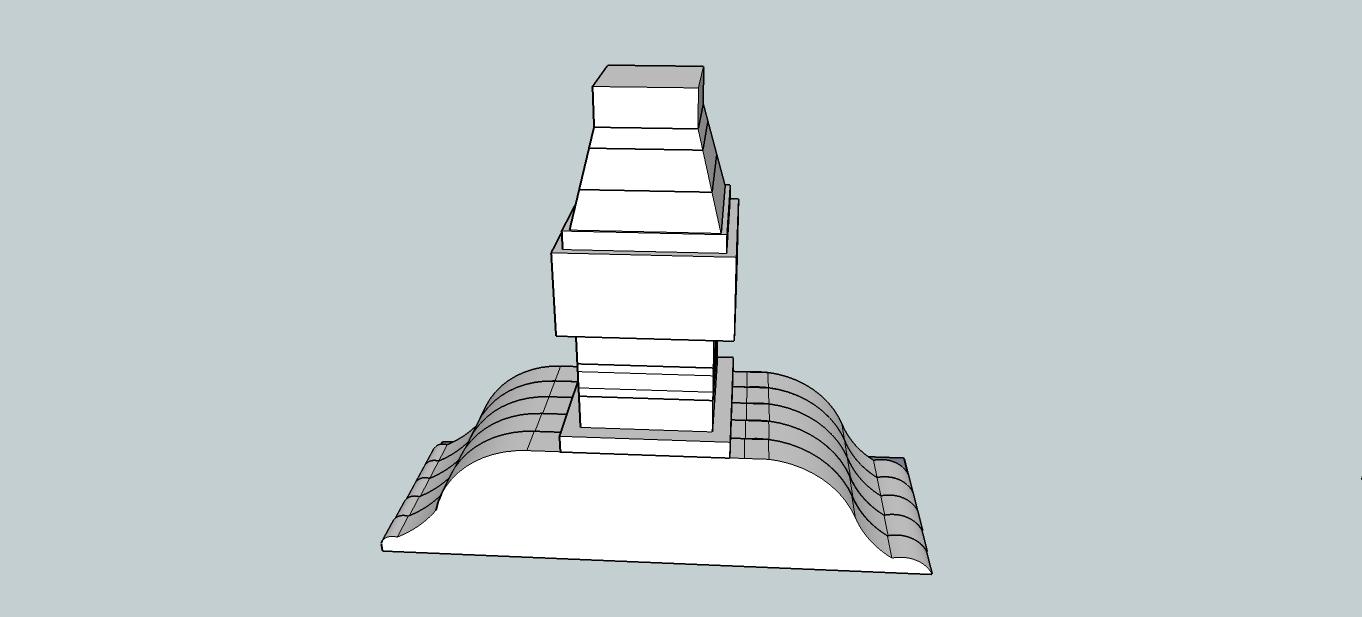
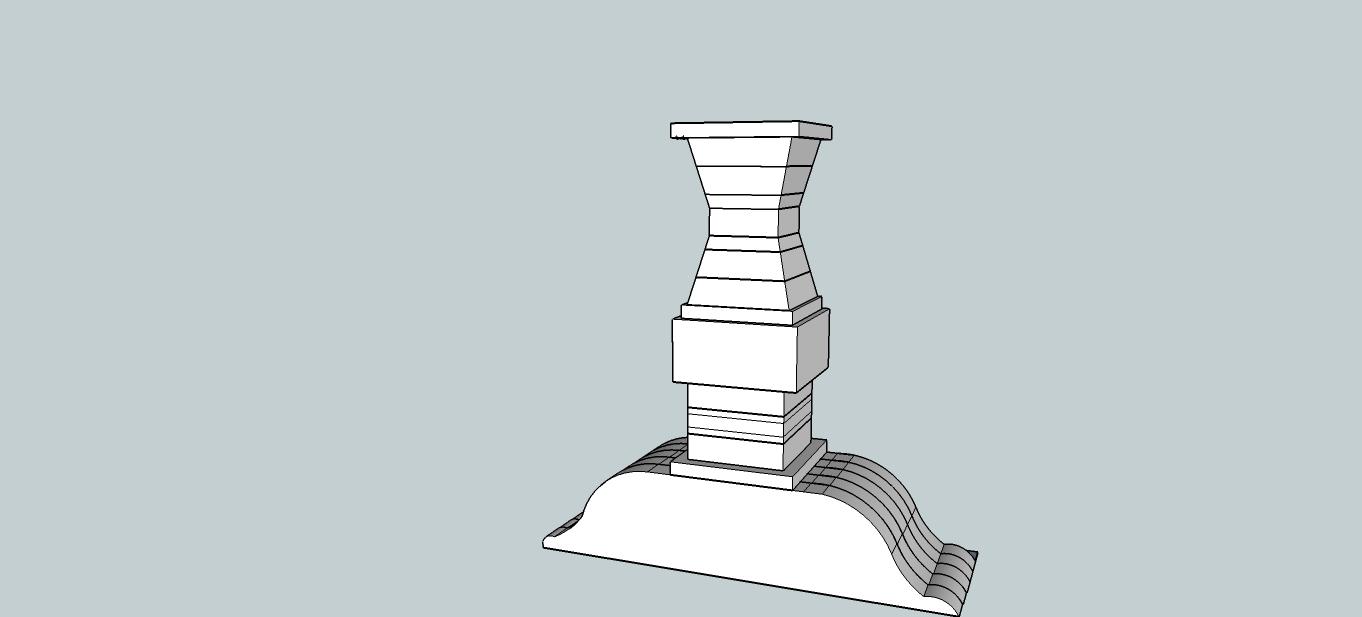
Taking your Foot Boards, I used paint cans and a bucket to mark a pattern that I liked on one board, make sure to leave 8 inches in the center of the board for a flat surface to build the leg on! Using the scroll saw I cut out the shape! I then used that board as my pattern, and traced it onto the next! I tried using a top bearing router bit and router to make them all perfectly the same, it didn't work the greatest, but I did manage five of them in a relatively short time! The other five were just cut on the scroll saw, and they both had their share of problems!! Lol!! If you have a Kreg router table though, this would be so easy!!! I now need one!! (Don't make fun of my sketchup! Lol!! It looks about like my real ones! Haha!!)
-
Step 4
Take five of the foot boards and glue them together, you will need to clamp them, lining them up as best you can...mine were not anywhere near perfect but with an angle grinder and 80 grit disks, you can get them whipped into shape quick!! Repeat this step with the remaining five boards! You now have feet!!
-
Step 5
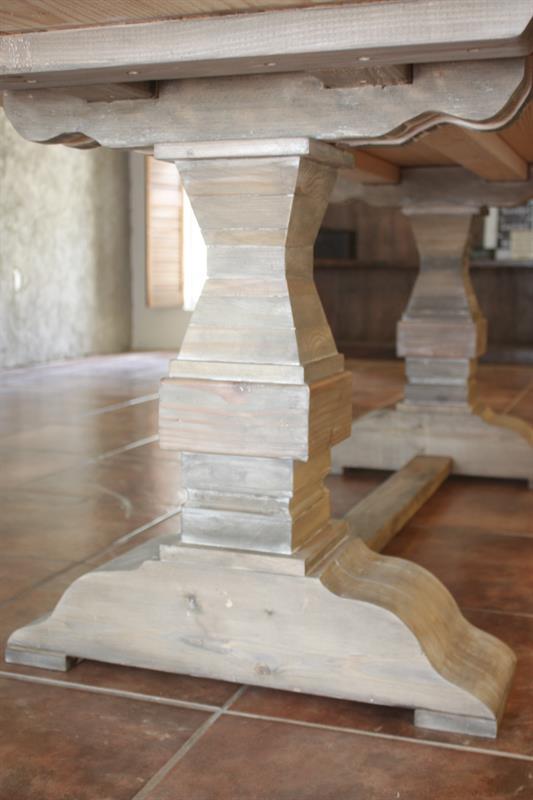
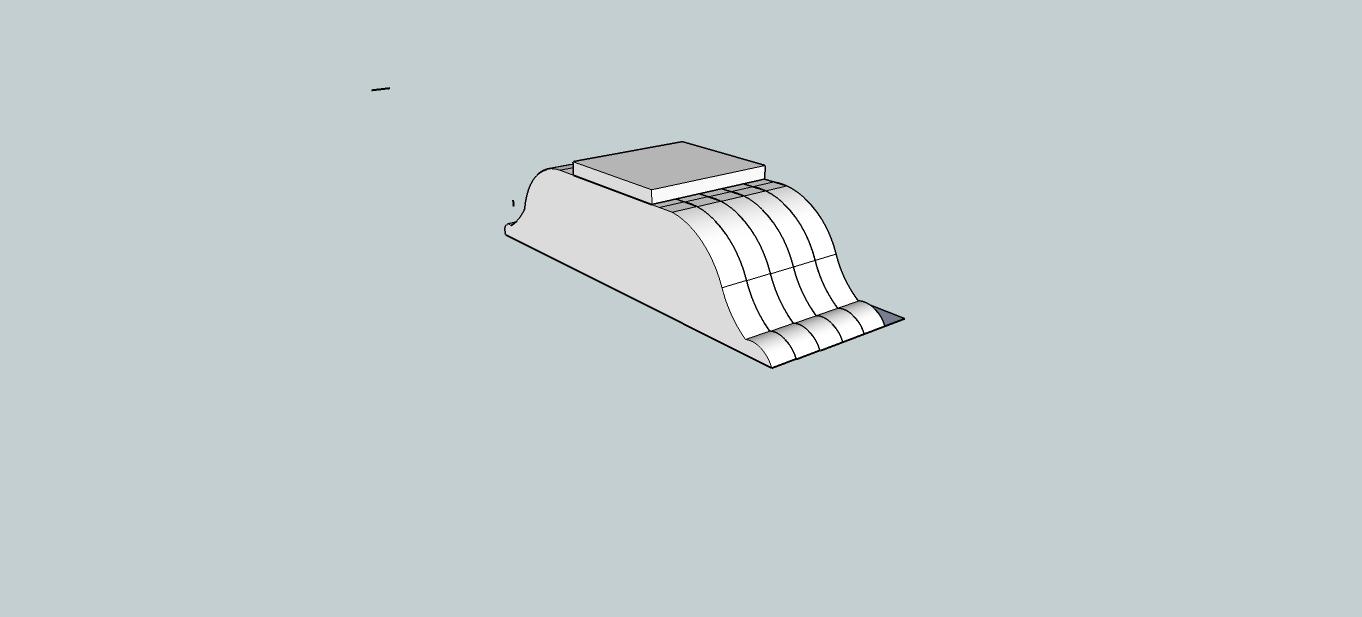
Start stacking those legs! Glue and brad nail a 1x8 leg piece right on top of the flat part of your foot, center it the best you can! Repeat this on the other leg as well!
-
Step 6
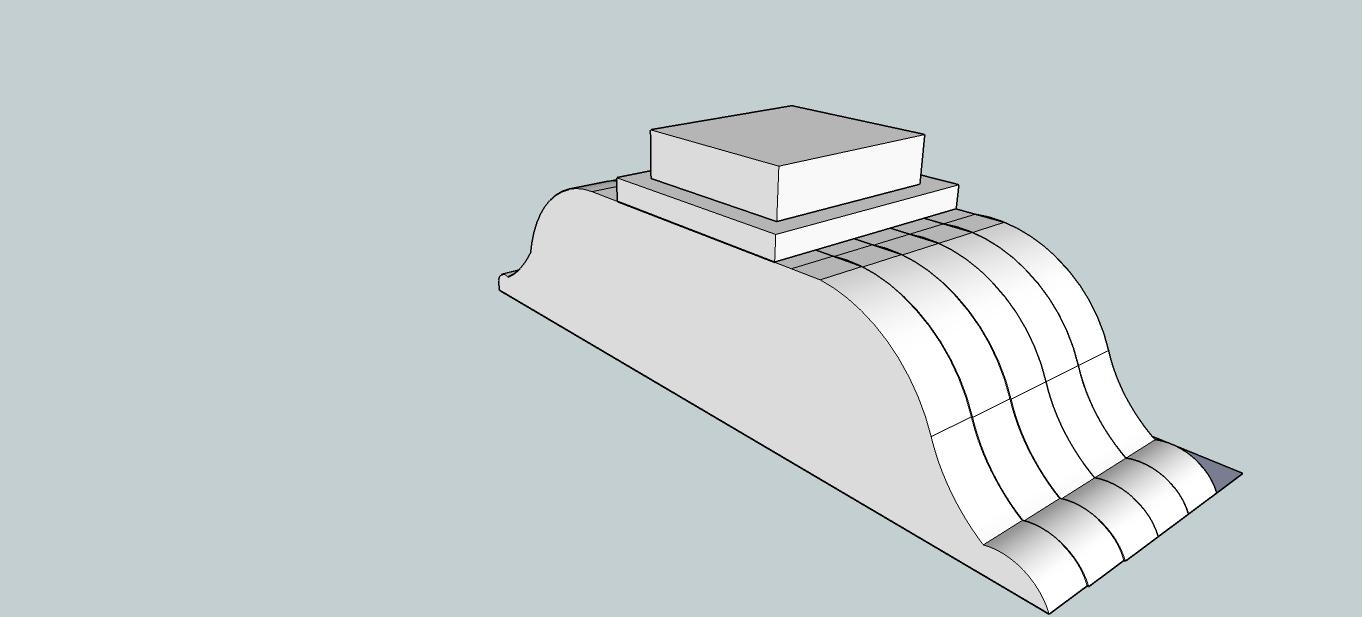
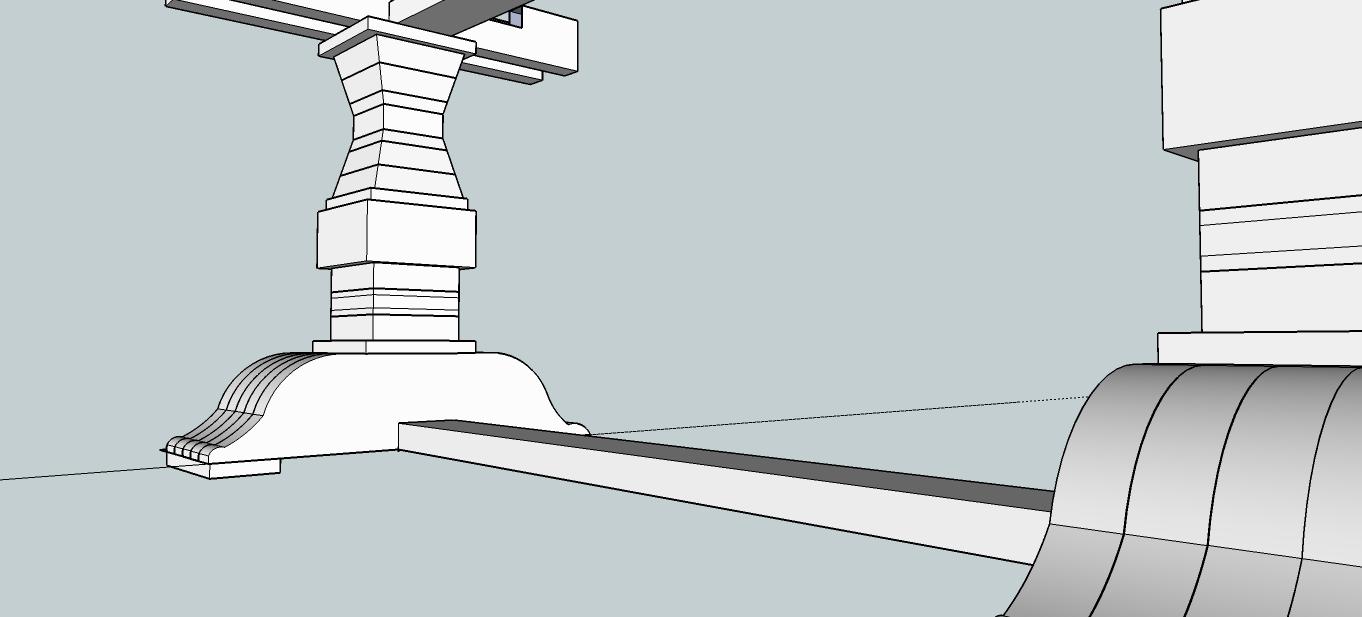
Glue and brad nail one of your 2x6 leg pieces centered on top of the 1x8 leg piece! Repeat this step on the other leg! Just so you know, you should not have a rectangle behind your foot like in my sketch up model here! I have no idea what was going on with Sketch up but it did not want to work right for me!! LoL!!
-
Step 7
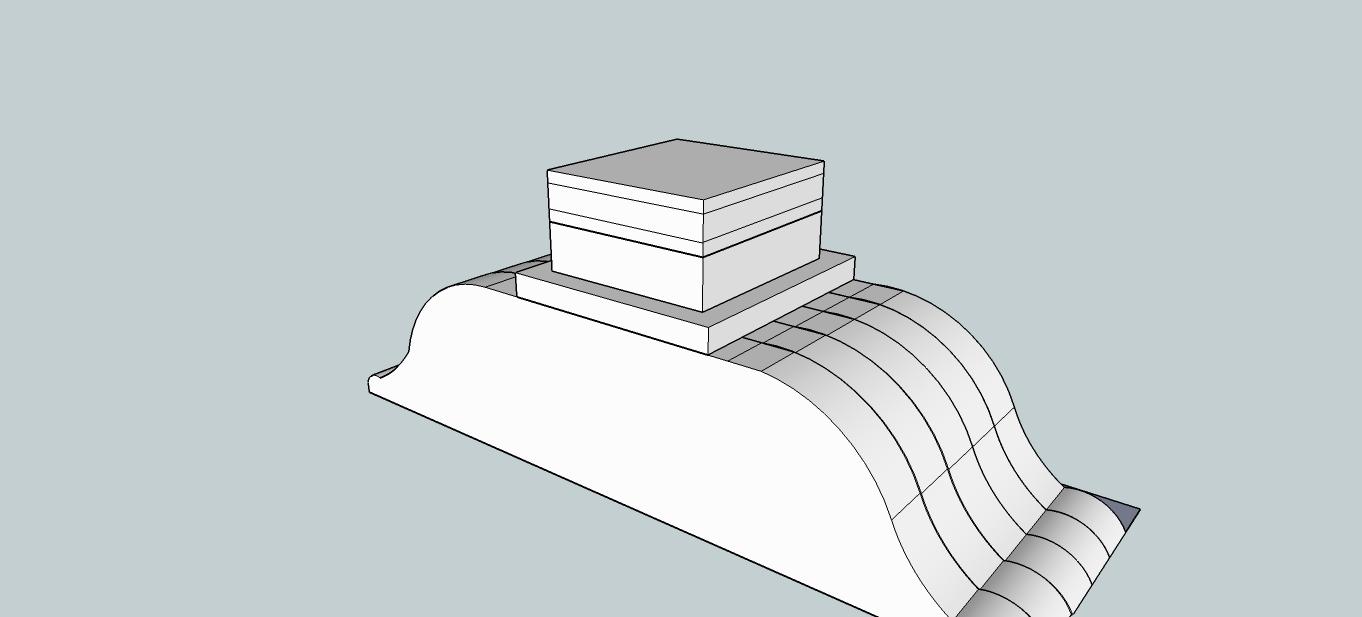
Take one of your 2x6 leg pieces and using a router with a cove bit run the router through the center of the 2x6 all the way around! Then glue this 2x6 directly on top of the other 2x6 you placed in the last step! Repeat this for the other leg! (pretend the two lines through the middle is the routed section!)
-
Step 8
Glue and brad nail another 2x6 leg piece on top of the last one!! Repeat on the other leg as well!
-
Step 9
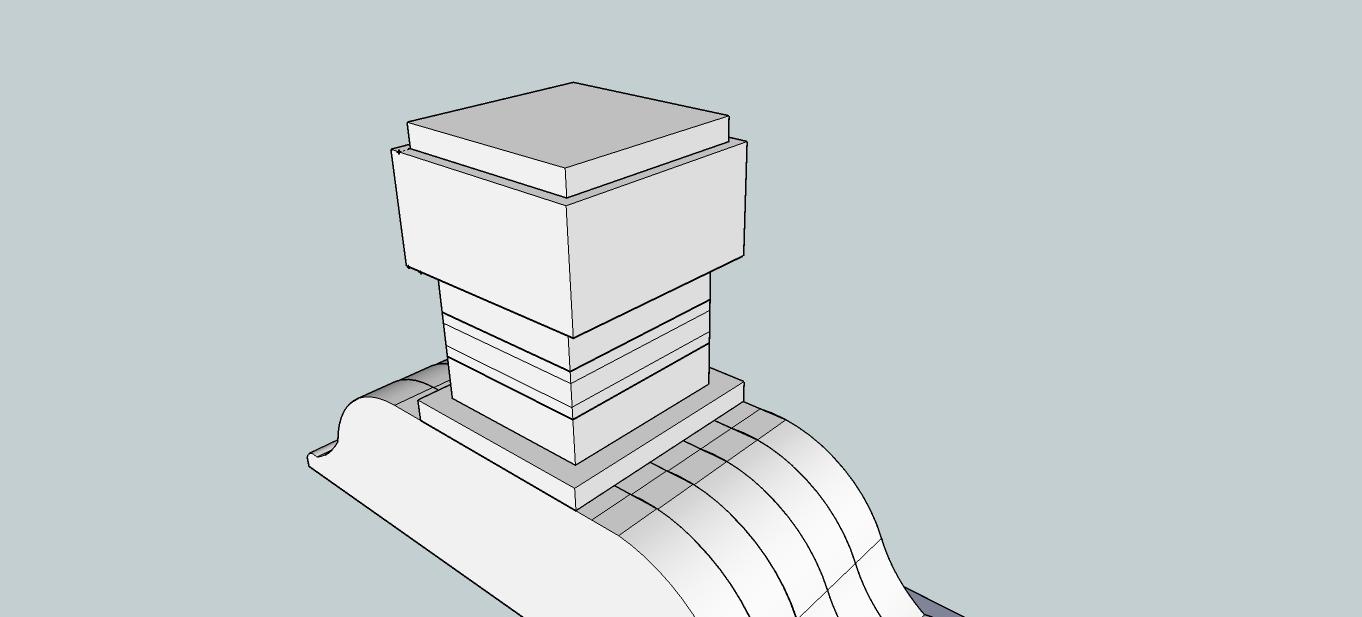
Miter your 4x4 leg pieces at 45 degrees off square at 7 1/8" long! Glue and brad nail the mitered corners together before gluing to the leg! Brad nails aren't long enough so I just used a ton of glue and a heavy paint can to let the glue set for an hour before moving on! Be careful with the leg of course for at least 24 hours after gluing! Repeat with other leg!
-
Step 10
Place small 1x8 leg piece on top of 4x4 leg piece and brad nail and glue! Repeat on other leg!
-
Step 11
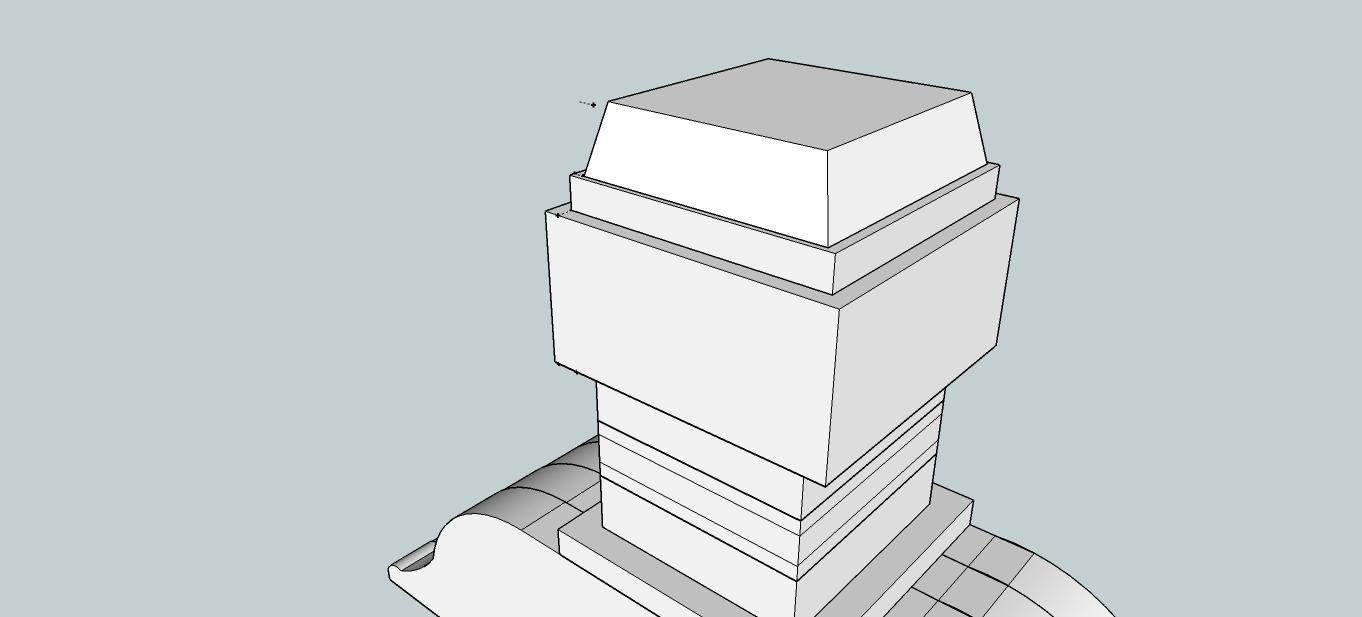
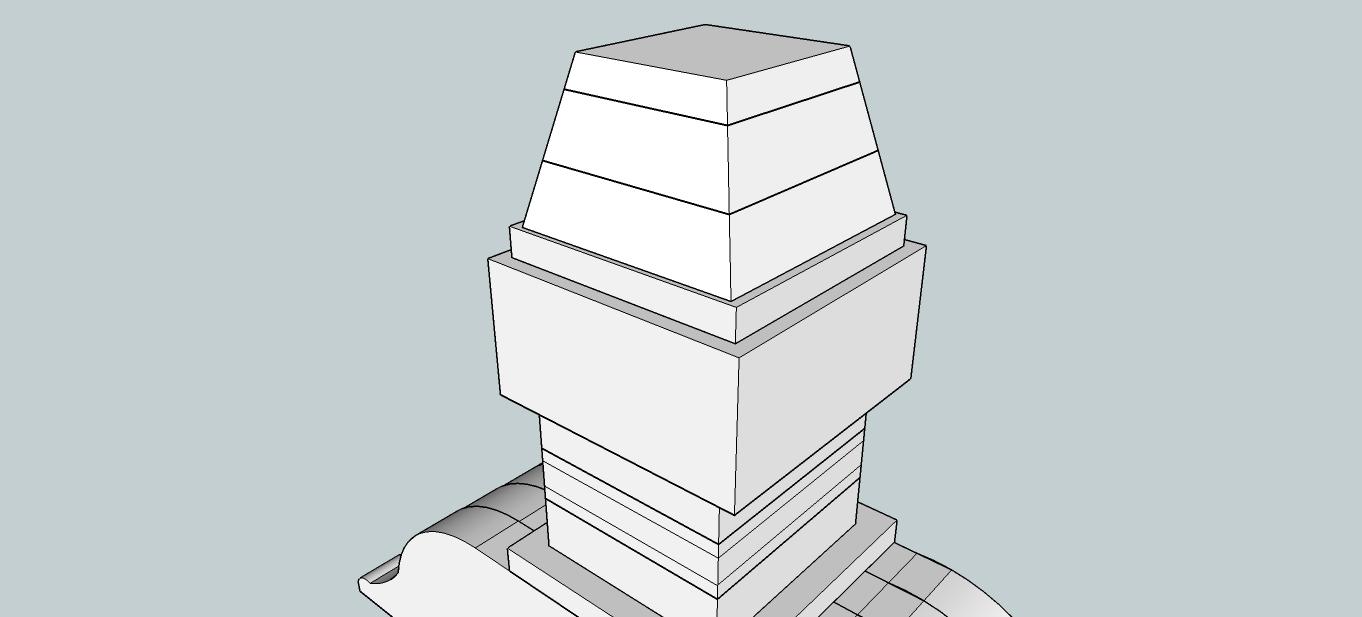
Here's where the beveling takes place!! Starting with one of the 2x8 beveled leg pieces, bevel all sides at 15 degrees off square with the longest edges to the dimensions stated! (6" x 5 3/4") Glue and brad nail these to the previous 1x8 small leg piece and repeat for your other leg!
-
Step 12
Bevel 2x6 beveled leg pieces the same as in the previous step...making sure that the longest part of the 2x6 beveled leg piece meets up perfectly with the shortest sides of the 2x8 beveled leg piece! Glue and brad nail! Repeat for the other leg!
-
Step 13
Beveling the same way again on your 1x8 beveled leg piece and making sure it's longest sides meet up with the shortest of the previous piece! Glue and brad nail! Repeat with other leg!
-
Step 14
Glue and brad nail your 2x6 tiny leg piece (it will NOT be beveled)! Repeat with other leg! The leg tower is looking kinda silly at this point! Everyone was thinking I was crazy, they were like, "Umm, how sure are you of this design because I am not seeing it!!" Lol!! But they will see it shortly!!
-
Step 15
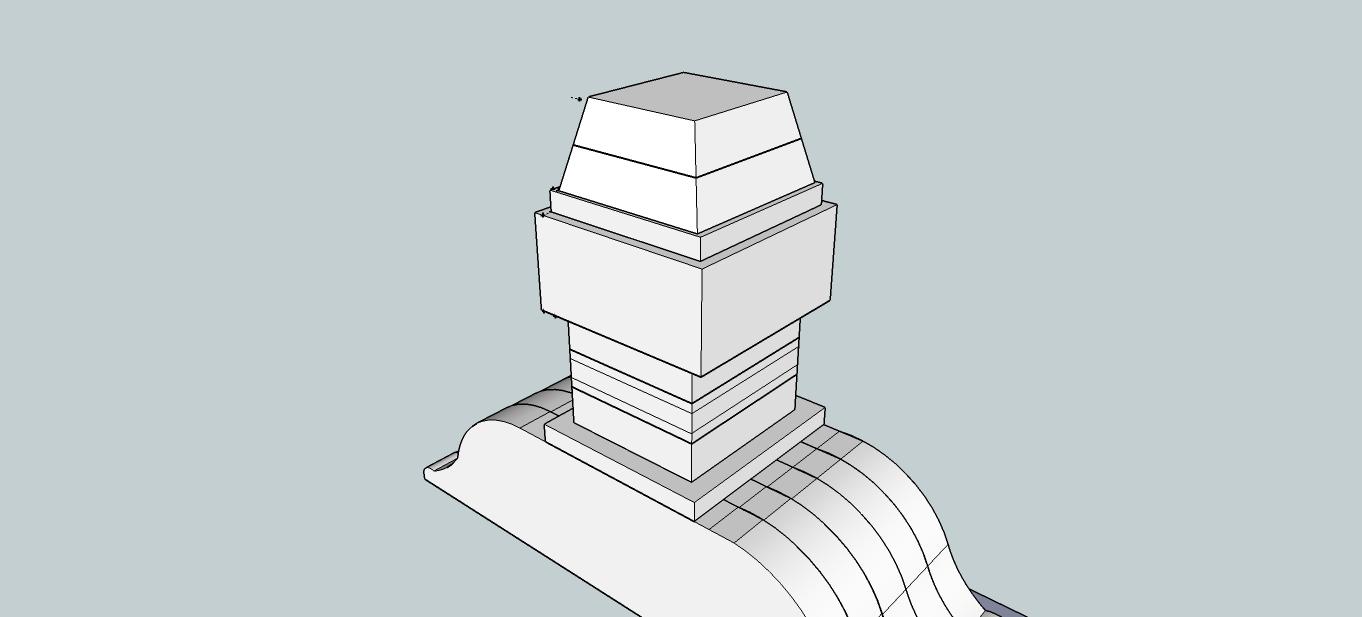
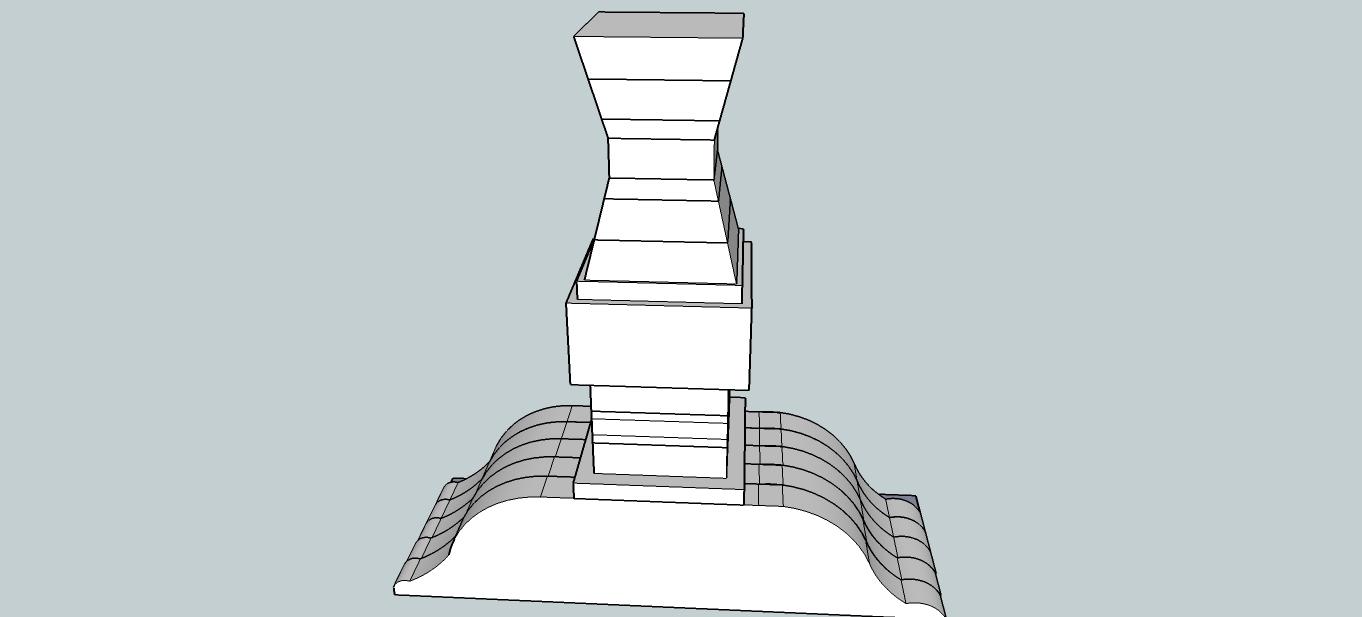
Start stacking your beveled pieces opposite of what you did last time! 1x8 beveled leg piece followed by 2x6 beveled leg piece and then 2x8 beveled leg piece! Brad and glue as you go and of course make sure to repeat this with your other leg! Now you can start to see the vision!!
-
Step 16
GLue and brad nail your 1x8 leg piece on top of your last beveled piece and center it best you can! Repeat with your second leg! Now it is looking gorgeous!!
-
Step 17
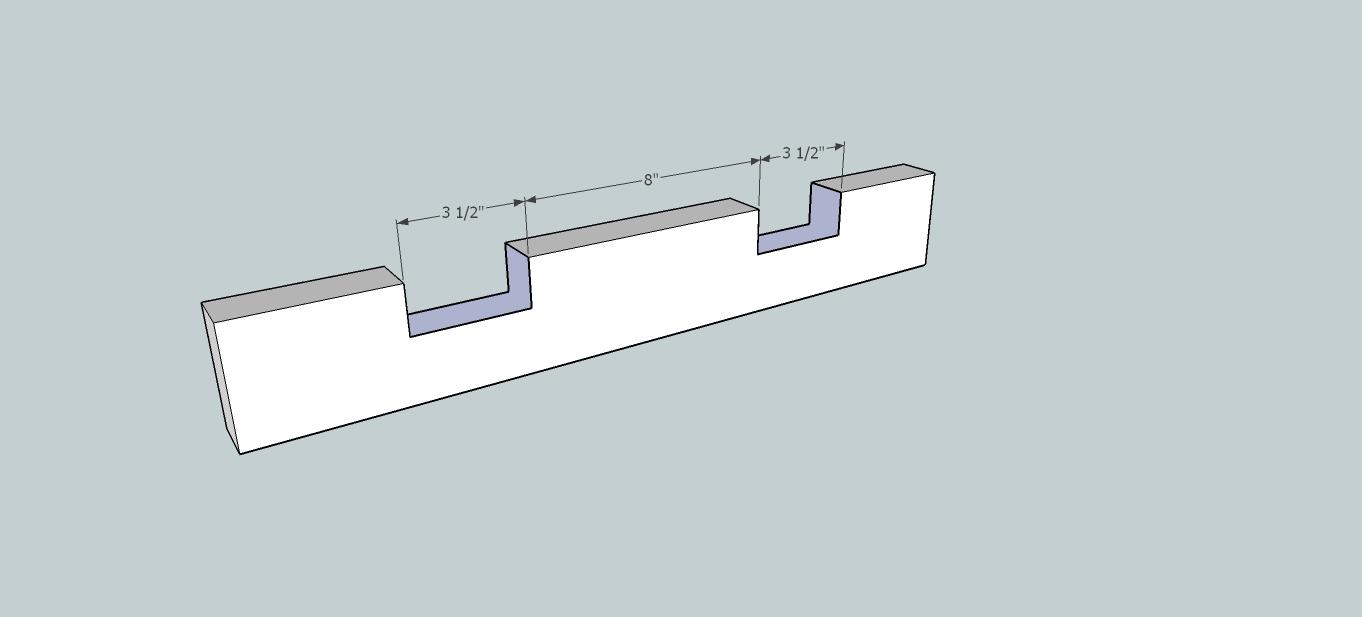
Taking your Table/Leg attachers (I have no idea what you would call these boards! LOL!!) You will need to notch out the place for the long table runners to sit! I just clamped all my boards together and laid them on top of the long table runners to mark exactly where they would need to go, and then cut the notches out! I used my circular saw set a hair over 1 1/2" cutting depth and just made cut after cut right next to each other (with the boards still clamped together so they will all be lined up the same)until I was able to break all the wood loose and have a perfect little clot for my runners to sit!
-
Step 18
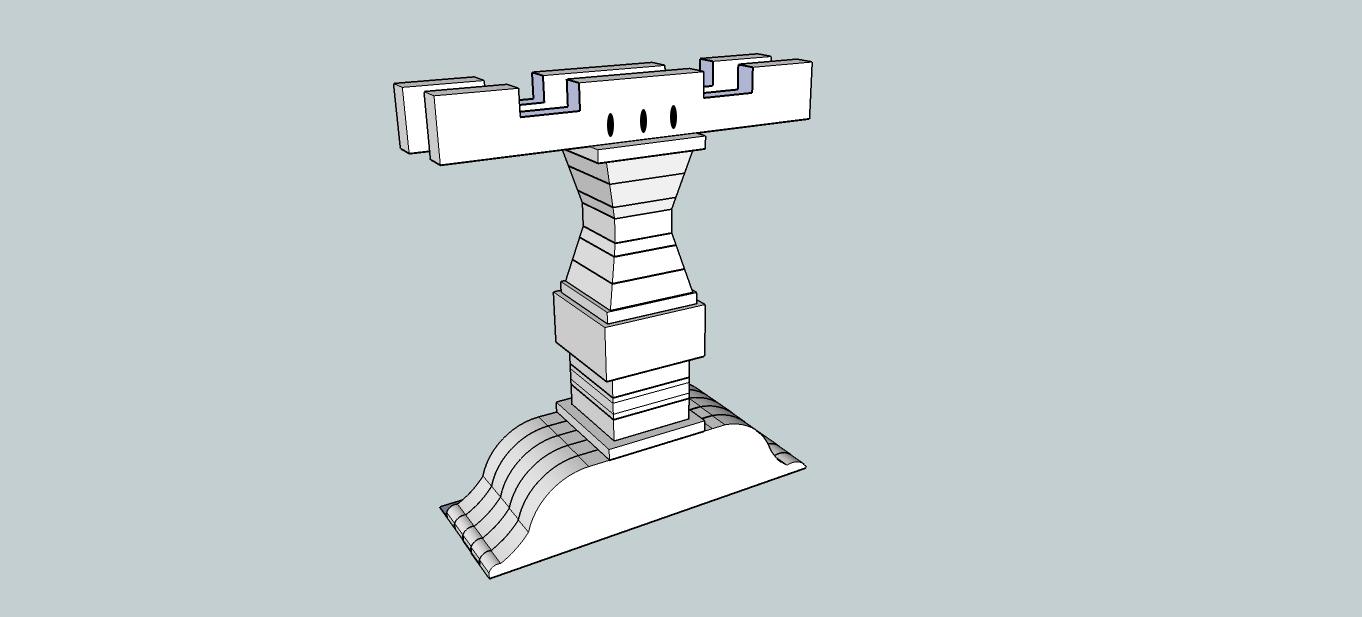
I drew a pattern on the table/leg attachers the same as I did the feet, only these boards do not have to match up perfectly, so I just cut them on the scroll saw! I then drilled 1 1/2" pocket holes and used wood glue along with 2 1/2" screws to secure these to the table leg! You can also drill pocket holes upwards and secure the table top to the leg, I didn't do this, mine is just resting on the legs...it can't really go anywhere with the runners sitting in the notches, my children don't climb on the table or anything so I feel it's fine, But if you would like to feel a little more secure by all means screw that puppy together with some 2 1/2" screws, no glue though!! I placed my pocket holes to the inside of the attacher!
-
Step 19
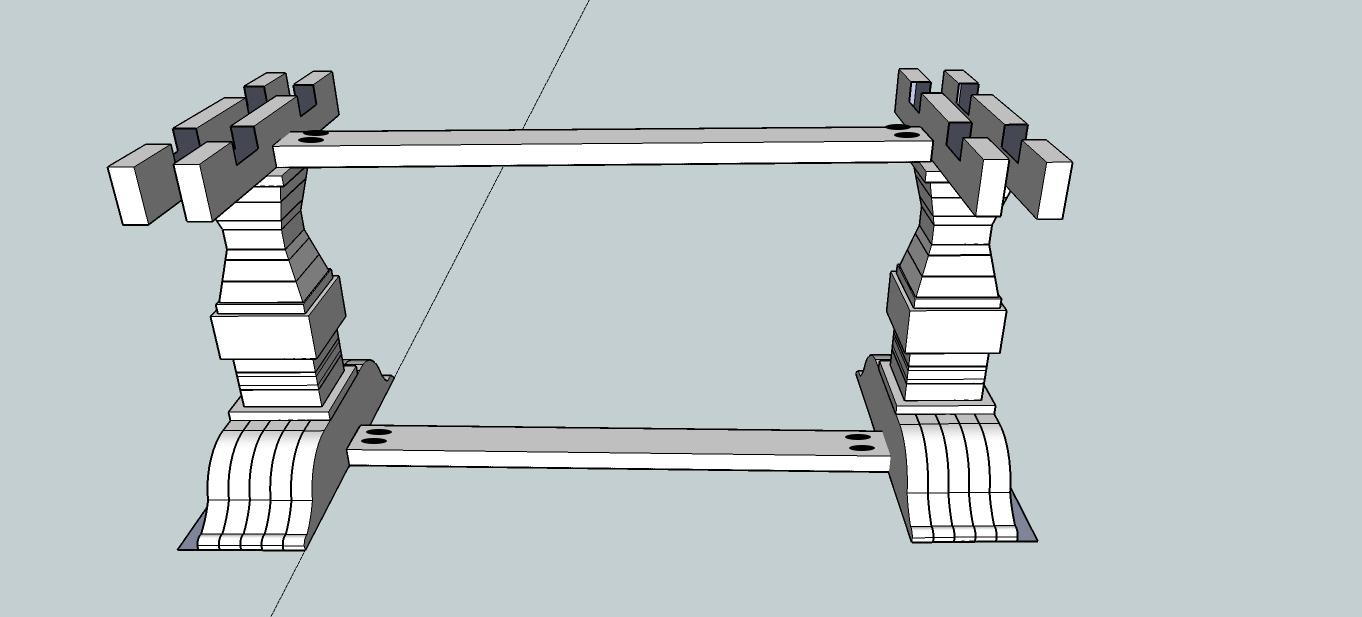
Drill 1 1/2" pocket holes into the ends of both your stretchers (top and bottom) using 2 1/2" pocket hole screws and glue to attach those suckers!! I just centered them along the feet (bottom) and table/leg attachers (top)!
-
Step 20
Add the foot bottoms to the bottom of the feet! Using glue and brad nails attach them along the fronts and backs of the feet!
-
Step 21
Sand, sand, and sand some more!! Then chose the stain you love most and stain this little beauty! I used antique white, followed by classic gray, followed by Jacobean to achieve this color! It is complete!!
Now stand back and marvel at what a gorgeous, inexpensive large, feast worthy dining table you built just in time for the holidays!! Bring on Thanksgiving Dinner!!


