


Modern work tables for the modern workspace. Build a durable and space-saving work table to maximize productivity.
Tools
Kreg Tools


Other Tools
-
Straight edge/ chalk line

-
Speed square
-
Tape measure
Materials
Wood Products
- 1 3/4" Plywood , 4'x8'
Hardware & Supplies
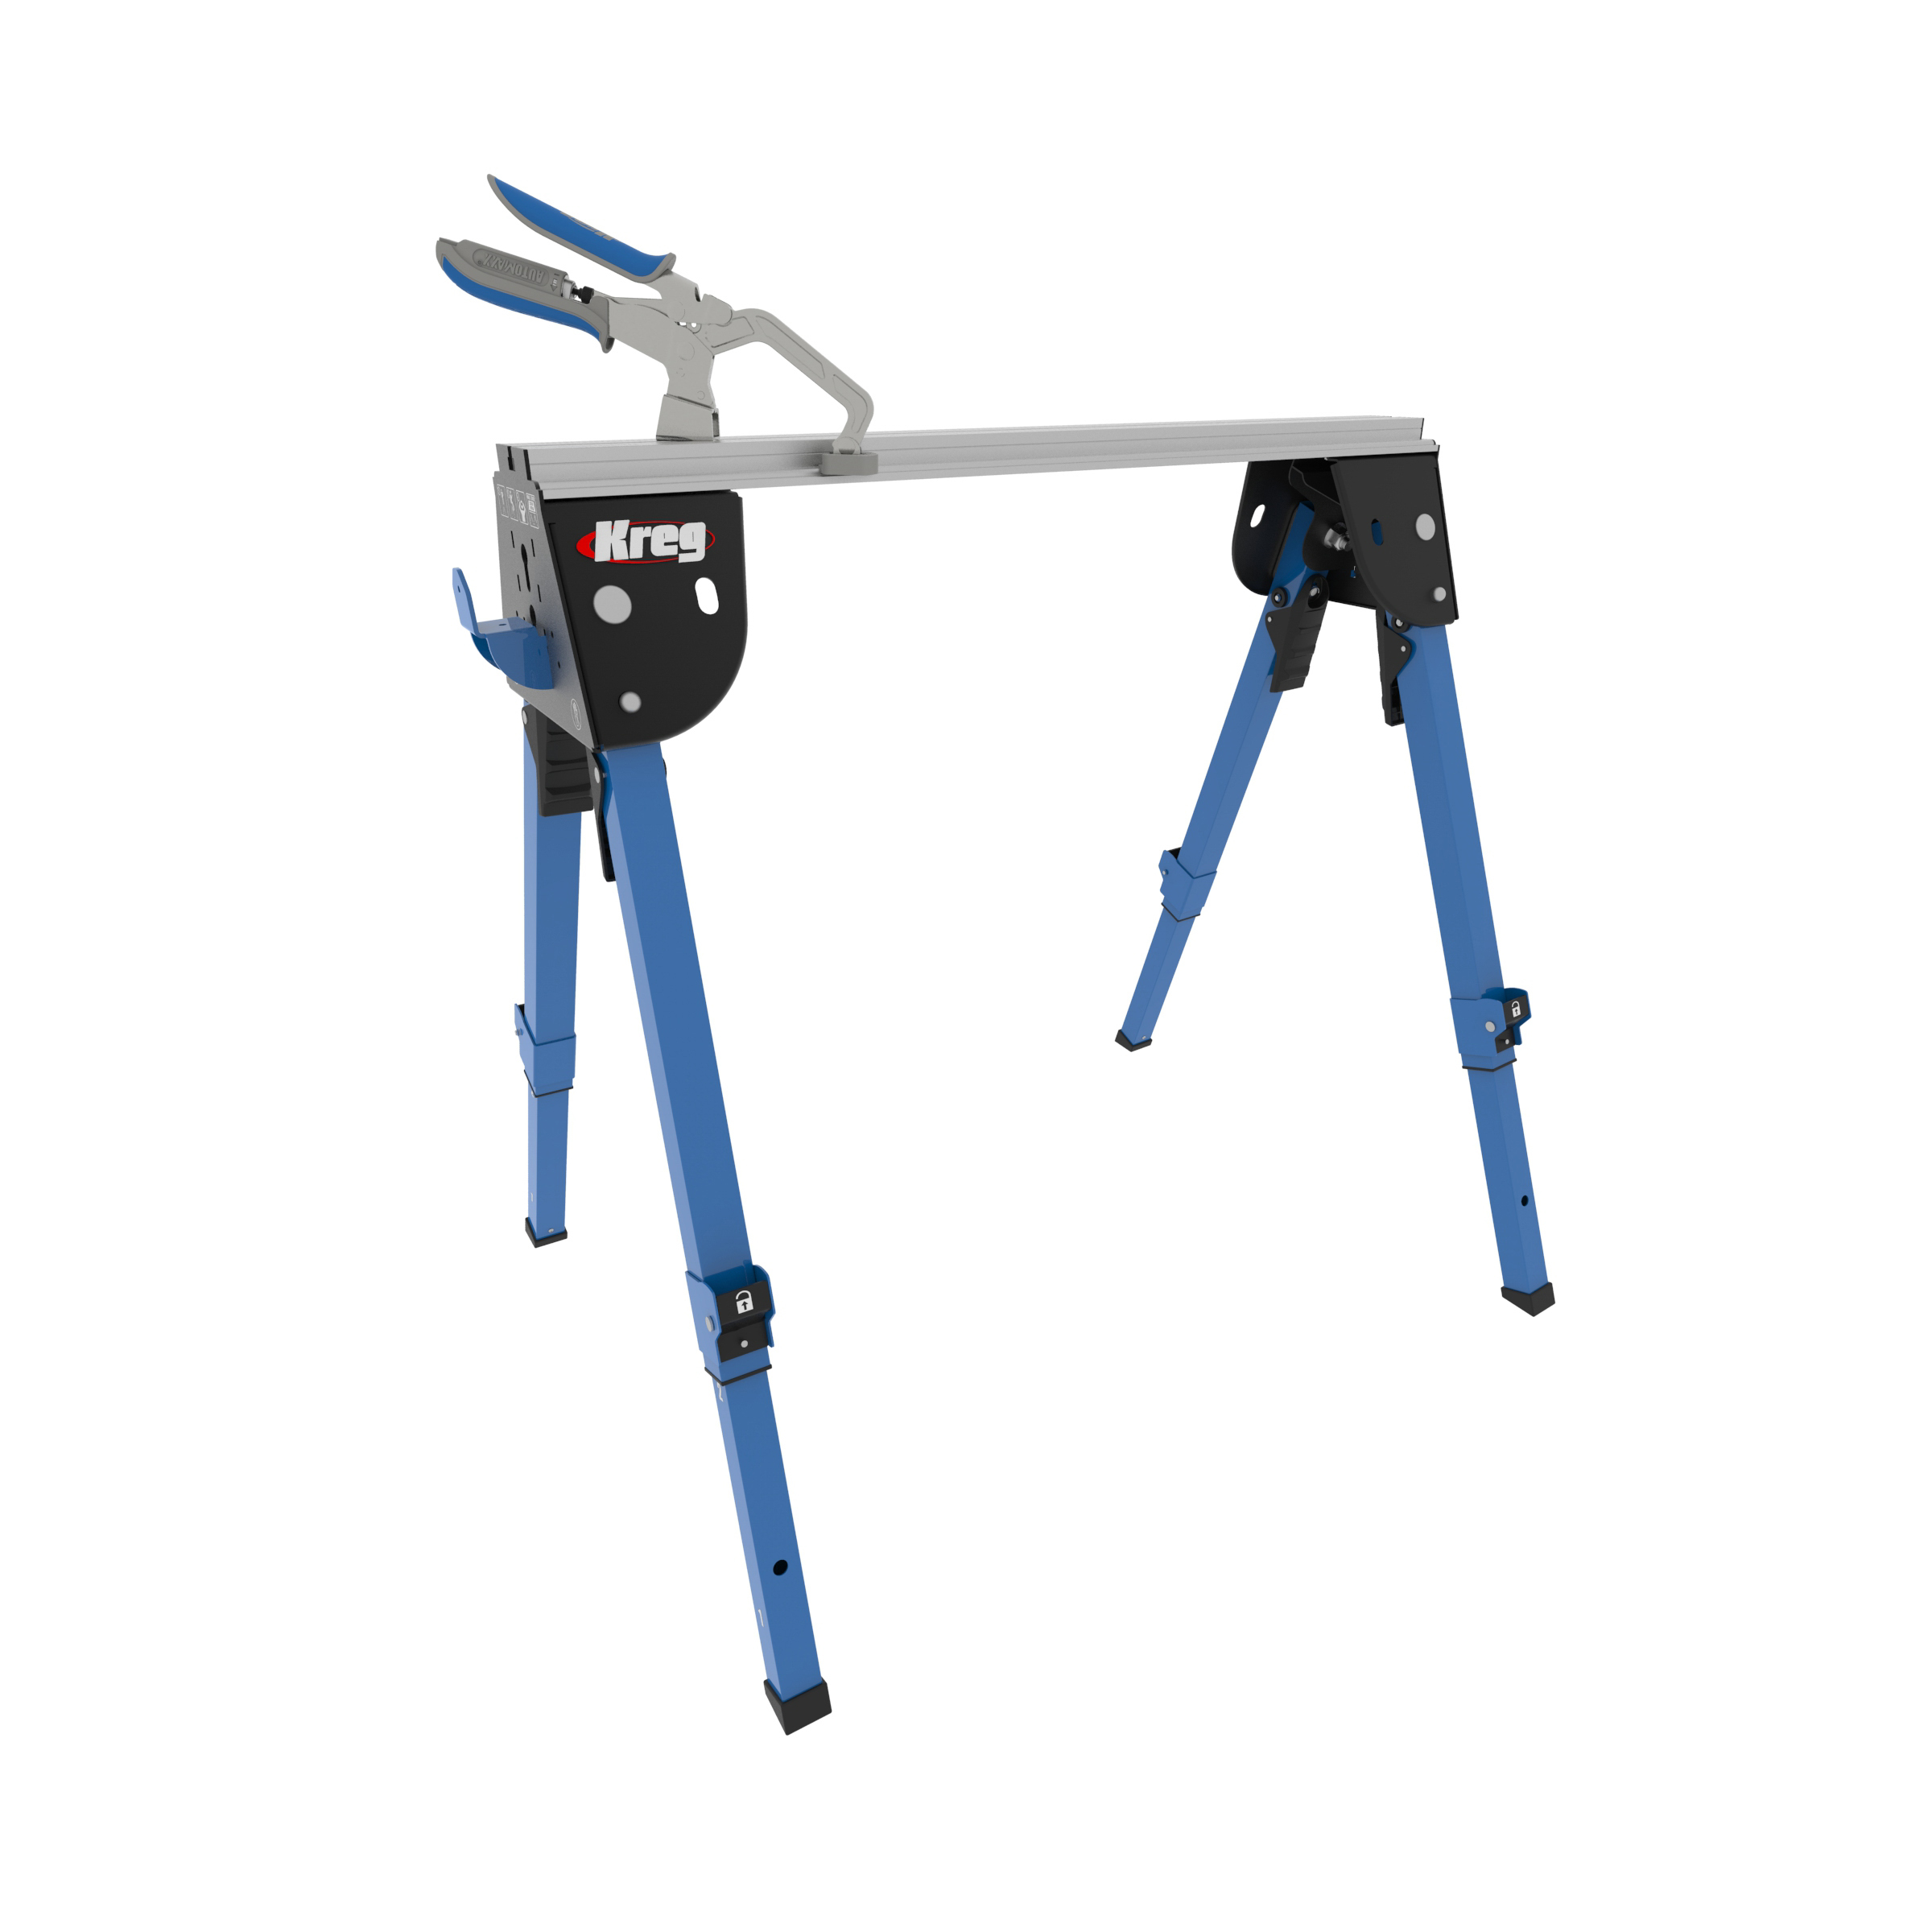
- 2 KWS500 Track Horse
- 1 ⅜” drill bit
- 1 ¾” forstner/ spade bit
- 1 Pencil
- 1 Personal Protective Equipment
Cut List & Parts
- 4 TABLE TOP, 3/4" Plywood , 3/4" x 2' x 4'

Directions
-
STEP ONE
Before you start, have the person in the lumber section of the big box store cut your sheet of ¾” plywood into 4, 2’x4’ panels (this is usually a free service and makes this project MUCH easier).
-
STEP TWO
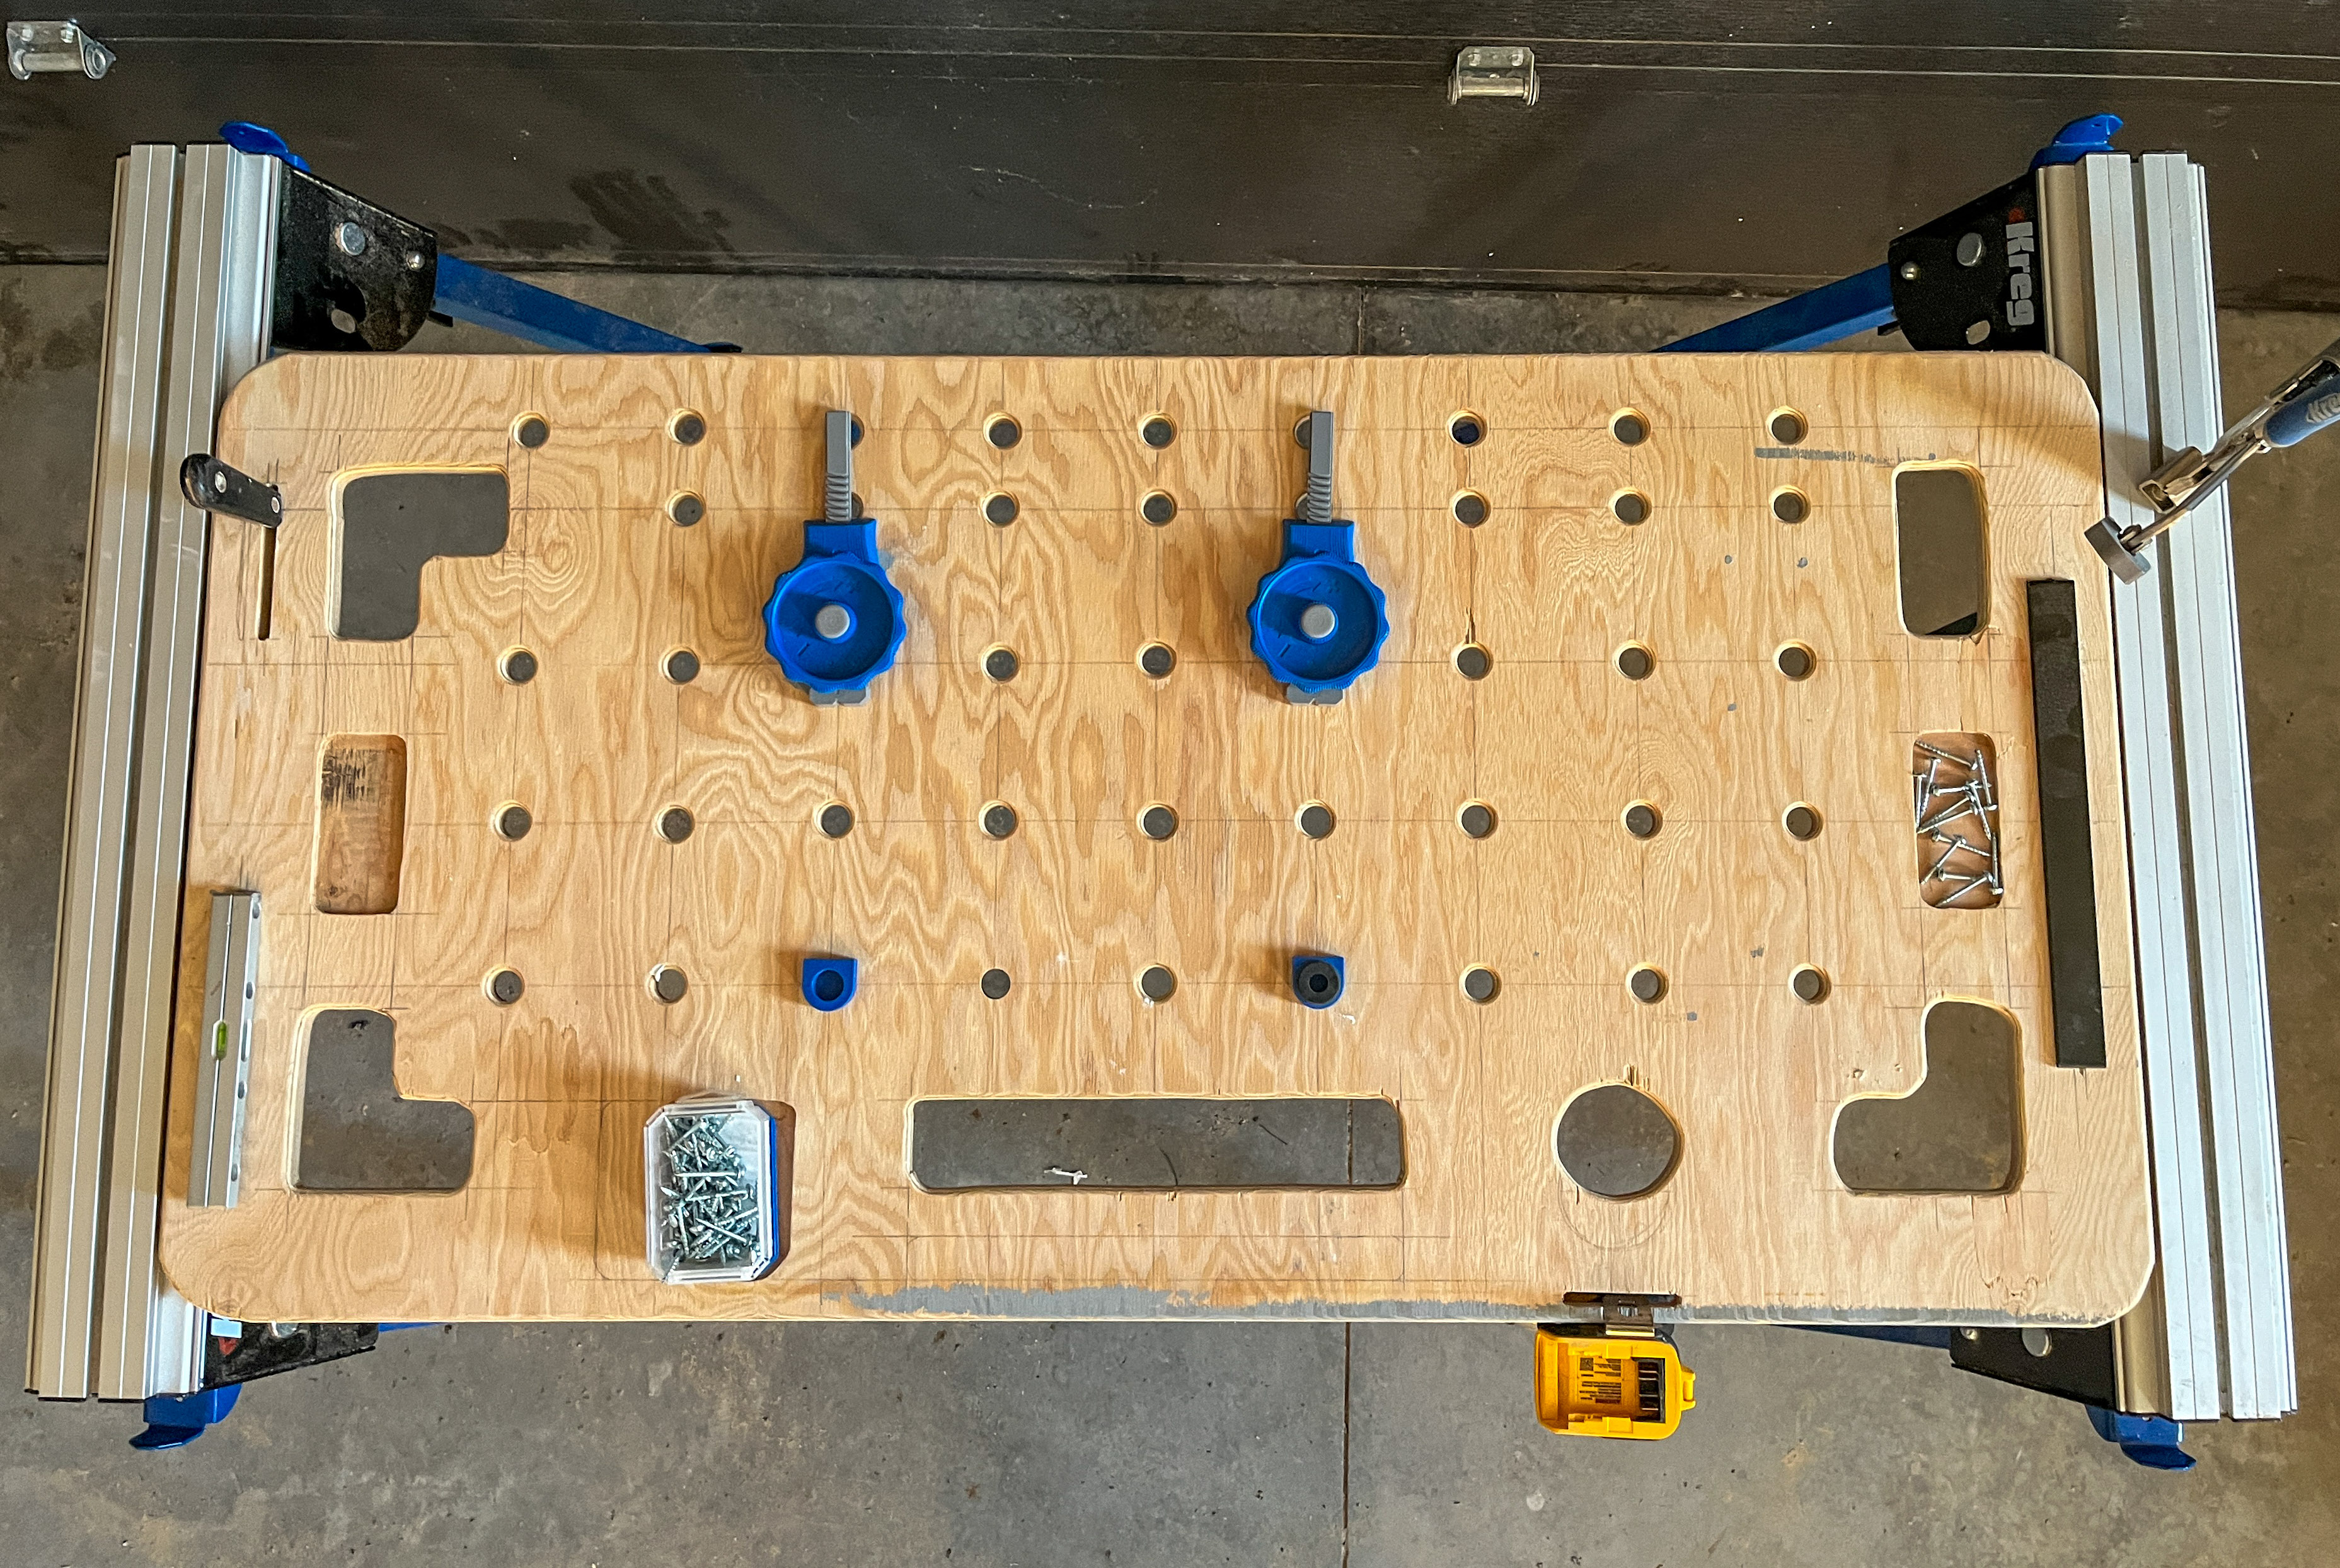
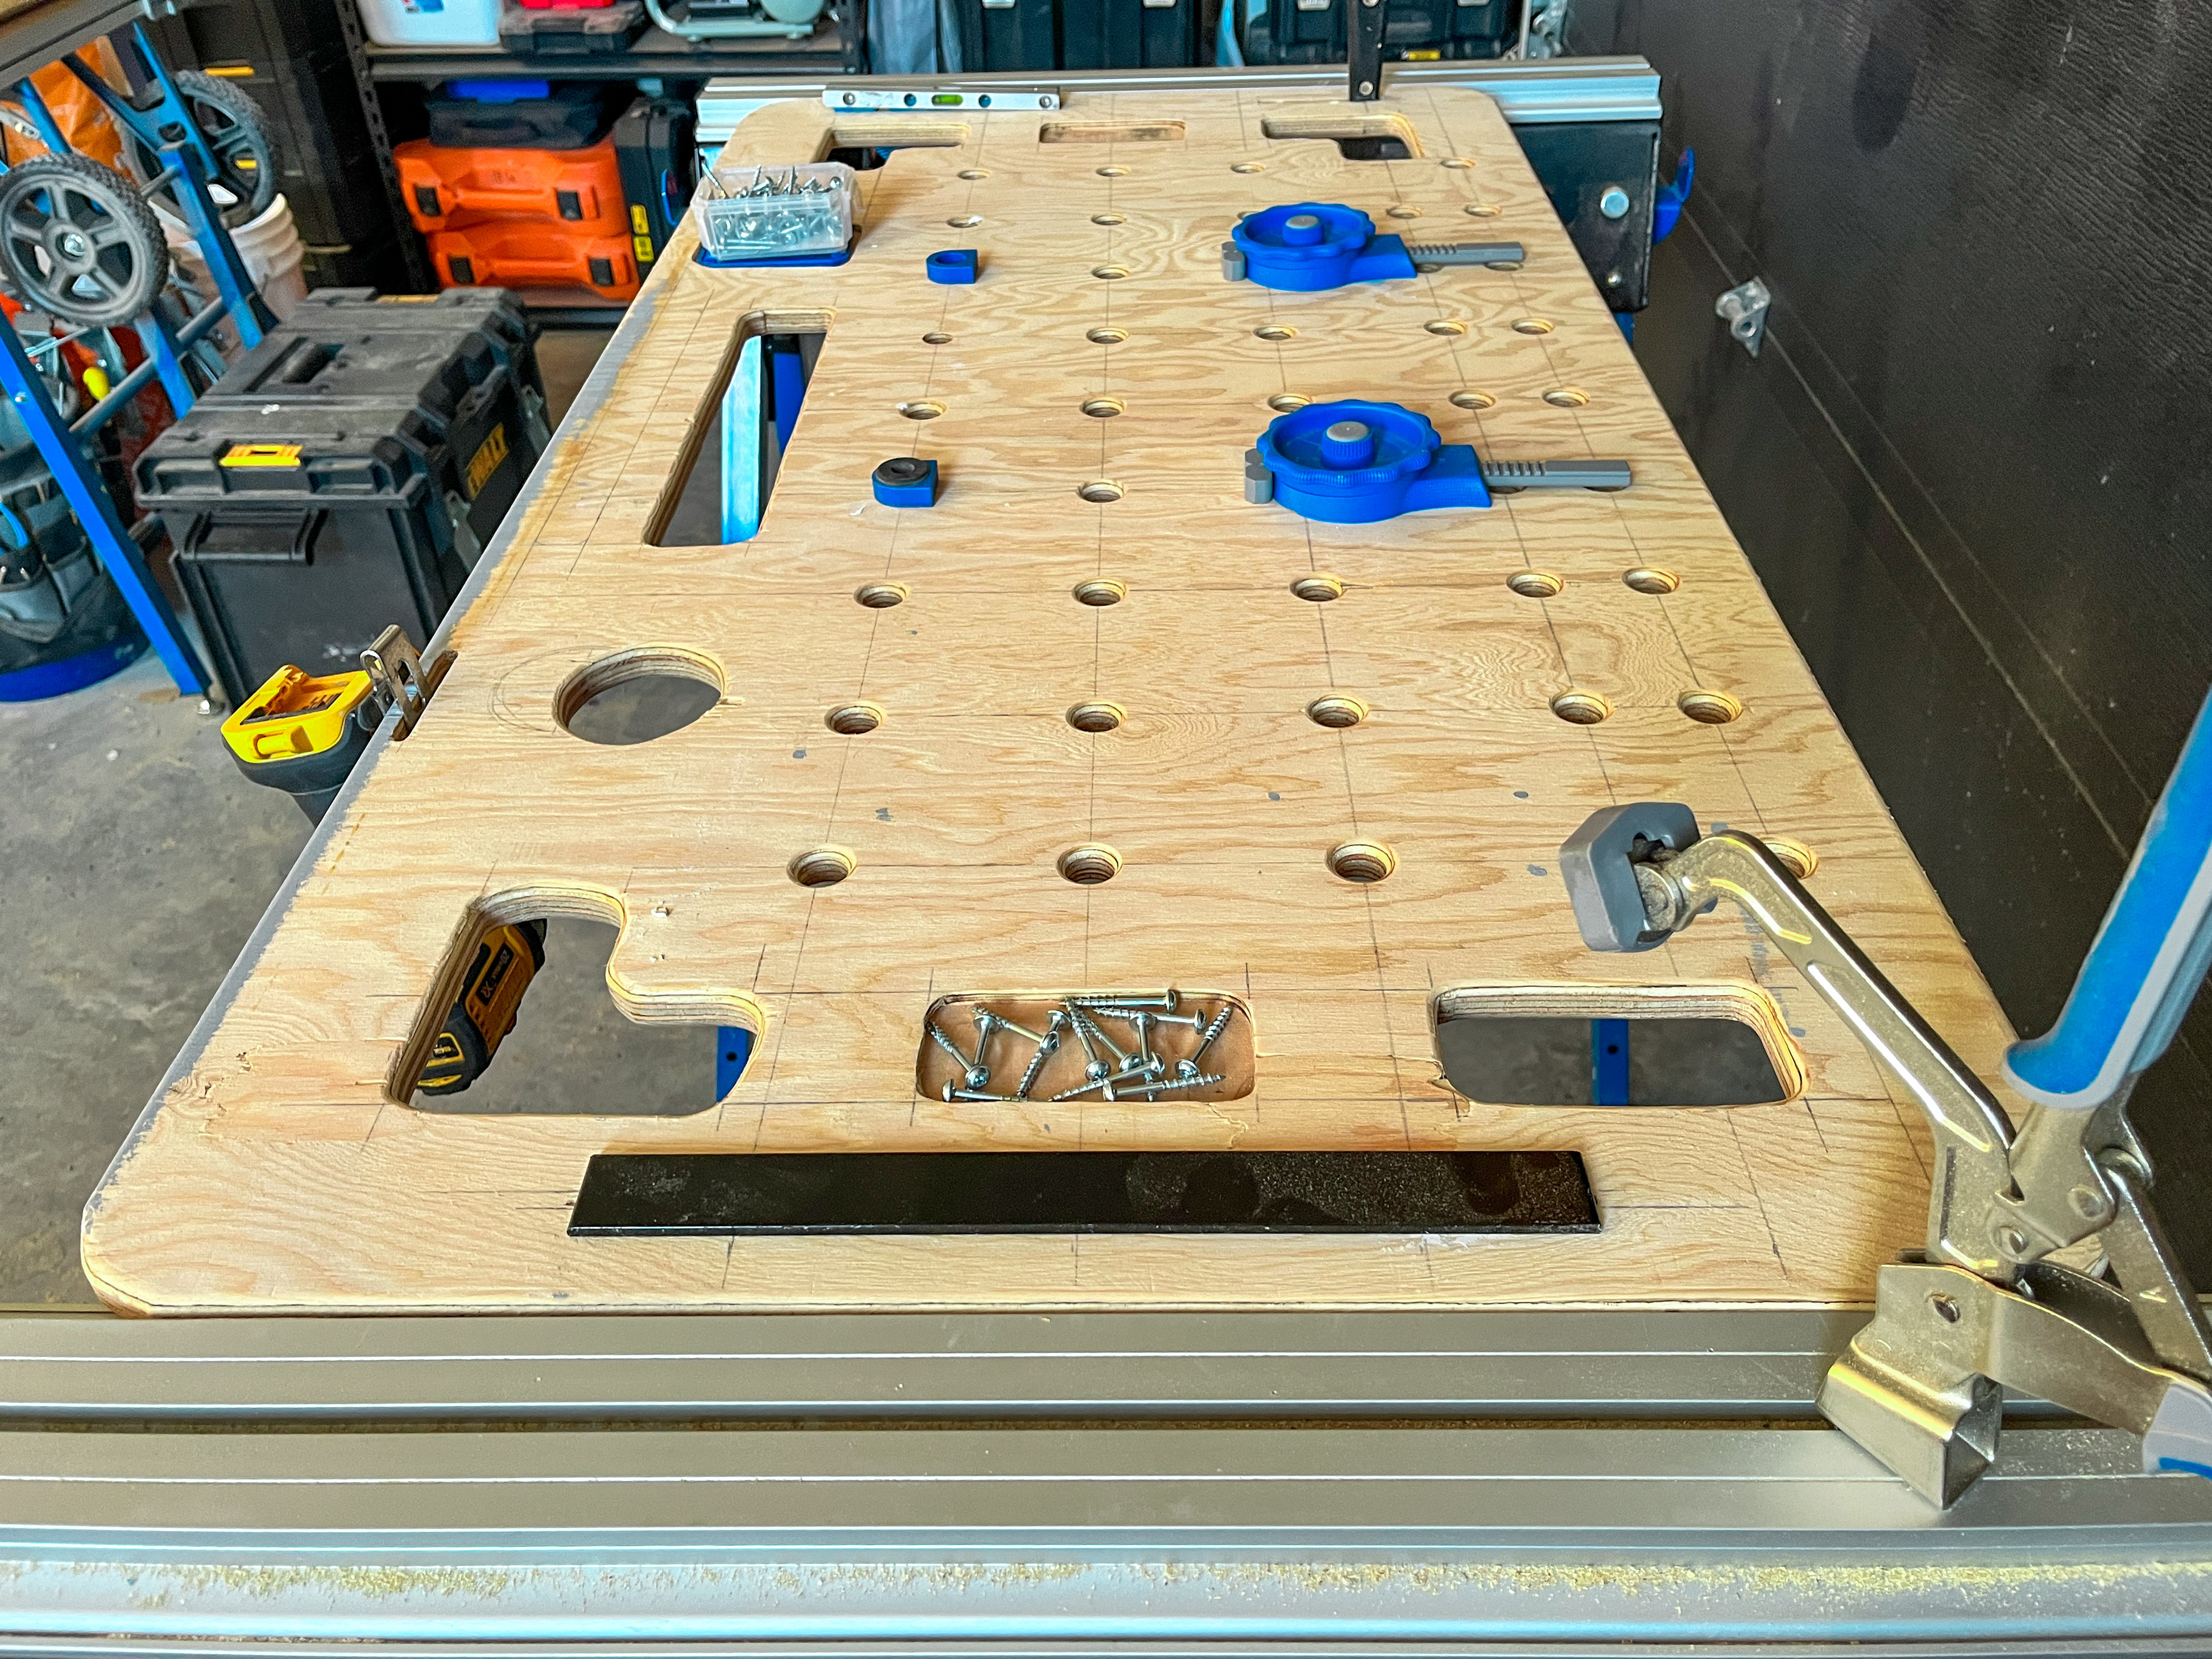
Use the diagram in the cut list as a spacing reference for your Handles, Trays (grey areas), Slit Cuts and ¾” Dog Holes.
-
STEP THREE
Identify your center marks by coming in from a Short Edge (called “SE”) 24” and drawing a vertical line. From the Long Edge (called “LE”) come in 12” and draw a horizontal line. This will help measure things for your Dog Holes and help with spacing your Handles and Trays.
-
STEP FOUR
The Handles and Trays are set in 3” from both of the SE and one of the LE. Use the centre lines to measure off and make your markings for your cut outs. To cut the handles, drill a ⅜” hole on for your jigsaw blade to enter and use the jigsaw for the cut-outs. NOTE: I prefer to round over the corners but this is not necessary. To cut out the trays, use a router with a flattening bit and remove two layers of “ply” from the plywood.
-
STEP FIVE
On the SE on the left side, make two “slit cuts”; one is 7 ⅛”x ⅜” and comes in 1 13/8” off the SE and starts 3” in from the LE. This will hold a 7” speed square. The other is 4 ⅛” x ⅜” and also comes in 1 3/8” off the SE and 6 ⅜” above the 7” slit cut. This will be used for a mini square or putty knives. To cut these, drill a ⅜” hole on the ends of the slits and a jig saw for the long rips.
-
STEP SIX
On the SE on the right side, make one “slit cut” that is centered. This slit will be 12 1/8”x ⅜” and comes in 1 13/8” off the SE. This will hold a 12” speed square. To cut this, drill a ⅜” hole on the ends and a jig saw for the long rips.
-
STEP SEVEN
For the ¾” dog holes, make a 4” grid from the center of each edge. This layout can be left to personal preference. Draw a 2” line parallel to the LE without a handle hole for a set of ¾” dog holes. This will give you a 4” option when you pair two mirrored worktops together. Use a drill with a ¾” forstner/ spade bit to bore your dog holes.
-
STEP EIGHT
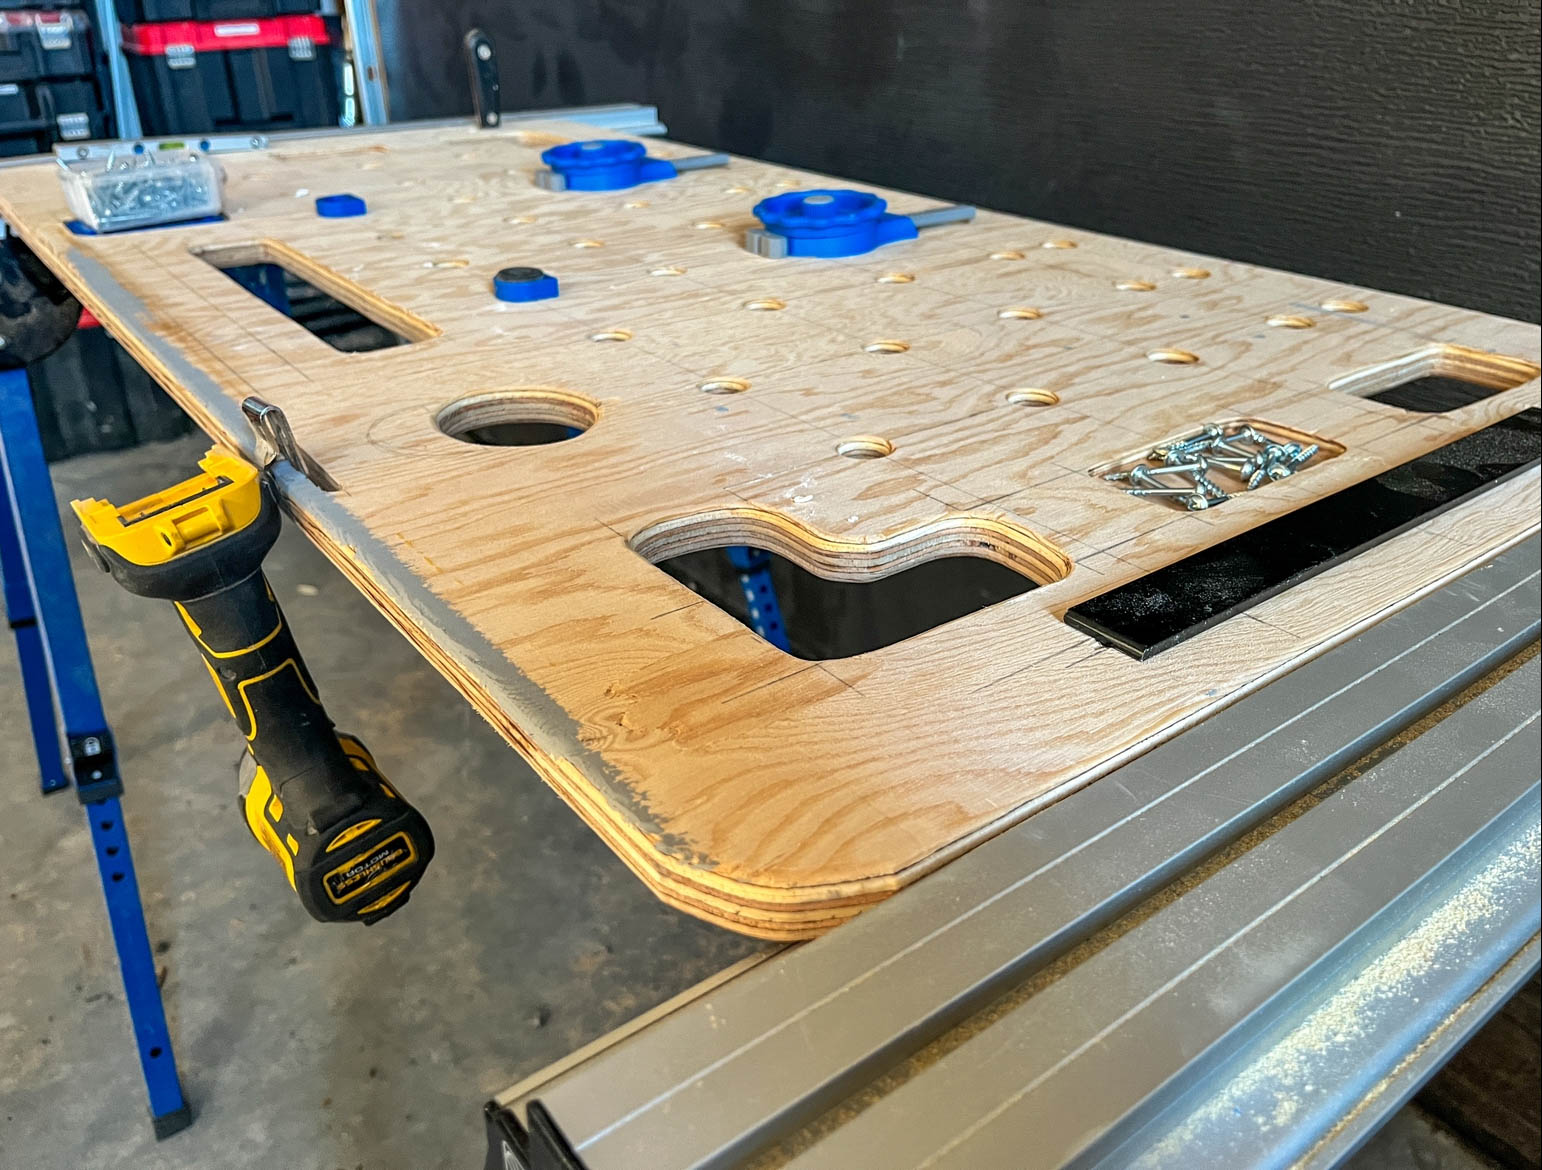
Add a 3” circle that is centered 12 ¾” from the left SE and 4 ¼” from the LE with the handle on it. This will be used to hold wood fillers/ small containers of screws or, more importantly, an XL cup of coffee. To cut this you can use a 3” hole saw bit if you have one, if not, a jigsaw works great.
-
STEP NINE
(Optional): Feel free to add additional slit cuts that are 3”x ⅜” a longer the perimeter of the worktop. These are great spots to hang tools, putty knives/ framing squares and other daily tools. Use a router with a roundover bit along all of the cut lines to make the holes less likely to tare apart. Use a sander with a 150 grit sandpaper to make the worktop more comfortable. Seal the worktop with a sealer of choice to avoid staining.
-
STEP TEN
Repeat the steps above for the remaining three panels to have a versatile worktop system that is easy to store and transport.
Visit Kreg Tools and Remarkable Woodworks on Instagram for more tips and inspiration!