Reclaimed Wood Coffee Table
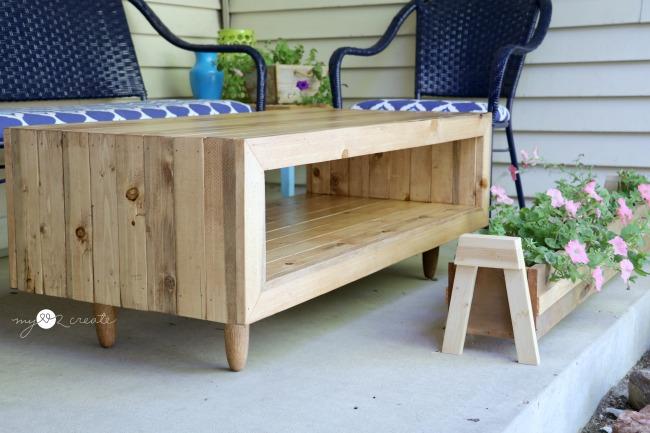
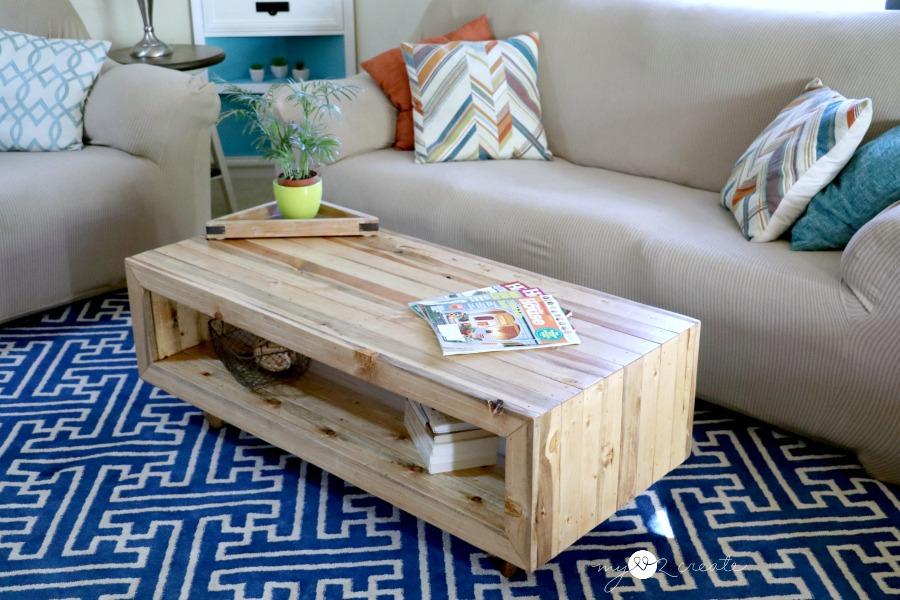
By My Love 2 CreateThis beautiful West Elm inspired coffee table boasts the beauty of reclaimed wood with off the shelf furring strip lumber, and speaks high end furniture without the big price tag! You can't beat a weekend project like this to bring rich character and style to your living room!
Directions
-
Build support frames
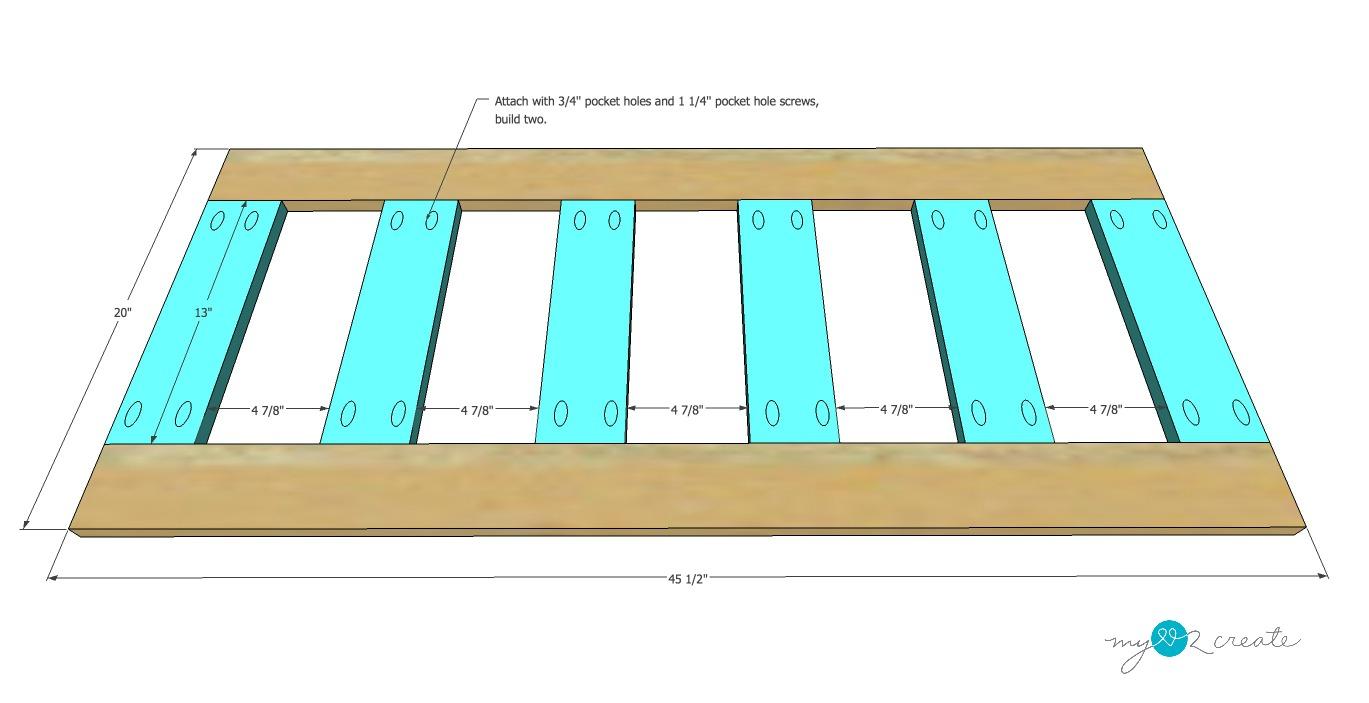
Using your 1x4 lumber drill 3/4'' pocket holes into the support boards and attach them to the longer boards to build a top and bottom support frame with 1 1/4'' pocket hole screws.
-
Add side supports
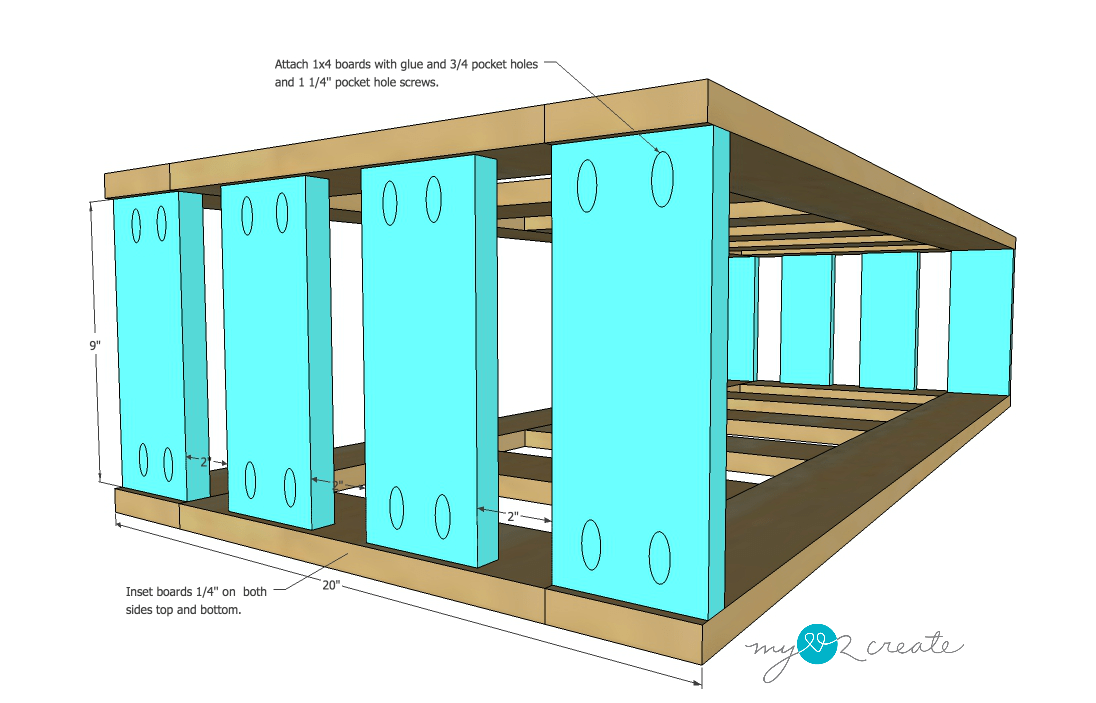
Join the two support frames with the 1x4 side support pieces. Make sure to inset the boards 1/4'' from the edge of the support frames.
-
Add inside shelf boards
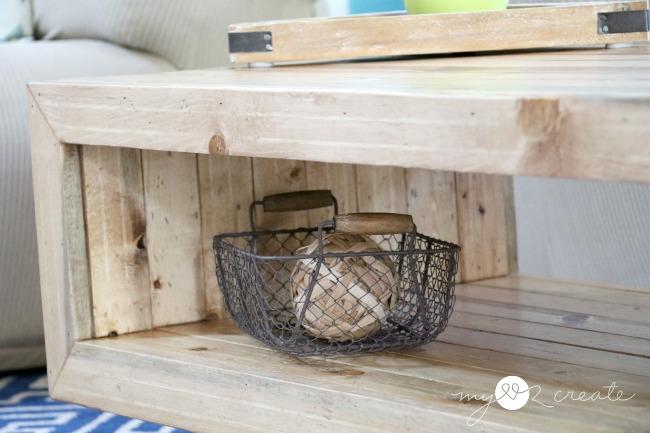
Attach inside shelf boards to the bottom support frame with wood glue and 1 1/4'' finish nails. You will need to use the openings in the top support frame to fit your nail gun into the space in order to attach them to the lower support frame.
In the plans I have noted an optional step if you prefer, although it is not necessary, but will ensure keeping your boards pulled tightly together so they will fit properly. You can drill pocket holes into the boards for the shelf and attach them together first and then nail them into the frame. Of course the pocket holes would be placed underneath.
-
Attach the inside side boards
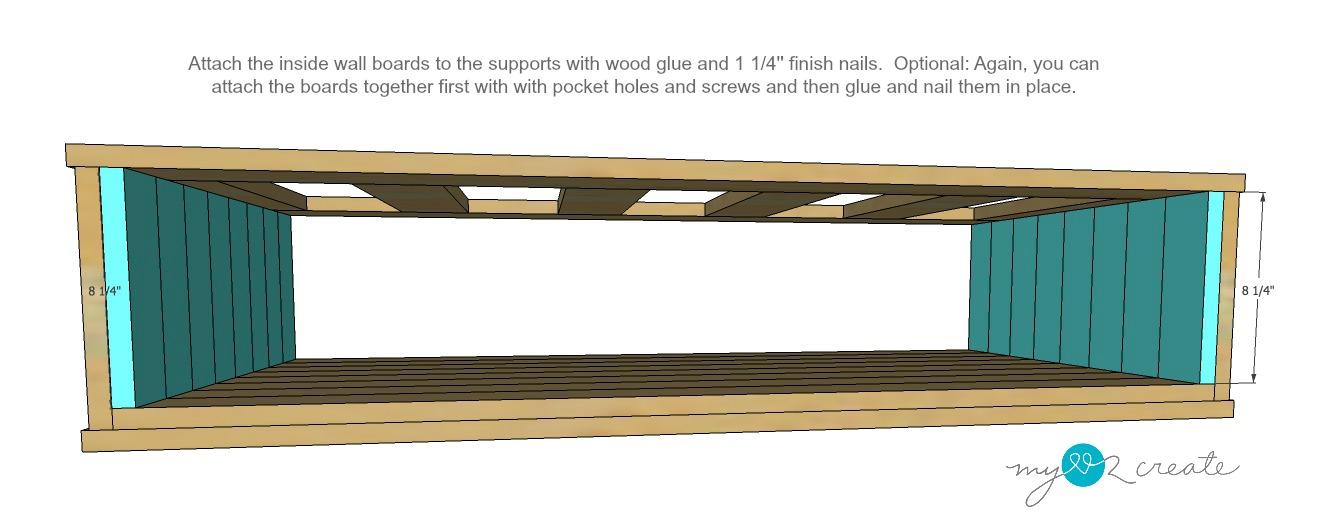
Attach the inside boards with wood glue and 1 1/4'' finish nails. Because the plan calls for 1x4's in the frame you will have gaps as you attach these boards. For the boards that rest on part of a support board, toe nail them to the adjacent board for support.
-
Attach top boards
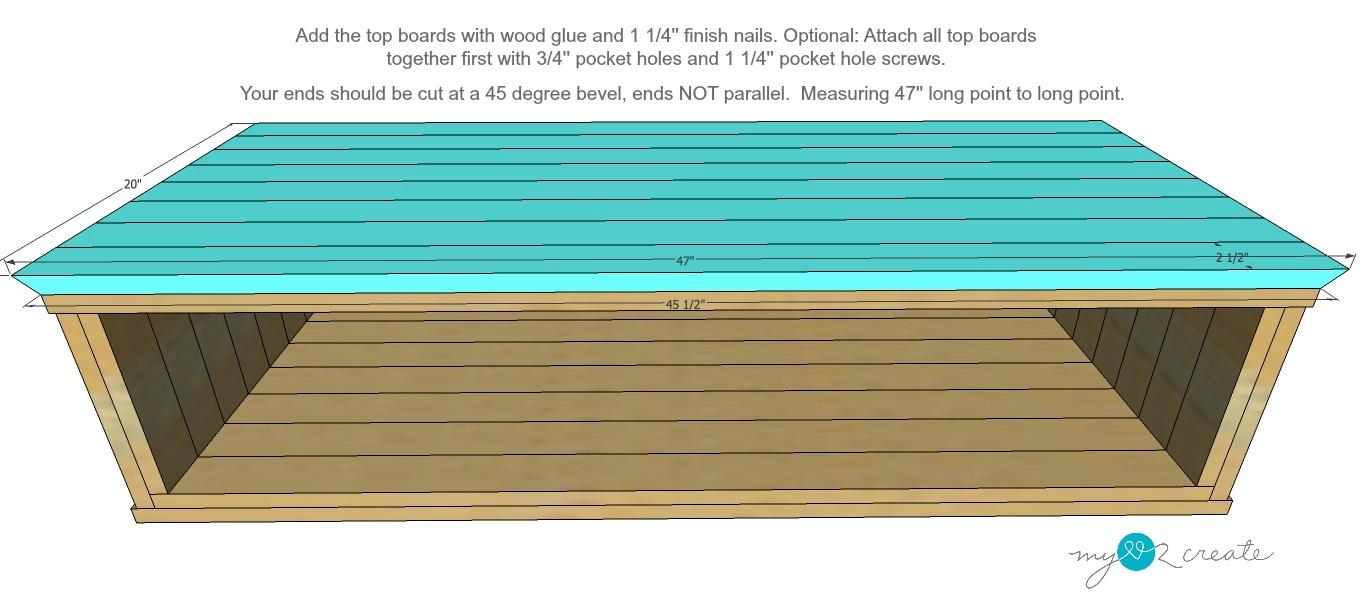
Line up your beveled edge with the edge of the frame and then glue and nail on the top planks with wood glue and 1 1/4'' finish nails.
-
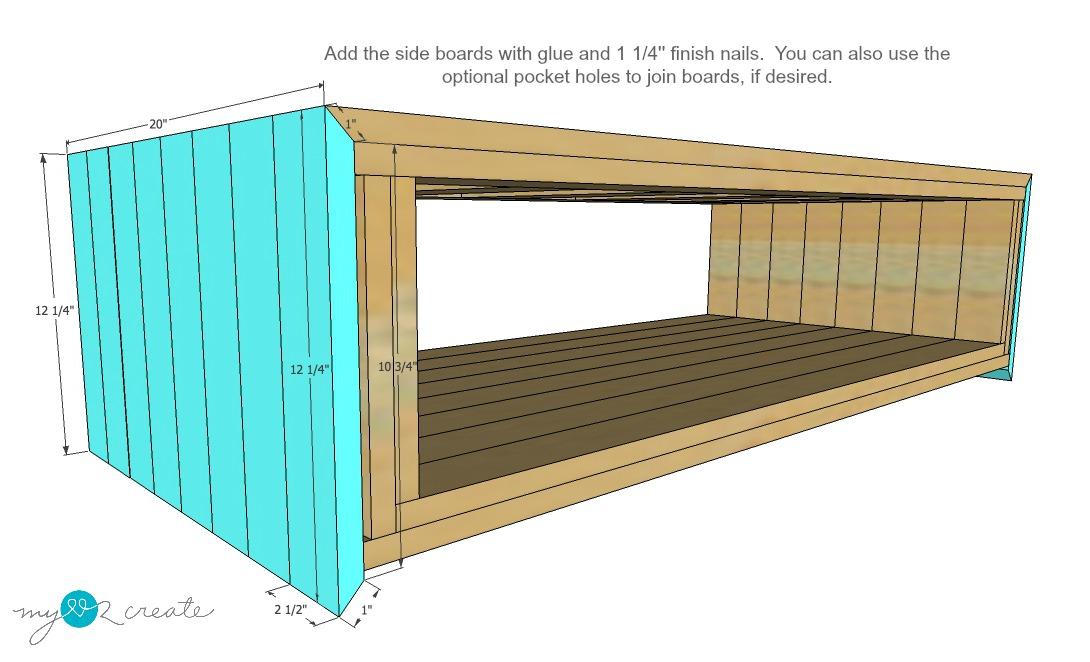
Add the side boards
Align the side boards with the beveled edge of the top boards on each side of the frame, securing them with wood glue and 1 1/4'' finish nails.
-
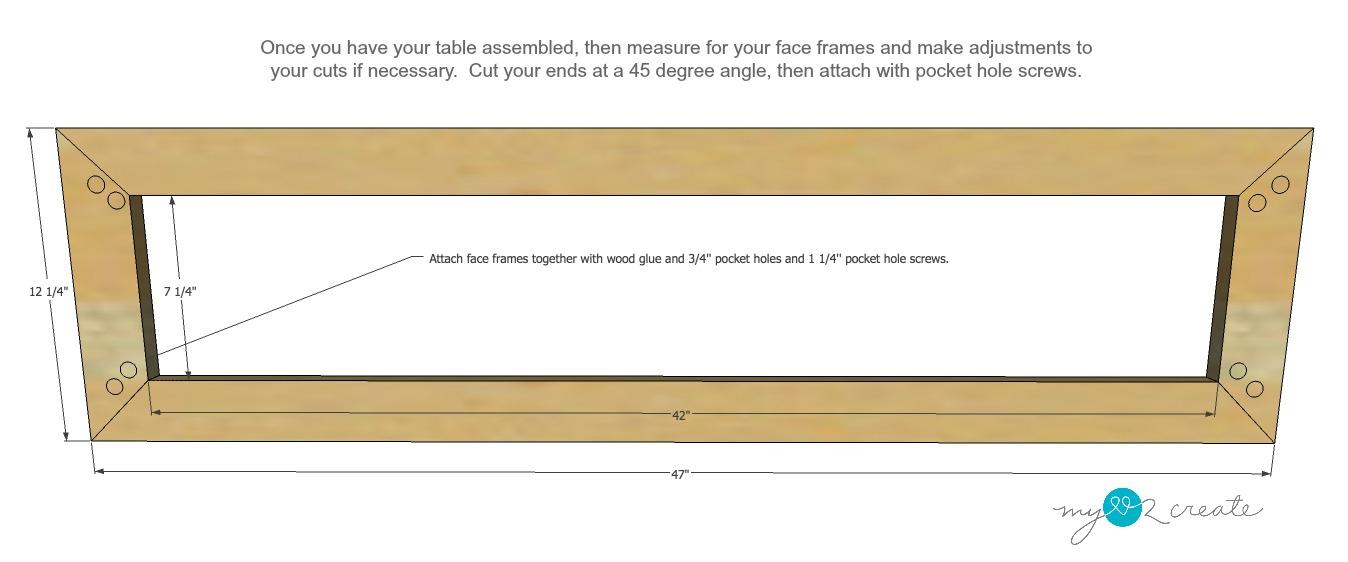
Measure and build face frames
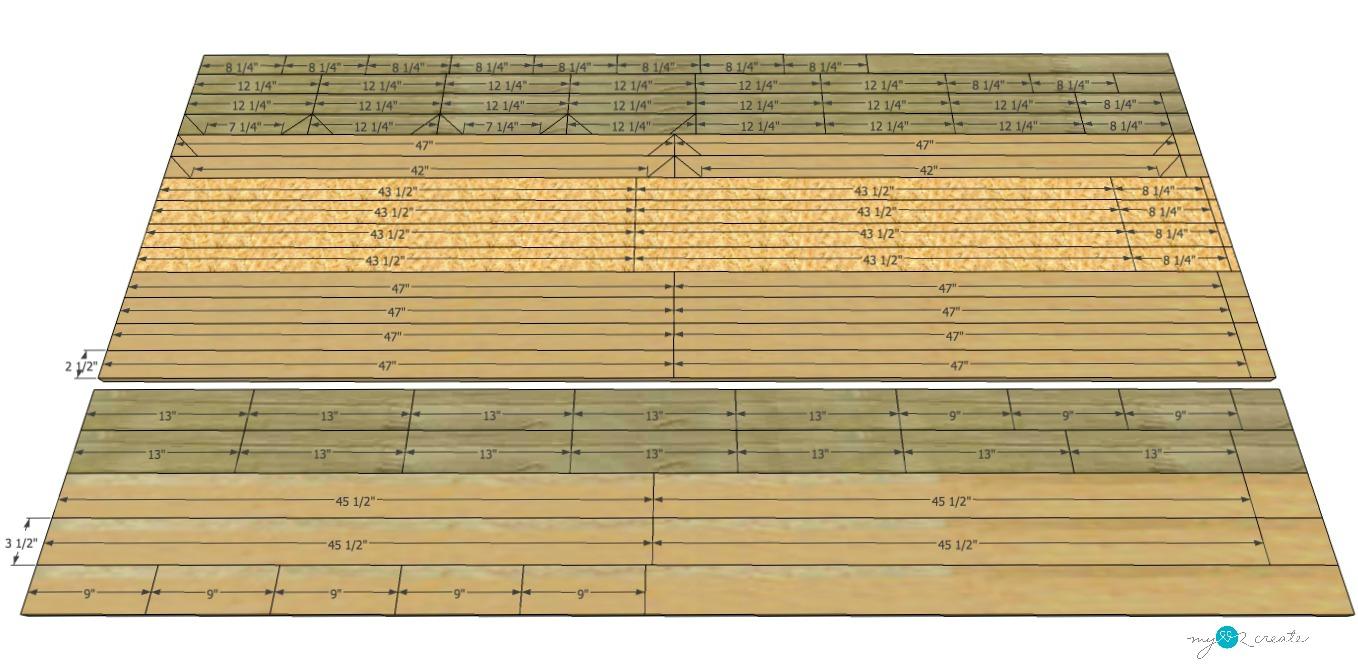
For your face frames it is best to cut them after you have built to this point. Measure your coffee table and adjust measurements if necessary, then cut your pieces with the 45 degree angle to make a nice mitered face frame for each side of the coffee table. Drill 3/4'' pocket holes and attach the frames together with wood glue and 1 1/4'' pocket hole screws. Be sure to clamp your joints before drilling.
-
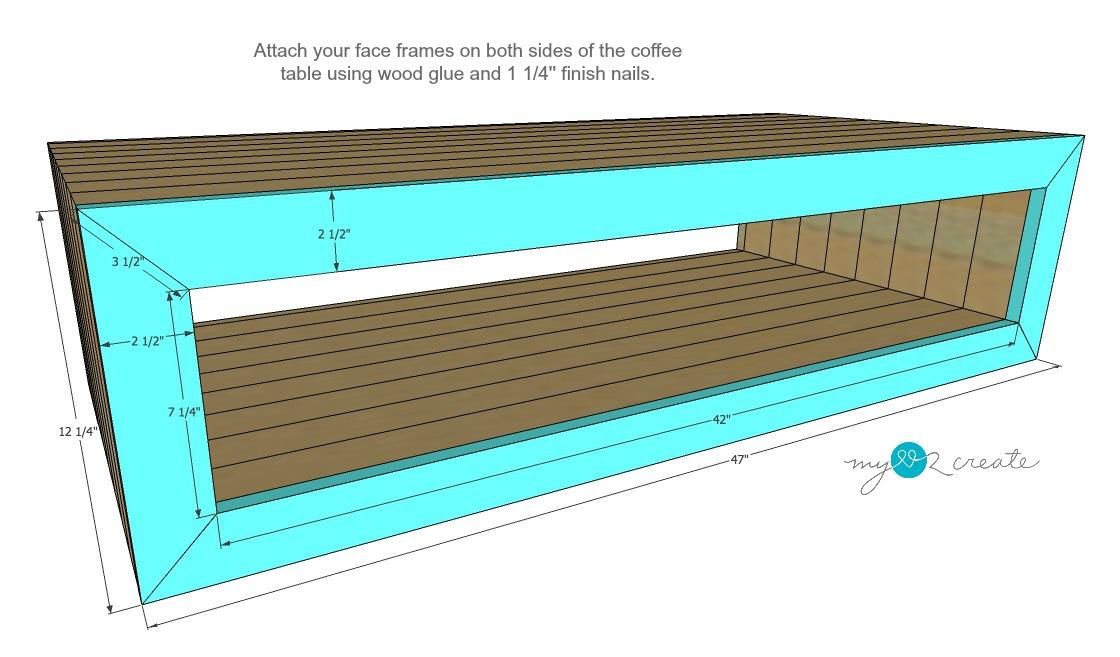
Attach the face frames
Glue and nail on your face frames to each side of your coffee table.
-
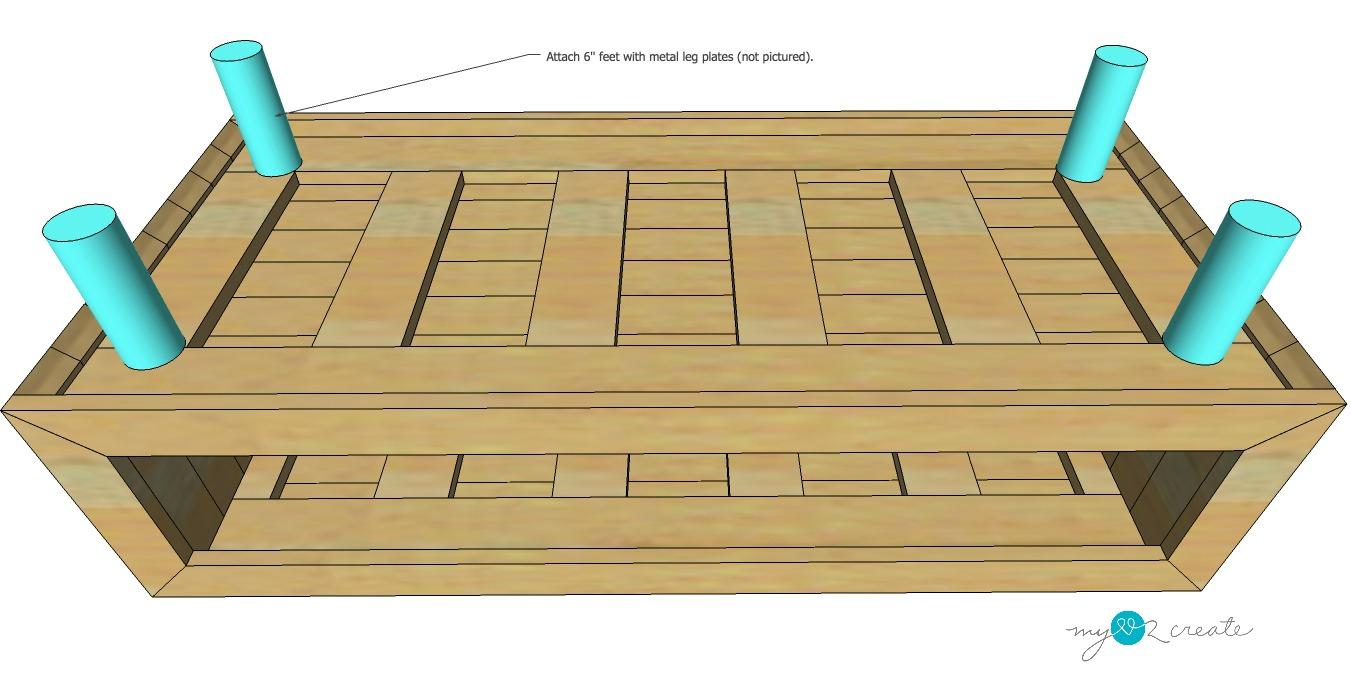
Add the legs
You can purchase 6'' wooden table legs and attach them with metal mounts. The type and style of legs you use is personal preference.
-
Finish as desired
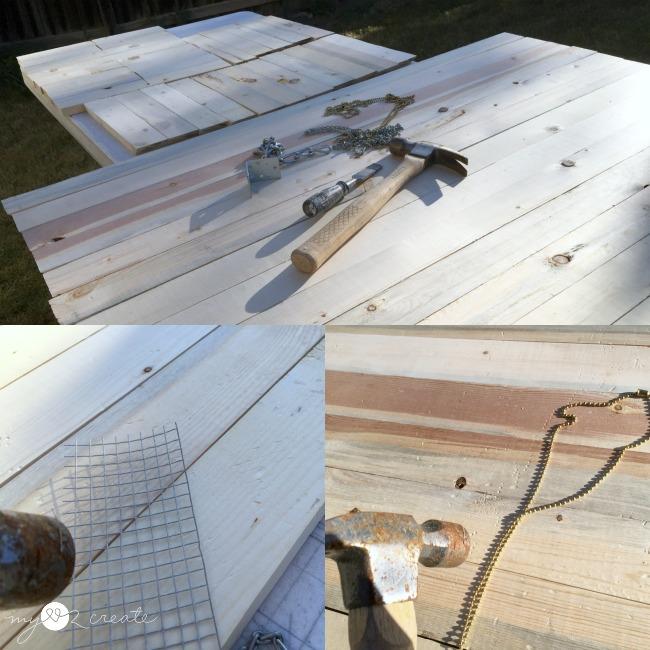
I choose to distress my wood before I built the table, you can do it this way or do it after it is built, although it would be difficult to do the inside shelf. I used things like, a hammer, a chain, hardware cloth, and a fan chain to "beat up" my wood. This process is what gives the purchased lumber a reclaimed look. Fill any gaps or holes you desire, sand, and finish.


