Pottery Barn Inspired Rustic Jewelry Hanger
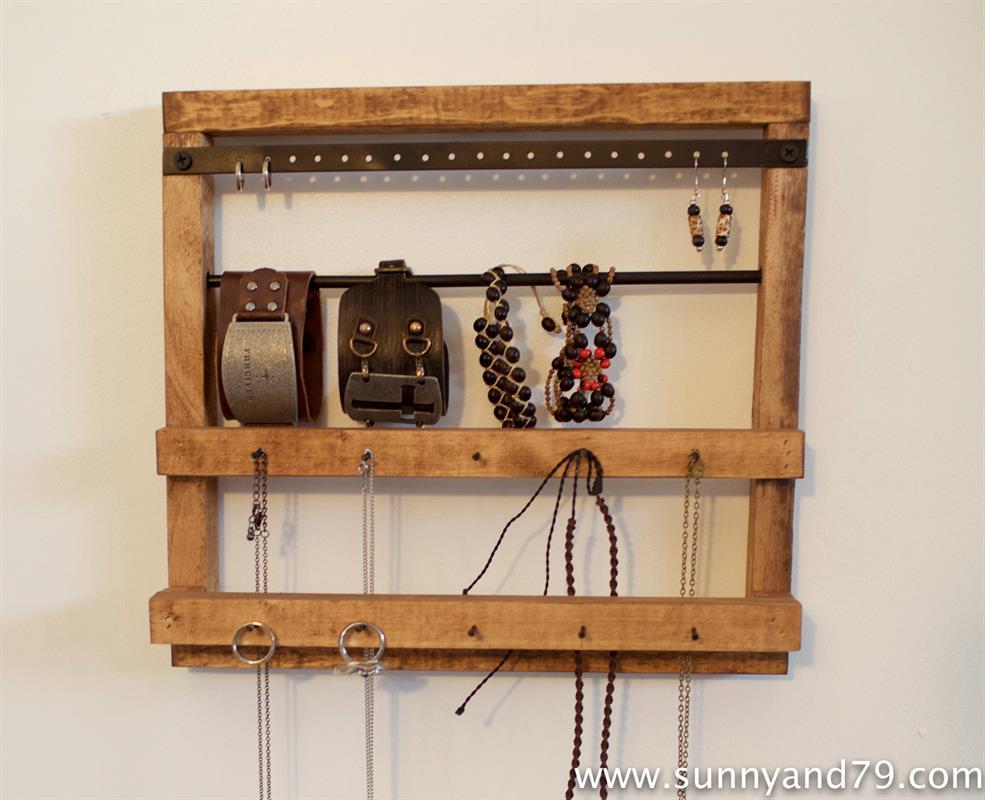
By sunnyand79I saw a picture of a super cute Jewelry Hanger from Pottery Barn and knew I had to make my own! Here's how to make my version- it's a quick and easy build and would make a great gift :)
Directions
-
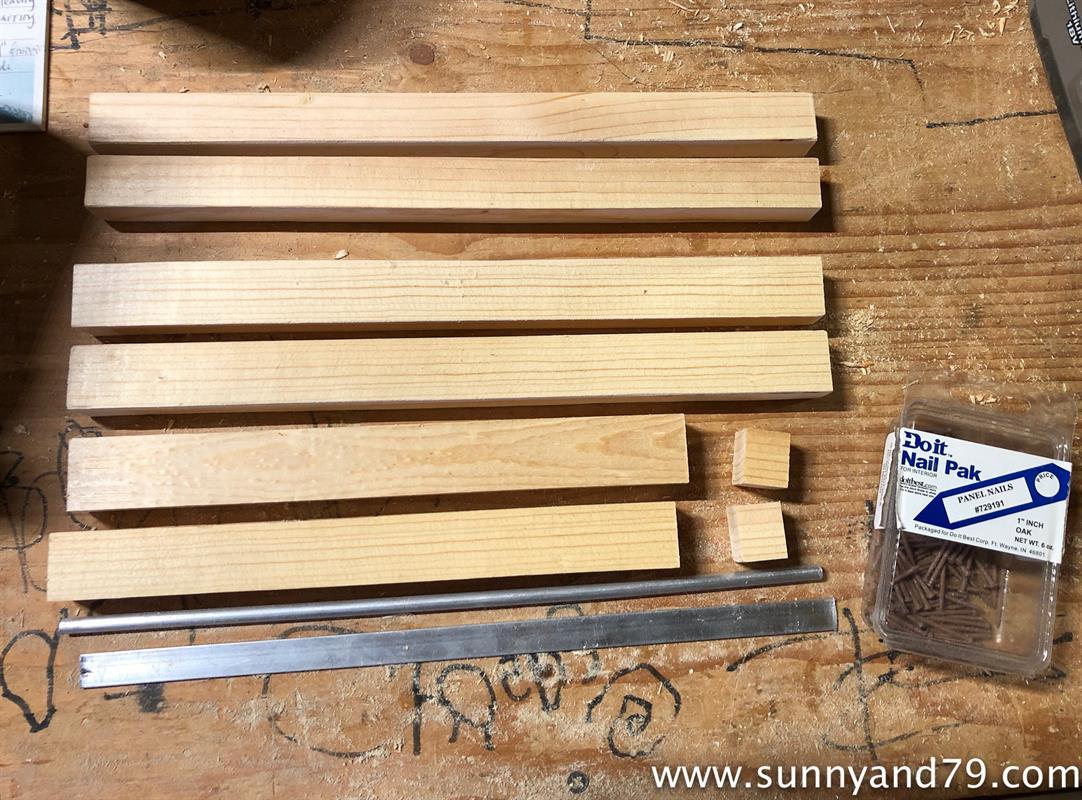
Gather Supplies
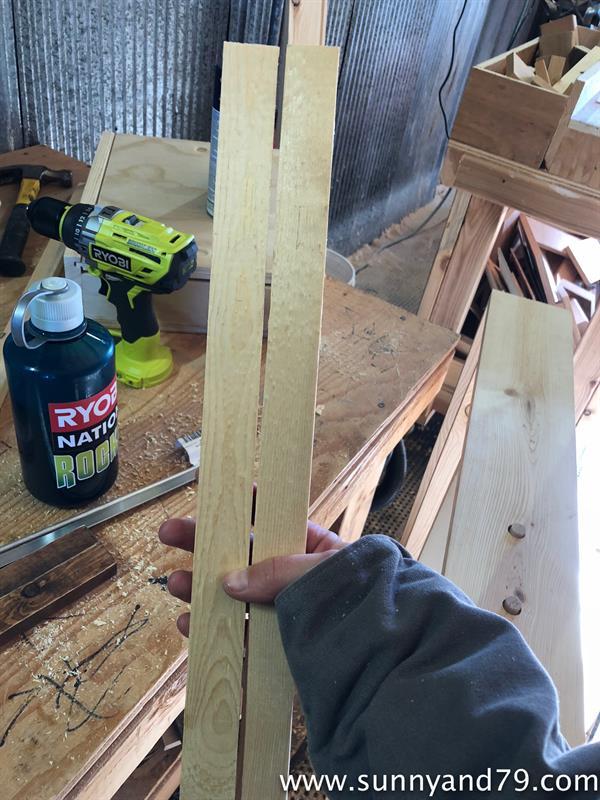
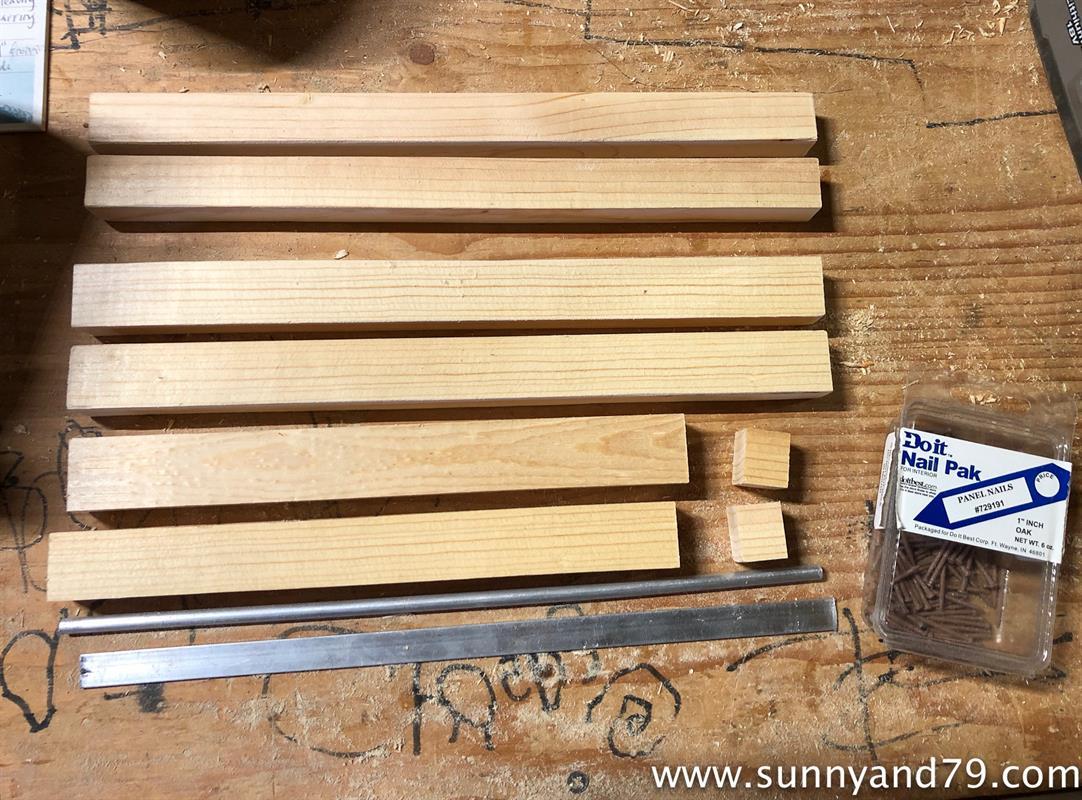
I ripped my own 3/4" and 1" pieces from a 1x4. You can also use craft wood, or anything similar in dimension. I refer to these pieces as 3/4" x 3/4" and 3/4" x 1", because coming from a 1x4, they are technically 3/4" thick...
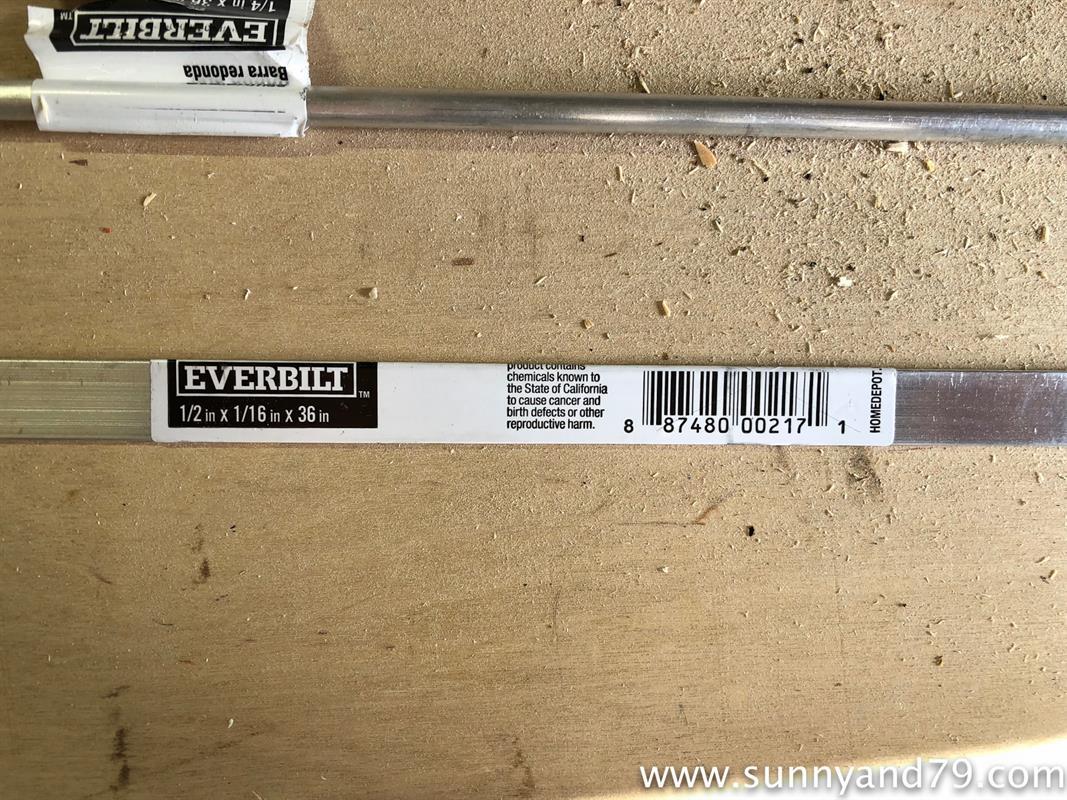
The steel rod and bar came in 36" lengths, and I cut them to 12" with the chop saw, so I can make 3 of these with each one :) -
Drill holes in metal
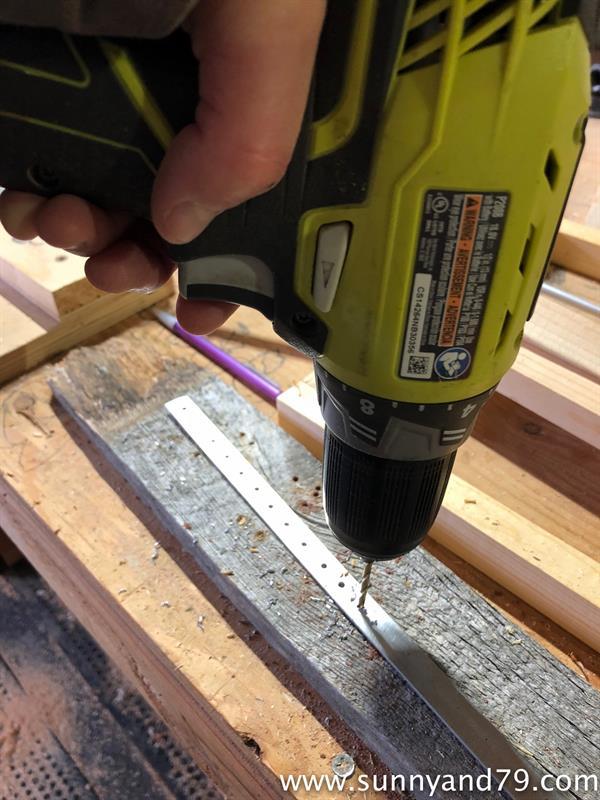
With your flat steel bar on a piece of scrap wood, drill your earring and attachment holes with a 1/8" bit. I placed attachment holes centered about 3/8" from each end, then starting 1 1/2" from each end, I drilled earring holes every 1/2".
-
Drill Holes in Wood
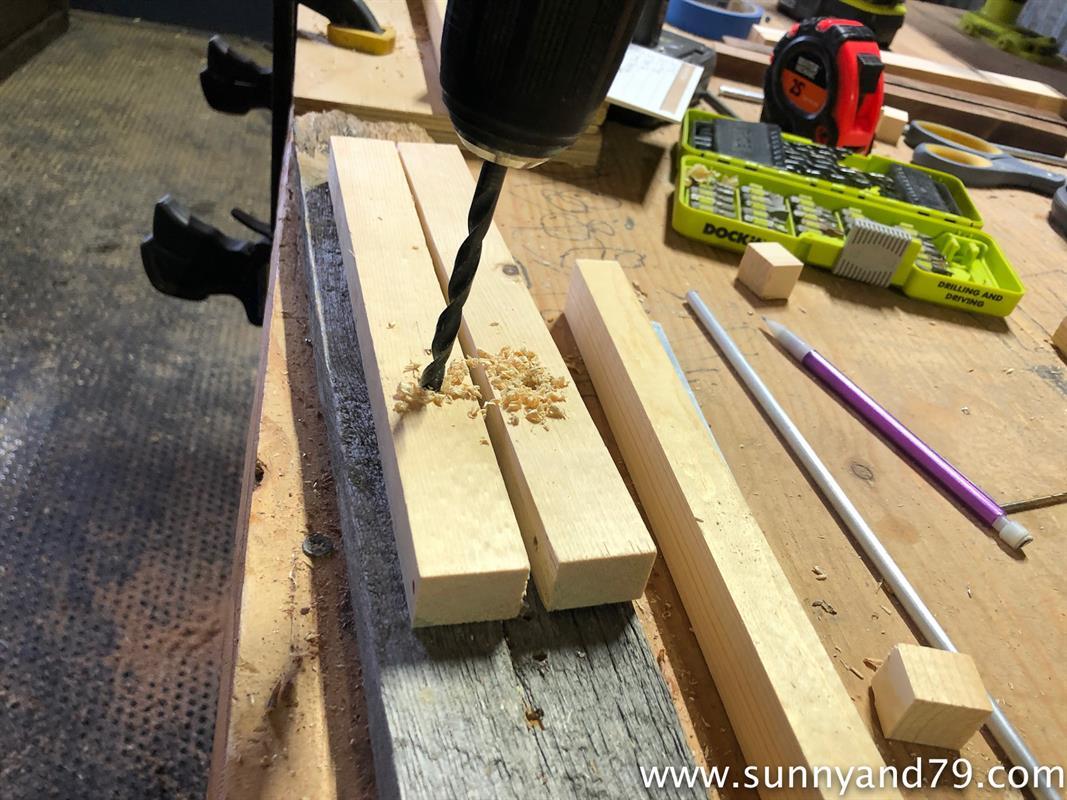
Using a 5/8" bit, drill a hole in the side of each 9 1/2" long piece of wood, 2 1/2" from one end.
-
Sand and Stain or Paint
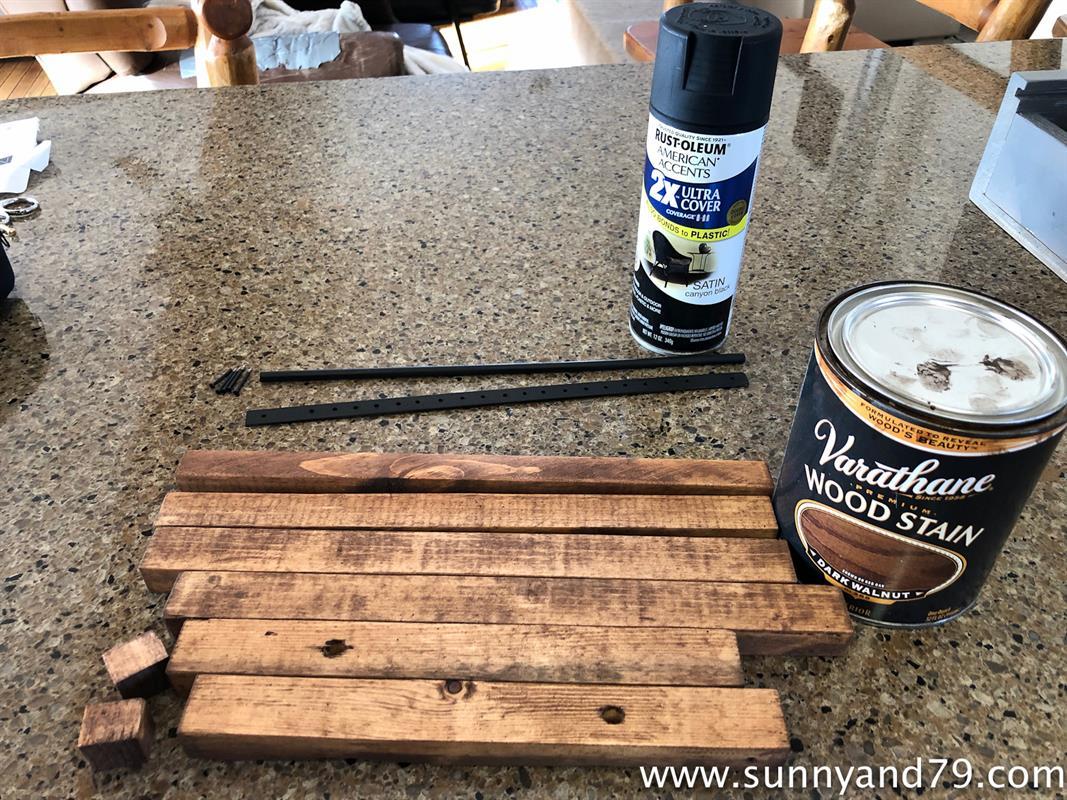
I chose to sand things down quick and paint and stain them before assembling.
-
Add Nails for Necklace Hanging
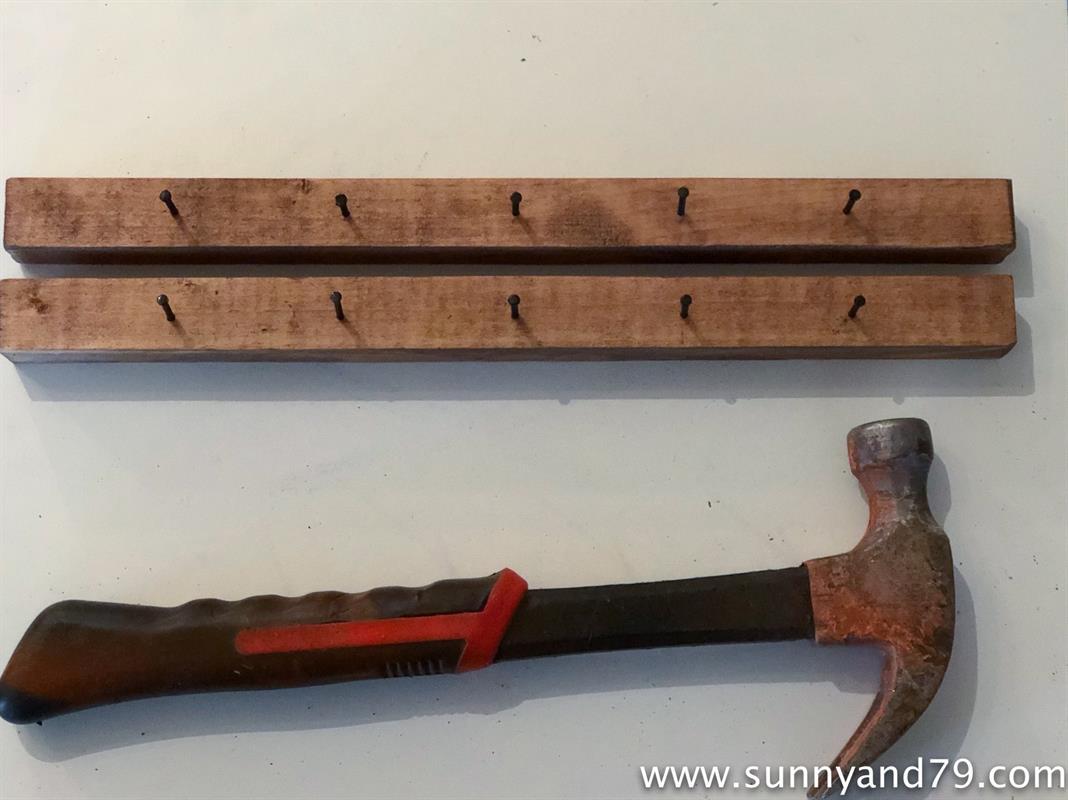
Now, take your 2- 3/4" x 12" pieces and add nails. I placed 5 nails in each one spaced 2" apart. I nailed them in enough to be sturdy, but left enough sticking out to hang rings and necklaces on.
-
Assemble Frame
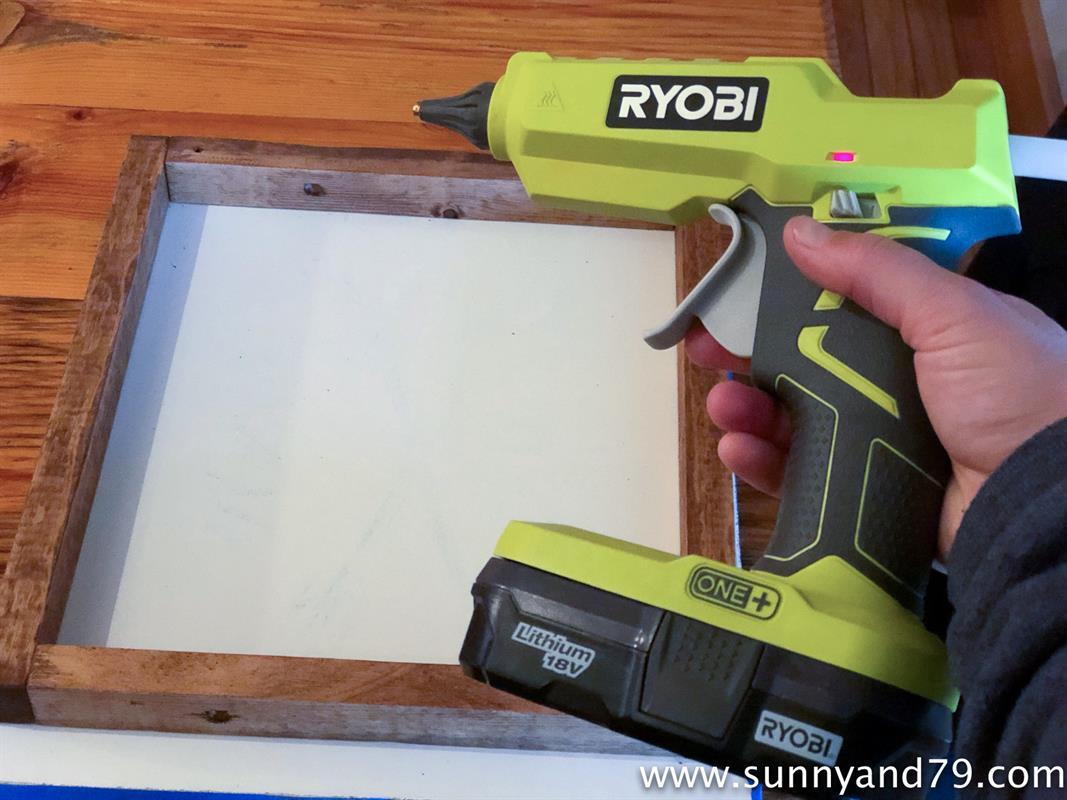
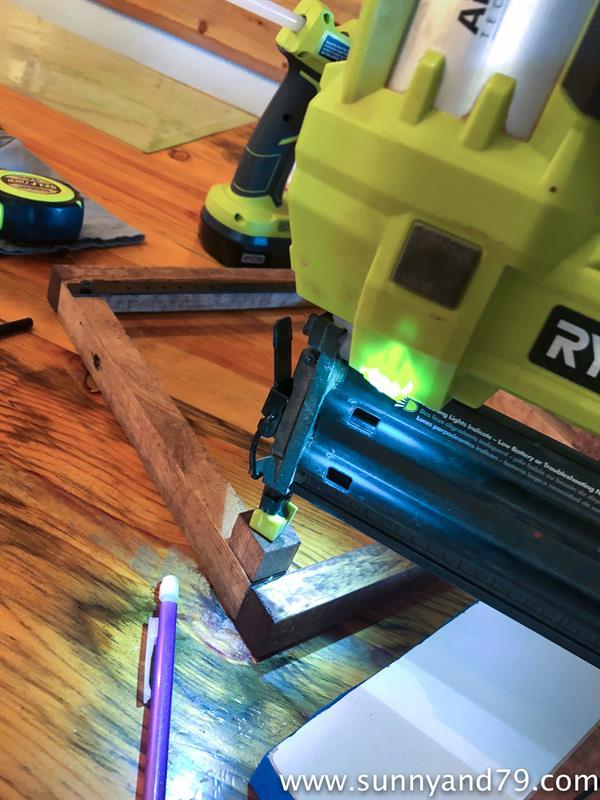
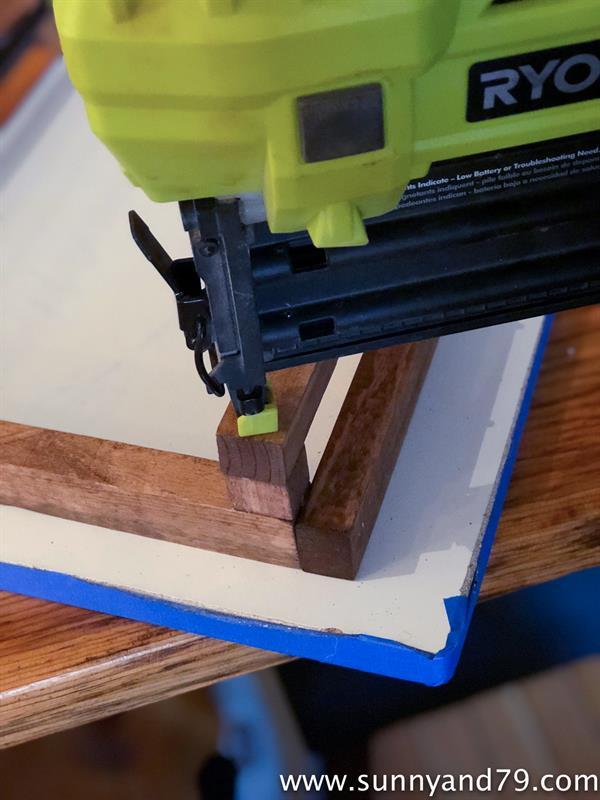
Now, assemble the frame using your 2- 1" x 12" pieces, and your 2- 1" x 9 1/2" pieces. The 9 1/2" pieces go on the inside of the 12" pieces. I like to secure things with a dab of hot glue while I nail them together.
-
Add Earring Bar
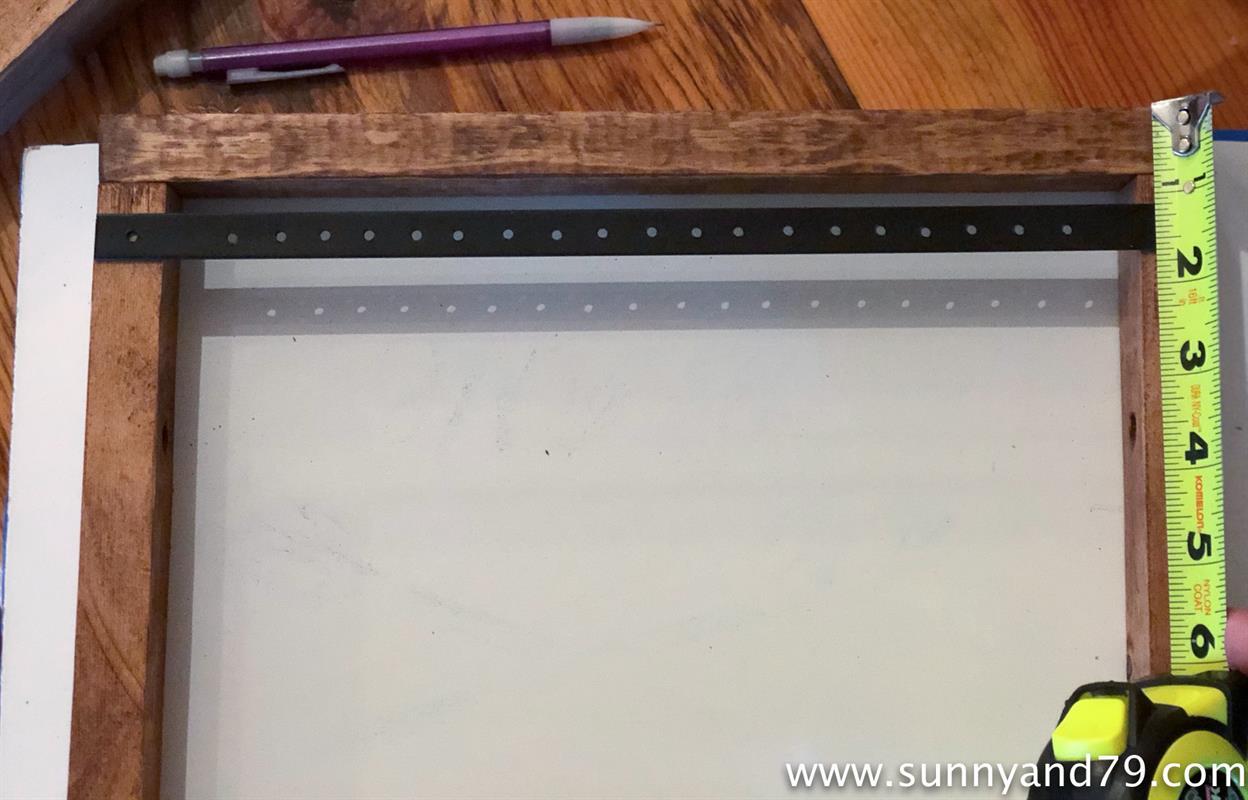
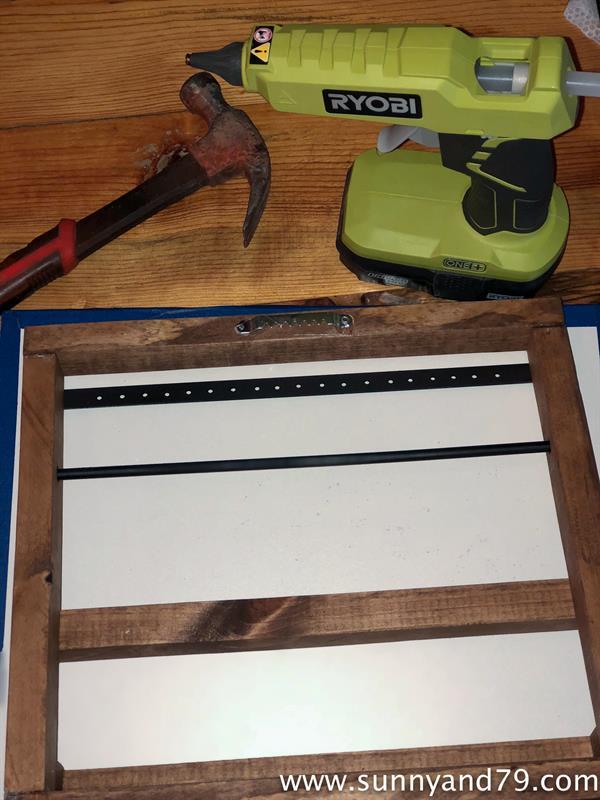
Now, add your Earring bar. Attach with the top of the bar 1 1/8" from the top of your frame. Make sure to pre-drill your holes so the wood doesn't split, and attach with 3/4" screws.
-
Add Scrap Pieces
Now, attach your scrap 3/4" pieces. Use hot glue to secure and nail them with the top 1 1/2" up from the bottom of the frame. These will allow one of your necklace bars to sit out, allowing necklaces from the other to go behind it...
-
Add Necklace Bars
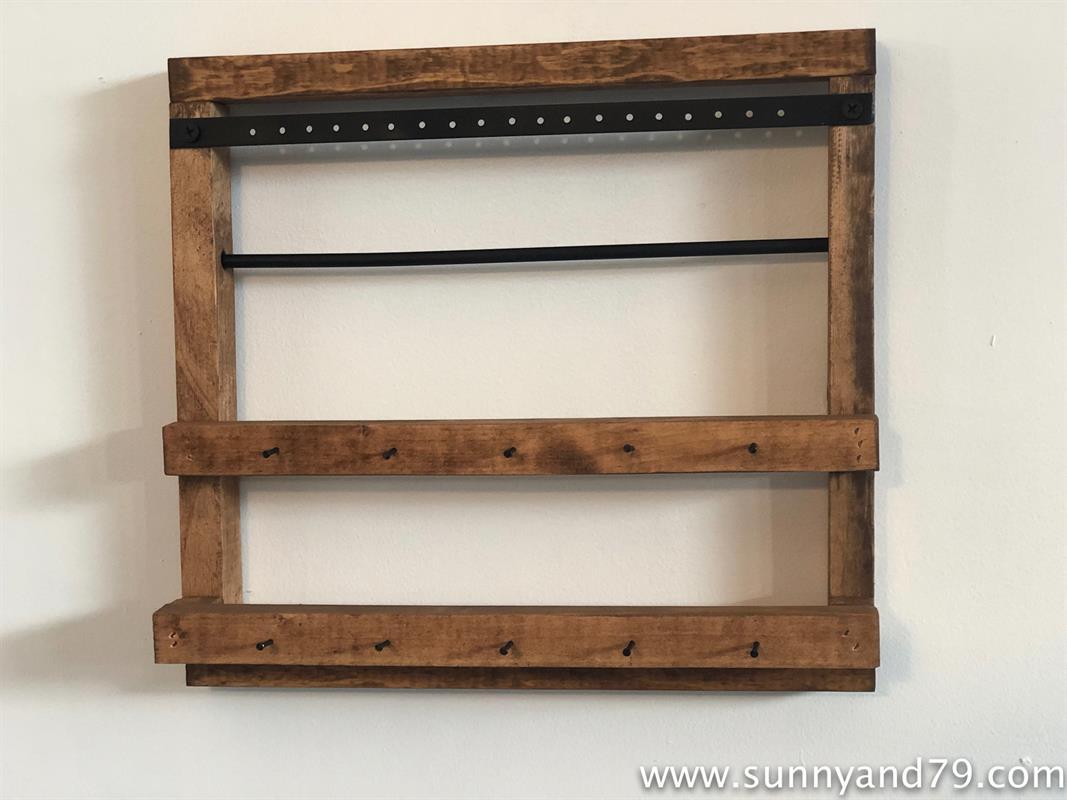
Now, add your pieces with the nails. One will go on top of the scraps you just attached, and the other will go with the top 4 3/4" up from the bottom of the frame. Attach with glue and nails.
-
Attach Sawtooth Hanger
Almost Done! Now, attach the sawtooth hanger with hot glue and nails, centered to the back of the top of the frame.
-
Finished!
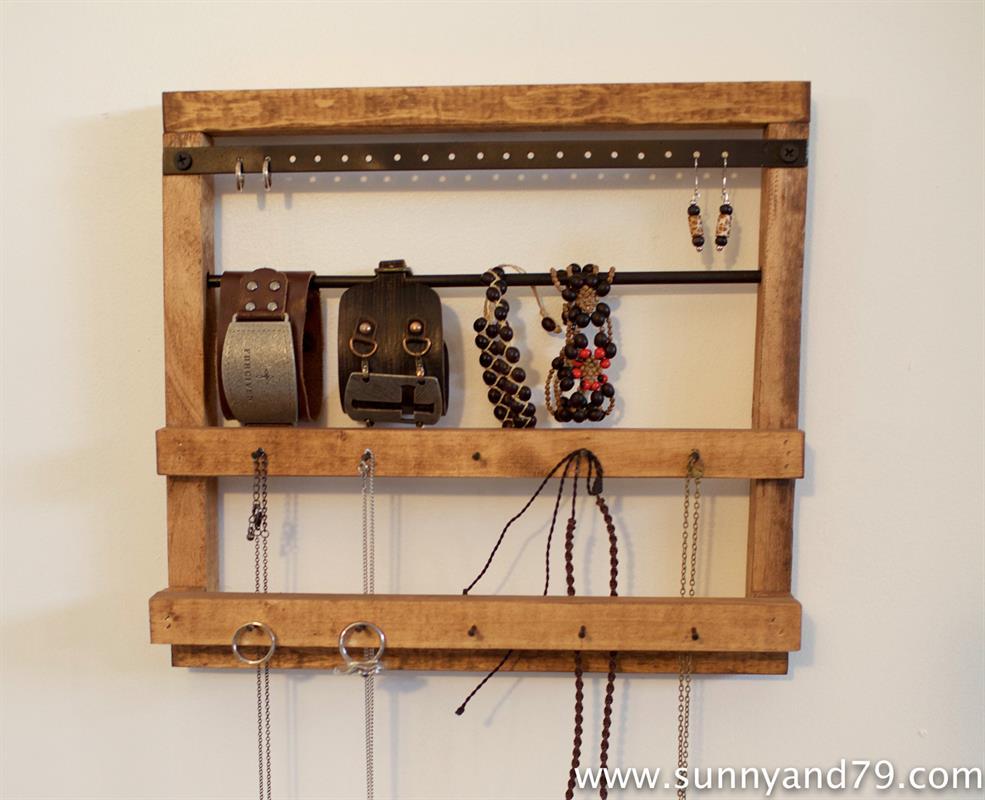
Now, hang it up and add some jewelry- or wrap it up for someone special :)
For more pictures, check out http://www.sunnyand79.com/pottery-barn-inspired-rustic-jewelry-holder/
Please let me know if you have any questions! And we'd love for you to post your pictures here if you decide to build your own :) -
Add Bracelet Rod
Slide the bracelet rod into the holes you drilled in the side of the frame.


