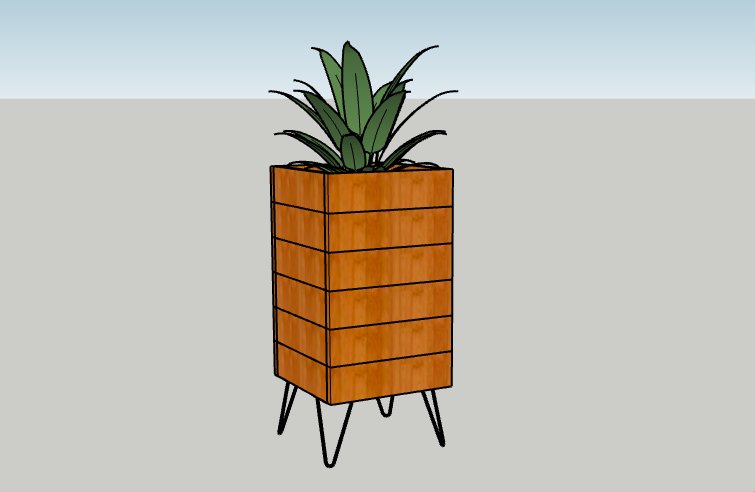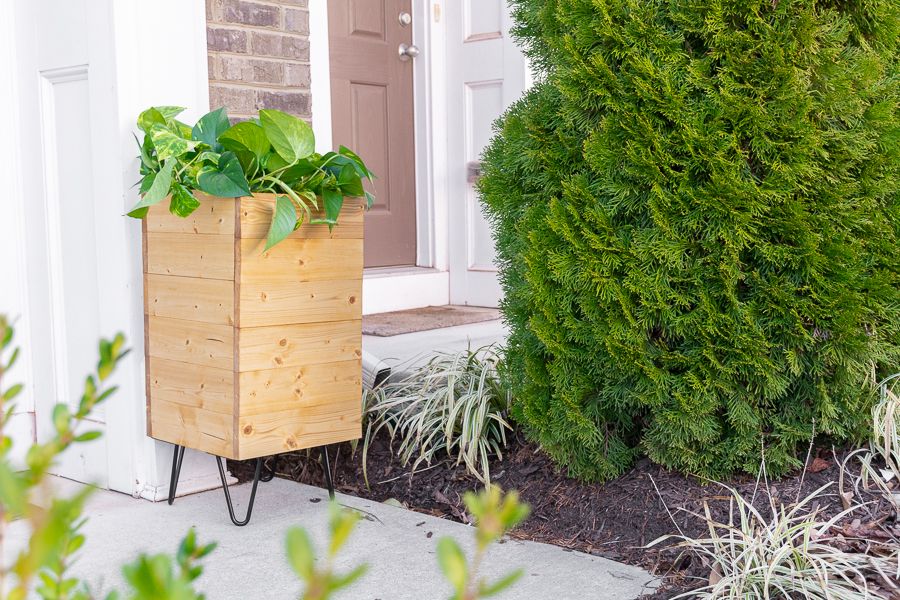
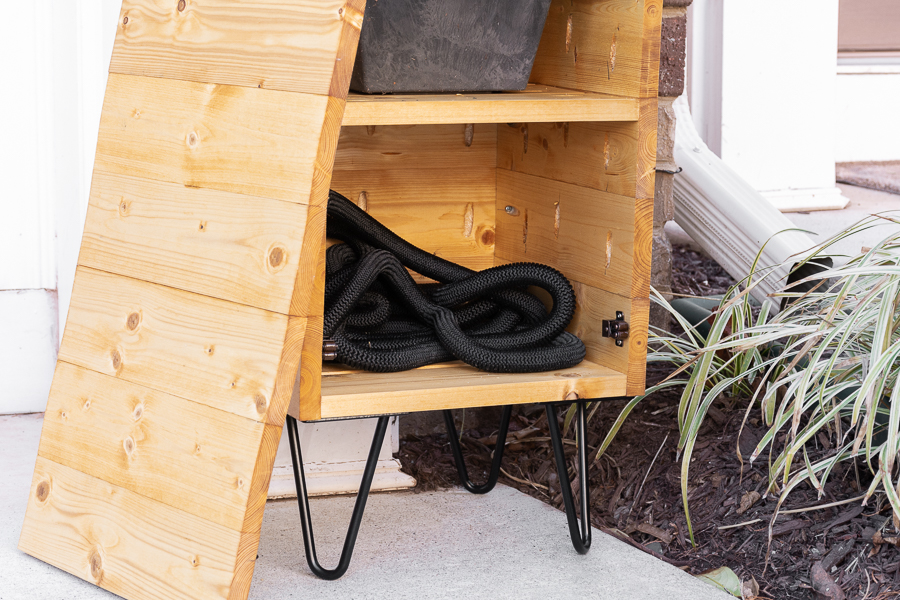


Learn how to build a porch planter with hidden hose storage—perfect for smaller homes!
Tools
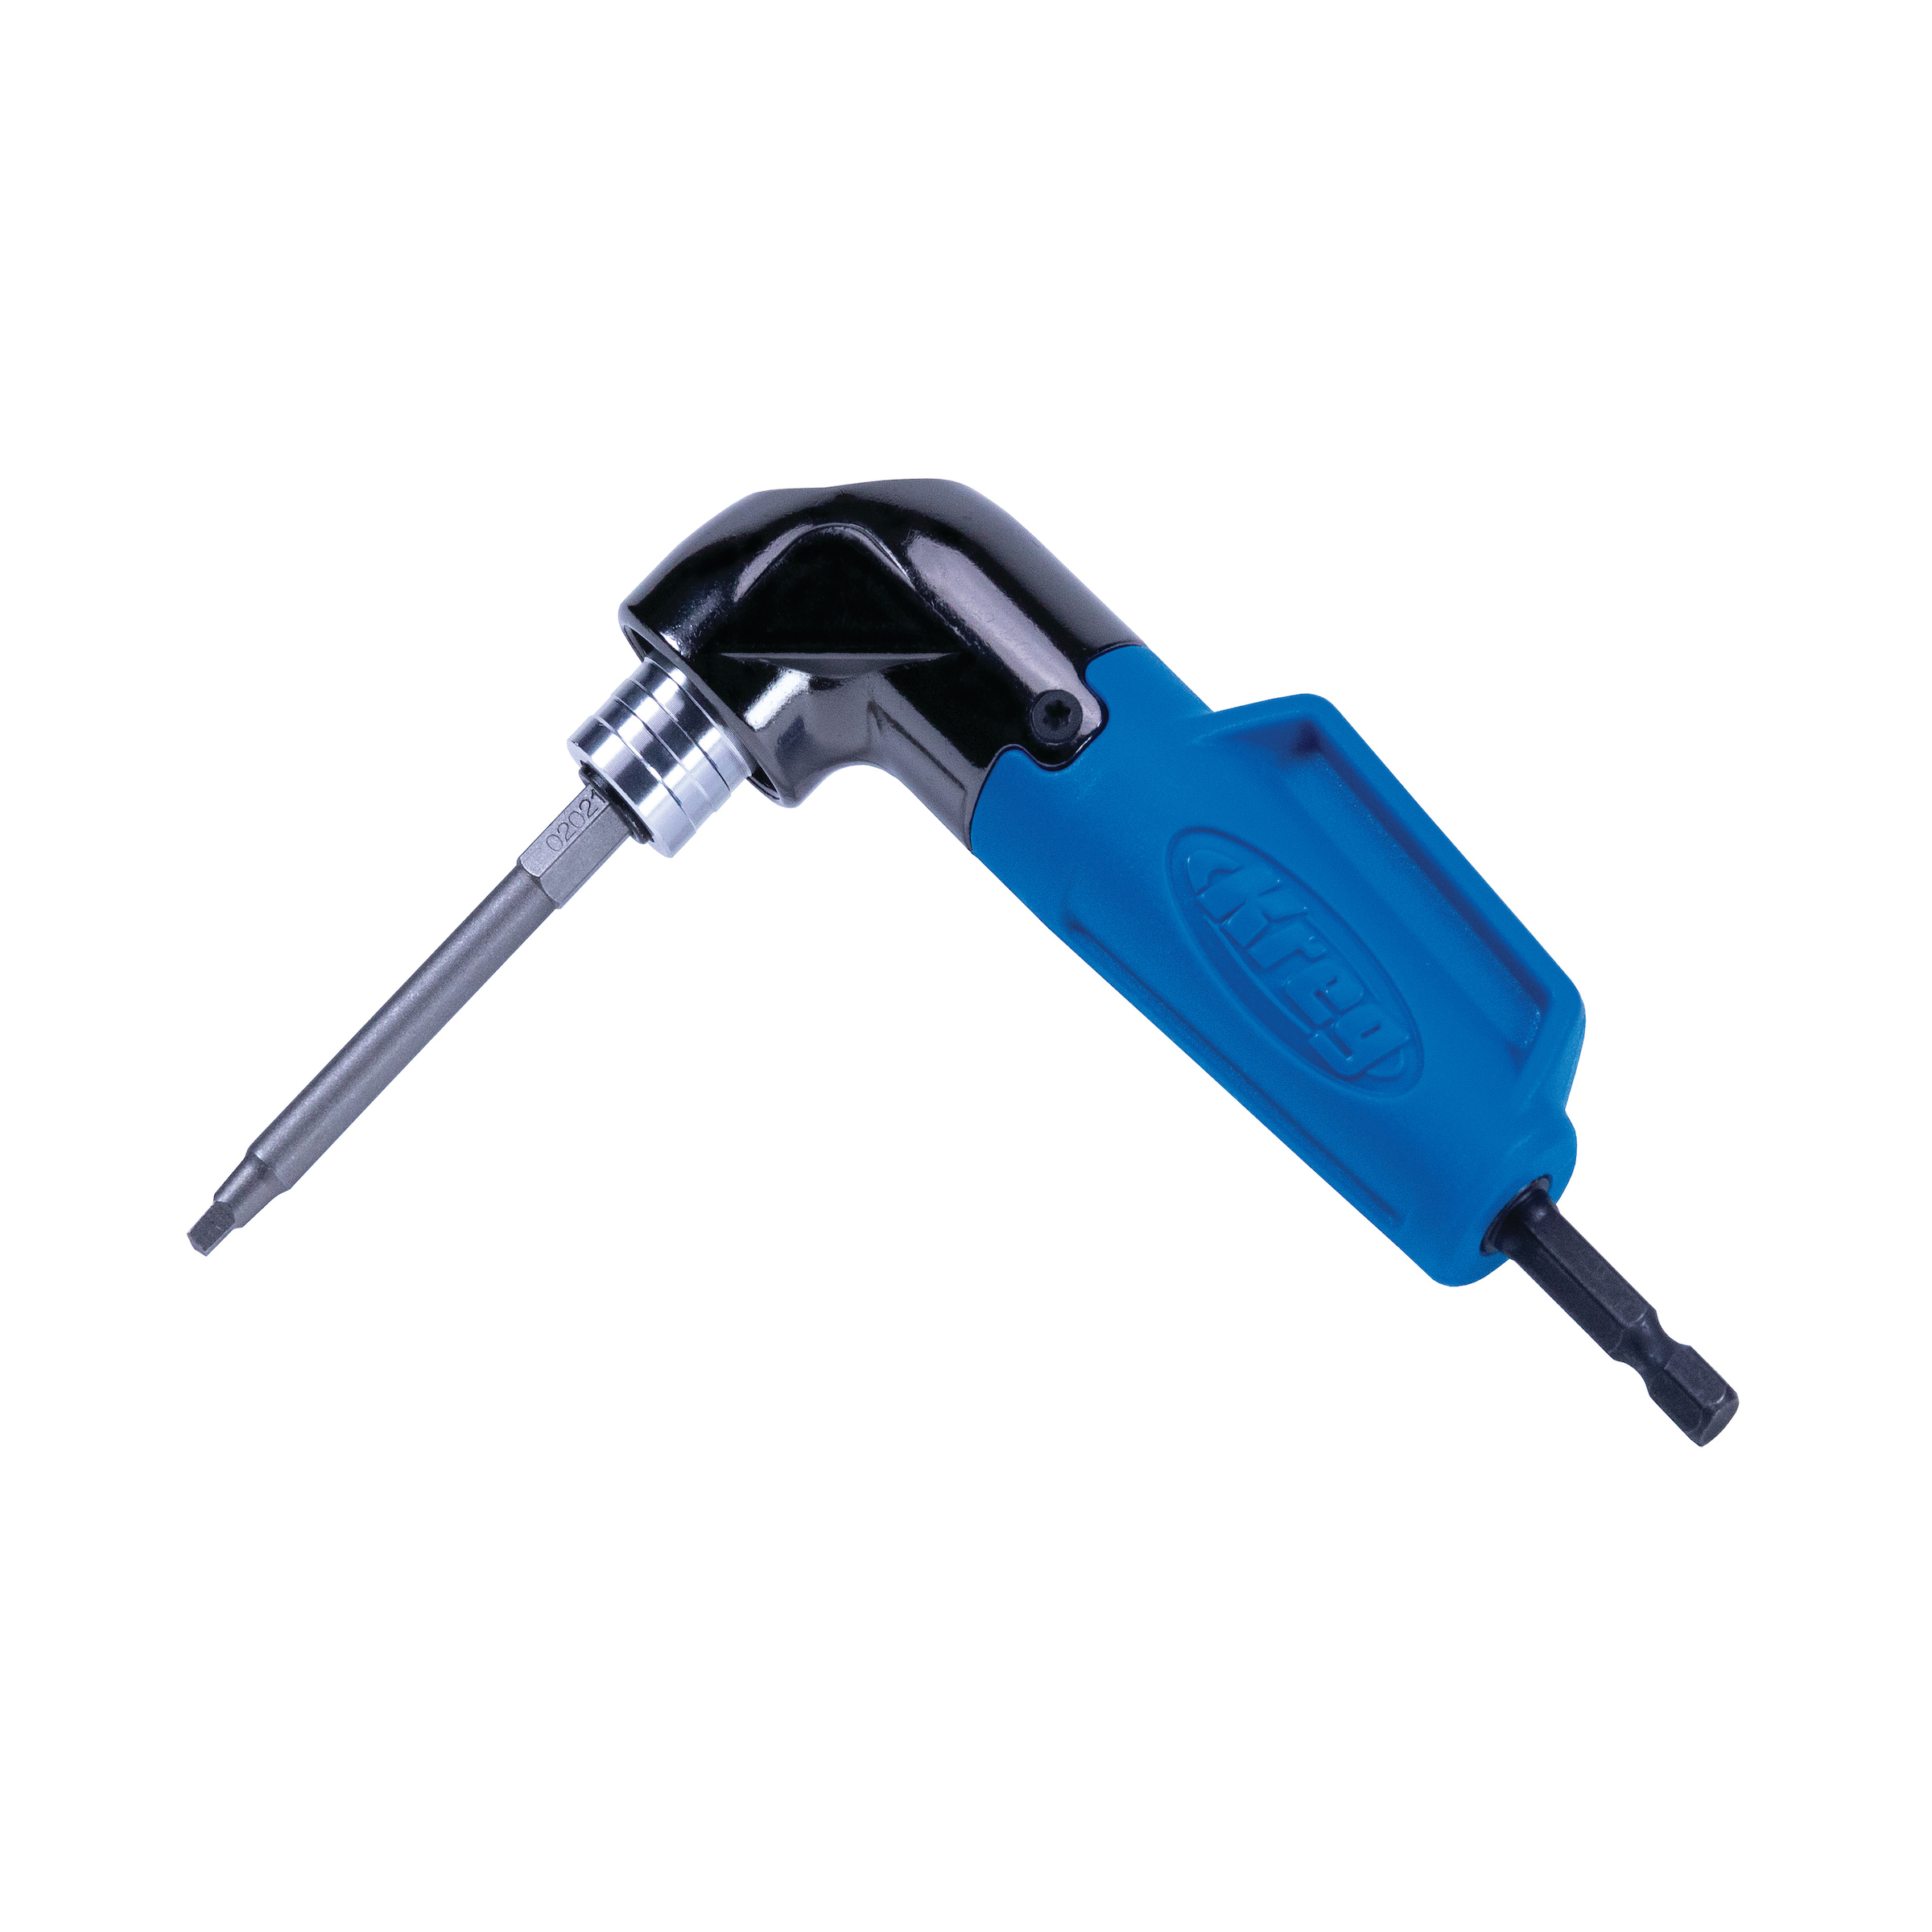
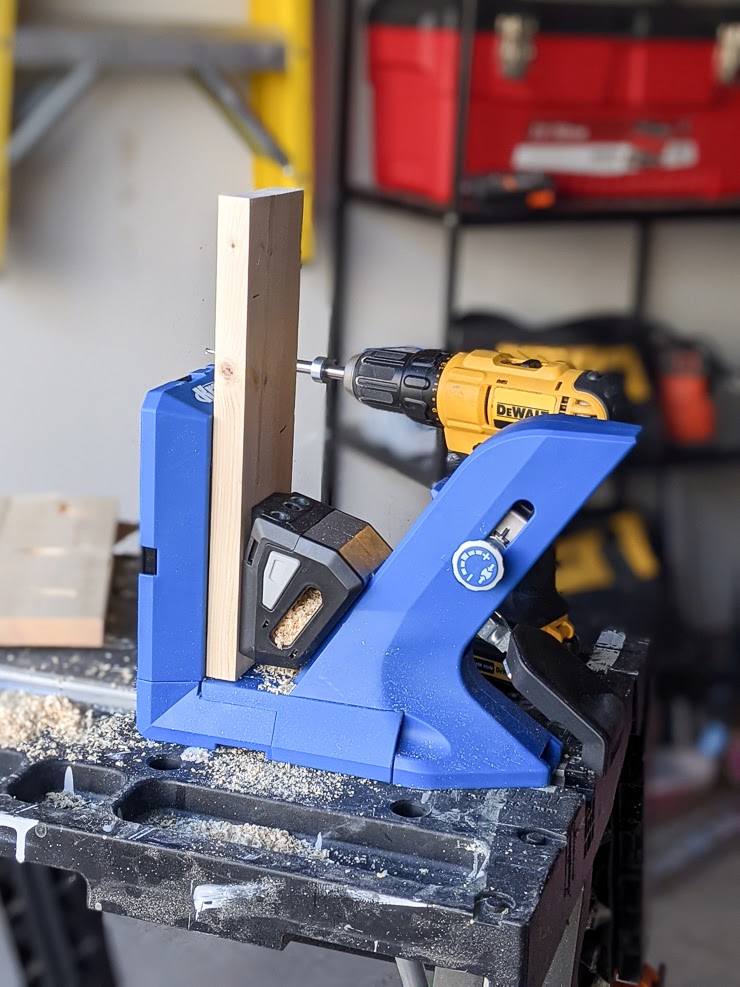
Kreg Tools


Other Tools
-
Miter Saw

Materials
Wood Products
- 4 Pine boards , 1x4x8
Hardware & Supplies
- 1 1 ¼ pocket-hole screws
- 1 Outdoor wood stain
- 4 Double-barrel roller catches
- 4 Powder-coated steel hairpin legs
- 1 Wood Glue
Directions
-
Cut pieces and drill pocket holes as outlined
This entire project is made out of 1x4, so it involves a lot of pocket holes! See the images in steps 2 and 3 for pocket hole placement on the front, back, left, and right panels; see the image in step 4 for pocket hole placement on the planter shelf and base.
-
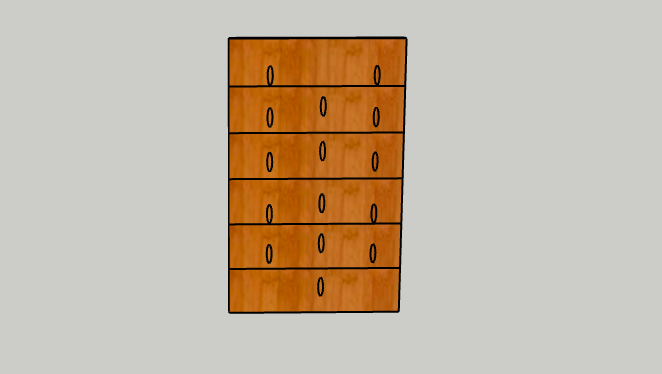
Join pieces for the front, back, and sides to create four panels
Run a line of wood glue along each piece and join using pocket hole screws; (6) 13” pieces will form the front, (6) 13” pieces will form the back, (6) 11.5” pieces will form the right side, and (6) 11.5” pieces will form the left side.
-
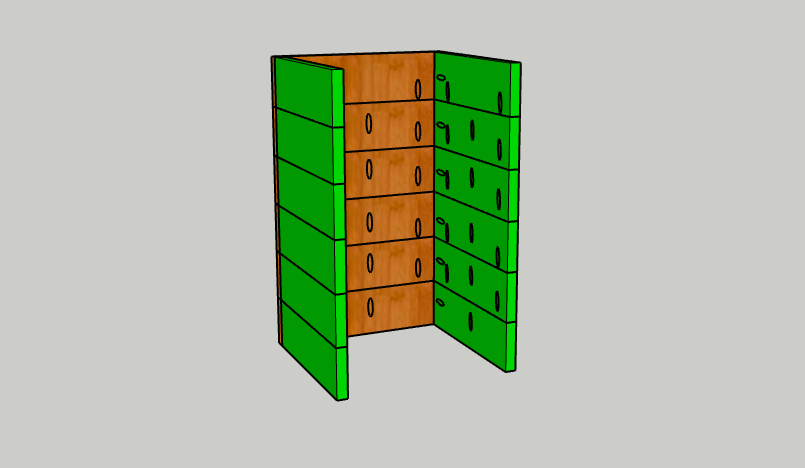
Attach the sides to the back panel using the pocket holes
Run a line of wood glue along the back-ends of the side panels and attach to the back panel using pocket hole screws.
-
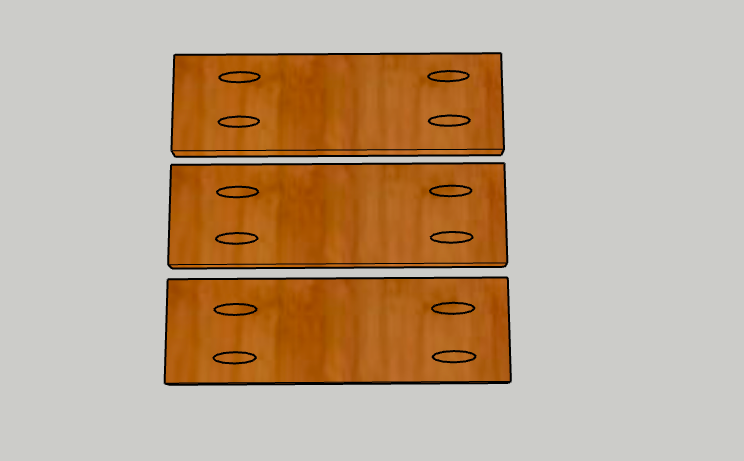
Attach the 3 pieces for the slatted base
Attach the (3) 11.5” pieces that form the slatted base. There is a slight gap between them to facilitate water drainage. I chose to have the pocket holes facing down.
-
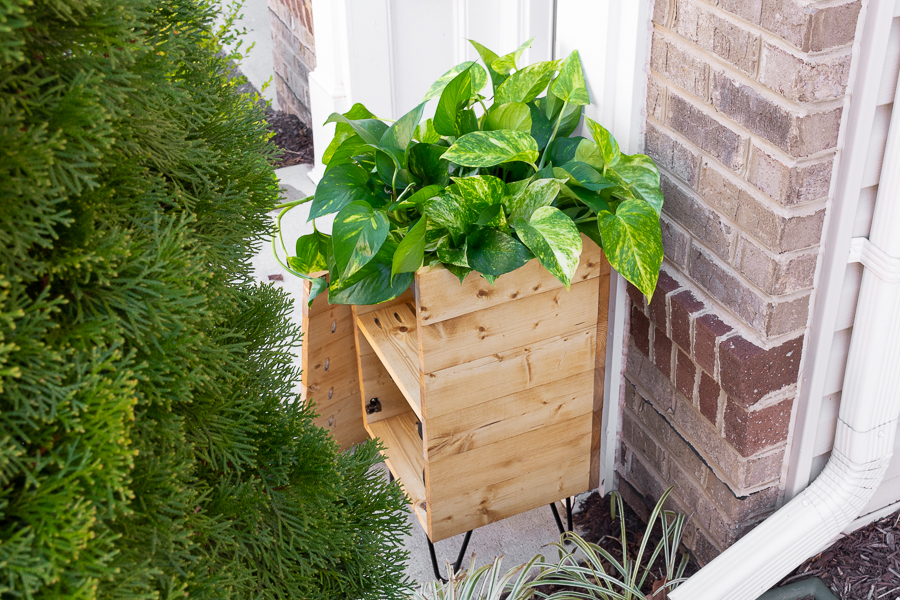
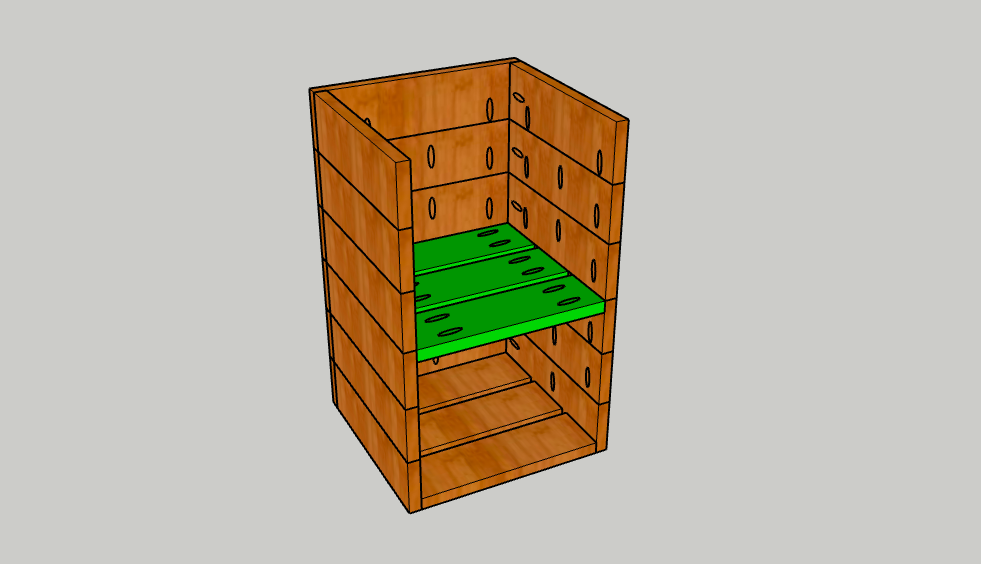
Attach 3 pieces for the planter shelf
Attach the remaining (3) 11.5” pieces using pocket hole screws to form the planter shelf. The top of the shelf should be positioning in the center of the left and right sides; however, you can adjust the height ass necessary to fit a specific planter.
-
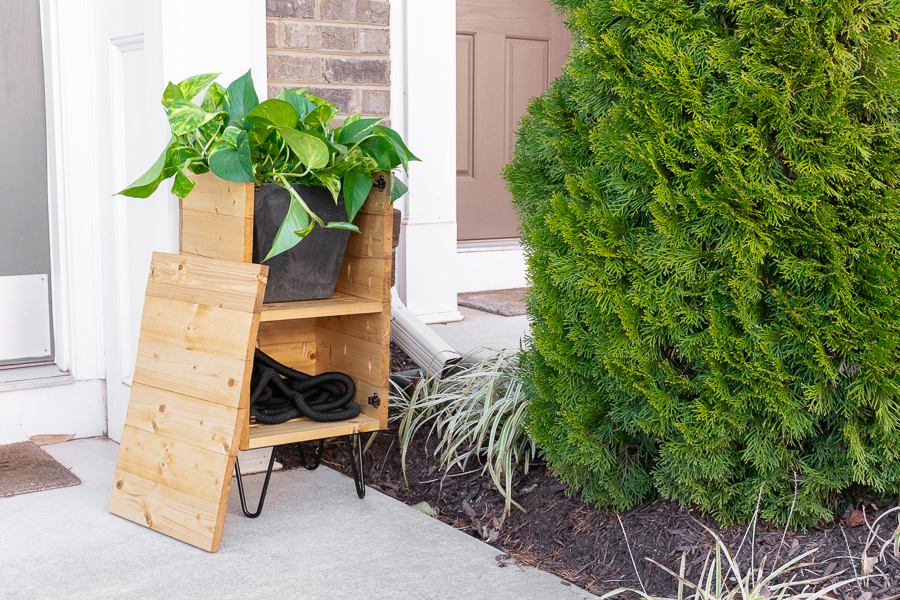
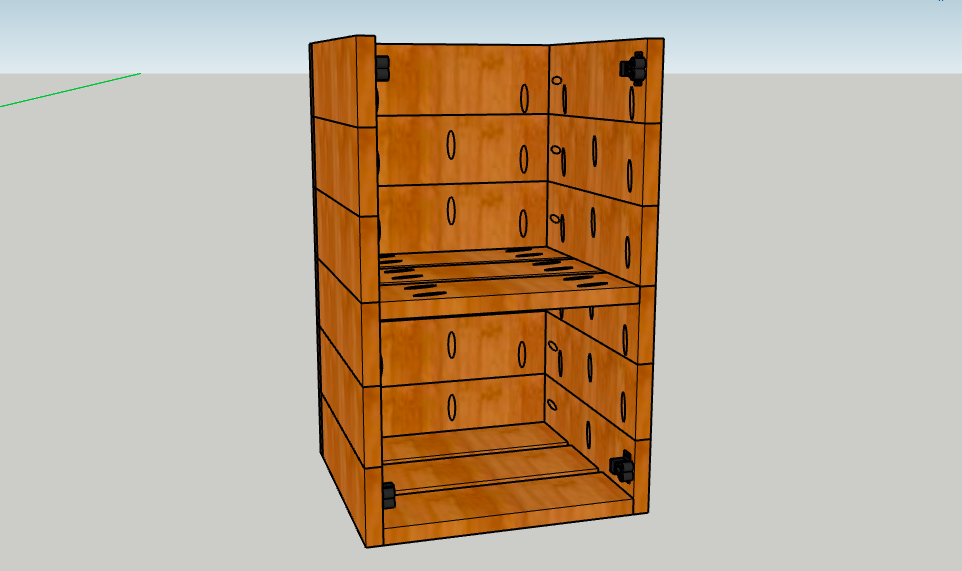
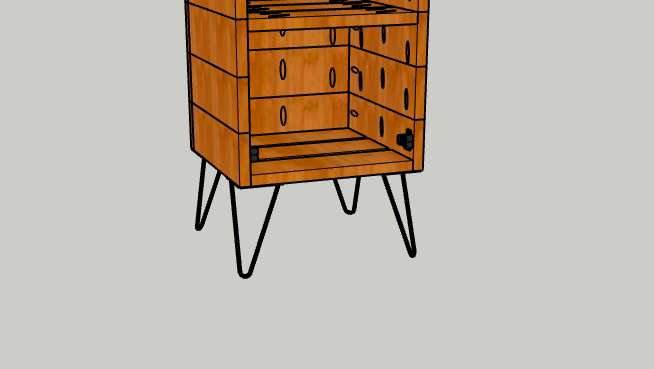
Attach the double-roller catches
The removable front panel attaches to the planter using double-roller catches like you’d find on cabinets. I used four: one for each corner. The roller catch goes on the planter, while the corresponding piece for each catch goes on the front panel. These hold the weight of the front panel perfectly; however, if you use a wood that is heavier than pine, you may need to use a hinged approach.
-
Attach legs
The legs are optional, but I think it adds a finished look. I used steel powder-coated hairpin legs because they are resistant to rusting. Remove the front panel and screw the legs onto the bottom four corners of the planter.
-
Finish for outdoor use
Protect the wood with an outdoor stain and sealer.
Tip:
If you have space in front of your hose bib for the planter, you can drill a small hole in the back of the planter using a hole saw bit or a spade bit and feed the hose through that to keep it attached. If not, this is the perfect solution to store the hose between uses.