


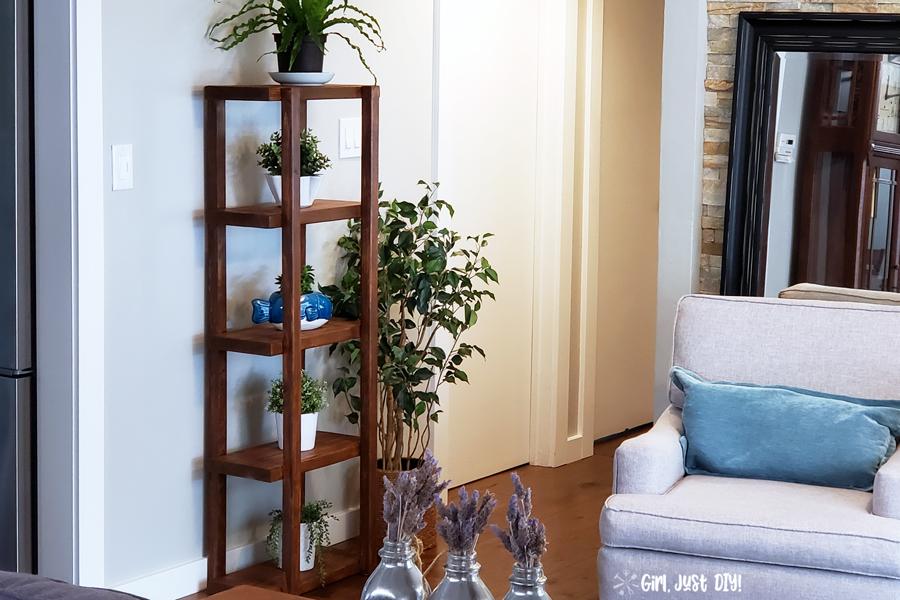
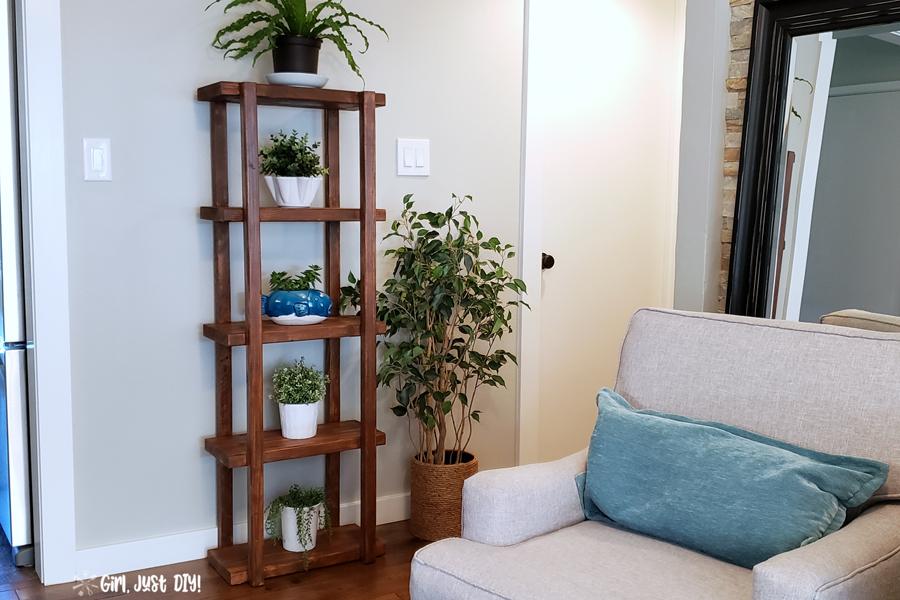


Build this beautiful Plant Stand Tower from basic construction materials. Or build it with redwood to use it outdoors. Simple cuts make this an easy project for beginners. Stain it and use it to display houseplants, or even faux houseplants.
Tools
Kreg Tools


Other Tools
-
Miter Saw

-
Tape Measure
-
Tape Measure
Materials
Wood Products
- 4 Board , 2x2 , 72"
- 1 Board , 2x10 , 120"
Hardware & Supplies
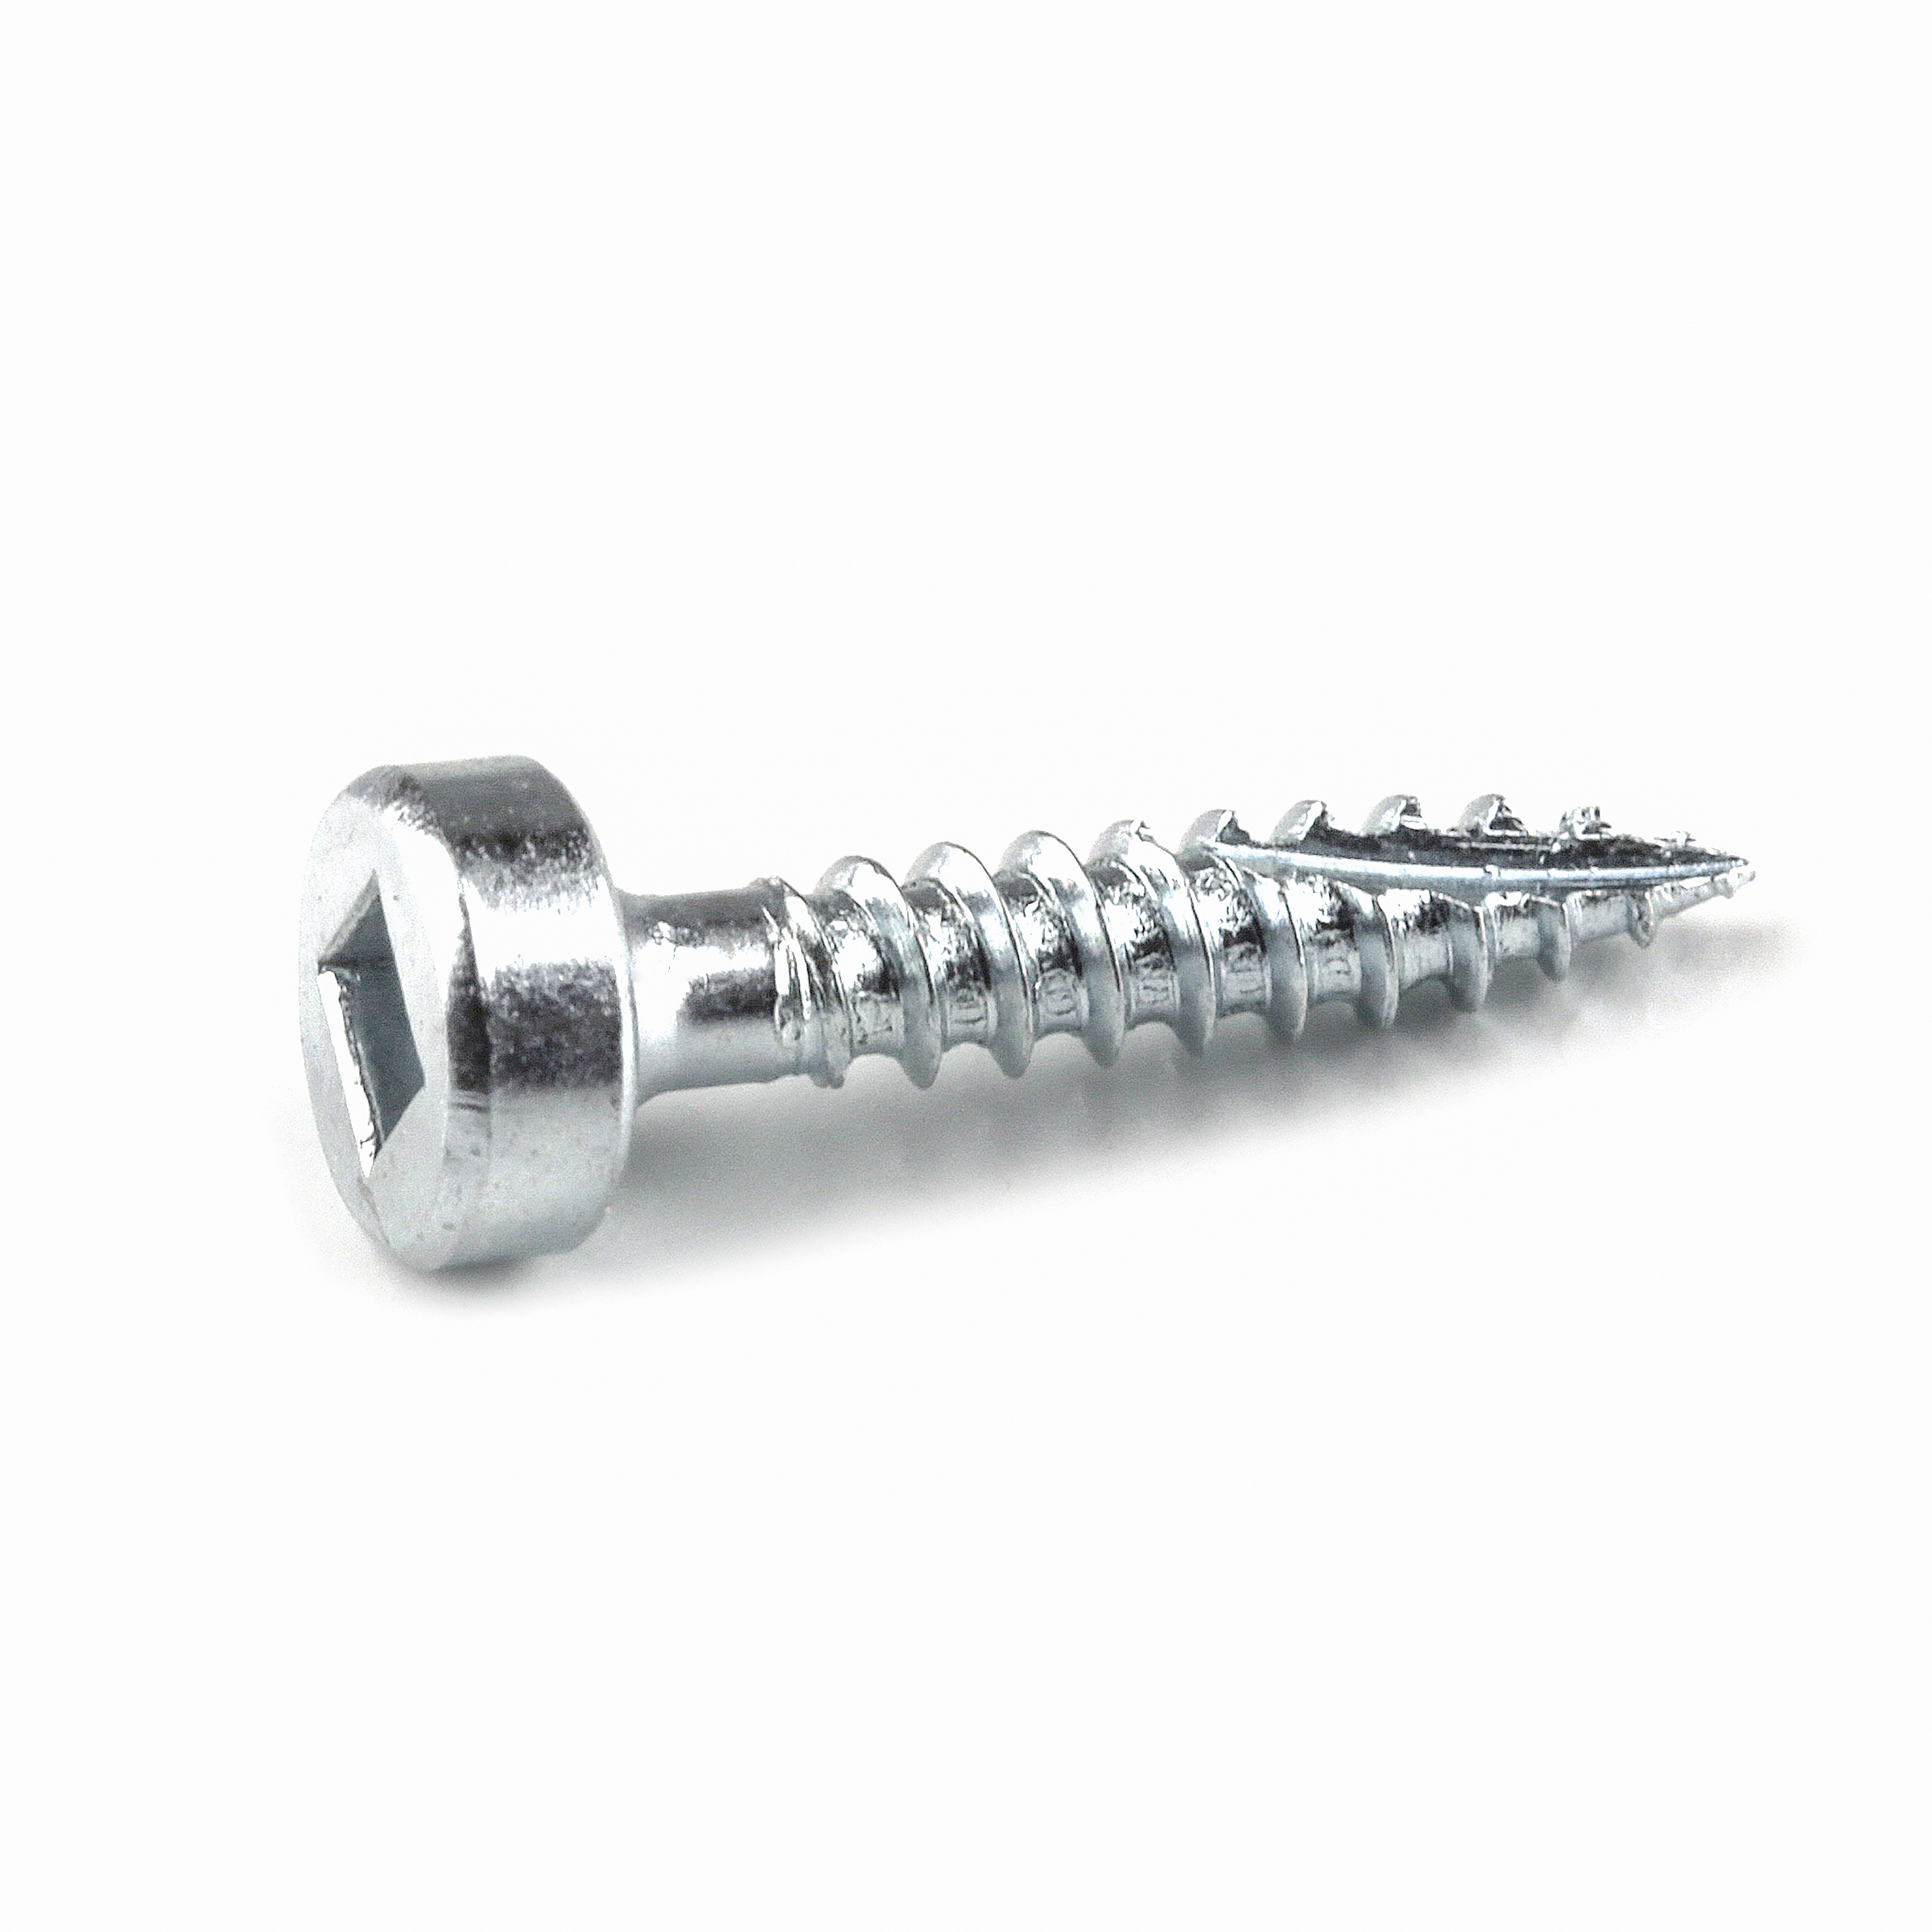
- 40 2-1/2" Pocket Hole Screws (Soft Wood)
Cut List & Parts
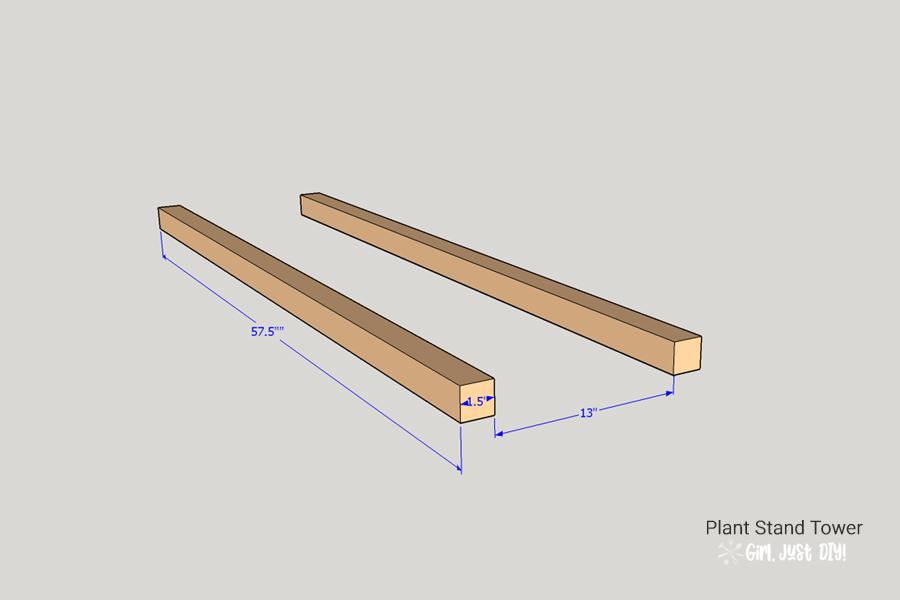
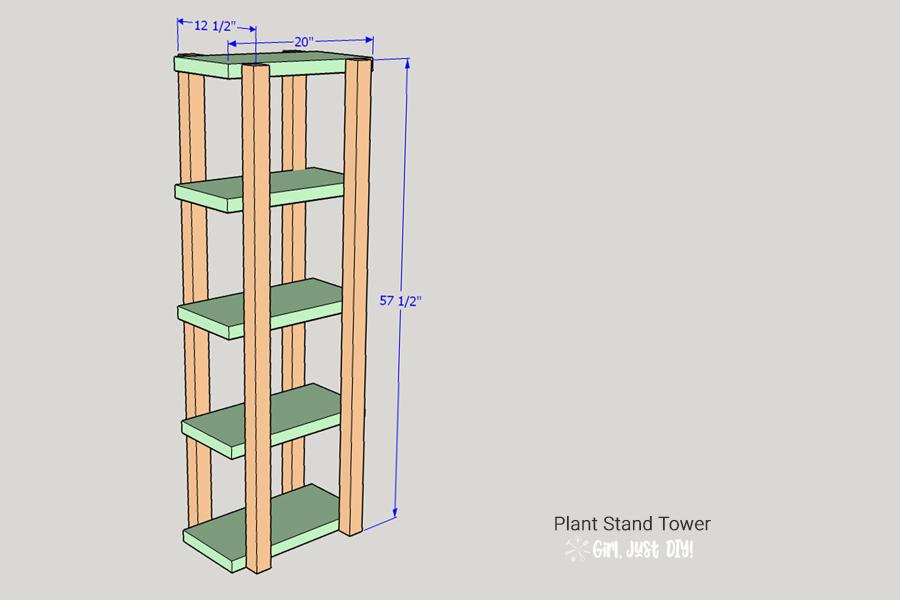
- 4 Legs , 1.5" x 1.5" x 57-1/2"
- 5 Shelves , 1.5" x 9.5" x 20"

Directions
-
Cut all your pieces
Construction materials are not the actual thickness they are presented to be. A 2x2 board is actually 1.5" x 1.5". Just as 2"x10" are 1.5" x 9.5"
The overall dimensions given on the project use the actual measurements of the wood board.
Cut your legs and shelves according to the cut list.
-
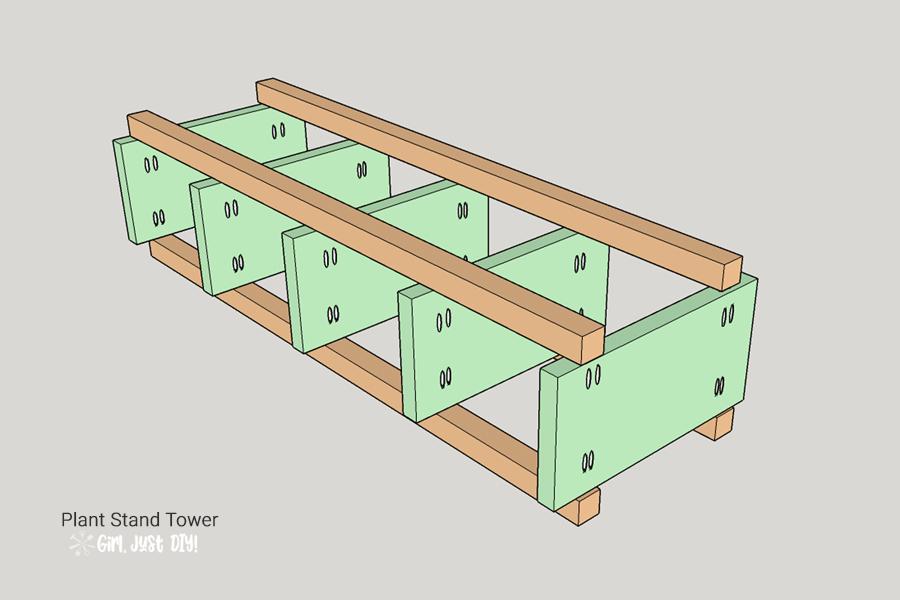
Front leg alignment
On your sawhorse lay your front legs onto the work surface. Clamp a scrap board to edge of your work surface. This is where you'll align the legs to ensure your plant stand tower is plumb after assembly. Use a large carpenter square if you have one to ensure the legs are straight.
Using a 13" piece of scrap space out the legs and clamp in place so they don't shift.
-
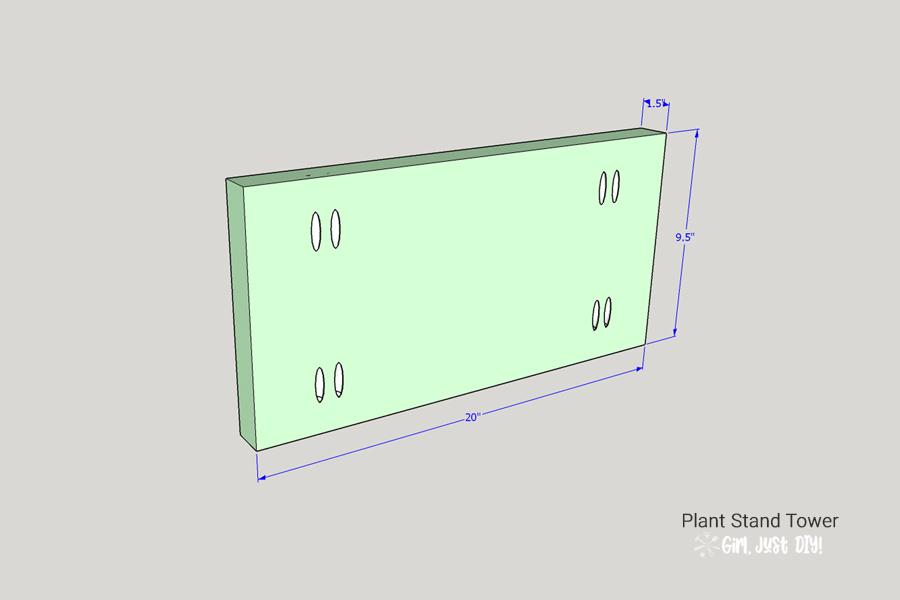
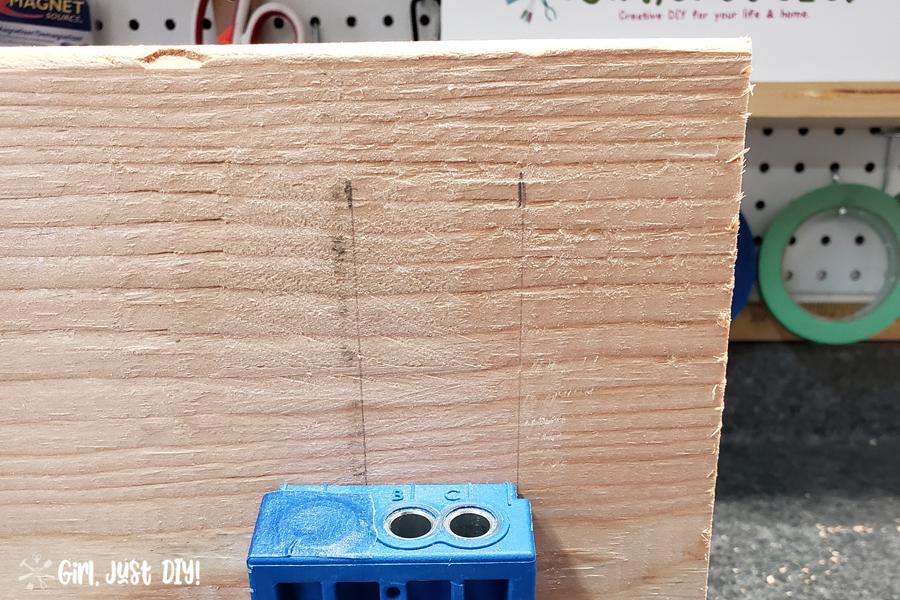
Mark pocket hole location
On the underside of each shelf measure and mark 2" in from the short edge on both ends and on each side. Now make another mark at 3.5" on either side. Draw lines between the marks. You will use these as pocket hole placement guide lines (see picture example.
-
Drill pocket holes
Drill pocket holes on the underside of each shelf as illustrated.

-
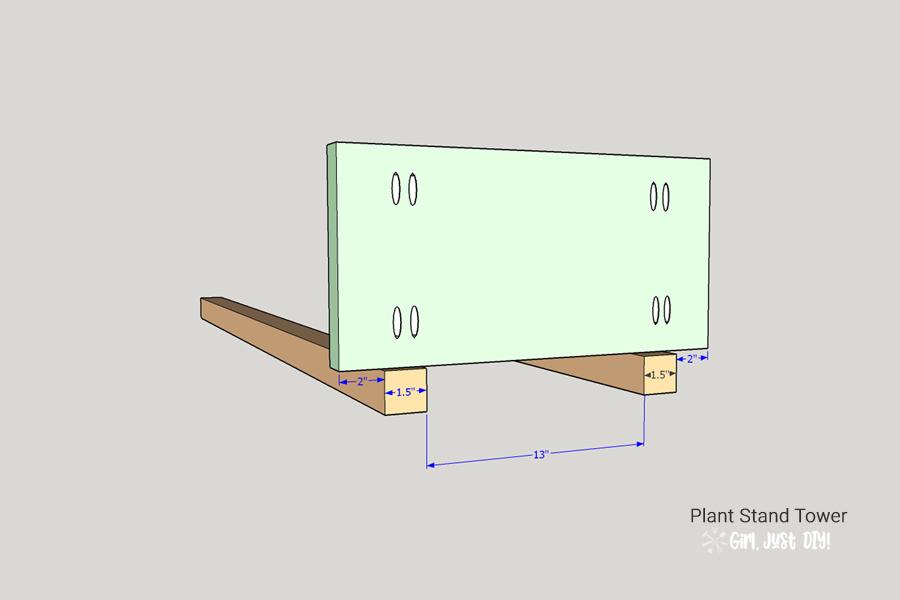
Attach bottom shelf to legs
I suggest partially installing pocket hole screws into each pocket hole.
Screw them until they just start to exit the wood. Back out a bit if needed. This will help with installation of the back legs. As will using a right-angle drill adapter.Each shelf will have a 2" overhang of the legs. Apply a little wood glue to the bottom of each leg where the bottom shelf will be attached.
Line up the bottom shelf so that the bottom is flush with the bottom of the legs. Adjust to ensure you have 2" overhang on each side.
Insert one pocket hole screw on the left side. Check overhang and insert one pocket hole on the right side. Finish by adding the other two pocket hole screws.
-
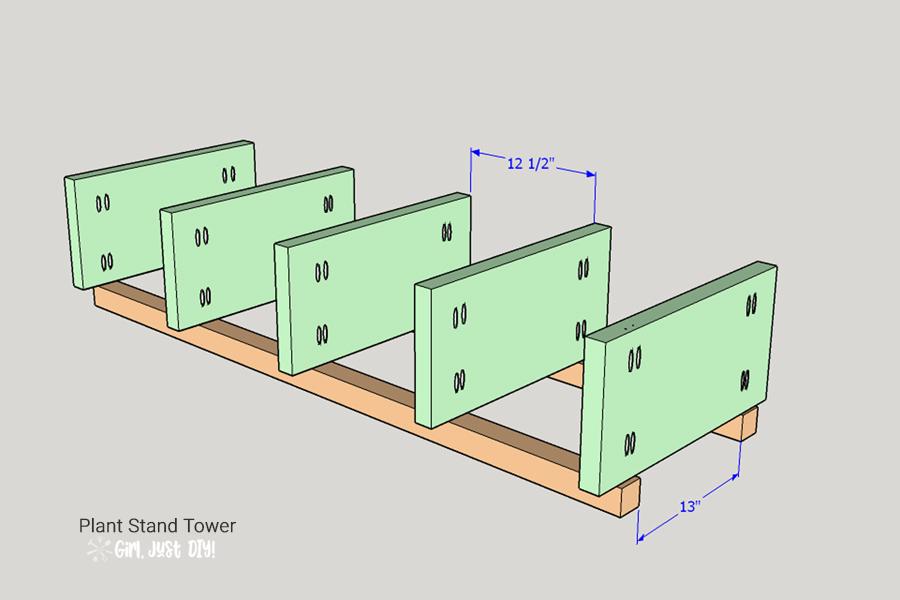
Attach remaining shelves to legs
From the bottom shelf measure and mark 12.5" on each leg. Apply a little wood glue to the legs. Place the shelf and check that the overhang is 2" on each side. Attach with pocket hole screws as in step 6.
Follow this step for the next two shelves.
When attaching the top shelf follow the same steps, except align the top of the top shelf to the top of the front legs. * You may need to move your 13" spacer up as you work to ensure proper spacing. Use of a clamp may help straighten slightly crooked boards.
-
Attach back legs
Apply wood glue on the edge of one side of each shelf over where the pocket holes were drilled.
Lay one of the back legs over the top of the glue and the bottom edge aligned with the bottom of the bottom shelf.
Starting at the bottom check for your 2" overhang and attach from underneath with pocket hole screws. A right angle drill adapter will be helpful with this since space for the drill and bit may be limited.
Follow the same steps with the remaining leg.
You may want to turn the entire plant stand tower over and tighten the pocket hole screws putting pressure downward, if necessary.
-
And you're done!
That's it and you're finished building a beautiful plant stand tower. You can stain it or paint it in your favorite finish. You can see the full visual tutorial for this project on my website - https://www.girljustdiy.com/diy-2x4-plant-stand/
-
Sand individual pieces
Take the time before assembly to sand all your pieces. This will make finishing your plant stand much easier.