

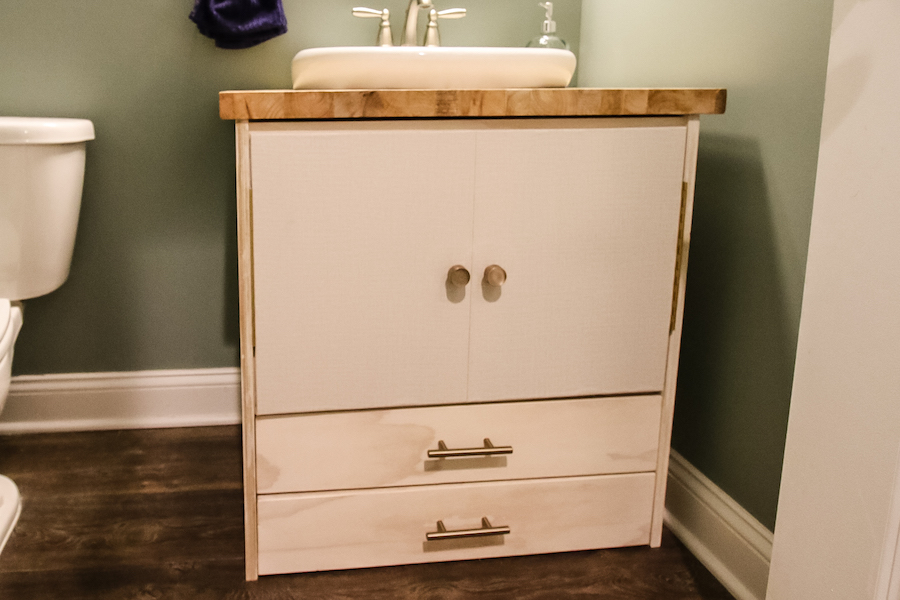
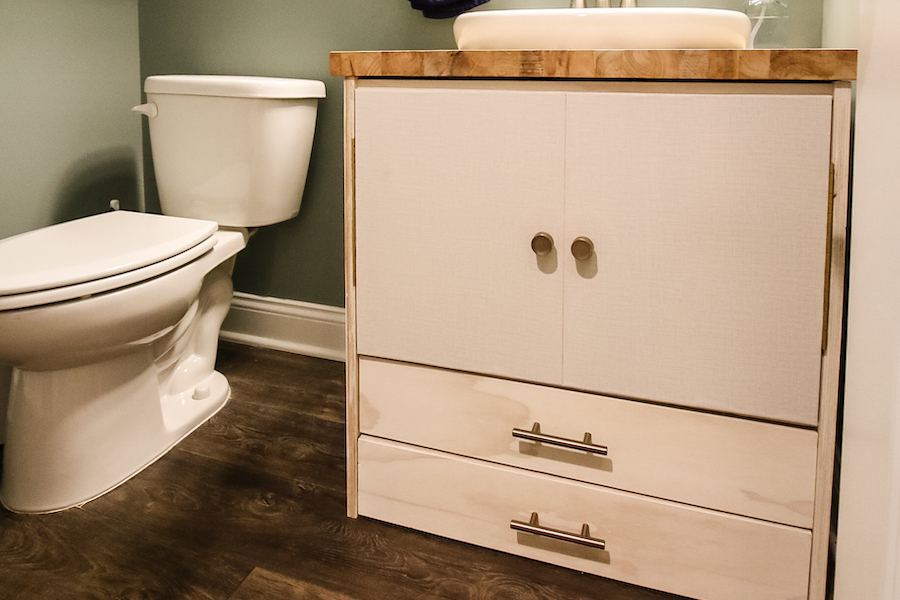
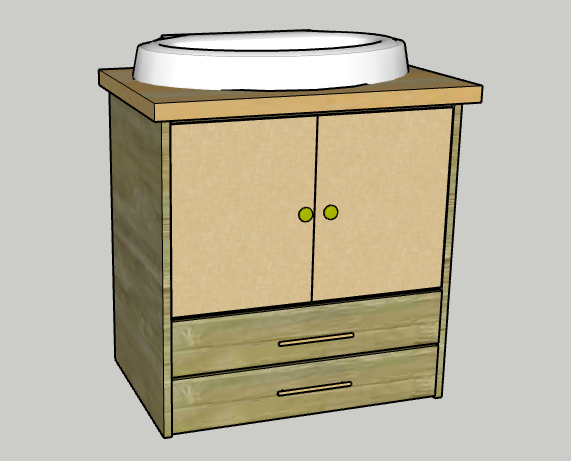


A pedestal sink is common in a half bath, but it doesn't offer you much in terms of storage or counter space. This project will show you how to build a vanity for the pedestal sink and includes step stools for a toddler. It’s a great project for using Kreg cutting systems and joinery.
Tools
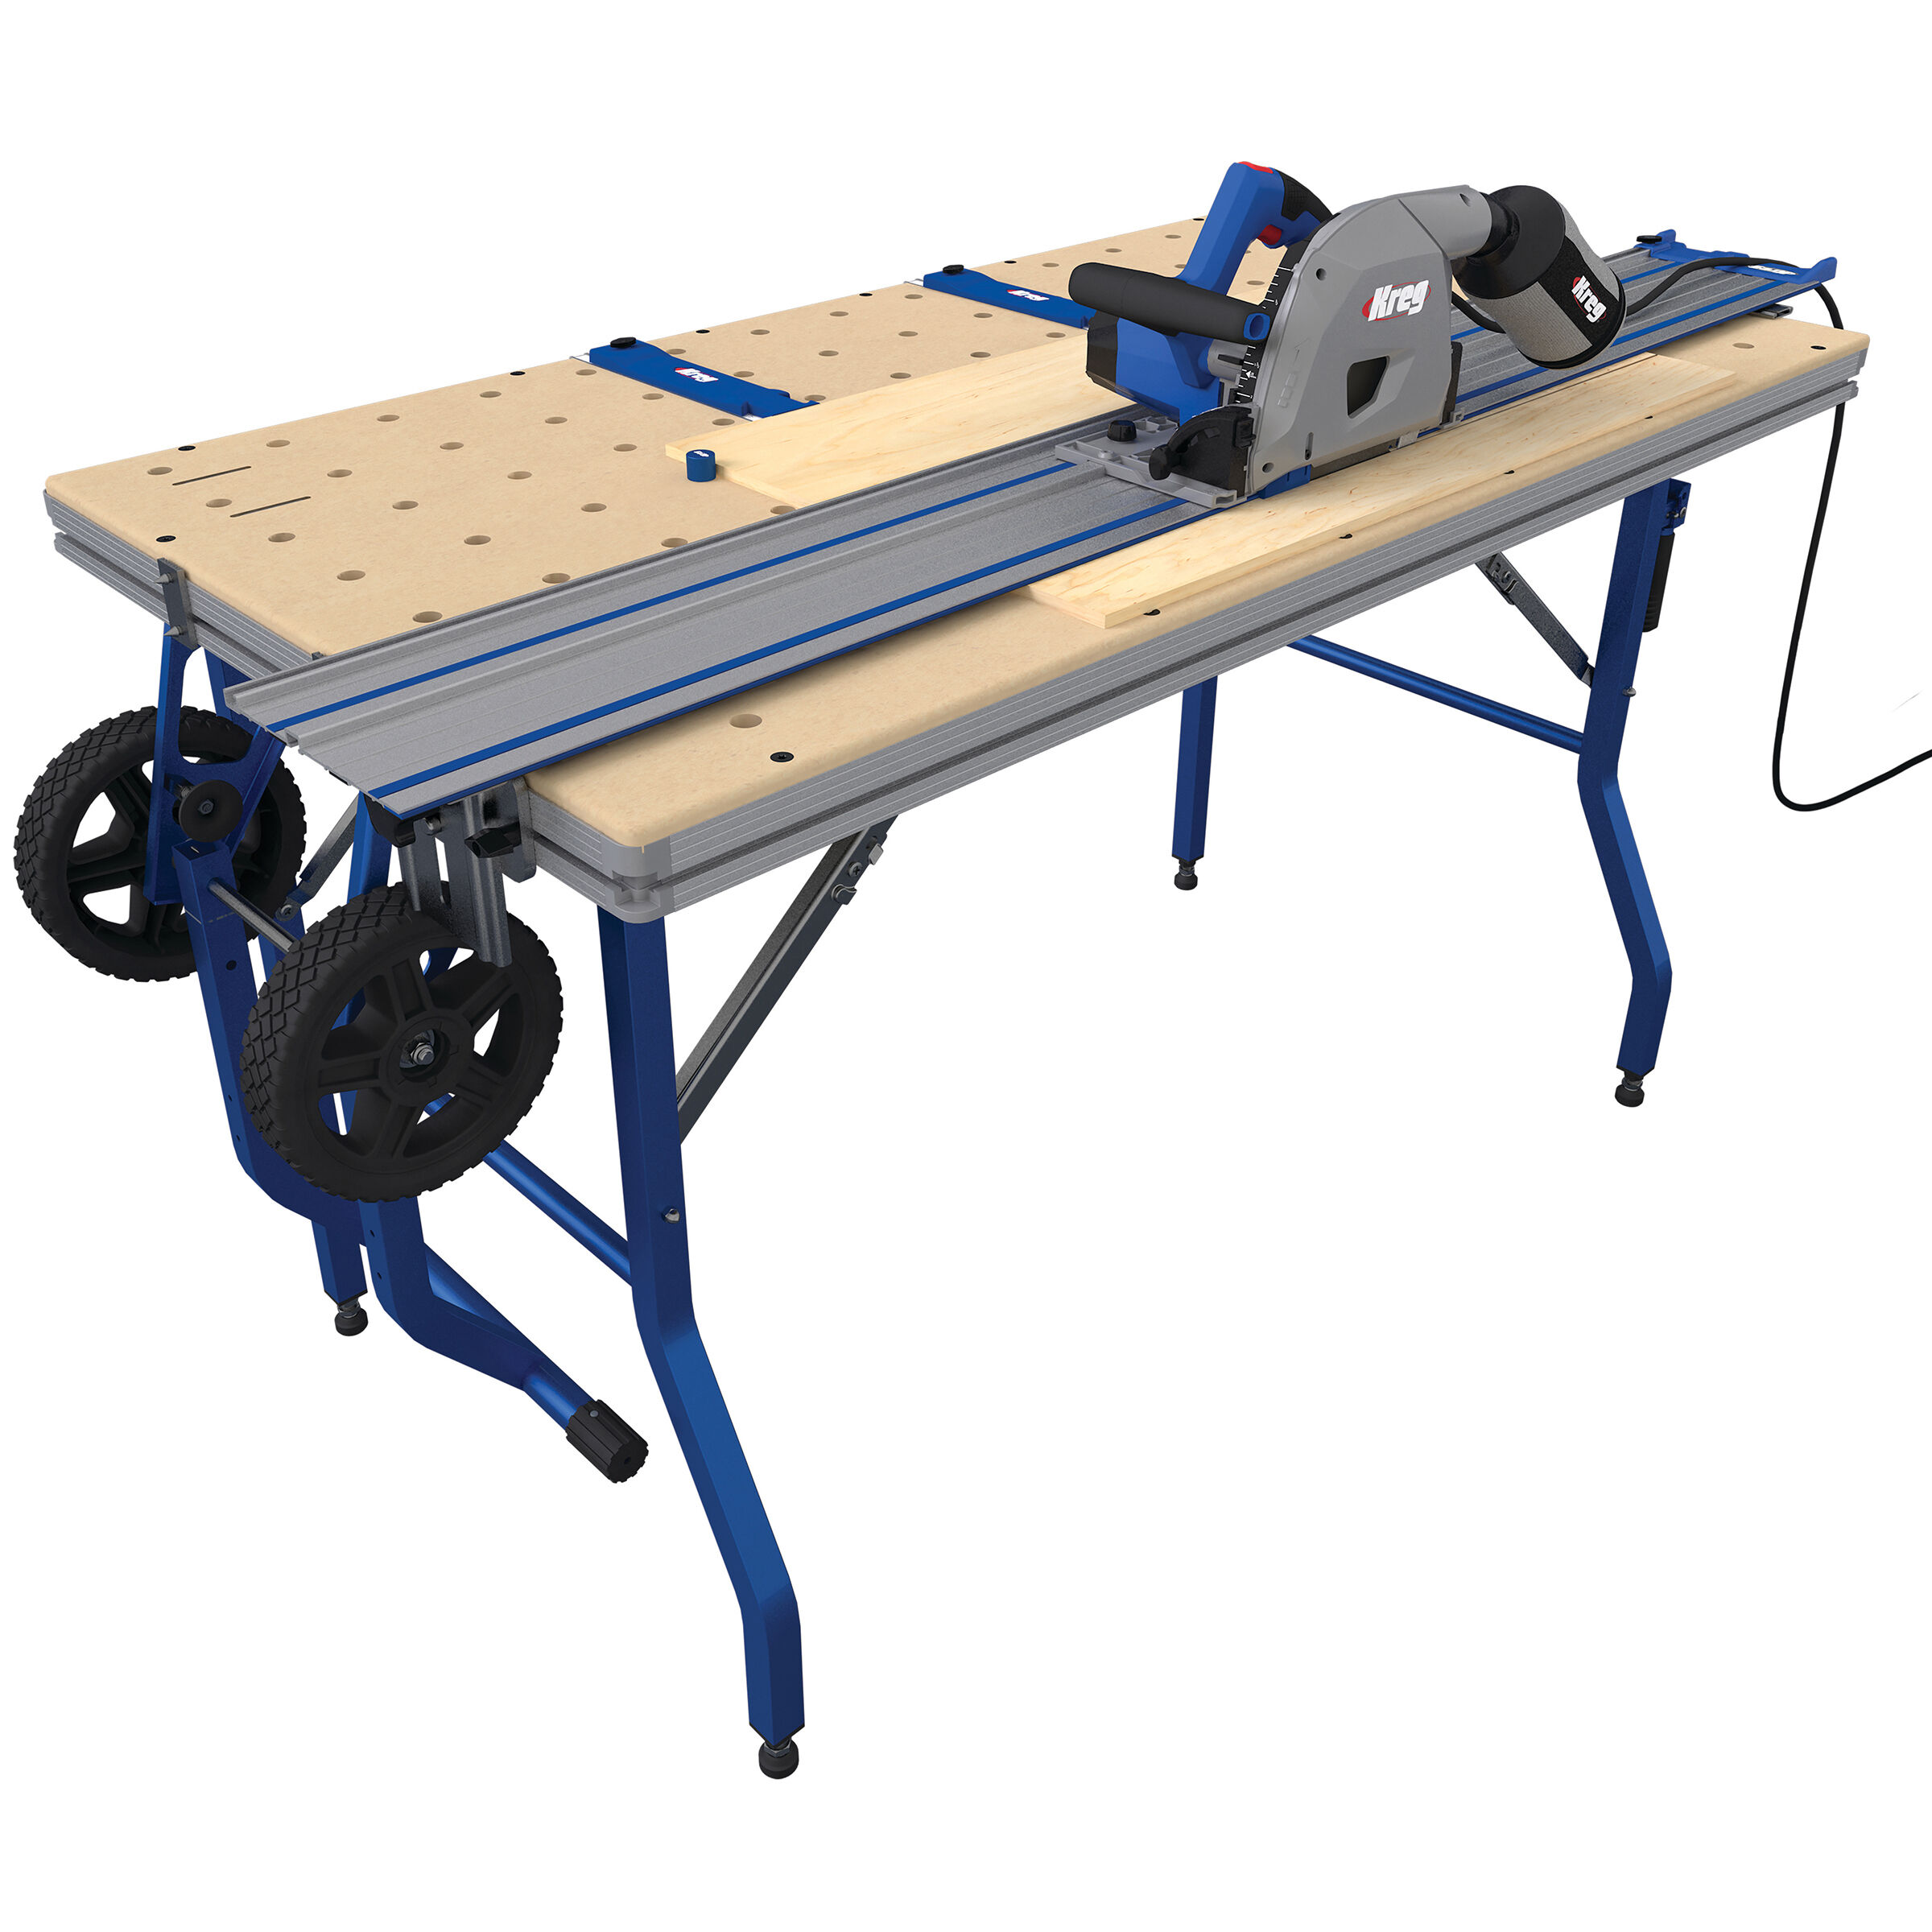
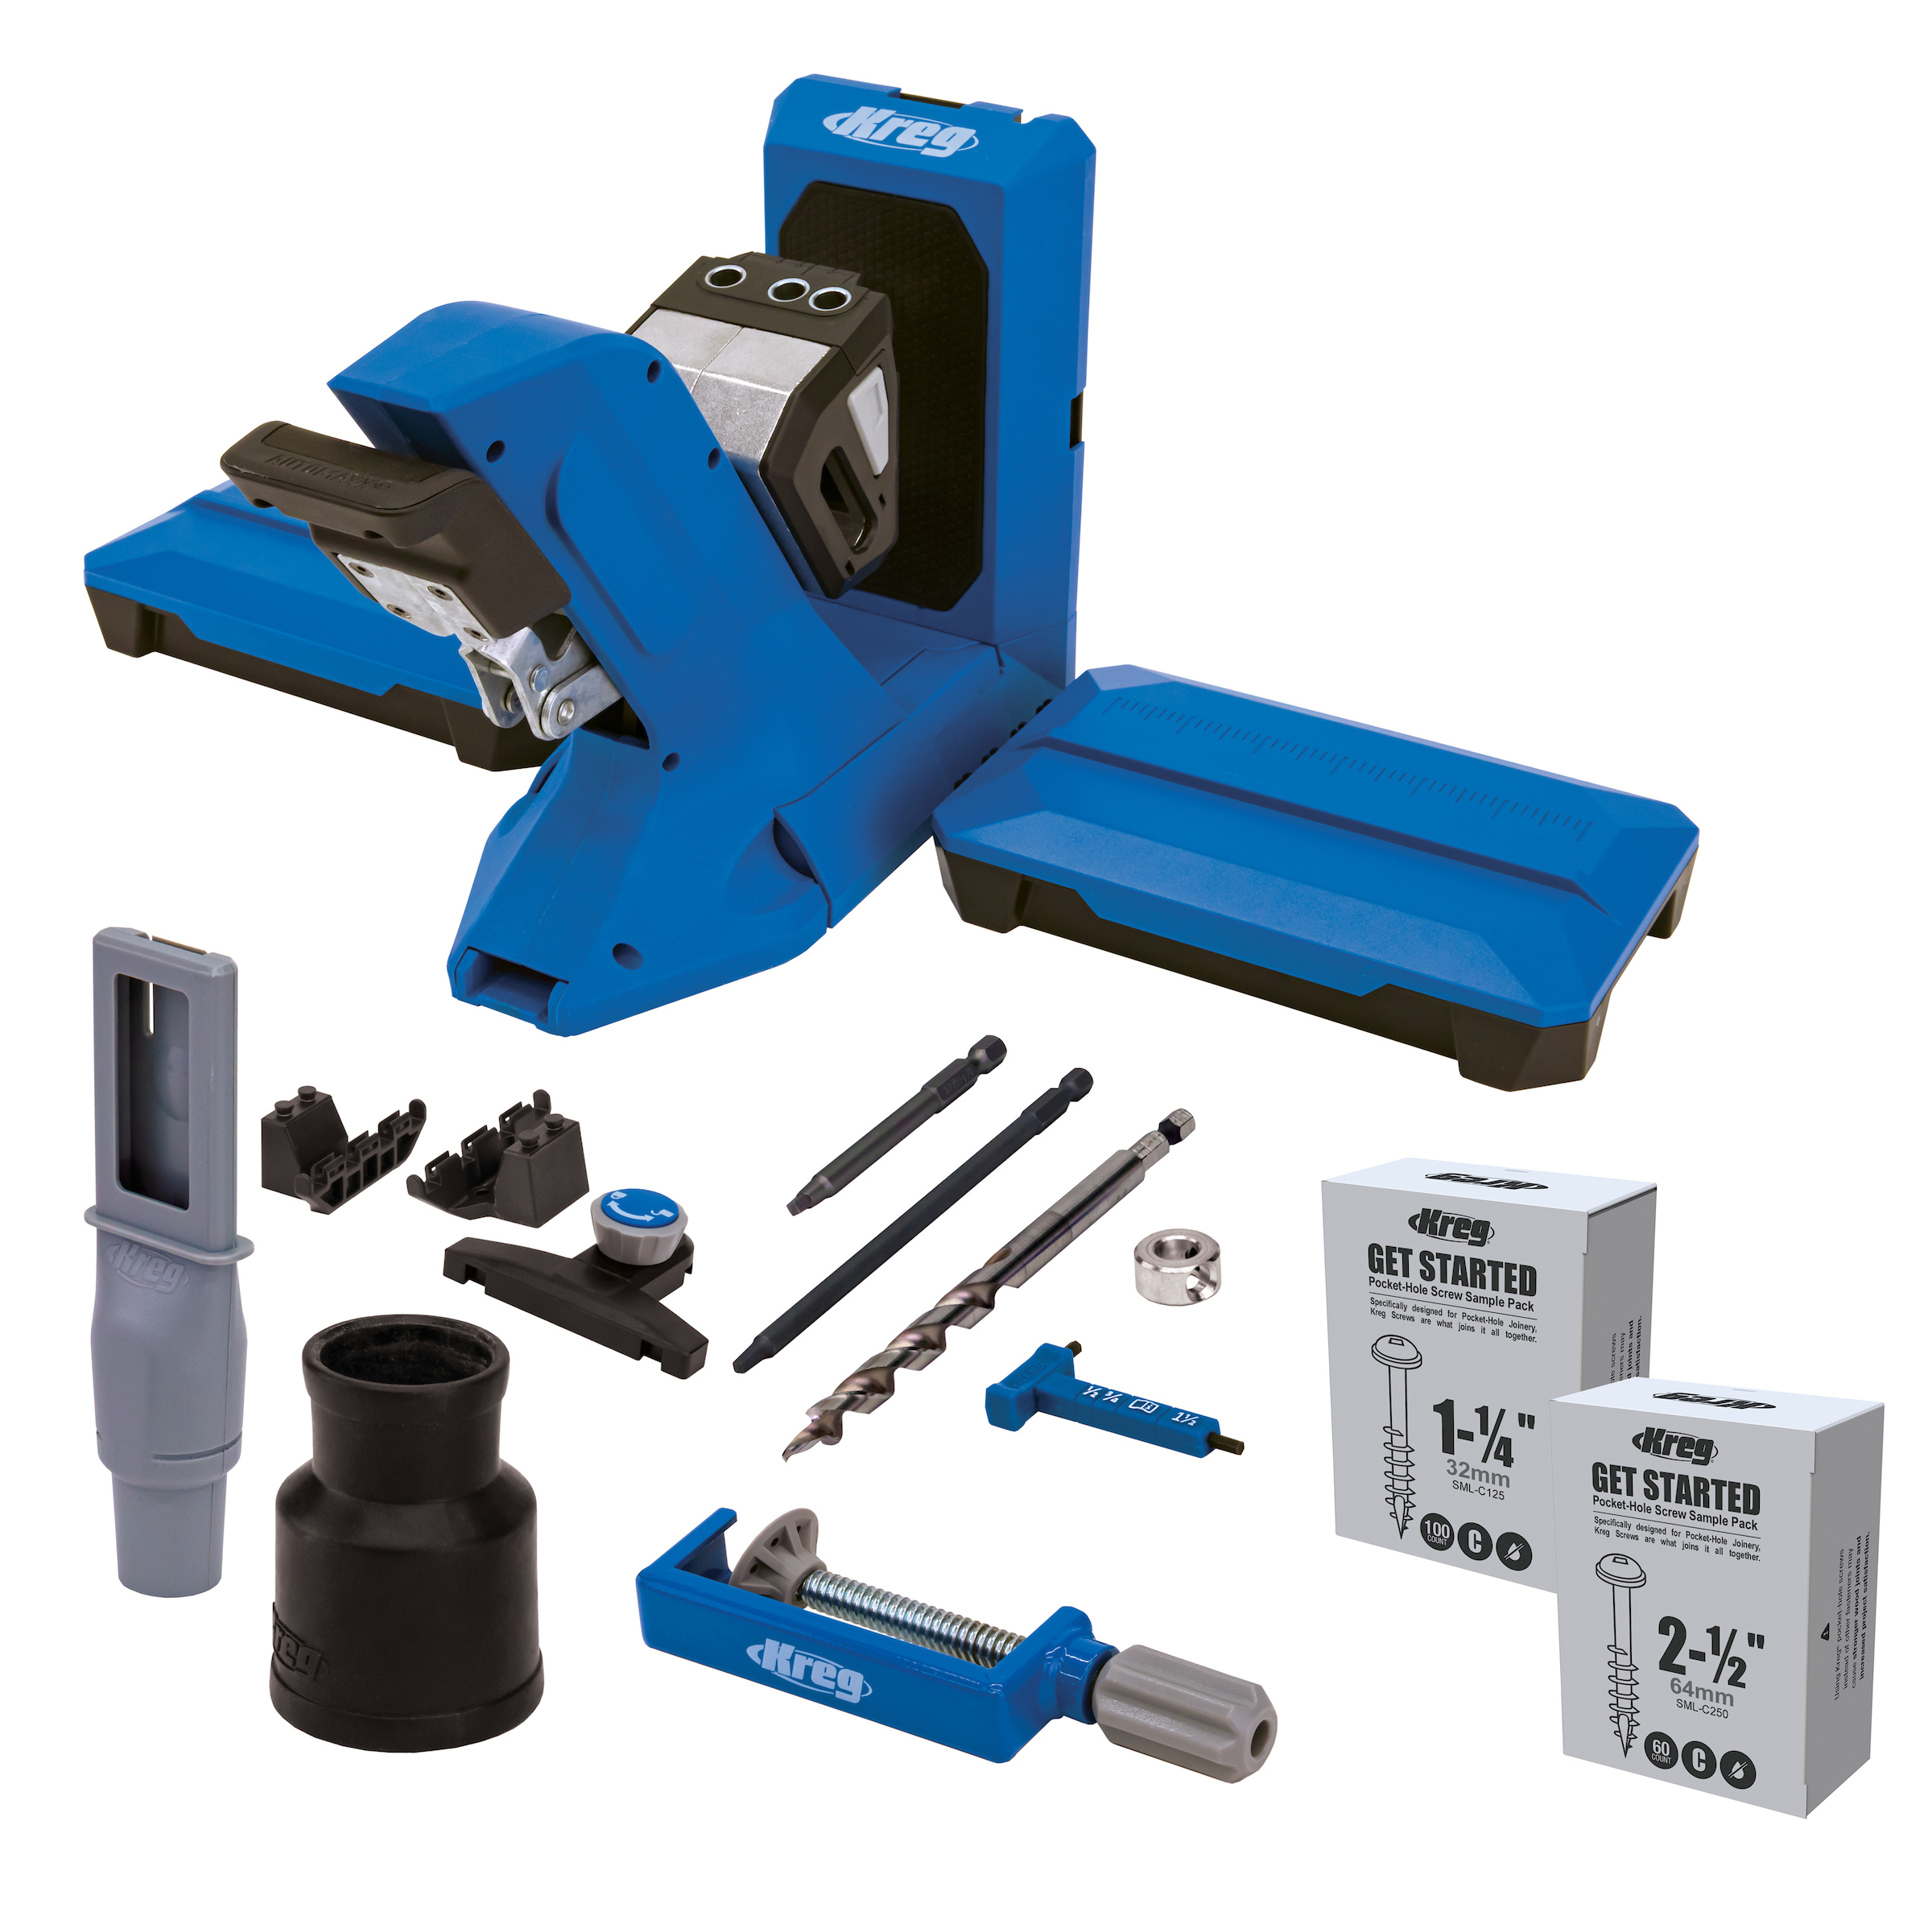
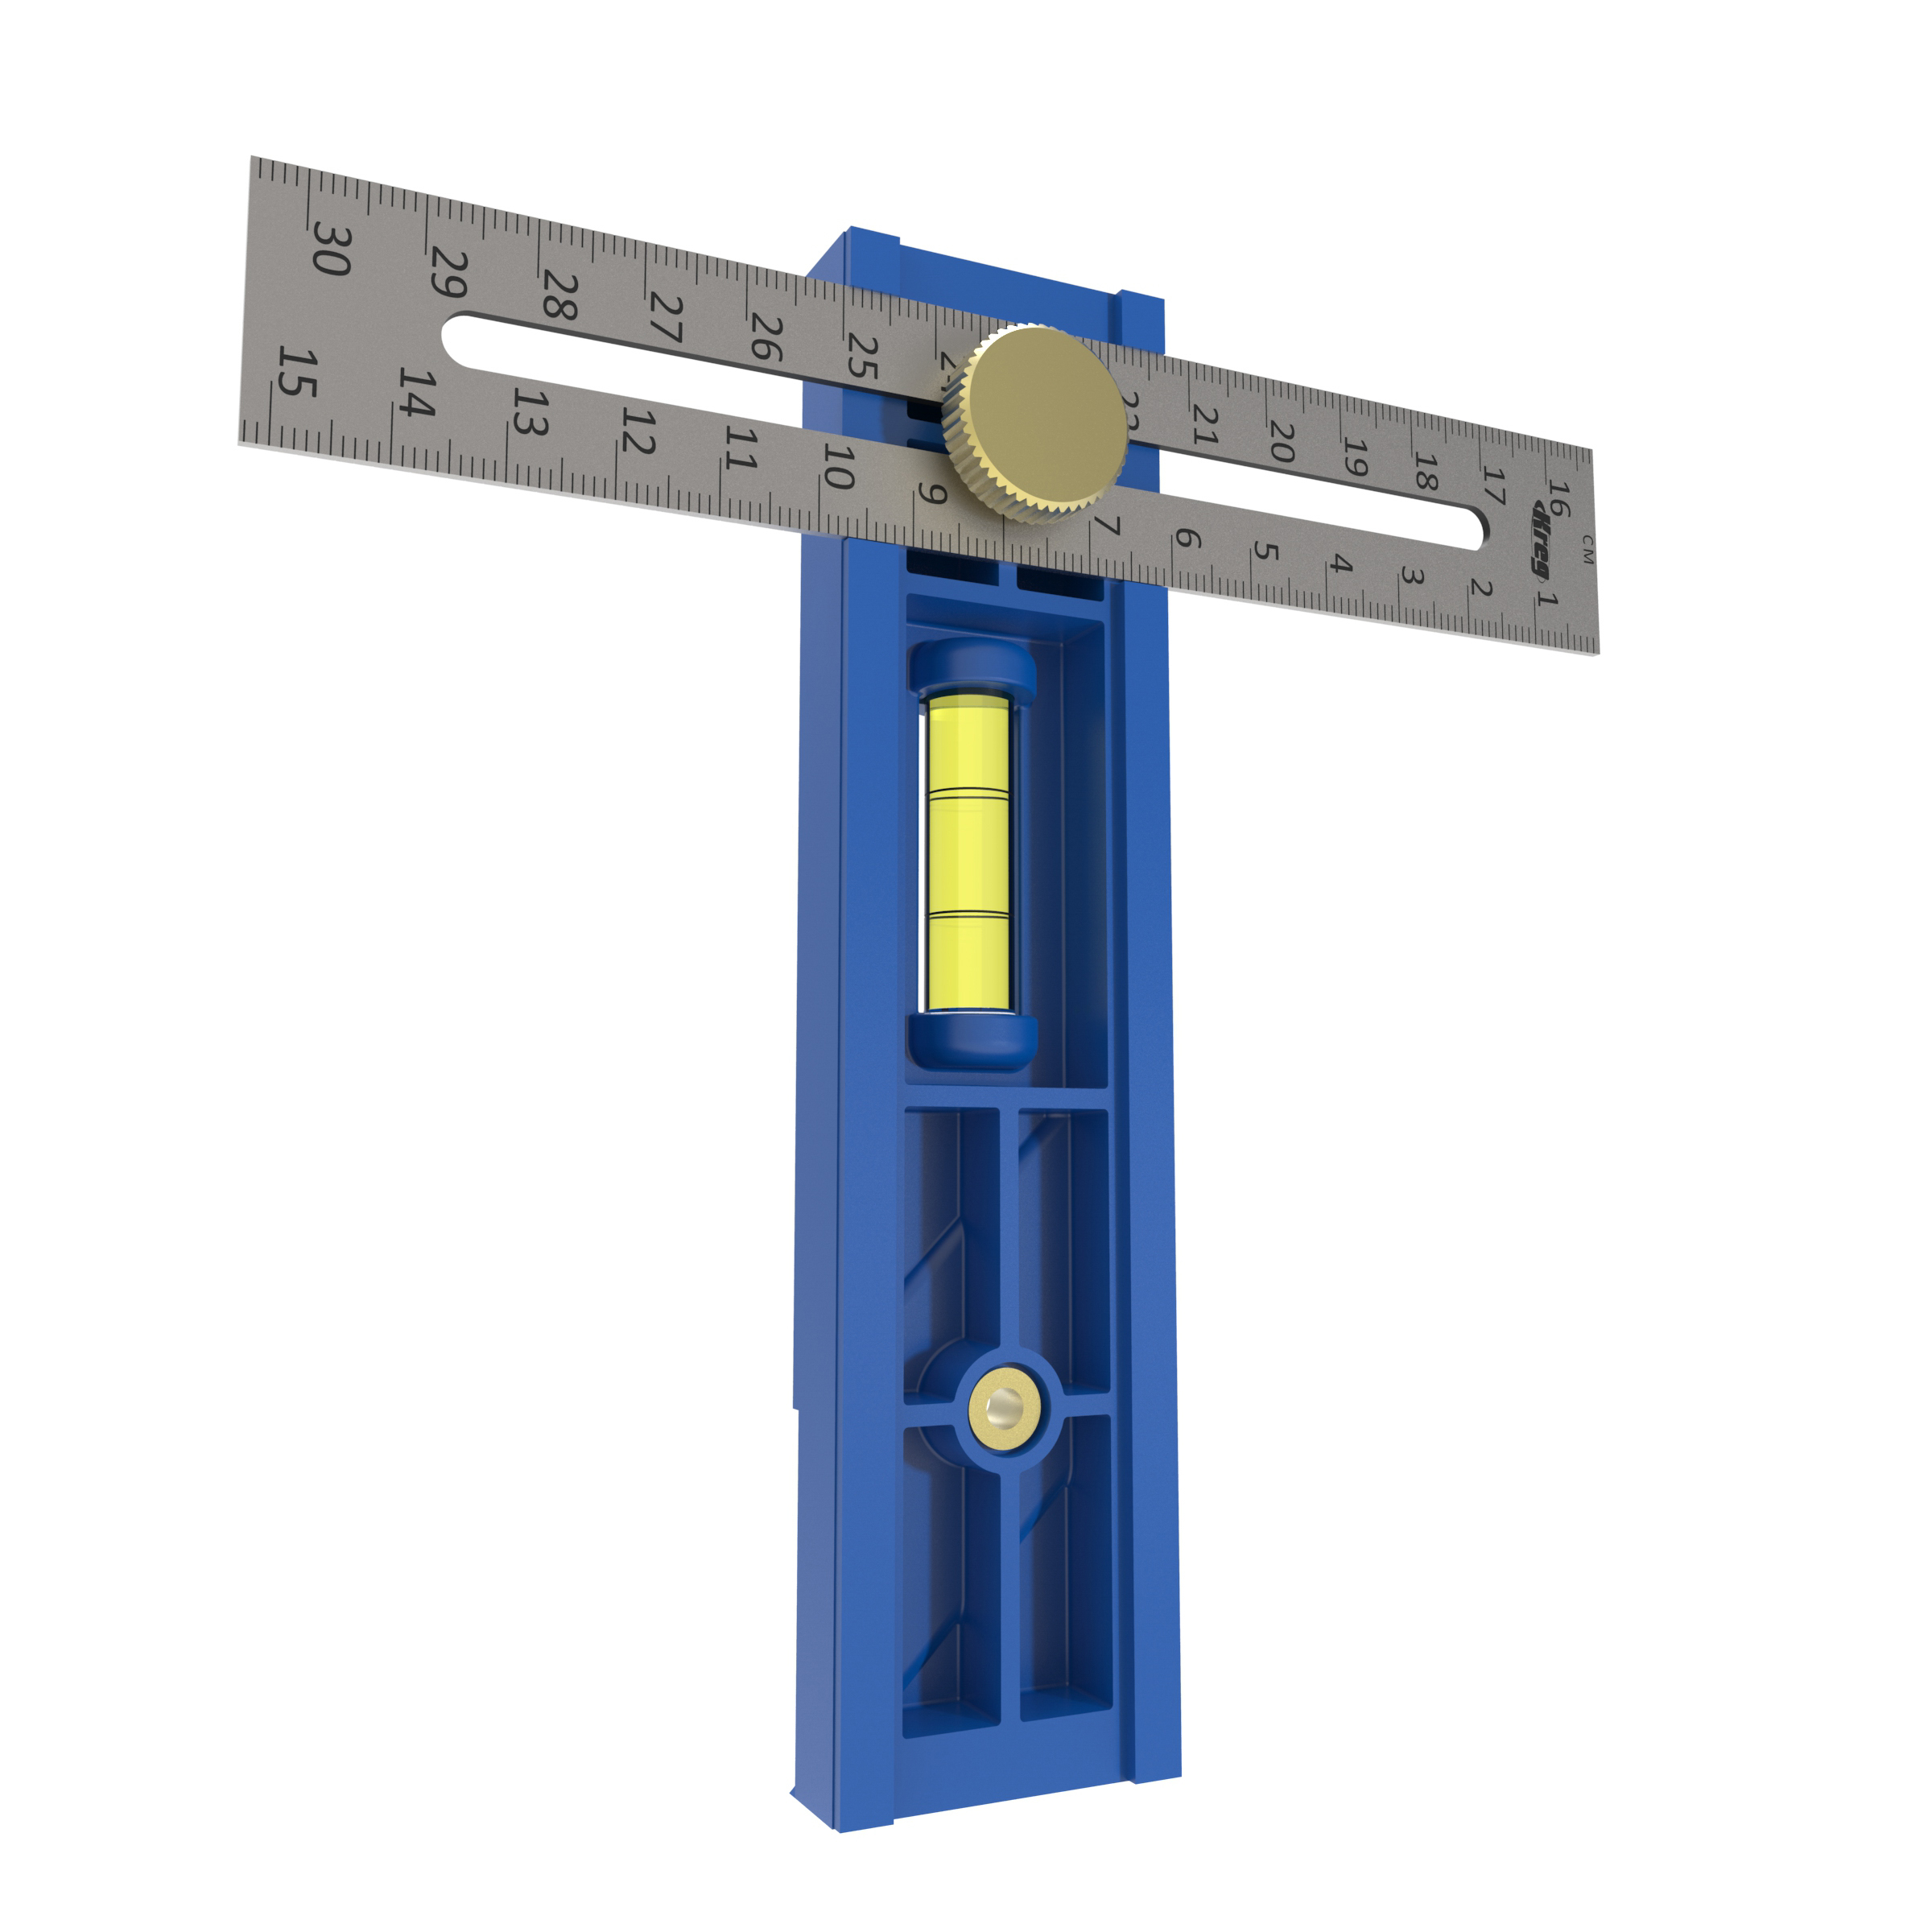
Kreg Tools
Other Tools
-
Cordless drill

-
Jigsaw
-
Brad nailer
-
Orbital sander
Materials
Wood Products
- 1 Sheet of plywood , 4' x 8' x 3/4"
- 1 Sheet of plywood , 2' x 4' x 1/2"
- 1 Butcher block (or 3/4" plywood double stack) , 20" x 30" x 1 1/2"
Hardware & Supplies
- 1 Box of 1¼” pocket-hole screws (see tool list)
- 1 Box of 1 1/2" brad nails
- 1 Wood glue
- 4 12" drawer slides
- 4 2 1/2" casters
- 2 12" hinges
- 2 Drawer pulls
- 2 Cabinet knobs
- 1 Peel and stick wall paper or contact paper (optional)
- 1 Stain or paint
- 1 Butcher block oil
Directions
-
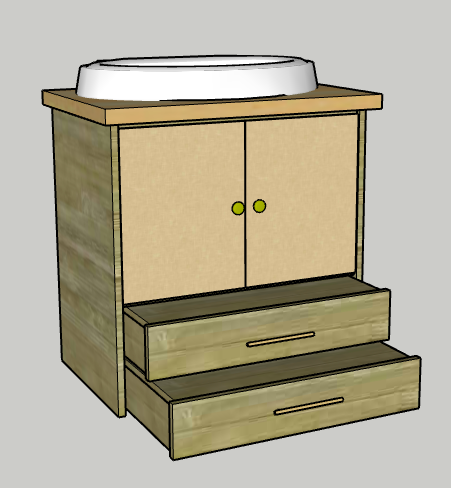
Build frame
- Drill three pocket holes along the short, top edge of the two Sides.
- Drill three pocket holes along each short edge of the Base.
- Attach the Base to the two Sides 11" from the bottom edge of the Sides and flush along the back edge, using wood glue and pocket screws.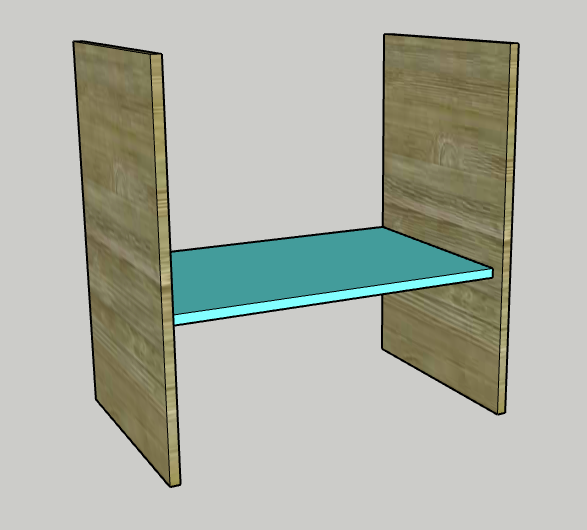
-
Attach face frame
- Drill two pocket holes on each short end of the two Side Face pieces.
- Drill one pocket hole on each short end of the two Top and Bottom Face pieces.
- Attach the two Side Face pieces flush on the end of the long edges of the Top and Bottom Face pieces, using wood glue and pocket screws.
- Attach the face frame to the inside of the two Sides, using wood glue and pocket screws.
- Attach the face frame so that the top is flush with the tops of the Sides and along the front edge of the Base.
-
Build drawers
- Drill two pocket holes on one short edge of each of the Drawer Sides.
- Attach the Drawer Top to the Drawer Sides, using wood glue and brad nails.
- Attach the Drawer Face to the Drawer Top and Sides, using wood glue and pocket screws. Center the Face along the front.
- In each of the two front corners of each drawer, use wood glue and brad nails to attach two Caster Bases.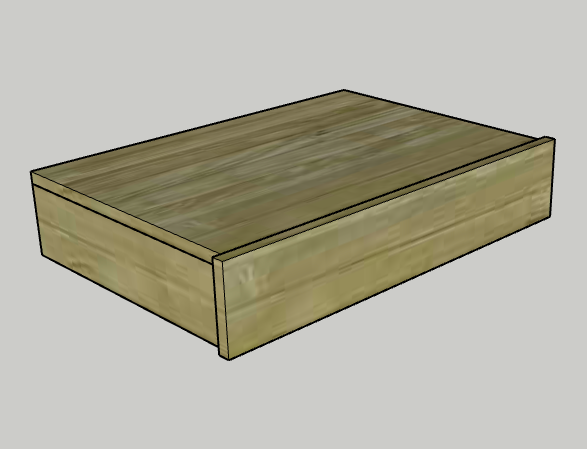
-
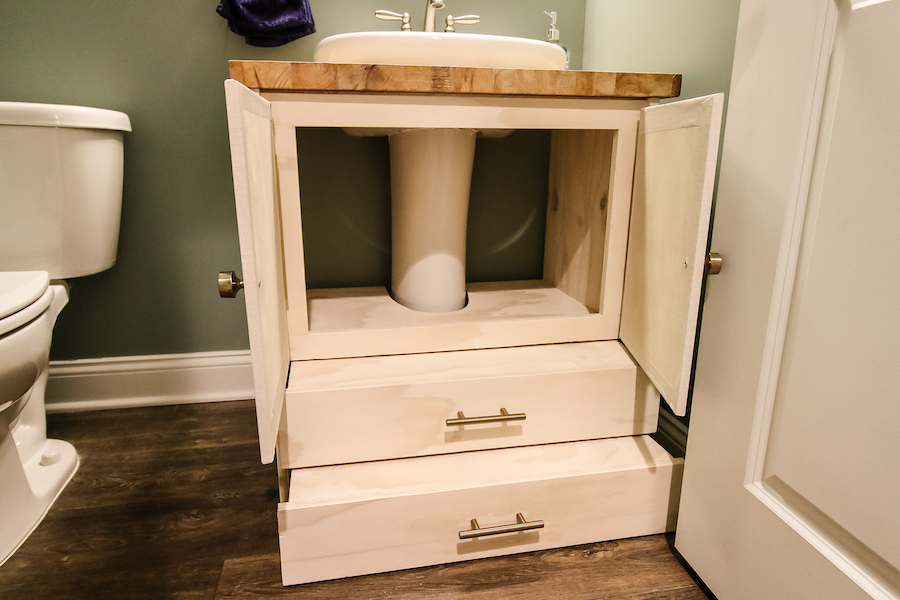
Cut pedestal notches
- Trace and cut a notch for the pedestal sink basin in the butcher block Top.
- Trace and cut a notch for the pedestal sink stand in the Base and each Drawer Top.
- The best answer for how to do this is to make measurements of the sink and stand and trace those on a piece of cardboard.
- When it seems like those are close, trace that on to a piece of 1/4" or 1/2" scrap plywood and make sure the hole is accurate.
- Once it is certain, trace that onto the butcher block Top, Base and Drawer Top pieces.
- Use a jigsaw to cut out each notch and then sand smooth.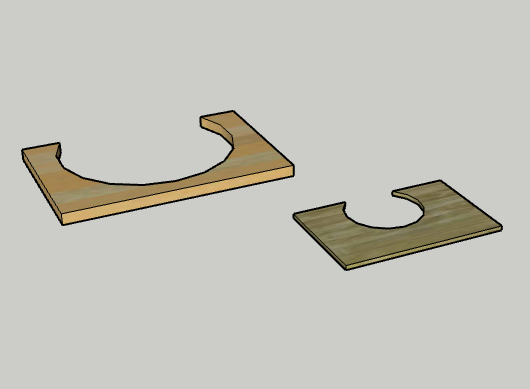
-
Add finish
- Stain or paint the frame, drawers and doors to fit your decor.
- Oil the butcher block top.
- Add textured contact paper to doors if desired. -
Attach drawers
- Add a drawer pull to each of the drawers.
- Attach a caster in each corner of the underside of the drawer on the Caster Bases.
- Attach the two drawers underneath the Base piece, using drawer slides.
-
Attach top in place
- With a friend, slide the butcher block Top up and into place and then slide the base unit underneath it.
- Center the base cabinet on the Top and then attach with pocket screws.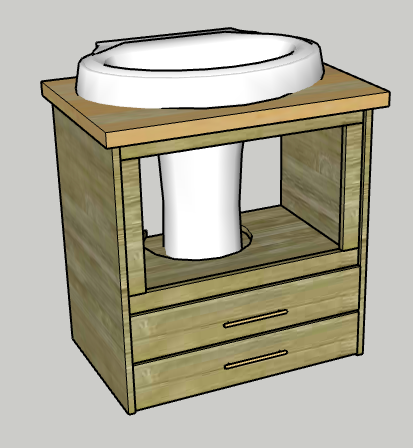
-
Attach doors
- Attach a hinge to each Door.
- Attach each Door hinge to the Sides, right in front of the face frame.
- Add one cabinet knob to each Door.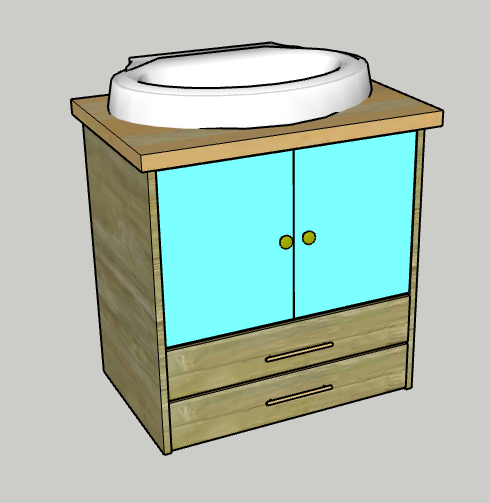
-
Enjoy!
Enjoy your handiwork and tag @CharlestonCrafted on Instagram with a picture!