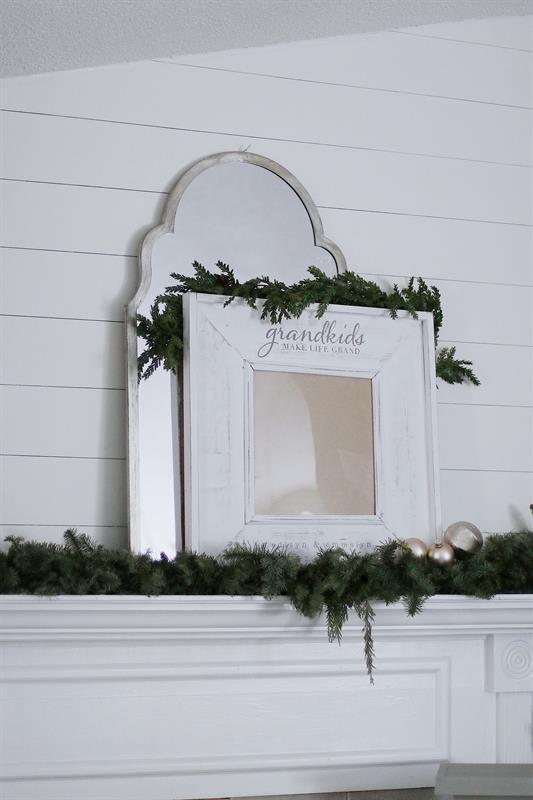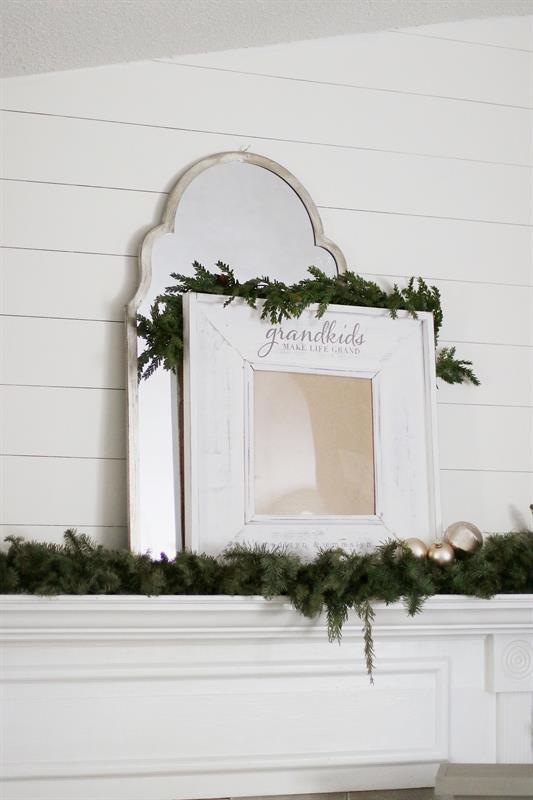


Project No. 10 of our "12 Projects Of Christmas" series continues with a gift that any grandparent would love - to display photos of their grands in our beautifully made over-sized photo frame. If you have an hour free to build, this is an easy one that can be done in a flash!
Tools
Kreg Tools


Other Tools
-
Miter Saw

-
Square
-
Table Saw
-
Tape Measure
-
Nail Gun
Materials
Wood Products
- 2 Board , 1x6 , 96"
- 2 Board , 1x2 , 96"
- 1 Straight Molding D-7 Decra , Molding , 96"
- 1 Plywood , 1/2" Thick , 24"
Hardware & Supplies
- 1 Kreg Screws - 1-1/4"
- 1 Brad Nails - 1" & 3/4"
- 6 Metal Mending Brackets
- 1 Wood Screws - 1/2"
- 1 Frame Hanging Bracket
- 1 Plexi-glass Sheet (cut to size)
Directions
-
Step 1:
Cut your 1" x 6" boards into (4) identical boards measuring at 24" from long point to long point, ends cut at 45 degree angles, not parallel.
Then cut your 1" x 2" trim board to (2) at 24-5/16" and (2) at 25-13/16". Lastly, cut your decorative trim into (4) identical pieces measuring at 14-3/16" from long point to long point, ends cut at 45 degree angles, not parallel.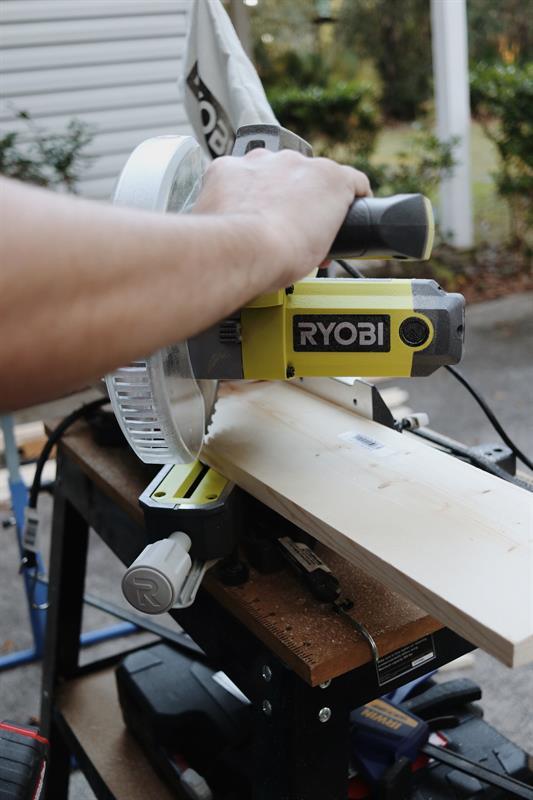
-
Step 2:
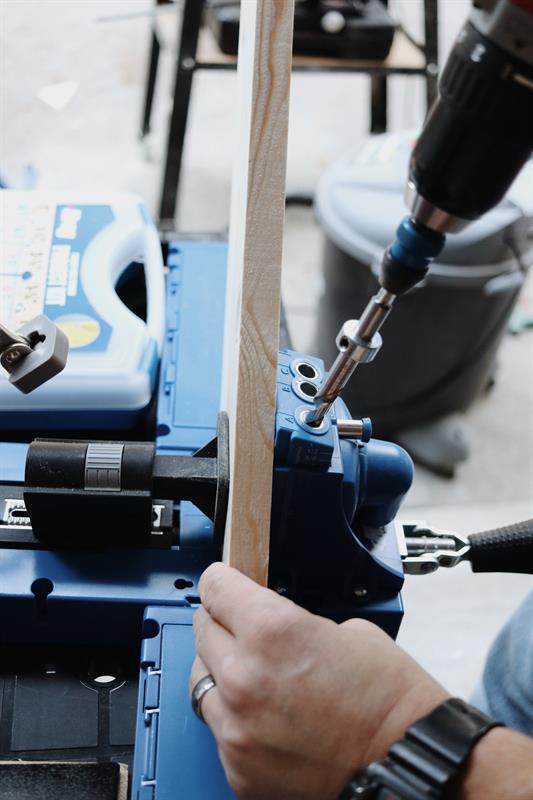
Drill (2) pocket holes in each end of (2) of your 1" x 4" x 24" boards using the Kreg Jig K5.
-
Step 3:
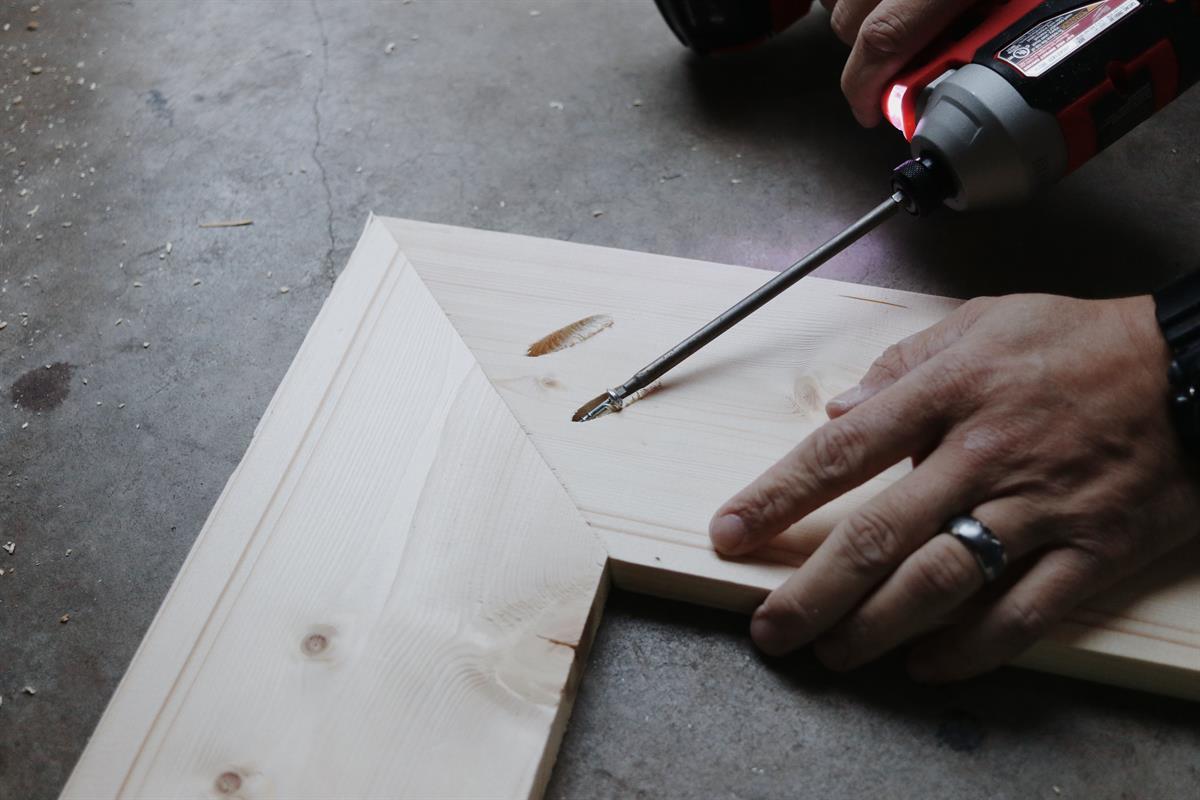
Now attach all (4) of your 1" x 4" x 24" boards together using 1-1/4" Kreg screws. Place each bard that has the pocket holes drilled in them, opposite of each other.
-
Step 4:
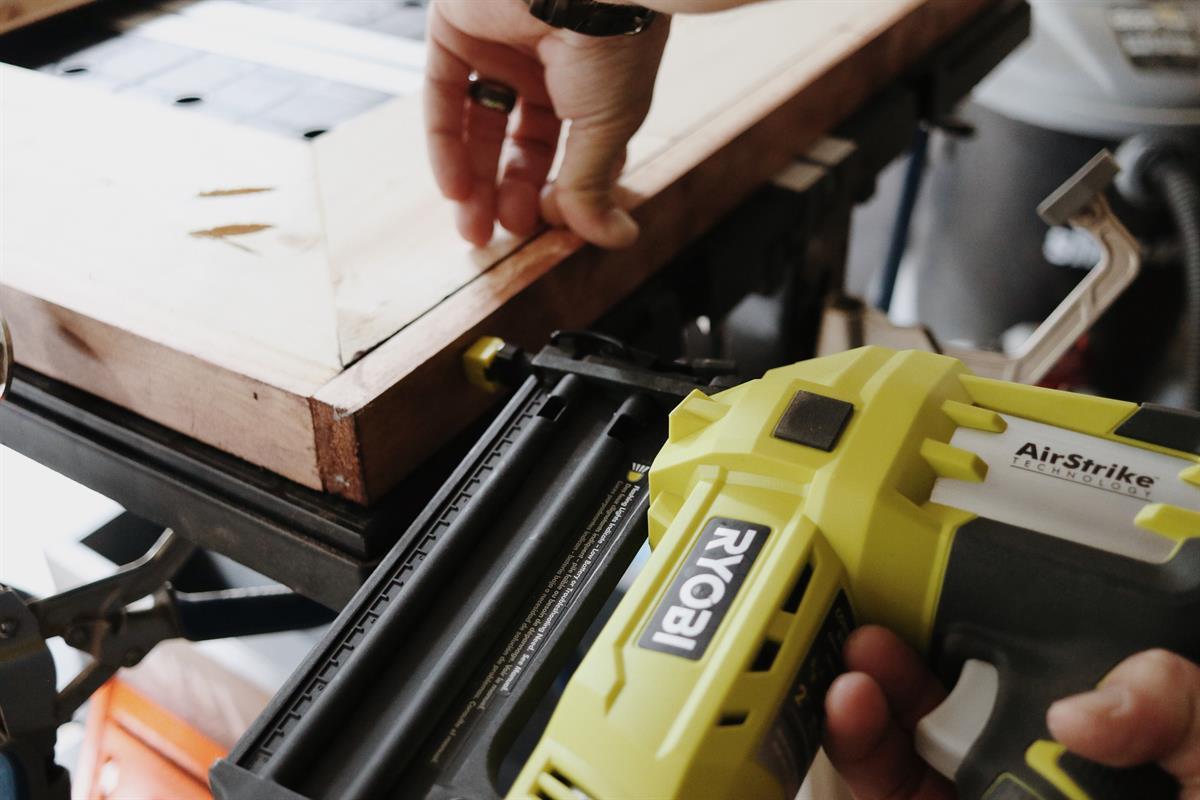
After the base of your frame is securely put together, it is time to add your outer trim. Begin by attaching the shorter (2) pieces of trim measured at 1" x 2" x 24-5/16" on opposite sides of the frame from each other. Next, add your (2) longer pieces of trim measured at 1" x 2" x 25-13/16" on the remaining sides using your brad nailer and 1-1/2" brad nails.
(Note: Before moving onto the next step, I took the time to stain all of my cut wood pieces separately before assembling together. The stain color doesn't matter much with the technique I plan to do to this frame, I just wanted a dark brown base to work with.)
-
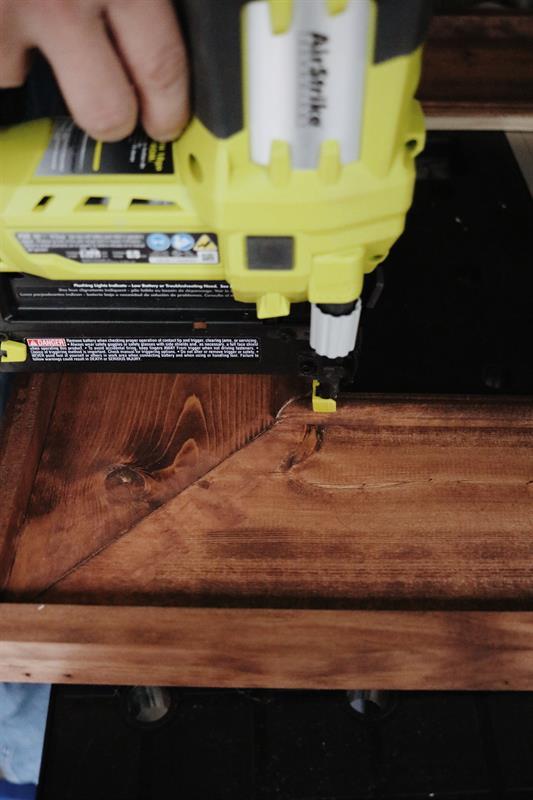
Step 5:
Now you are ready to add on your decorative inner trim. Fit the pre-cut pieces of trim on the inner sides of your frame opening, making sure that half of the trim width is overlapping the solid wood and the other half is overhanging over the open part of the frame. You will then secure the trim in place using your brad nailer and 3/4" brad nails.
-
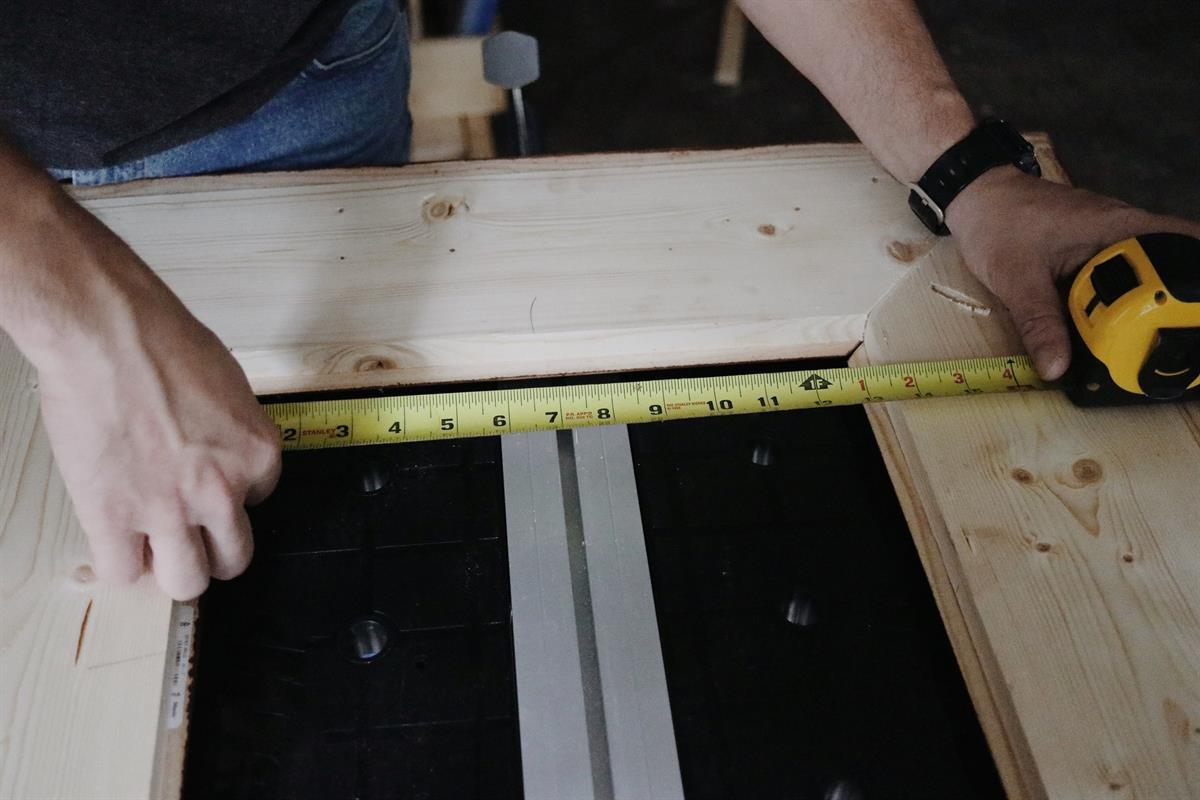
Step 6:
Once your inner trim is in place, flip your frame over and measure the opening of your frame from inner to inner side. I ask that you do this because after cutting angles and assembling, wood can slightly vary from project to project with warping and slight shifting. Jot down the measurement of the inside of your frame, this is what you will use to have your plexi-glass and back board cut to size. (Note: Once our frame was fully assembled, the inner part measured at 13-1/8" x 13-1/8")
-
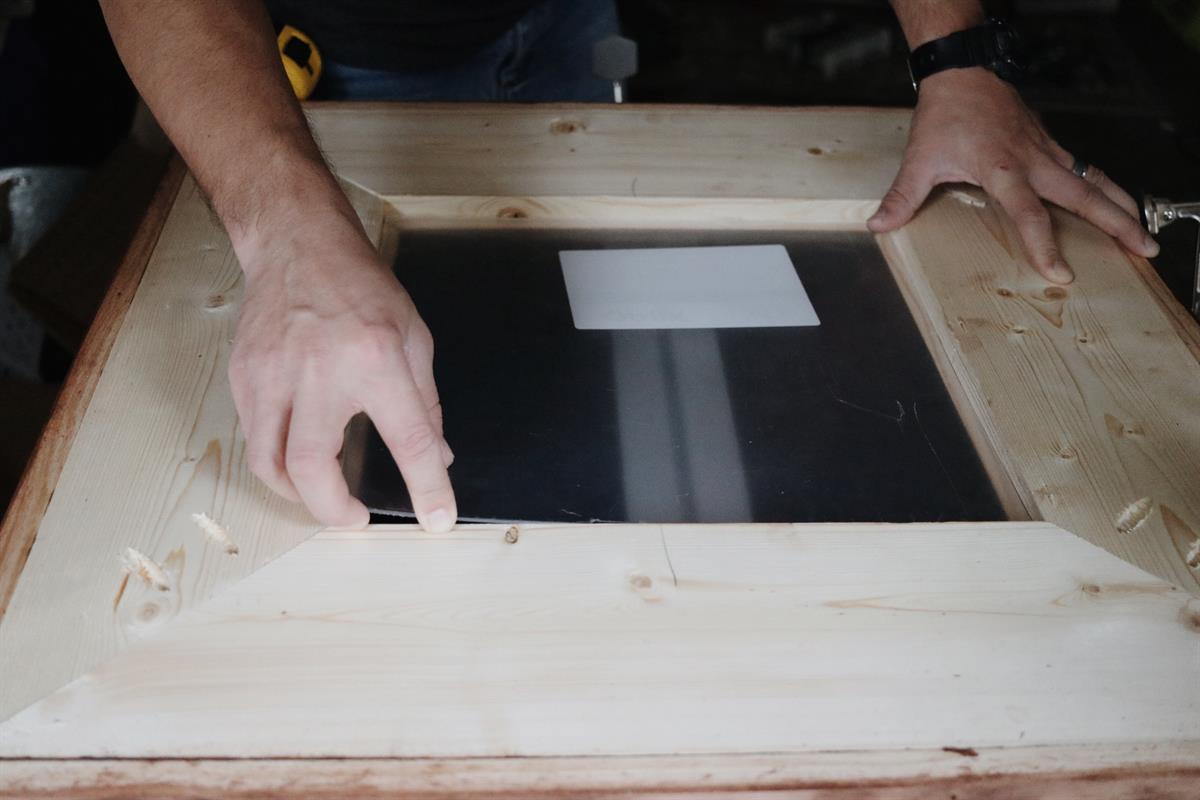
Step 7:
Have your plexi-glass cut to size. After making a trip to Home Depot, we were informed that they don't cut plexi-glass custom to size. This may have just been our local Home Depot, but to save you the hassle, we headed to Lowes and they cut the plexi-glass sheet we purchased to our desired measurements right on the spot. Brought it home and it was a perfect fit!
-
Step 8:
Next, cut your plywood to size to fit within the back of your frame. We cut our 1/2" x 24" x 24" plywood down to 13-1/8" x 13-1/8" using our table saw.

-
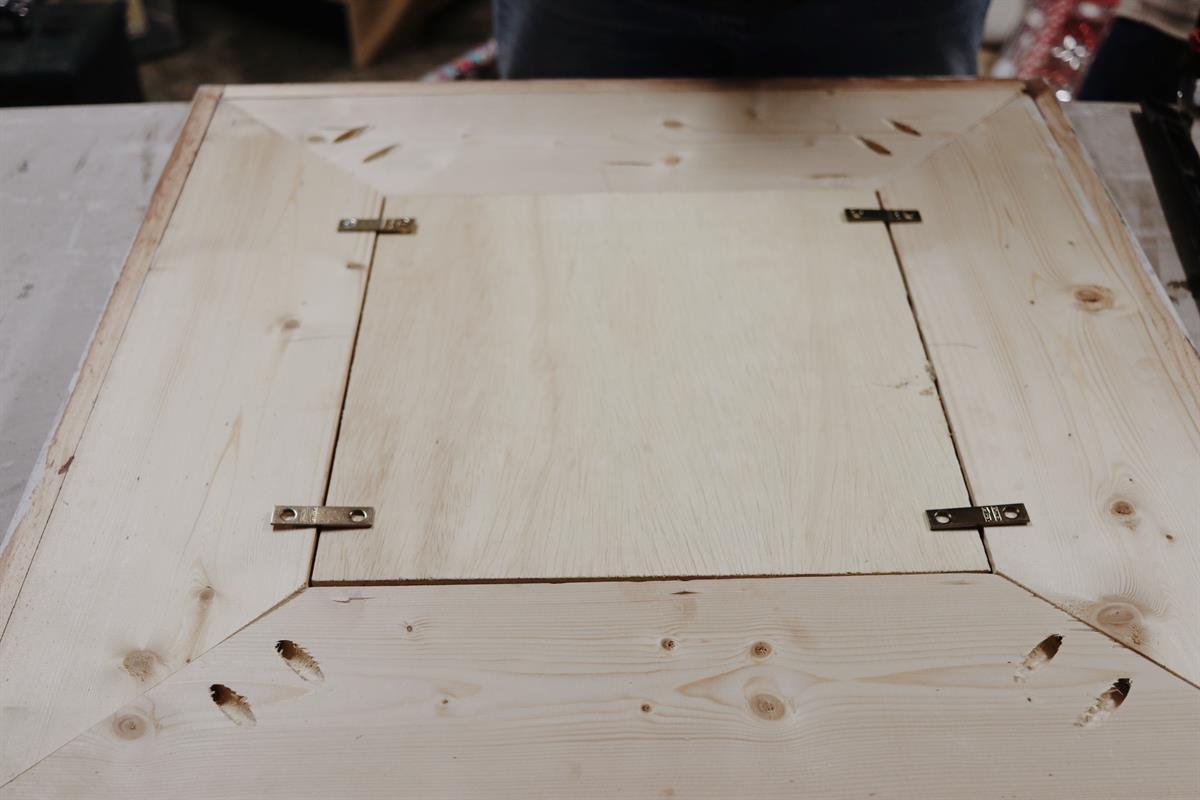
Step 9:
Once your plywood fits into place, lay out (4 to 6) metal mending brackets on the back side of your frame.
-
Step 10:
Attach just one side of the metal mending bracket to the main part of the frame. Tighten securely down using a 1/2" wood screw.

-
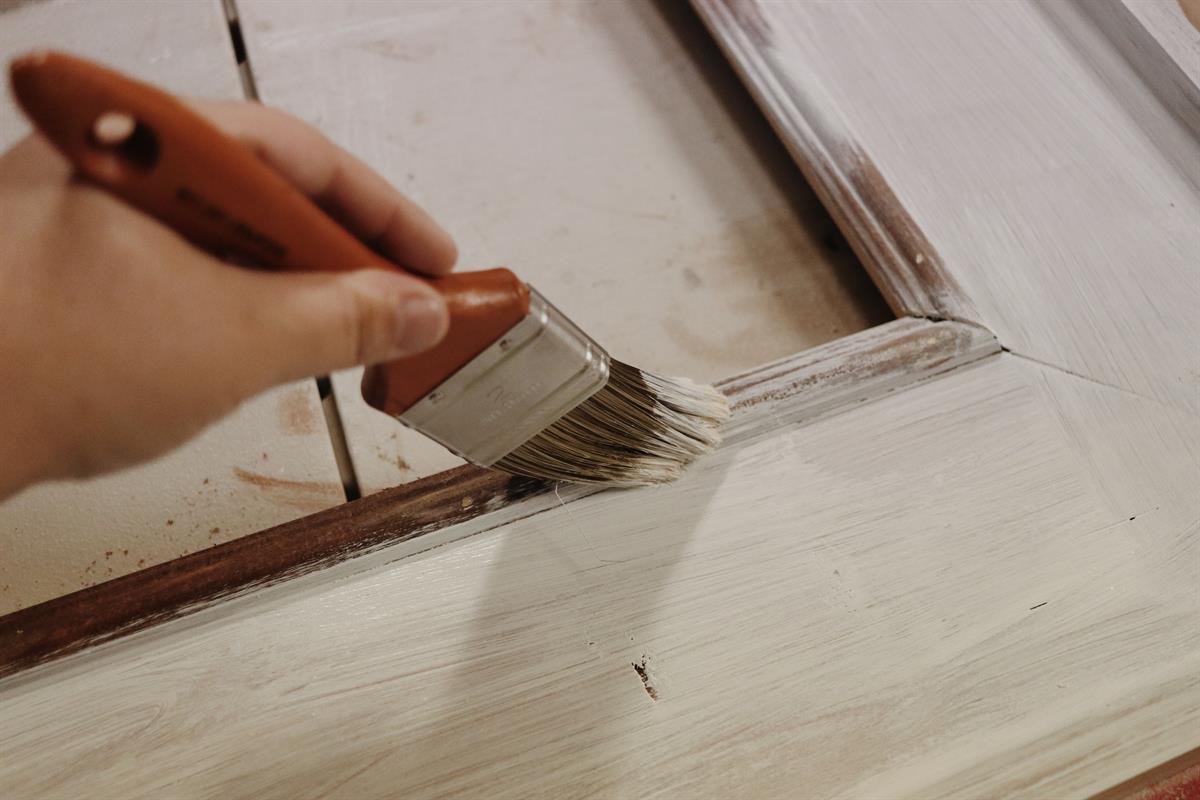
Step 11:
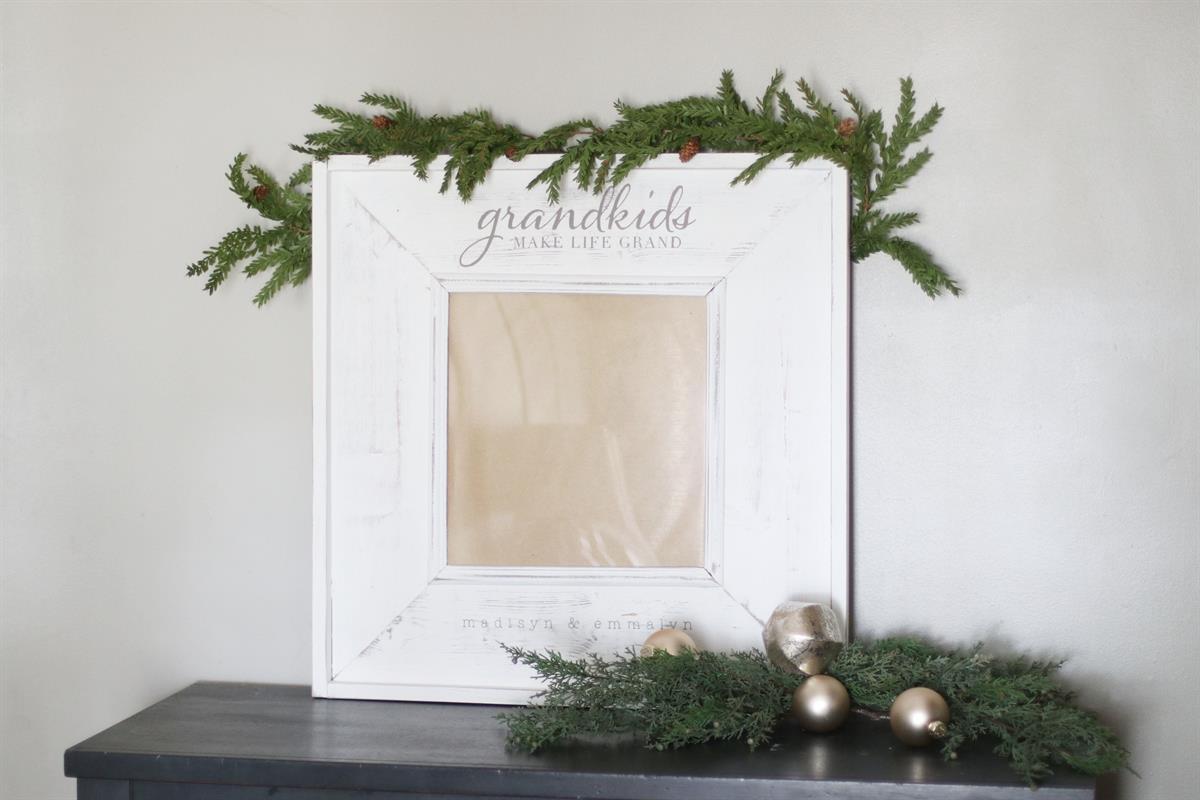
Your frame is almost complete... it just needs a few final touches. As I stated before, I stained the frame first, and you by all means can leave your beautiful frame stained. For mine, I wanted to go a step further and give the frame 2 coats of soft white chalk paint. Annie Sloan - Pure White.
-
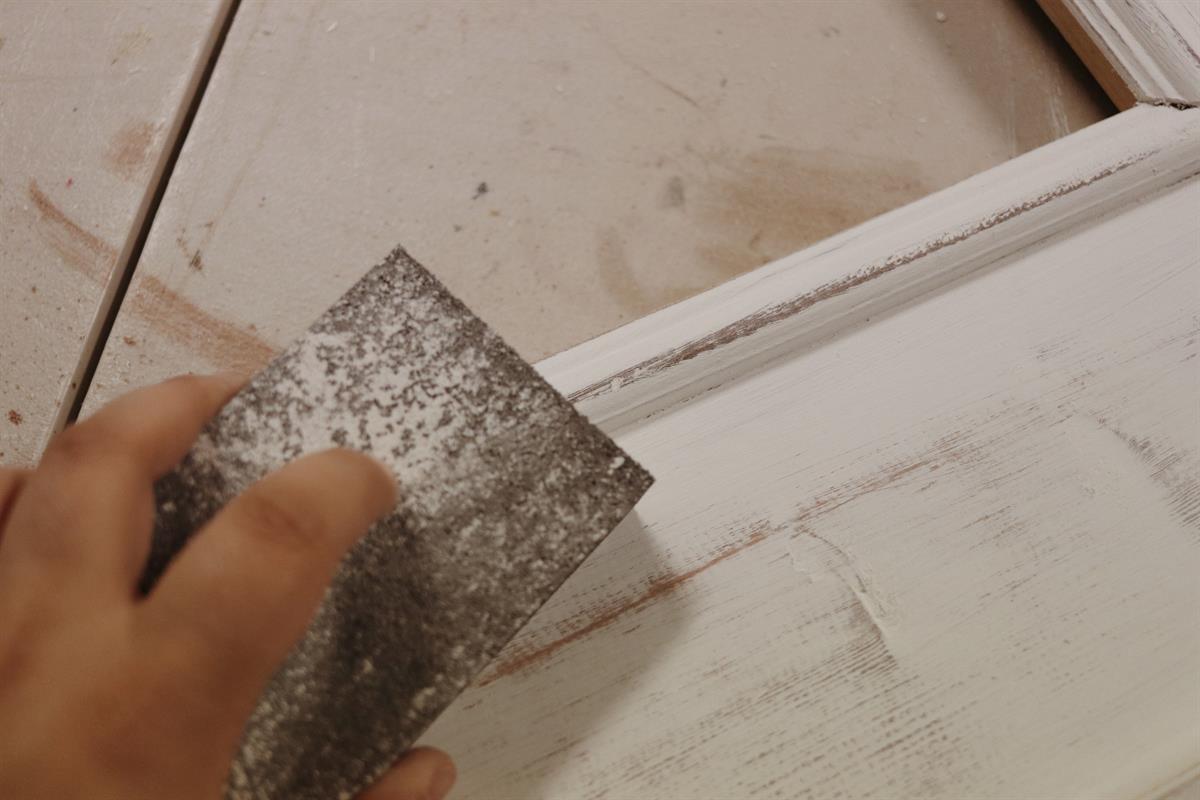
Step 12:
Once your coats of paint are dry, take a medium grit sanding block and gently sand all edges and surfaces of your frame. I opted for a fairly worn and shabby look, revealing the dark stain color and wood grain underneath.
-
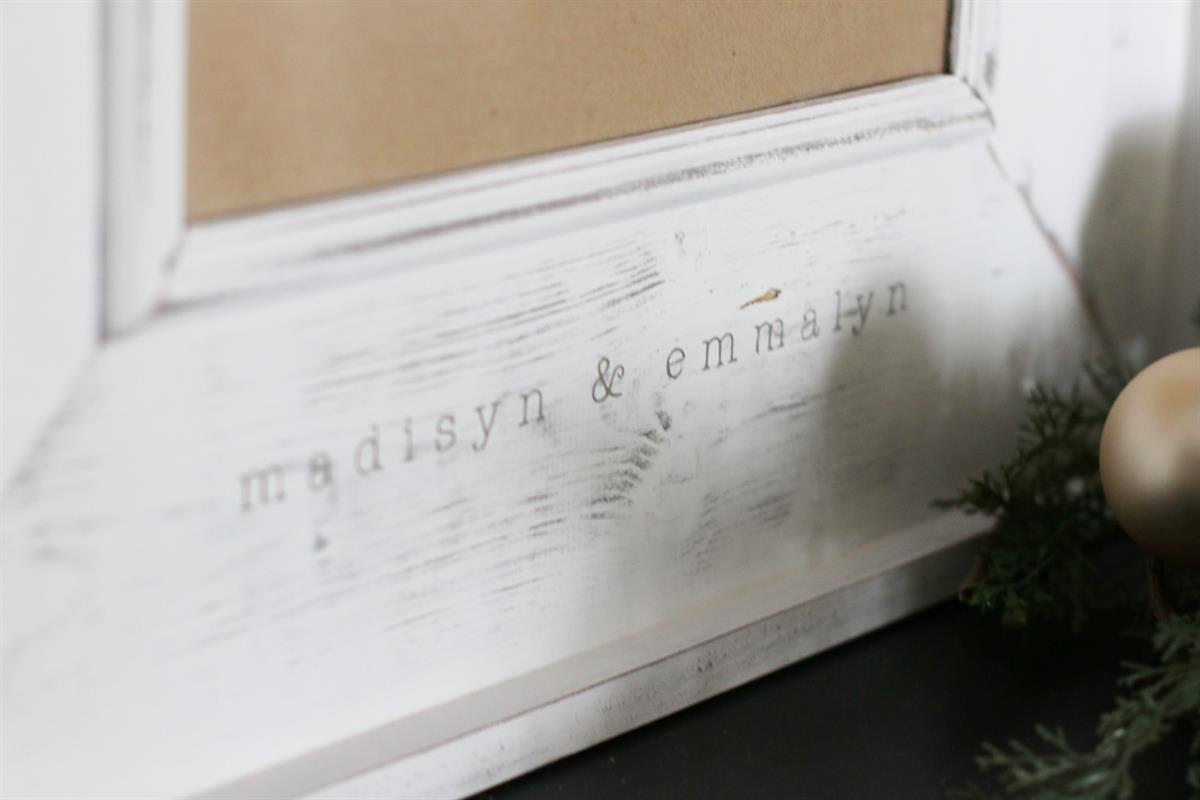
A Daily Reminder:
Lastly, personalize your frame to remind your loved one of the ones that love them. Obviously this frame can be personalized to say anything, but this holiday season, what a beautiful gift to give grandparents of the daily reminder of their grandchildren's love and smiling faces! The top of our frame is personalized to say "grandkids make life grand" while the bottom of the frame has their grandchildren's names.