DIY Outdoor TV Enclosure – Build an Outdoor TV Cabinet
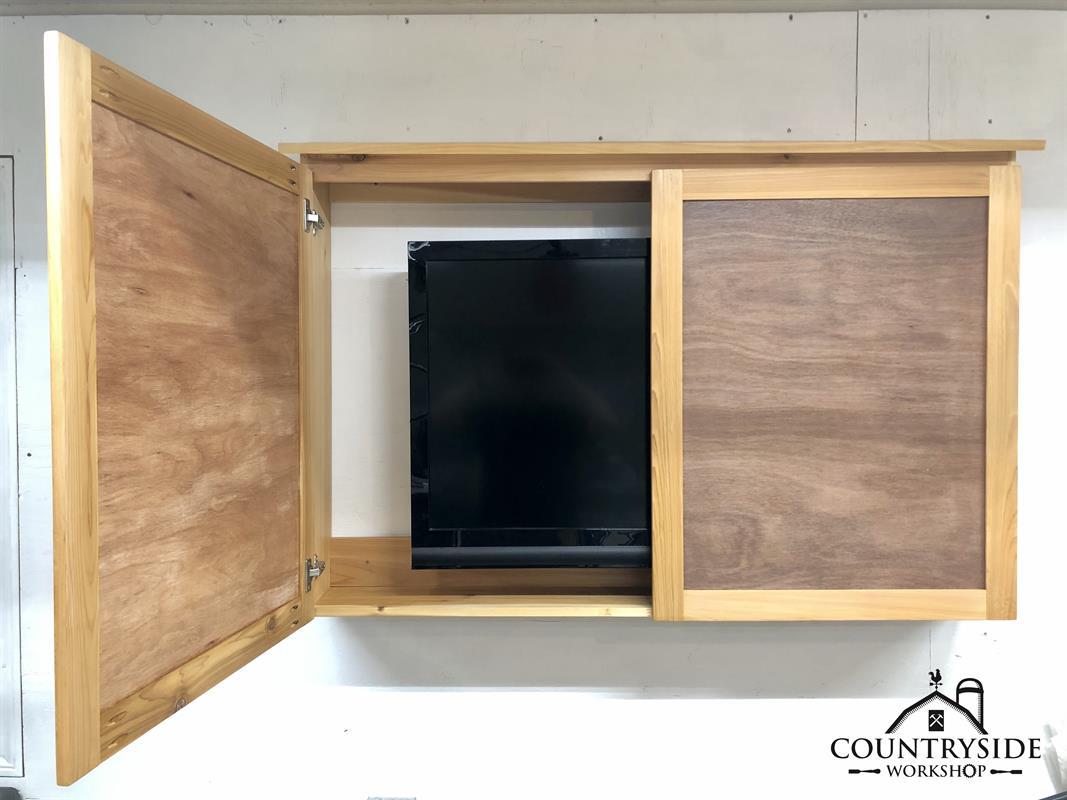
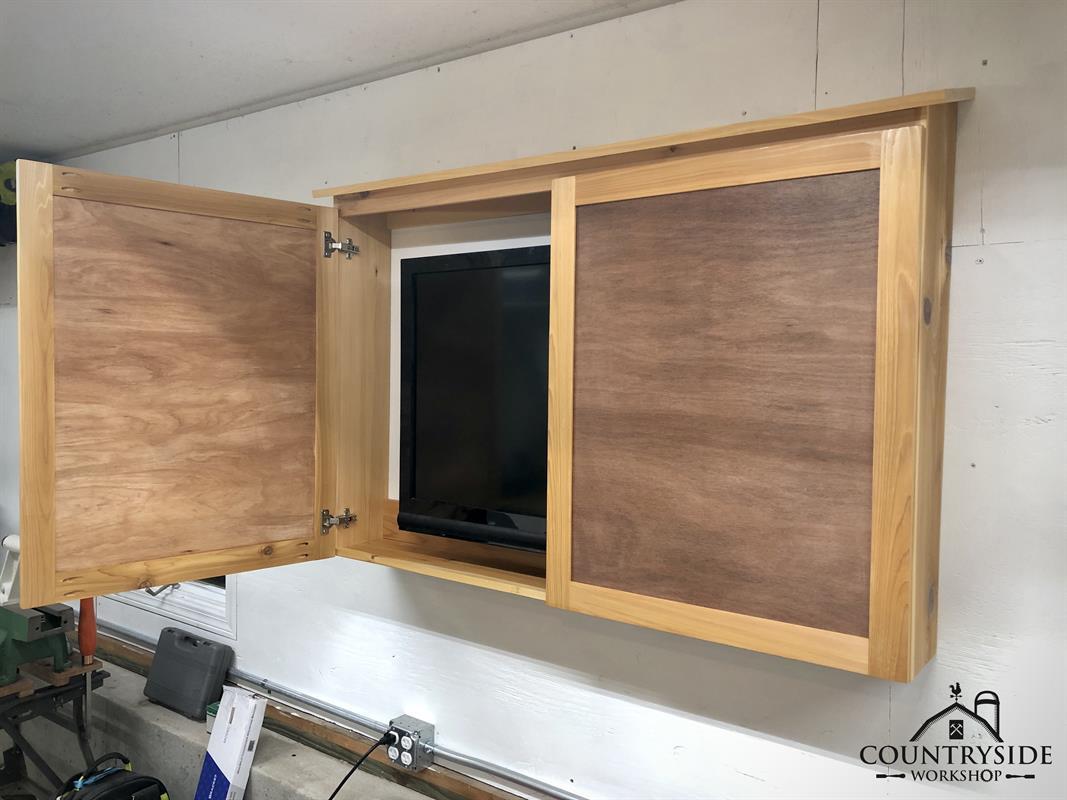
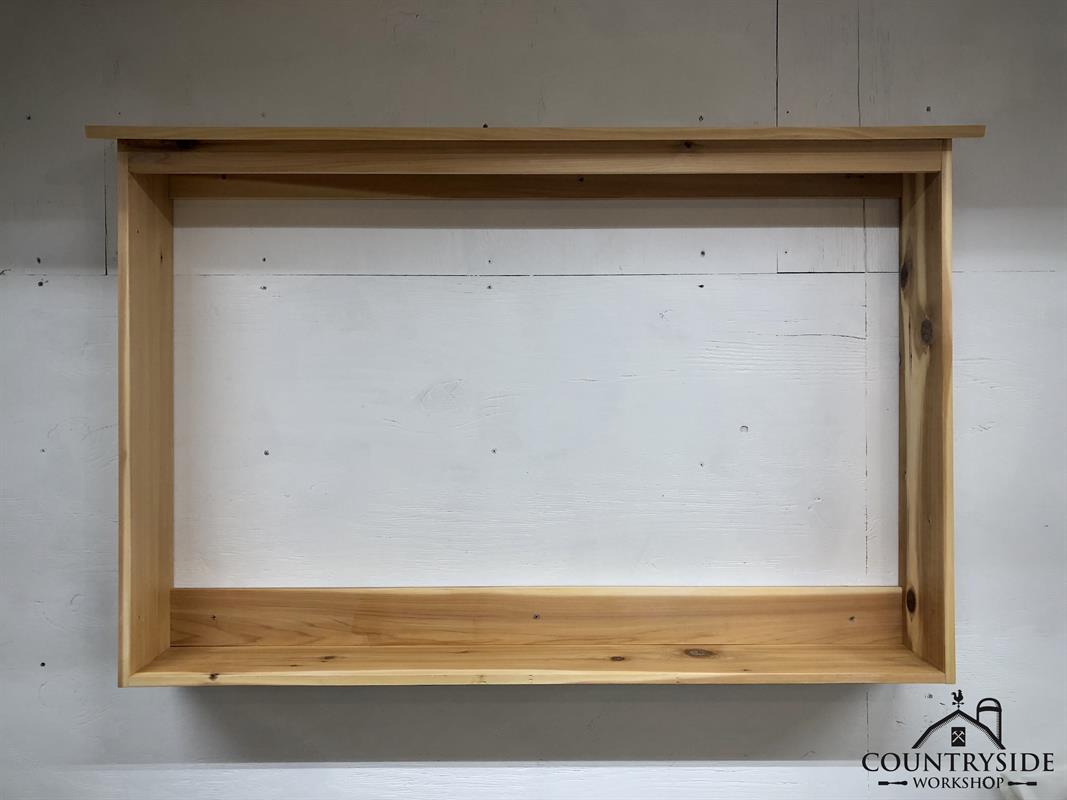
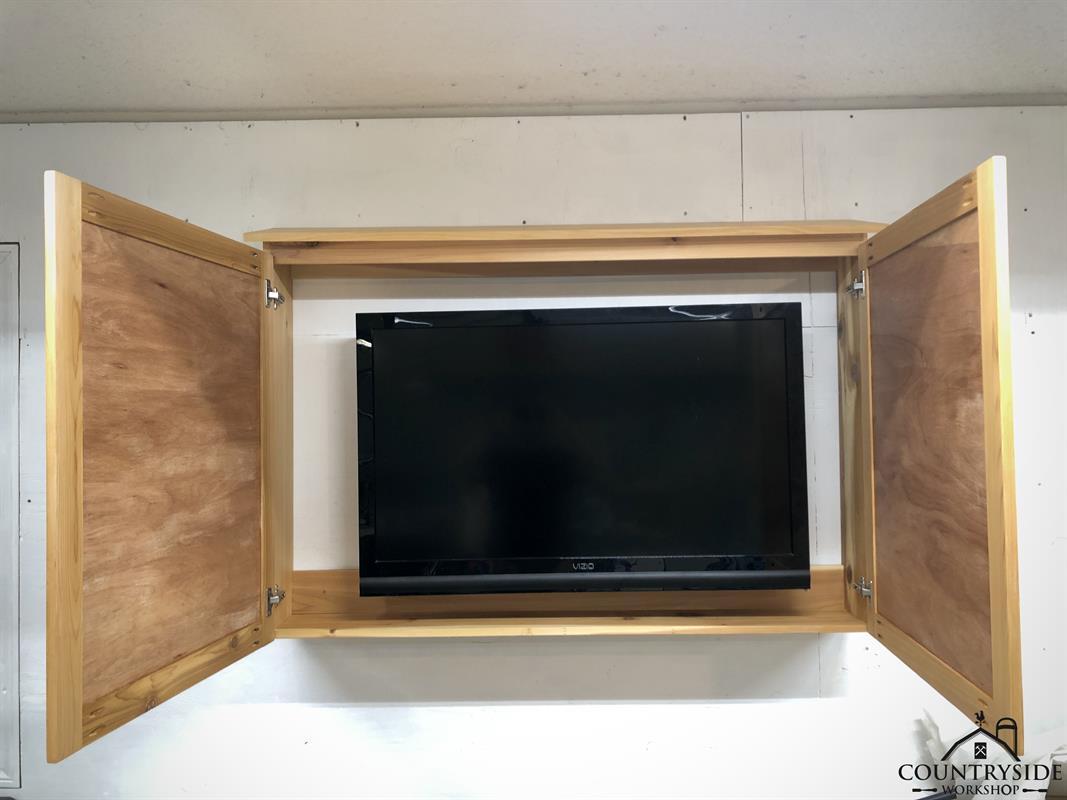
By Countryside WorkshopWe have wanted to add a TV to our outdoor space for a while now. We recently downgraded houses and had an extra TV that didn't have a spot inside. So I designed this Outdoor TV Cabinet to house our TV on the wall and keep it out of the elements.
Directions
-
Dimension Material
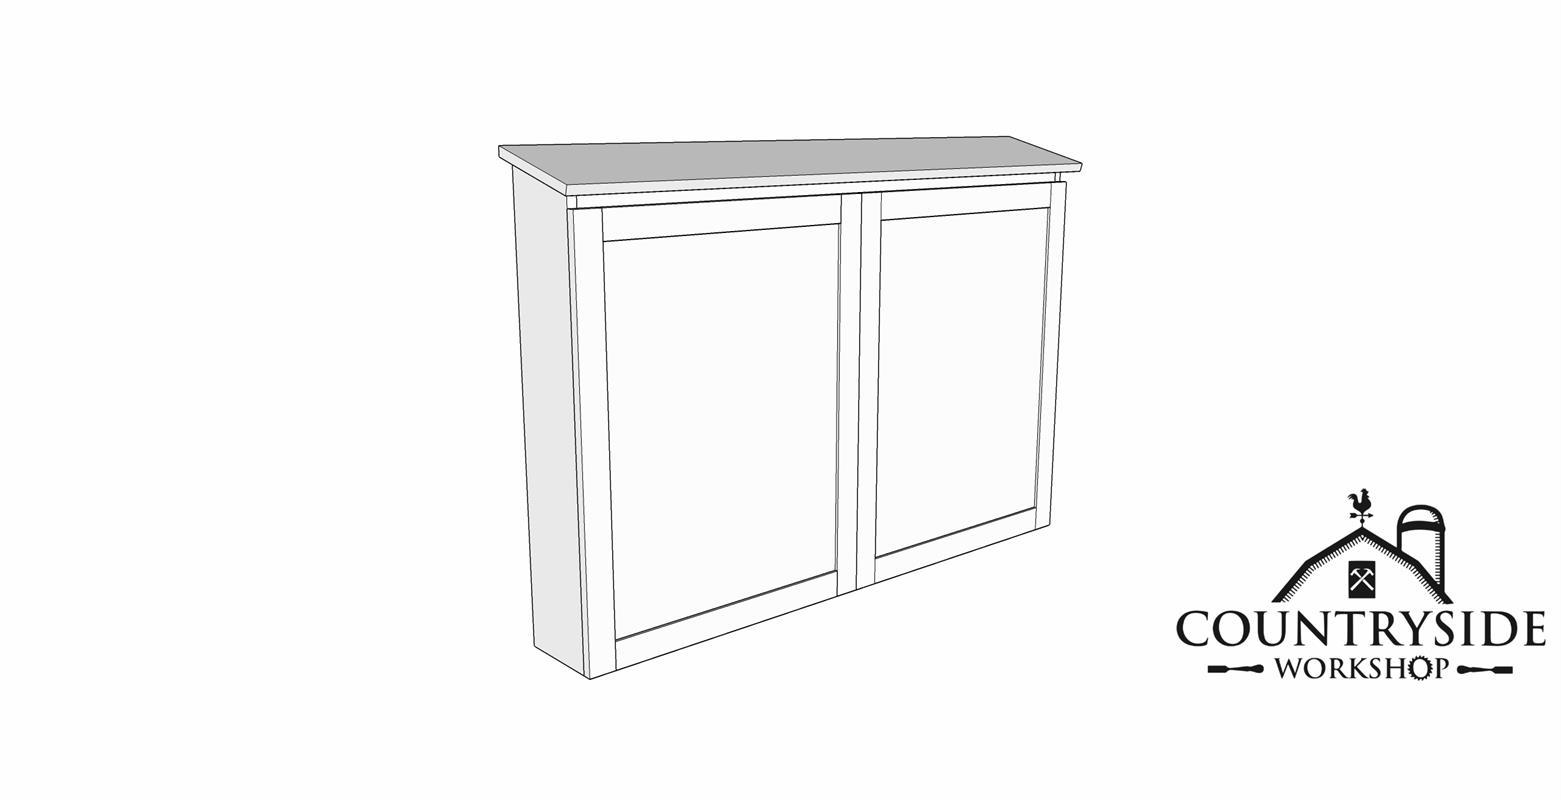
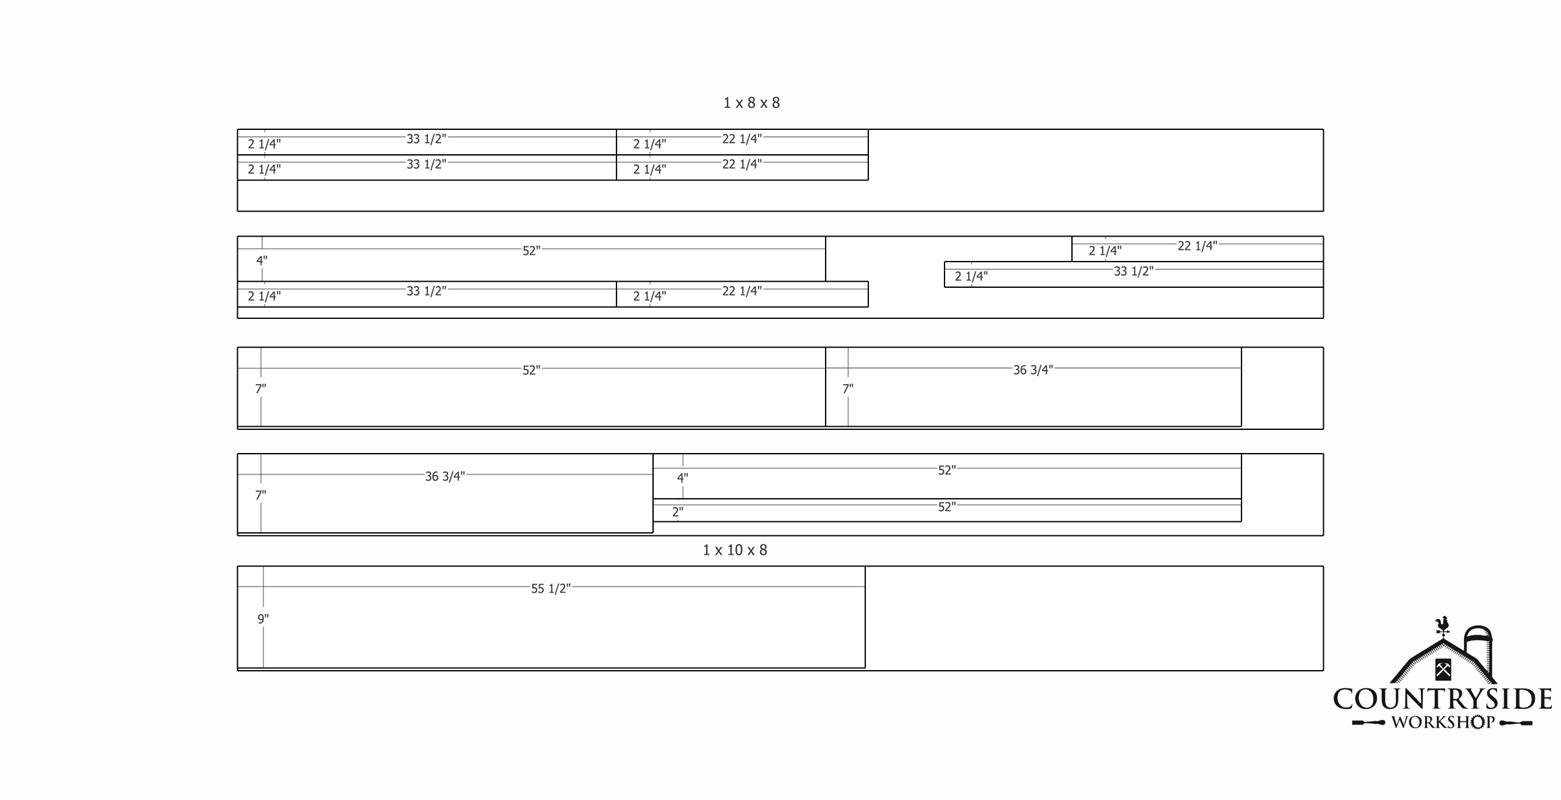
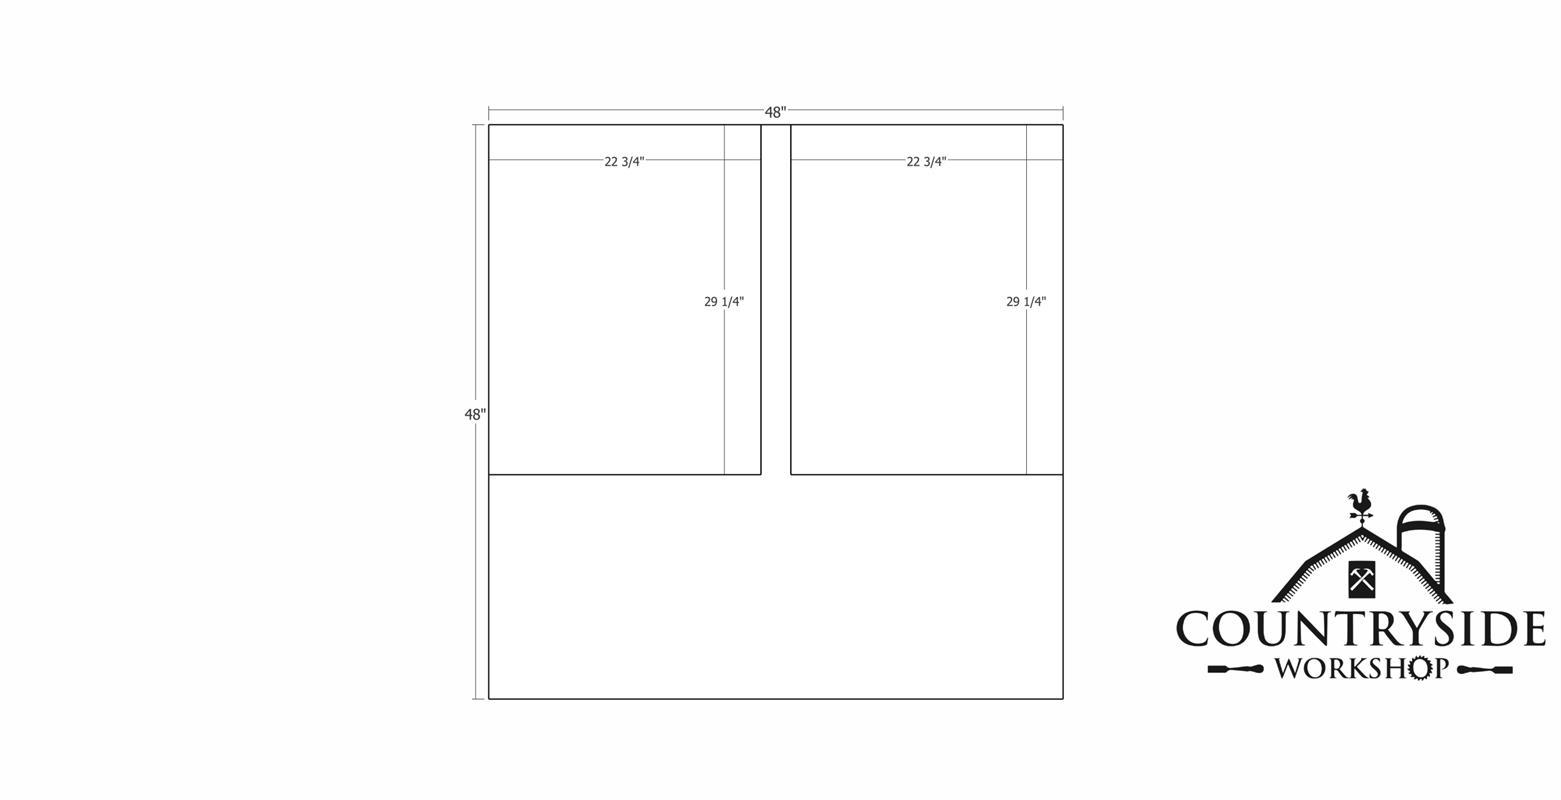
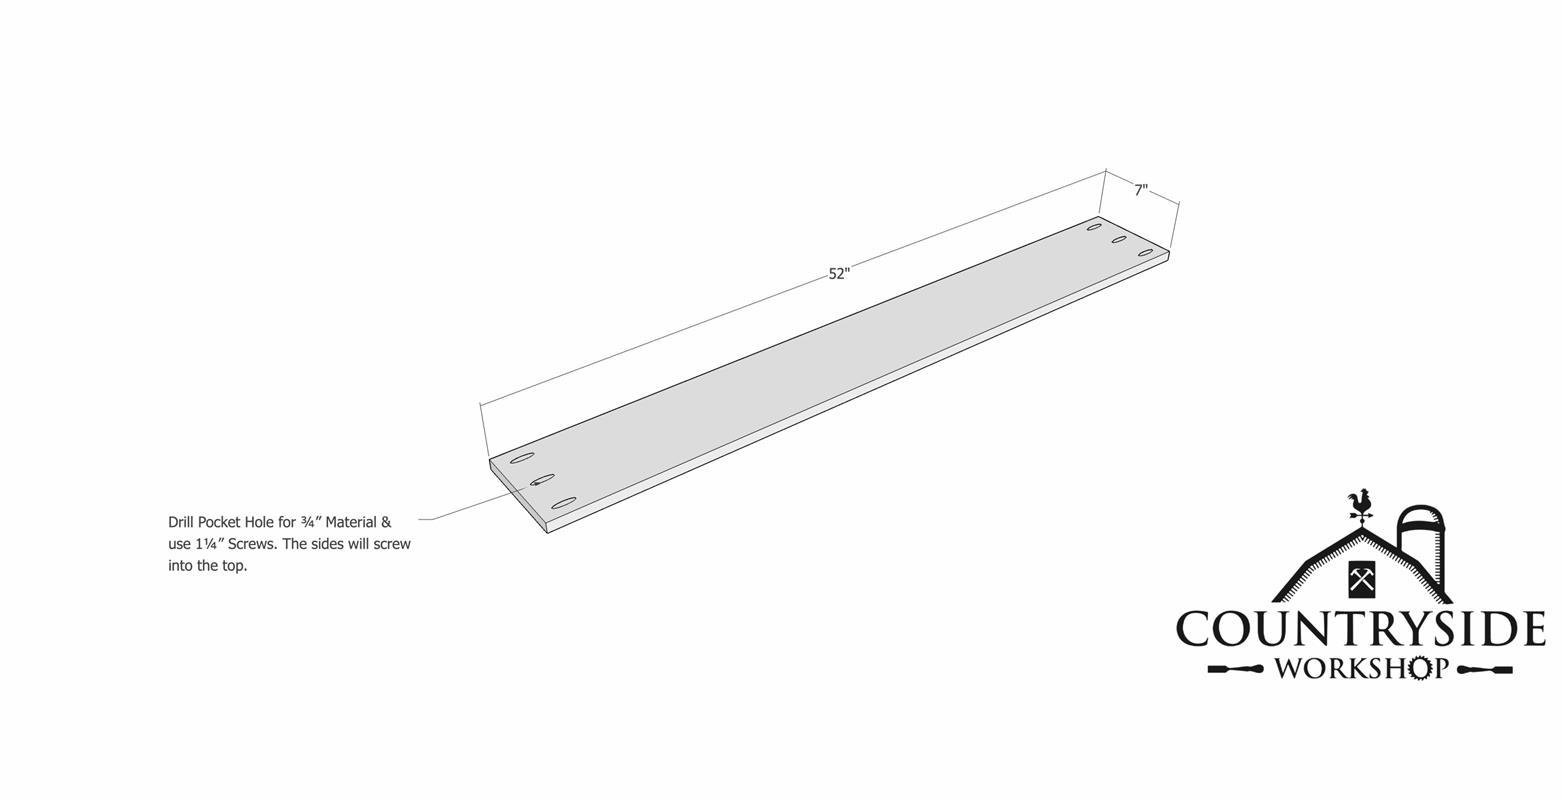
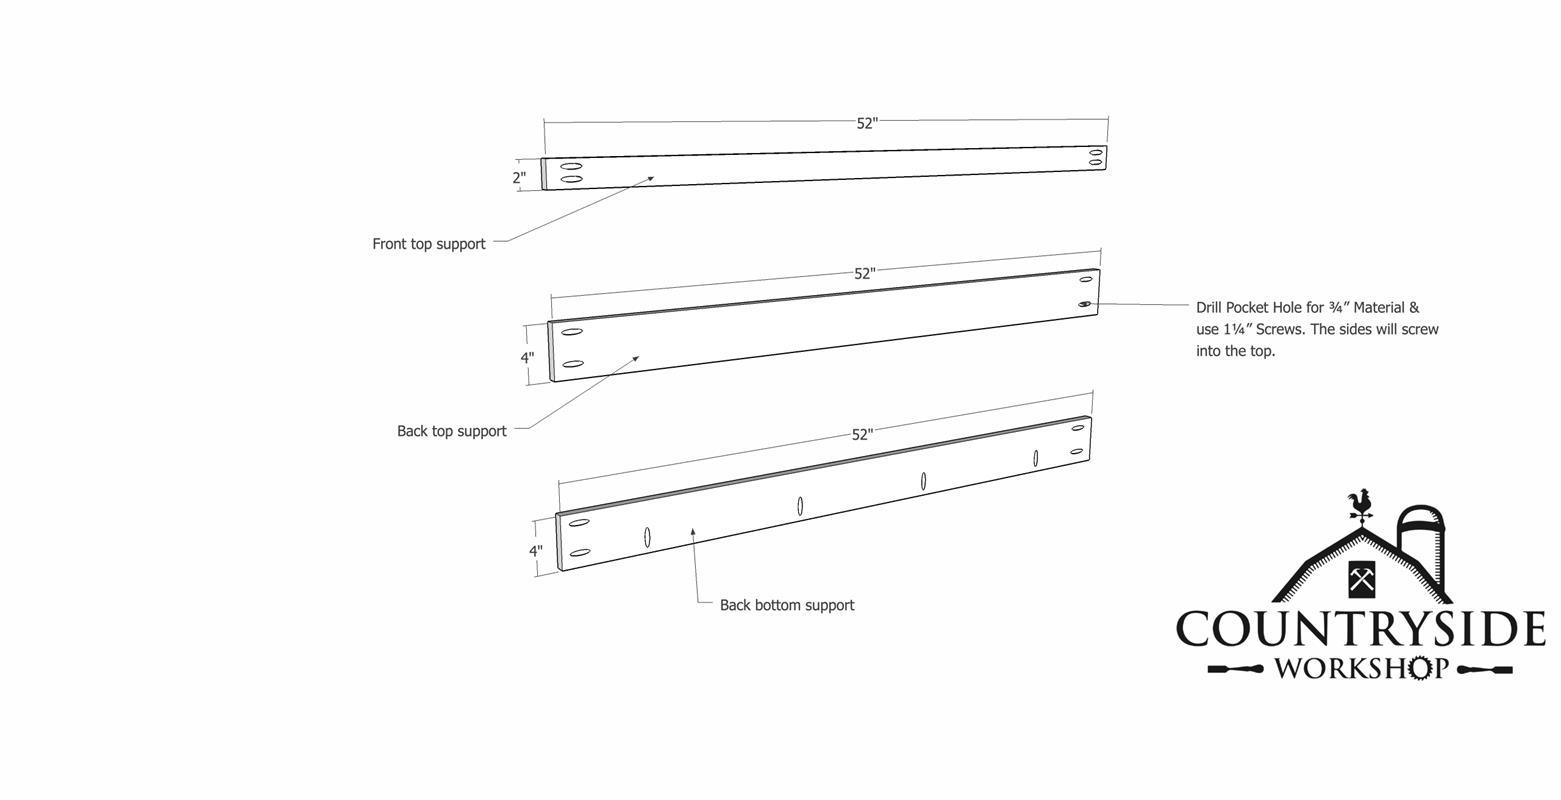
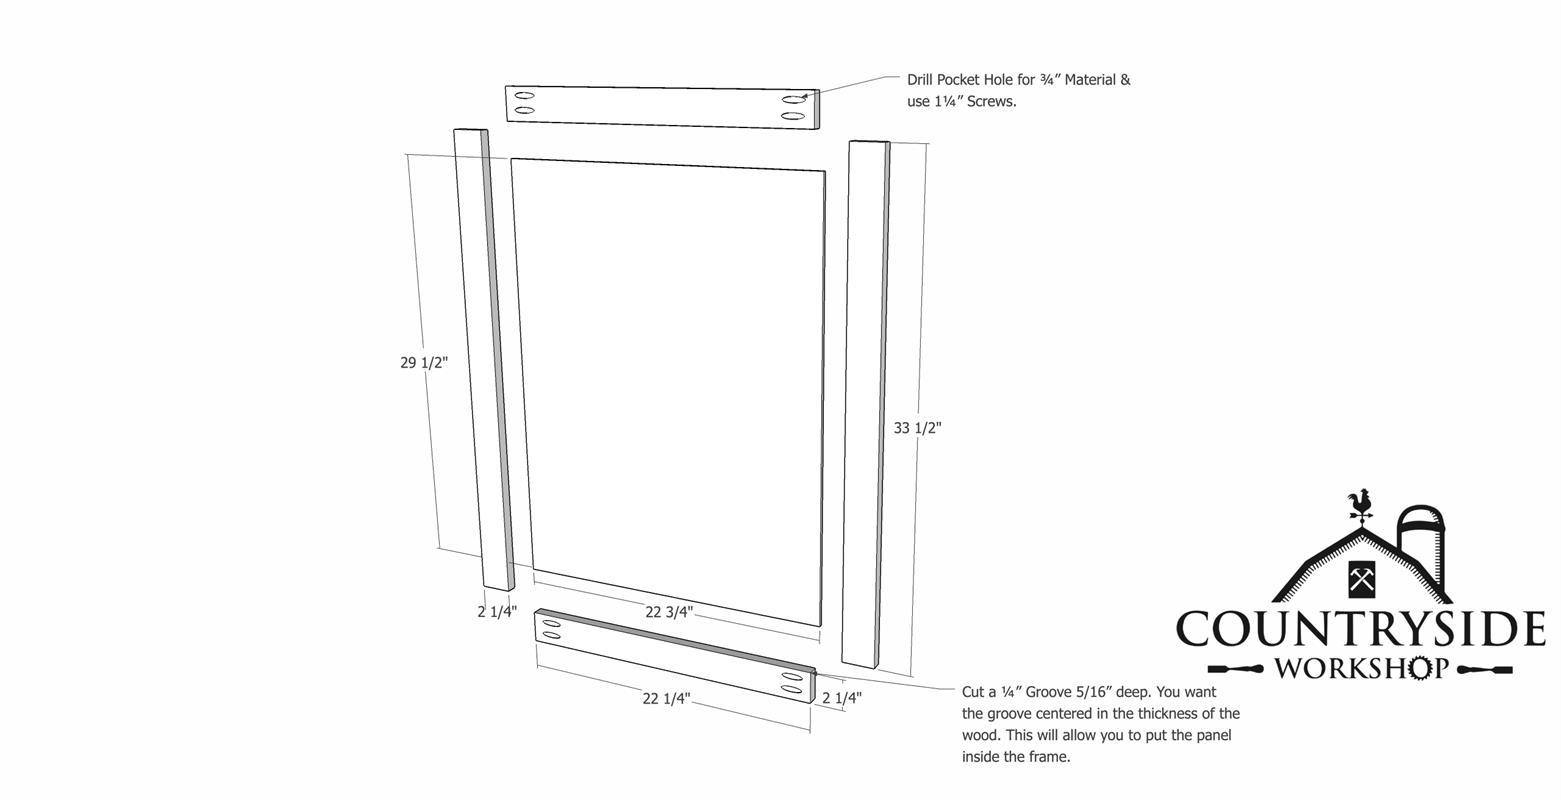
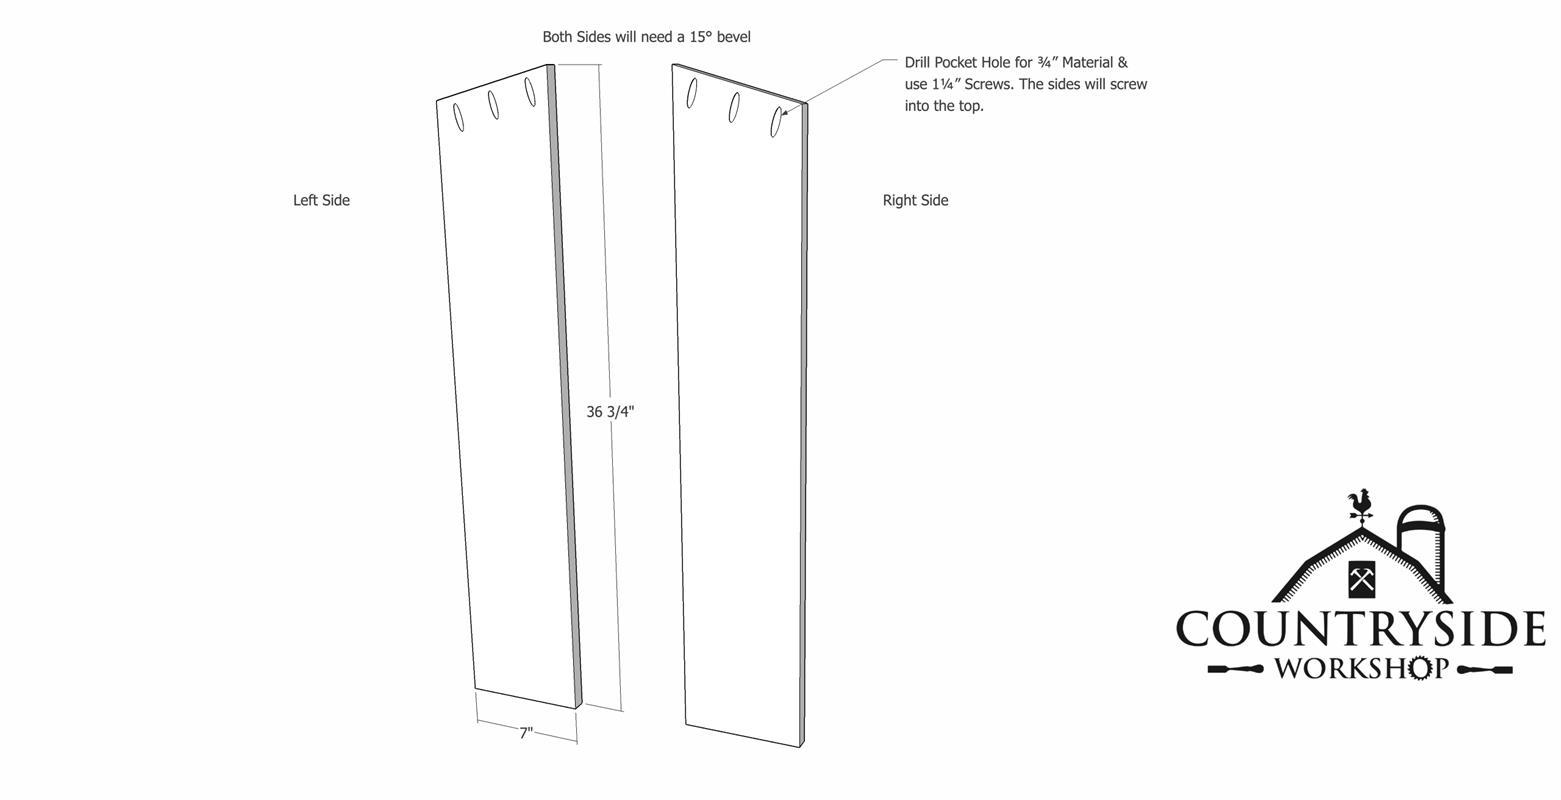
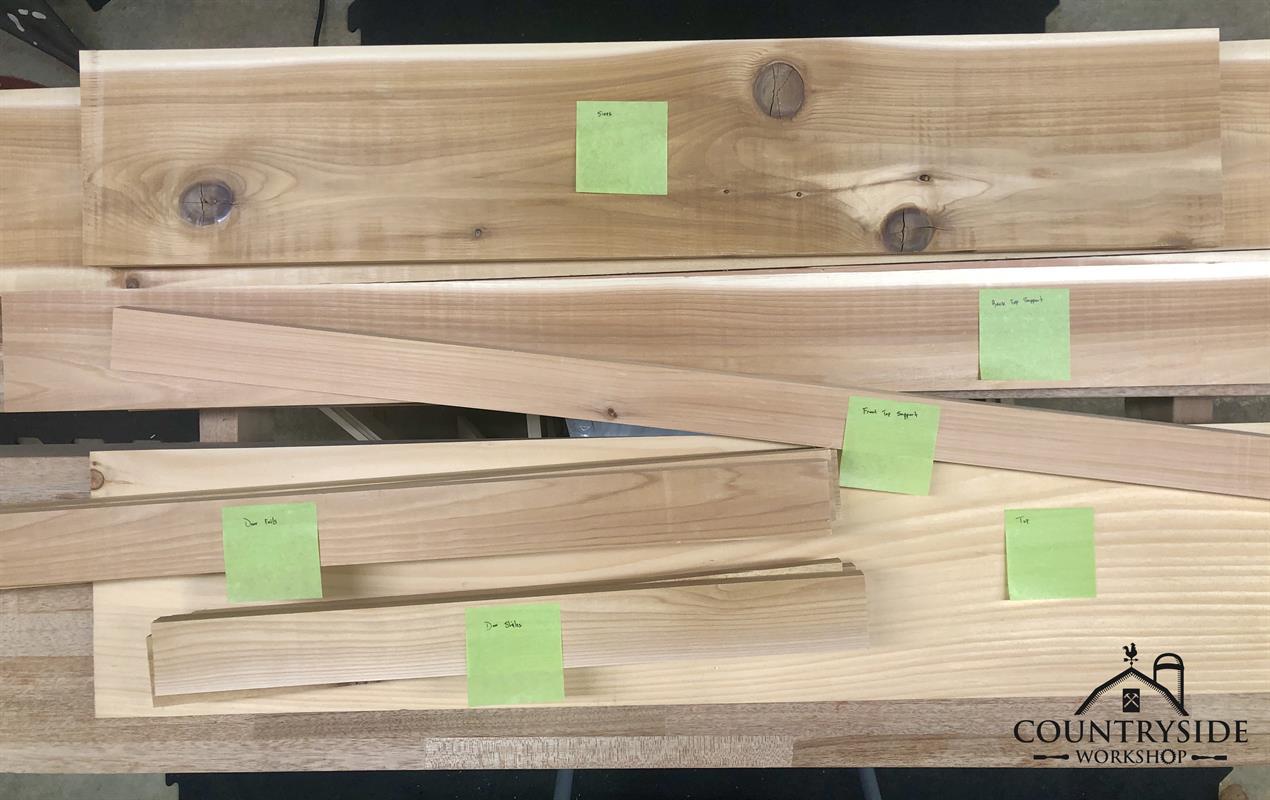
Use the parts diagram to cut all your parts to size on the table saw. It is easier to get all your parts cut first before you move on to cutting joinery.
-
Cut Angles on the Sides
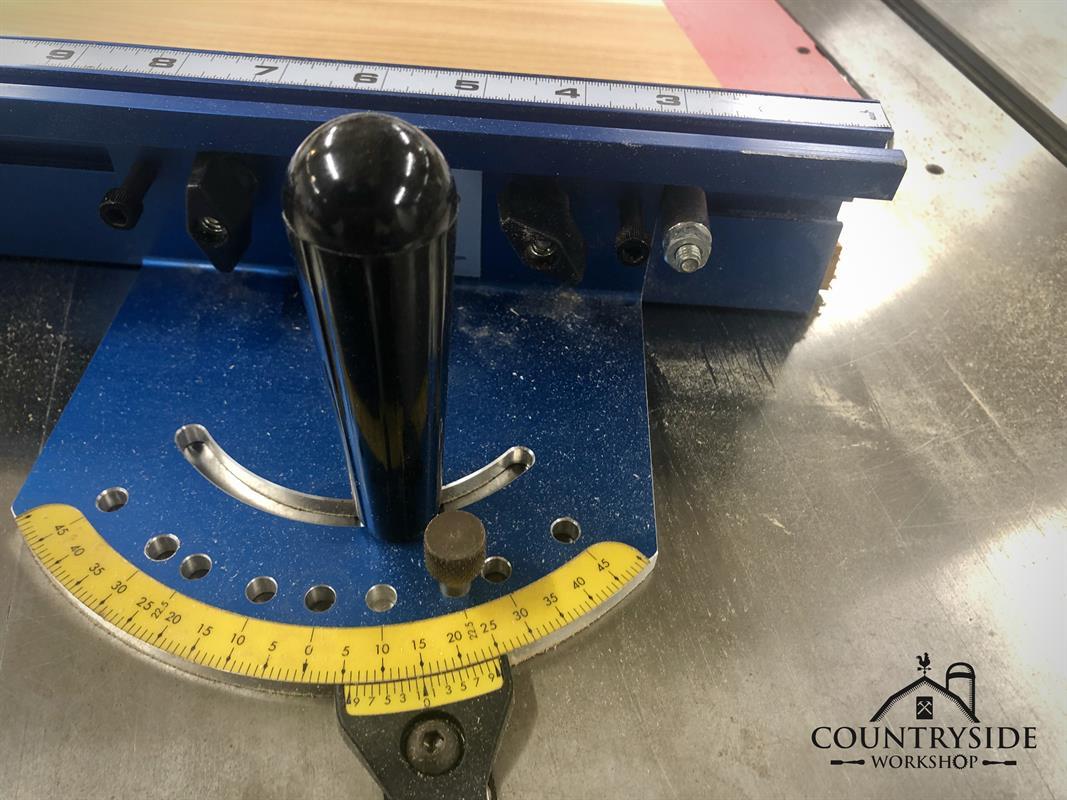
Cut your 15° angles on your sides. This will give the top a decent slant for any rain or snow to roll off away from the back of your cabinet.
-
Cut Angles on the Top
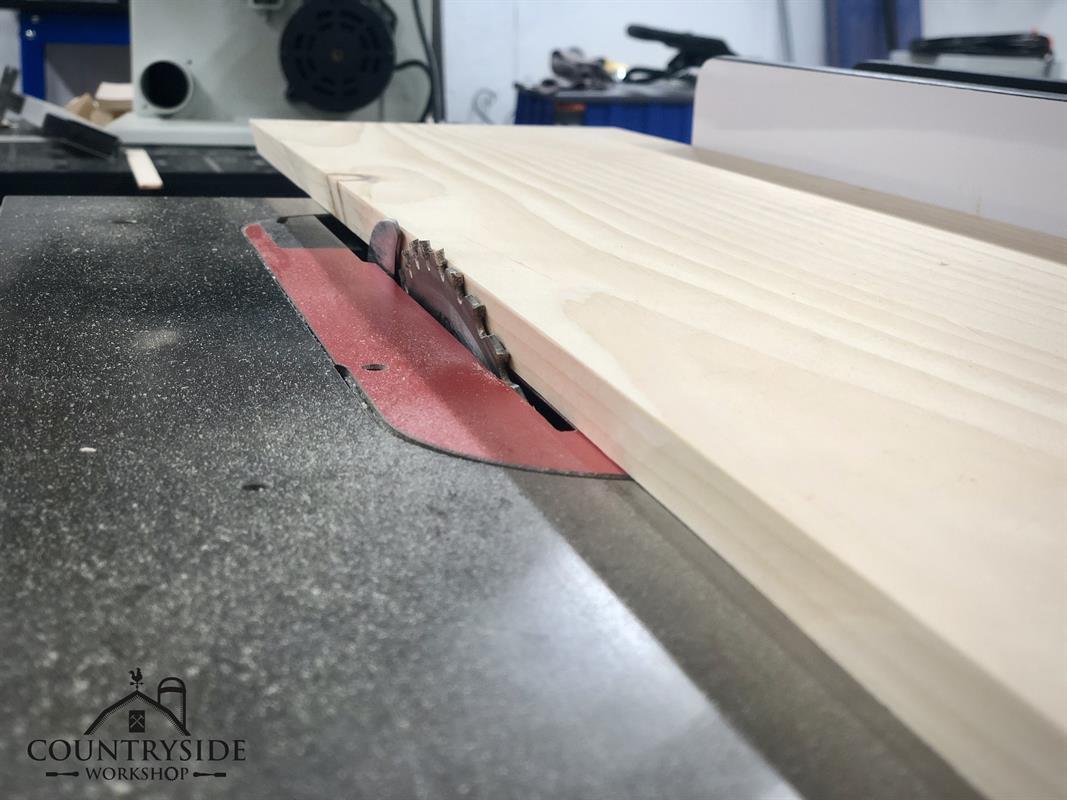
You want to rip a 15° angle along the long edge of the top. This will allow the top to sit flush against the wall.
-
Joinery
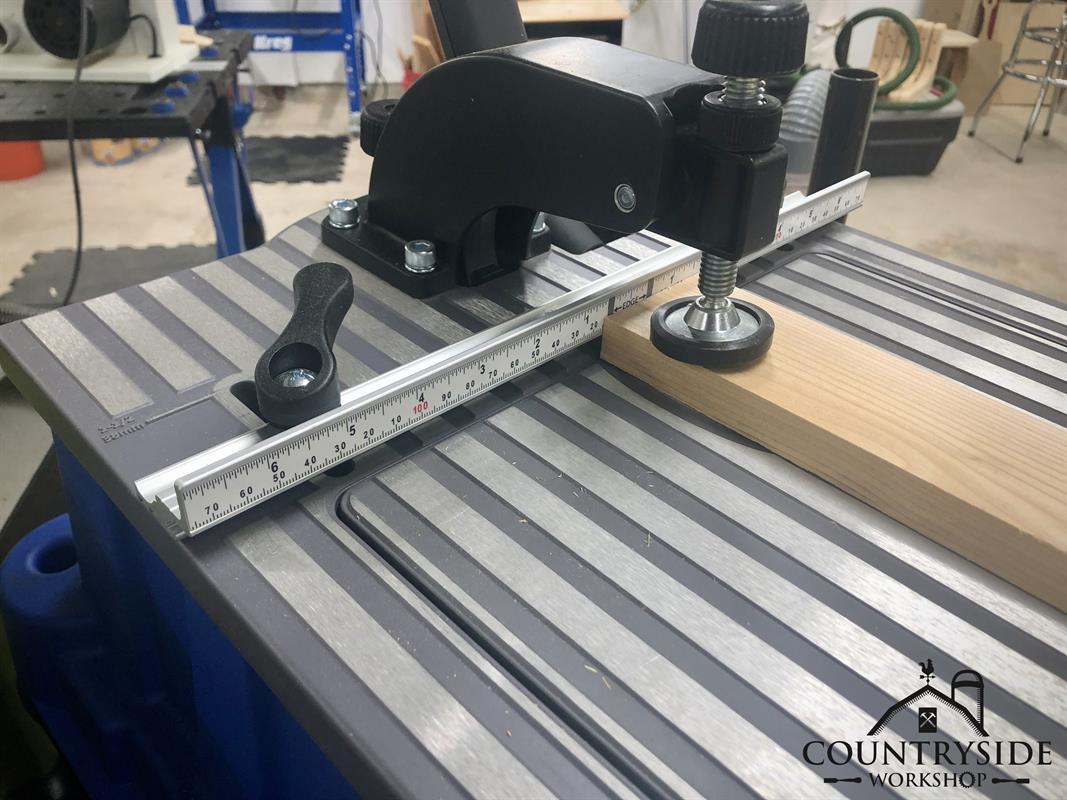
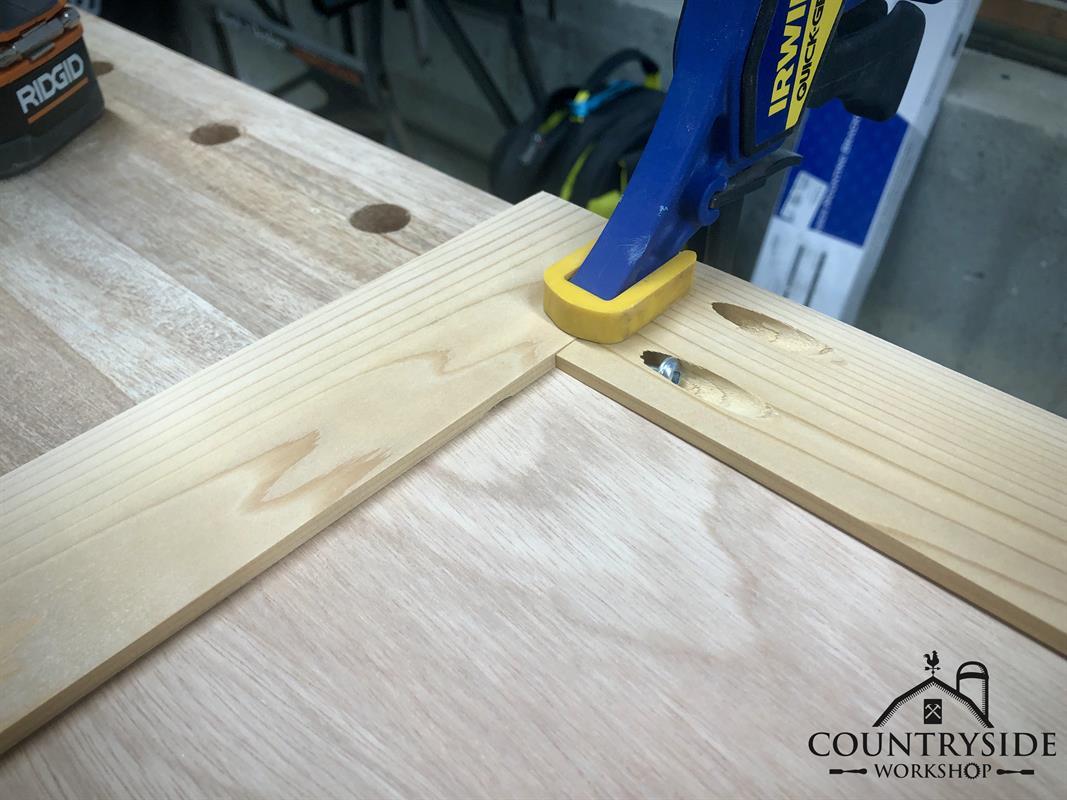
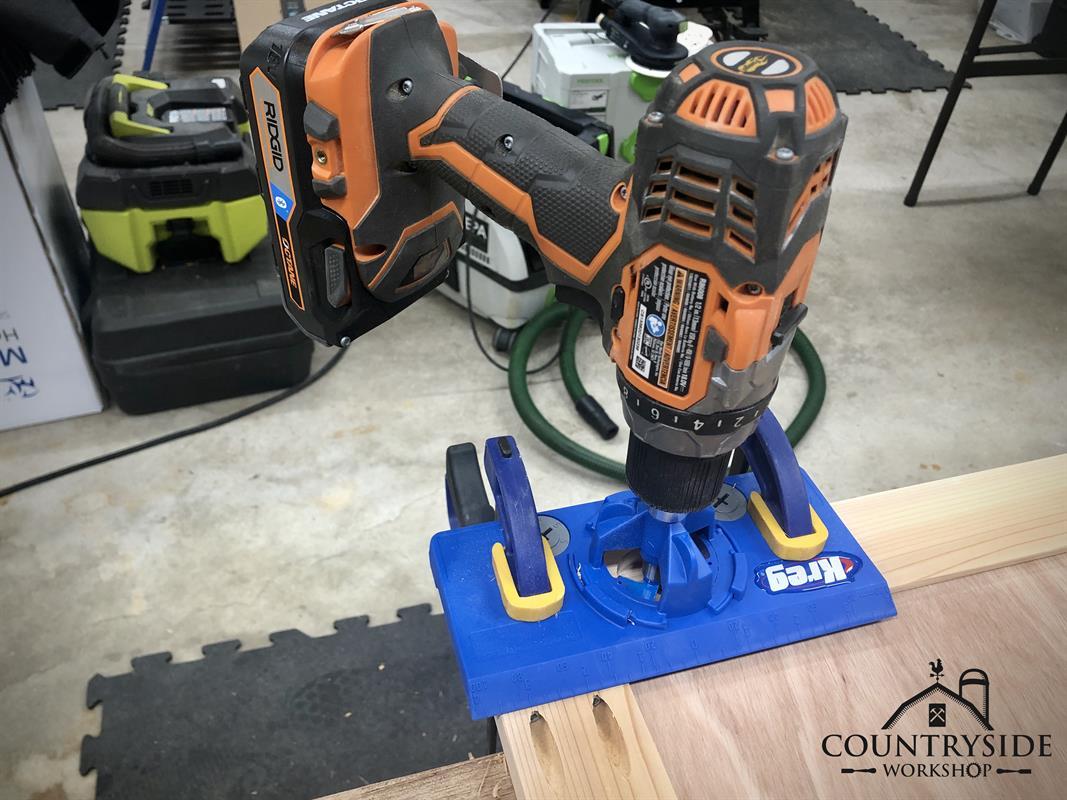
I decided to use pocket holes for this build because it is quick and has a lot of holding power. Set your pocket hole machine to drill the appropriate size pocket holes for the thickness of your material. In this case we are using ¾" cedar so we set the fence on the Kreg Foremen to the ¾" mark and set the depth of cut to equal the 1 ¼" screw we will use. Follow your setup instructions to make sure you are not drilling to deep.
-
Grooves
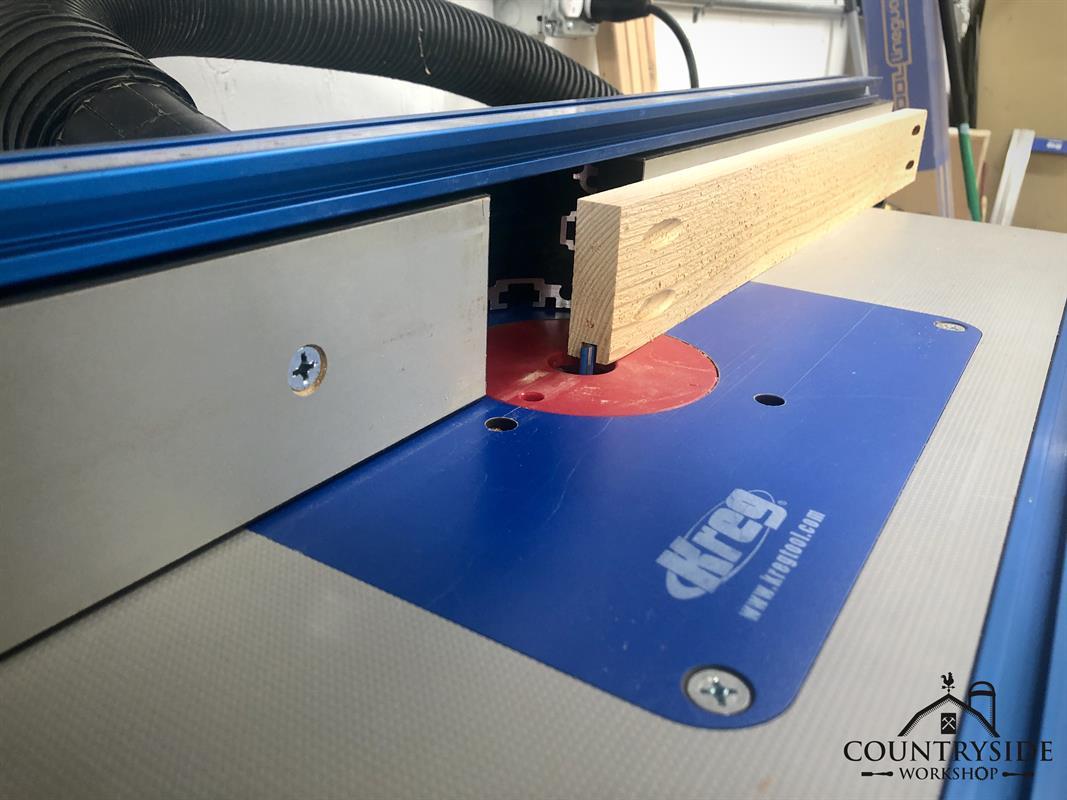
Route ¼" groves 5/16" deep centered in the thickness of your rails and stiles. This will allow you to drop in the ¼" plywood for your doors.
-
Sand & Finish
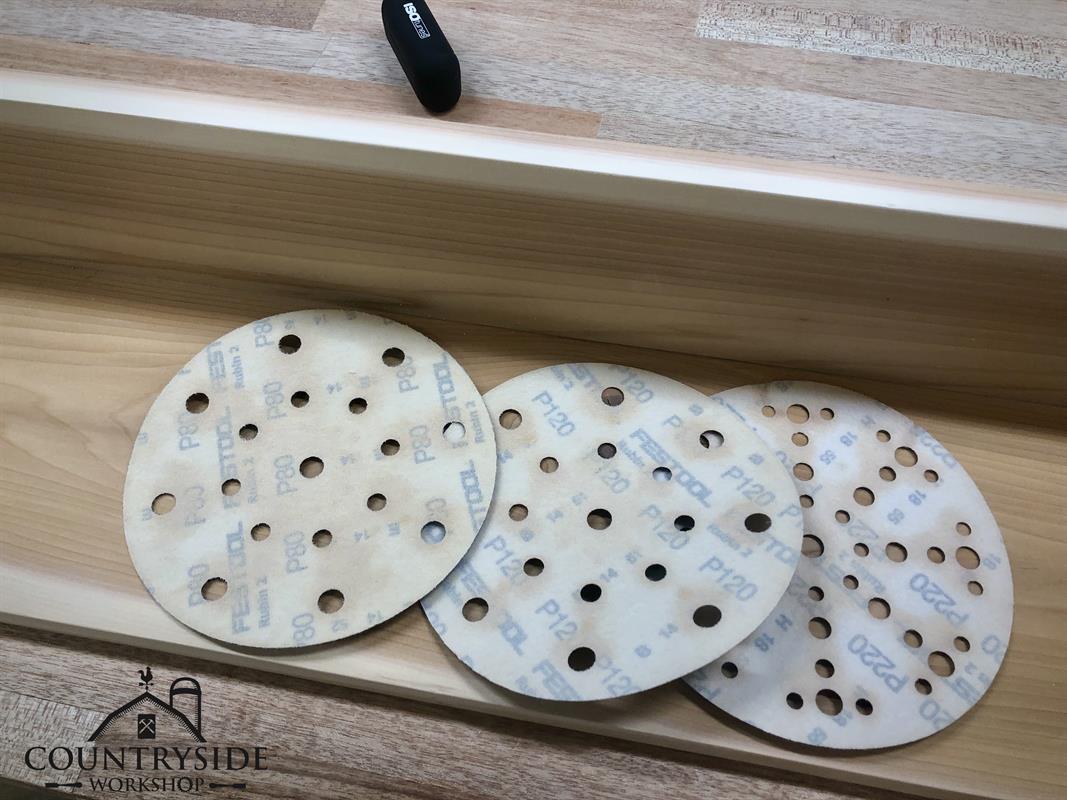
Now is the time to sand each component. I use 80 -> 120 -> 220 but you can follow your preferred sanding grits. I also prefinish my parts here because they it is easier to finish flat pieces vs. pieces with a lot of inside corners. I am using an outdoor varnish that has some UV resistance since it will be exposed to the elements.
-
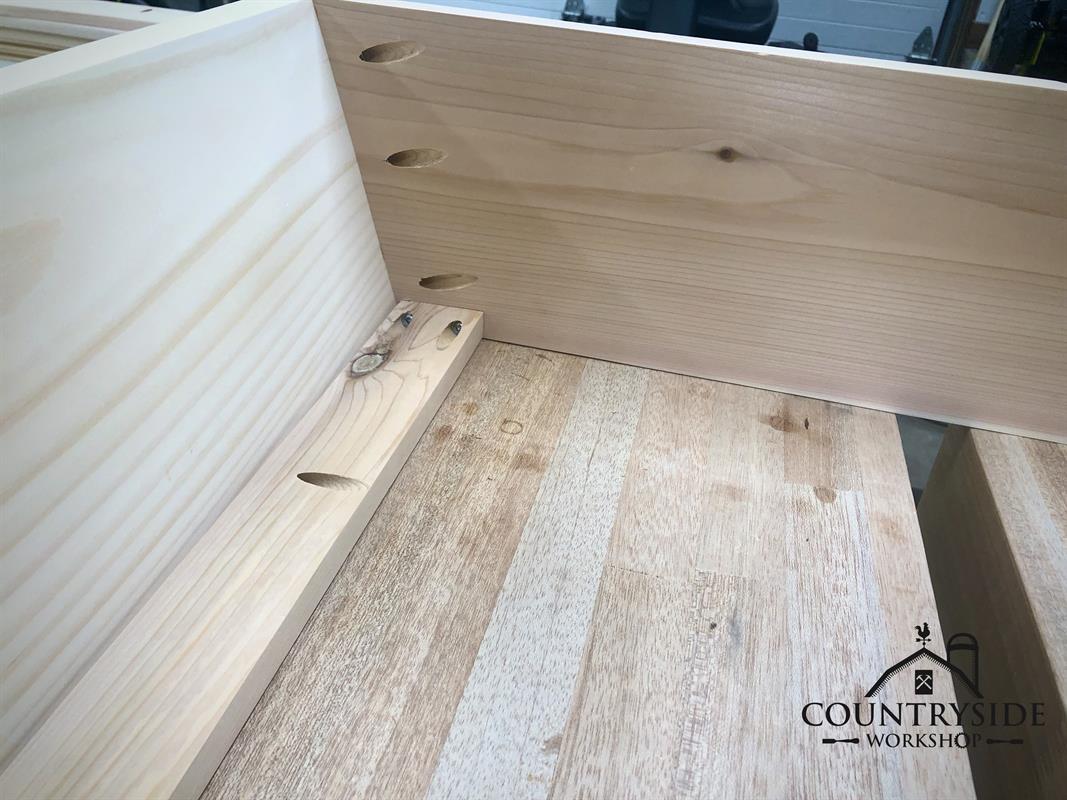
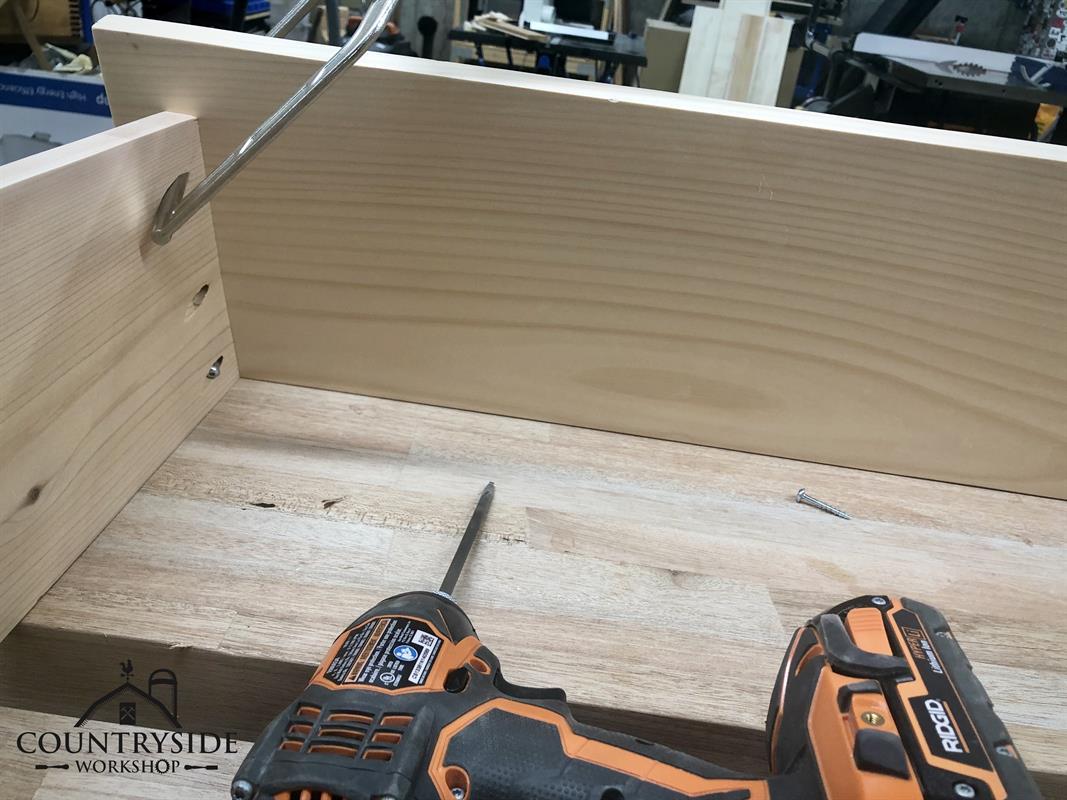
Connect Bottom to Sides
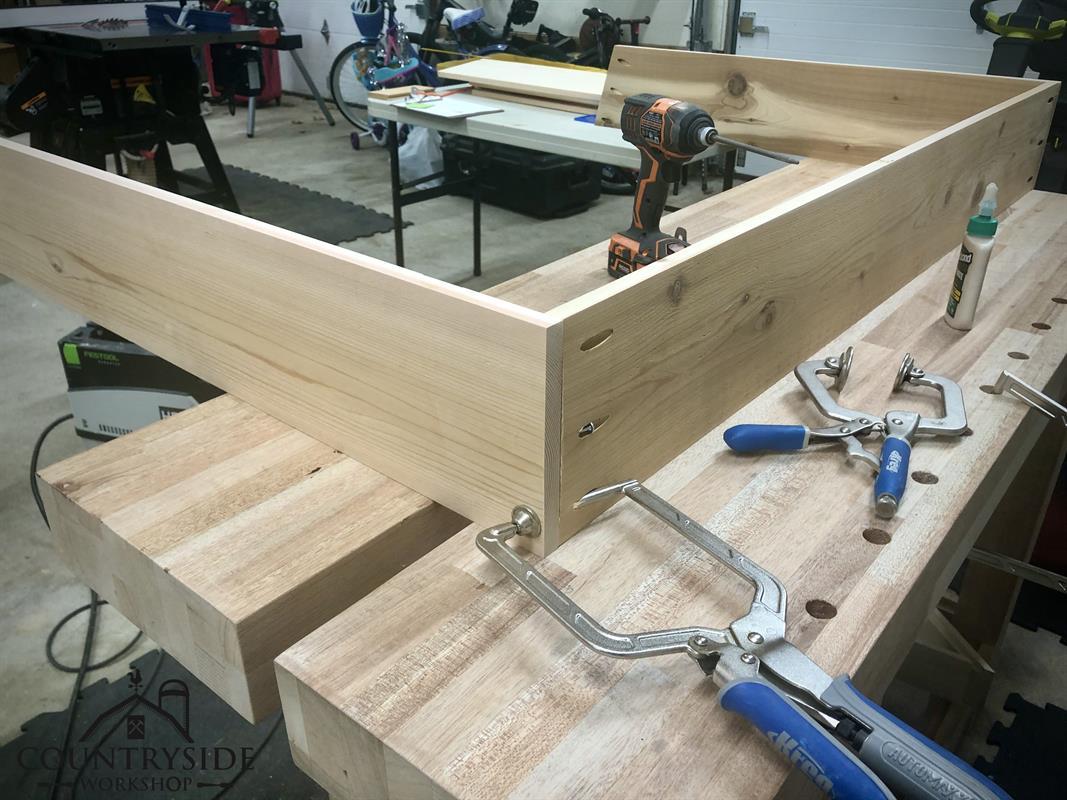
Using 1 ¼" coarse thread screws and wood glue to connect the bottom piece to the sides. I used Zinc coated screws because that is what I could find locally but Blue-Kote or Stainless Steel are better options for outdoor projects. You will also want to use a glue rated to with stand moisture like Titebond III.
-
Bottom Support
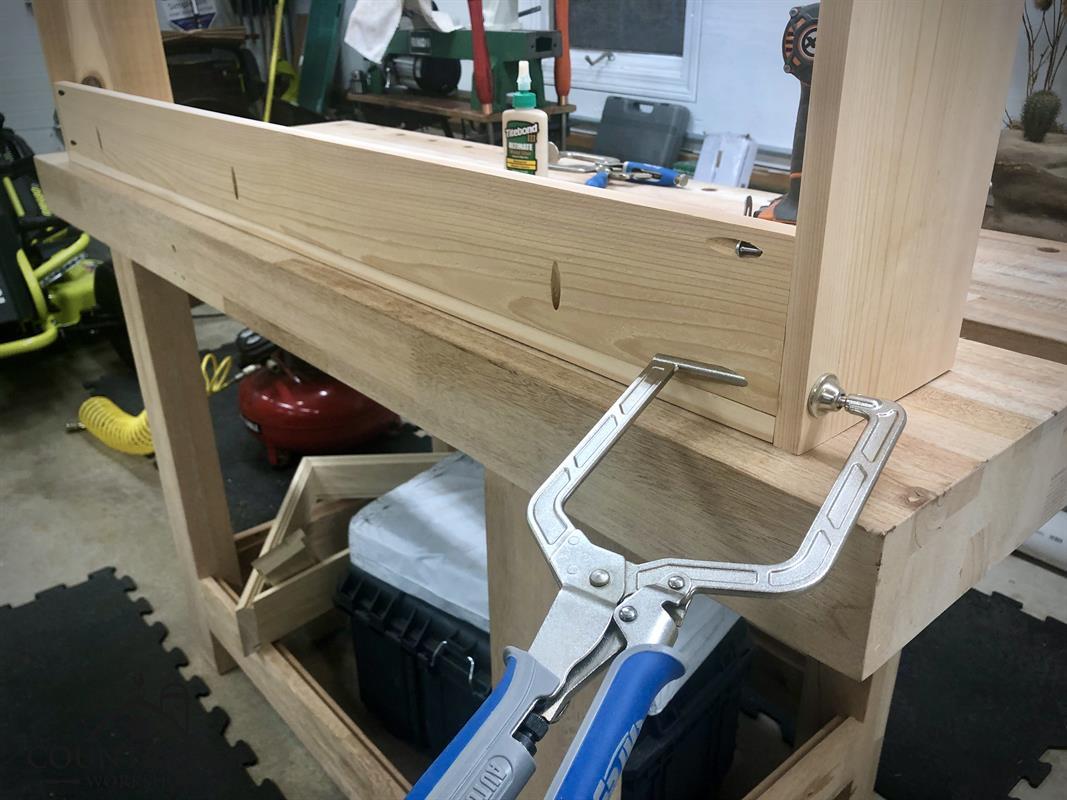
Next screw and glue the bottom support to the sides and then to the bottom.
-
Top Supports
Connect the top supports before moving to the roof. This will ensure the spacing in consistent from the bottom to the top if your sides are bowed at all. I did this out of order and my sides were bowed which created a smaller spacing and my top supports wouldn't fit.
-
Roof
Finally you will connect the roof ensuring the side with the 15° bevel is towards the back of the cabinet. This will allow the cabinet to sit flush against the wall.
-
Doors
Assembly your doors by connecting 1 rail to the 2 stiles. Then slide in your plywood panel and cap it off with your other rail. (rails = top/bottom & stiles = left/right sides).
-
Hinges
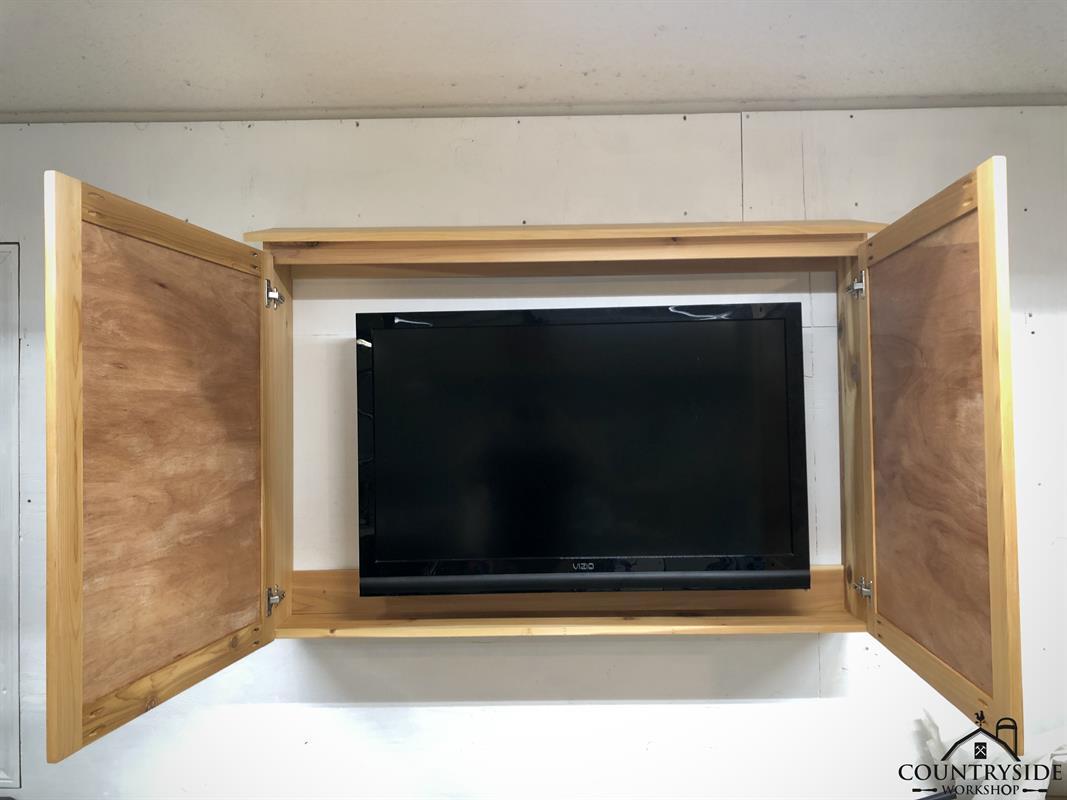
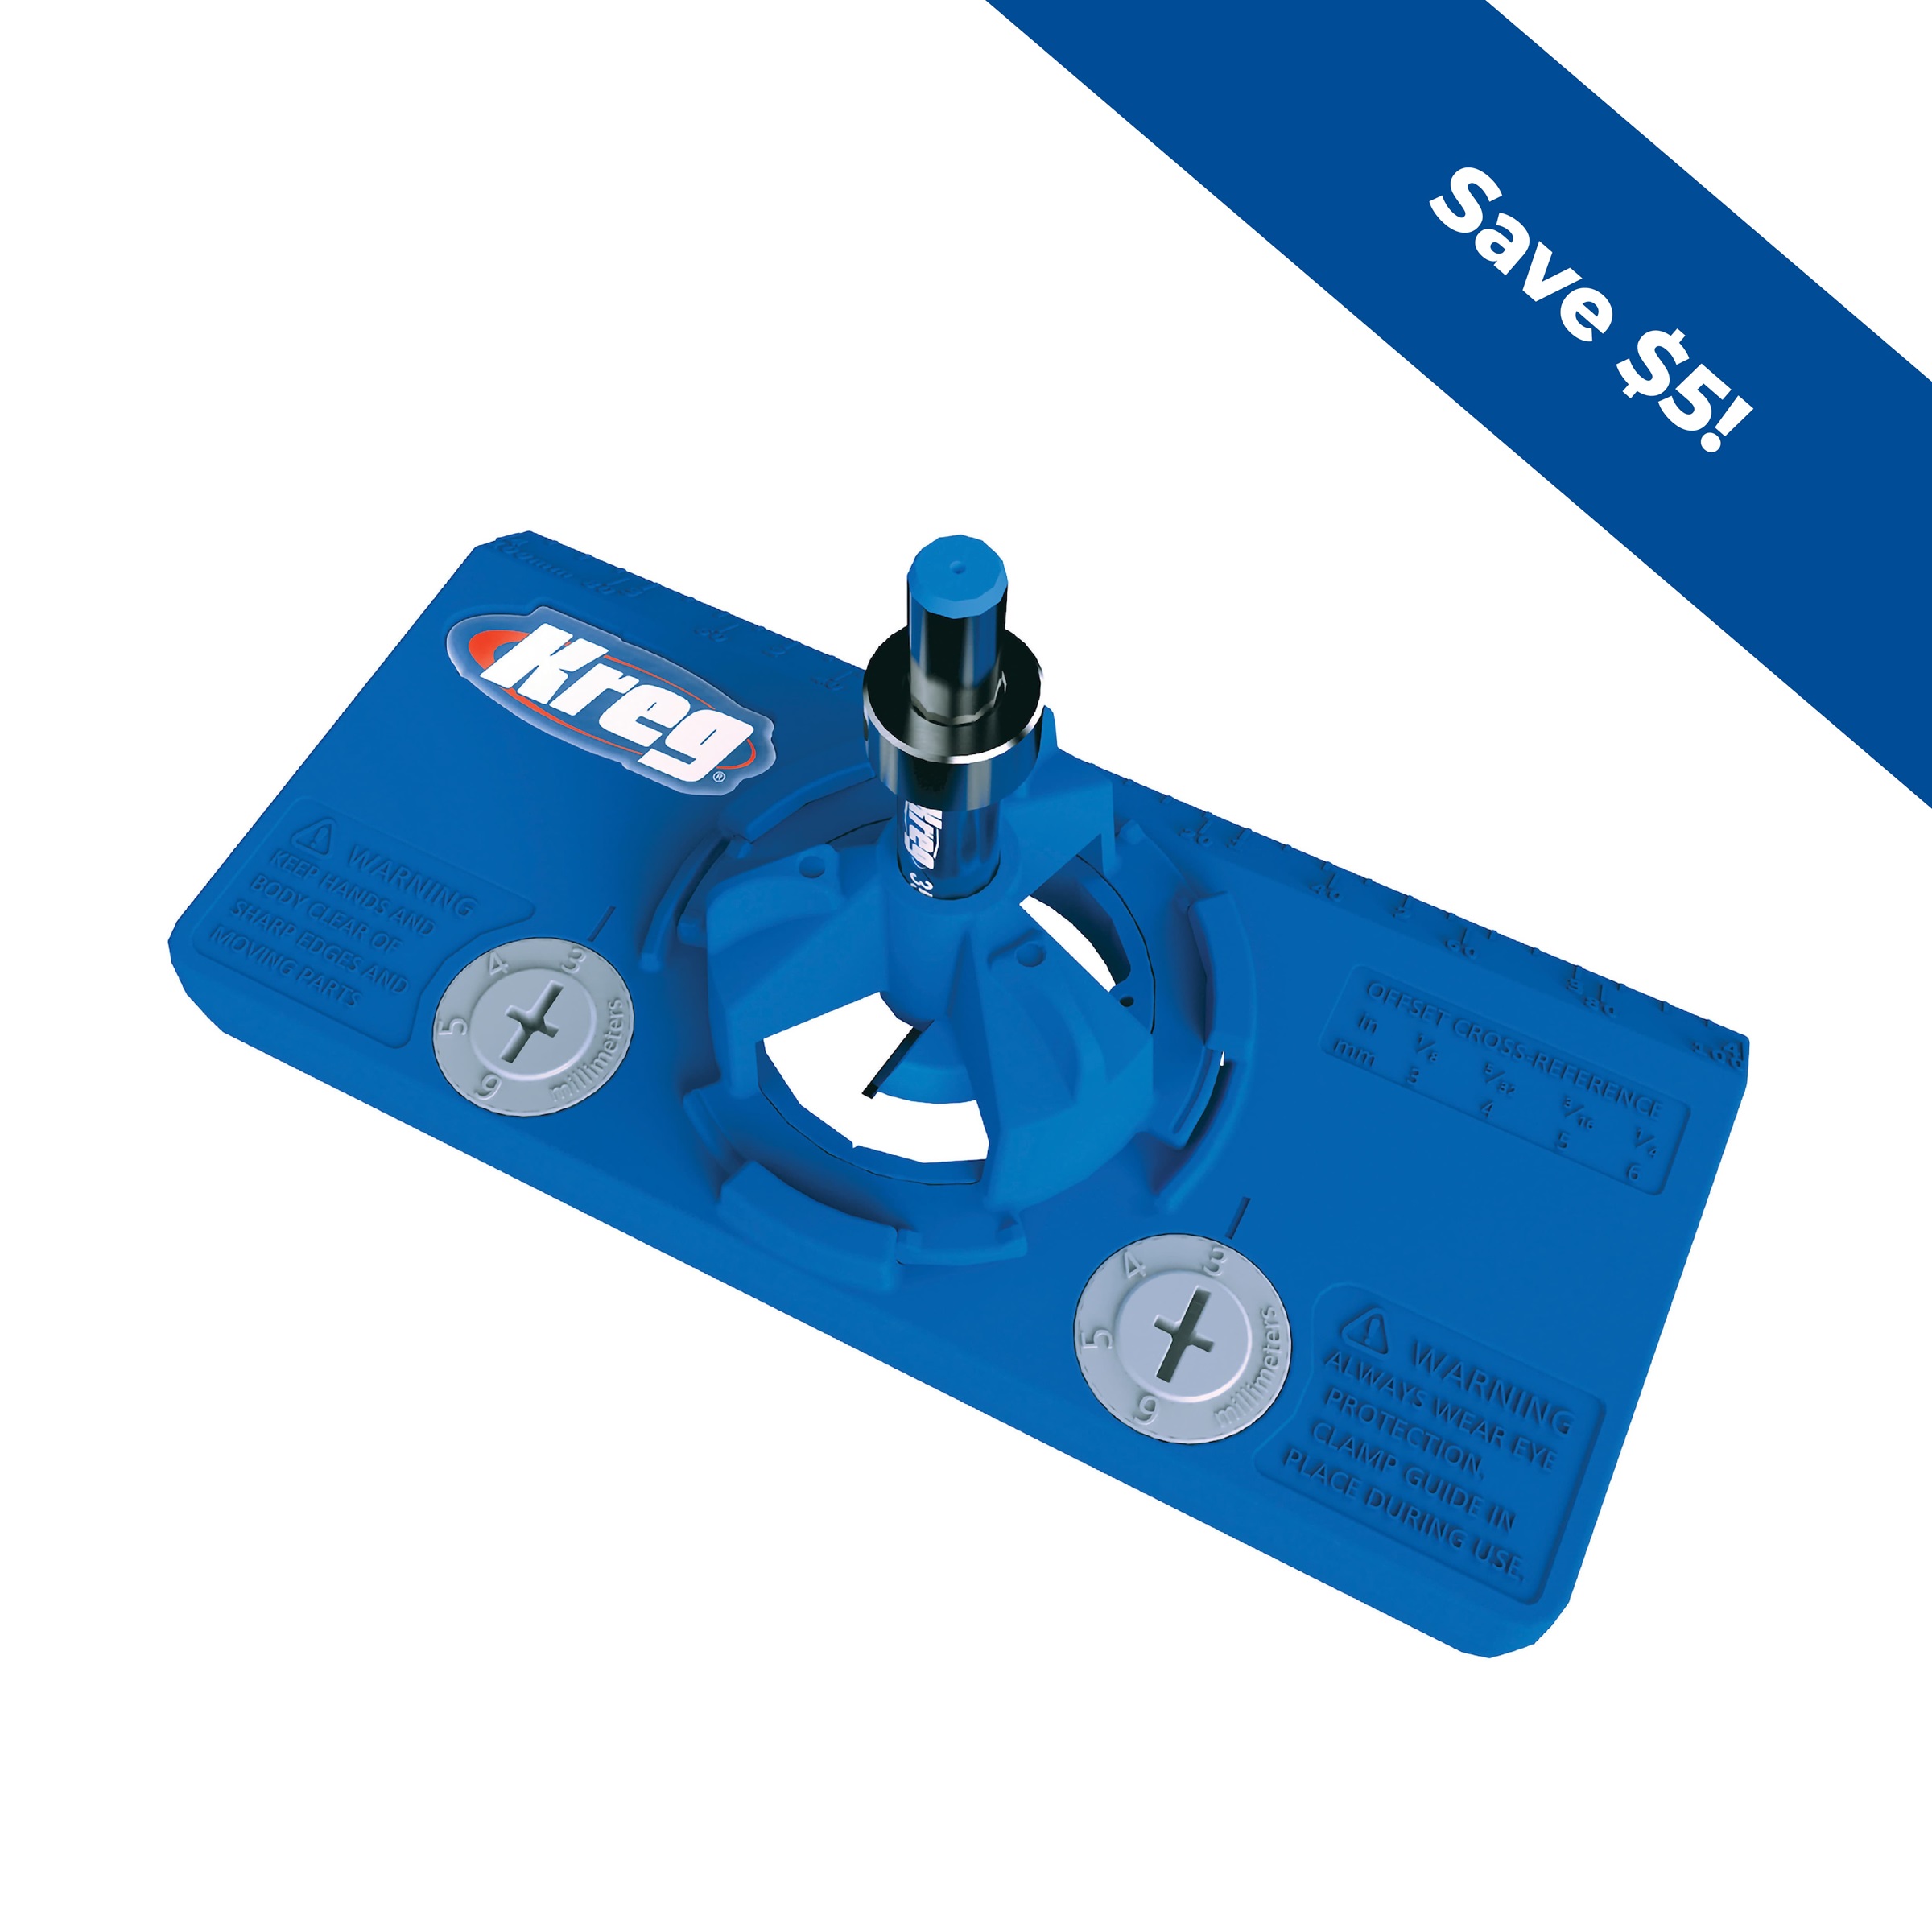
Use the Kreg Concealed Hinge Jig and follow your specific hinge manufacturers instructions to install the hinges. I used regular cabinet hinges here but will likely change to a piano hinge. The cabinet hinges I used here are 110° swing and do not open as wide as I would like. A piano hinge would allow the doors to swing all the way open. They are easier to install and don't require a jig either.
-
Hang
I chose to use 3 screws across the top support and 3 screws along the bottom support to hang it on the wall. I have wood siding so I didn't need to find a stud but make sure you are using the correct mounting hardware for your structure.
-
Mount TV
Follow your manufactures instructions to mount the TV inside the cabinet.
-
Enjoy
Now it's time to sit back and enjoy Super Bowl LIV or even your favorite YouTube channel like Countryside Workshop or Woodshop 101 Podcast.


