

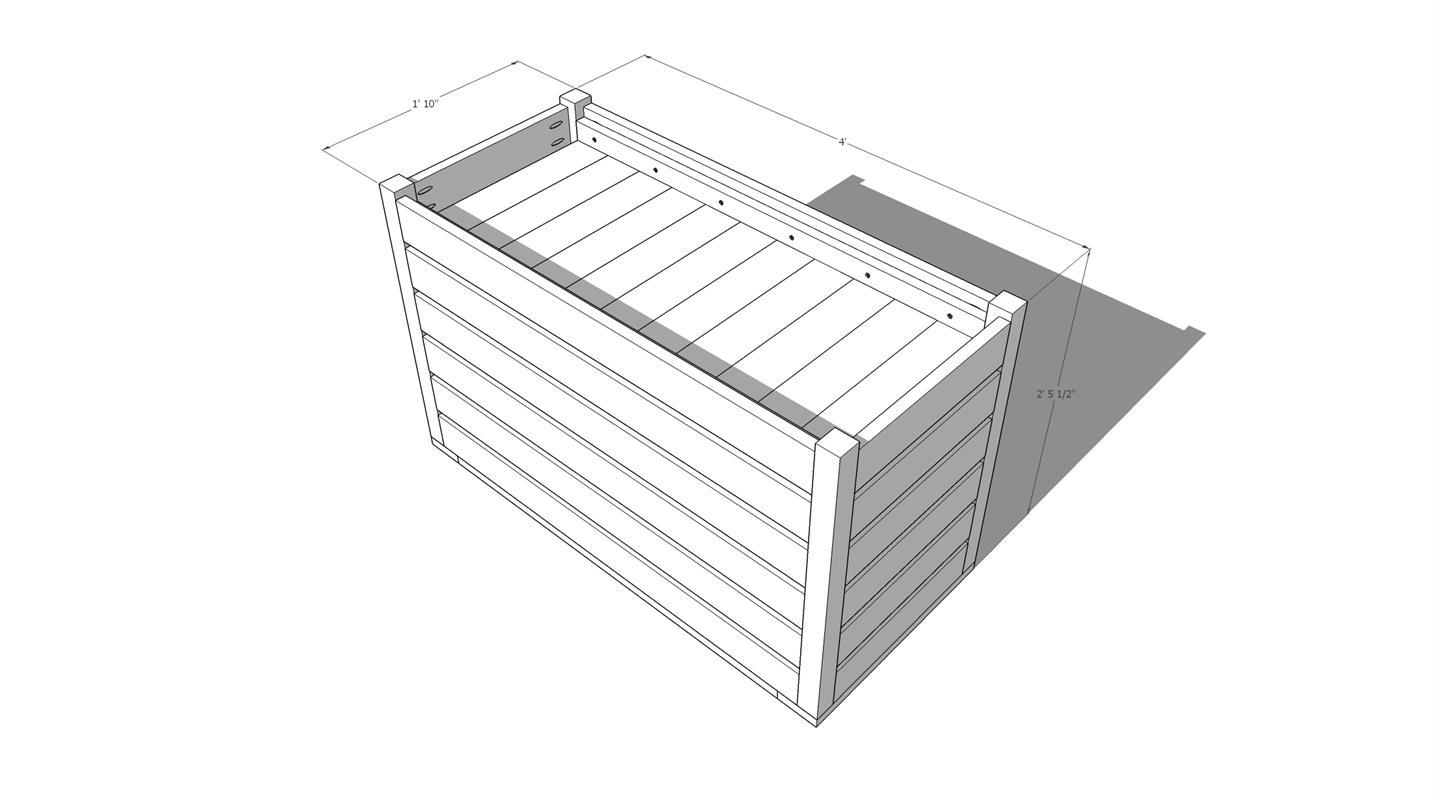
This outdoor toy storage chest is a simple build with a hinged lid and slatted sides and bottom to allow air flow to dry wet toys.
Tools
Kreg Tools


Other Tools
-
Miter Saw

-
Table Saw
-
Tape Measure
-
Nail Gun
Materials
Wood Products
- 22 Board , 1x4 , 96"
- 2 Board , 2x2 , 96"
- 1 Board , 1x2 , 96"
Hardware & Supplies
- 150 Kreg Screws
- 12 1" Screws
- 1 Long hinge with screws
- 2 Hinge supports
- 1 Stain (I used Ebony)
- 1 Outdoor rated clear coat
Cut List & Parts
- 12 Front and back boards , 1x4s cut to 4 ft
- 6 Long Boards on Lid , 1x4s cut to 3'5"
- 2 Short Board on Lid , 1x4s cut to 2 ft
- 25 Bottom + Side Boards , 1x4s cut to 1'9"
- 4 Legs , 2x2s cut to 2'2"
- 2 Bottom Supports , 1x2s cut to 4ft

Directions
-
Cut wood
For the size of our toy box, we cut wood as following:
12 1x4s cut to 4 ft
6 1x4s cut to 3'5" (one will need to be ripped down on the table saw)
2 1x4s cut to 2 ft
25 1x4s cut to 1'9"
4 2x2s cut to 2'2"
2 1x2s cut to 4ft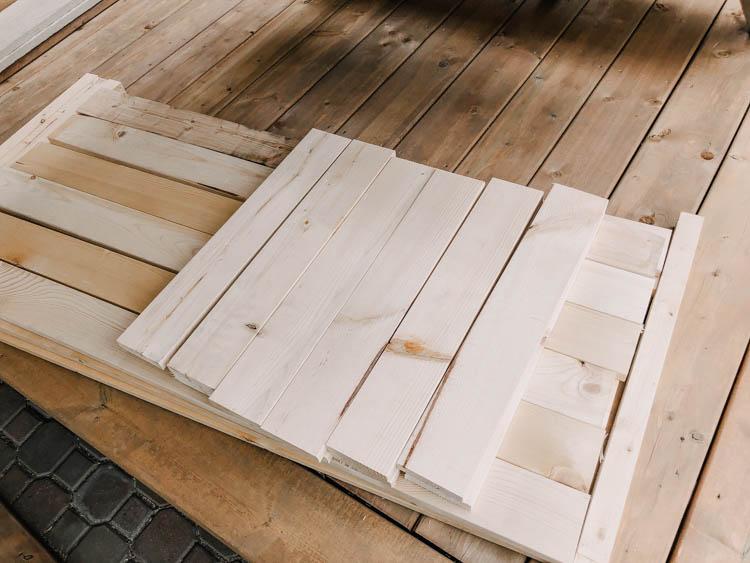
-
Drill Pocket Holes
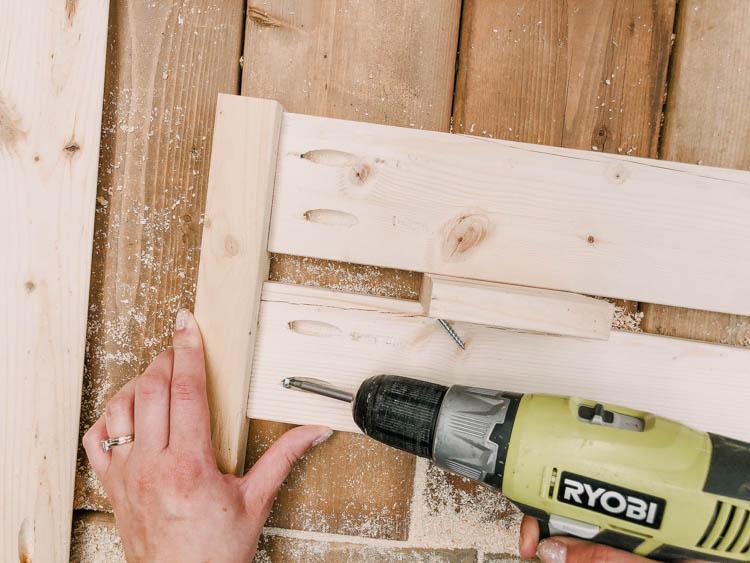
After all your pieces are cut, I started with building the front and back sides. Before you can build them, you need to drill all your pocket holes. Do this on both ends of the 1x4s cut to 4 ft (12 of them). Make sure your Kreg Jig is set to the proper settings for your boards and get going! Pay attention to make the pocket holes on the same side of the boards so they will all be on the inside of your chest.

-
Assemble front and back panels
Once the pocket holes are drilled, you can attach them to the 2x2 legs. start by attaching the top board flush with the top of the 2x2 board. use a scrap piece of your 1x4 as a spacer, then attach the next board. My chest is made 6 boards high.
-
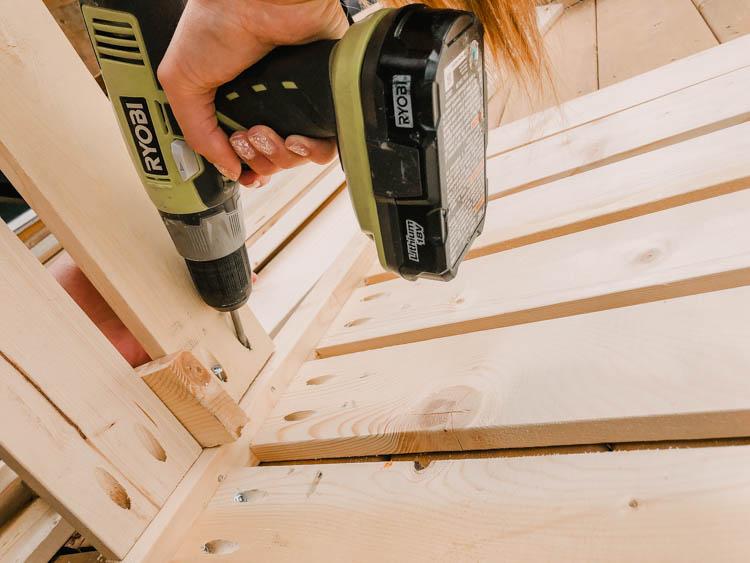
Attach end boards + Assemble
Once both the front and back panels are complete, do the same with the end boards. Drill your pocket holes in each end of 12 1x4s that are cut to 1'9". Then, attach them to the sides of your 2x2 legs and you've created your box just without the top and bottom. Now to build the bottom!
-
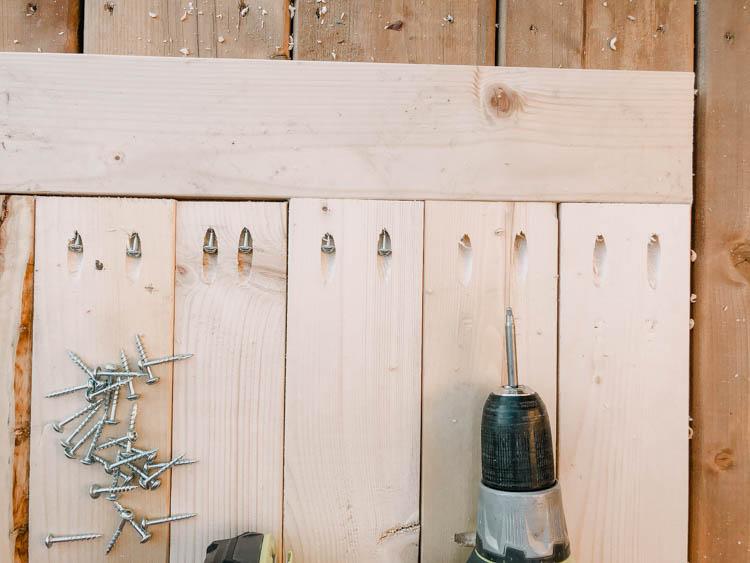
Build Bottom of Chest
For the bottom, I just attached the 1x2 to the bottom slat using the 1" screws. It's important to drill pilot holes to prevent splitting. After finishing this part- I did think it might have been a good idea to do a pocket hole on each end of the 1x2 so it was also attached into the legs. Hindsight, right?
Once the 1x2s are on, I laid the rest of the 1'9" cut 1x4s on the bottom and spaced them closer than the sides, but still allowing water to get through. I used brad nails just to tack them in place.
-
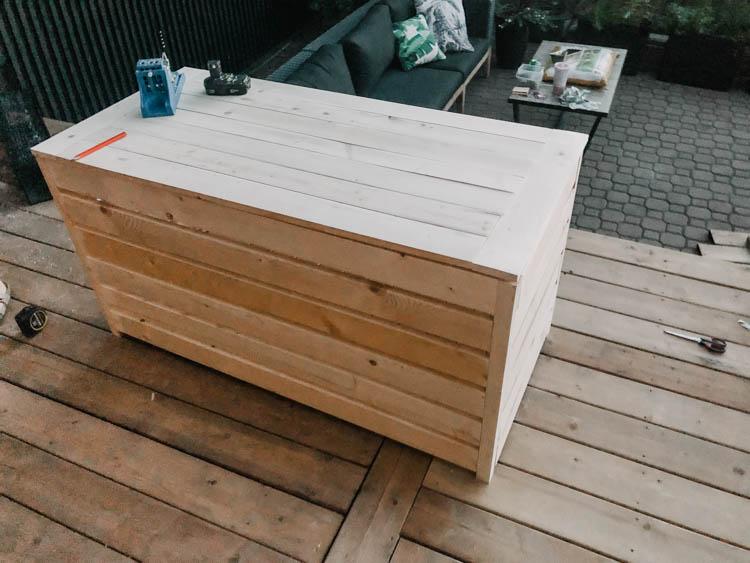
Build Lid
Last but not least, the lid! Put pocket holes in the ends of your last long boards and then pocket holes on some edges of the boards to help keep it tight to keep more water from getting into the toy chest. Screw them into the shorter boards on either end and to one another. We did rip one of the boards down- we put that one in the middle to keep it symmetrical.
-
Finish it up!
Before we put the lid on, we gave it a light sand to smooth it all out. We installed the hinge next, you'll want an extra set of hands to hold the lid in place while you screw in aaaaall those screws. Make sure to drill pilot holes again to keep from splitting. We also added in hinge supports on either side to keep the lid from closing too quickly and trapping little fingers. This is totally optional.
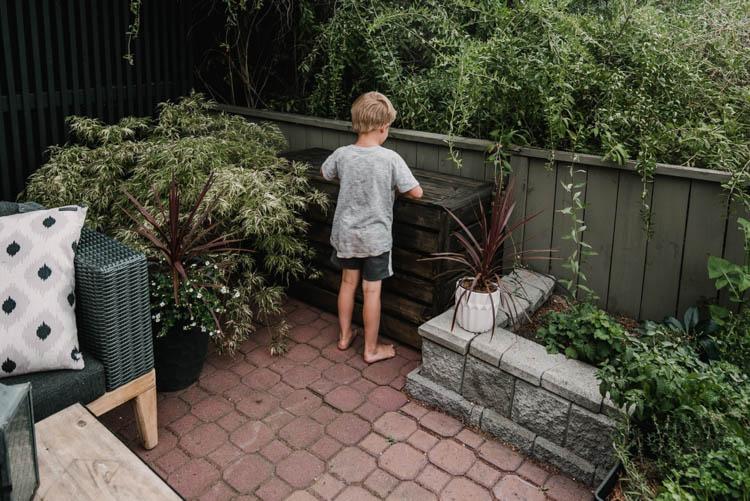
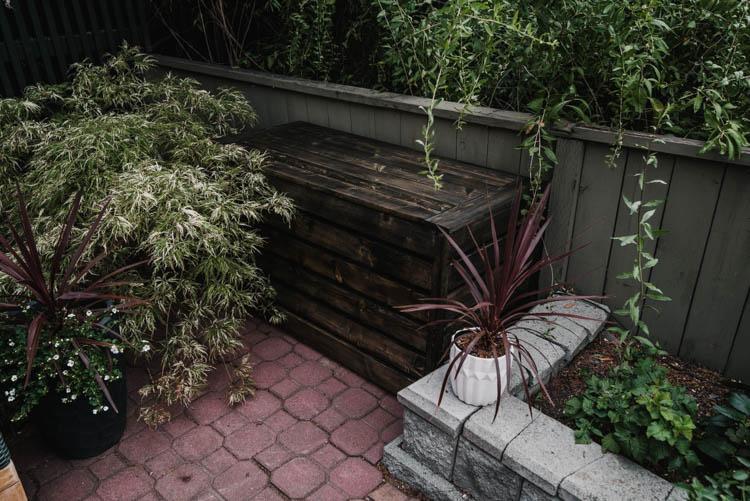
Then you can give it a stain (or not!) and finish it with an outdoor rated clear coat. We used ebony stain from Minwax (my all time fave stain). Then fill it up with toys! I only put a few in for photos but it's totally fill to the brim.