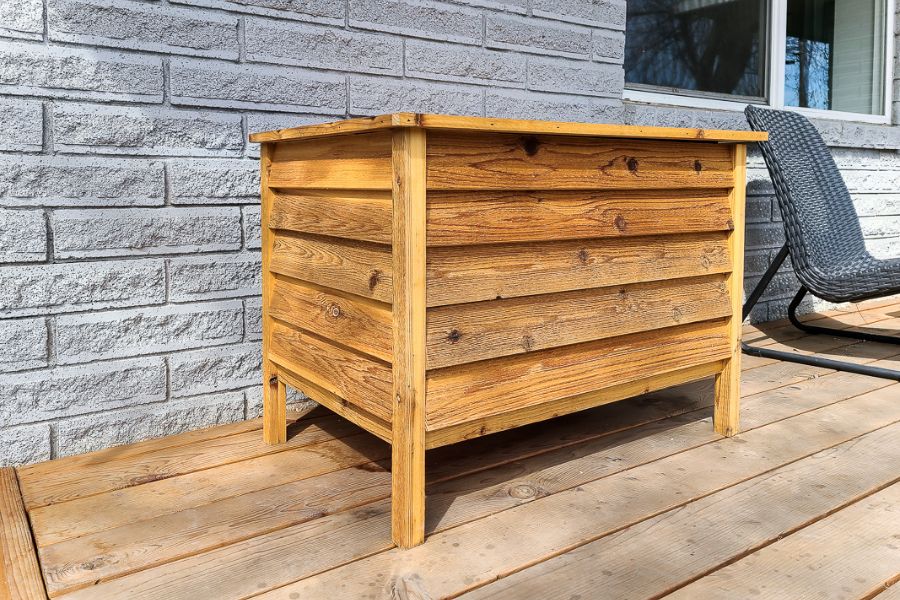
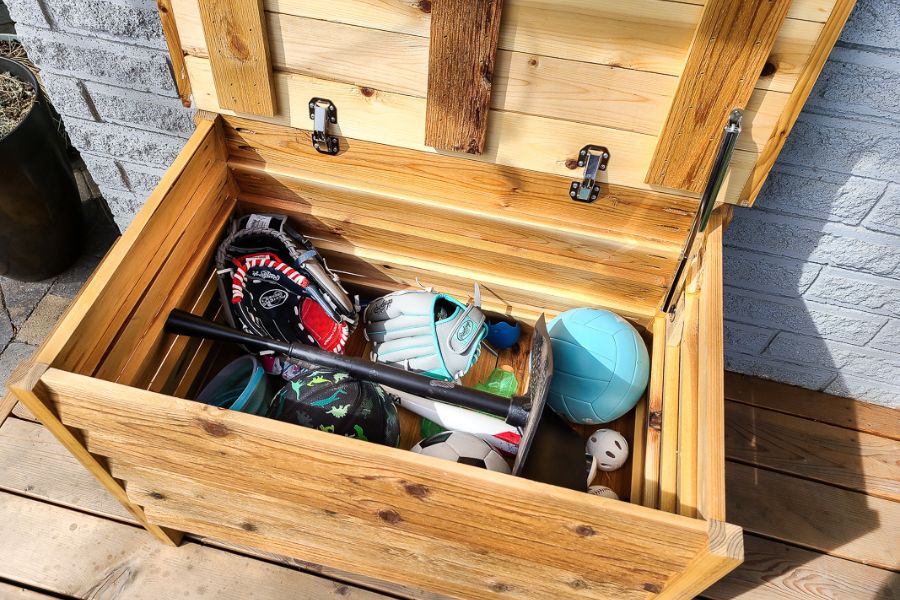
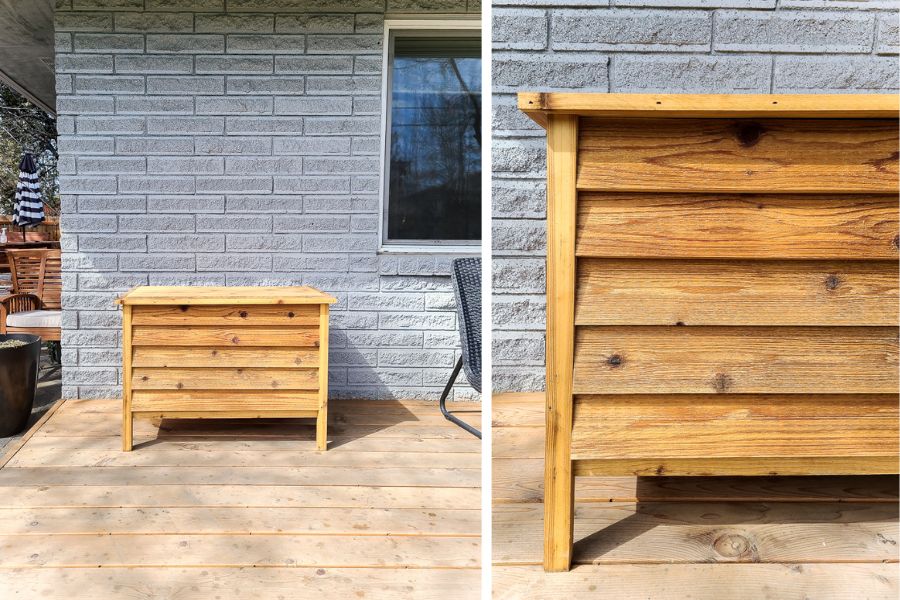


Are your kids’ outdoor toys floating around your backyard? Clean up the clutter and keep them contained with this outdoor toy storage box. This easy build is beginner friendly and uses cedar wood, which is perfect for the outdoors!
Tools
Kreg Tools


Other Tools
-
Miter saw

-
Table saw
-
Tape measure
-
Clamps
-
Finish nailer
Materials
Wood Products
- 12 Cedar , ¾” x 3 1/2” x 8’
- 4 Cedar , ¾” x 2” x 8’
Hardware & Supplies
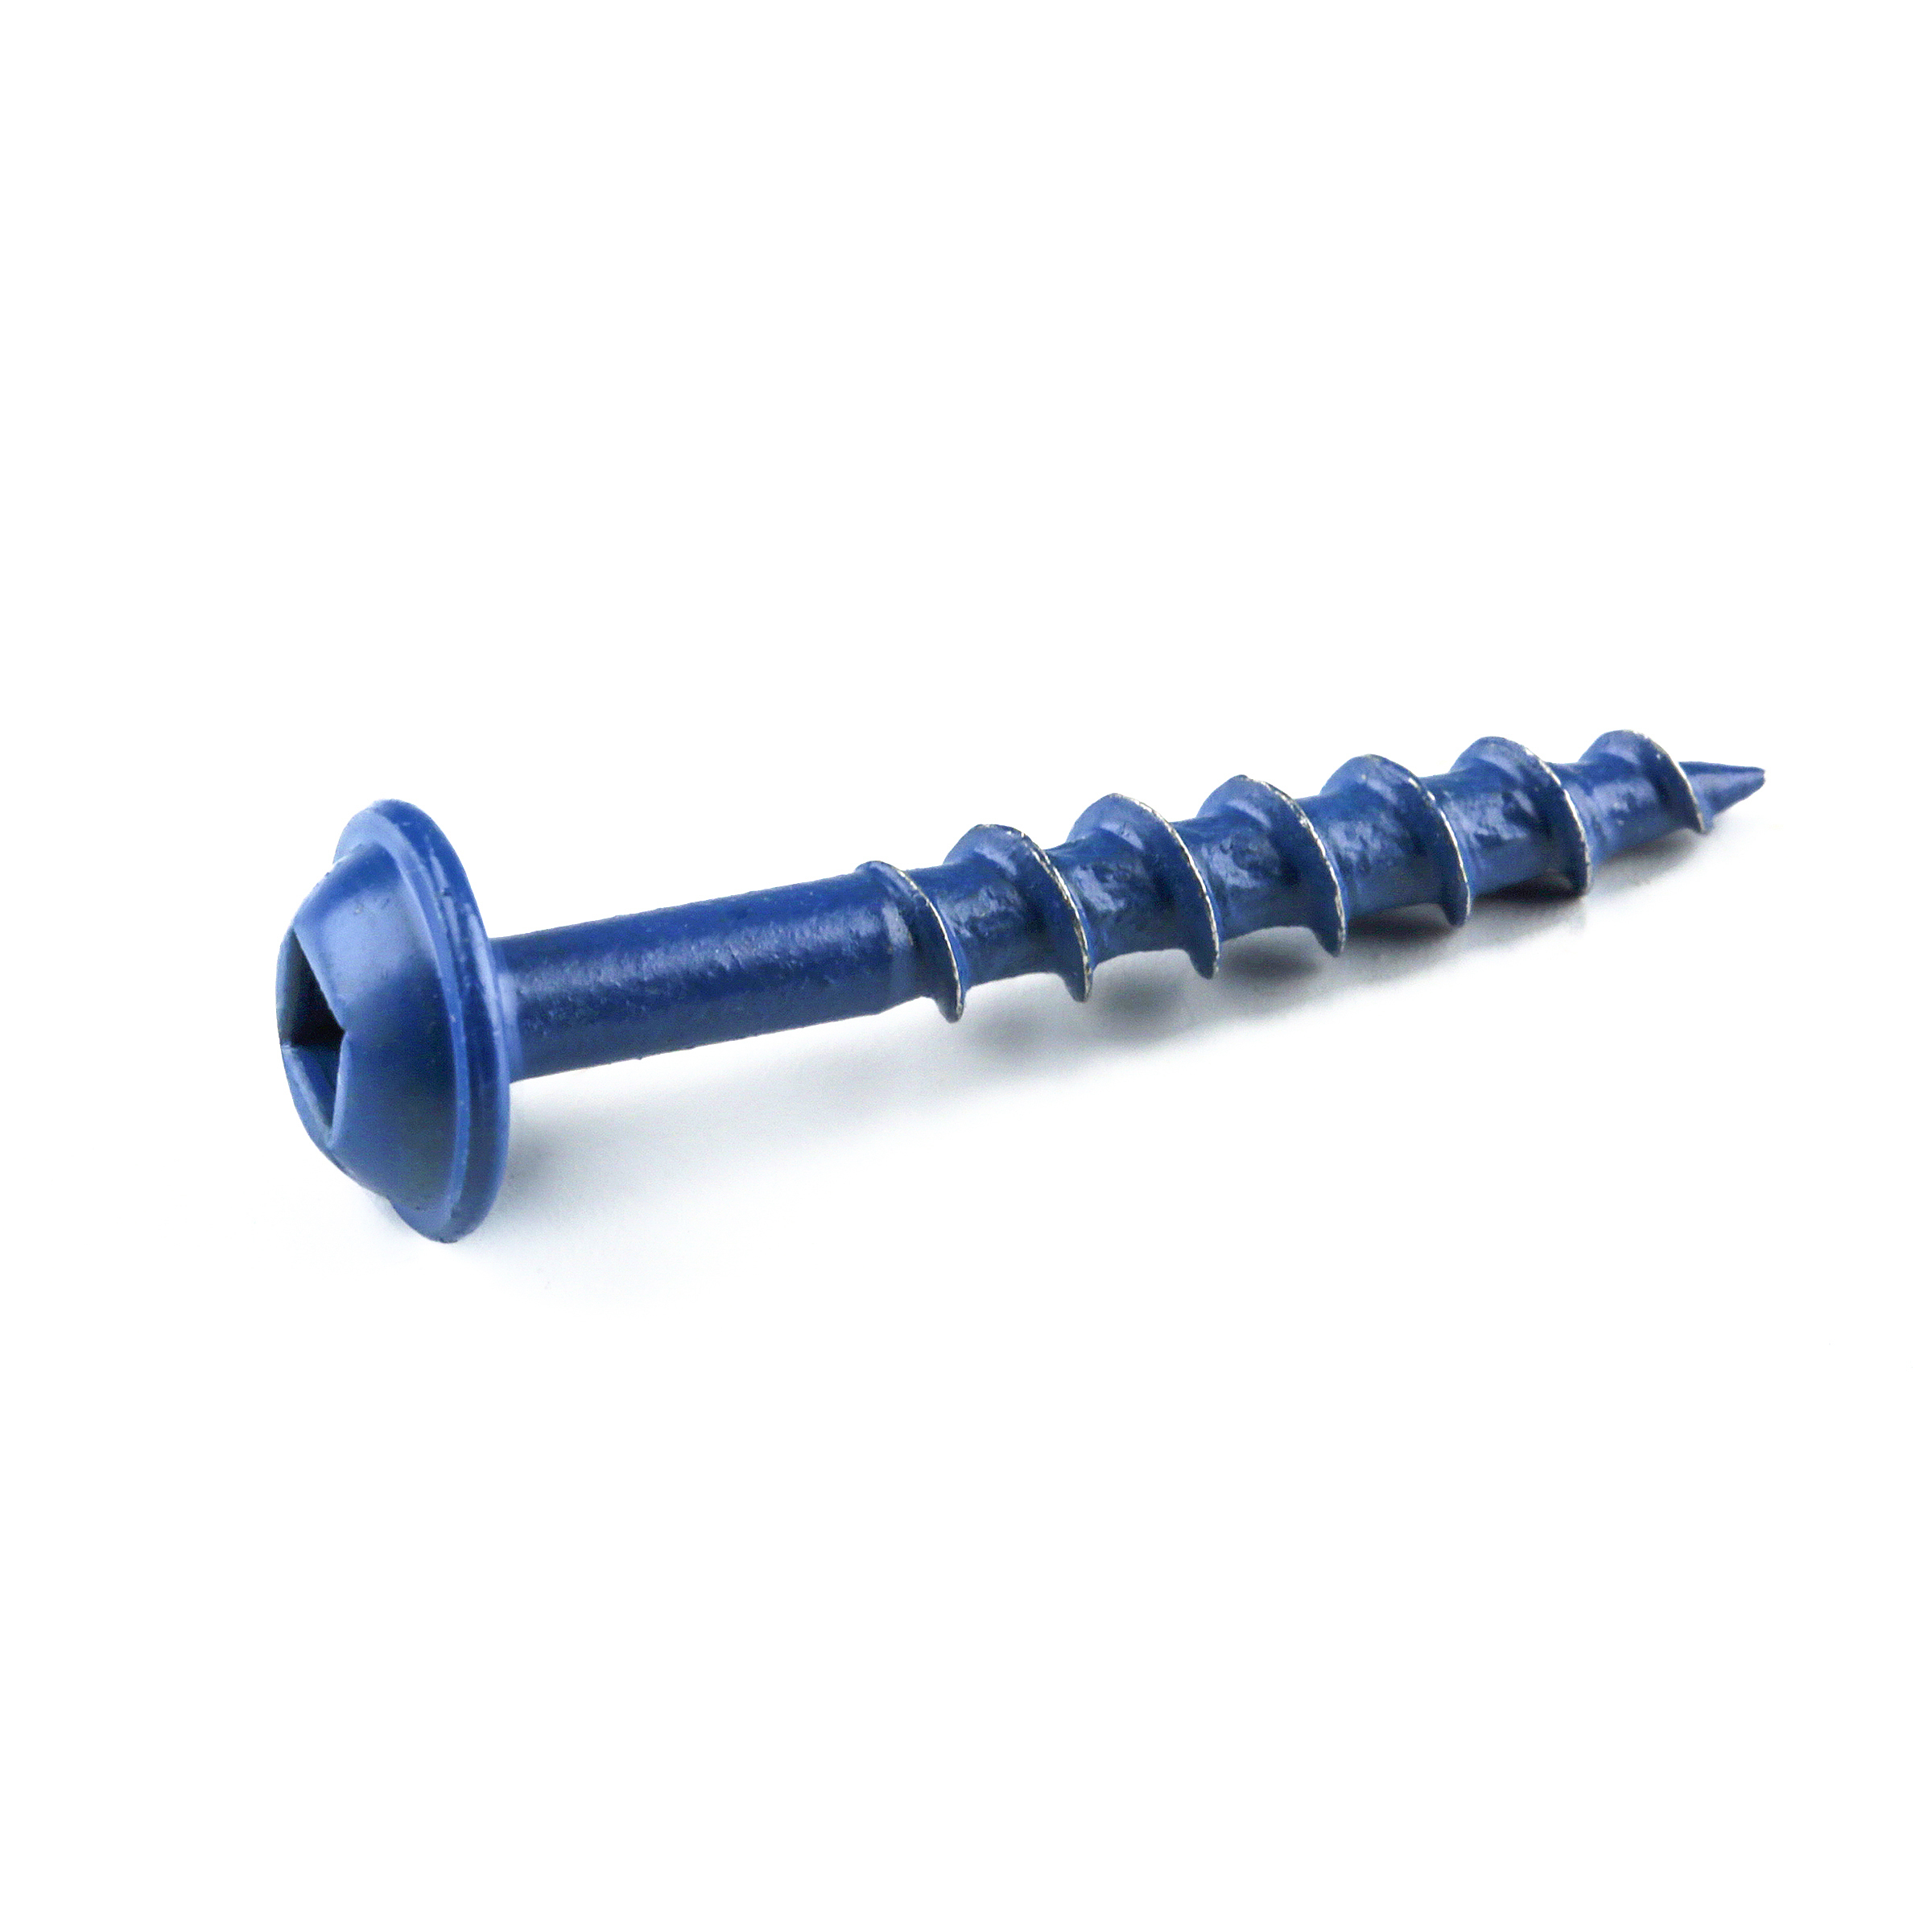
- 1 Box of Kreg pocket hole screws (1 ¼”) - Blue-Kote (See tools list)
- 1 Box of 1 ¼” finish nails
- 1 80 Grit sandpaper
- 1 150 Grit sandpaper
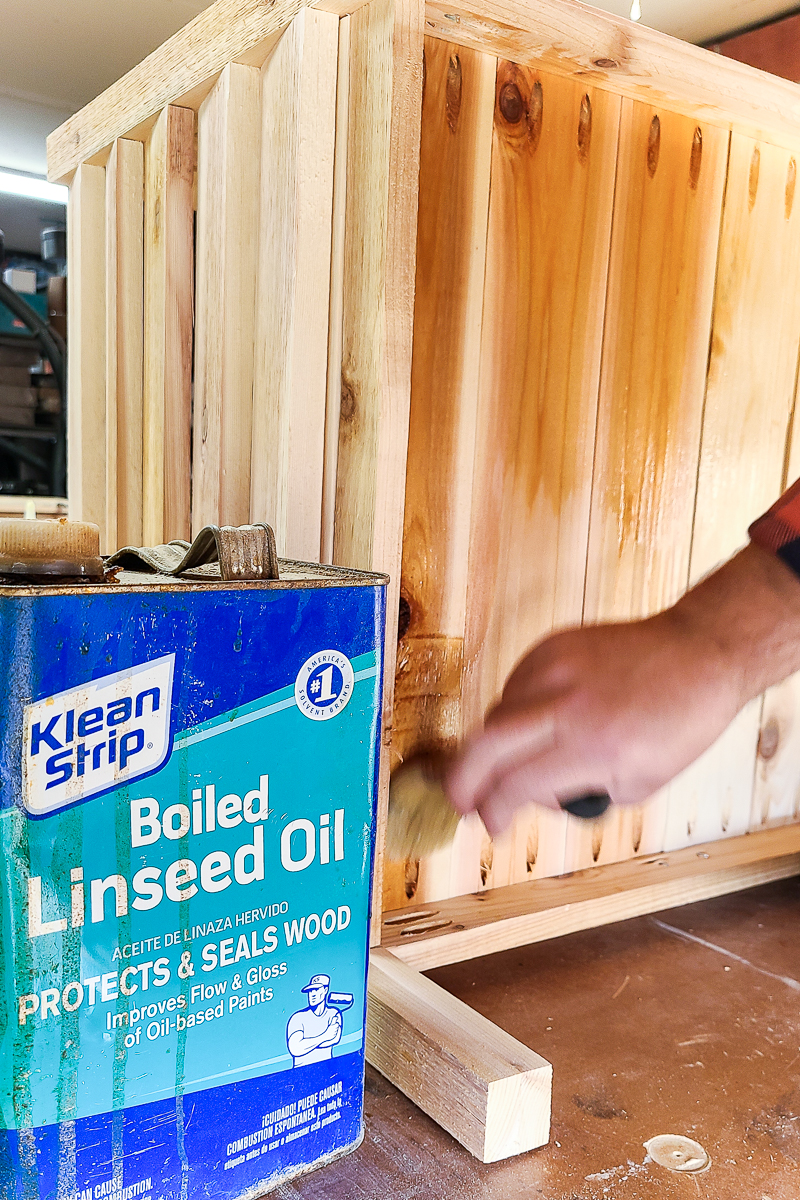
- 1 Boiled linseed oil
- 1 Paint brush
- 1 Wood glue
- 2 Cabinet hinges
- 2 Gas Strut Soft Close Support Hinges
Directions
-
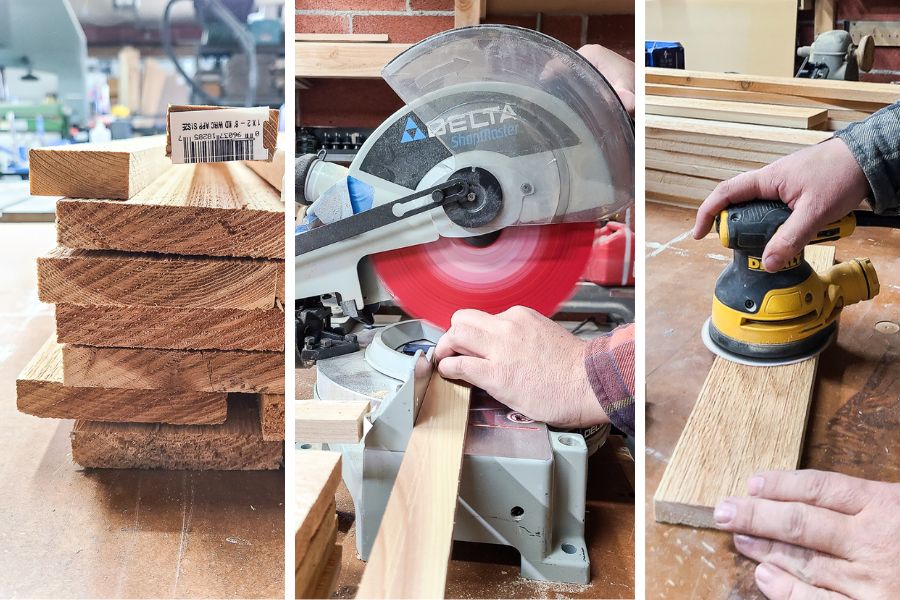
Cut wood and sand.
Start by cutting the wood according to the visual cut list in the woodworking plans with a miter saw and table saw. Since we are laminating the legs together, be sure to pick the flat and straight parts of the 1x2 cedar for those pieces. You will also need a table saw to make the ¾” x ¾” trim. We just used a 1x2 piece of cedar so don’t be worried if your trim is slightly smaller than ¾”. When cutting pieces for the top be sure to use the square and straight wood since these pieces will butt up against each other. Once wood is cut, sand slightly with 150 grit sandpaper. Cedar is rather rough and you can leave most of that. The goal of sanding is to simply get all of the loose pieces off of the wood, not to sand completely smooth.
-
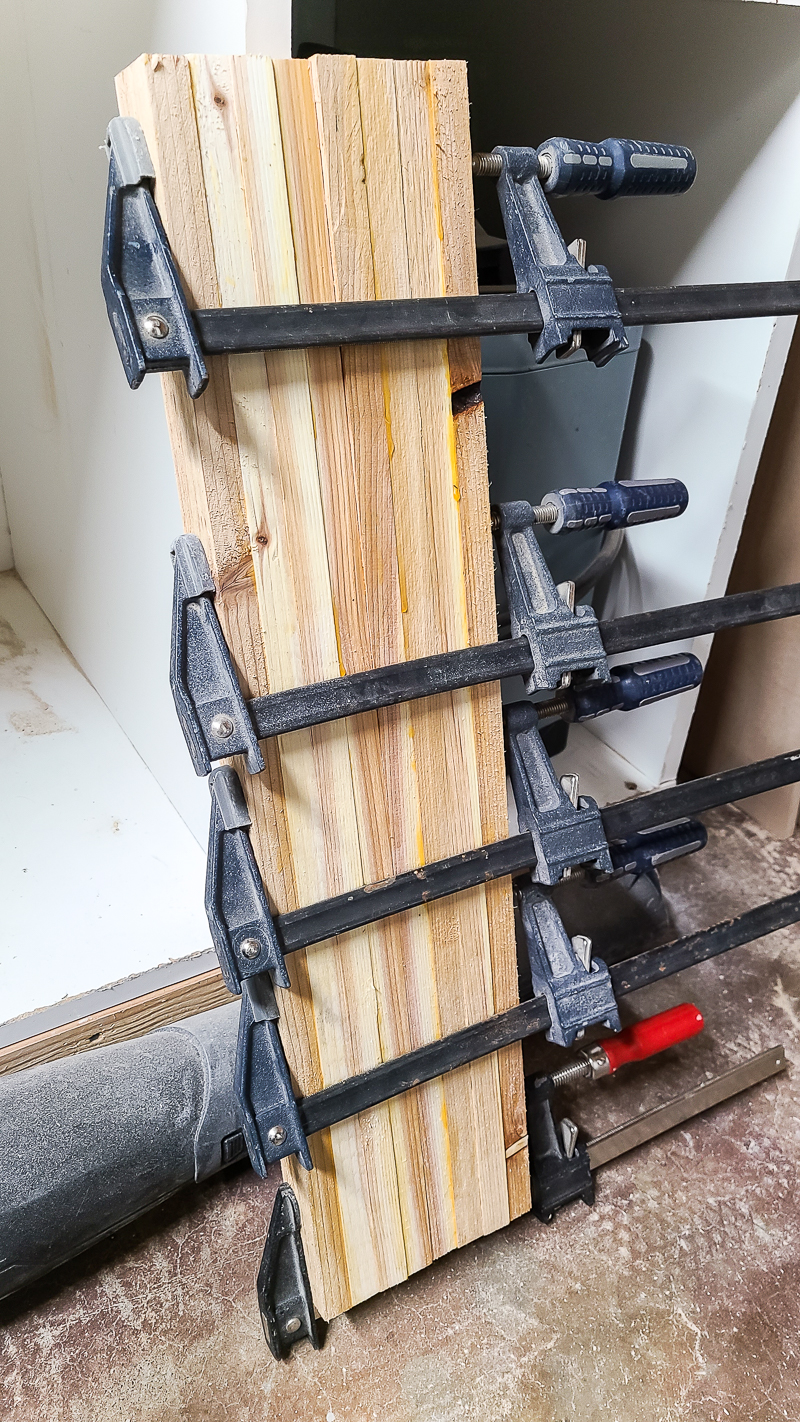
Laminate your legs.
Laminate just means glue. Get your wood glue and clamps and put the legs together. Each leg is 2 pieces of wood glued together Doing this first will give them time to dry while you prep the rest of your wood.
-
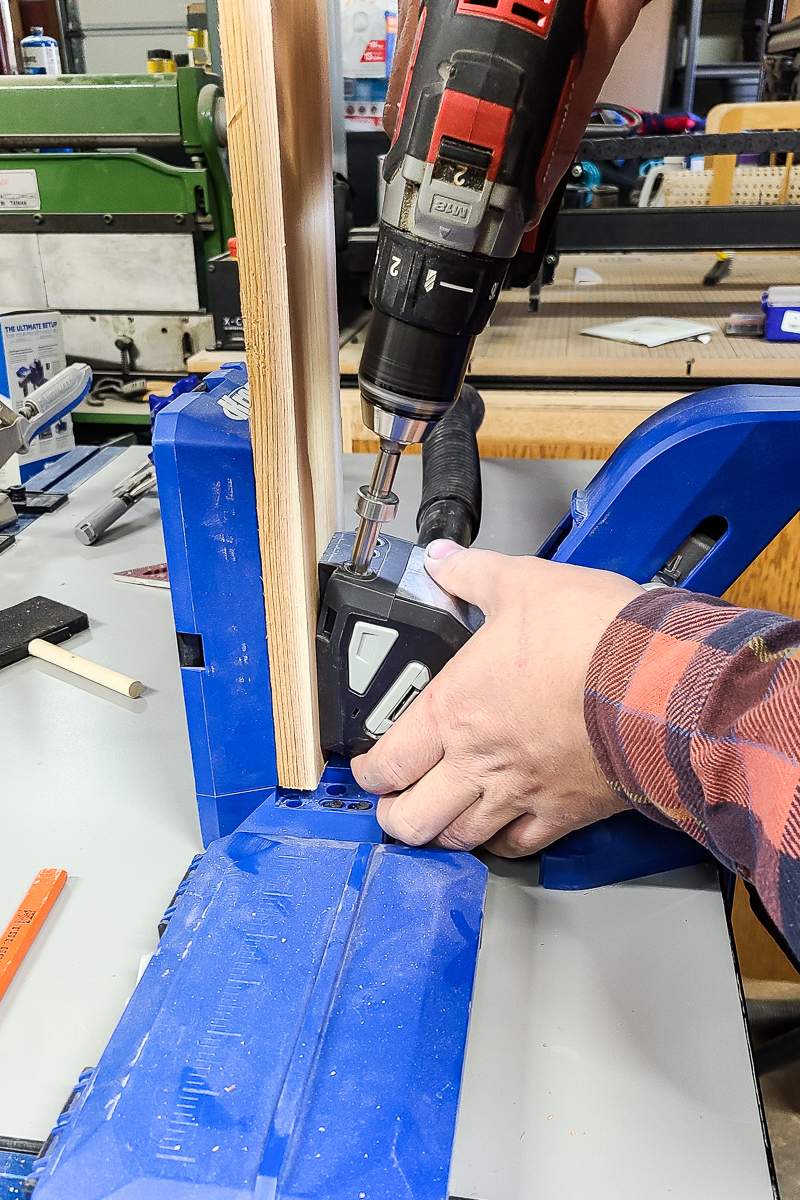
Drill pocket holes.
Drill pocket holes as shown in the woodworking plans. We used the 720 Pro. Cedar typically has a smooth side and a rougher side. We want the rougher side facing out on the toy storage bux, so we want the pocket holes drilled on the smooth side of the wood. Keep this in mind when drilling your pocket holes.
-
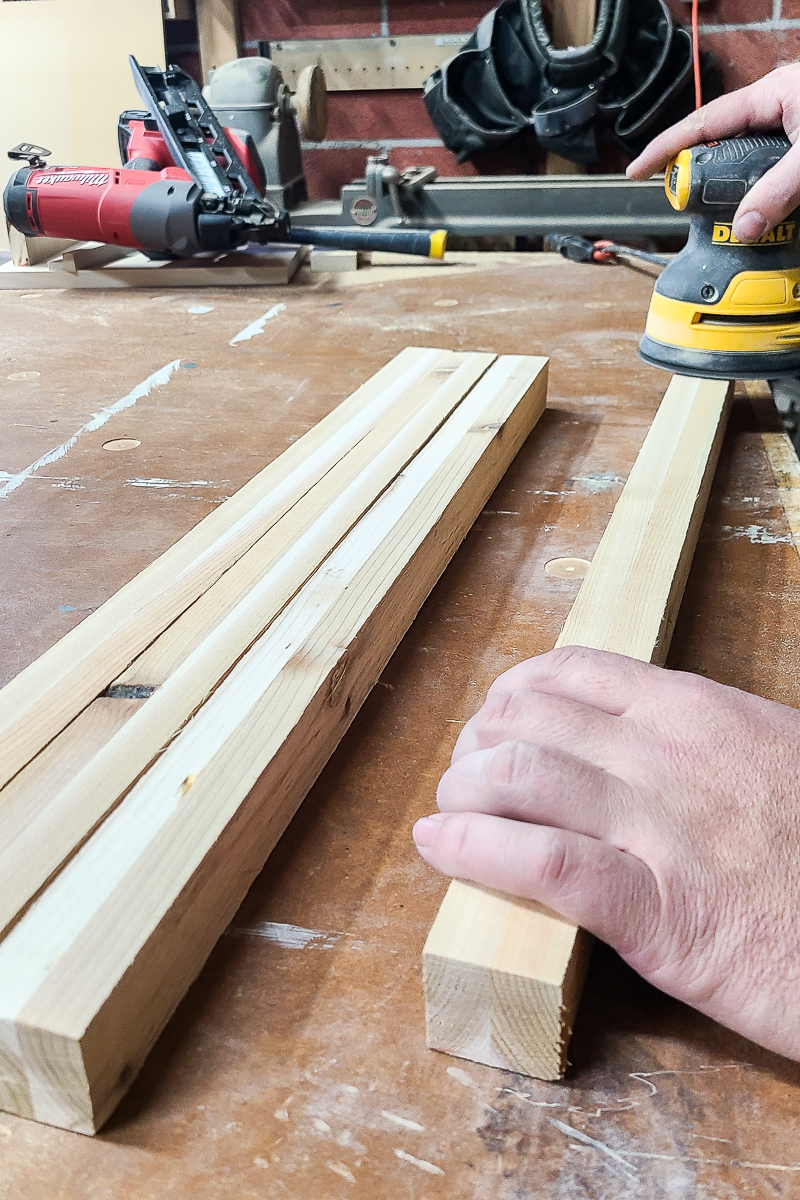
Sand legs.
A couple of hours should have passed by now so the legs should be sturdy enough. If they aren't dry, let them dry more, or take your finish nailer and add some nails where they will be covered by planks. Remove them from the clamps and sand with 80 grit sandpaper and then move on the 150 grit sandpaper until all excess wood glue is gone and the legs are nice and smooth.
-
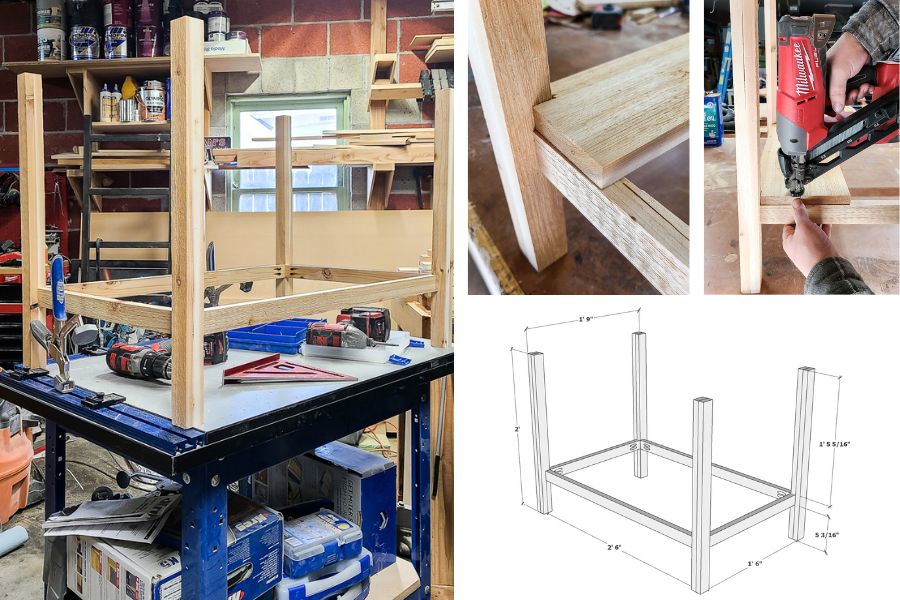
Assemble the base.
Start by attaching the base supports to the 4 legs with the predrilled pocket holes. Once these supports are on, you can add the bottom slats with a finish nail gun to create the bottom platform of your storage box. For the two end pieces, you’ll need to use a Multi Tool or Jigsaw to notch them out in the corners around the legs.
-
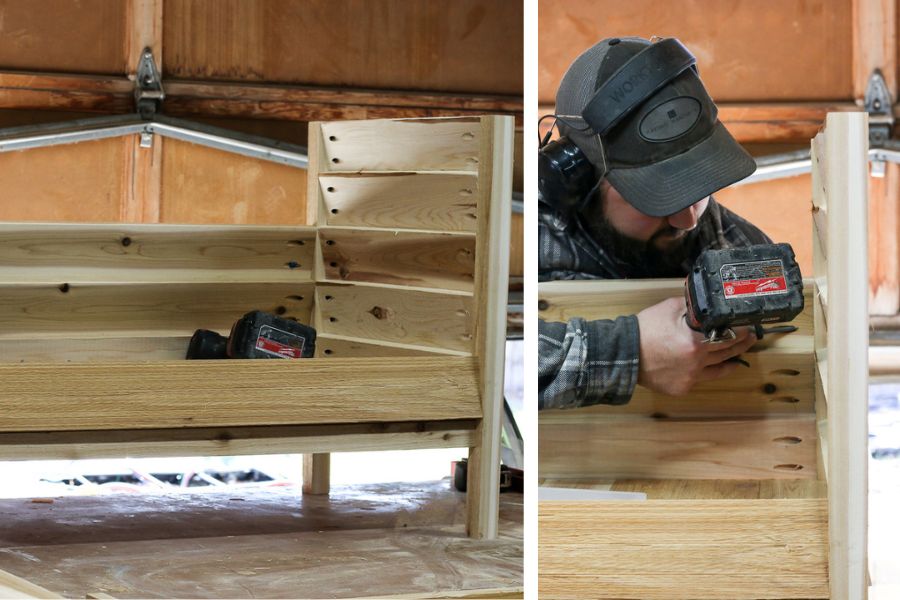
Attach side planks to the base.
Next you can attach the short side planks to the base using the pocket holes. Then move to the long sides. Two people make this work a lot easier. To get the angle right, start from the bottom and work up from the support planks. You want the planks to fit on the legs at a slant from the inside edge of the leg to the outside edge of the leg.
-
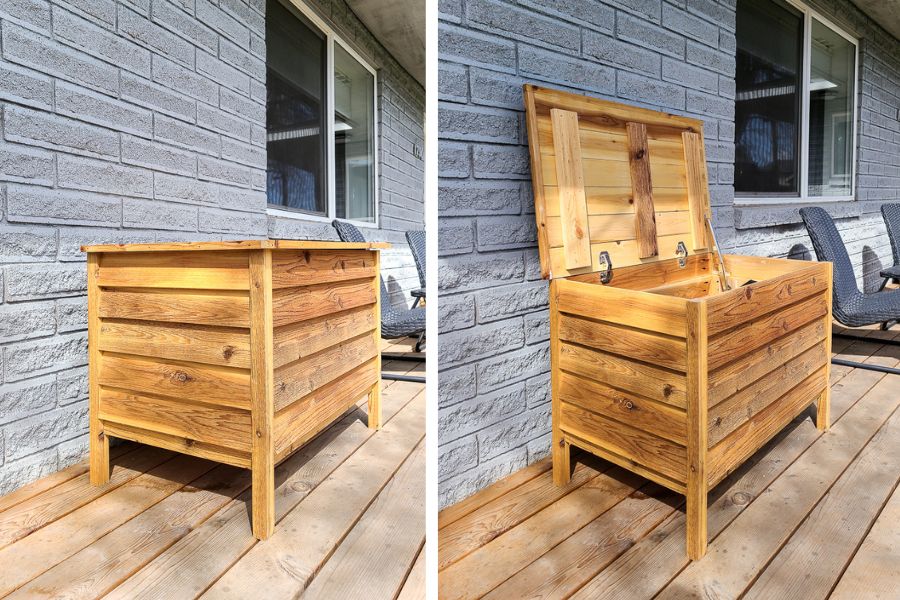
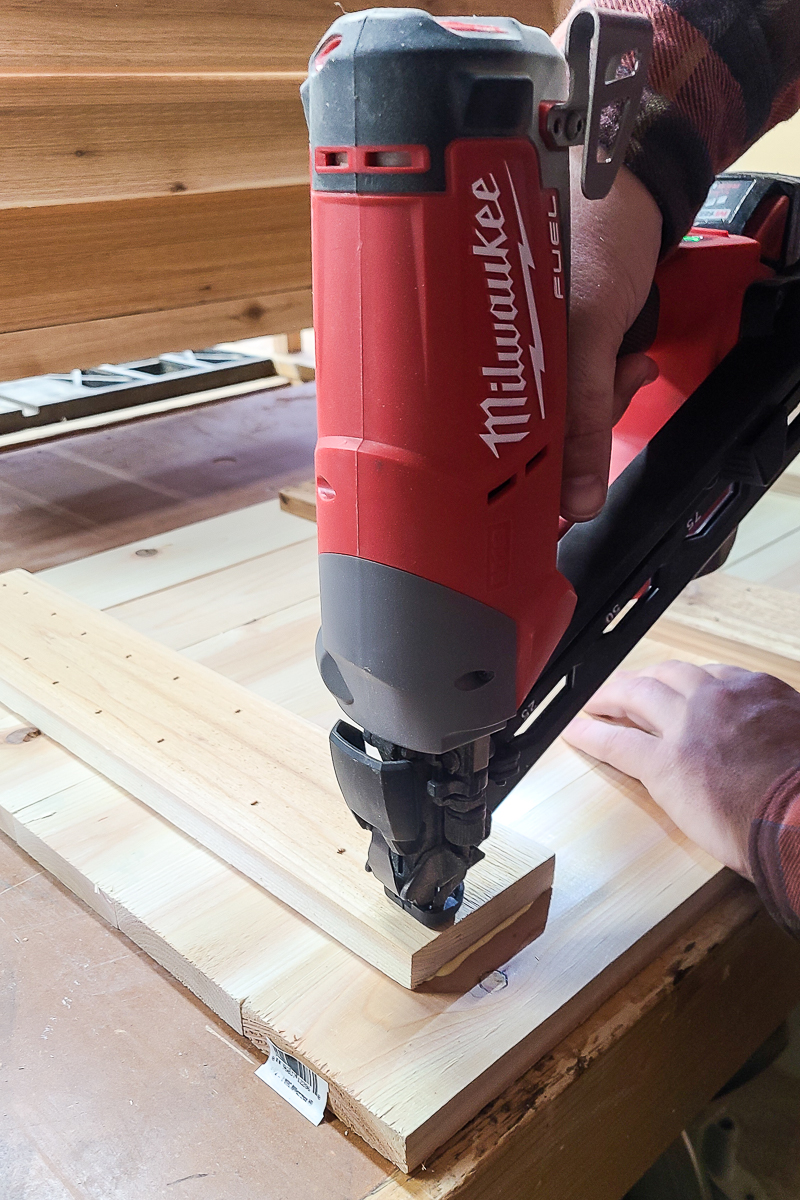
Assemble the lid.
Take your lid supports and start attaching the lid slats with glue and a finish nailer. You want to nail through the lid supports into the lid slats using 1 ¼” finish nails. Be liberal here with the nails so the top is extra sturdy. This is the moving part of the build and people will probably sit things on the top so extra strength is a good thing. Lastly, you can attach the lid long side trim piece to the lid, but not the sides. They will be put on at the end of the build.
-
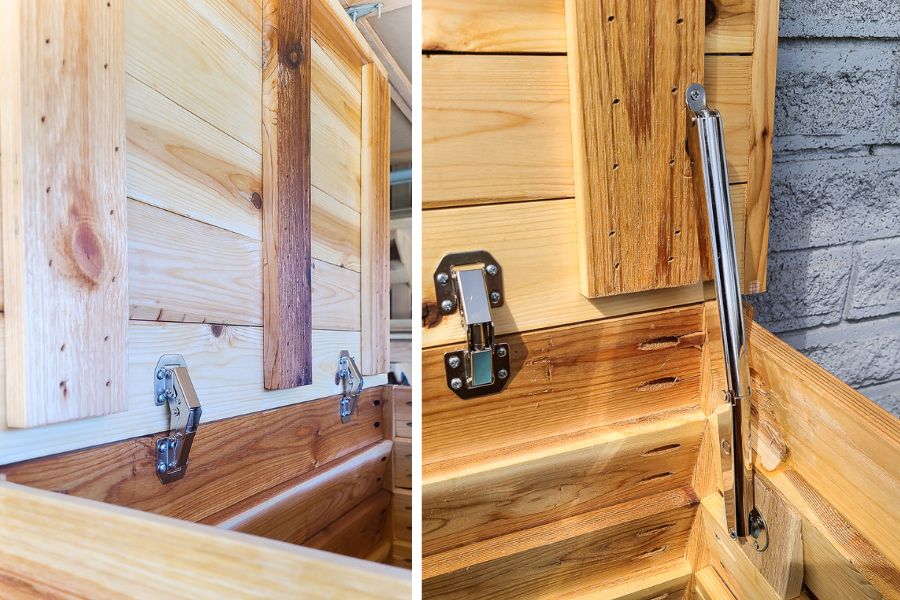
Dry fit the lid and install hinges.
Simply lay the lid you created on your assembled box. This is a good time to make any adjustments if needed before drilling hinge holes. Once you have the fit right make some marks and install the hinges to your manufacturer's instructions. We used hidden spring cabinet hinges paired with a soft close gas strut hinge so that it doesn’t slam shut on anyone’s little fingers.
-
Put it outside in a dry area.
This step is optional but we find that cedar will dry out and shrink a lot, especially when it's outside, so it's good to try and let this toy storage dry out for a few days before attaching the final trim pieces to the lid. If you skip this step, go ahead and add those side trim pieces to the lid of your box now.
-
Stain then seal or paint.
If you opted to let your cedar dry and shrink up then attach the side trim pieces to the top afterward. Seal with stain/finish or paint of your choice. We used boiled linseed oil for a natural wood finish. Let dry.