Outdoor Storage Box
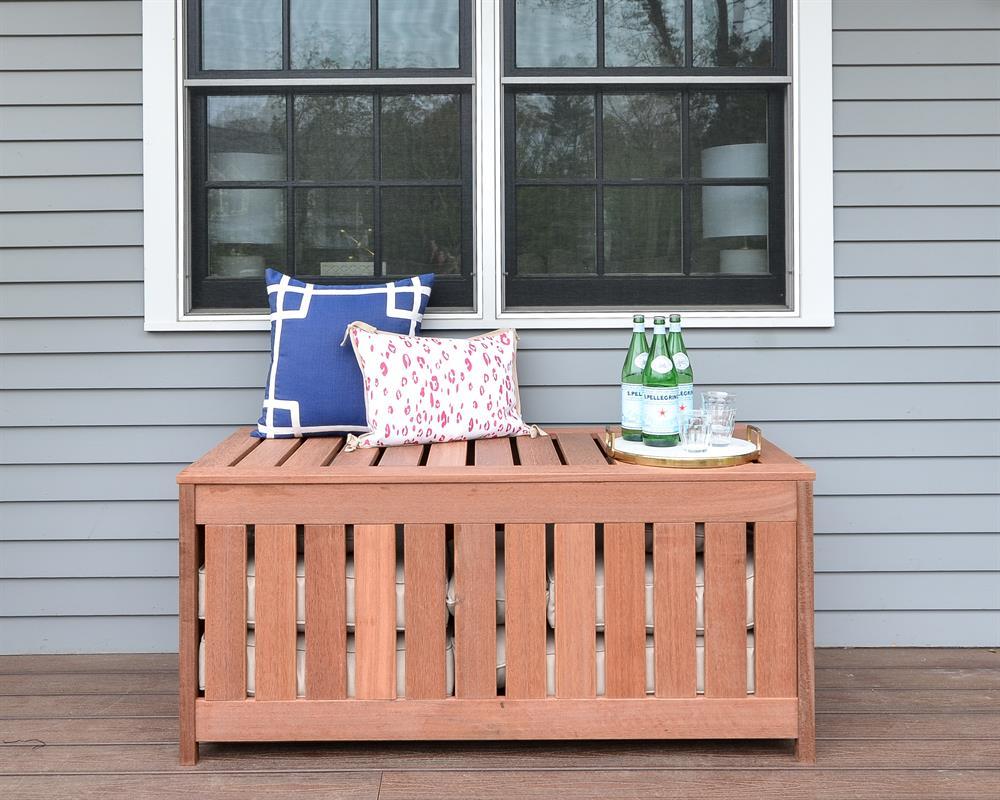
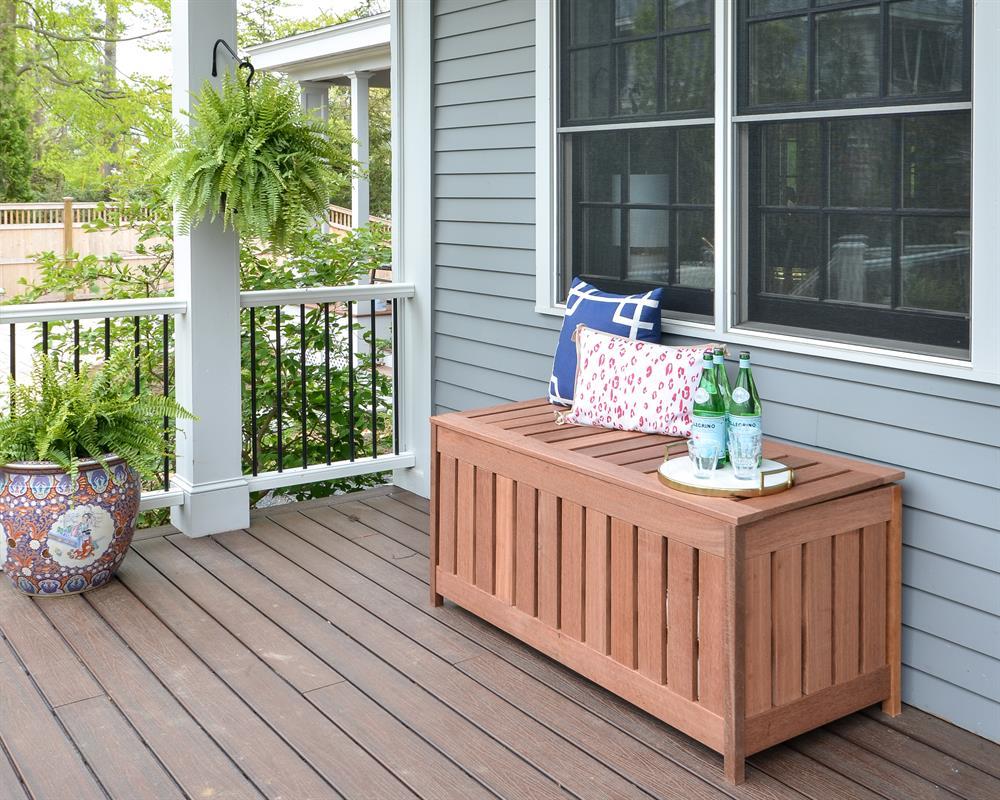
By The Chronicles of HomeAn outdoor mahogany storage box that is naturally weather-resistant and will keep your outdoor cushions protected from water and other damage when not in use. The flat top is also perfect for extra seating or as a serving surface. Great as a functional accent piece on patios and decks.
Directions
-
Cut Boards to Size
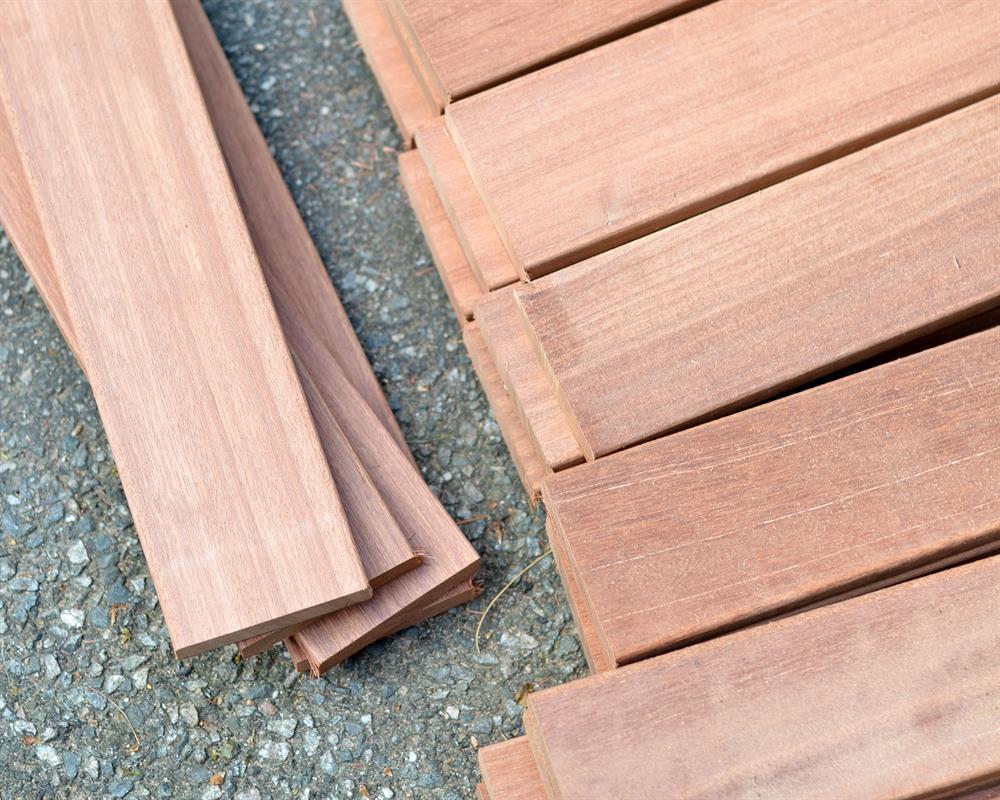
Use a miter saw to cut all of the mahogany 1x4 boards and 2x2 balusters to size according the cut list.
-
Drill Pocket Holes
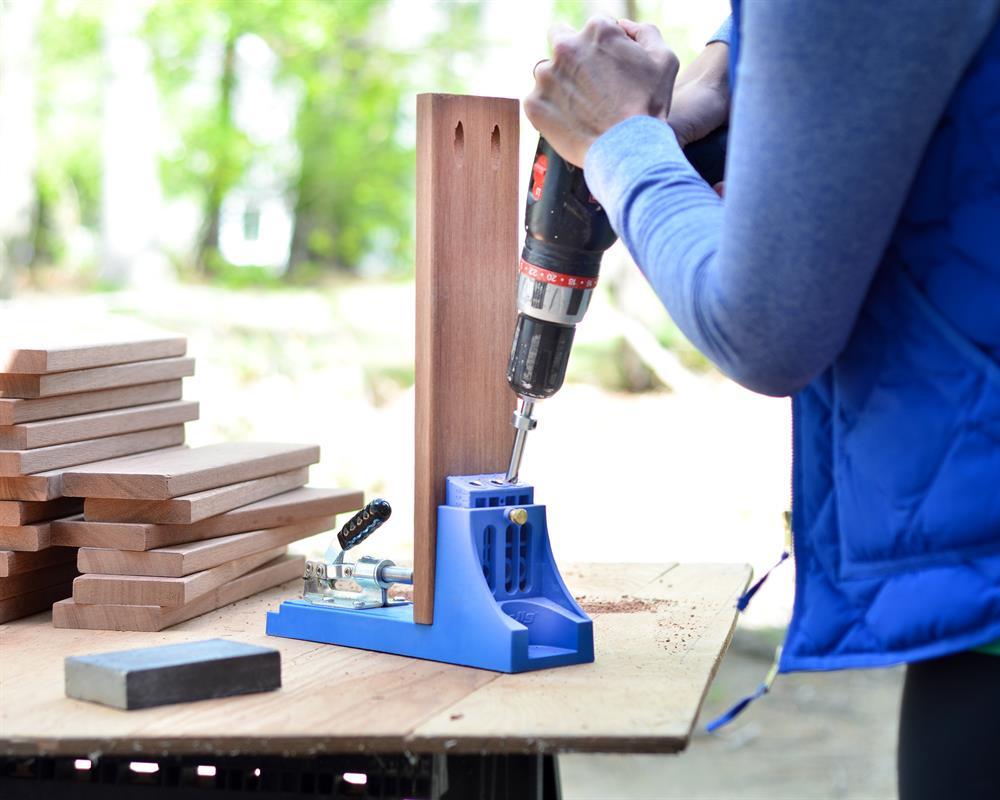
Use a Kreg Jig to drill two 3/4" pocket holes on each end of all 1x4 boards EXCEPT for the two 55" boards.
-
Assemble Front and Back
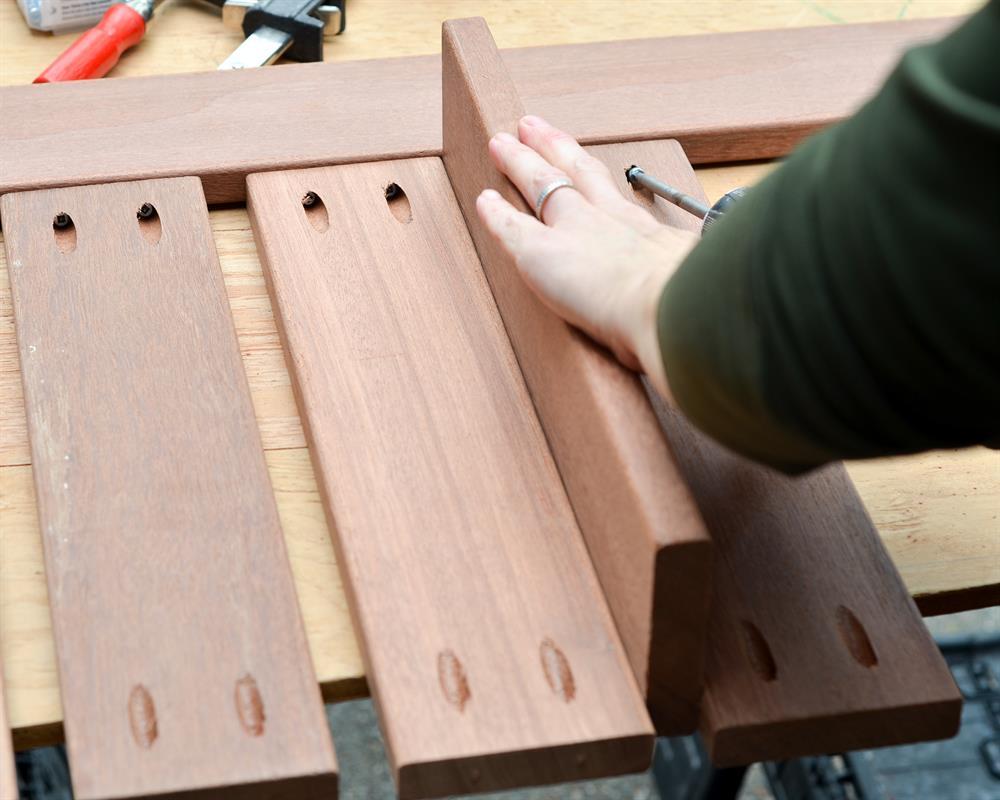
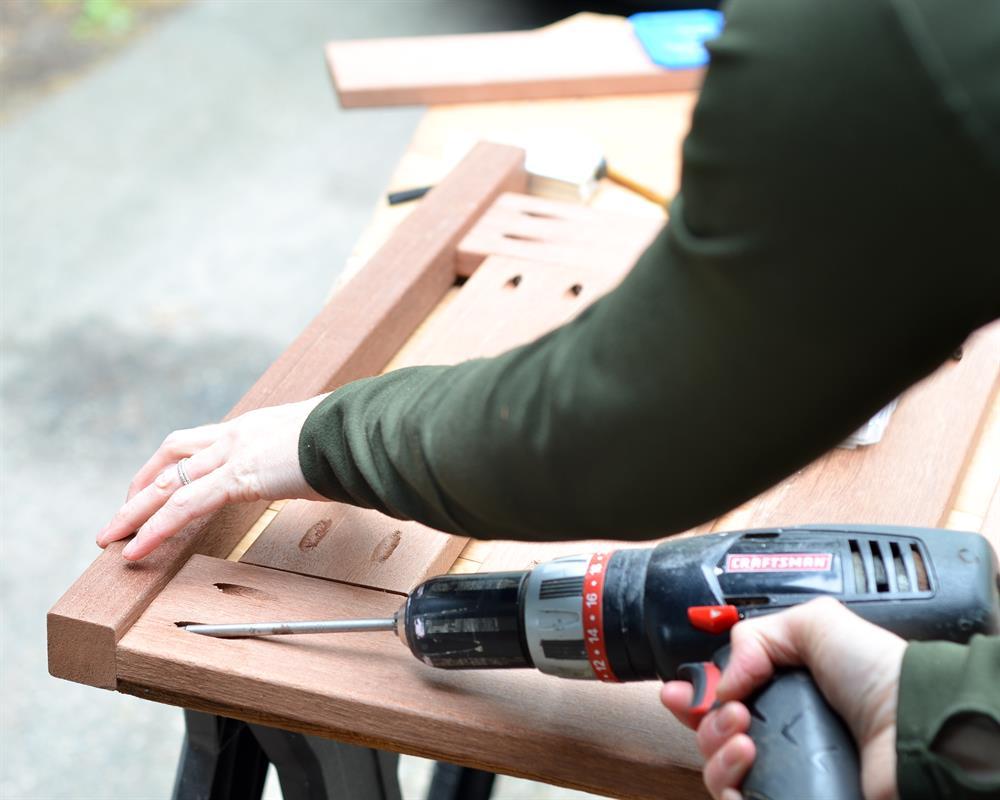
Use 1" pocket hole screws and a drill with screwdriver head to assemble the four sides and the lid of the storage box. The front side is assembled by attaching twelve 15" slats to one of the 51 3/4" boards. Use a piece of scrap 1x4 to space the slats 3/4" apart, beginning at one end of a 51 3/4" board with a space, then a slat. Repeat until all twelve slats are attached, then attach the other ends of the attached slats to a second 51 3/4" board to finish the front side. Repeat to assemble the back side.
-
Assemble Sides and Top
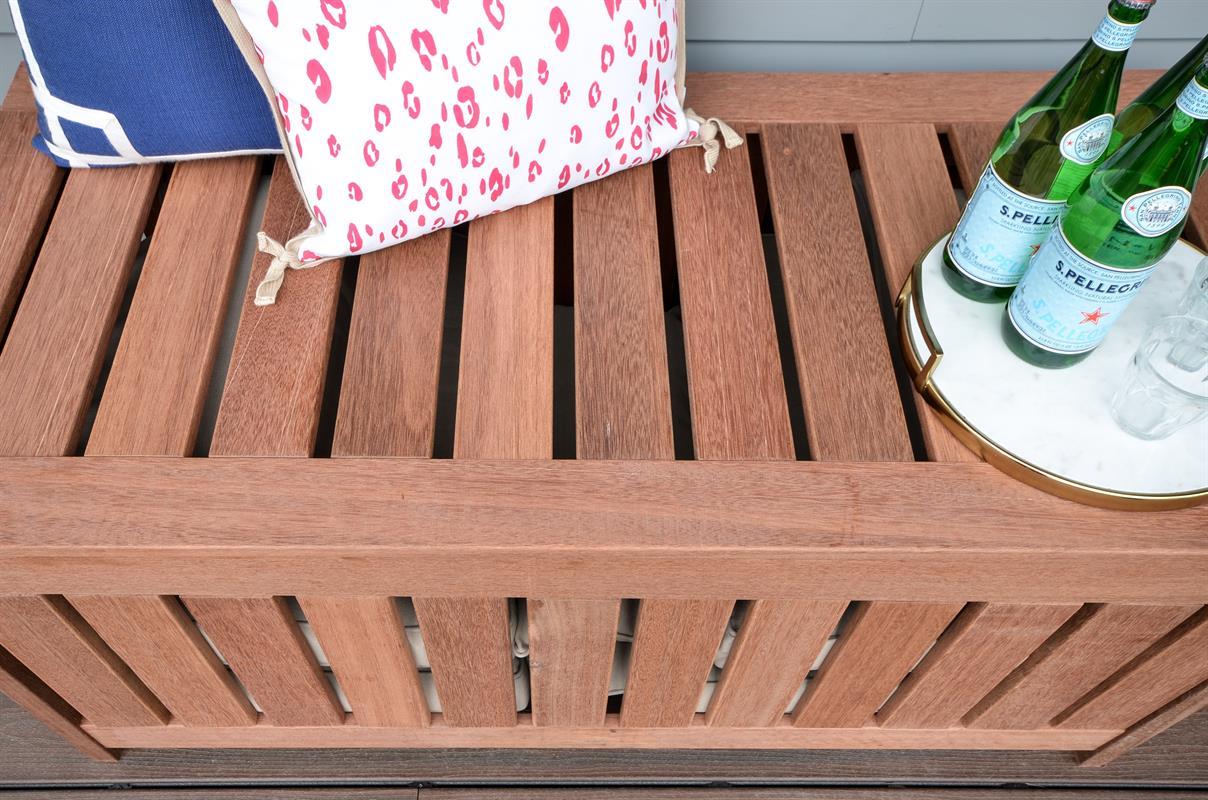
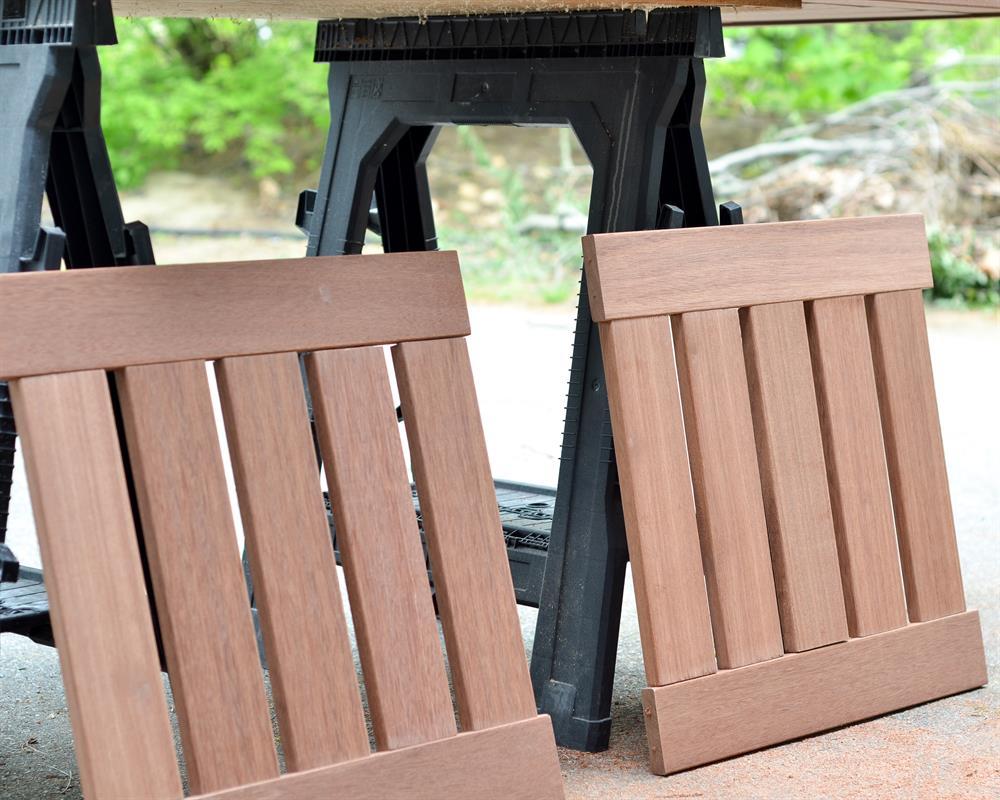
Follow the same process for the sides of the box, attaching five 15" slats to the 22" boards. For the top of the box, use the same technique with the thirteen 18" slats and the 55" boards, but instead of beginning with a space, begin with the slat lined up flush with the edge of the 55" board and follow a slat, space, slat, space pattern.
-
Attach Sides to Legs
Use 1" pocket hole screws to attach the four sides of the box to the 2x2 balusters (legs). Line up one end of the sides to be flush with the edge of the balusters.
-
Attach Bottom Supports
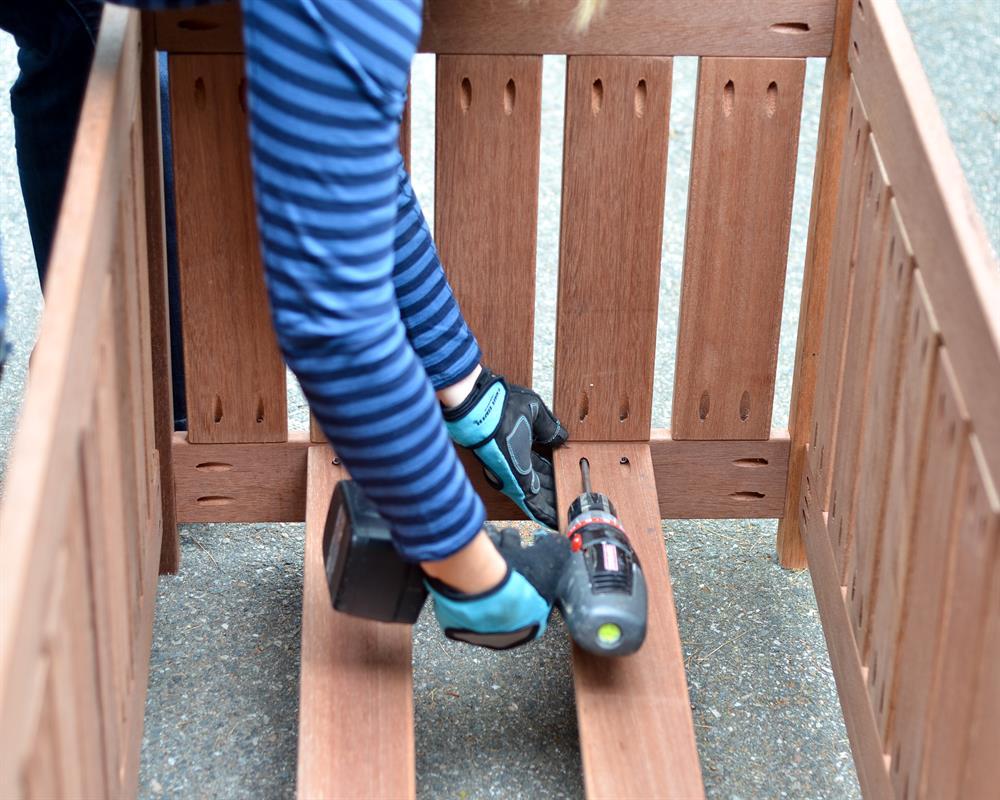
Use 1" pocket hole screws to attach the two 52 1/2" boards to the bottom of the assembled box.
-
Attach Hinges to Box
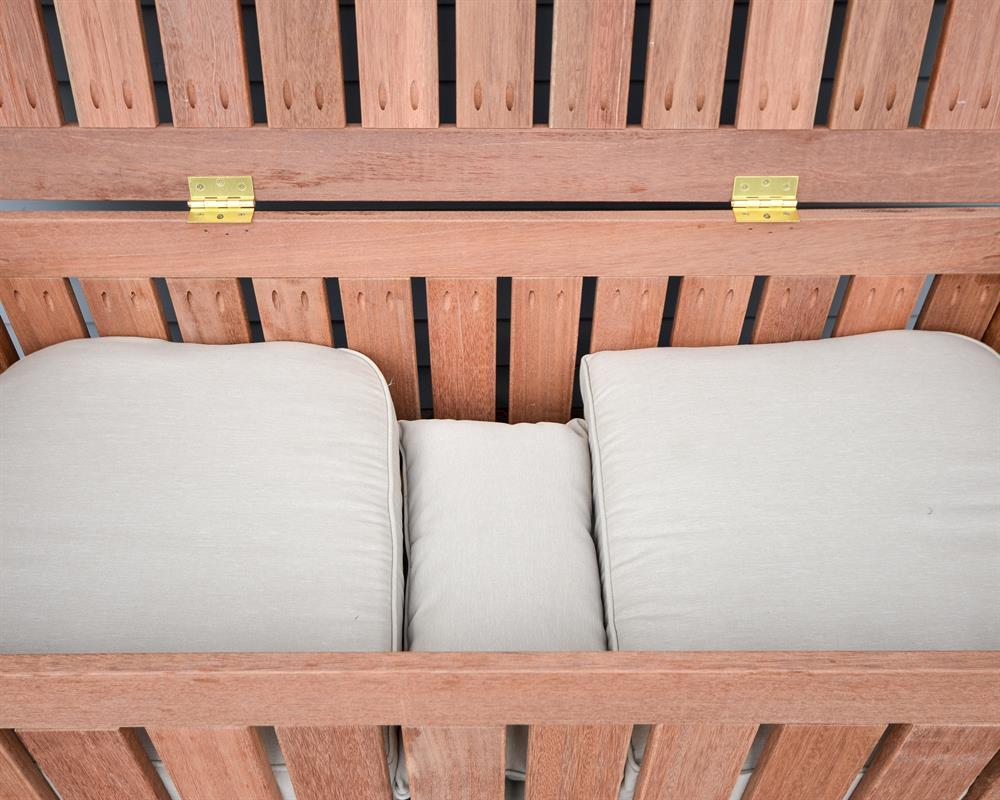
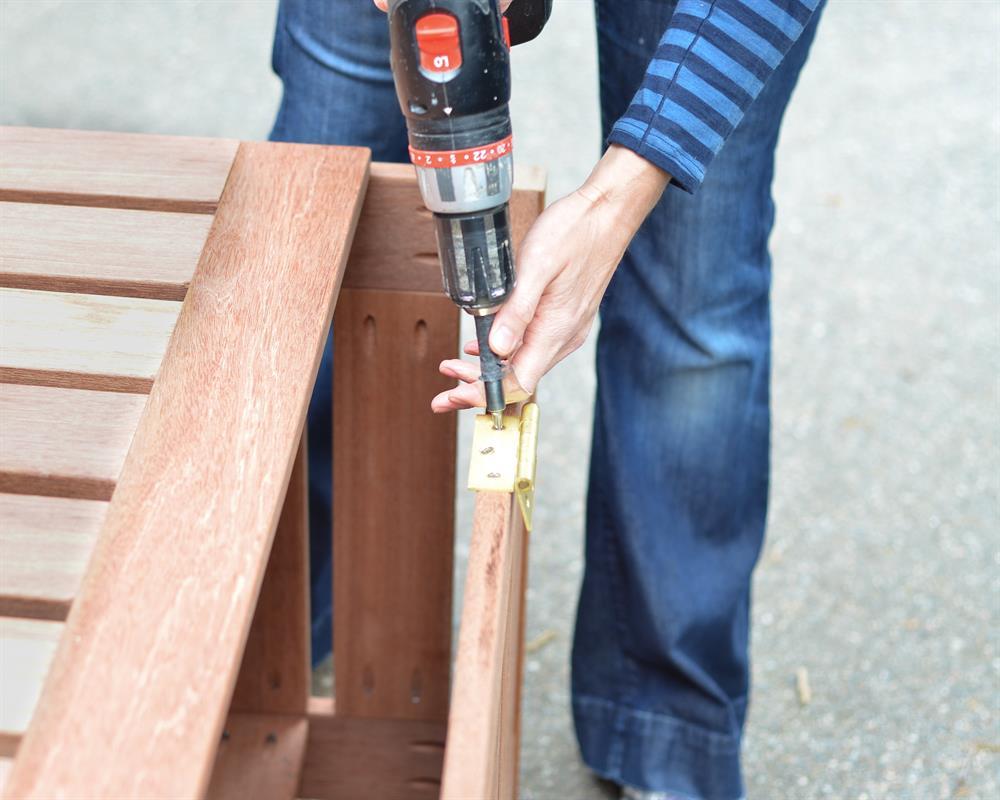
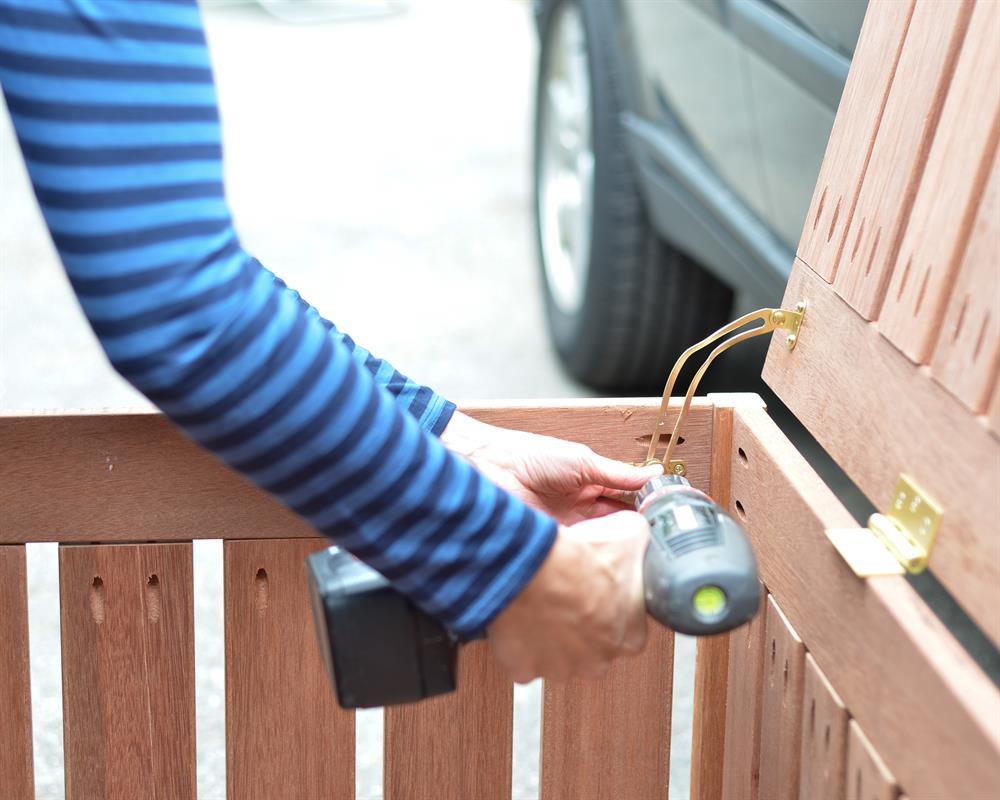
Decide on placement of the hinges on the box and mark the holes with a pencil. Use a small drill bit to drill pilot holes over the marks, then attach the hinges to the top edge of the back side of the box using a screwdriver bit and the screws included with the hinges. While 3" hinges are shown in the image, a 30" continuous hinge is recommended for this project.
-
Attach Hinges to Lid
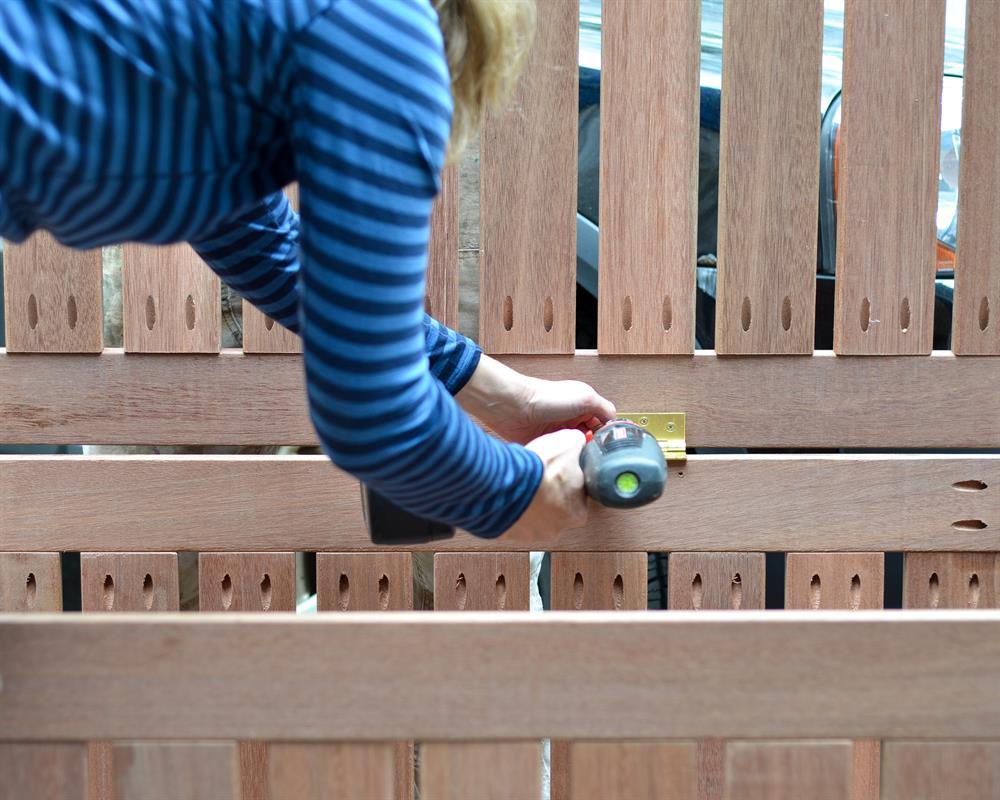
Have someone hold the lid in place while you mark the hole locations for the hinges on the lid with a pencil. Use a small drill bit to drill pilot holes over the marks, then attach the hinges to the lid using a screwdriver bit and the screws included with the hinges. While 3" hinges are shown in the image, a 30" continuous hinge is recommended for this project.
-
Add Folding Lid Supports
Add folding lid supports to each side of the box by attaching one end of the support to the underside of the lid and one end to the inside of the sides of the box.


