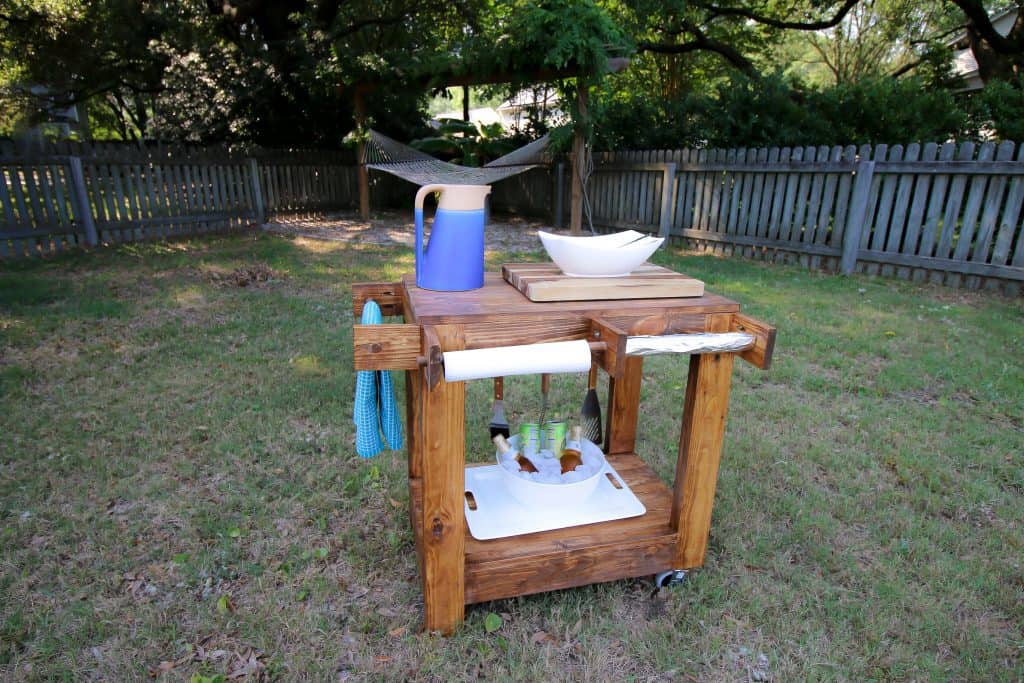
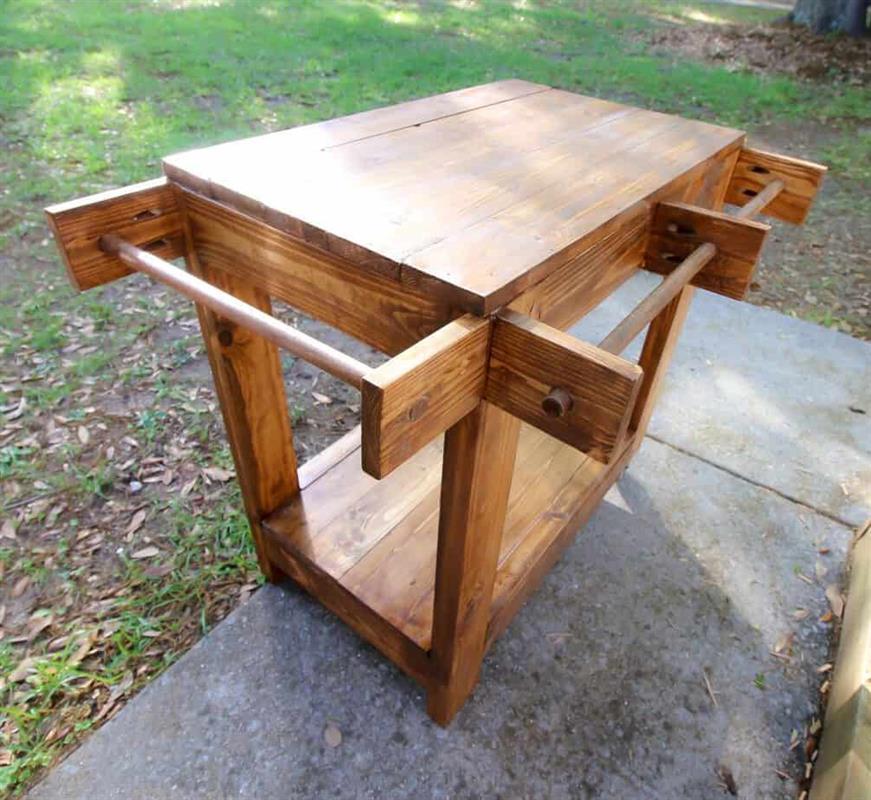


This outdoor rolling grill cart is the perfect accessory for your grill this summer. Load it up and roll out all your supplies in one trip. When you’re done cooking, load all the food on it and roll it over to your dining table. This grill cart is perfect and loaded with accessories!
Tools
Kreg Tools


Other Tools
-
SawMax

-
Nail Gun
Materials
Wood Products
- 8 Board , 1x4 , 96"
- 1 Dowel , 3/4" Thick , 48"
Hardware & Supplies
- 4 Hooks
- 1 Bottle Opener
- 50 1 1/4" Kreg Screws
- 2 3" Casters
Cut List & Parts
- 5 Top Boards , 28"
- 4 Bottom Boards , 28"
- 2 Bottom Side Boards , 14.5"x2.75"
- 4 Back Legs , 30"
- 4 Front Legs , 26.5"
- 4 Top and Bottom Sides , 21"
- 4 Top and Bottom Front and Back , 14.5"
- 5 Dowel Holders , 5"
- 1 Short Dowel , 17.5"
- 1 Long Dowel , 28"
Directions
-
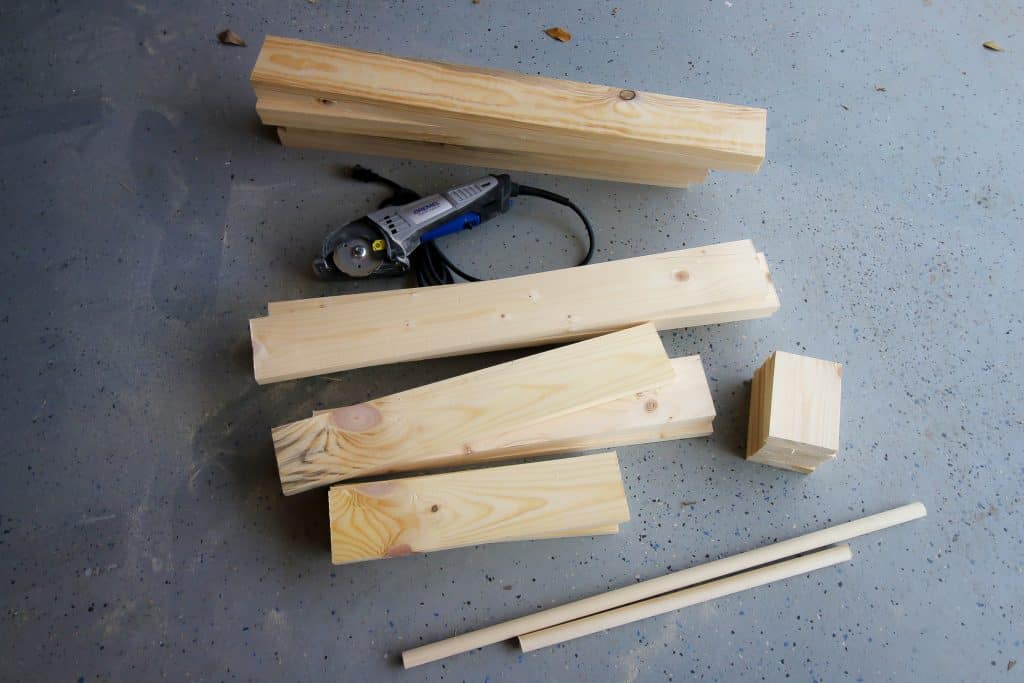
Make Cuts
Make all the cuts in the cut list using 1"x4" lumber.

-
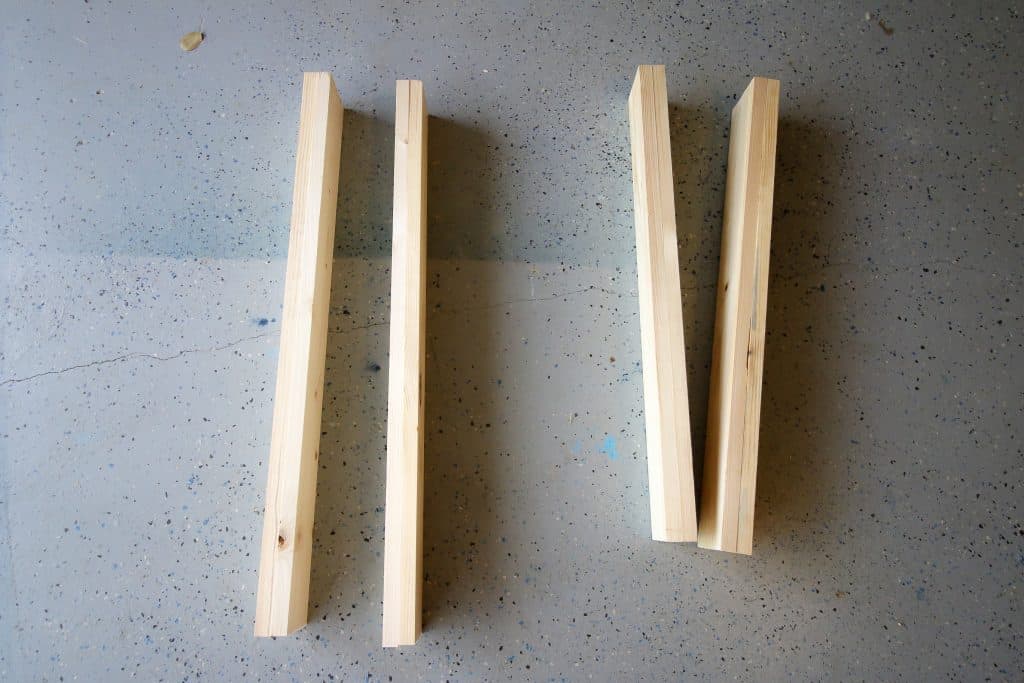
Glue Legs
Glue your legs together. Take two front leg pieces and glue them together flush. Repeat with the other front leg pieces and the back leg pieces.
-
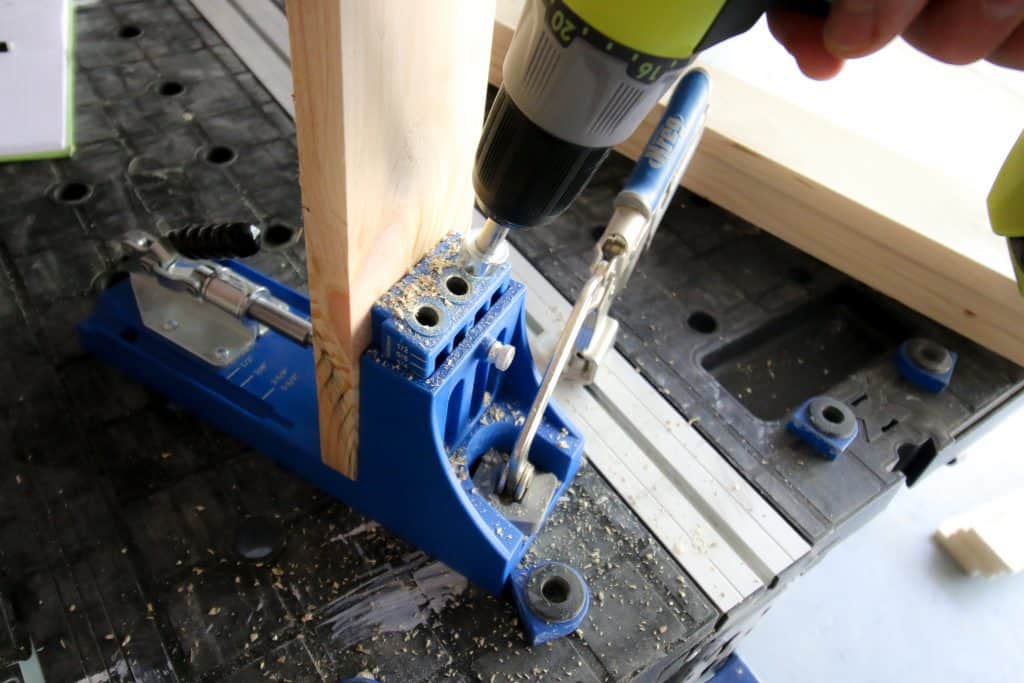
Drill Pocket Holes
Drill two pocket holes on each end of the top and bottom side pieces and the top and bottom front and back pieces.
-
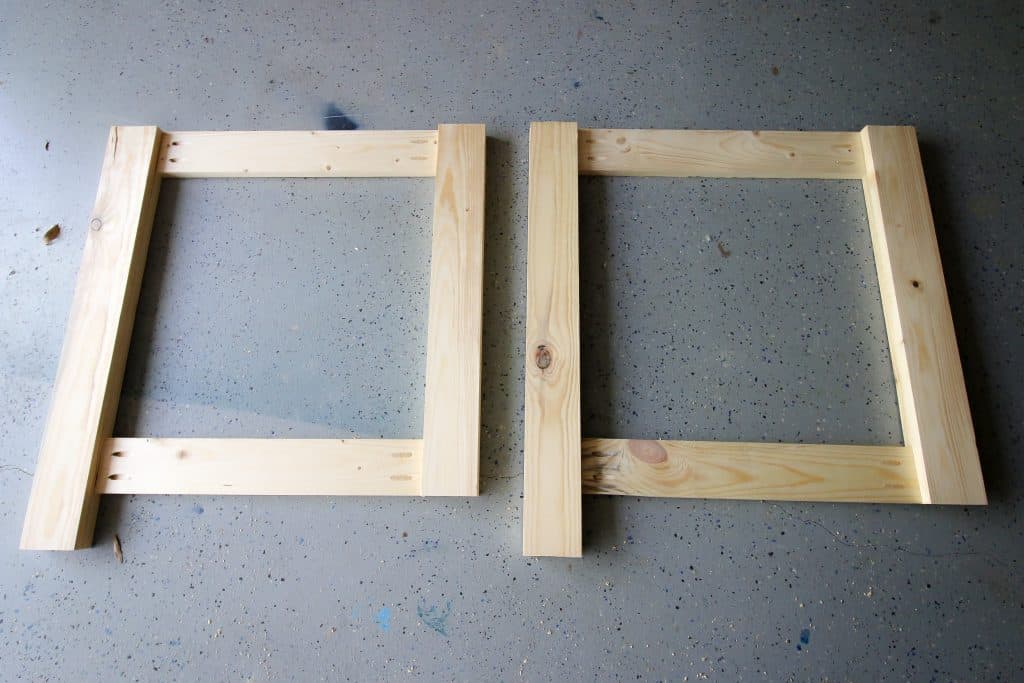
Build Sides
Build your sides by attaching your top and bottom side pieces to the front and back legs. Start by attaching flush with one end of each, then by attaching flush with the bottom of the front leg. Repeat to create the other side, making sure you reverse the boards (unlike in this picture) as they will end up facing each other.
-
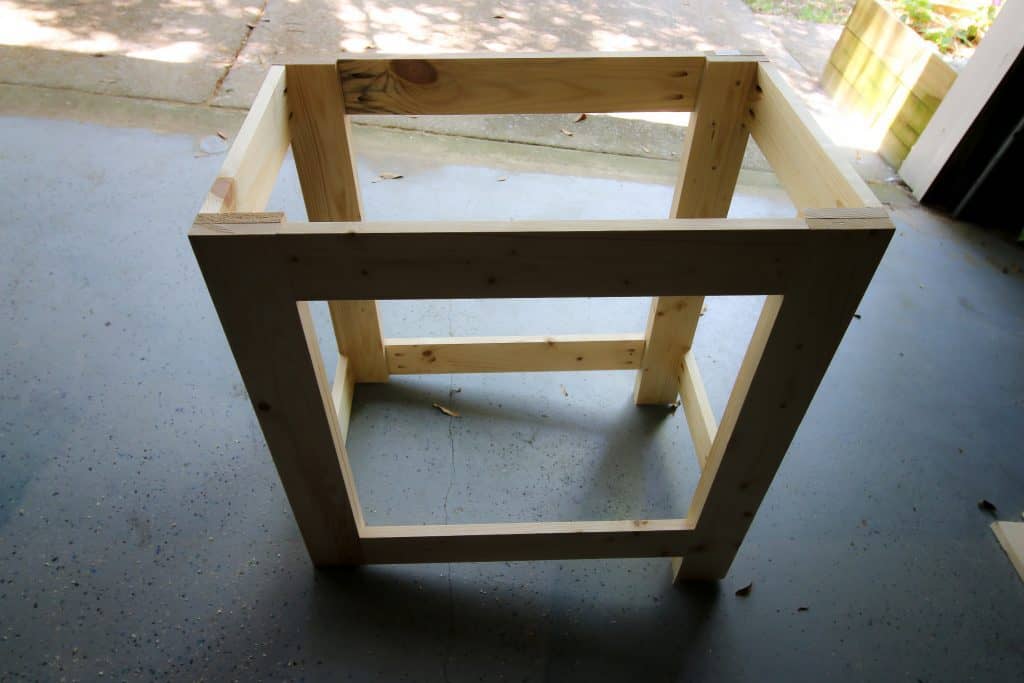
Connect Sides
Use the top and bottom front and back pieces to connect the two sides. Start by attaching all the boards to one side, then connect them to the other side.
-
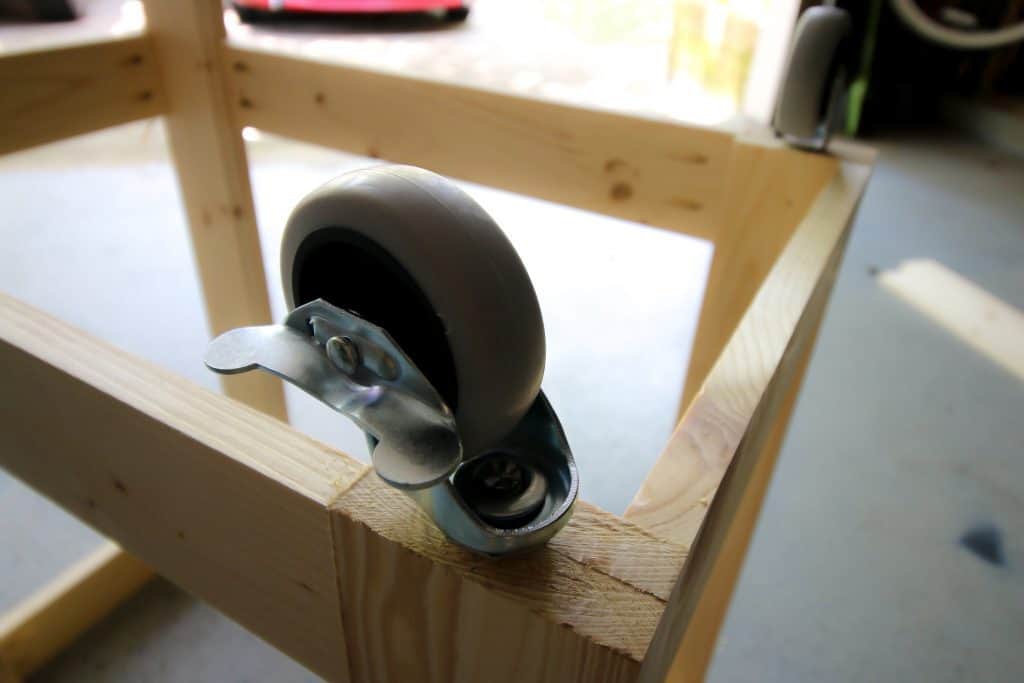
Attach Casters
Attach casters to the bottom of the front legs. This will make the whole cart level now.
-
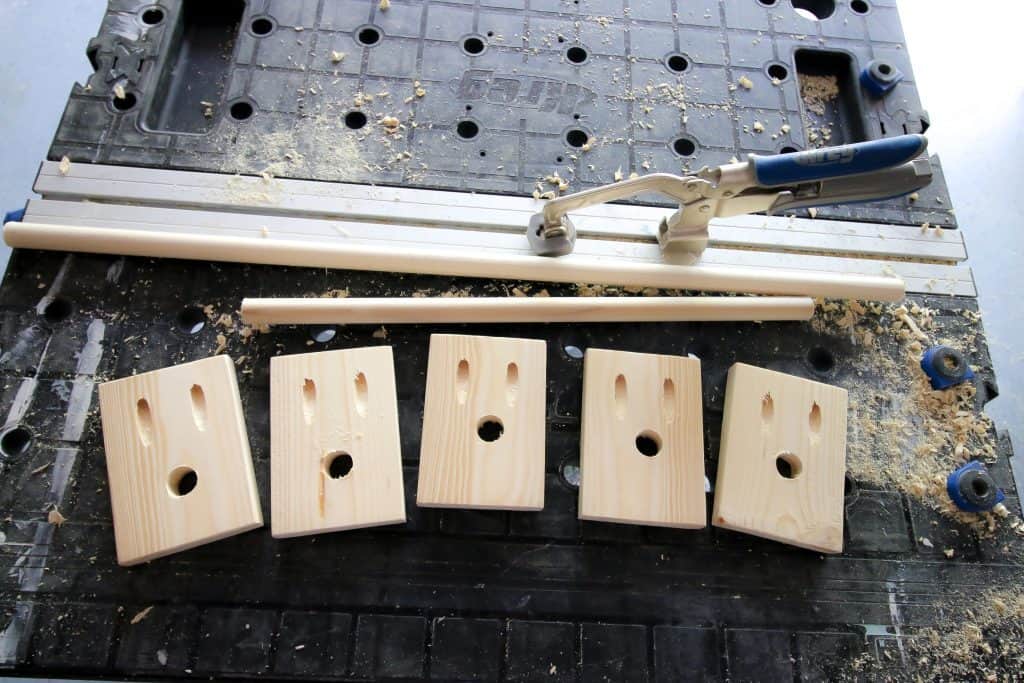
Drill Dowel Holders
Drill two pocket holes in one side of each of the dowel holder pieces. Then drill a hole the size of your dowel into each piece. It's best to drill straight through all the pieces at once so the holes all line up. Otherwise, carefully measure where you place your holes.
-
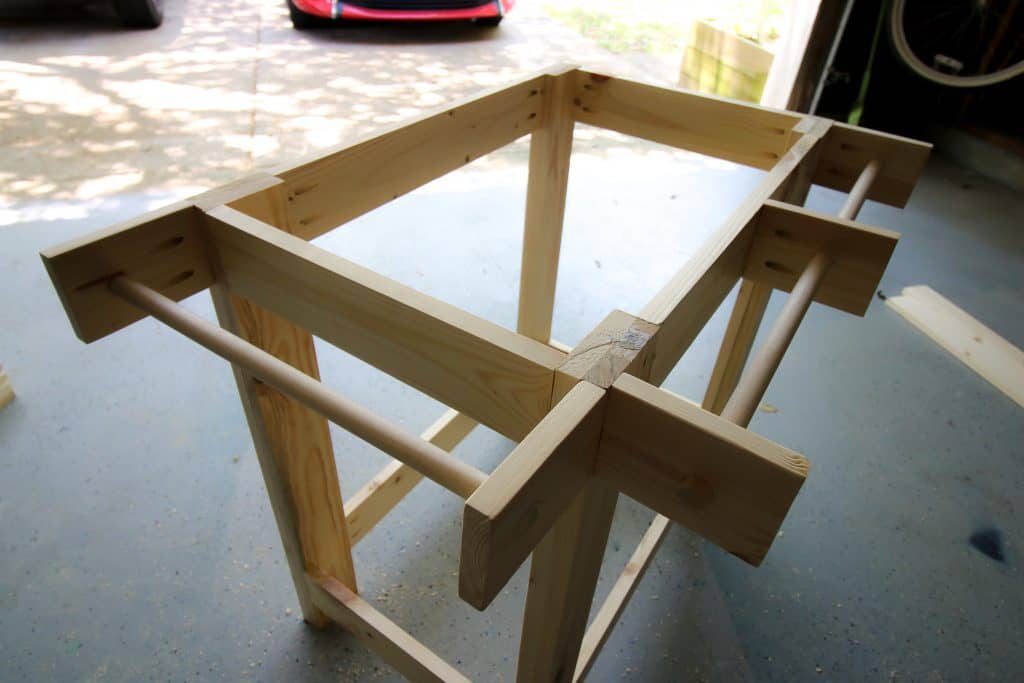
Attach Dowel Holders
Attach two dowel holders to the back of the cart and three to the side. Insert the short dowel into the back of the cart to create a handle and glue this into place. Insert the long dowel into the side of the cart, but do not glue, this one should be removable.
-
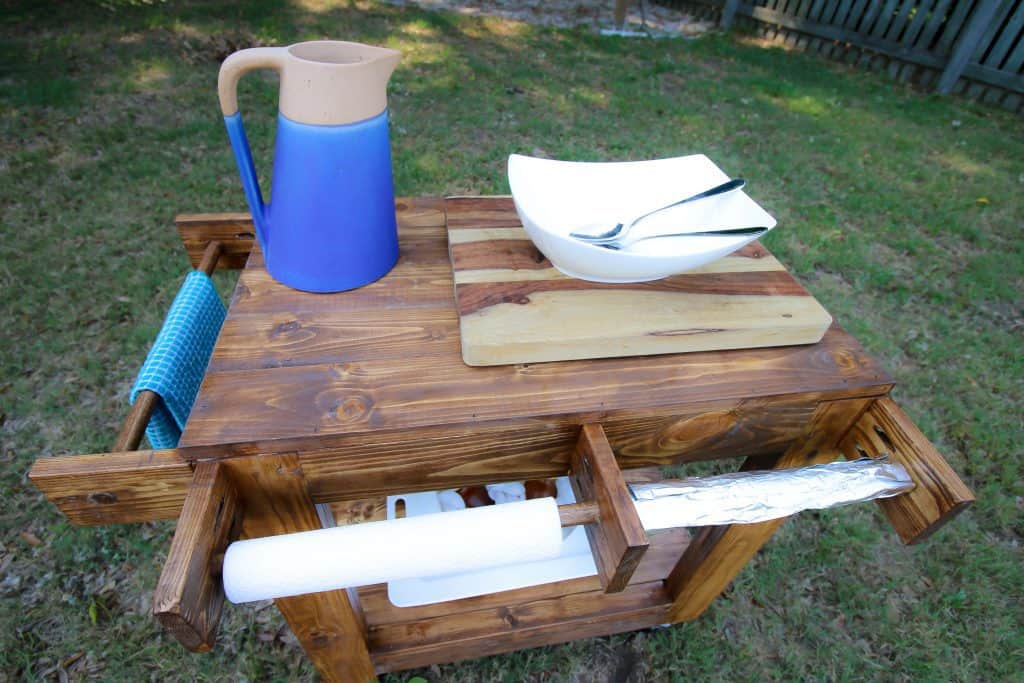
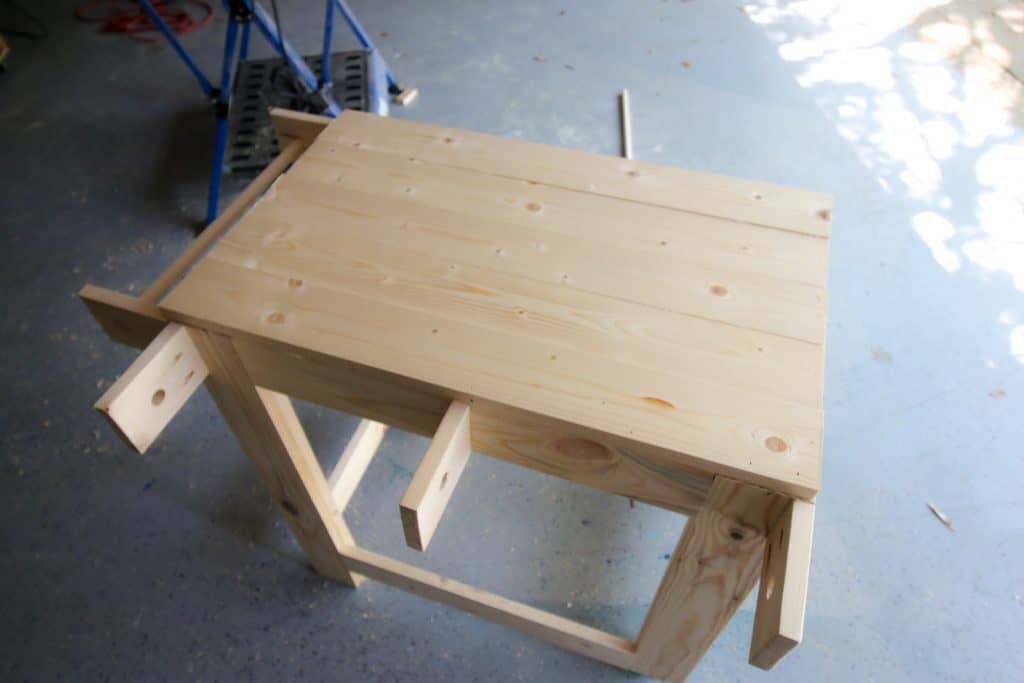
Attach Top Boards
Use a nail gun to attach your top boards to the top of the cart.
-
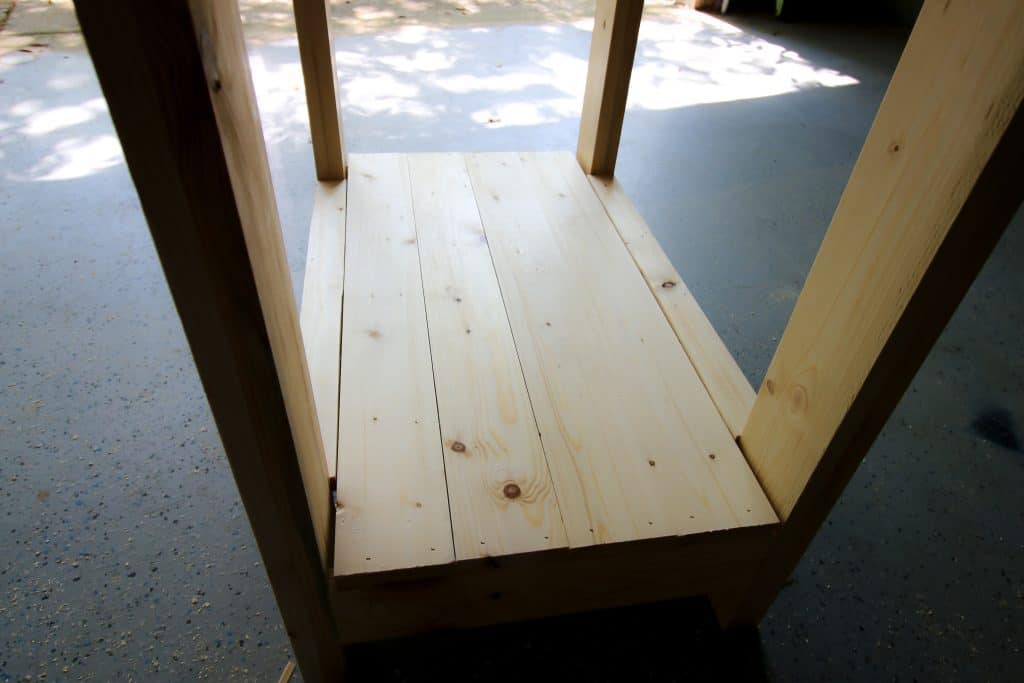
Attach Bottom Boards
Use a nail gun to attach your bottom boards to the bottom of the cart.
-
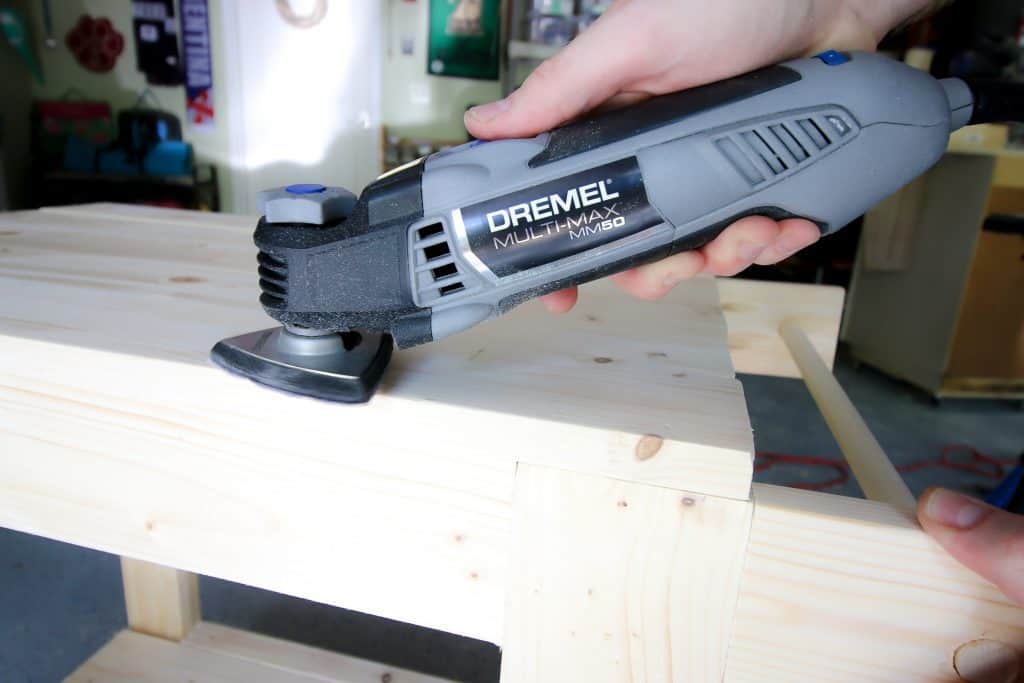
Sand
Sand everything smooth and flush.
-
Stain and Seal
Stain and seal your cart. If leaving outdoors, make sure you choose an outdoor grade stain and/or sealant.

-
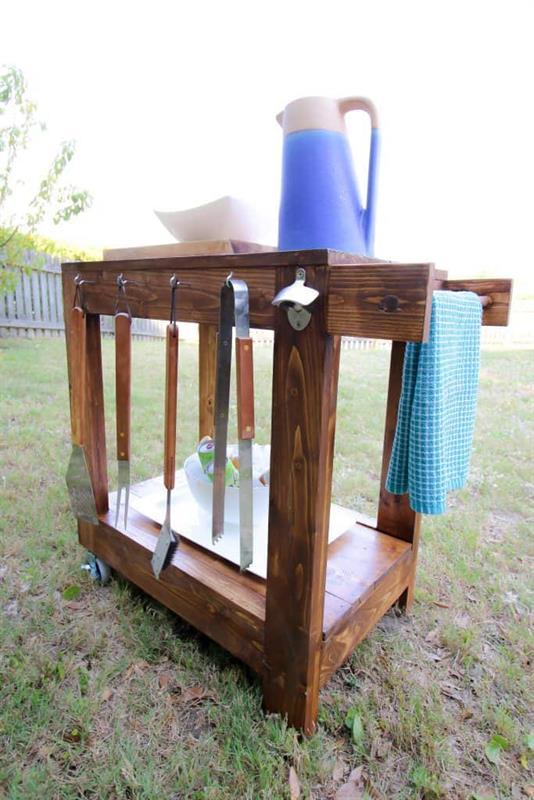
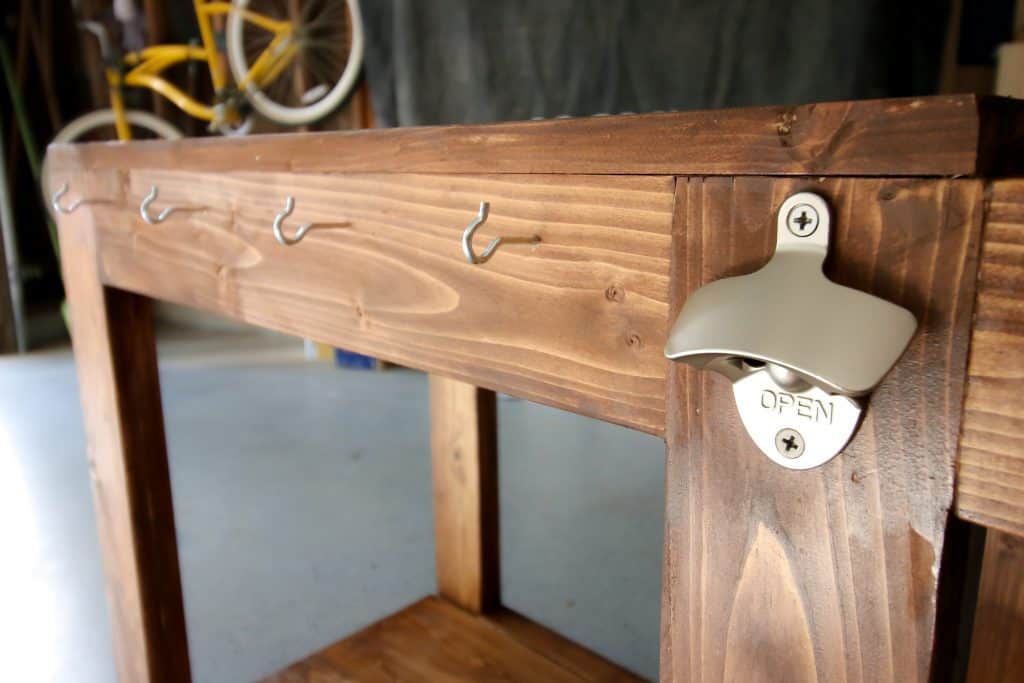
Accessorize
Add accessories to customize your grill cart. I added hooks for grill tools and a bottle opener. Also, slide a roll of aluminum foil and paper towels onto the long dowel.
-
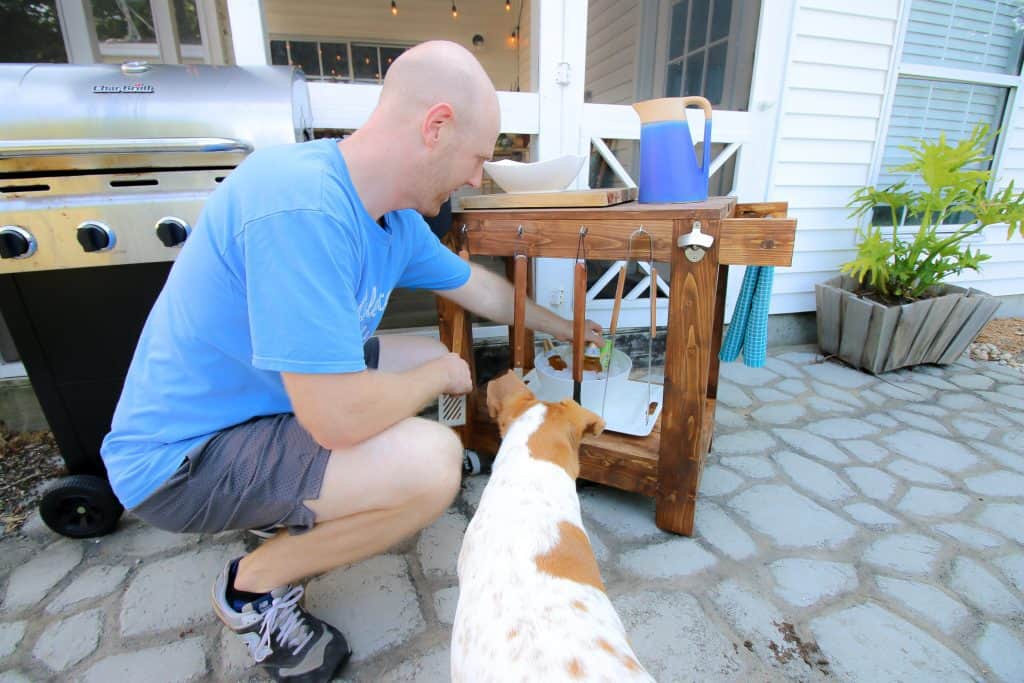
Grill Out
Enjoy your new grill cart!

-
Visit www.CharlestonCrafted.com
Visit www.CharlestonCrafted.com for a special giveaway of all the tools used for this project.