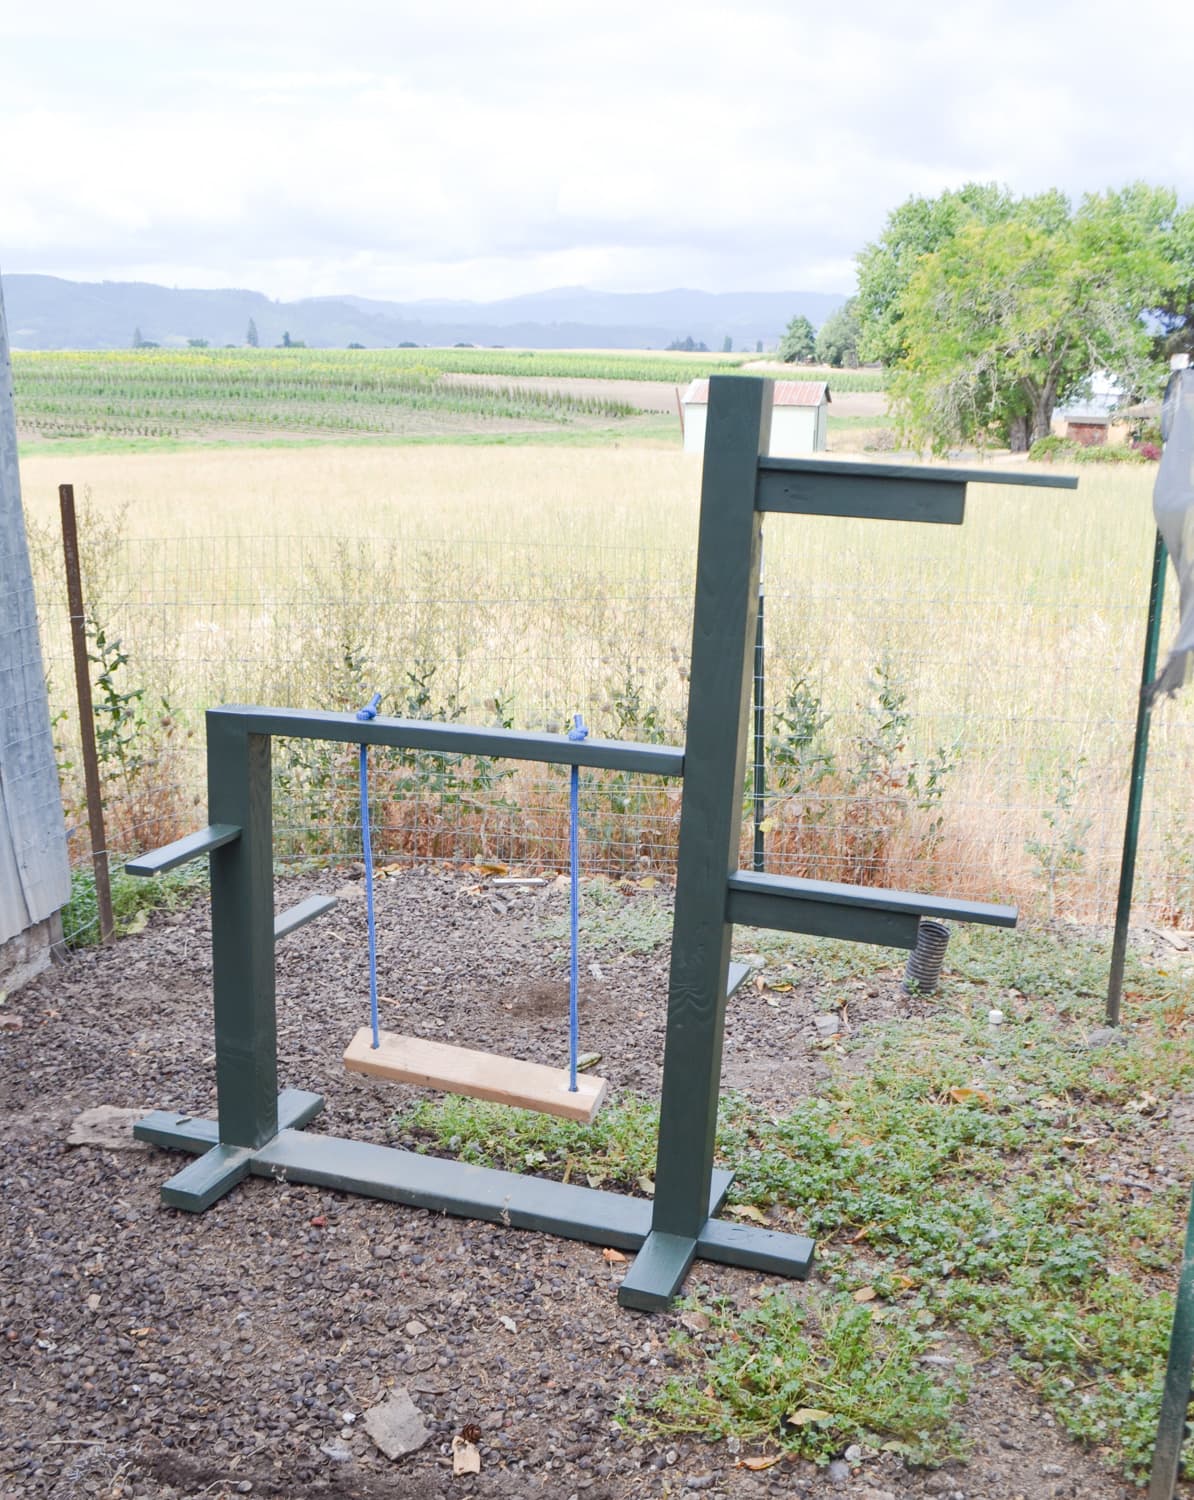
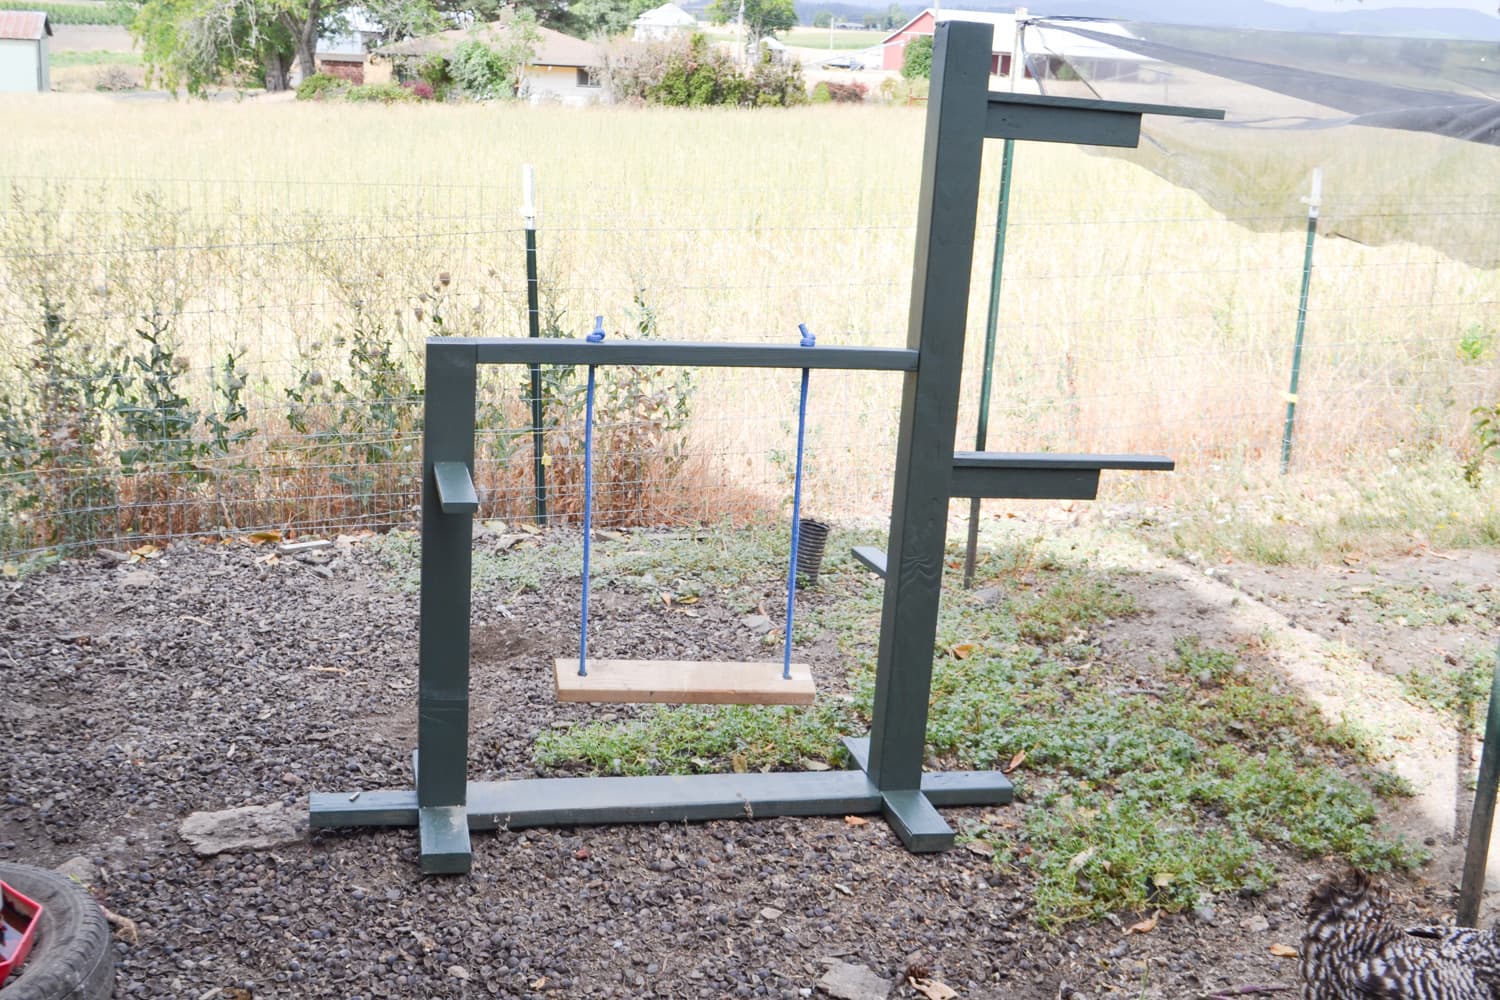
Outdoor Chicken Roost
By 1905 FarmhouseCreate a functional and fun chicken roost for your hens and roos!
Directions
-
Cut Support Posts, Legs and Roost Arms
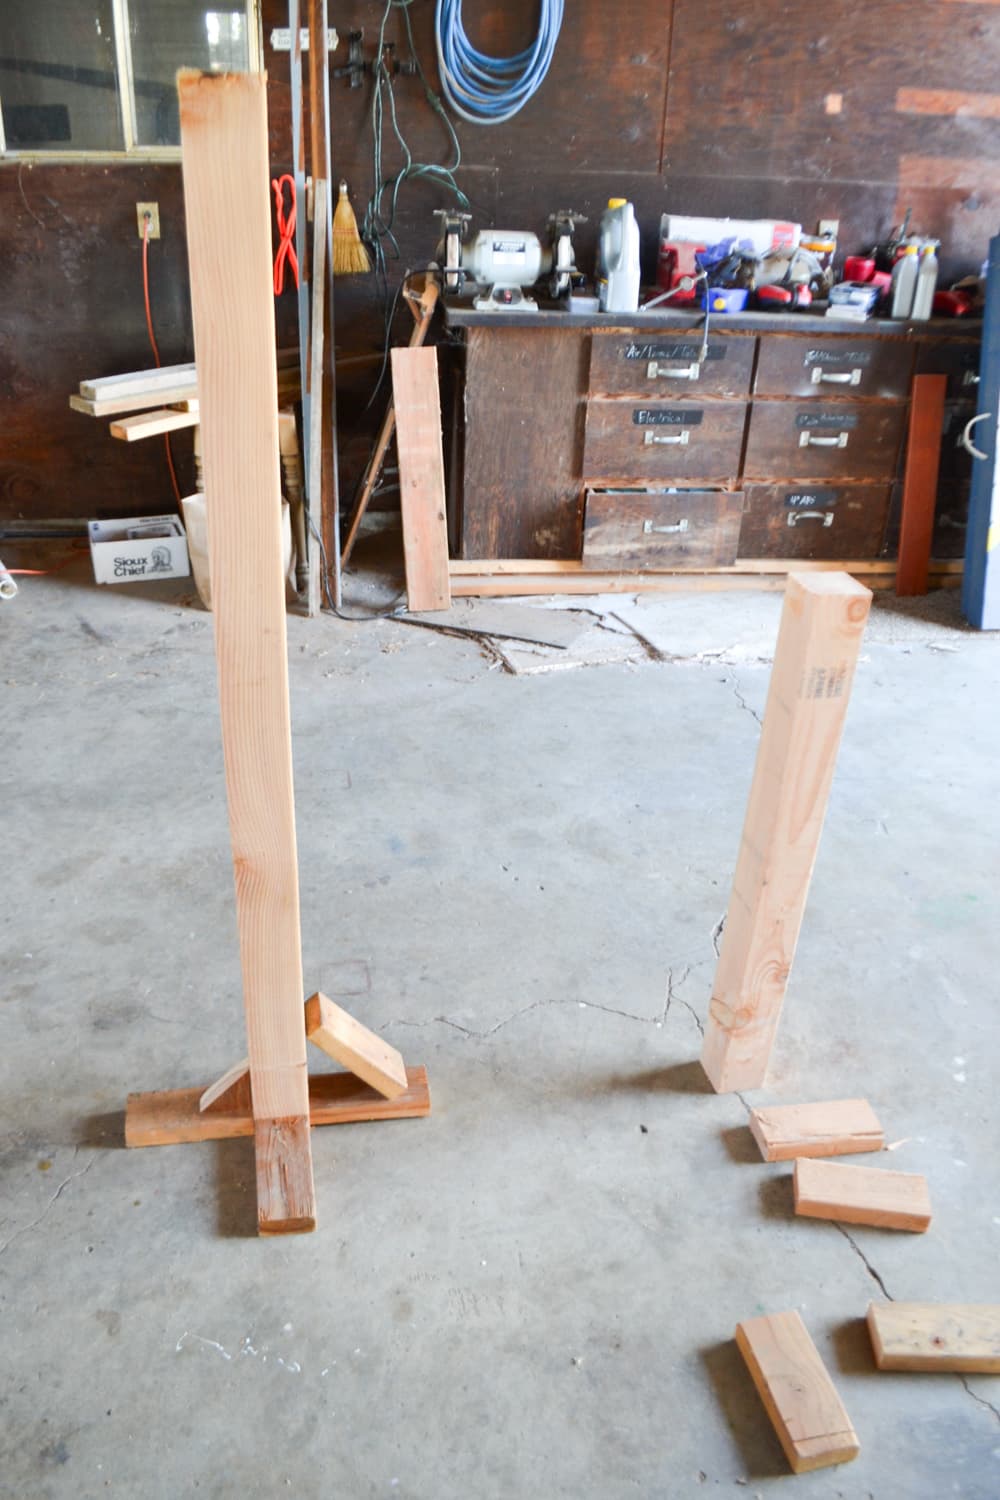
Cut the support posts from the 4" x 4" post. Cut the 2" x 4" section for the feet support for the roost posts. Cut the roost arms from the 1" x 2" board.
-
Drill Pocket Holes
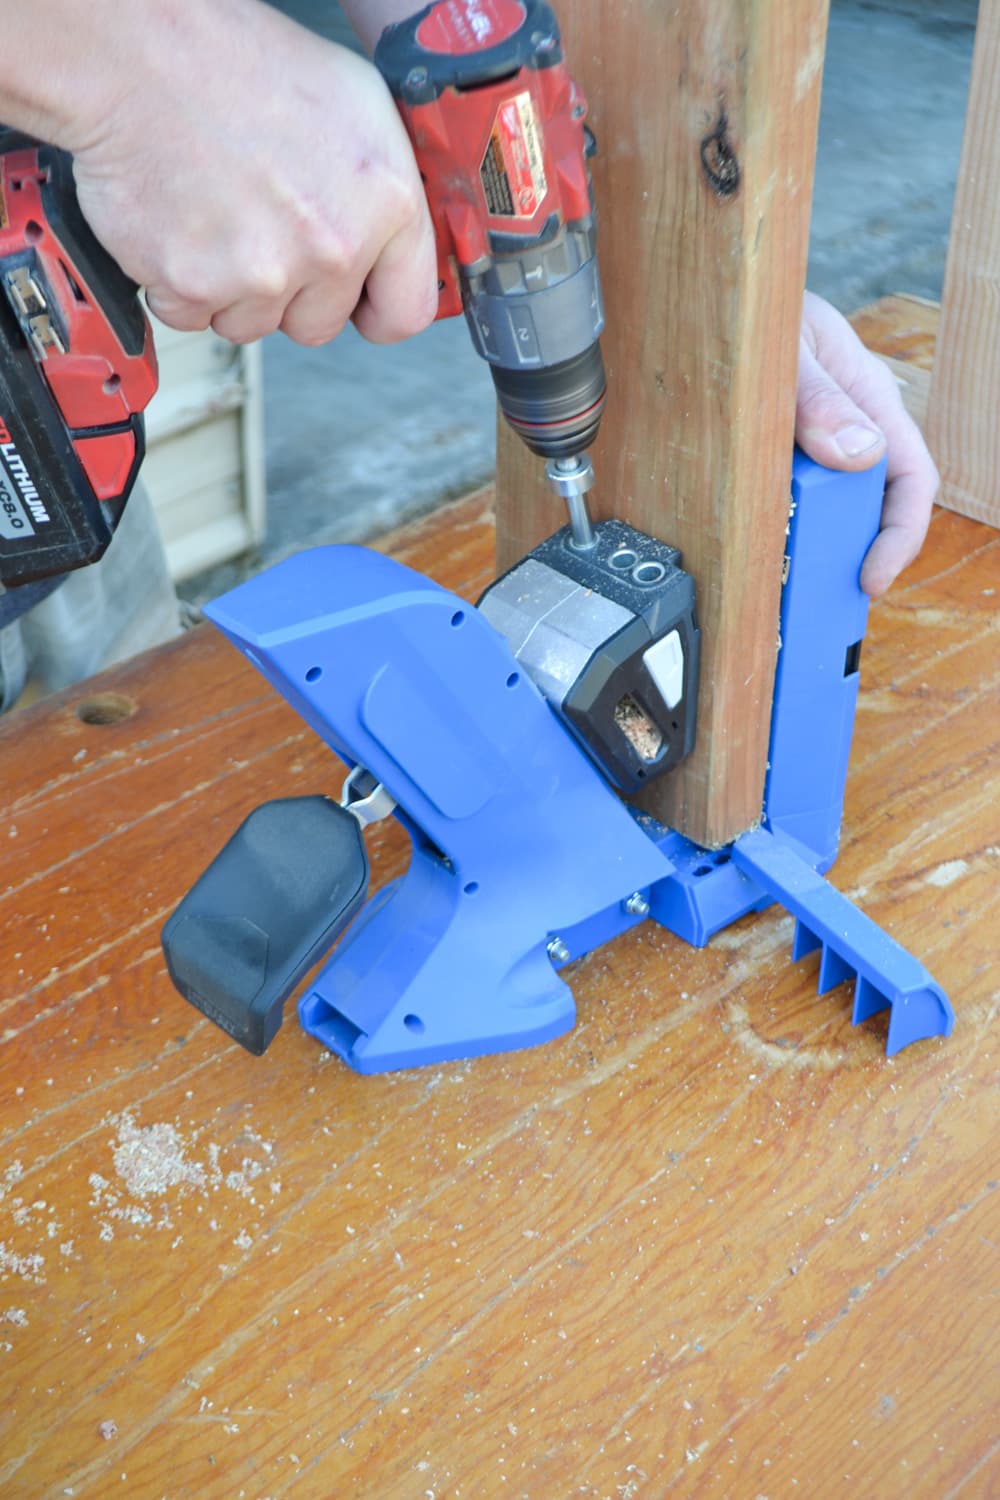
Using the 720PRO pocket hole jig we drilled all the pocket holes in the support legs and arms. This jig is easy to use and efficient. It comes with all the parts needed and has handy compartments that hold the supplies you need to adjust the collar of the bit, hold the bit and more.
-
Attach Leg and Arm Supports
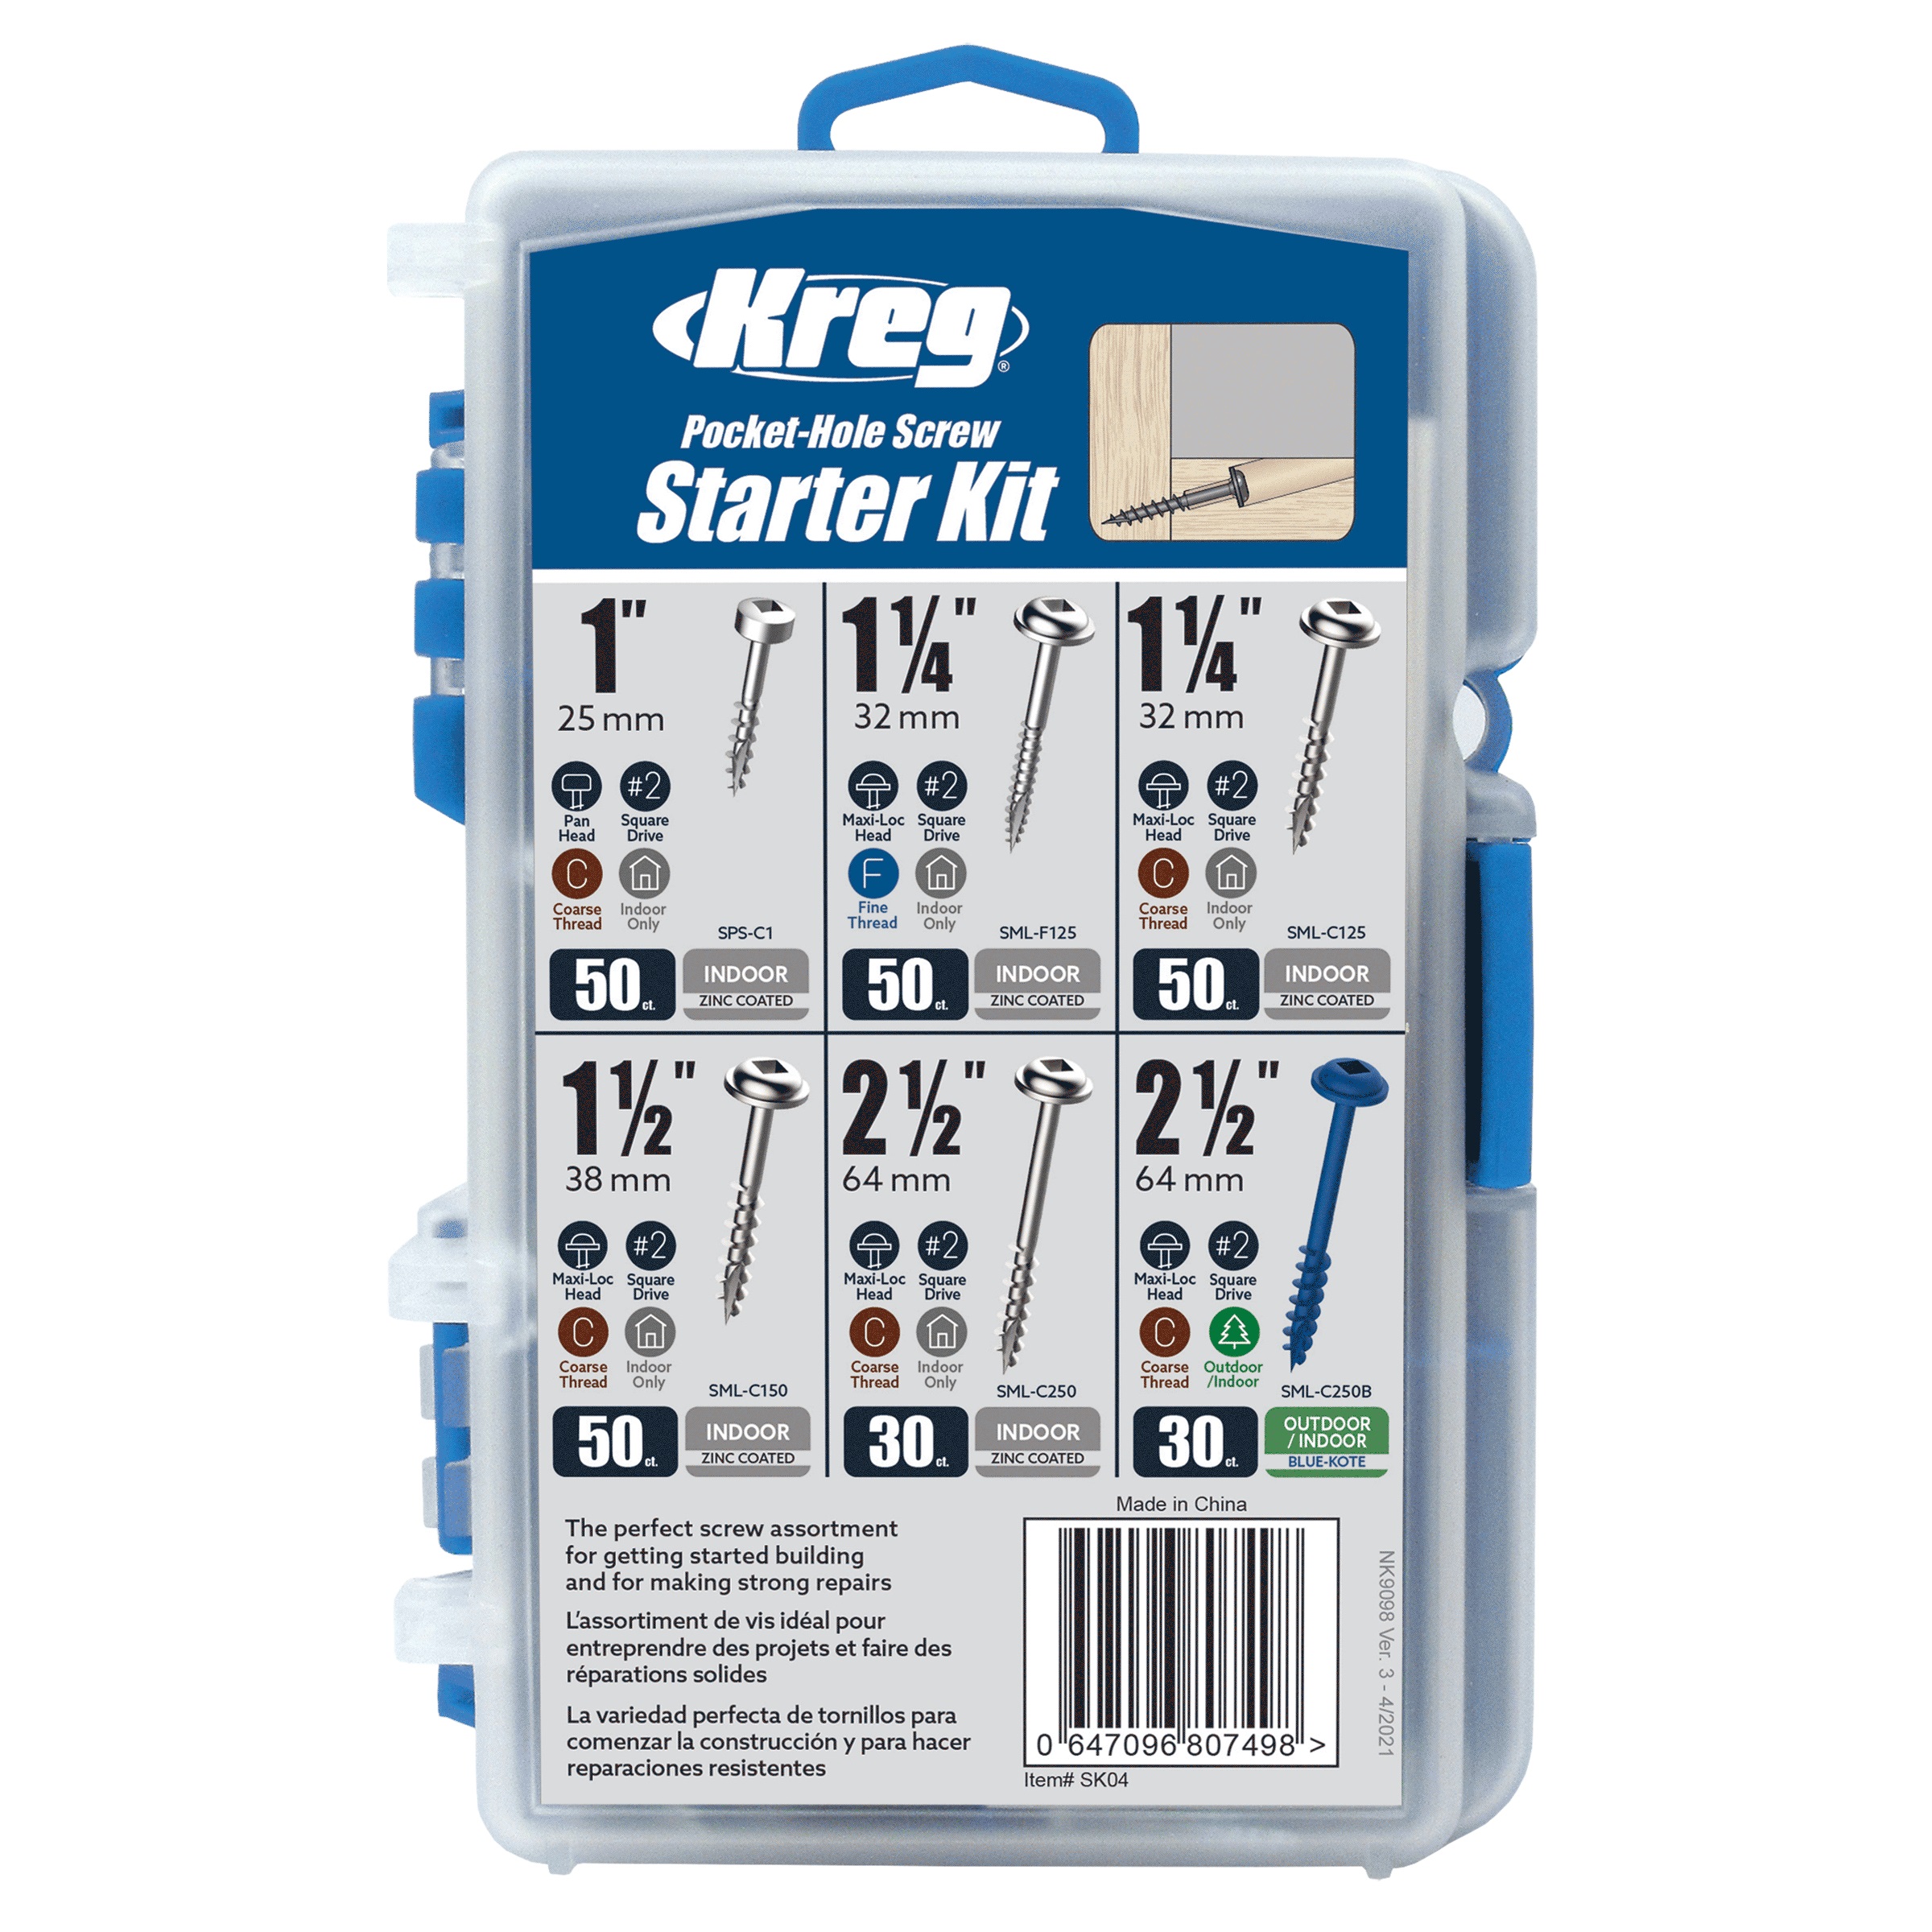
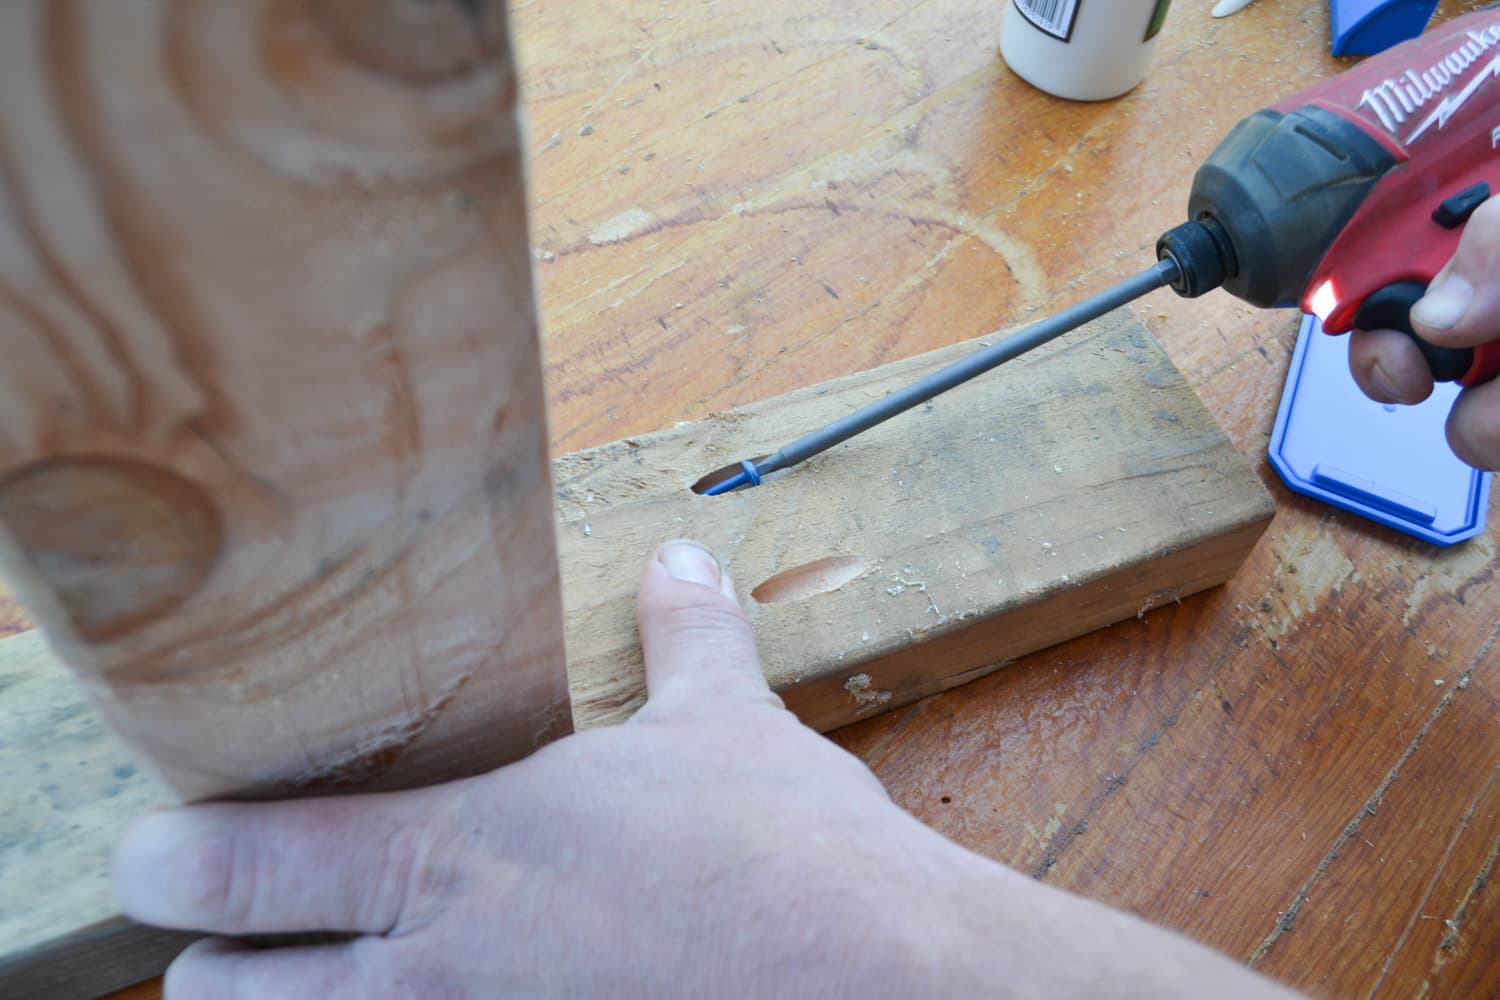
Using the pocket hole screws attach the leg post supports, the support arms and the roost arms.
-
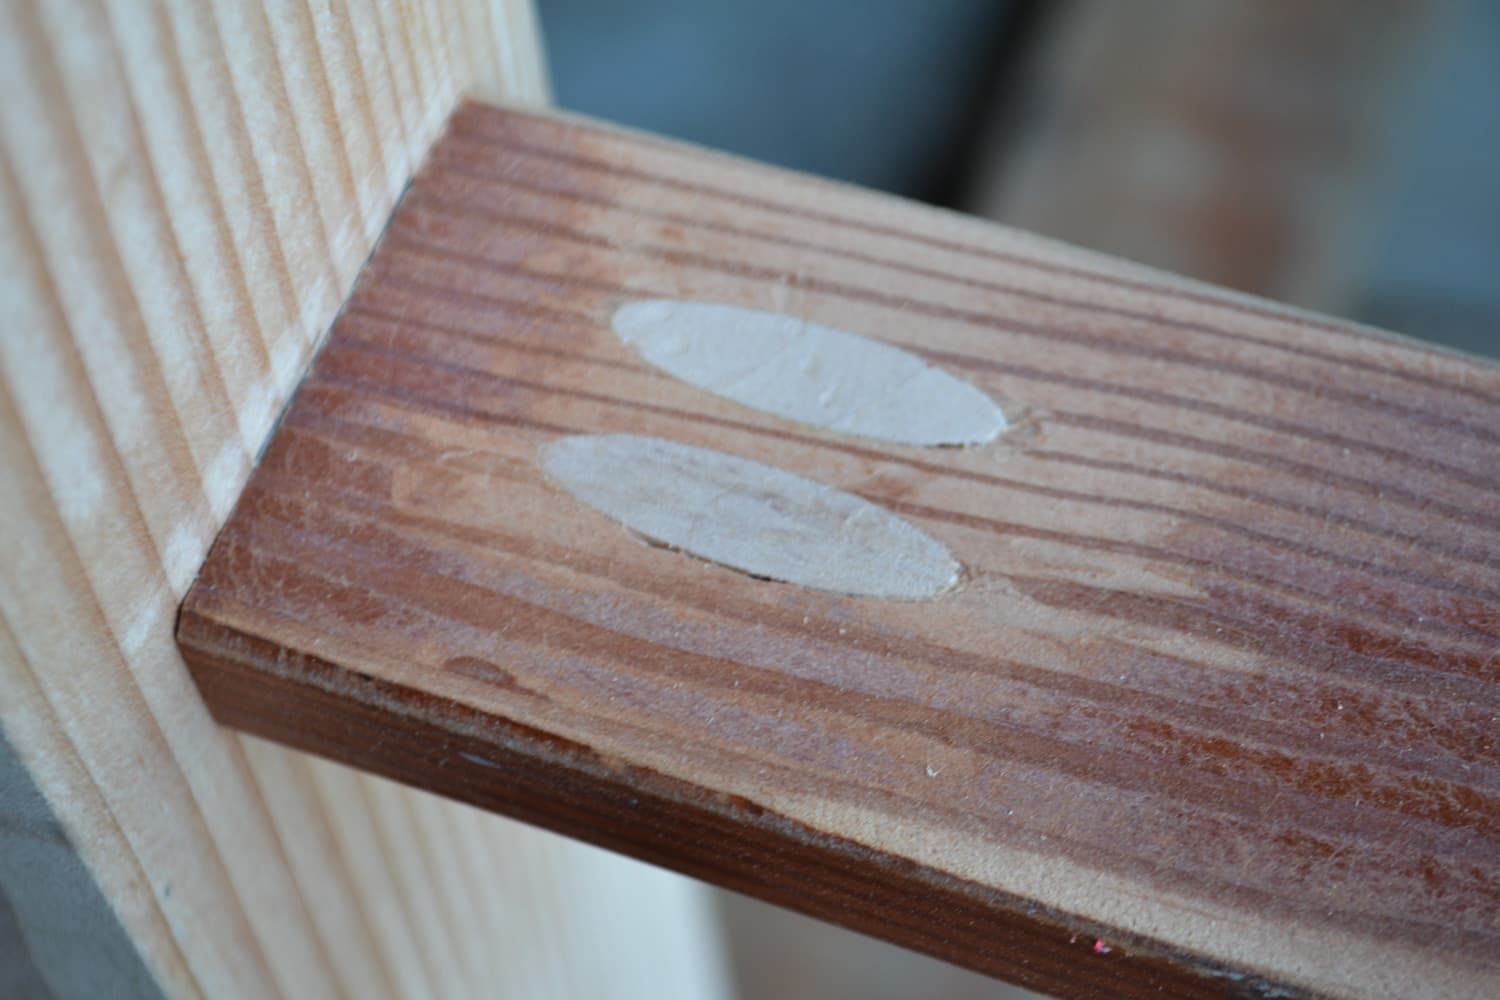
Cover Screw Holes with Pocket Hole Filler
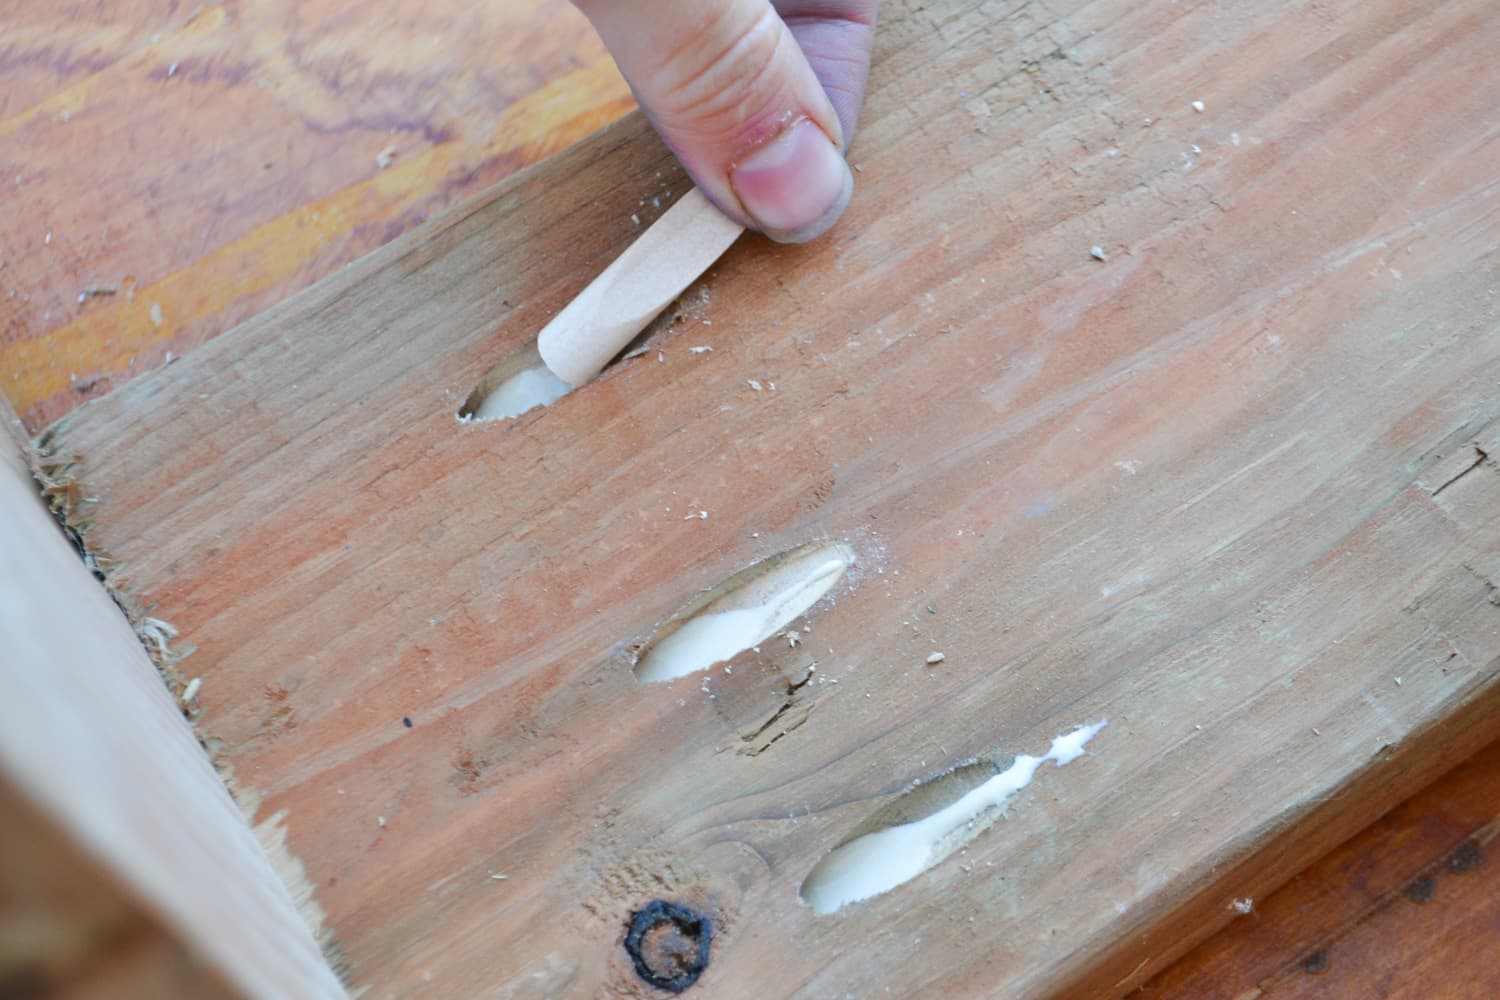
Once all the screws have been placed and attached use the pocket hole filler plugs and the wood glue to cover up all the screw holes.
-
Sanding
Several of the pocket hole plugs may stick out, using a saw you can cut these off flush with the board and then sand the entire piece.
-
Paint
Since this project was done with mostly scrap wood pieces I also found some leftover paint to paint the entire piece. I chose this darker color so that the dirt won't show as much as if I had chosen a lighter color.
-
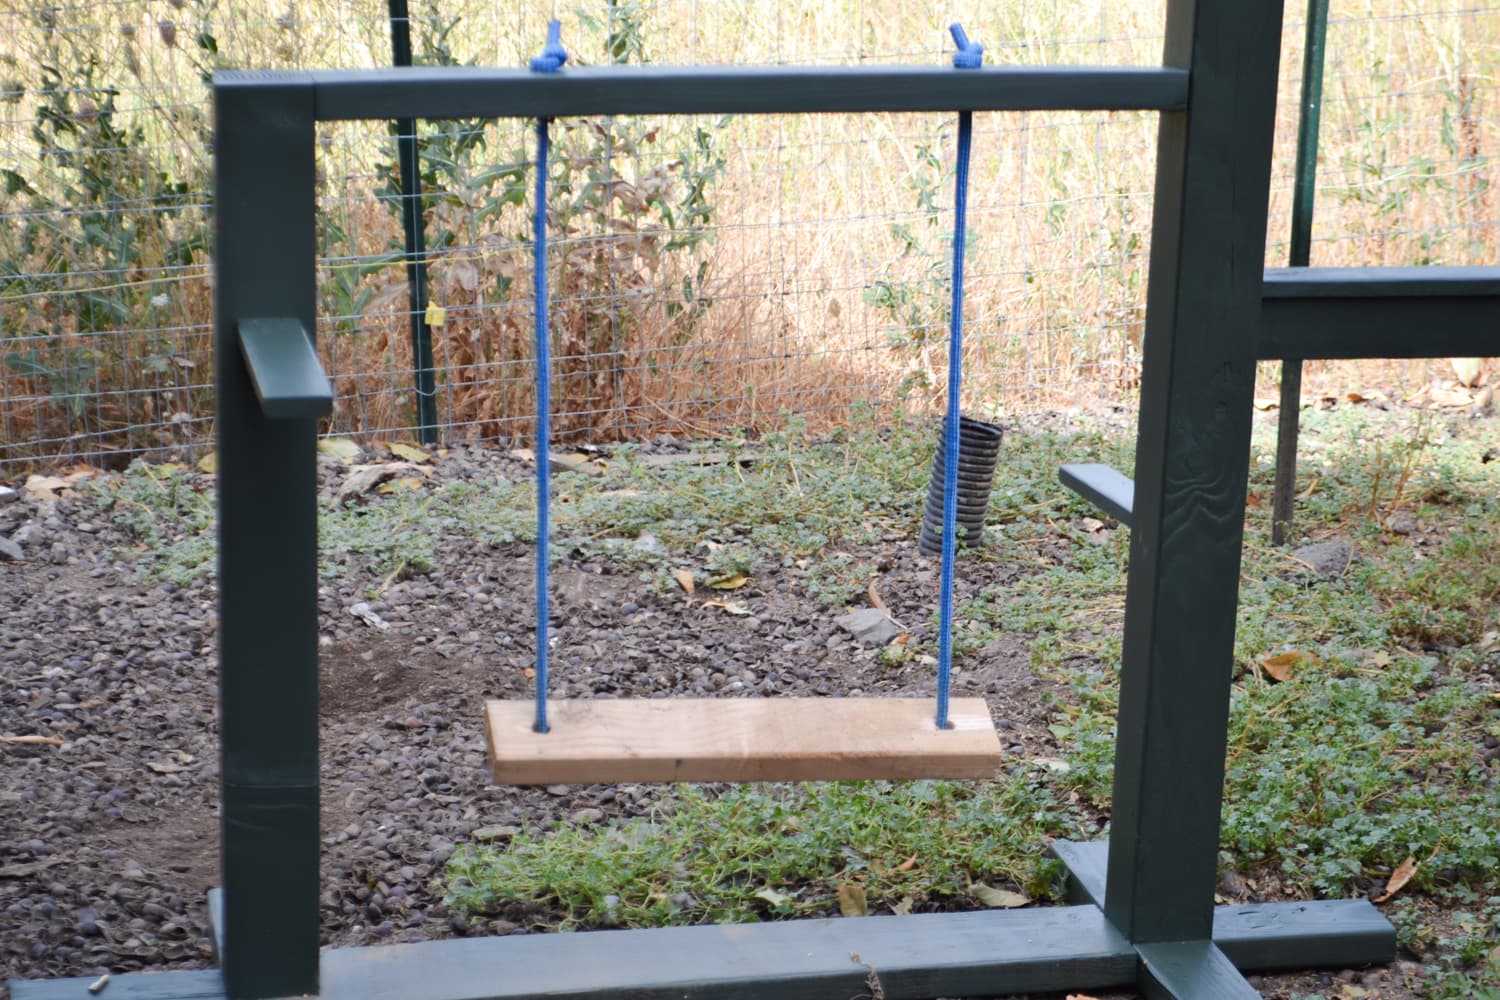
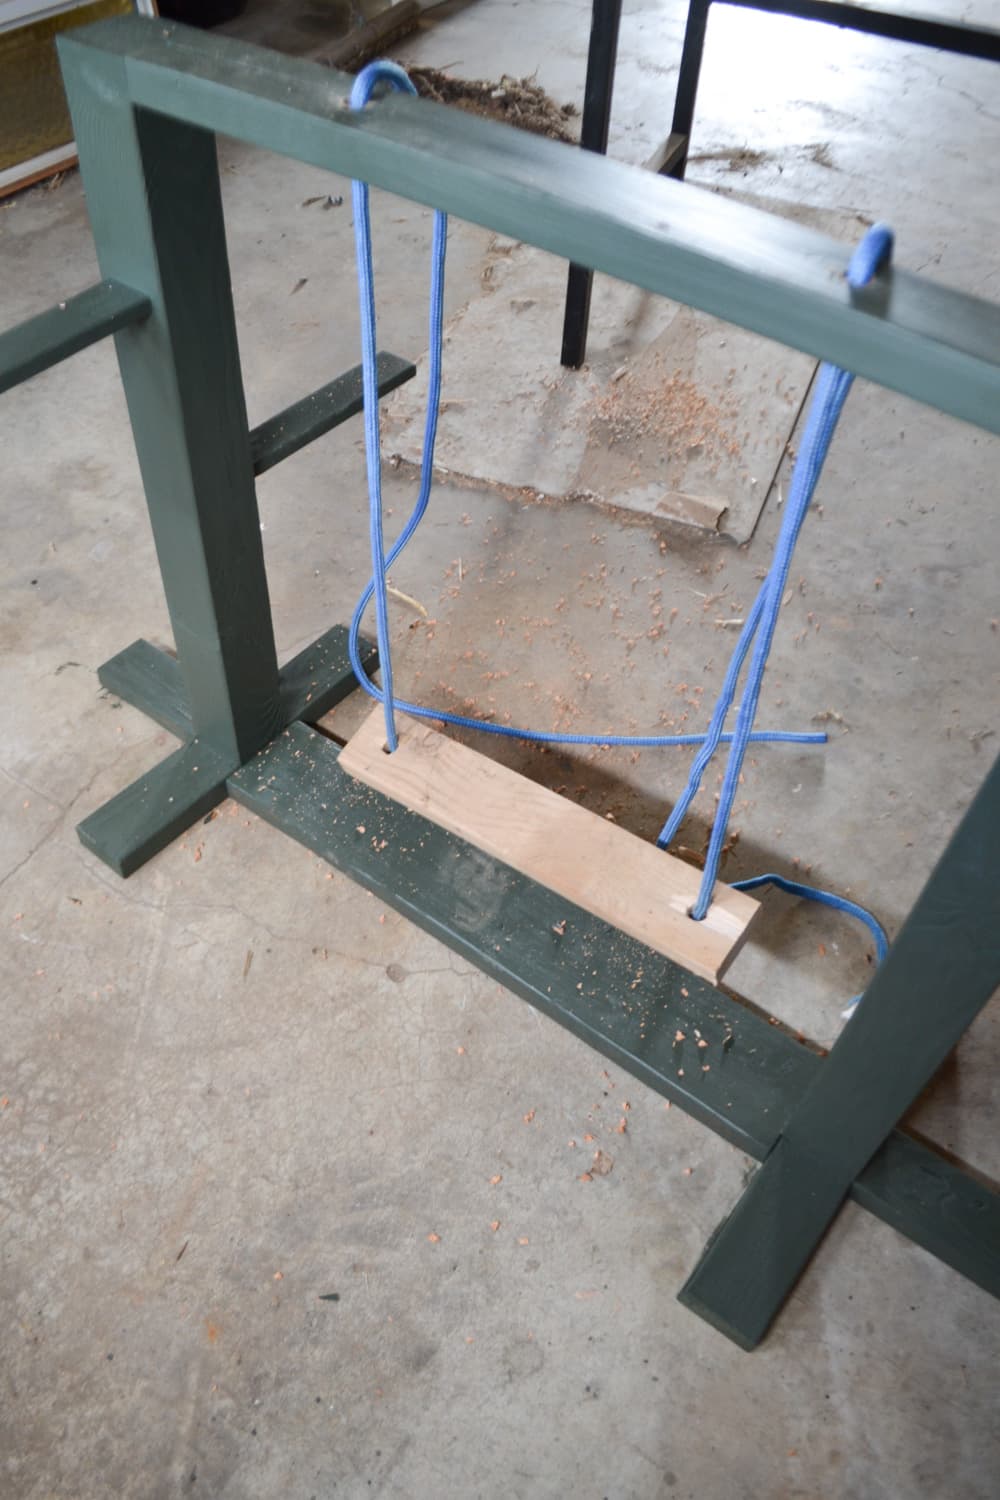
Drill Holes for Swing
Using the cordless drill and a large drill bit we drilled the holes for the swing on the arm and the swing itself. Then thread the rope through the swing and up through the top of the support arm and tie in a knot and use a lighter to seal the ends of the rope so that they do not unravel.


