Mudroom Storage Bench
By Mikey the MakerI think anyone with children are always looking for the best way to keep the family organized when it comes to storing shoes, bags, and other things being used on a daily basis. When my friend came to me I knew building a giant Mudroom Storage Bench would be the answer.
Directions
-
Materials
Using the materials list gather all of the materials you will need at your local home center. If you don't have access to a table saw or Circular Saw with edge guide you will want to have them cut your plywood for you.
-
Make all cuts
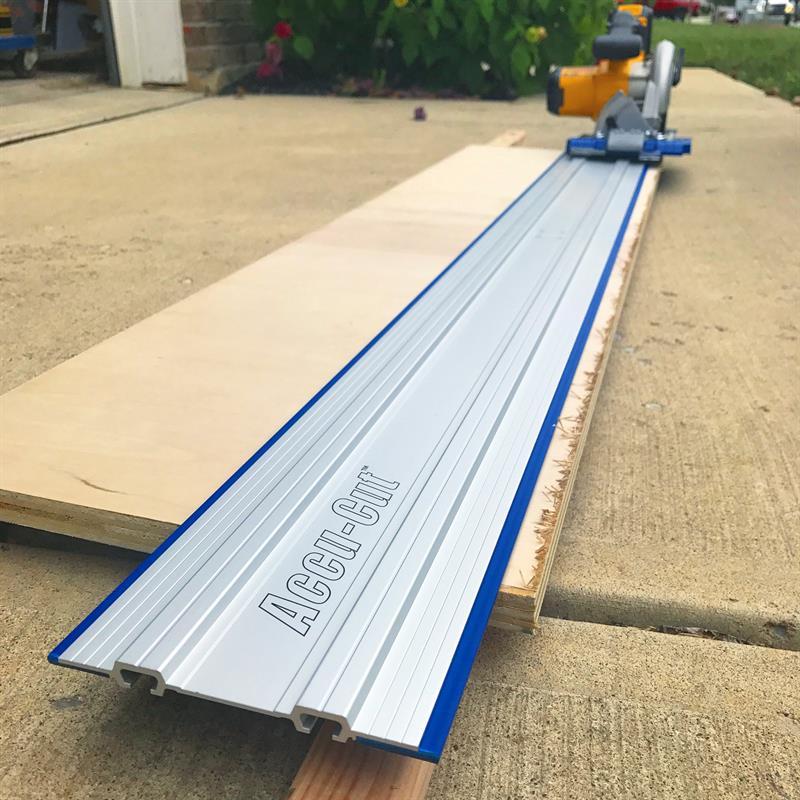
You will want to follow the cut list and make all of your cuts for the plywood before starting. I used a combination of the Kreg Accu-Cut and Rip-Cut to make the cross cuts and rip cuts on my plywood. Wait to cut your trim pieces to size until the structure is built.
-
Drill Pocket Holes
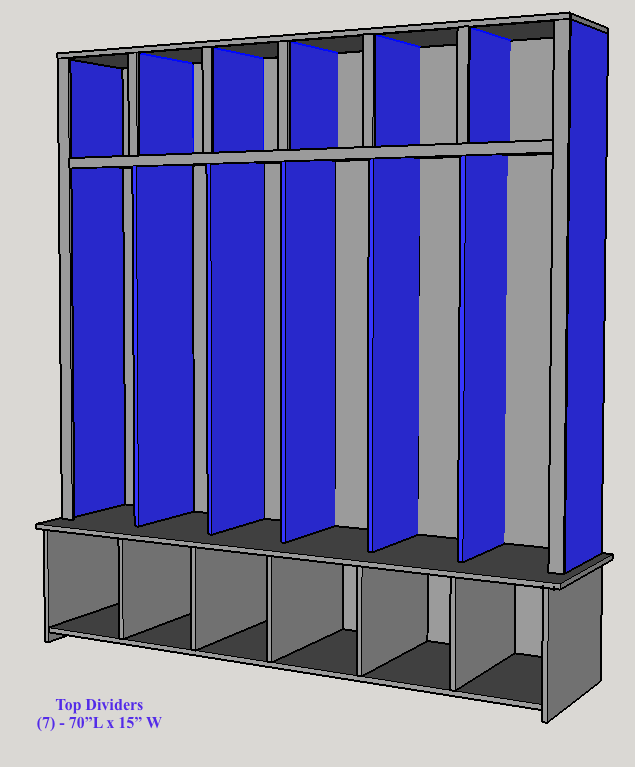
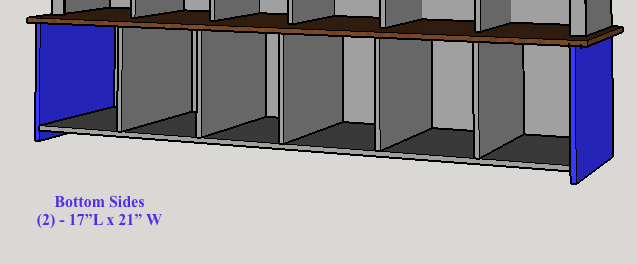
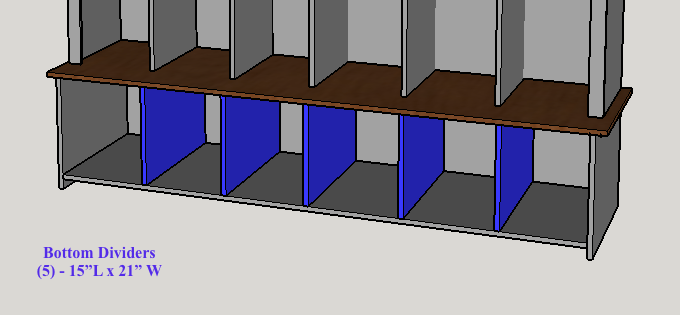
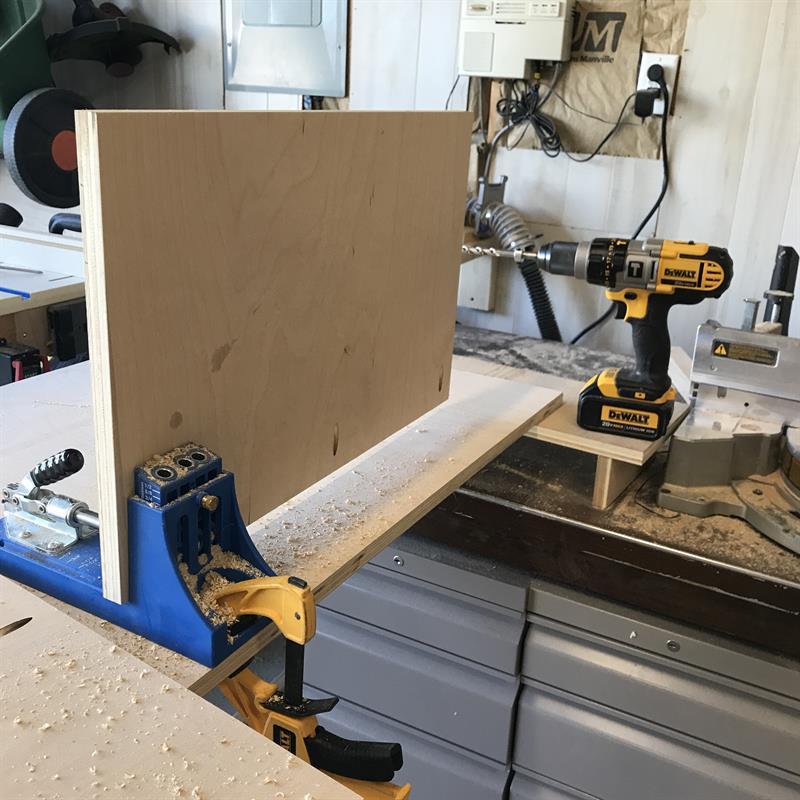
You are going to want to drill pocket holes in your materials before assembly. You need to drill pocket holes in the Bottom sides and dividers to assemble the bottom portion. You will need pocket holes in the Top Sides, Top Dividers, and Top Shelves too.
-
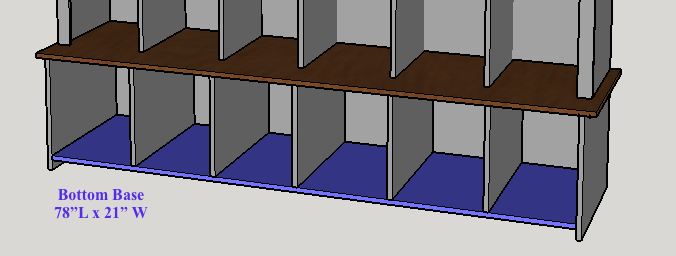
Assemble Bottom Base
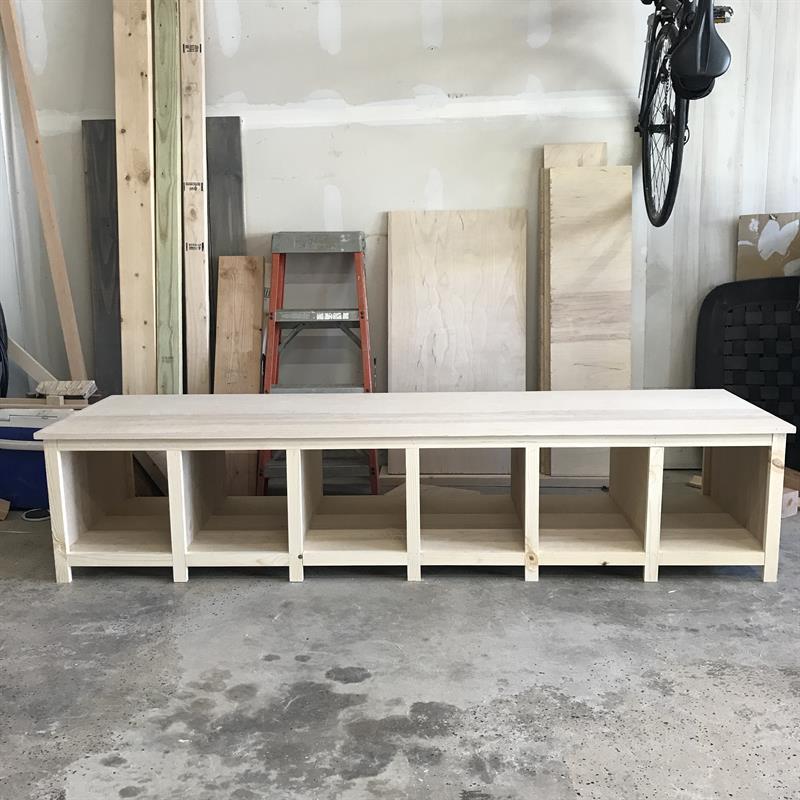
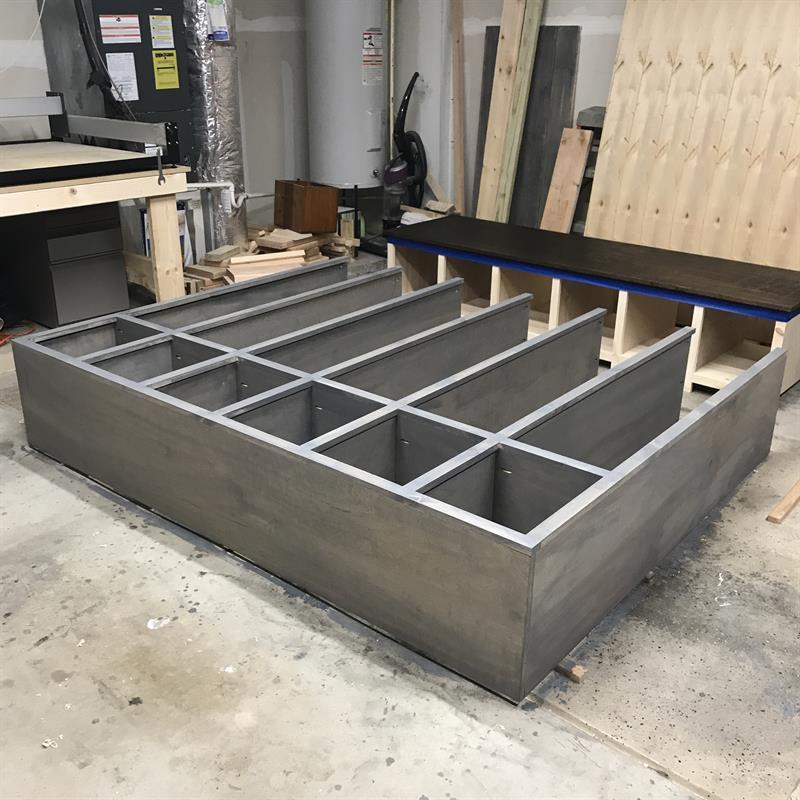
Once all of your pieces are cut and your pocket holes are drilled you are ready to start assembling the base. Make sure to use 1 1/4" Coarse Kreg screws in your pocket holes and glue for extra strength. To make sure the dividers are evenly spaced I used a scrap piece cut to 13" when installing the Bottom Dividers.
-
Add Bottom Trim
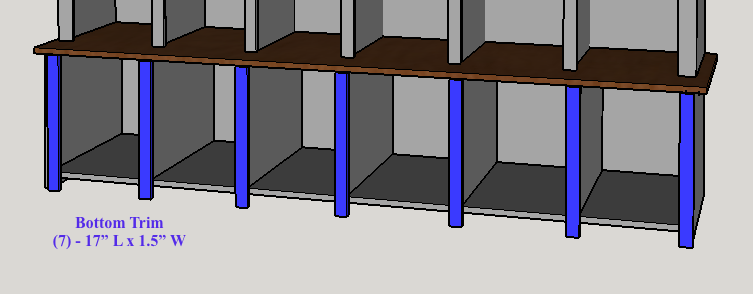
Now that the Bottom Base is built you can take your 1x2" pine boards and cut them to length to add trim to the base. I used the Ryobi AirStrike Nailer and wood glue to attach the trim to the base.
-
Assemble Top Portion
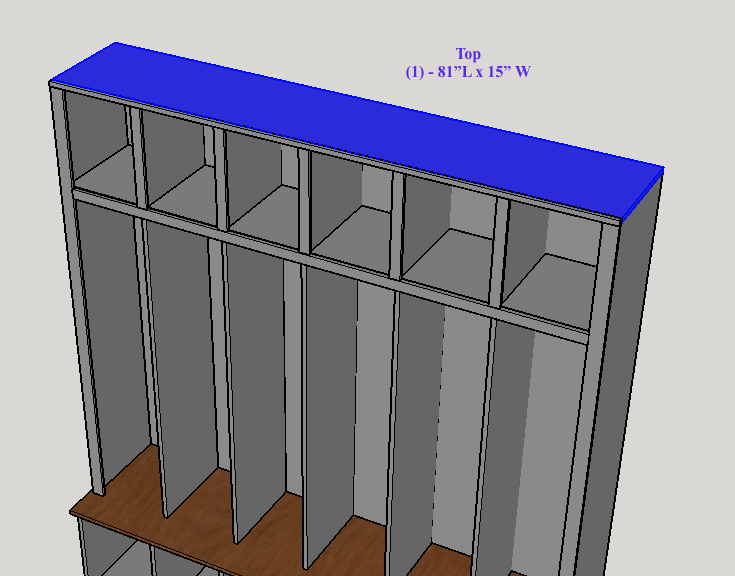
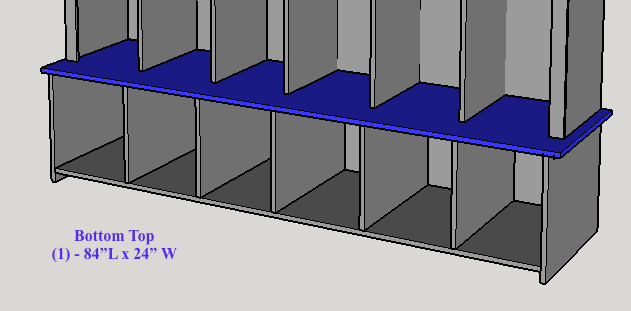
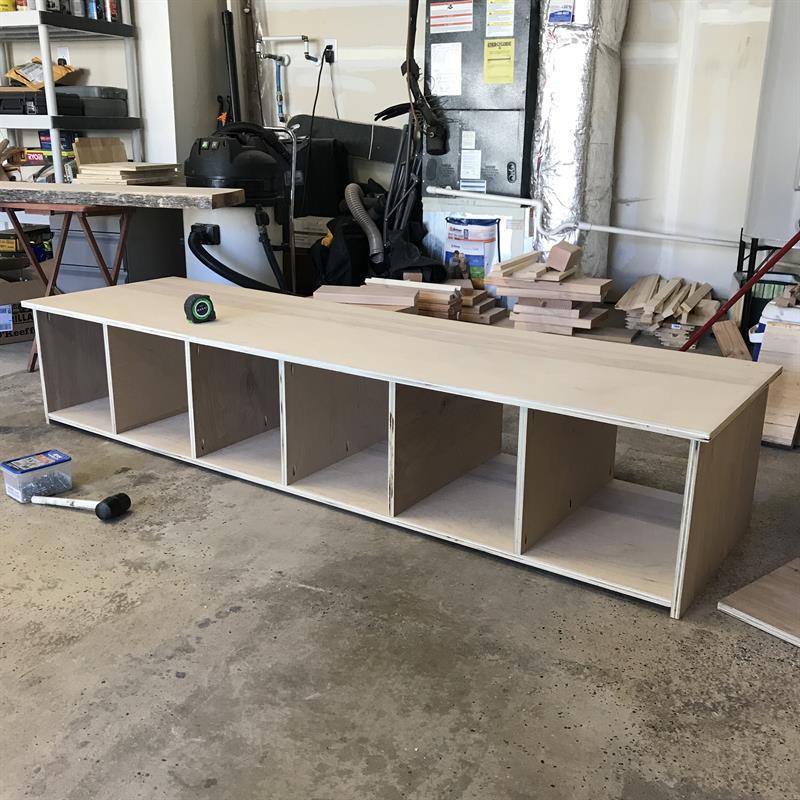
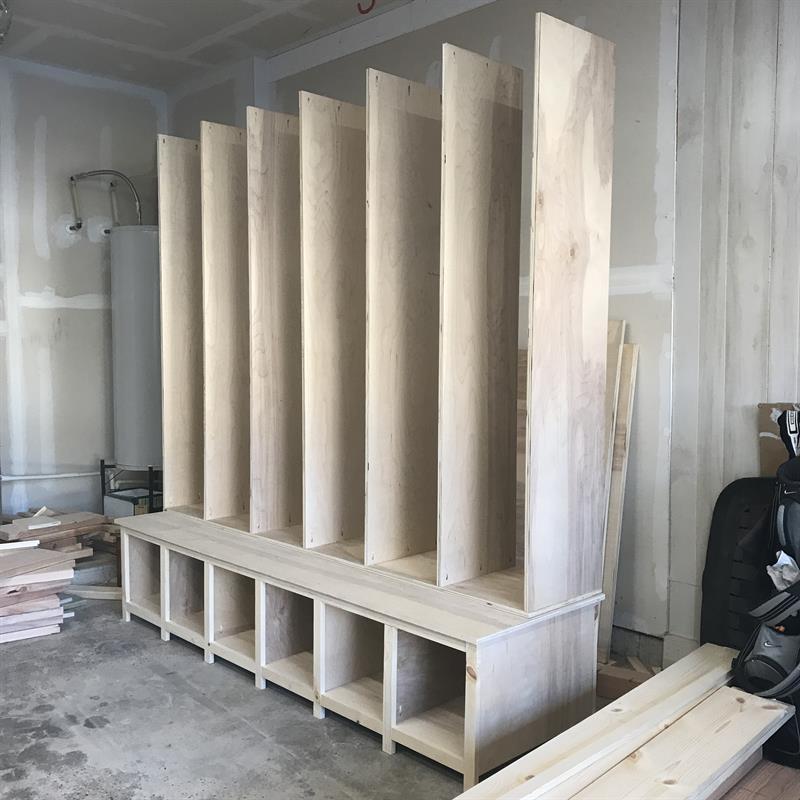
Now that your base is complete we can start on the top of the piece. To make things easier here I recommend building the top upside down. In the picture below you can see I laid the Top on the Bottom Base and attached the top dividers vertically. Be sure to use a scrap piece to make sure your dividers are spaced appropriately at 13".
-
Add Top Shelves
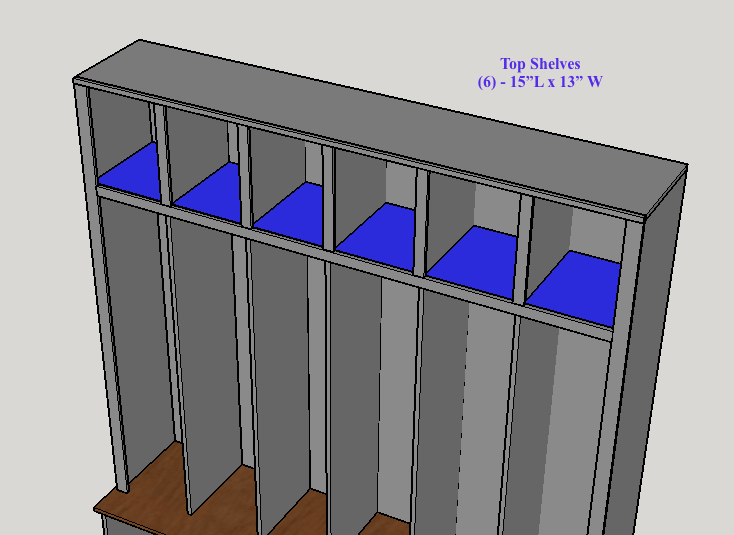
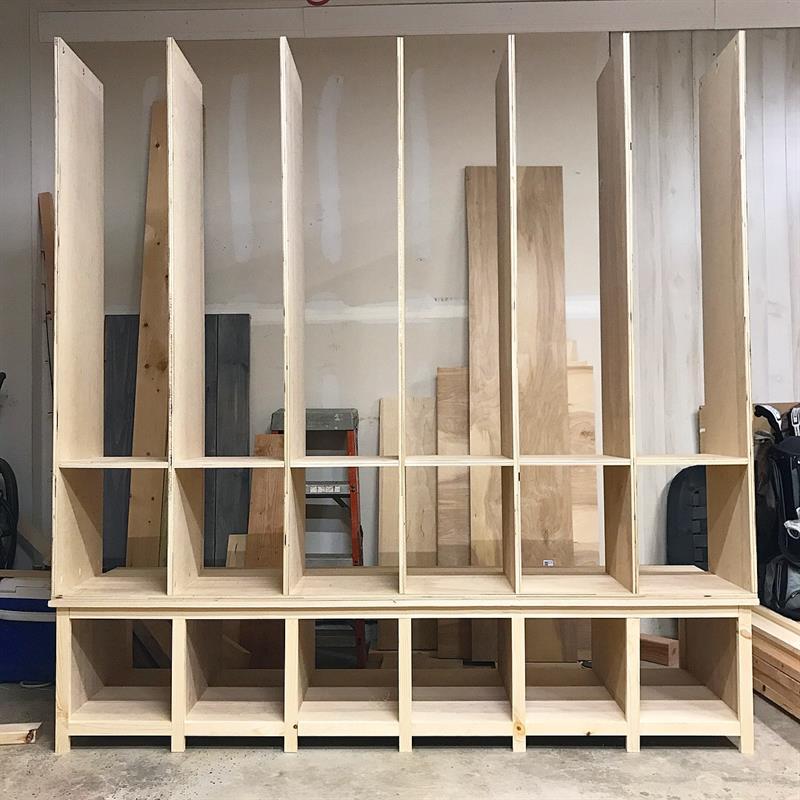
Once your Top dividers are in place we can add our shelves. I spaced the shelves 15" from the top using scrap wood and secured them with pocket holes screws.
-
Add Top Trim
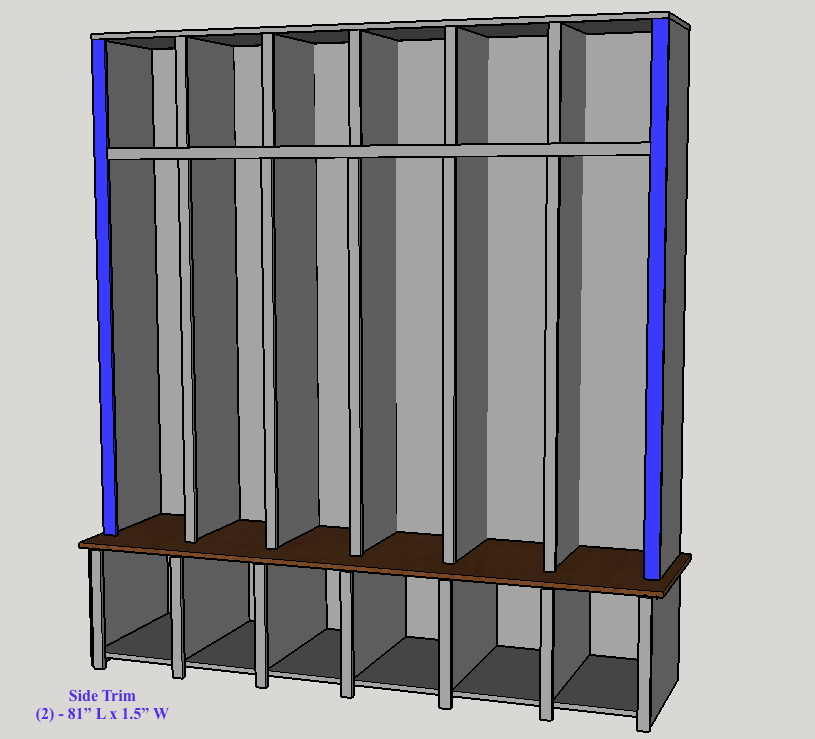
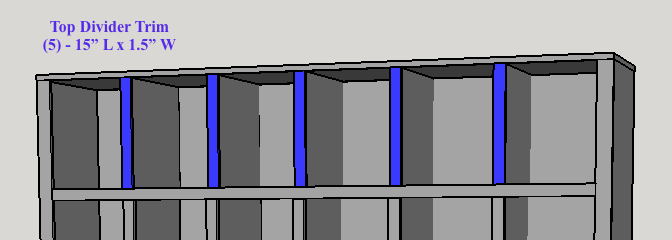
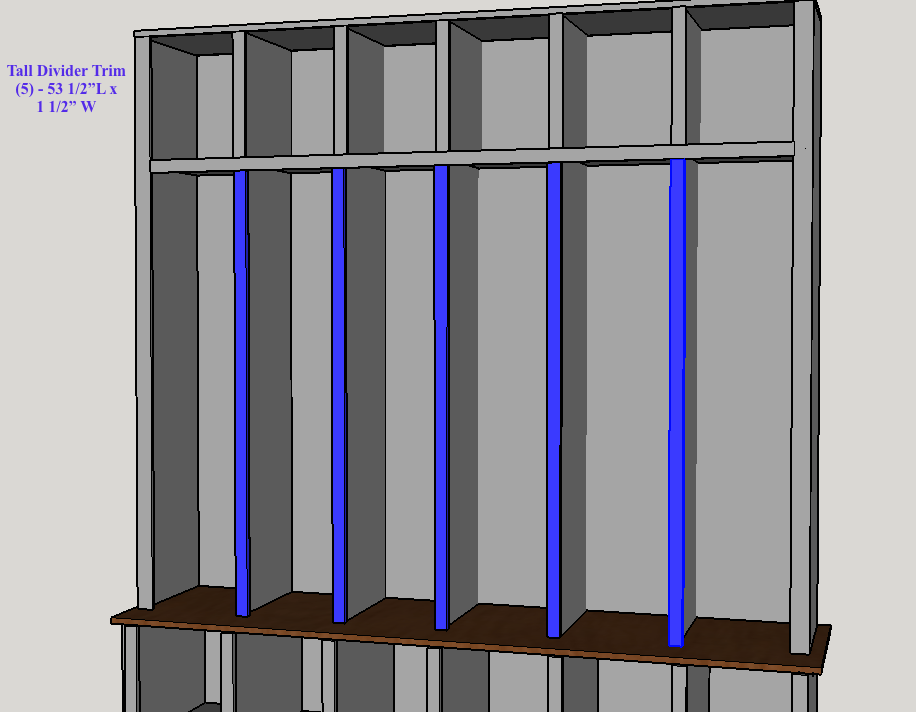
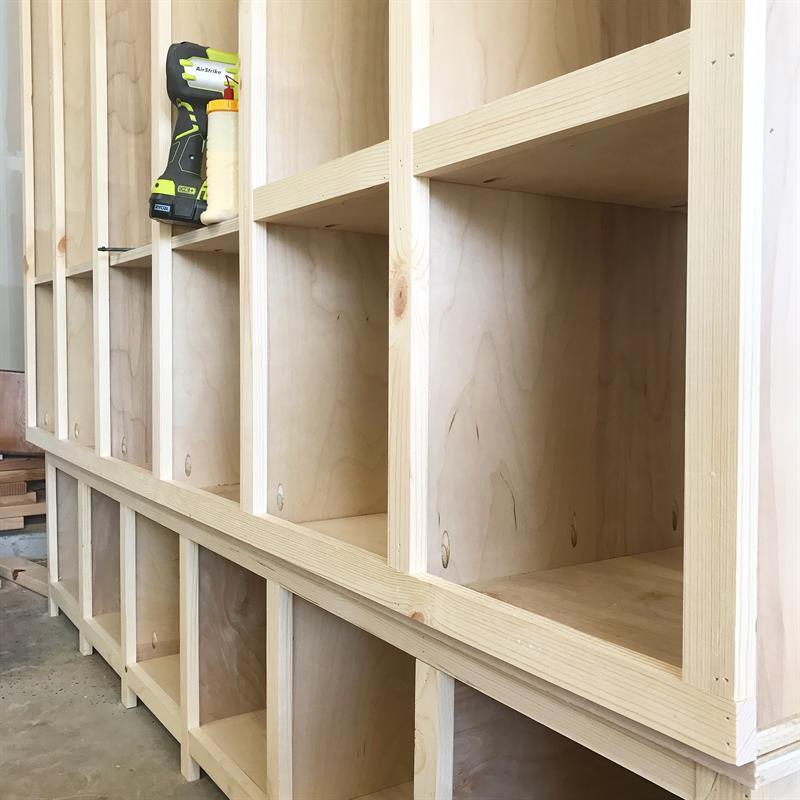
We are ready to start attaching the trim to the Top portion of the piece. I started by adding the Top Trim and then the Side trim. After that go ahead and attach the Middle Divider Trim. The last step will be to cut your 1x2" trim to size for the top dividers. Attach it all with brad nails and glue.
-
Finishing
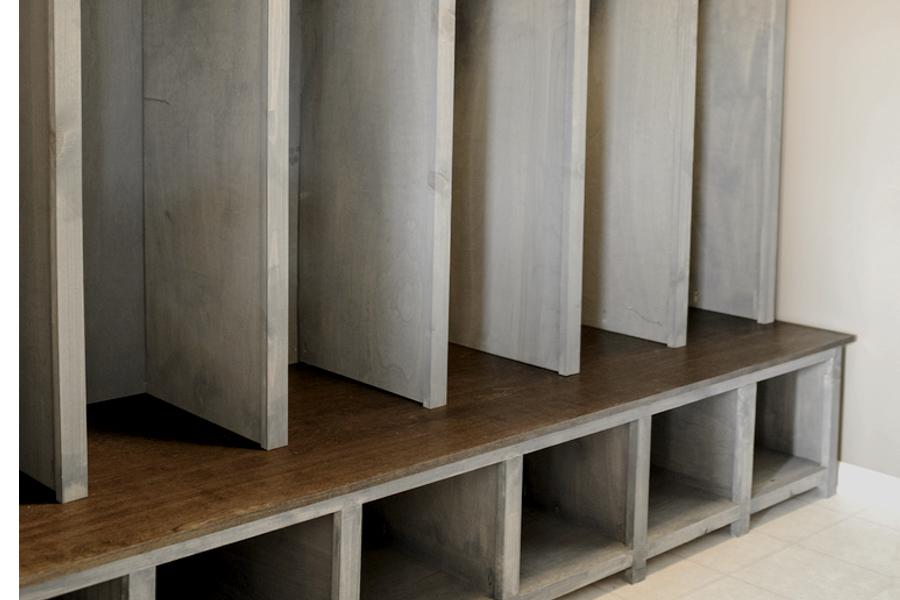
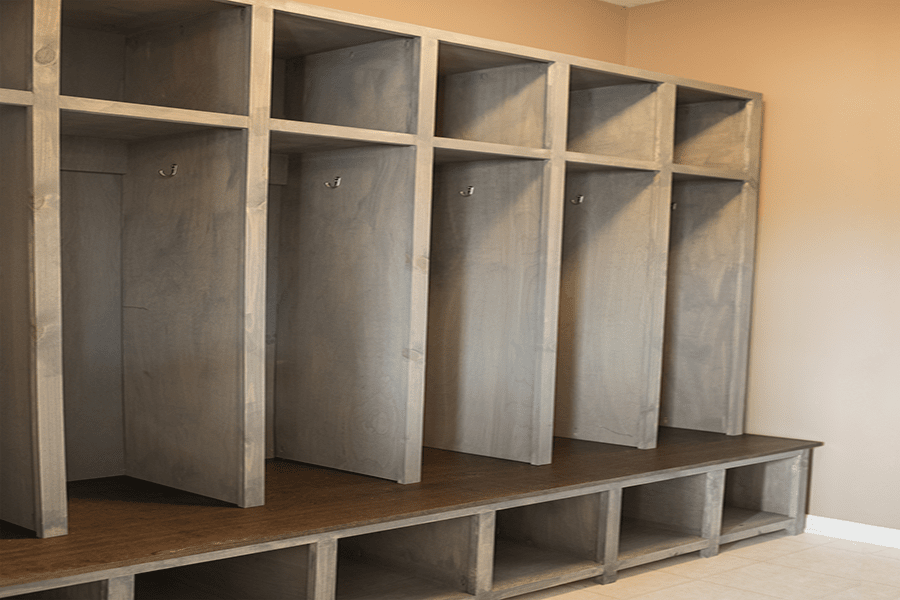
We are in the home stretch and our extremely functional and good looking piece of furniture is fully assembled. This last part is totally up to you! I decided to use stain for the finish on my piece. I stained the Bottom Base Top Dark Walnut and the rest Classic Grey. Both of the stains used were made by Minwax.
-
Install
Depending on where this piece is going you will want to make sure you have a few different people to help you install. Also during install you will want to attach the Top Portion to the Bottom Base using pocket holes that we drilled in the bottom part of each of our Top Dividers. Last thing is I used L Brackets to make sure the piece was secure to the wall.


