

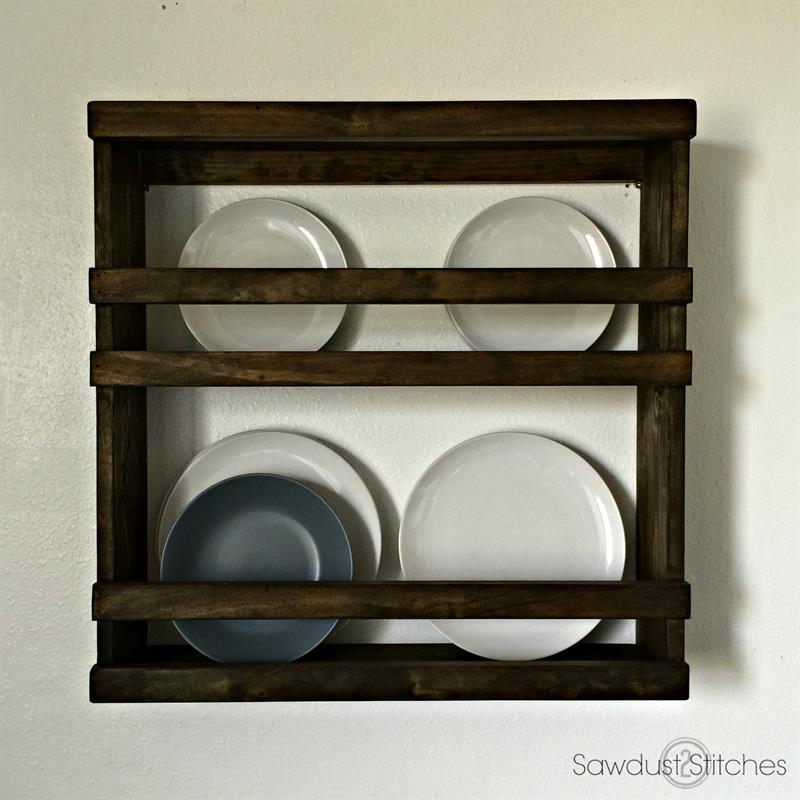
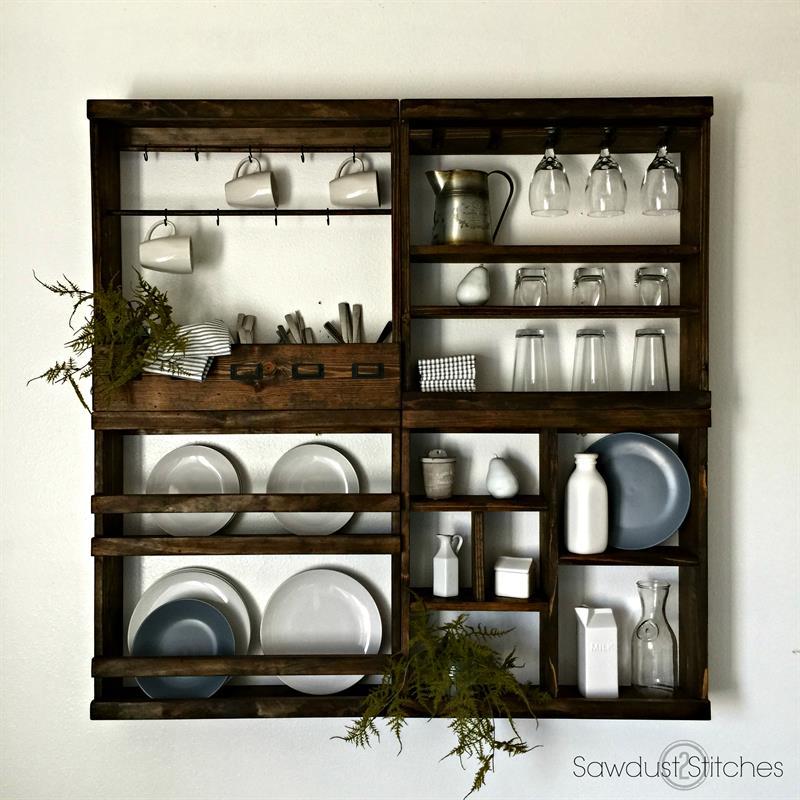
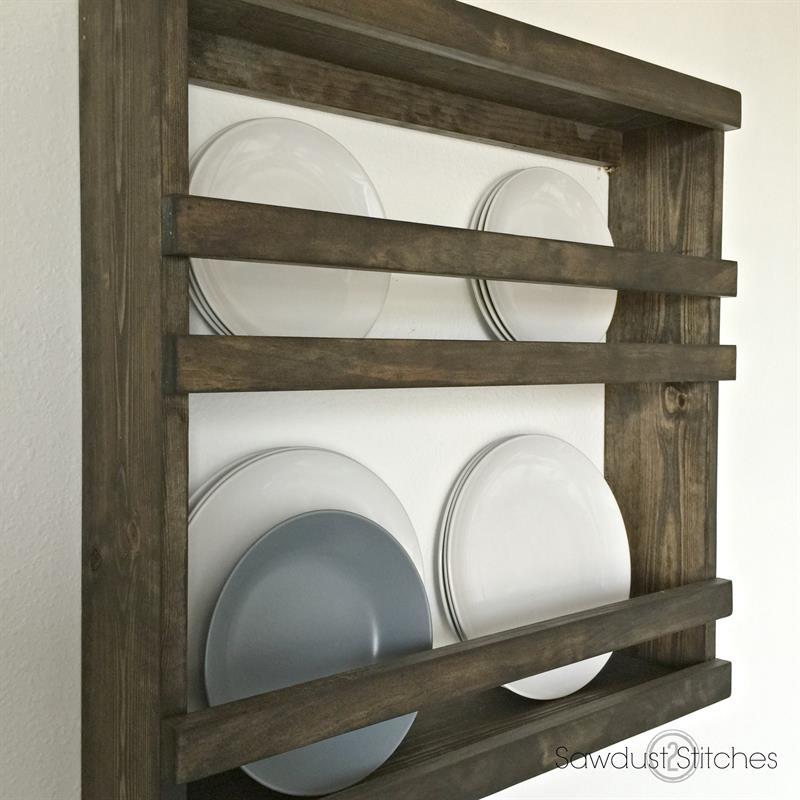


A great compromise of form and function. This Pottery Barn inspired plate rack is part of a modular set that can be used in combination with other modular pieces (see image 2), or it can be used alone!
Tools
Kreg Tools


Other Tools
-
Miter Saw

-
Tape Measure
-
Nail Gun
Materials
Wood Products
- 2 Board , 1x6 , 96"
- 2 Board , 1x2 , 96"
Hardware & Supplies
- 1 Jacobean Stain by Minwax
- 1 Wood Filler
- 1 2 inch 16 gauge Finish Nails
- 1 Wood Glue
Directions
-
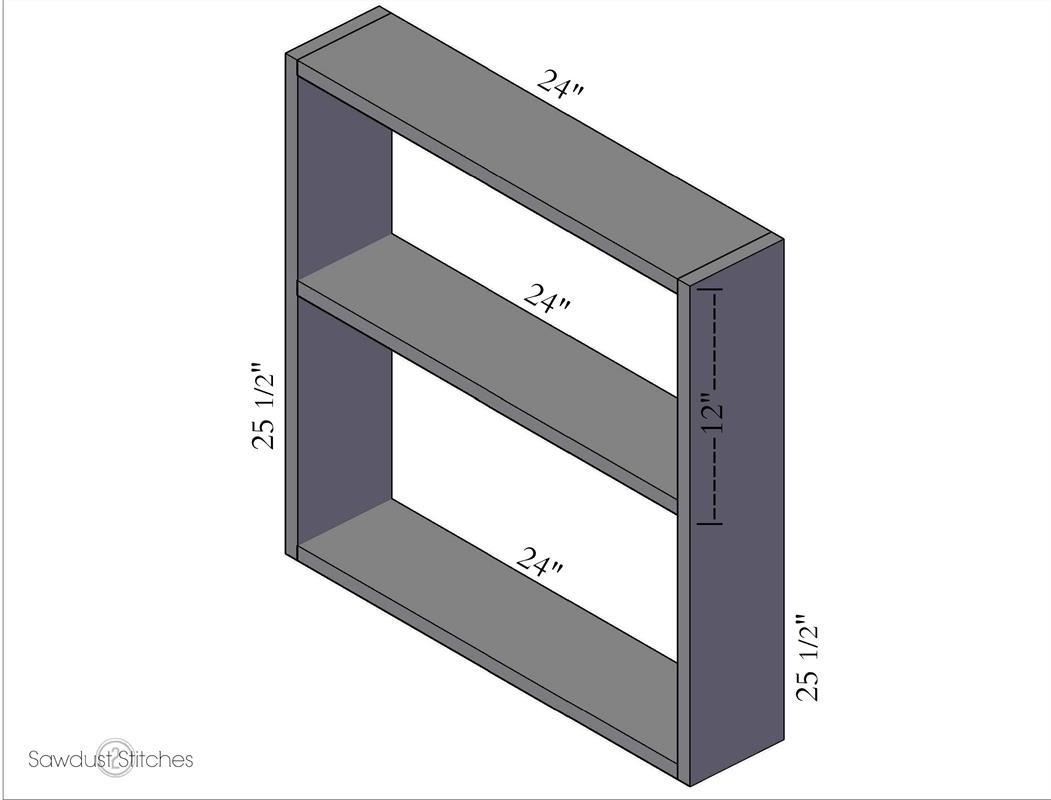
Frame
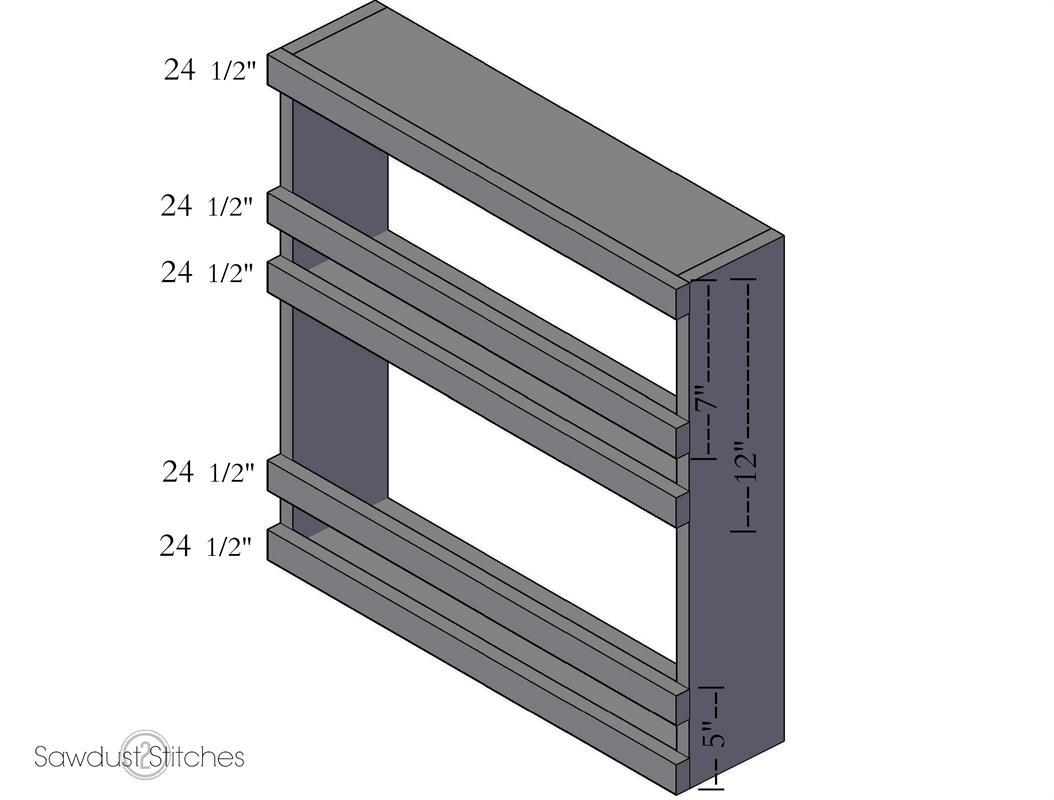
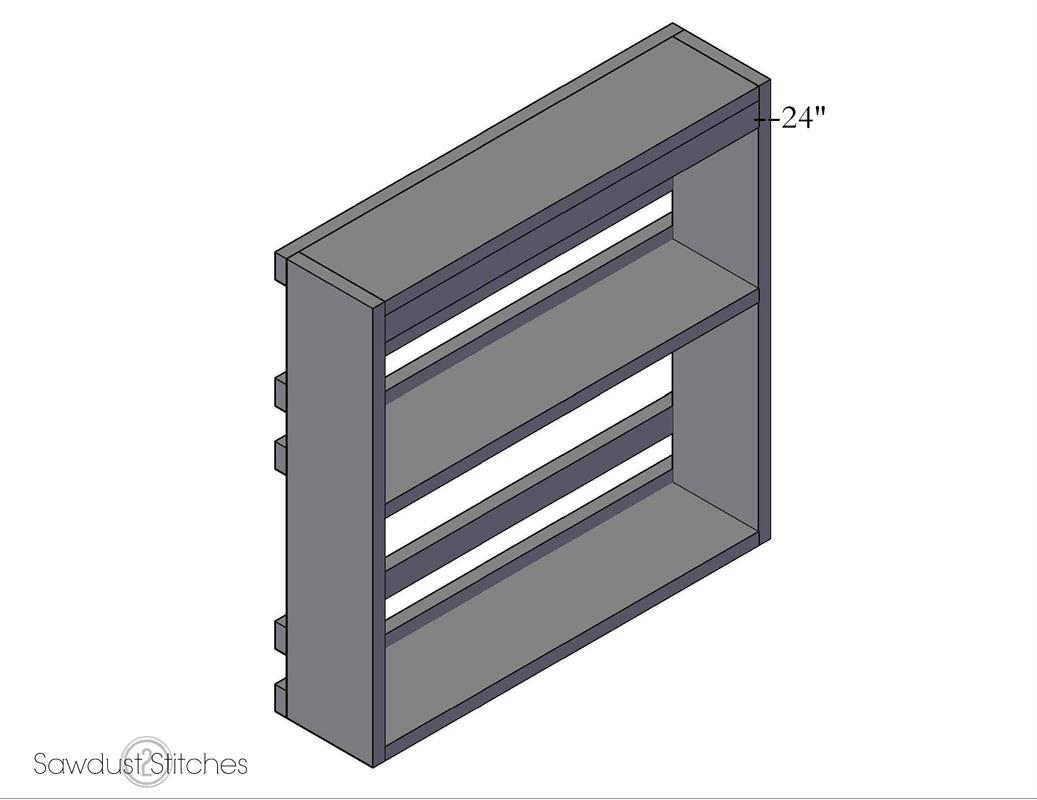
Join both 25 1/2" and 24" 1x6" boards using wood glue and 2 inch, 16 gauge finishing nails. This will form a 25 1/2" square. Insert remaining 24" 1x6" board so that the bottom of the board is 12" from the top of the unit. Then secure using glue and 2" 16 gauge finishing nails.
-
Front Rails
Attach the 25 1/2" 1x2" board(s) to the face of the unit using wood glue and 2 inch 16 gauge finishing nails.
-
Back Support
Attach the remaining 24" 1x2"board using wood glue and 2 inch 16 gauge finishing nails. This is an ideal place to attach the unit to the wall, or you can attach hanging hardware to the back.
-
Finish
Fill all nail holes with wood filler. Sand smooth, then apply desire stain and/or paint.