

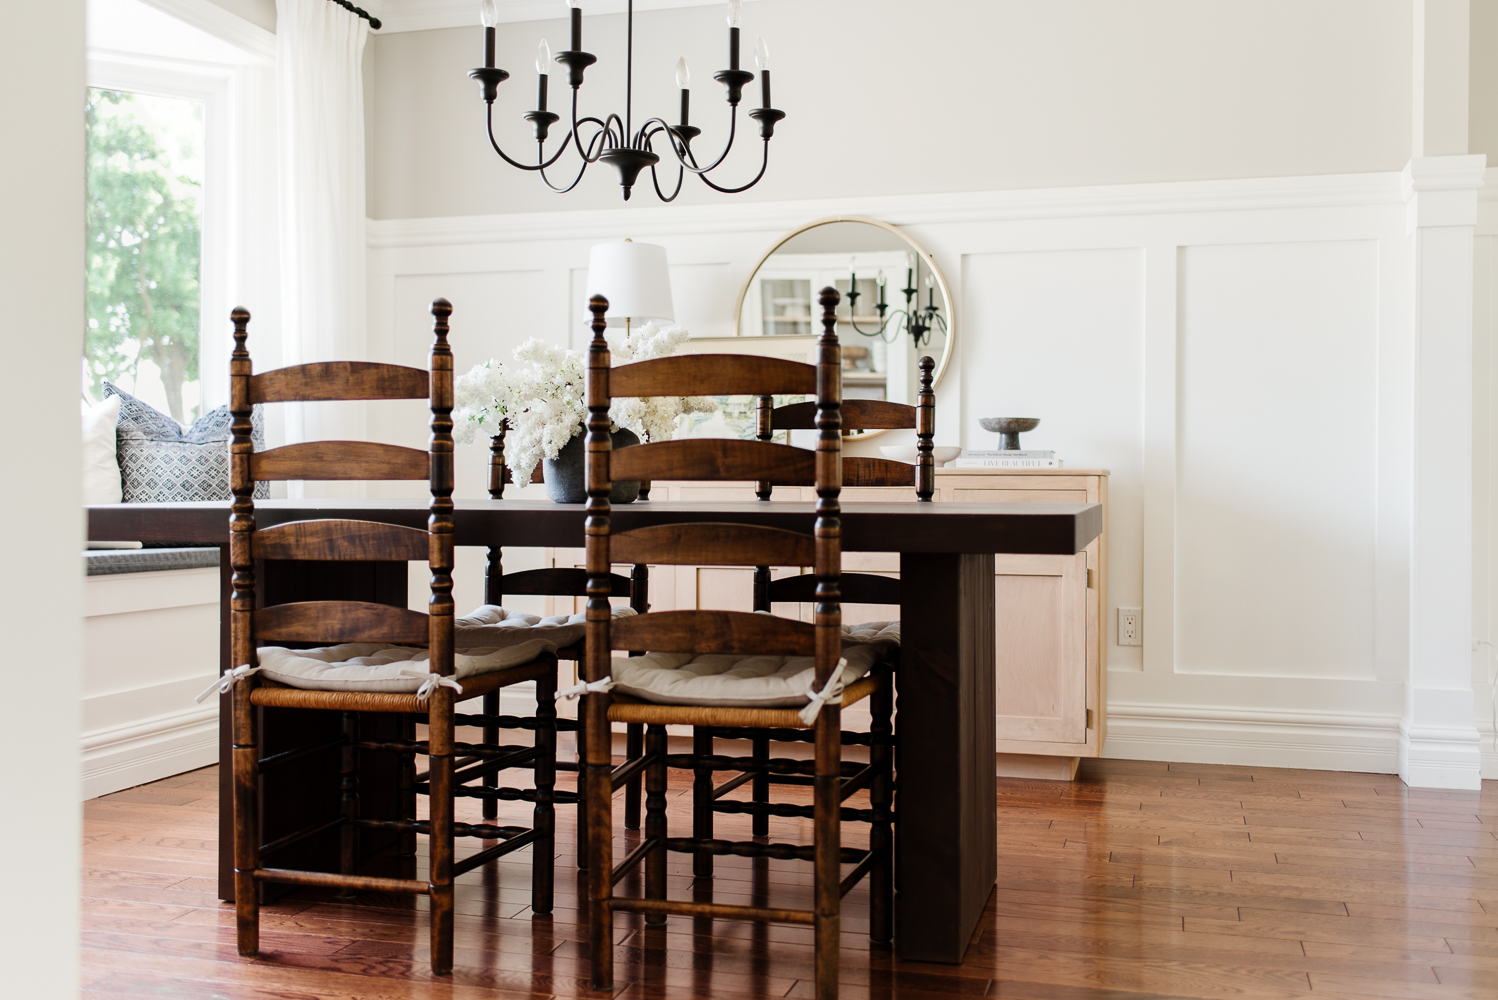
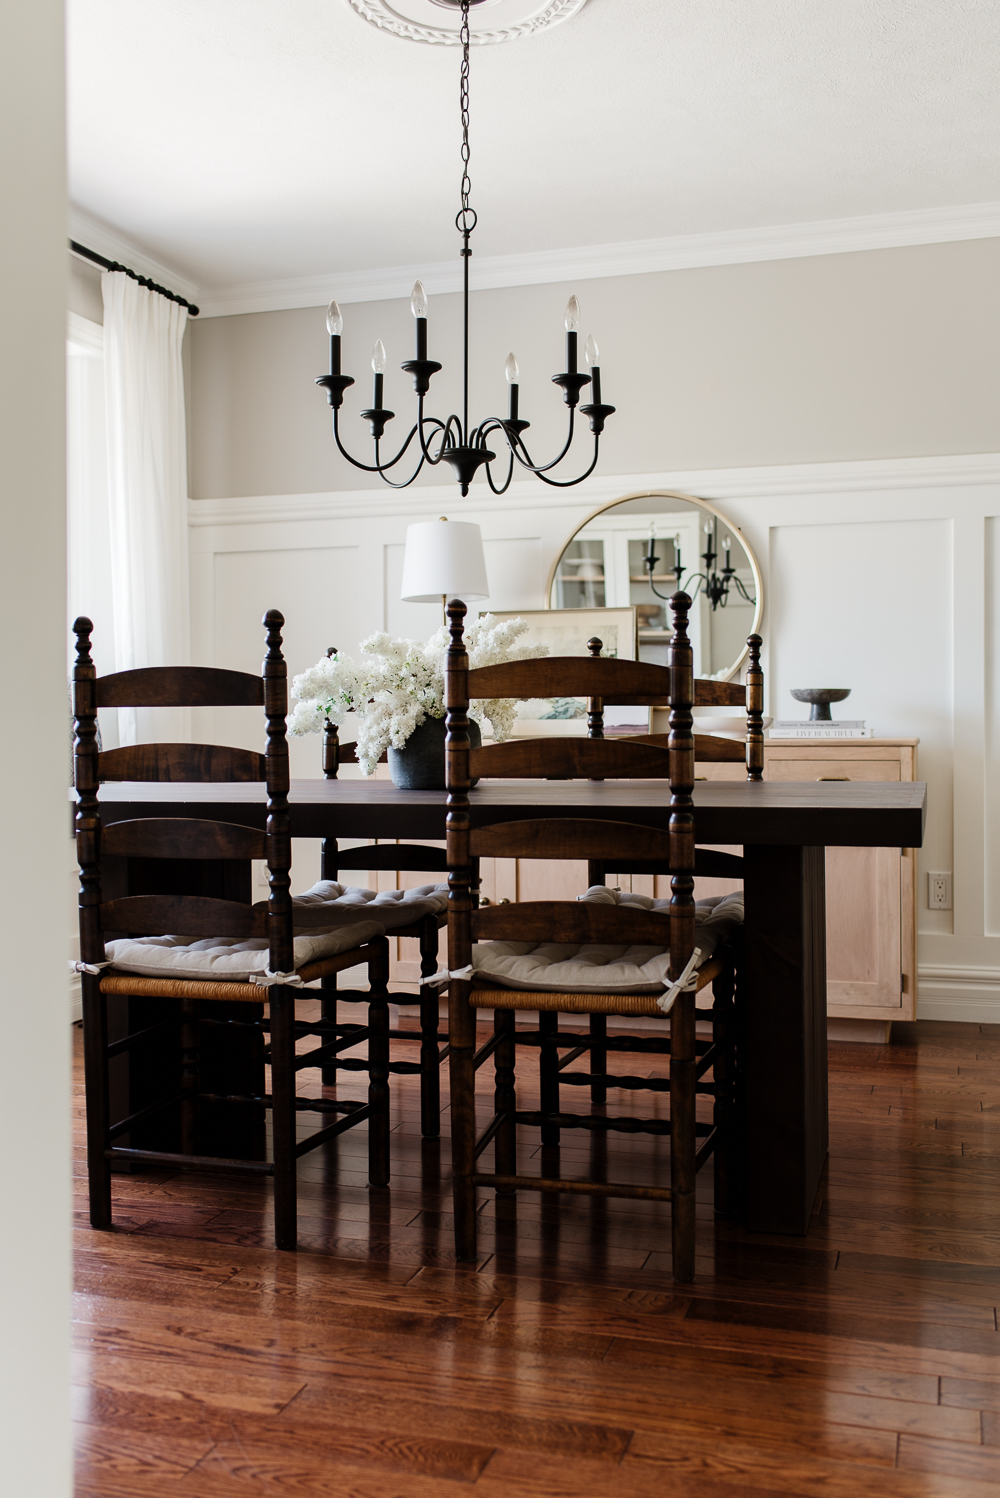
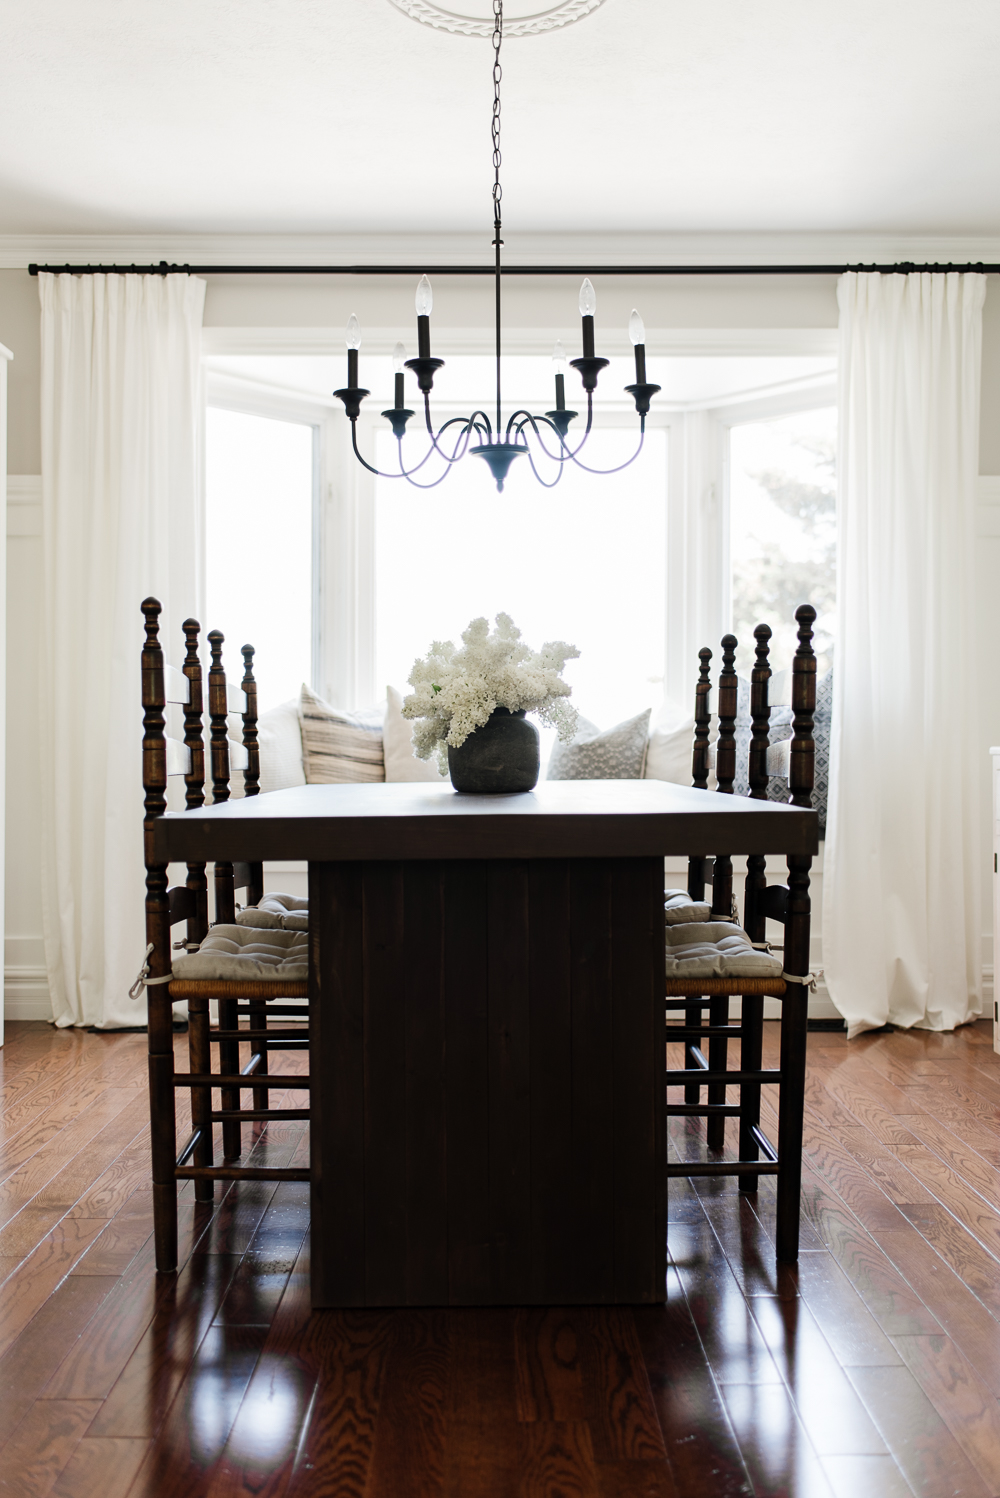


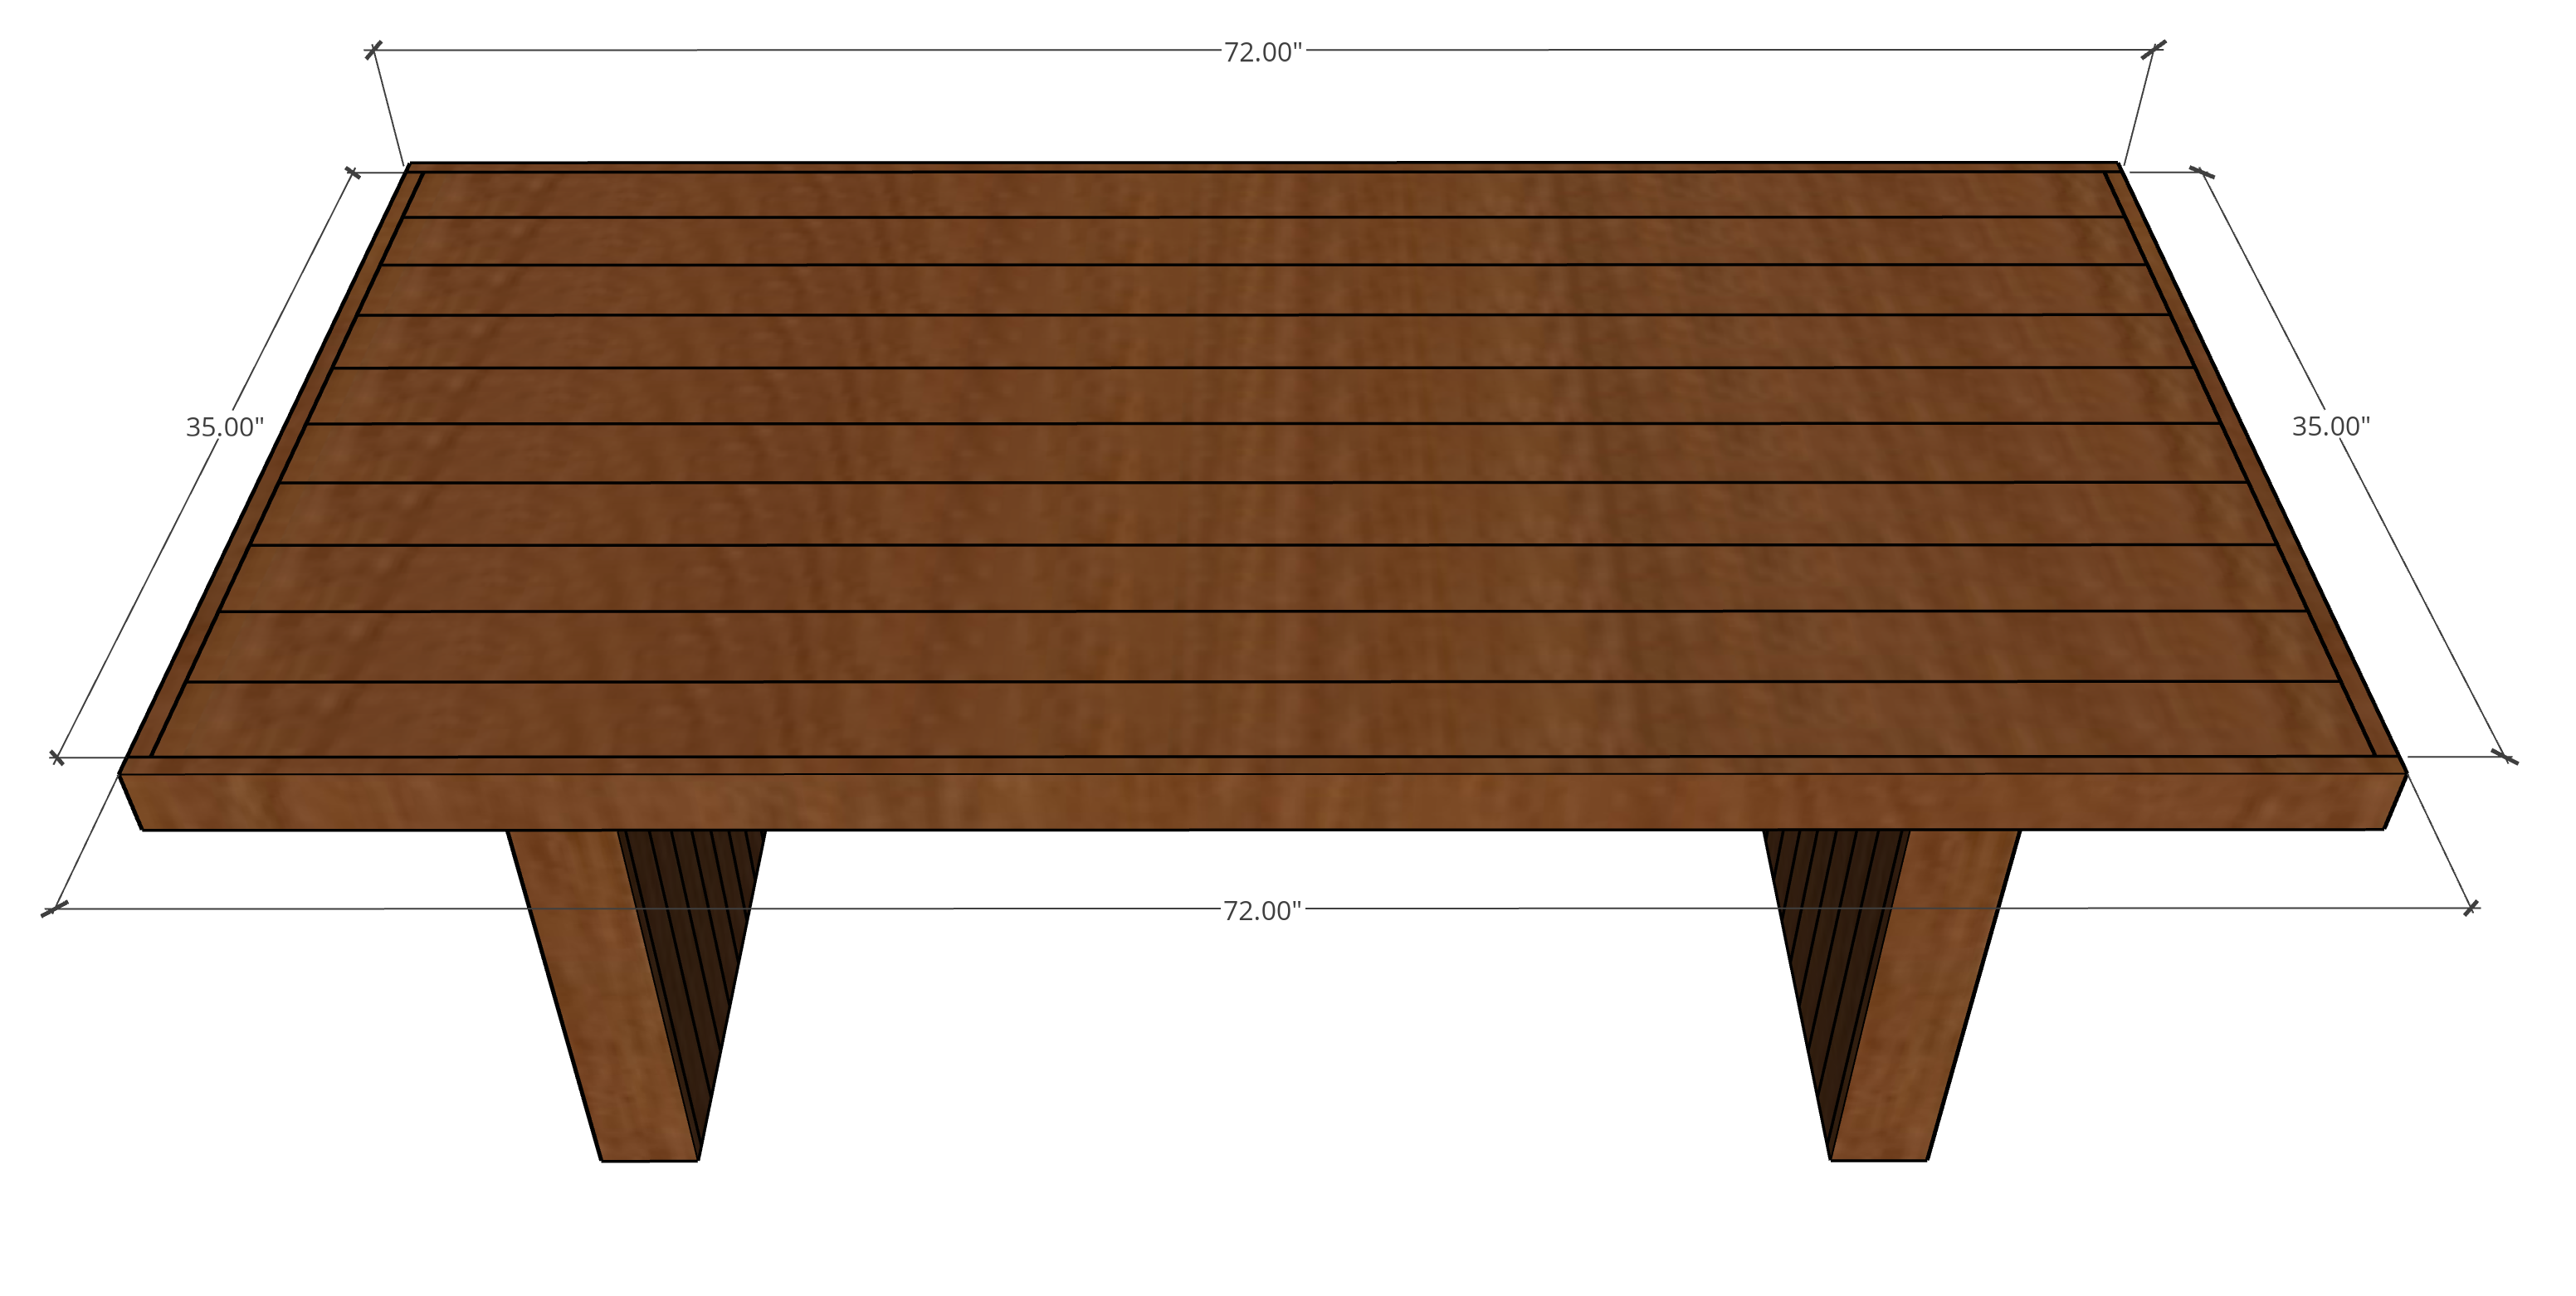
Simple, bold and clean lines. This beautiful modern rustic dining table can be built for indoor or outdoor spaces. For indoor use, you can use pine, poplar, maple or oak and for outdoor use, cedar or teak is recommended.
Tools
Kreg Tools


Other Tools
-
Brad Nailer

-
Measuring Tape
Materials
Wood Products
- 14 Boards , 1" x 3" x 8'
- 3 Boards , 2" x 3" x 8'
- 2 Boards , 1" x 6" x 8'
- 6 Boards , 2" x 2" x 8'
- 10 Boards , 1" x 4" x 6'
Hardware & Supplies
- -- 2-1/2" Kreg Pocket Hole Screws
- -- Wood Glue
- -- 1-1/4" Brad Nails
- -- 1-5/8" Wood/Construction Screws
- -- Wood Filler
- -- Sandpaper (various grits)
- -- Waterbase Stain
- -- Flat Varnish
Directions
-
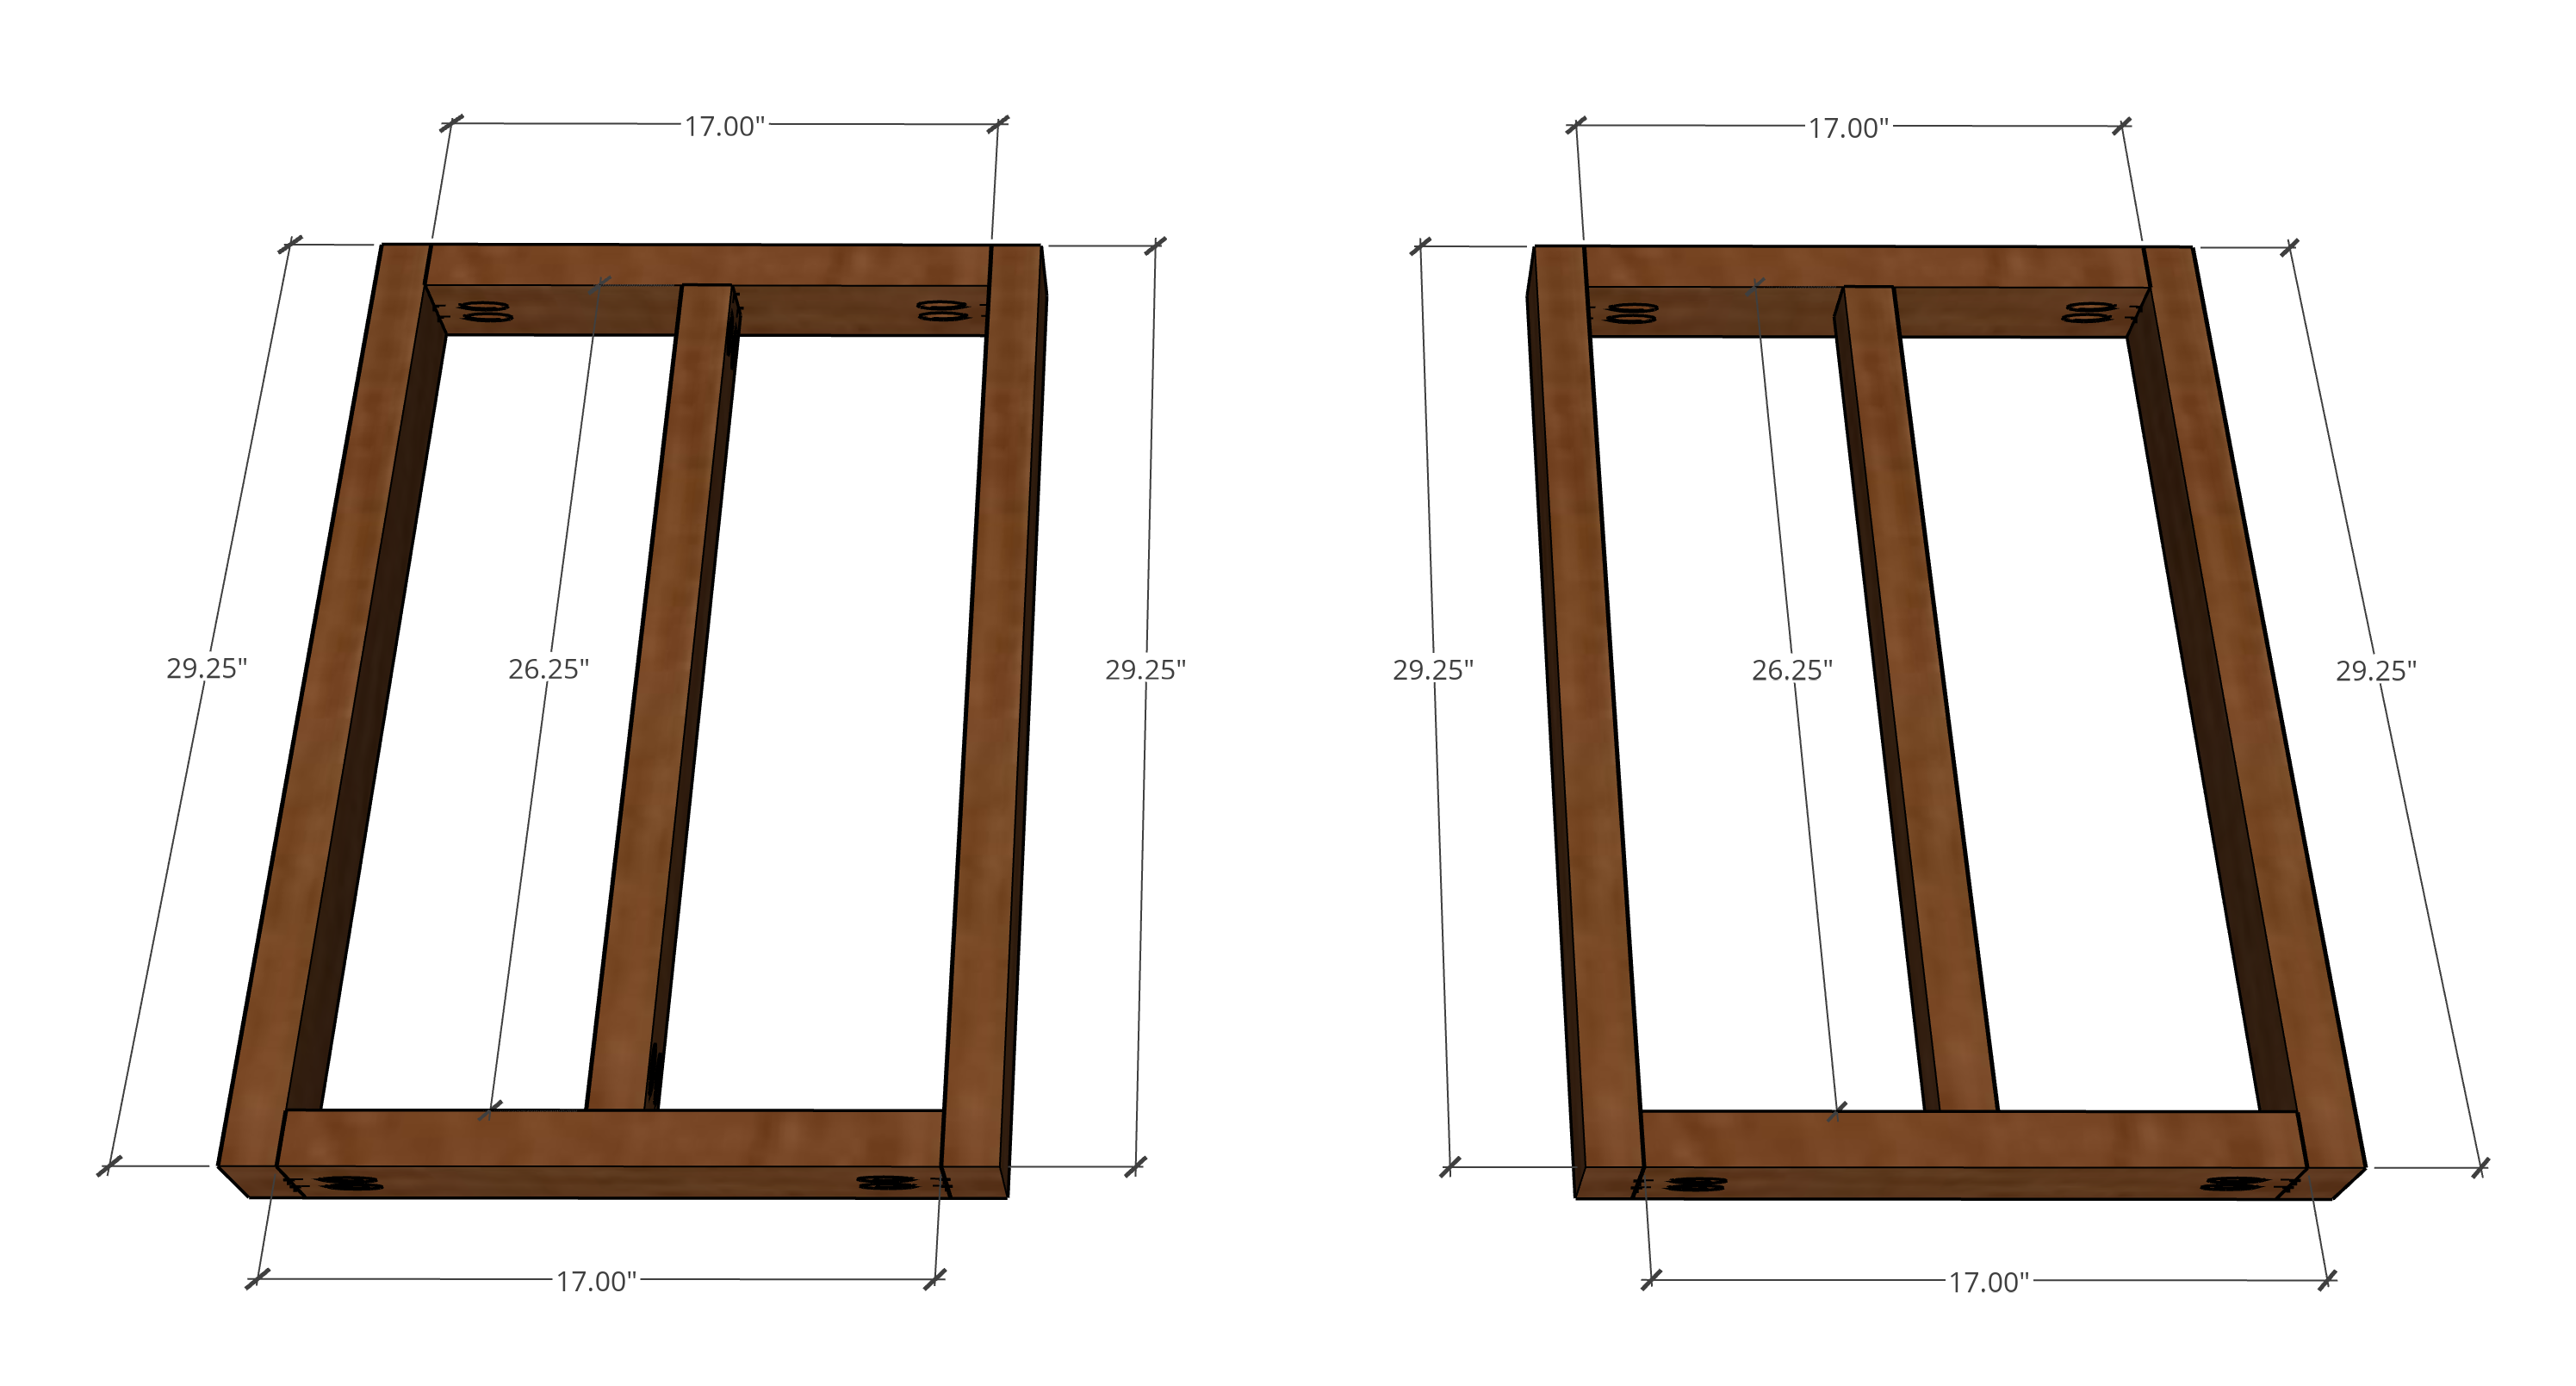
Assemble Leg Frames
Drill pocket holes on each end of the LEG FRAME SPANS (4 pieces) and LEG FRAME MID-SUPPORTS.
On a flat surface, attach the LEG FRAMES to the LEG FRAME SPANS as shown with wood glue and 2 1/2" pocket hole screws.
Then add the LEG FRAME MID-SUPPORTS in the center between the two LEG FRAMES. Attach with wood glue and 2 1/2" pocket hole screws.
-
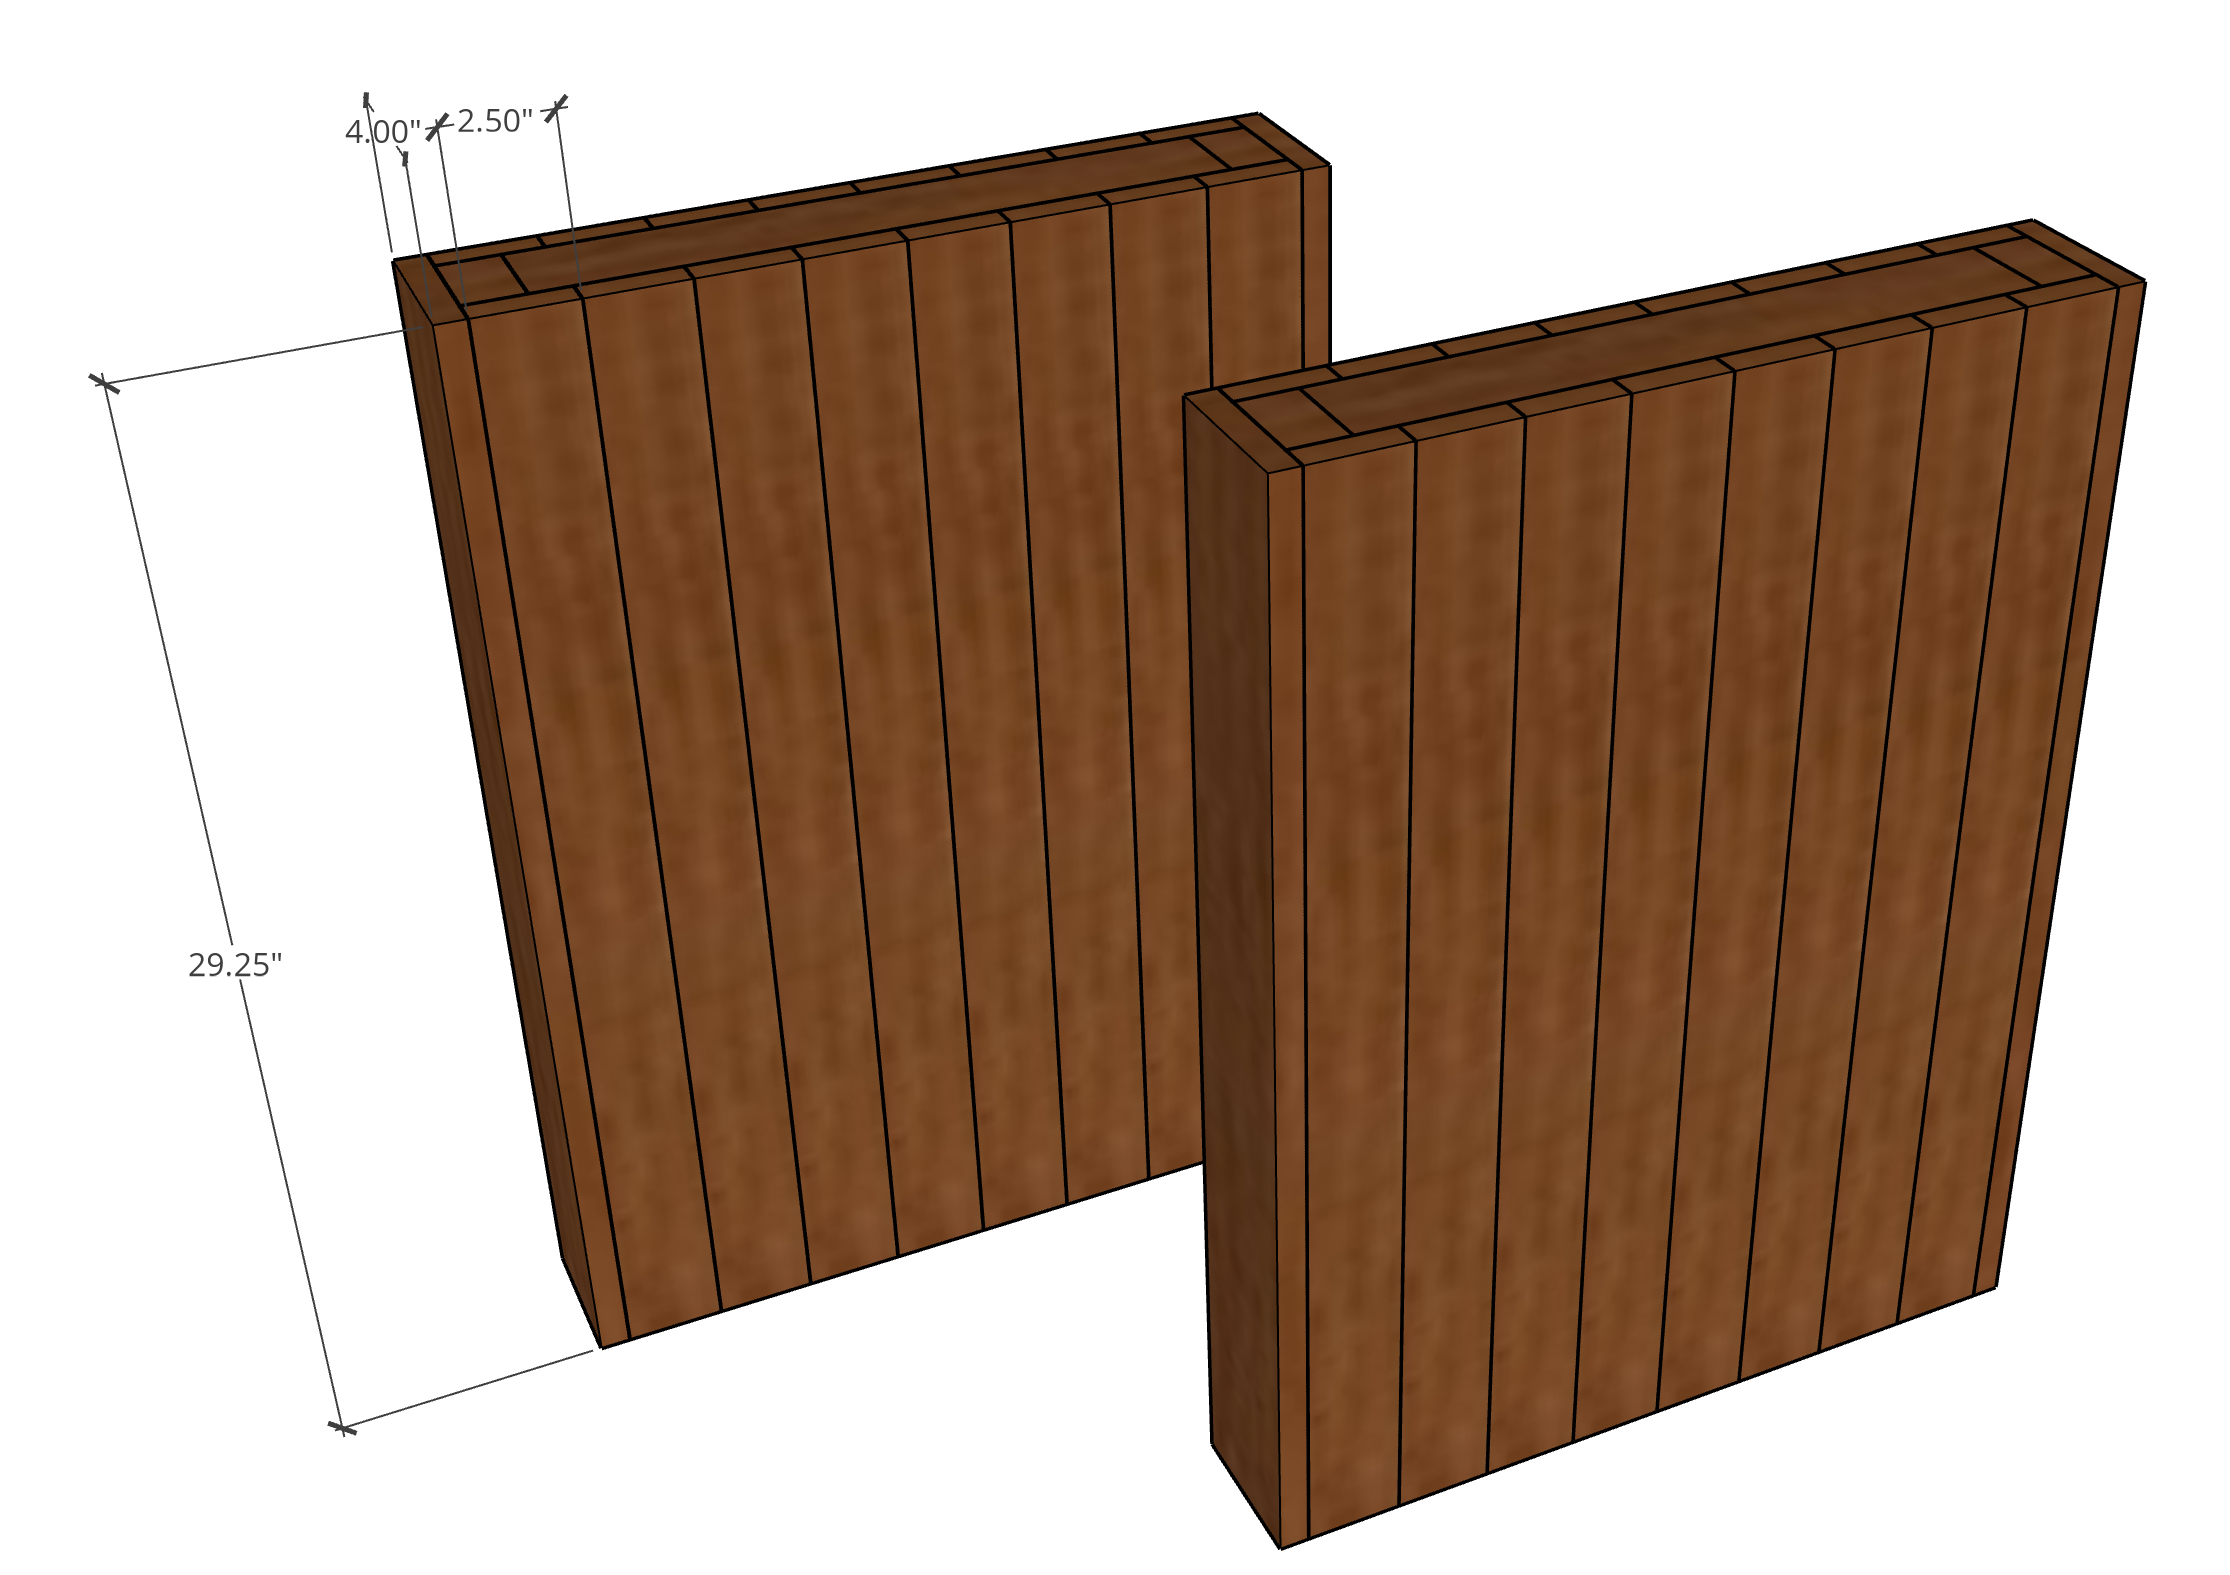
Add Facing to Leg Frames
Using wood glue and a brad nailer equipped with 1 1/4" brad nails, add eight (8) LEG FACES to each side of the leg frames. These 2 1/2" boards should fit evenly across the span (edge to edge). In total, you will use 32 boards on this step.
Once that is complete, check the total depth of the leg frames - it should be 4". If it is, rip down the width of the 1x6" LEG END pieces to 4"using a circular or table saw. If for some reason it is slightly wider or narrower, please adjust to that number.
Attach the FRAME ENDS to the leg frames with wood glue and 1 1/4" brad nails.
-
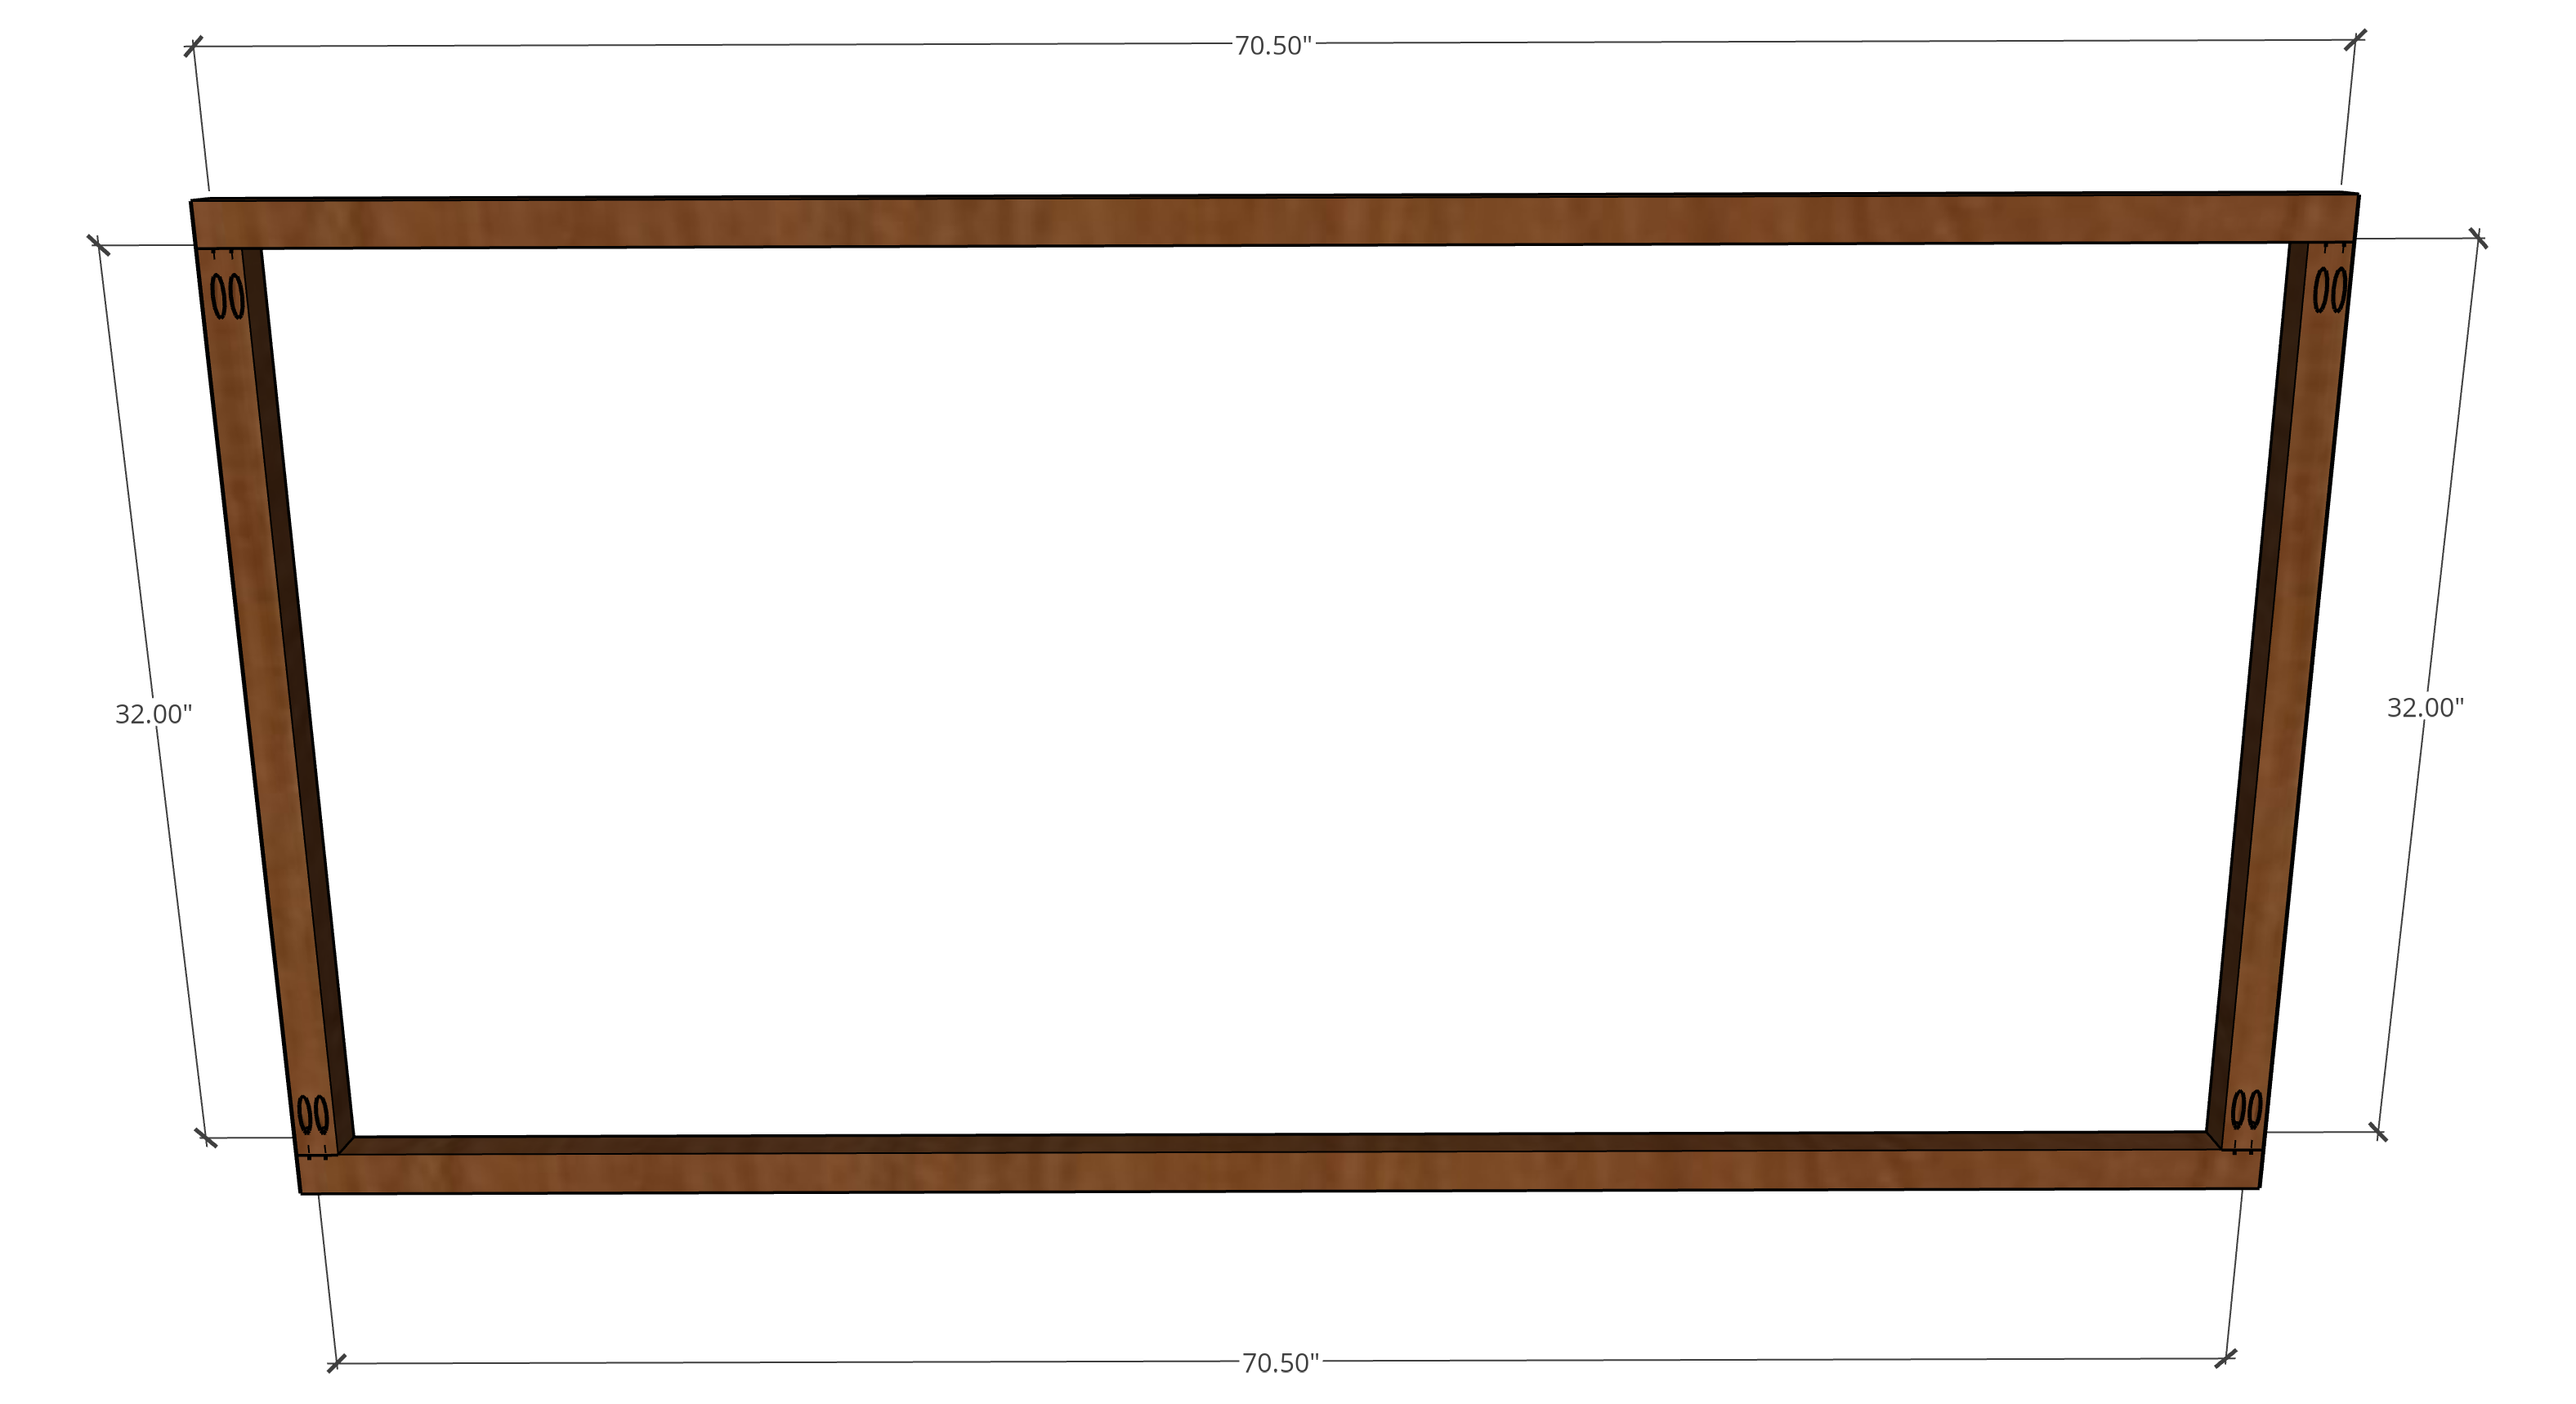
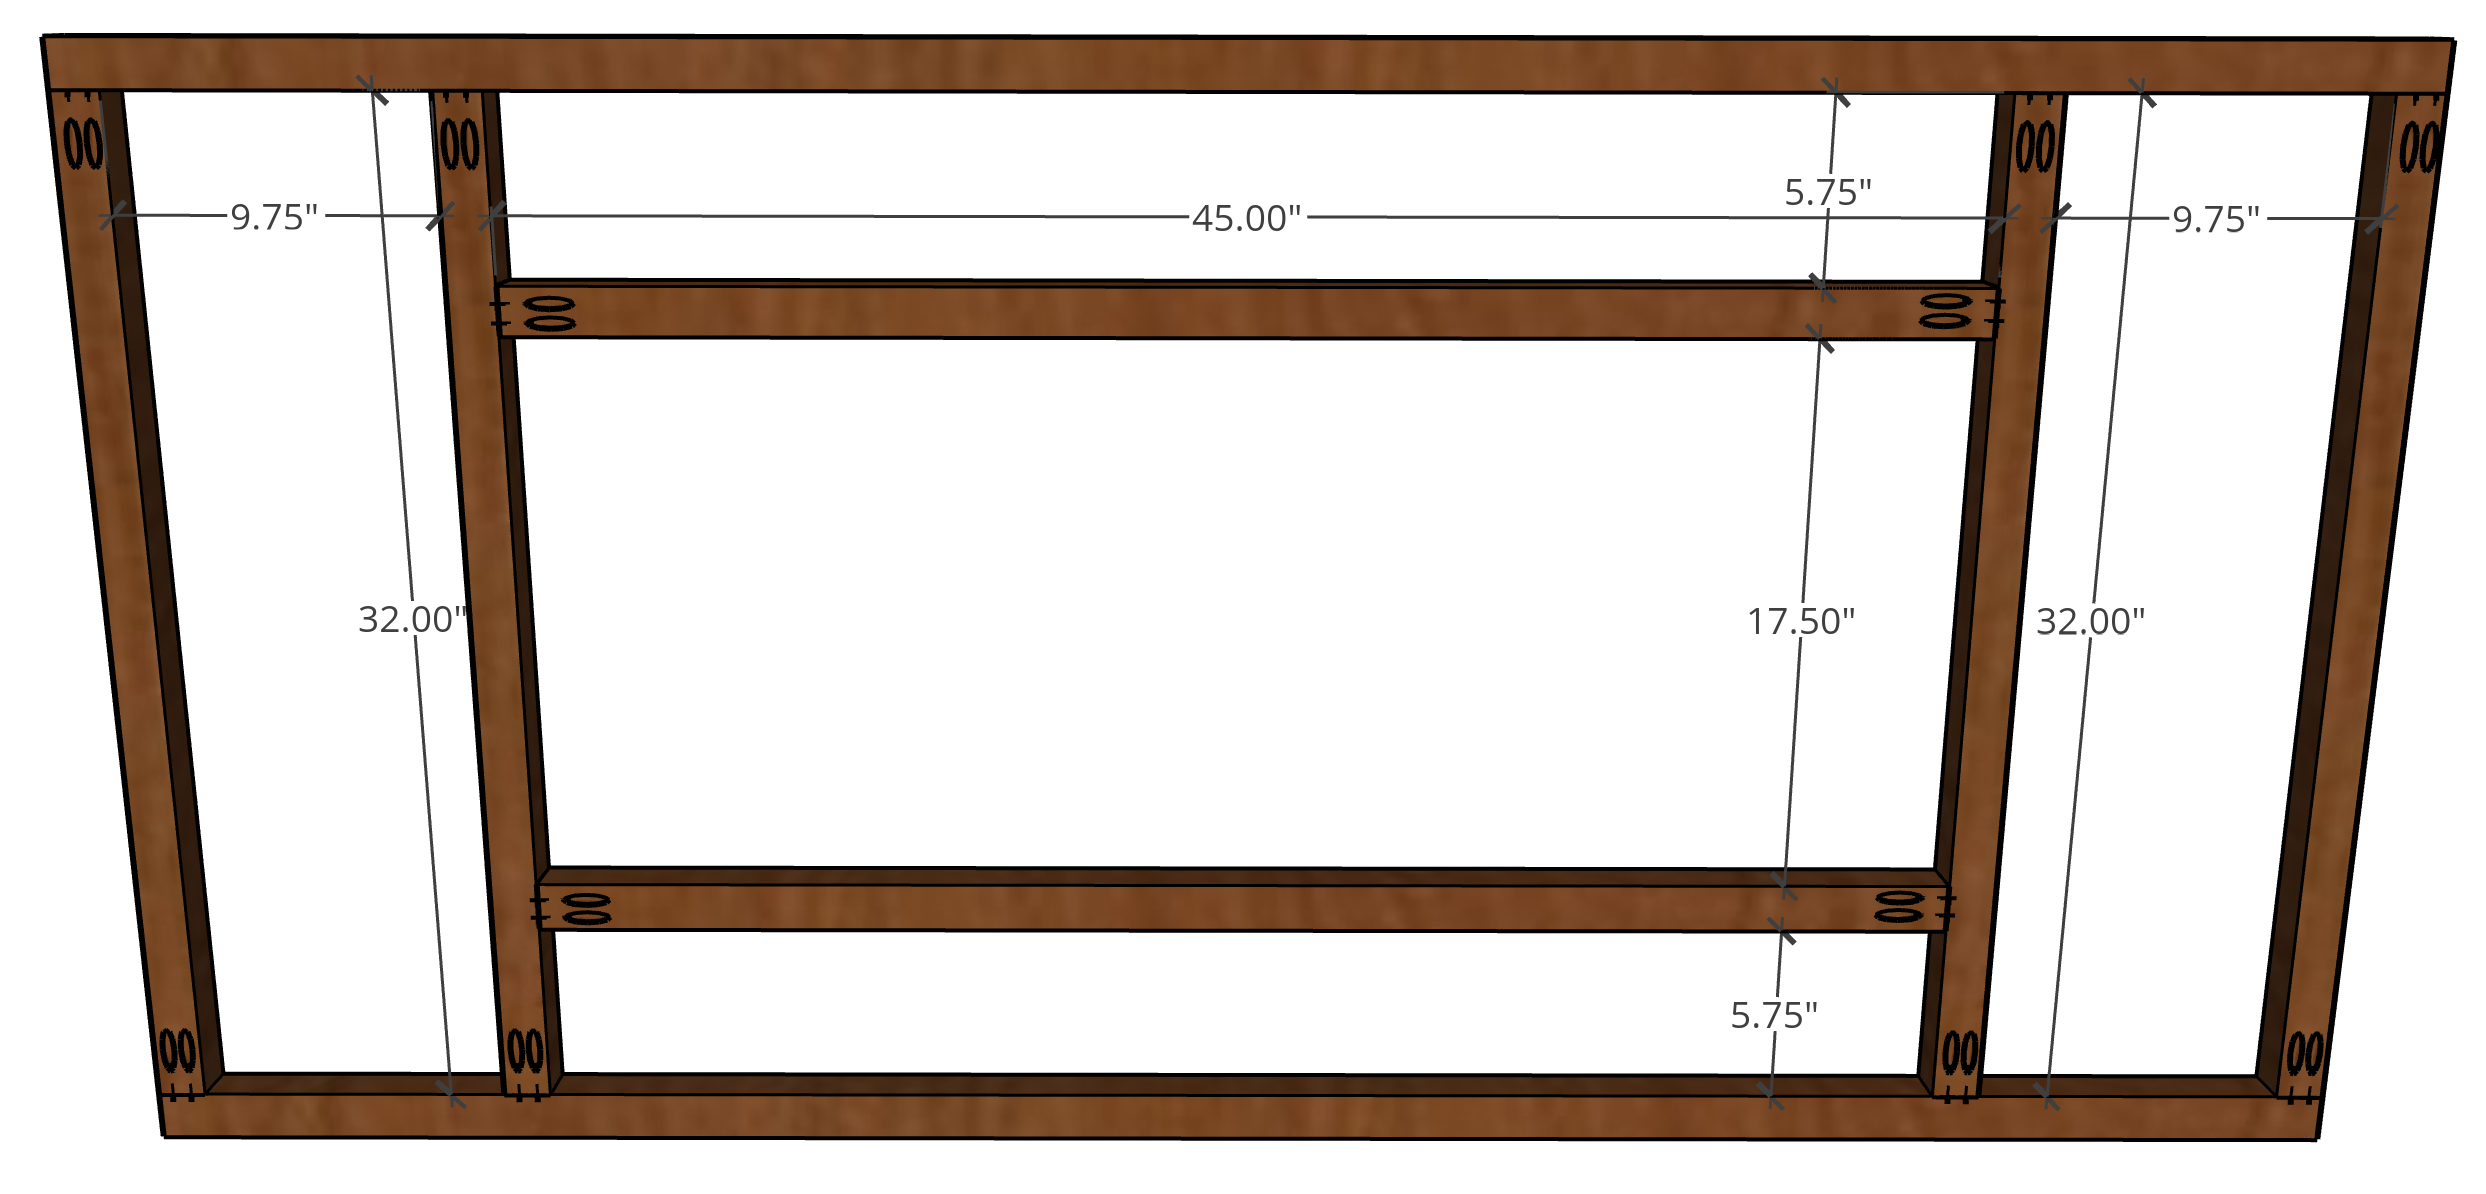
Create Tabletop Frame
Drill pocket holes on either end of TWO of the TOP FRAME SIDES/MIDS.
Attach to the TOP FRAME FRONT/BACK as shown using wood glue and 2 1/2" pocket hole screws.
-
Tabletop Frame Continued...
Drill pocket holes in the ends of TWO more of the TOP FRAME SIDES/MIDS and the 45" TOP FRAME MID SUPPORTS.
Attach in the locations shown starting from left to right (this ensures that if anything is slightly off, all pieces will still come together. Use wood glue and 2 1/2" pocket hole screws.
-
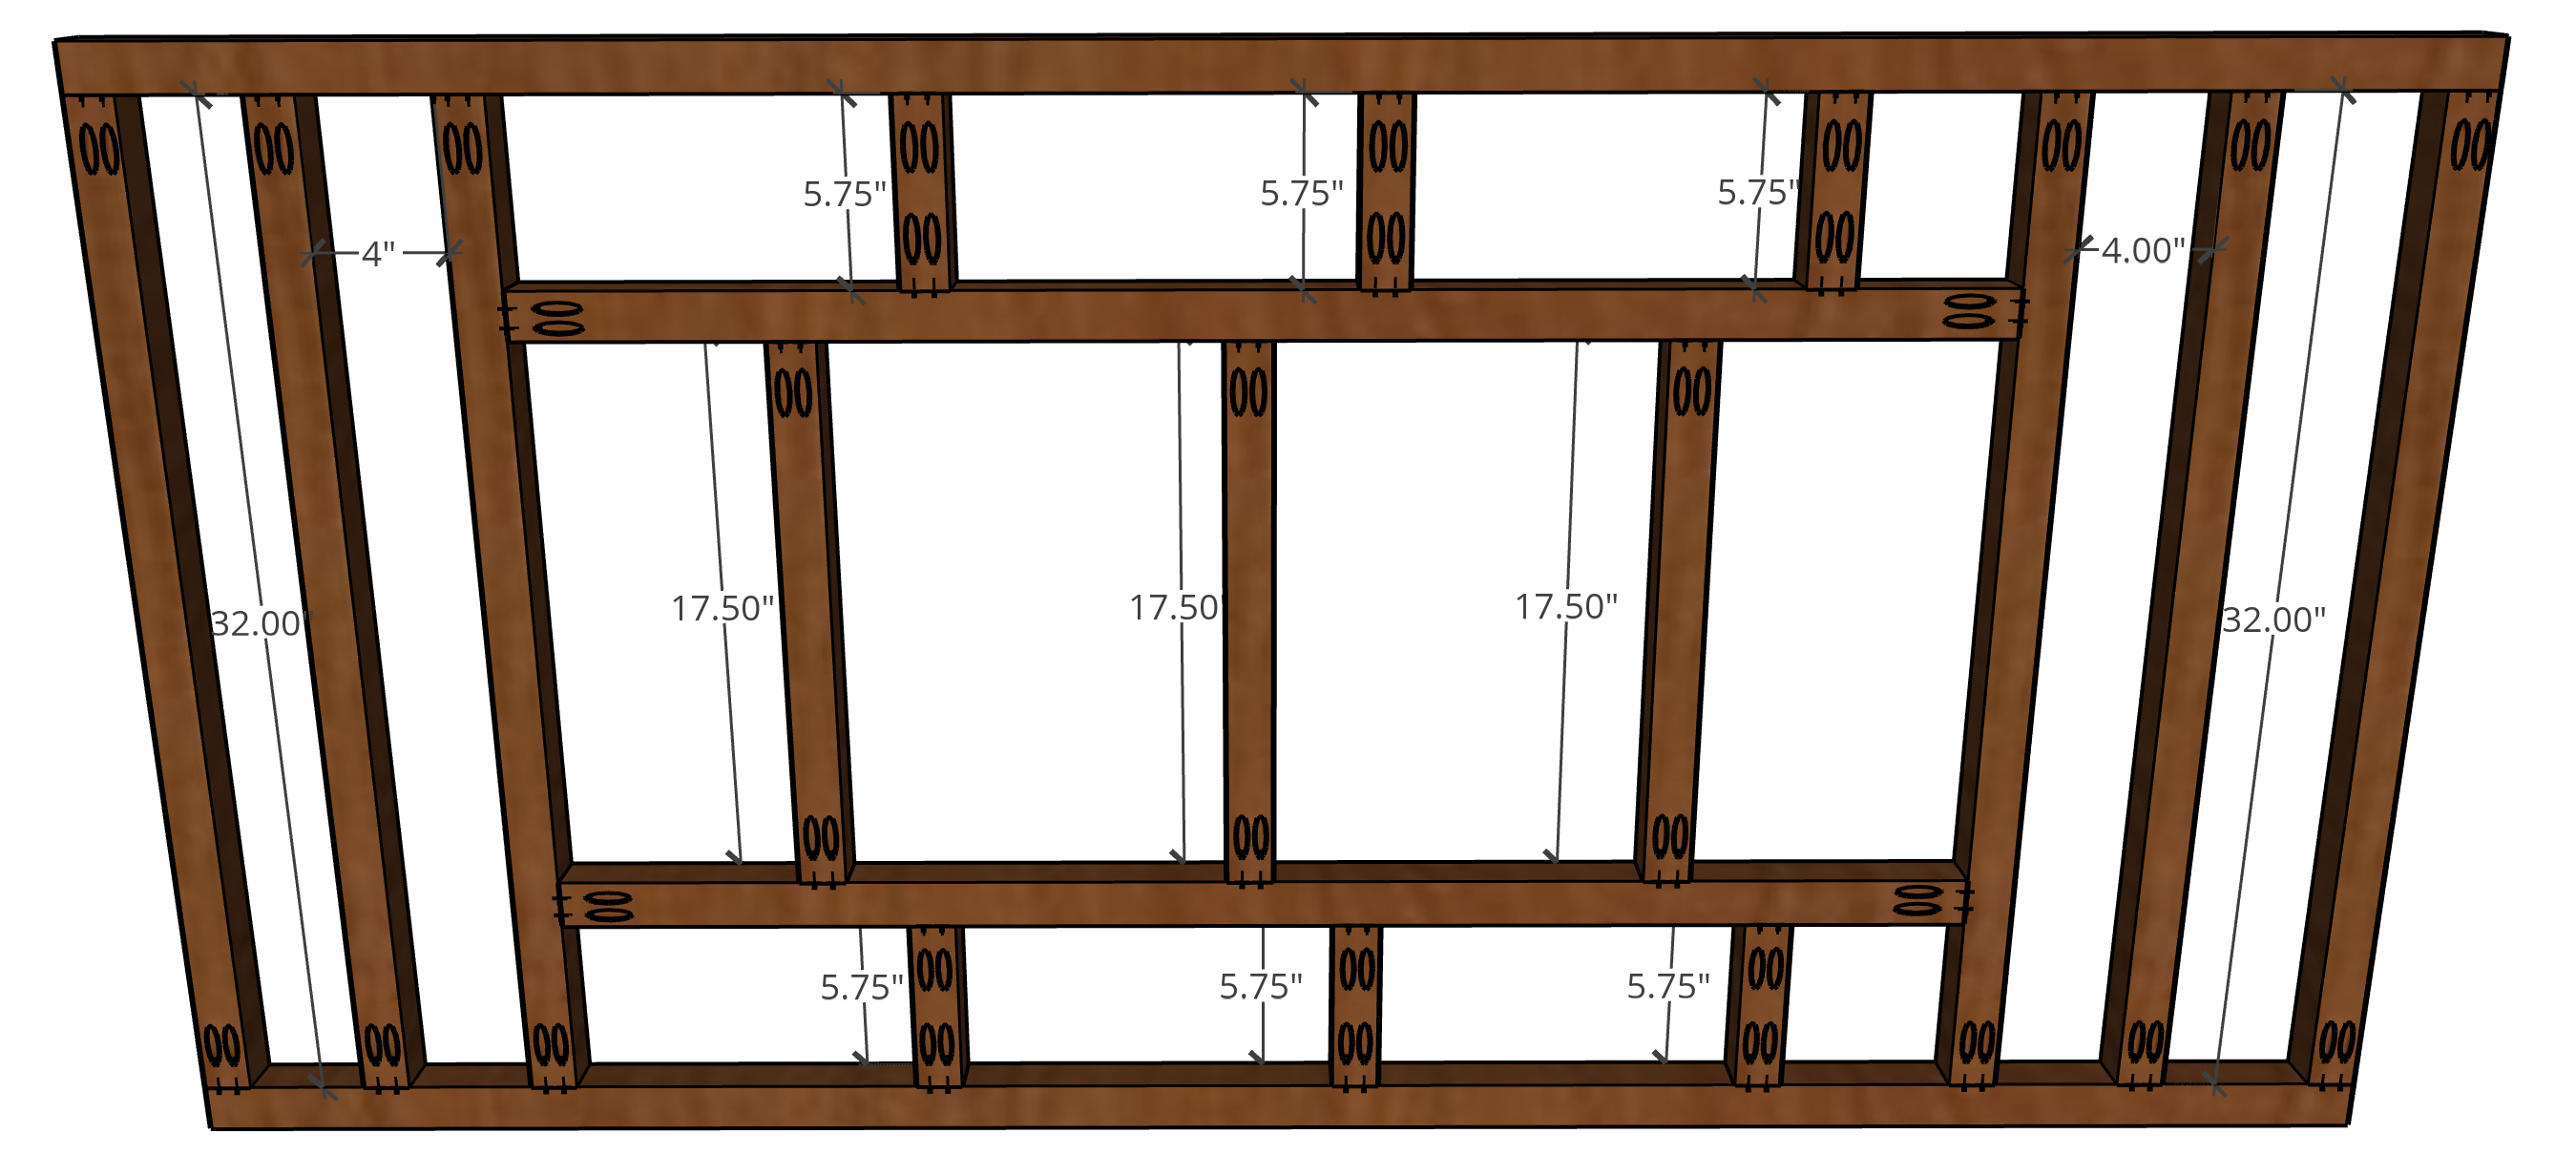
Tabletop Frame Continued...
Drill pocket holes in the ends of the TWO remaining TOP FRAME SIDES/MIDS, and all of the 17 1/2 and 5 3/4" TOP FRAME ADDITIONAL SUPPORTS.
Attach the 32" TOP FRAME SIDES/MIDS 4" away from the ones you attached in the last step. NOTE: If you calculated a different width (either slightly narrower or wider) when you cut the FRAME ENDS, you'll want to use that distance instead.
Attach the 17 1/2" and 5 3/4" TOP FRAME ADDITIONAL SUPPORTS as shown. The placement does not have to be exact, just spread apart and staggered as shown in the diagram.
Attach with wood glue and 2 1/2" pocket hole screws.
-
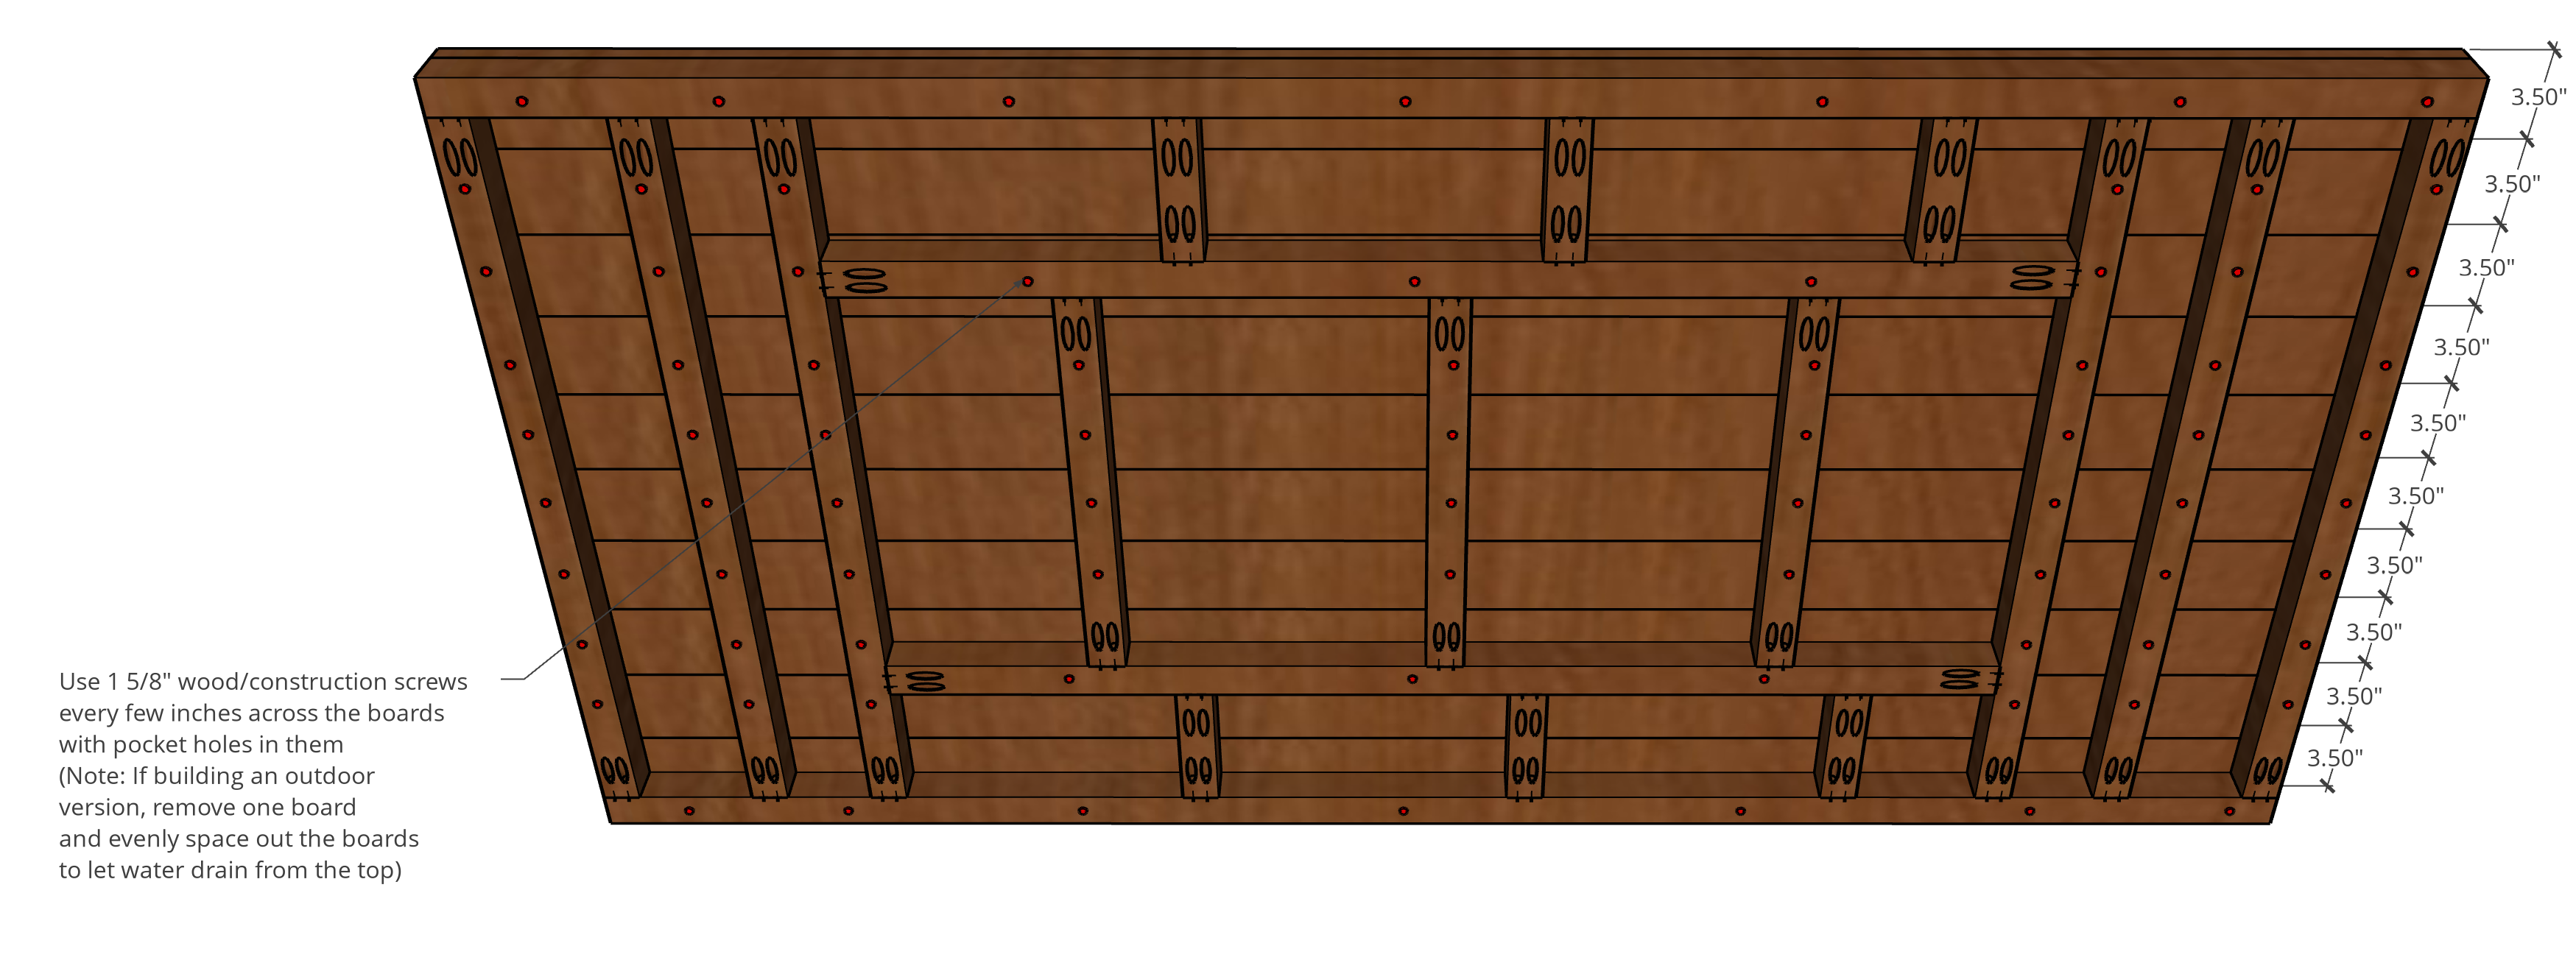
Tabletop
There are two methods you could use to make the table top.
The first method (as shown) is to attach all of the TABLE TOP BOARDS from the underside with 1 5/8" wood/construction screws. To do this, clamp all of the boards together on a large work surface with the sides of the boards you want to be on the top side facing down.
Then place the tabletop frame on top of it and screw through the frame and into the tabletop boards in the locations shown.
The second method (not shown) is to attach all of the tabletop boards together using pocket holes and 1 1/4" pocket hole screws. You would then attach the frame to the assembled boards using less construction screws.
-
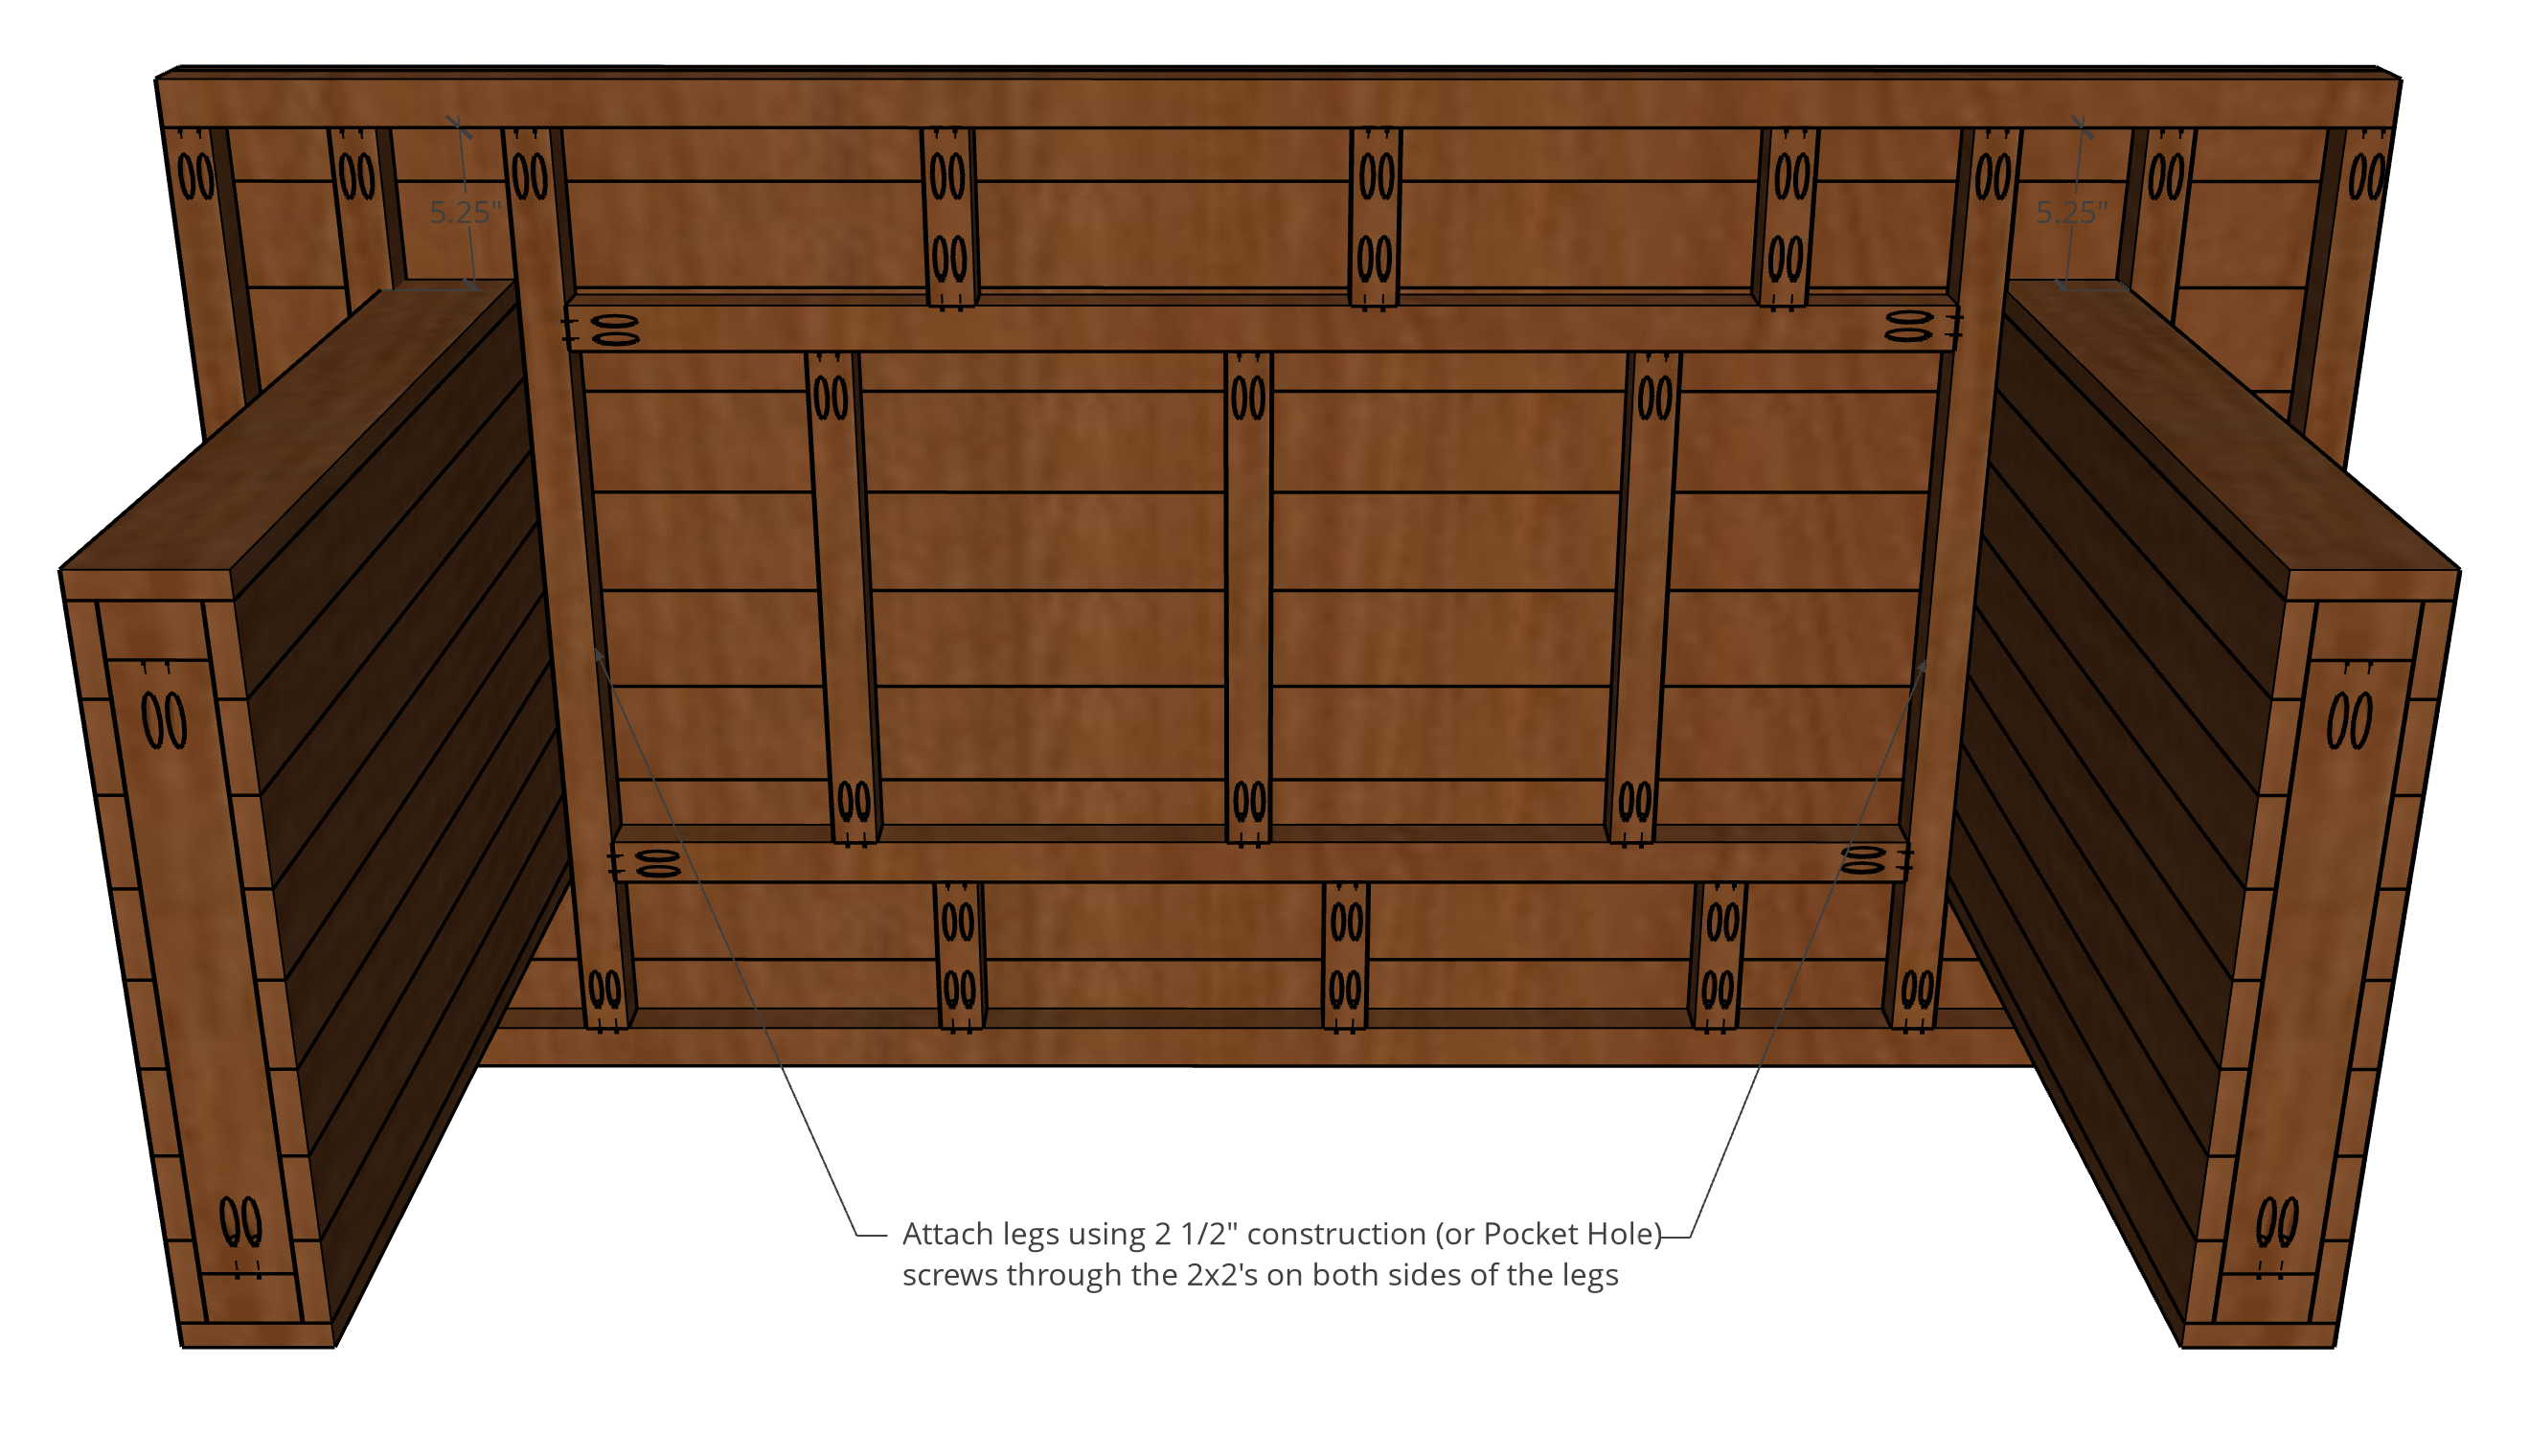
Attach Legs
Insert completed legs into the space shown and center from left to right.
Once you're happy with the placement, use 2 1/2" screws (pocket hole screws are fine even though you will not be inserting them into pocket holes) and secure the legs on either side through the 2x2" boards and into the legs.
-
Add Tabletop Frame Edges
Attach the 35" TOP FRAME SIDE EDGES to each end using wood glue and 1 1/4" brad nails.
Attach the 72" TOP FRAME FRONT/BACK as shown using wood glue and 1 1/4" brad nails.
-
Sand, Rough Up, Stain and Seal
Sand the top until it's even and smooth. You want the top to be as flat as possible.
Fill any gaps or nail holes with wood filler. Allow them to dry thoroughly and then sand smooth.
We roughed up ours to give it an aged look. We used a hammer, crow bar, screwdriver, nails, screws, etc to lightly mark it up across the entire top and edges.
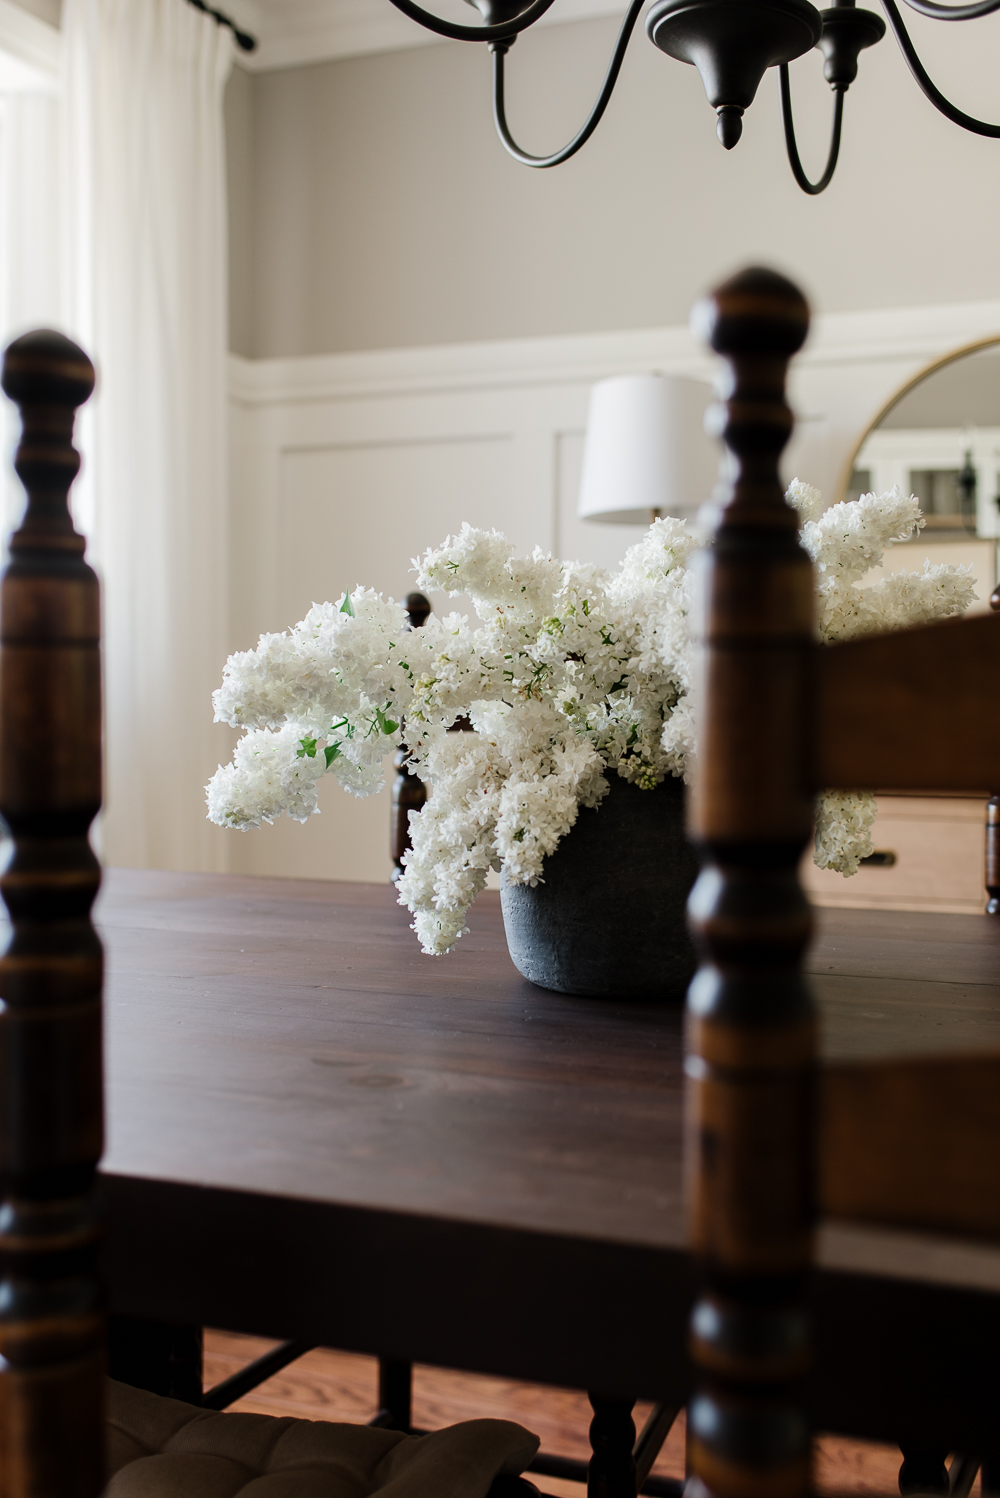
This table is stained with a water-based stain by Saman of 2 parts Dark Walnut to 1 part Golden Wheat. We did two coats of stain followed by 3 coats of Saman Dead Flat Varnish.
View other plans from Nick+Alicia!