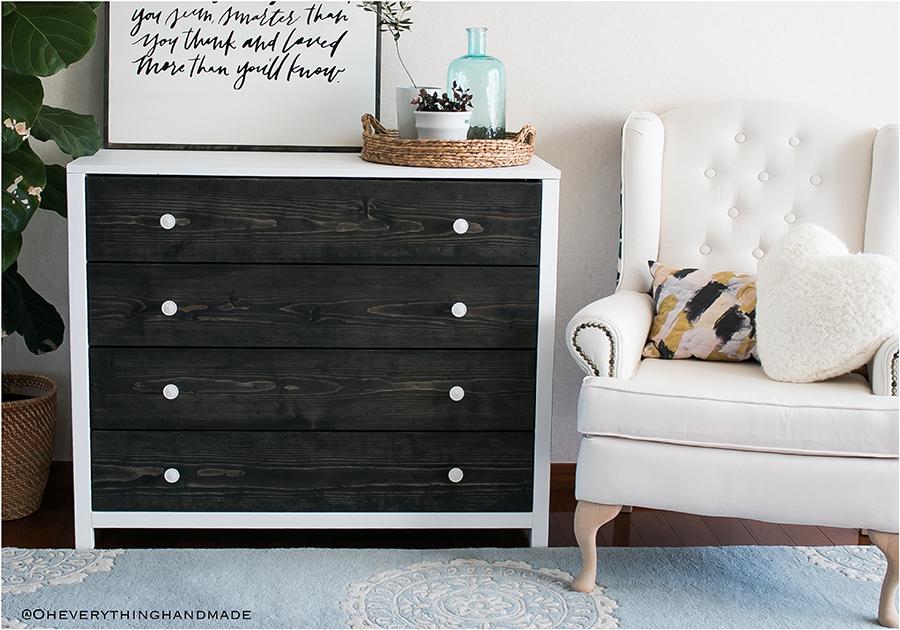
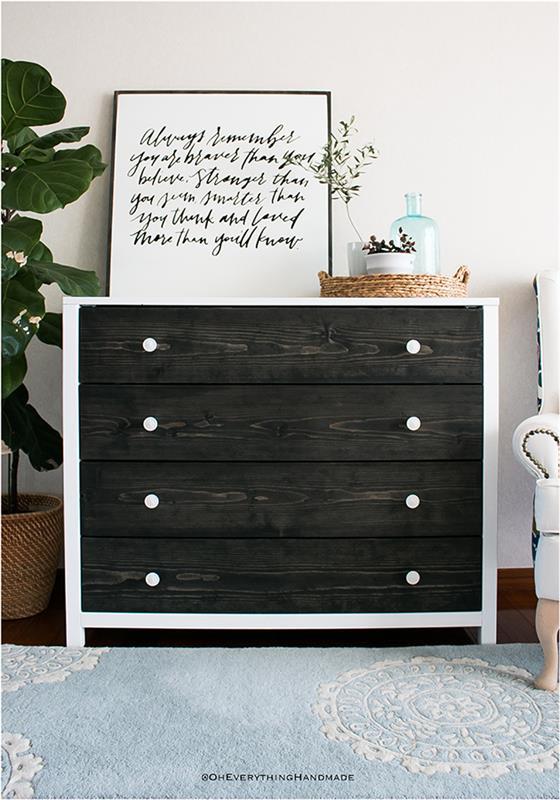
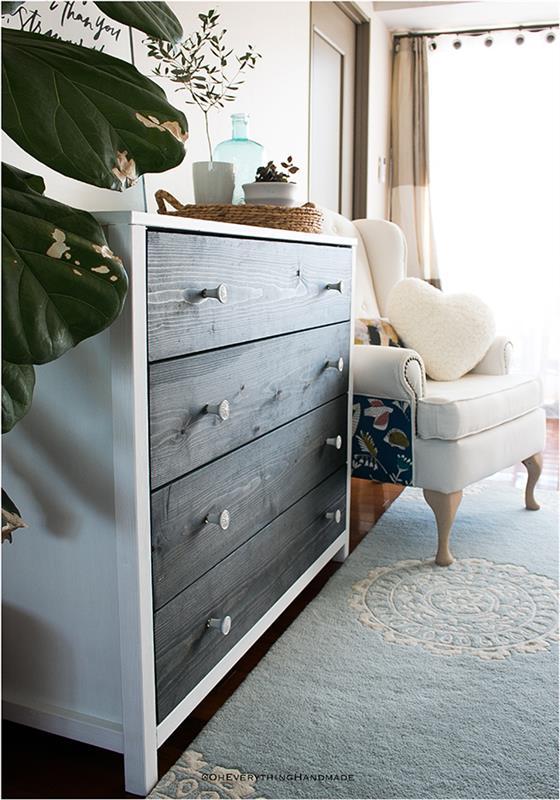
Modern Farmhouse Style Dresser
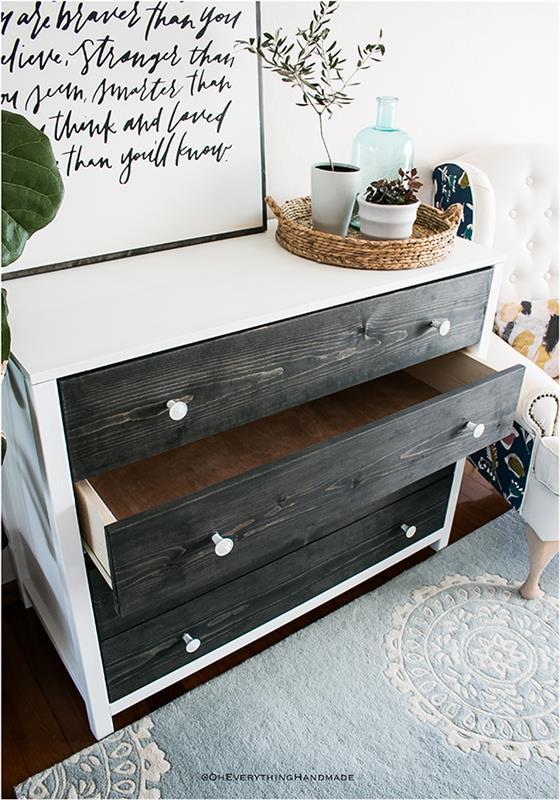
By Oh Everything HandmadeThis modern Farmhouse Style dresser is perfect for your bedroom, hallway or kids room and can store all kinds of items like clothes, sheets, towels, or misc items due to the bigger drawers.
We created this dresser with simple instructions so even a beginner can make it!
Directions
-
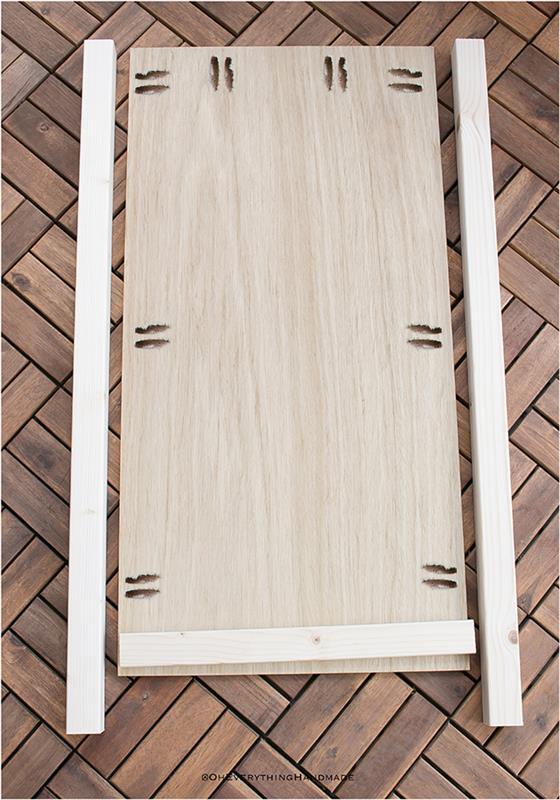
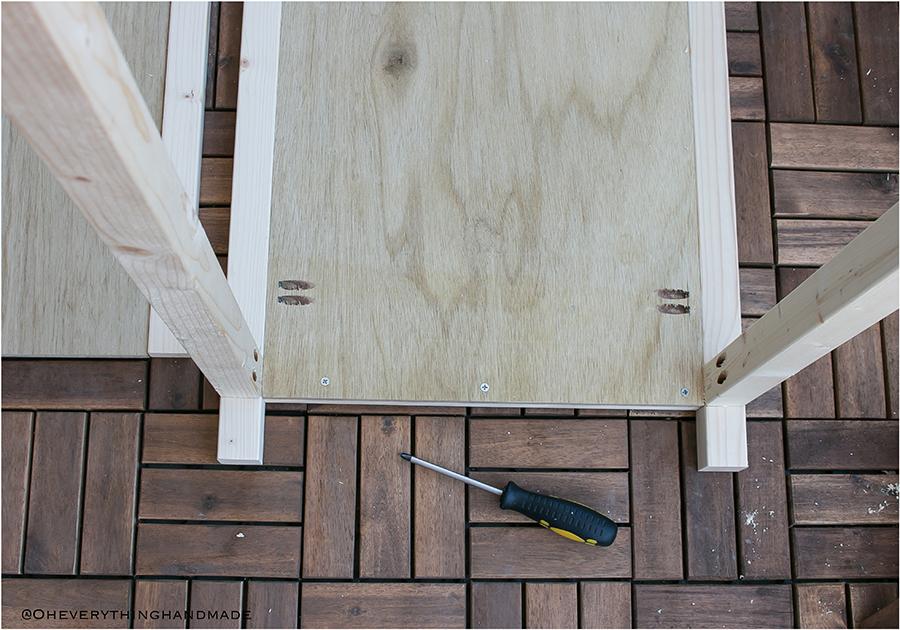
Add pocket holes
Add pocket holes to both of the side boards (inside), I recommend 6 pocket holes on the long side and 4 on the top.
-
Connect the side boards
Sand the boards with a 200grit sandpaper to remove splinters and imperfections.
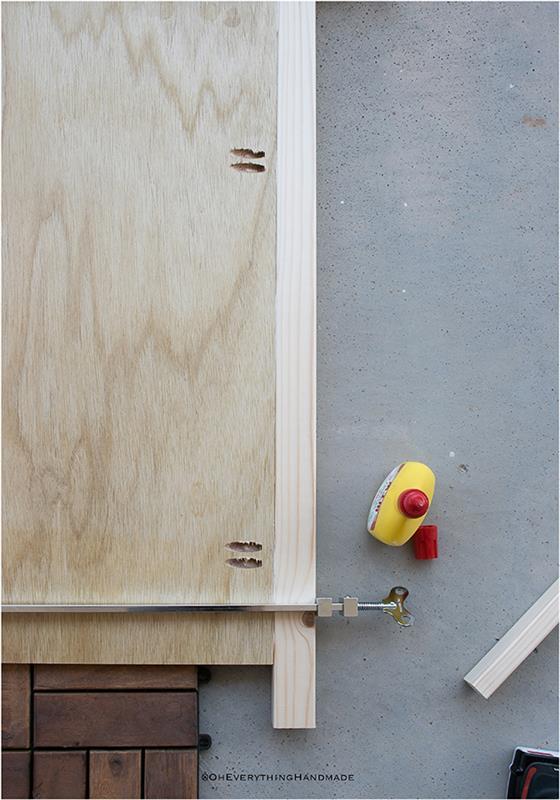
Build two of the sides by attaching side panels 31-1/4" to legs 33-1/2". Trim the outside bottom side panels with a 1x2, use wood glue and 1-1/4" pocket hole nails. -
Install drawer slides (optional)
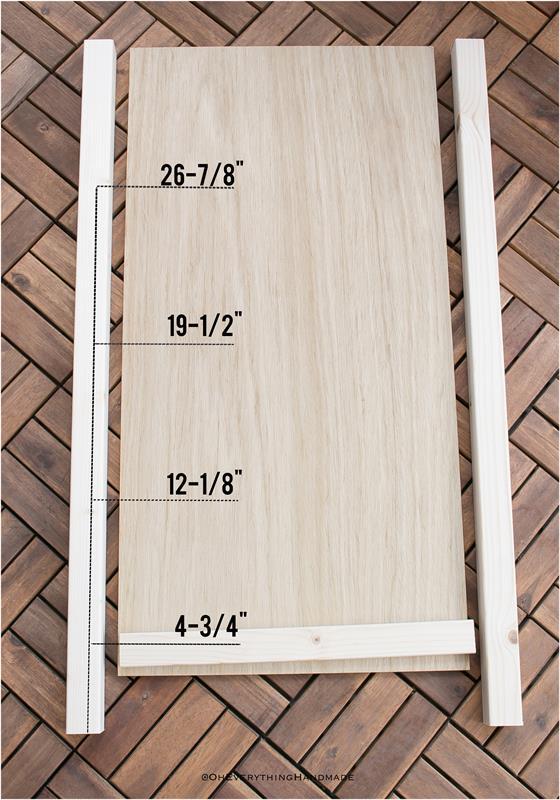
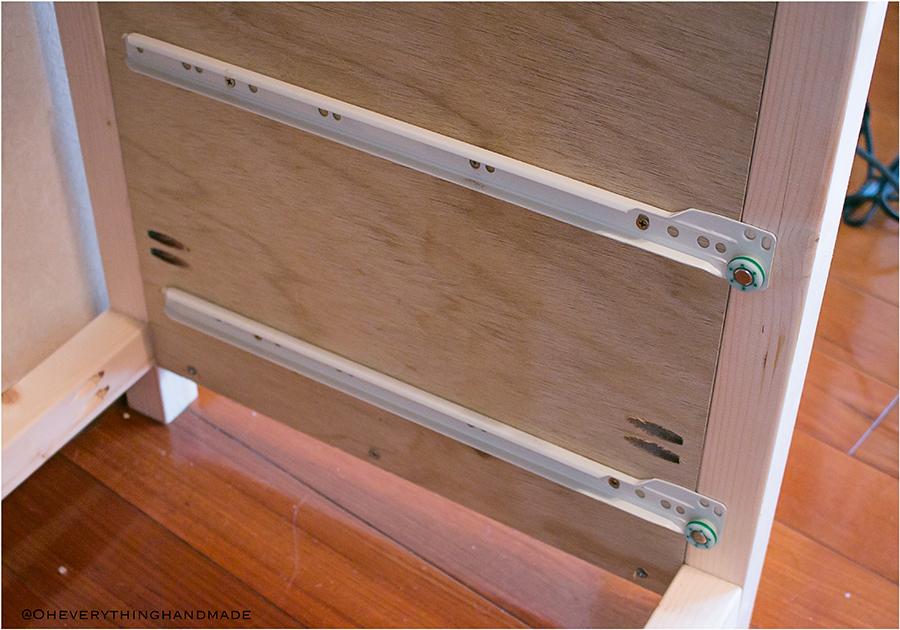
Install the drawer slides now since it's easier than installing them later.
See image for measurements -
Attach bottom trim
Attach bottom pieces to sides, use pocket hole jig set for 1-1/2" thickness with 2-1/2" long pocket hole screws.
-
Build drawers
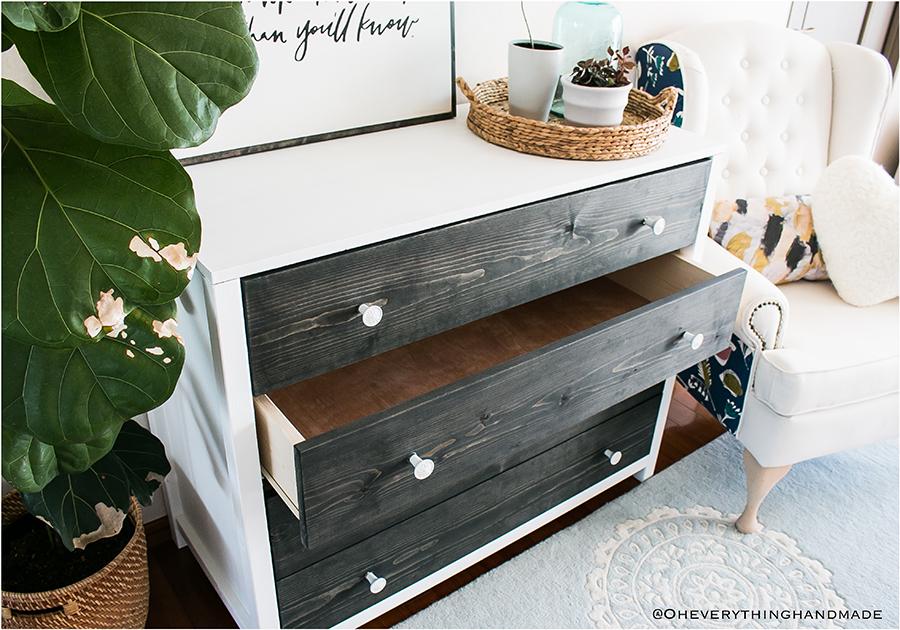
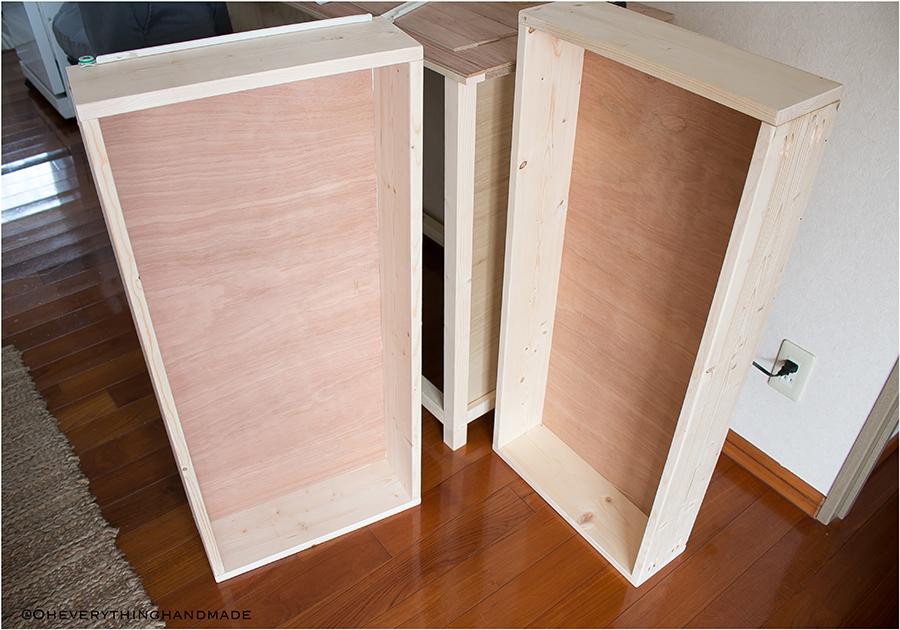
Build drawers to fit the openings and the drawers slides. These drawers are measuring 36-1/2"x 17-1/4" and have a 3/4" plywood bottom.
Drawers shown are for drawer slides that require a total of 1" clearance (1/2" on each side).
Measure the opening and adjust your cuts if needed.
Place pocket holes on the outside, those will be covered with the drawer face later on. -
Install drawers
Install drawers and allow 3/4" space in the front, this is needed for the drawer face.
-
Install Top
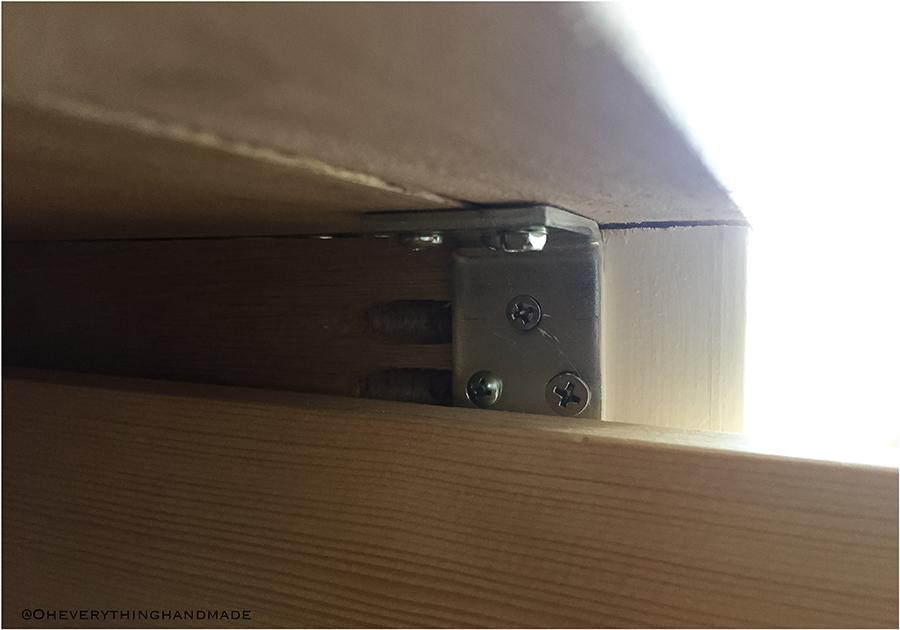
Install the plywood top (18-3/4" x 42") use pocket holes, and glue or corner brackets as seen in the picture.
-
Attach drawer faces
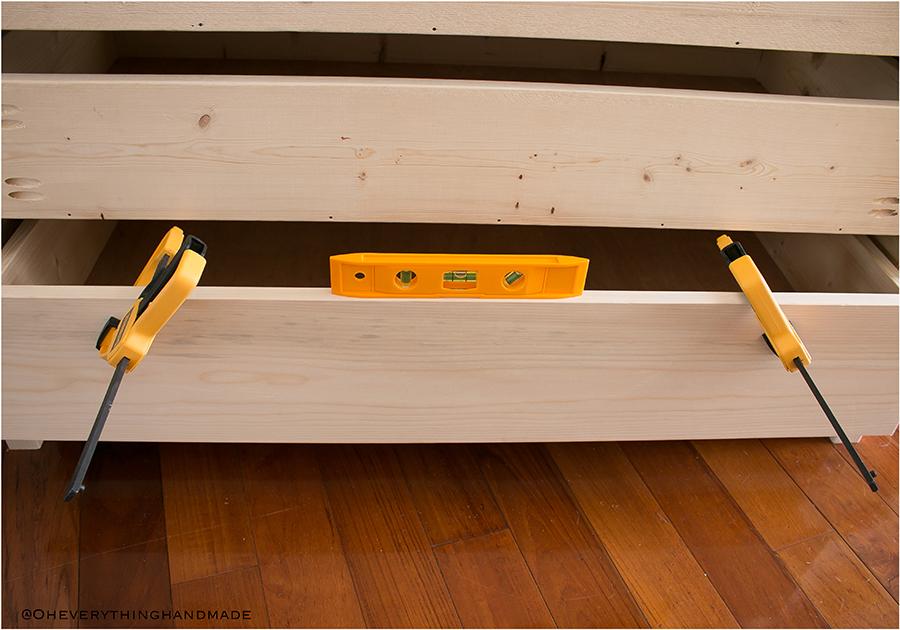
Attach drawer faces to the drawer boxes, with 1/4" of a gap on top and bottom and 1/4" on the sides.
Use clamps, a leveler and measuring tape to adjust the drawers. Once you have them in place using 1" screws works best to attach the drawer front from the inside. -
*Optional (attach a backing)
Attach a 1/4" plywood backing (42" x 31 3/4") to the dresser with 1" nails.
-
Add wood veneer
Add wood veneer along the top edge to achieve a professional finished look.


