Modern Deck Chairs
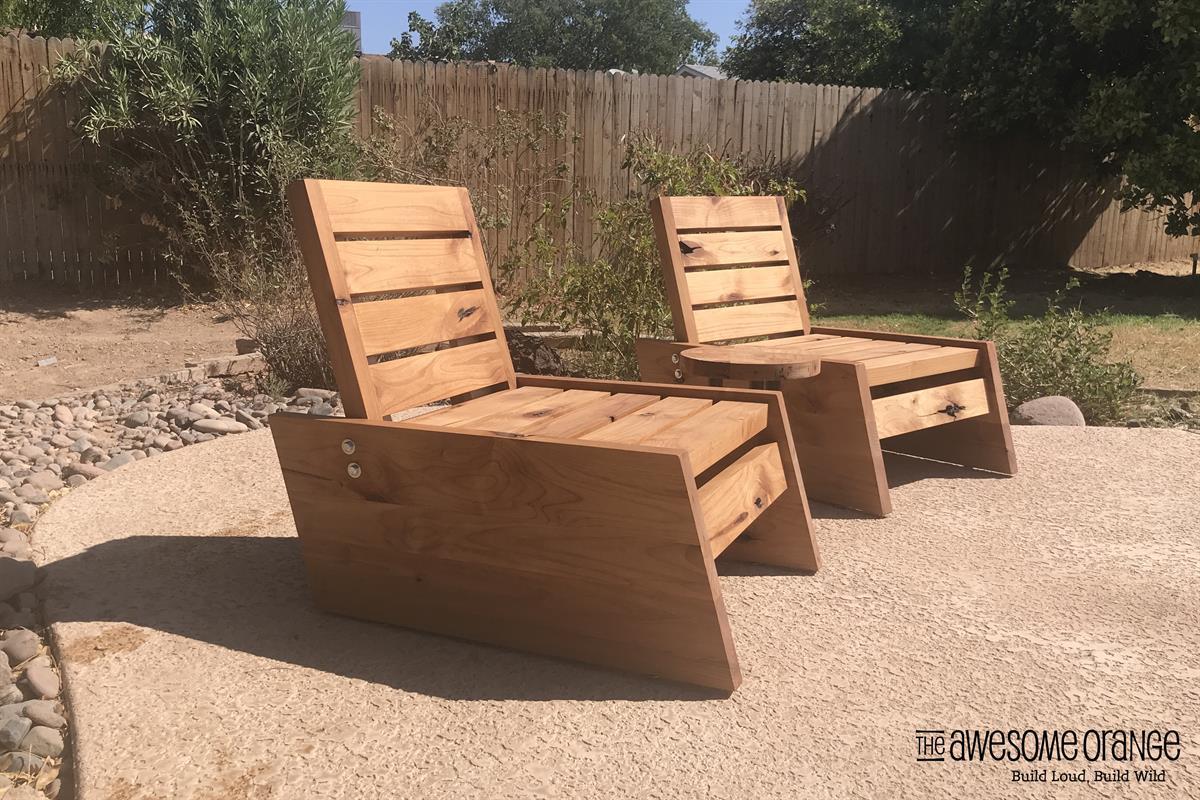
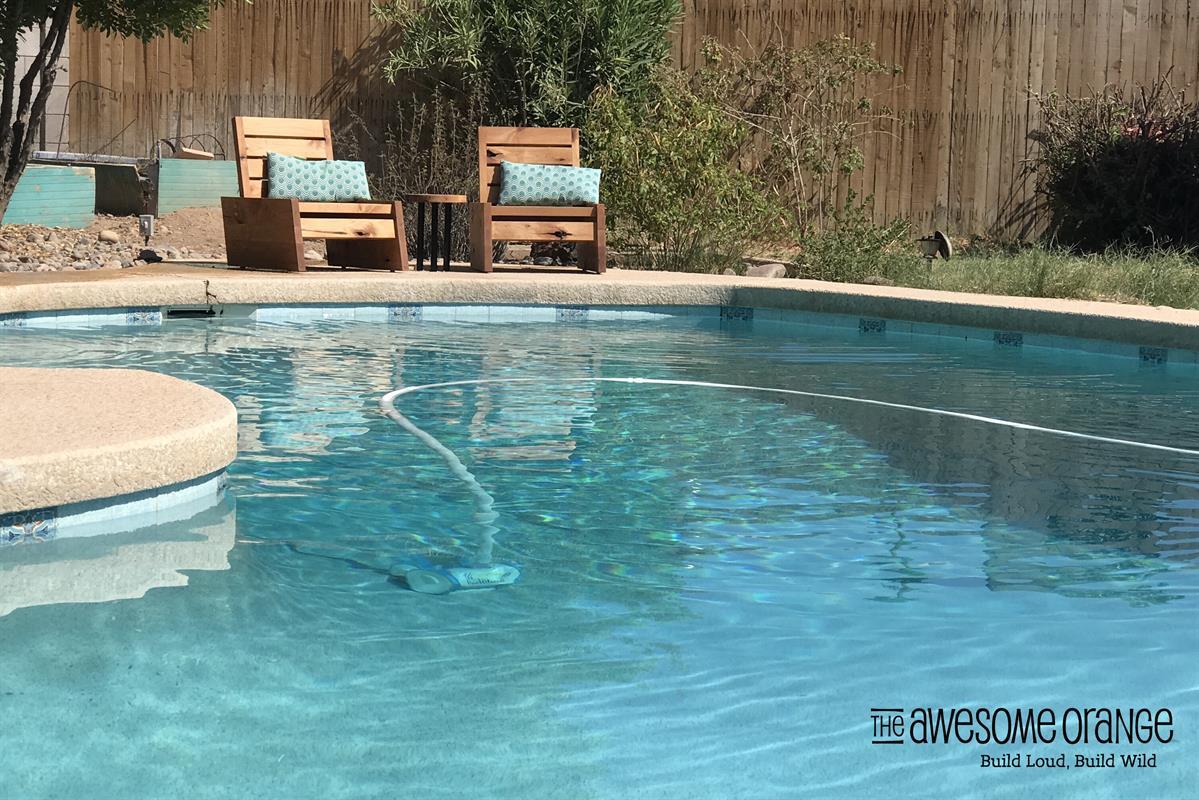
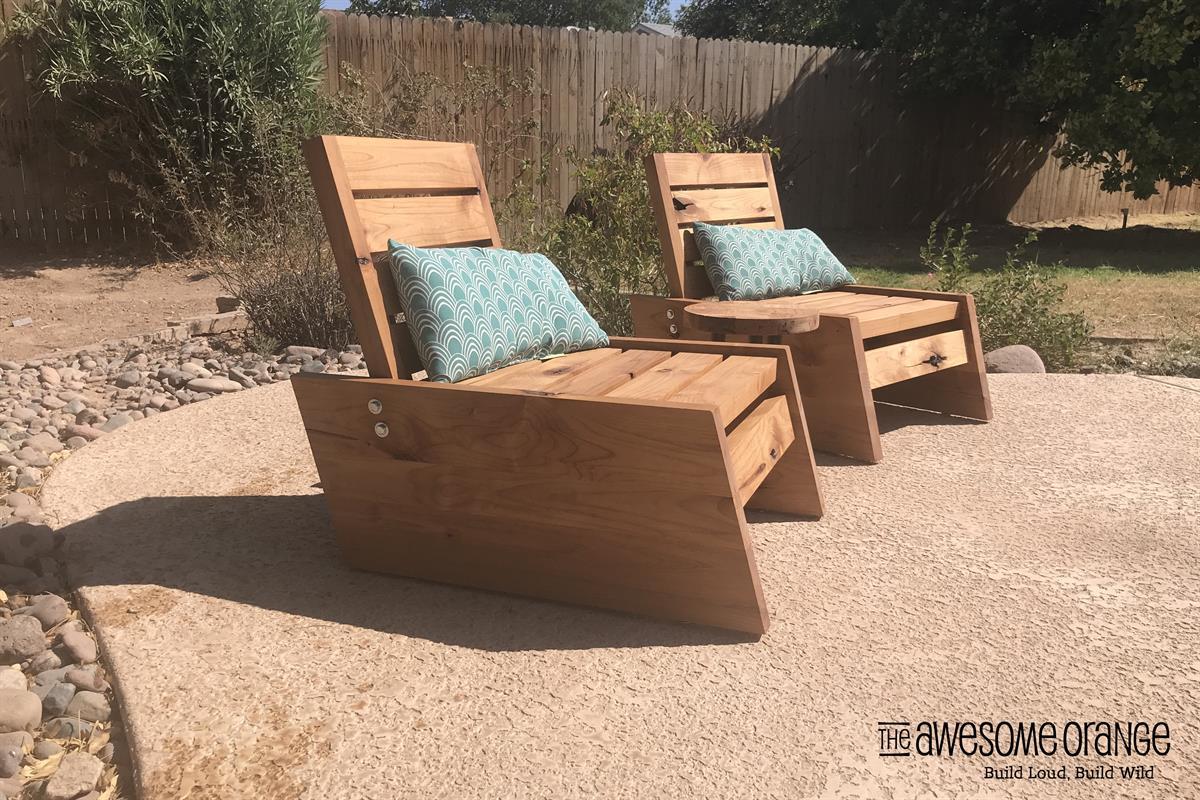
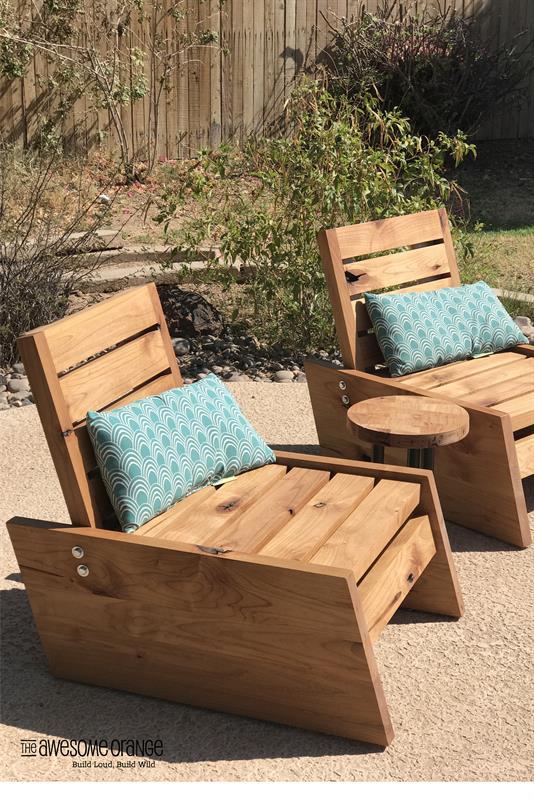
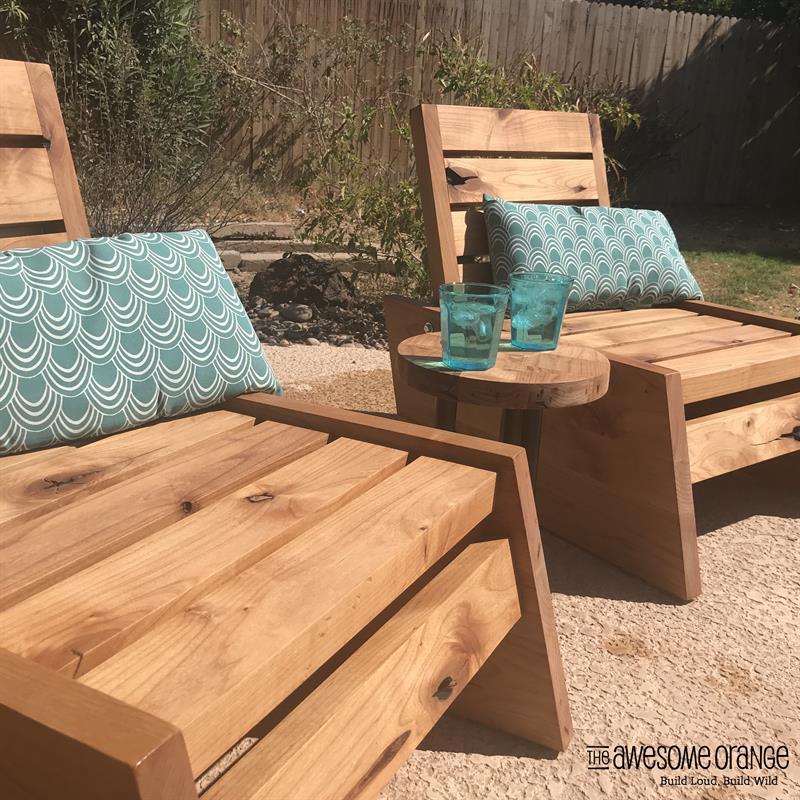
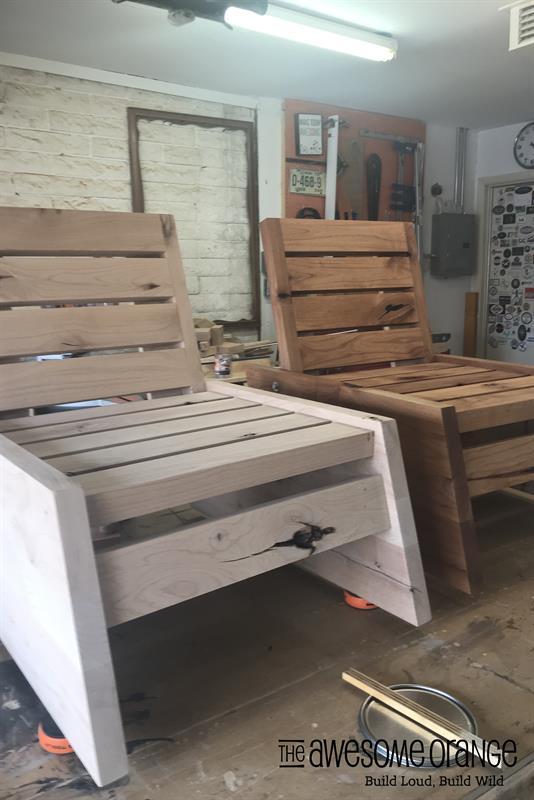
By The Awesome OrangeThese solid wood modern deck chairs will add warmth to any outdoor setting. They are low profile to keep you close to all the action, weather it be watching the kiddos in the pool or putting your feet up around the fire. These chairs are outdoor furniture at its finest! *CUT LIST IS FOR 1 CHAIR
Directions
-
Build Side Pieces
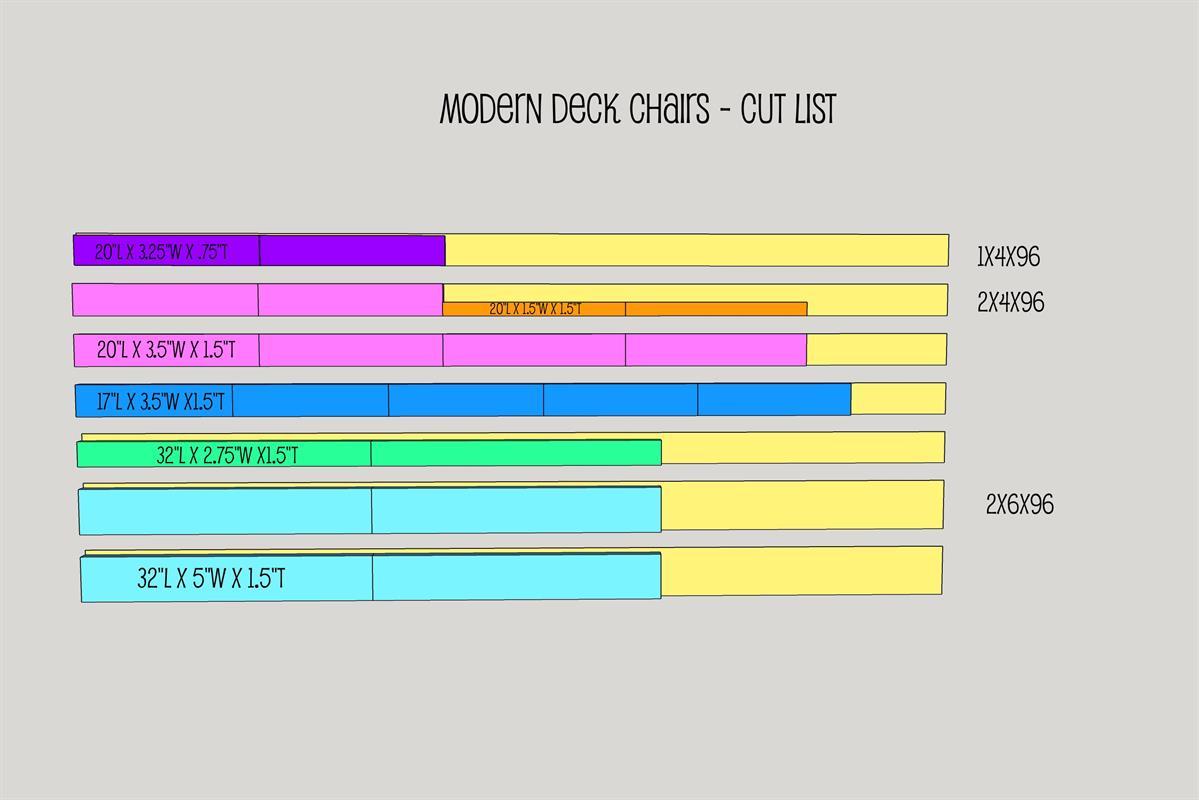
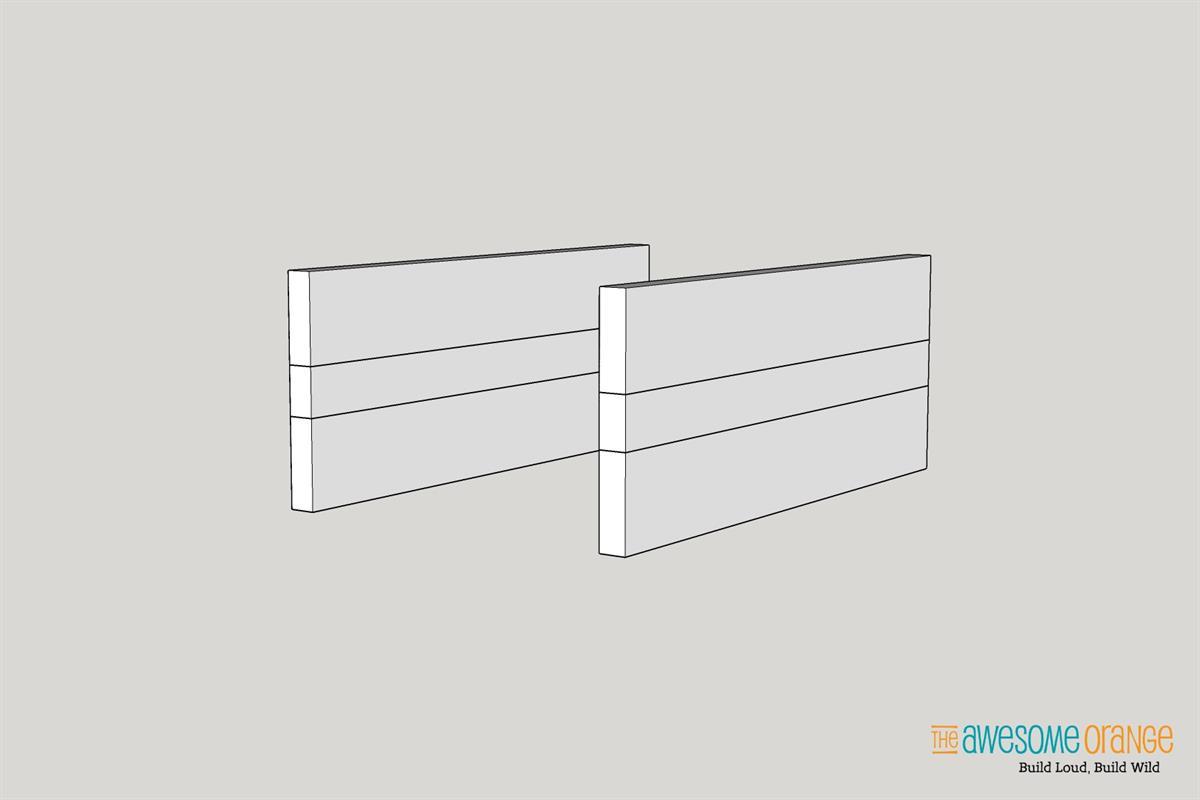
Rip (4) four 2 x 6 x 32" pieces to 5" W and (2) two 2 x 4 x 32" pieces to 2.75"W. And then glue (2) two of the 5" pieces and (1) one of the 2.75" pieces together to create 2 side pieces that equal 12.75"W *NOTE: Use wood glue that is rated for outside.
-
Cut Angles on Sides
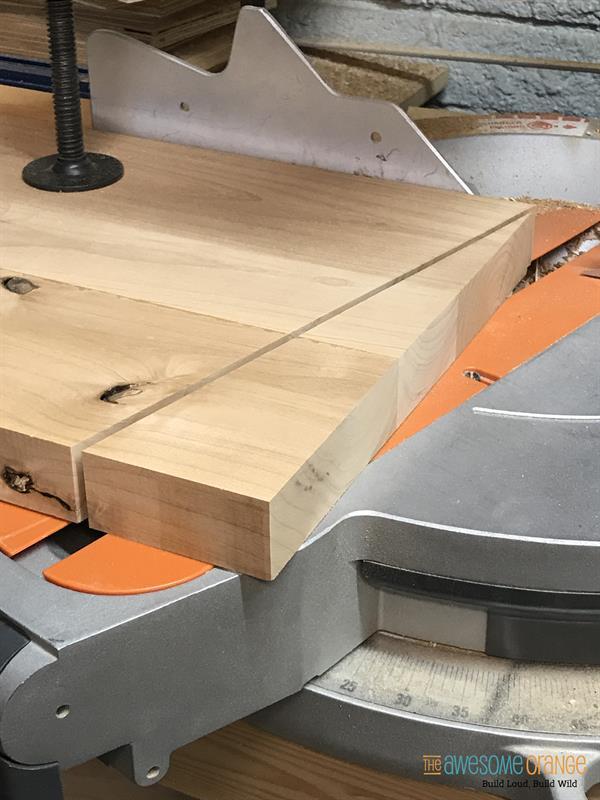
Once glue is dry, cut a 15* angle on each side of the side pieces. Be sure to make sure they are going in the same direction.
-
Attach Seat Slats
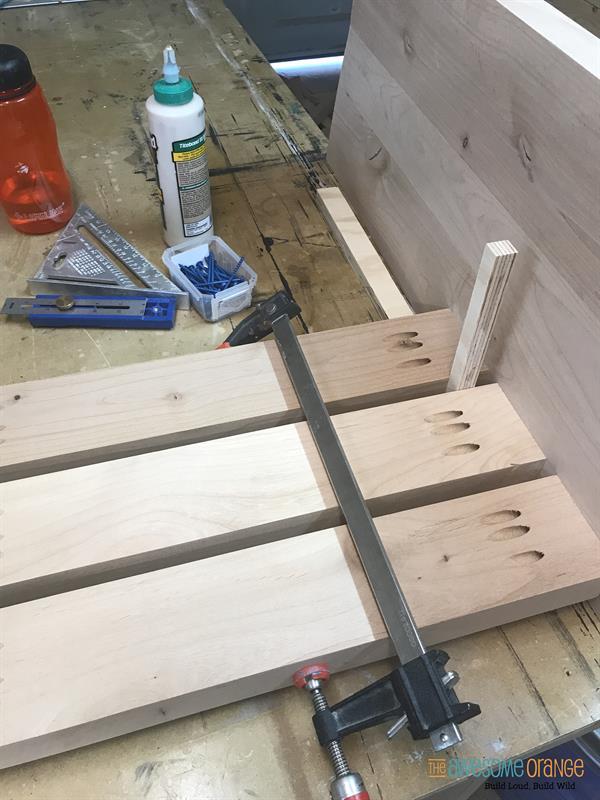
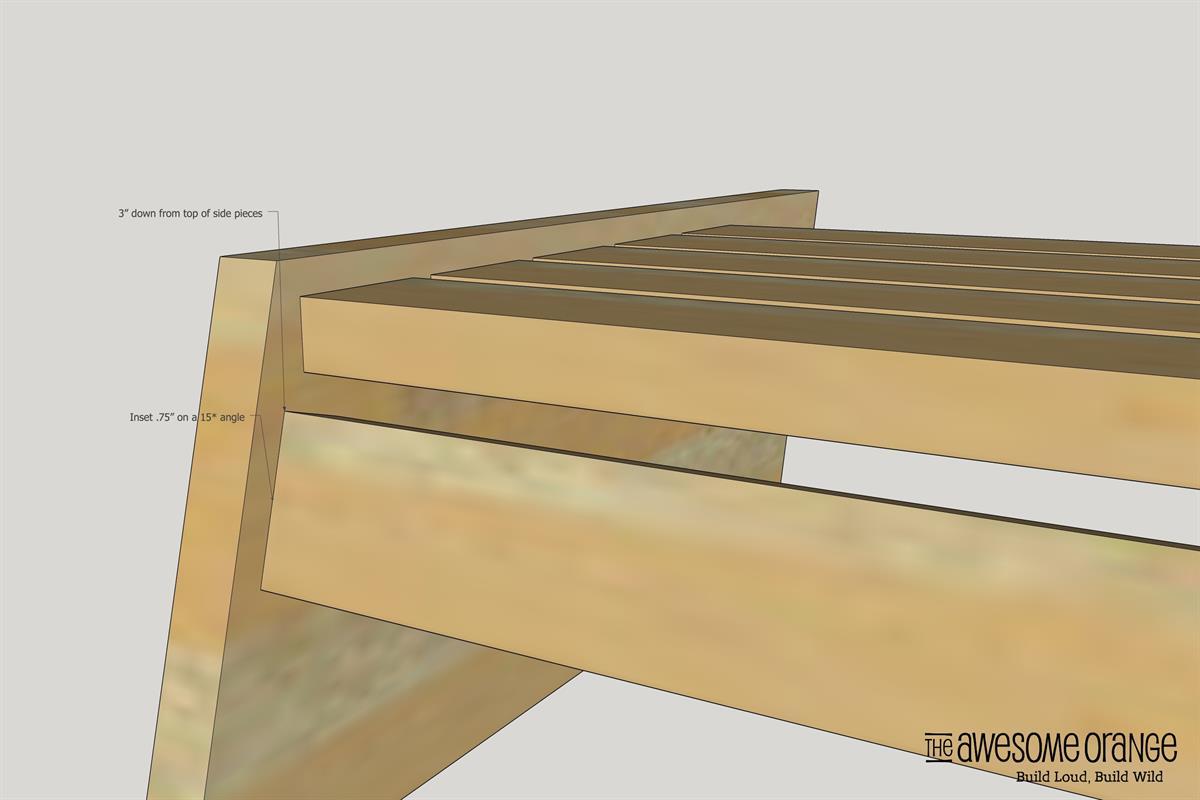
Drill 1.5" Pocket Holes (I drilled 3 holes in each board) into the seat slats and attach to side pieces using 2.5" blue outdoor pocket hole screws. I did this upside down and recessed the seat slats .75" from the top of the side pieces. The first seat slat was inset from front of side pieces by .75". I left a gap of .625" (5/8) between each slat which gives an overall seat depth of 20".
-
Attach Front Apron
Drill 1.5" Pocket Holes (I drilled 3 holes in each board) into the apron piece and attach to side pieces using 2.5" blue outdoor pocket hole screws. I inset the front apron .75" from front of side pieces and down 3" from top of side pieces. The apron was installed at the same 15* angle that the side pieces were cut at.
-
Assembly Backs
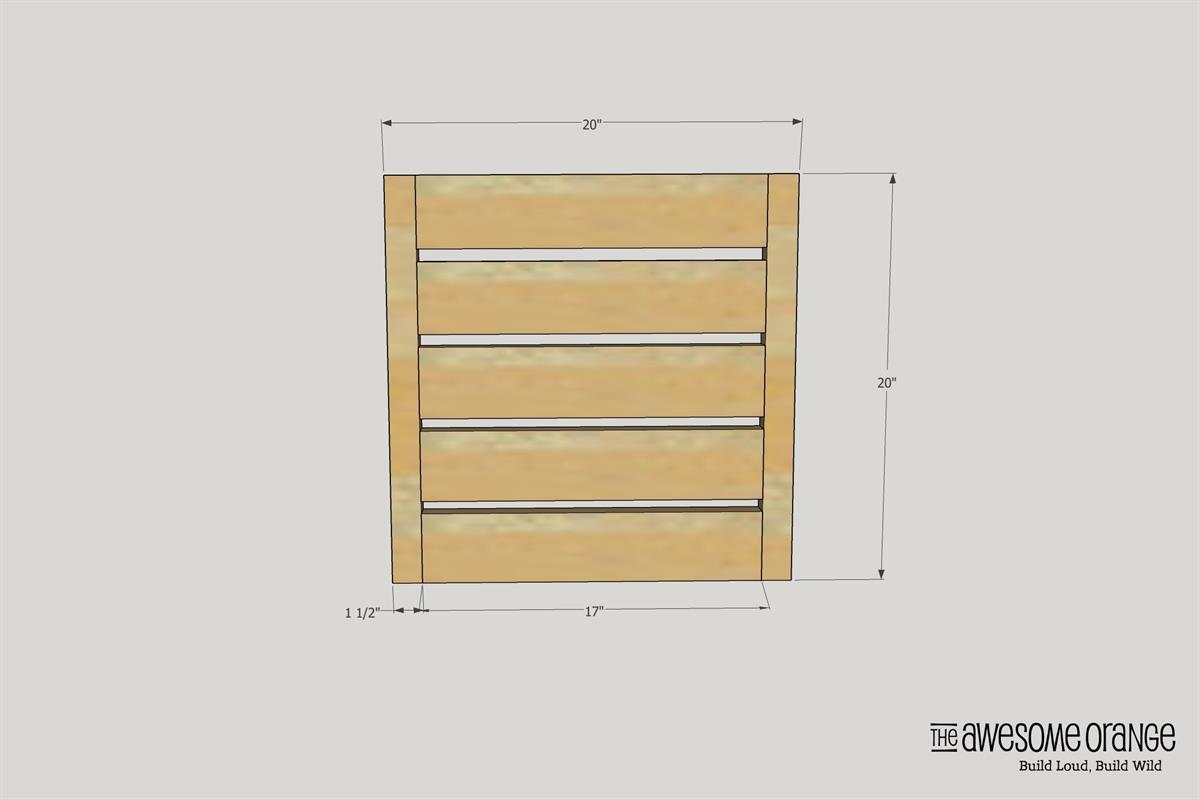
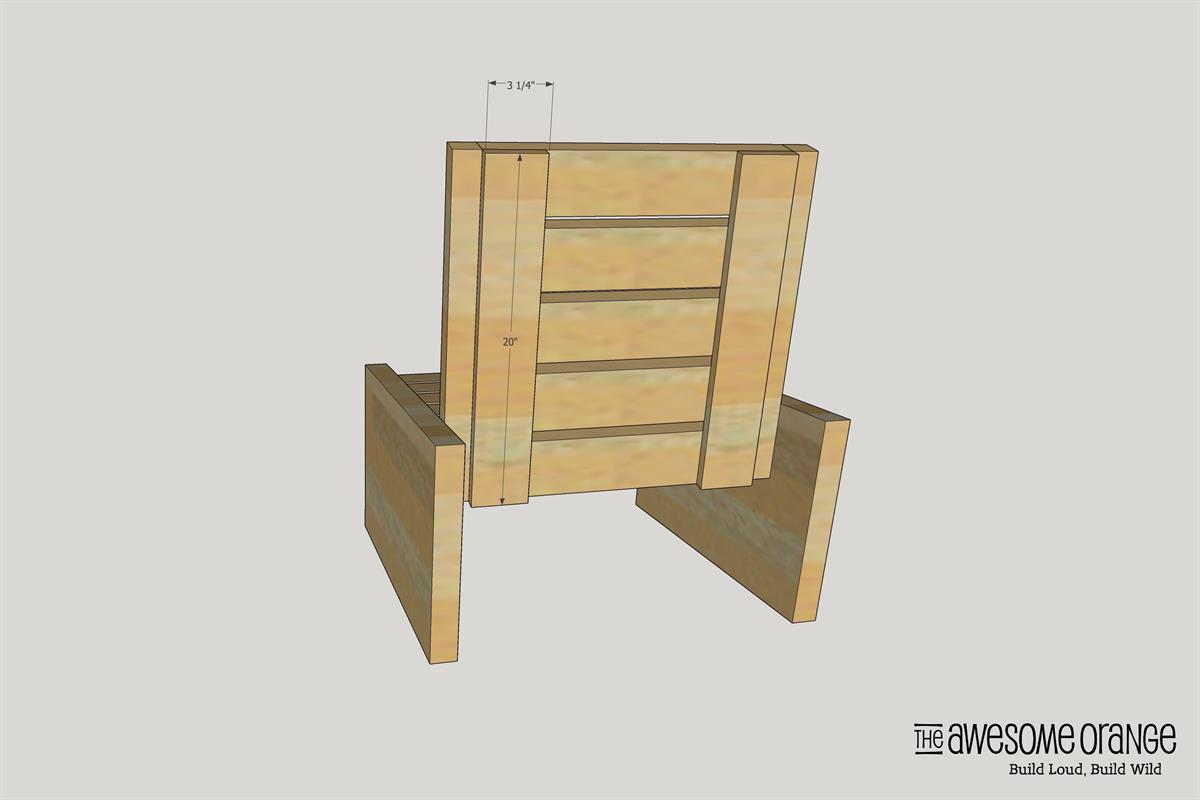
Drill 1.5" pocket holes in the back slats and attach to the back side rails using blue 2.5" outdoor pocket holes screws. I left a gap of .625" (5/8) between each slat which gives an overall back piece of 20" x 20".
-
Layout & Drill Back Support Holes
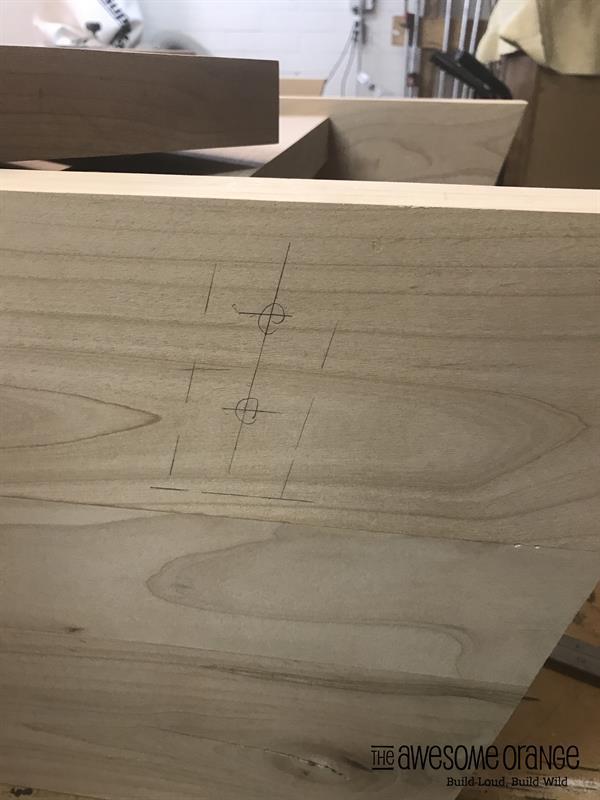
Using the Kreg Multi Mark or another square measure in 5" from edge of side pieces on the back on the inside and out. And then again at 5.75" and 6.5", making a mark a each location. And then measure down from the top at 1.5" and 3". Where your lines intersect is where you will drill your holes for the lag bolts to hold seat back in place. Drill half way from each side to ensure that hole is straight. I recommend starting with a small drill bit and then work your way up to a 5/16" bit. And then finally drill matching holes on the back pieces 1.5" and 3" up from bottom.
-
Attach Backs
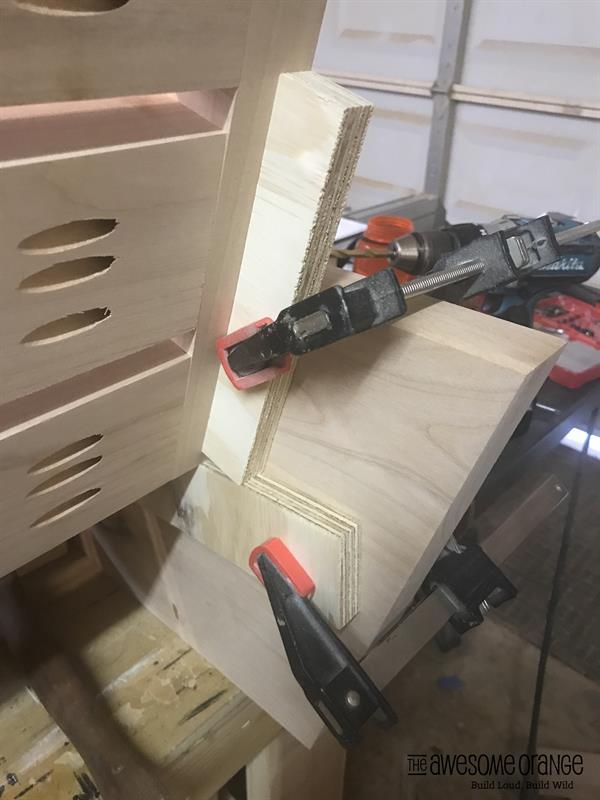
Once holes are drilled, use your guide lines you drew to line up where the back are suppose to go. Use a piece of scrap wood clamped to the sides, if necessary, to hold the back in place while drilling. Also to ensure holes are lined up I used a flashlight to look thru hole to see the other. And then screw in the 3/8" lag bolts and washer.
-
Attach back trim
To hide the pocket holes on the seat back attach the 1 x 3.25" x 20 pieces using wood glue and 1 1/4" brand nails. *Note - be sure wood glue is rated for the outdoors.
-
Sand and Seal
Sand to 120 grit and break edges so no sharp edges. Seal with an exterior rated paint or finish.
-
Visit www.theAwesomeOrange.com
Visit www.theAwesomeOrange.com to see more pictures of this build, some tips and tricks, and to see what finish I used on my chairs. Happy Building!
-
Add Feet
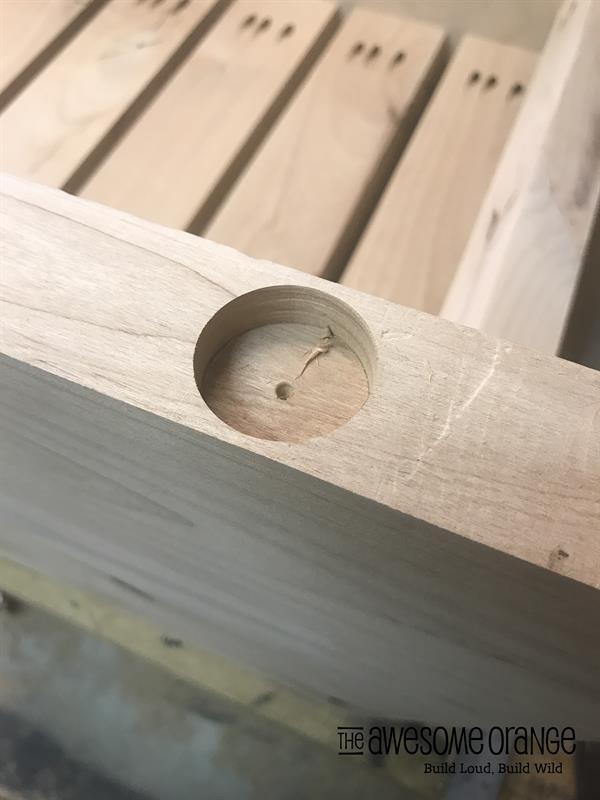
I added feet so that the wood wouldn't sit on the ground or in possible water. I also recessed them so they wouldn't be super visible, by drilling a 1.25" hole with a forester bit recessed .5". And then follow the instructions on the feet, as each brand are a little different.


