

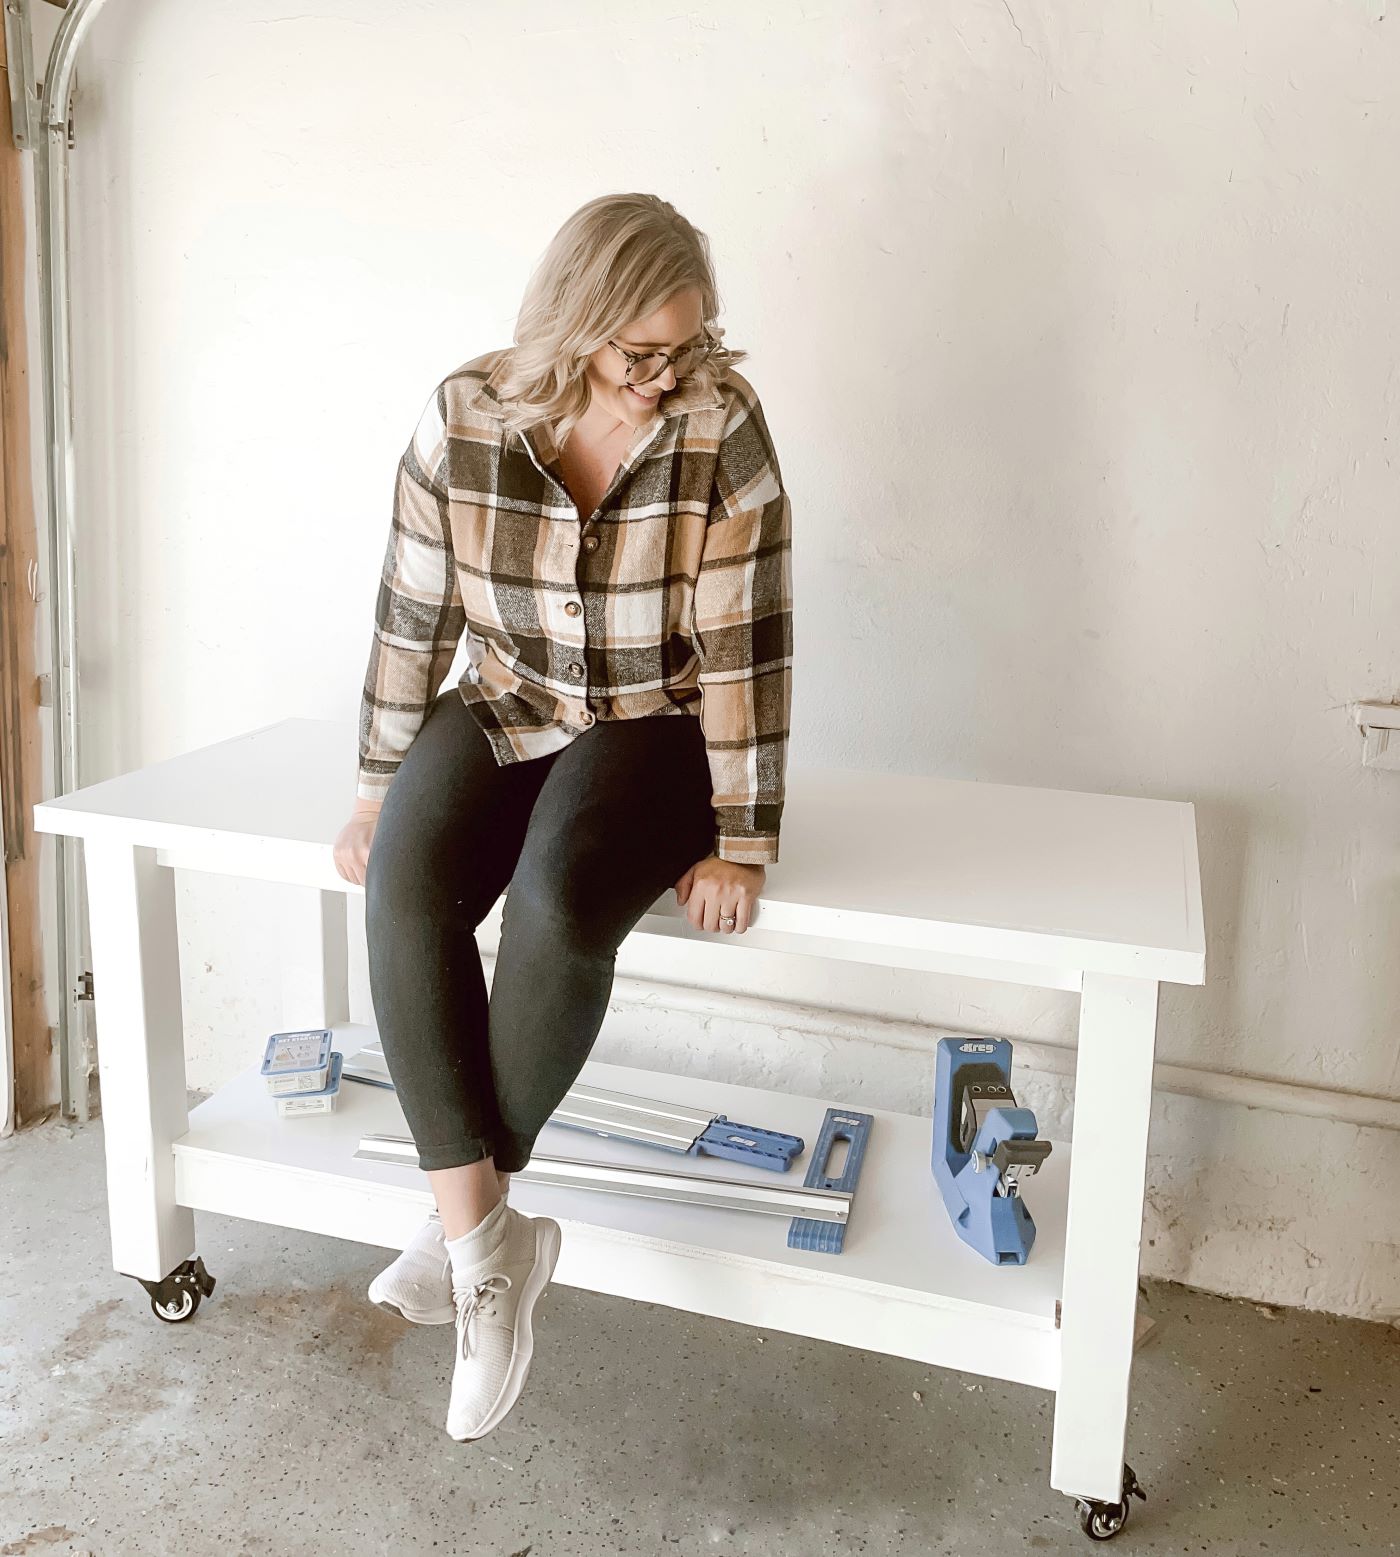
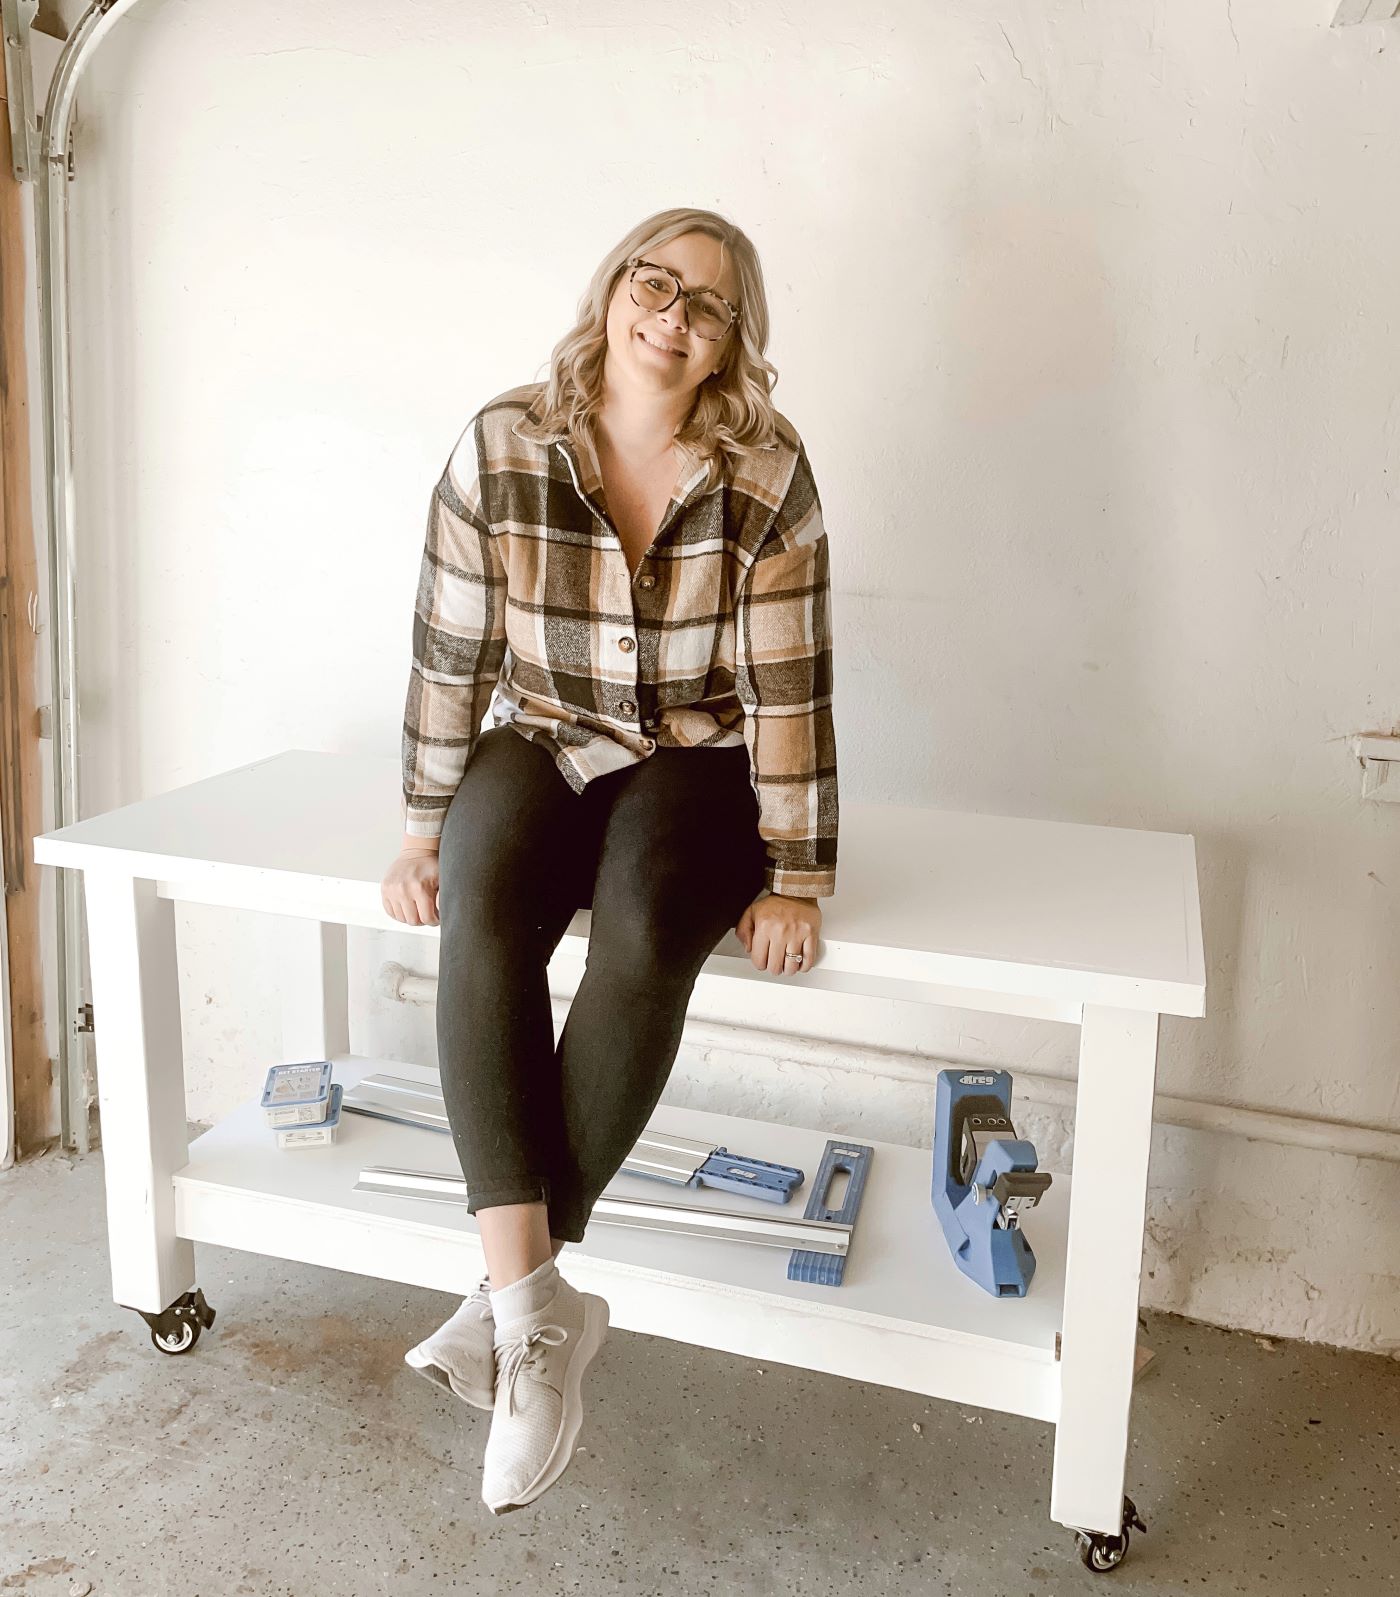
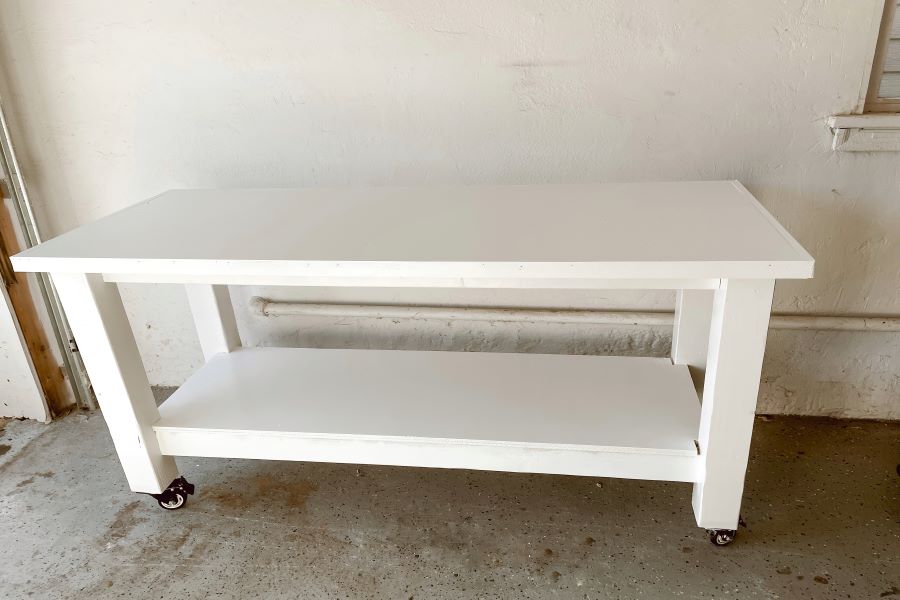


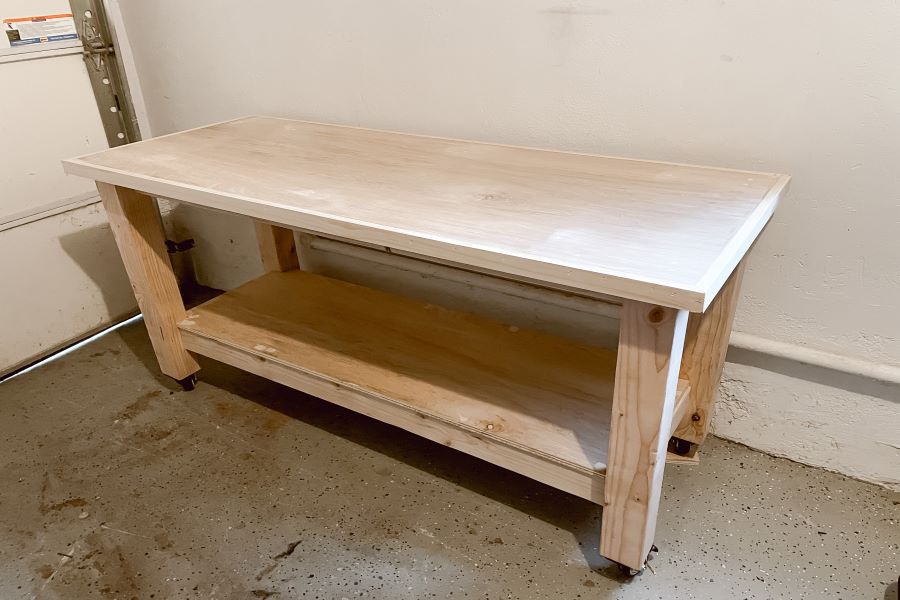
This mobile workbench is a quick and easy DIY build that you can get done in just one weekend! Equipped with a large table top, extra shelving storage, and with mobile capability - making it the
perfect workshop necessity!
Tools
Kreg Tools


Other Tools
-
Miter Saw

-
Clamps
-
Tape Measure
-
Brad Nailer
Materials
Wood Products
- 1 Birch Plywood , 3⁄4”x4x8
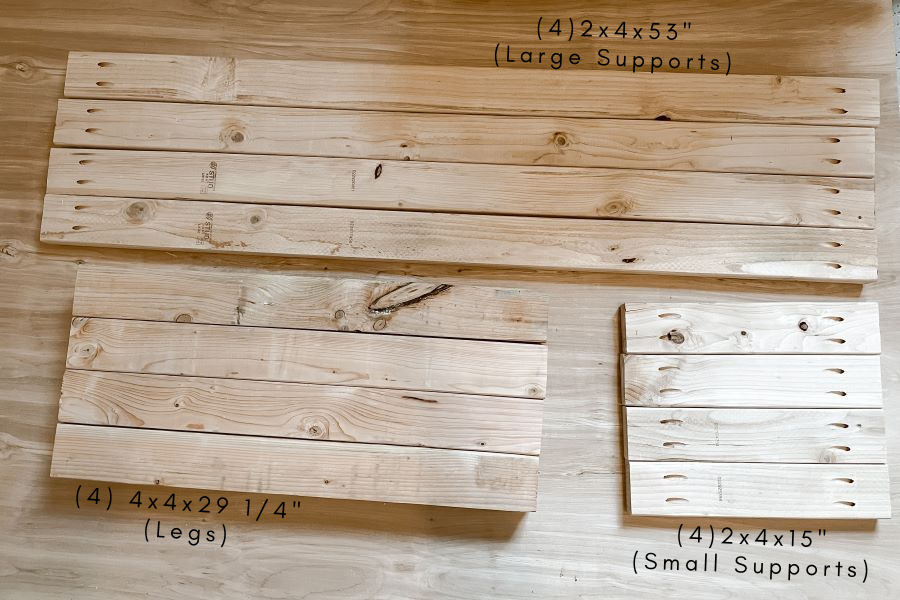
- 2 Pieces of wood , 4x4x8
- 4 Pieces of wood , 2x4x8
- 2 Pieces of wood , 1x2x8
Hardware & Supplies
- 1 Box of 2.5" Kreg Pocket Hole Screws (See tools list)
- 4 3-Inch Caster Wheels
- 1 Wood Glue
- 1 Wood Filler
- 1 Paint or Stain (Optional)
- 1 Polyurethane
- 1 Box of 1 3⁄4” Construction Screws
- 1 Plastic Wood
- 1 120 Grit Sandpaper
Directions
-
Pocket Holes
Drill two pocket holes on each side of all your small and large supports. After making all your pocket holes, go ahead and sand down all your pieces using an orbital sander and 120 grit sandpaper.
-
Side Frame
Attach 2 of the small side supports (2x4x15”) to two of the legs. Your first small support will go on the inside at the very top of the legs. Your second small support will go 4” up from the bottom of the legs. Use clamps, wood glue, and 2.5” Kreg Jig pocket hole screws to secure them together.
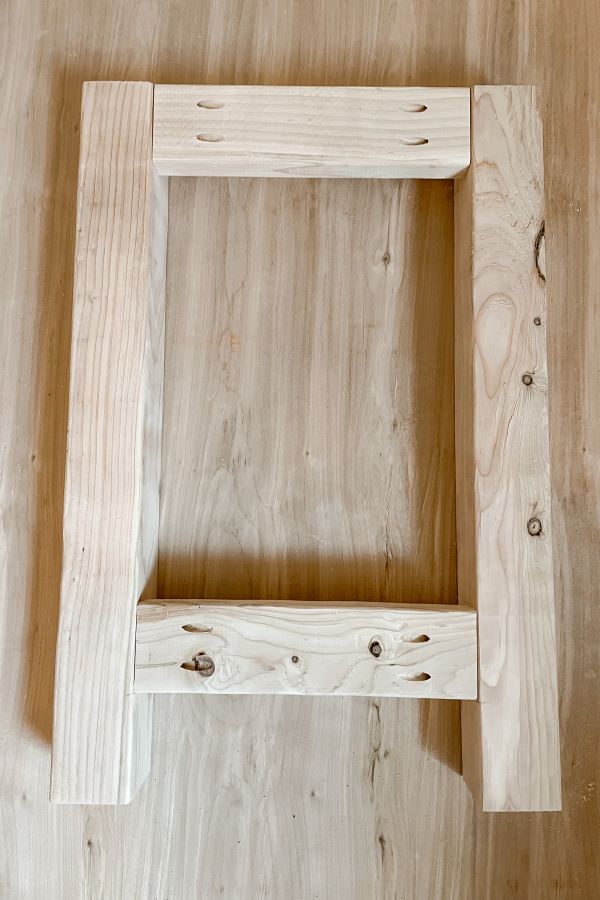
-
Front/Back Supports
Attach your large supports in the same exact positions - at the very top of your legs and 4” from the bottom of your legs.
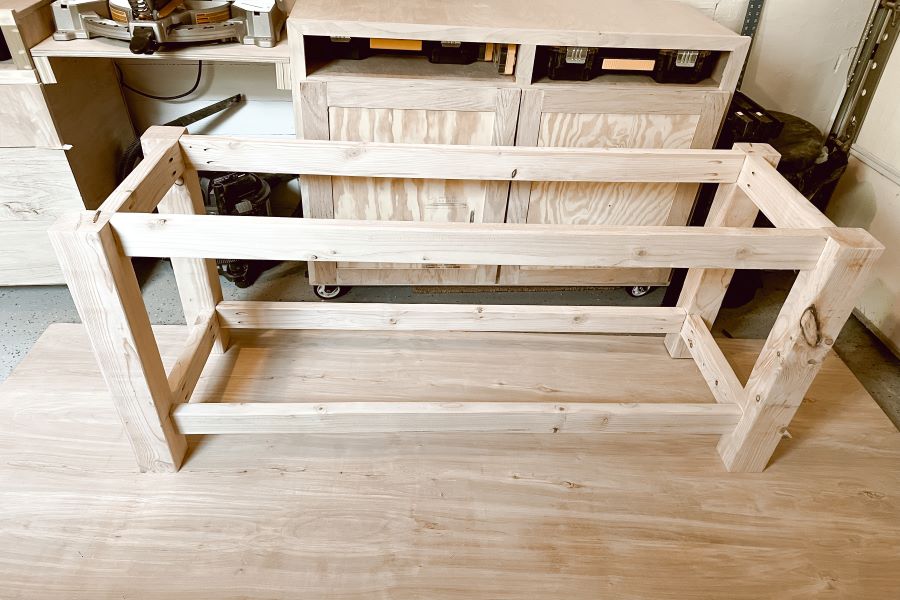
-
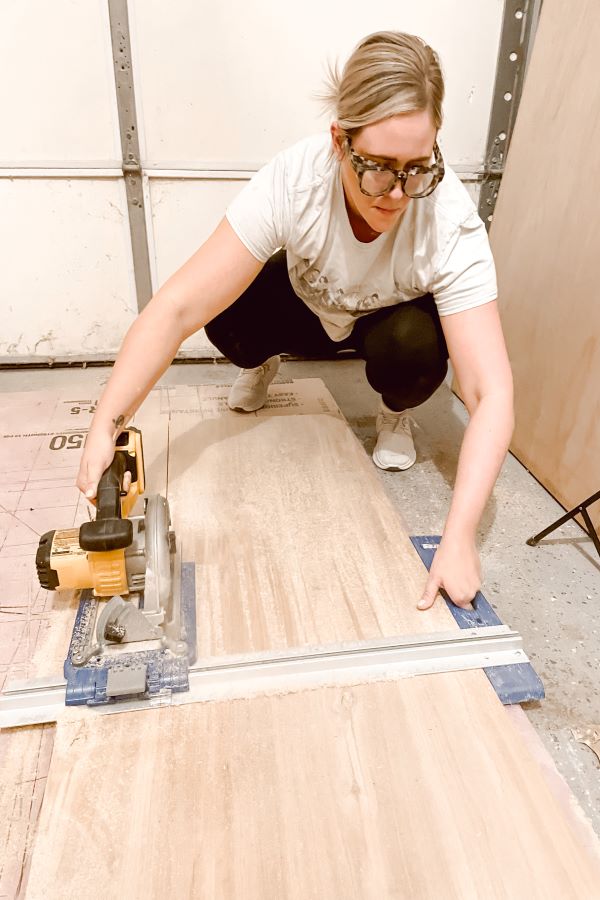
Table Top
Using your Kreg Jig RipCut and AccuCut cut your plywood down to size for the table top (3⁄4” x 24” x 62”). Then attach your table top to your legs and support using 1 3⁄4” construction screws. Two screws per leg, four screws to your large support and three to your small supports. Conceal your holes using plastic wood or wood filler.
-
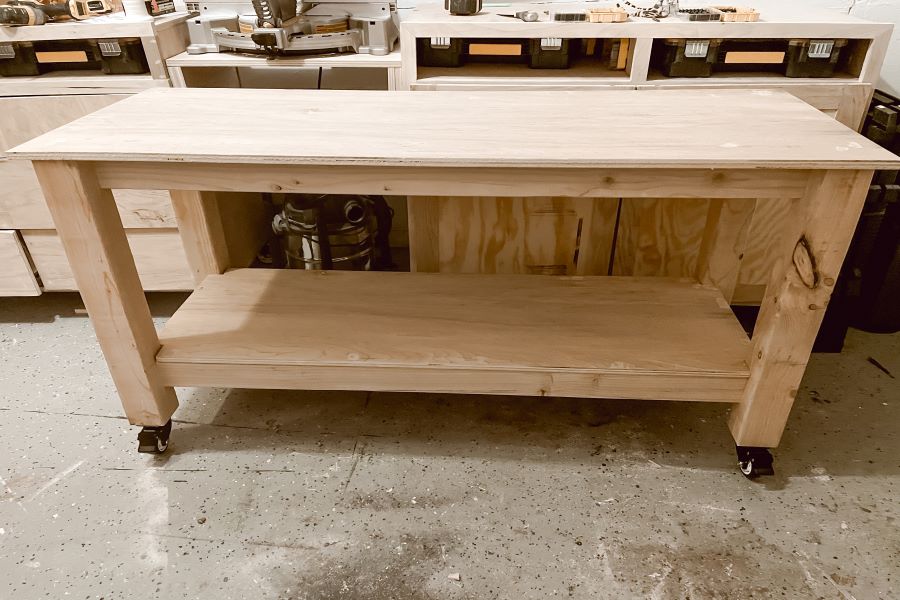
Shelf
After cutting down your shelf to size, you will use your jigsaw to cut out notches on all four corners so that your shelf will sit on your legs and on top of your bottom supports. Each notch will be 1.5” in from the side and 1.5” in from the bottom. Attach your shelf with 1 3⁄4” construction screws and conceal your holes with plastic wood or wood filler.

-
Attach Wheels
Using 3” caster wheels attach them to the bottom of your legs using 2.5” screws and washers!
-
Table Top Framing
I wanted the table top to have the look of a thick countertop without the cost associated with that. So, I framed out the table top using 1x2’s! Miter your 1x2’s for a more finished look. Attach your 1x2’s using wood glue and 1 1⁄4” brad nails. **Make sure your 1x2’s line up exactly with your tabletop - this will make a completely flat surface. Conceal your nail holes using plastic wood or wood filler.
-
Paint/Stain
This step is optional - you can definitely leave it as exposed wood. However, I decided to prime and paint my workbench. Used 123 Primer and Behr Cabinet and Trim in Semi-Gloss in Polar Bear. Sealed with 2 thin coats of water based matte poly.
