Mobile Plywood Workbench with Storage
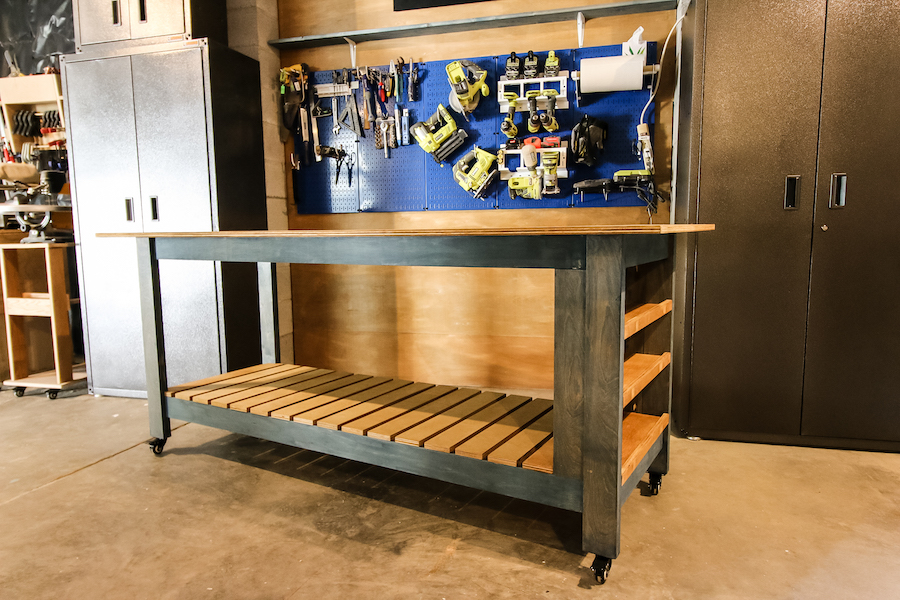
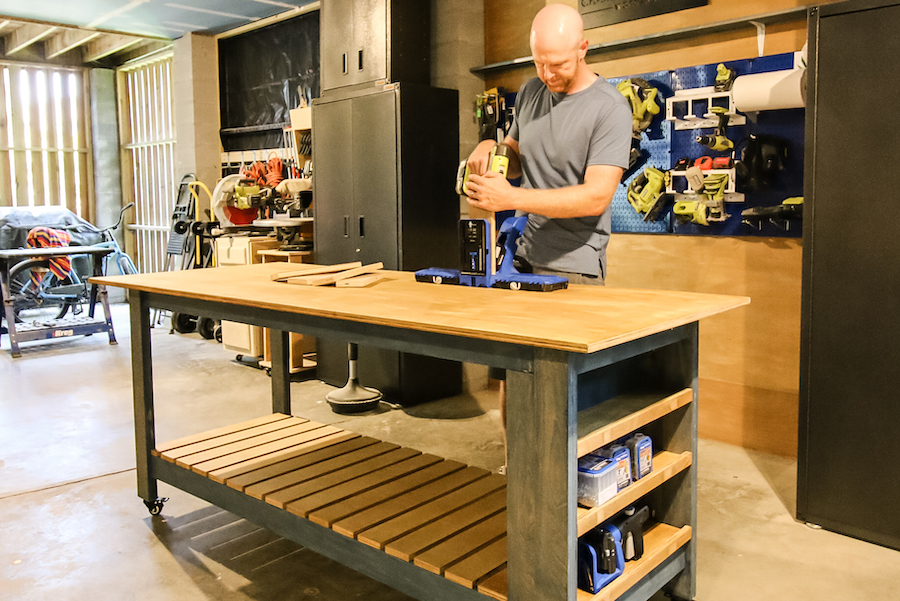
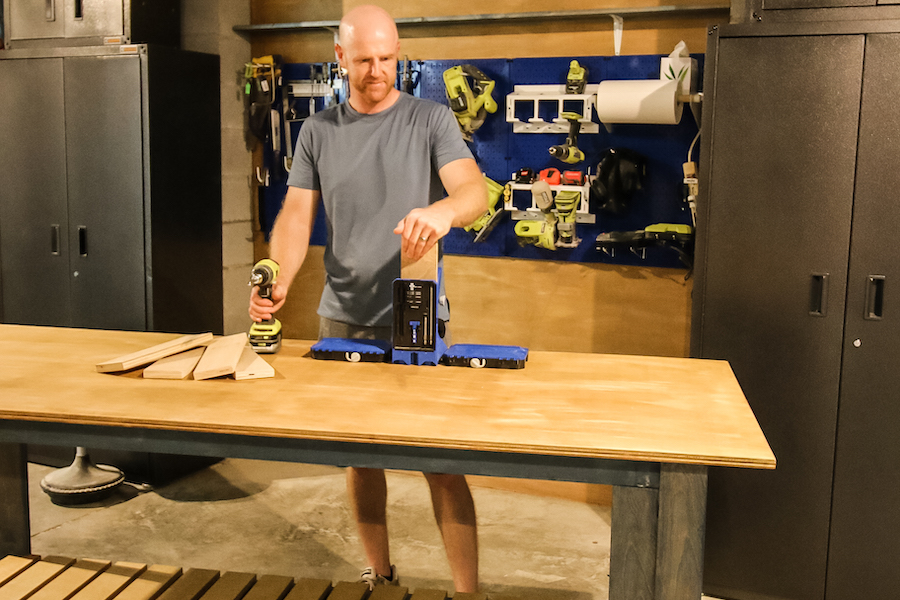
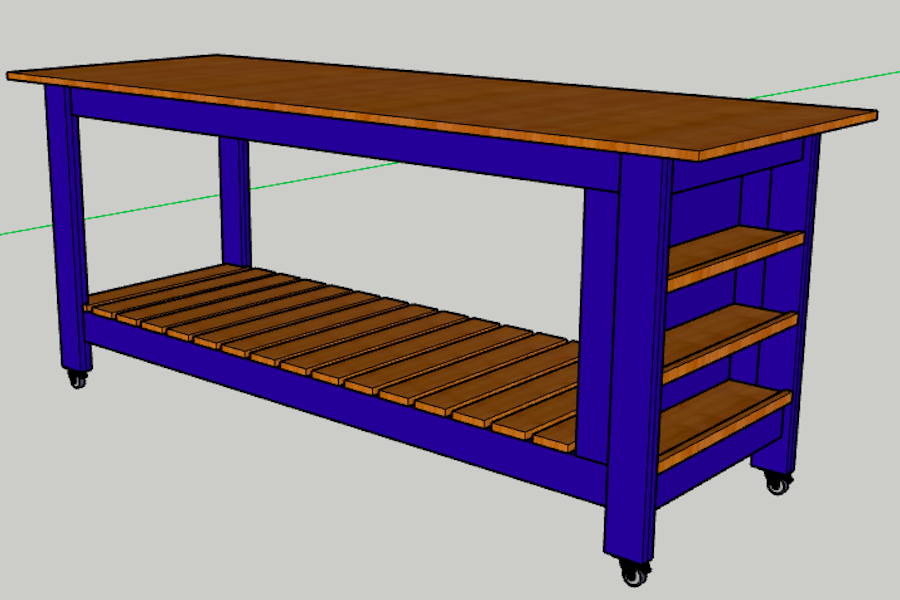
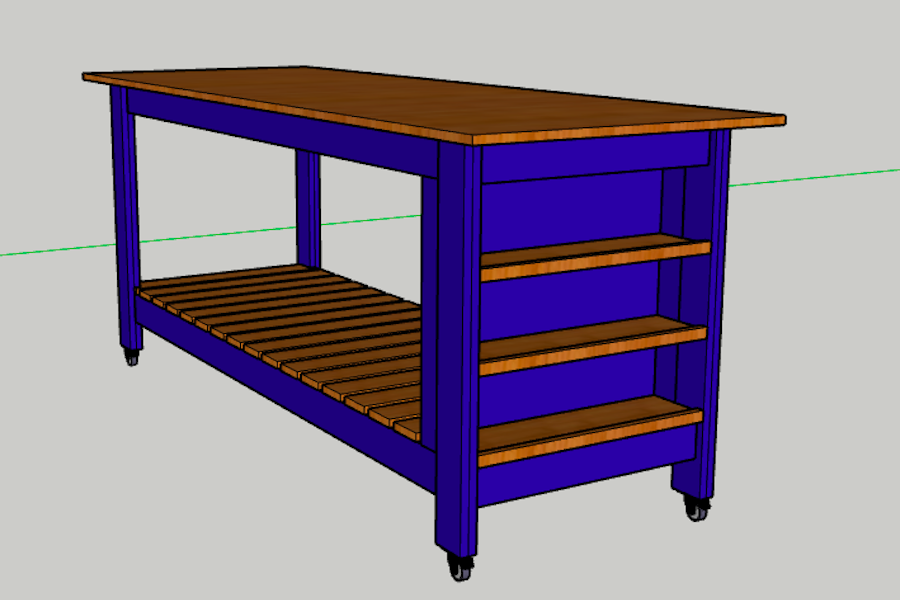
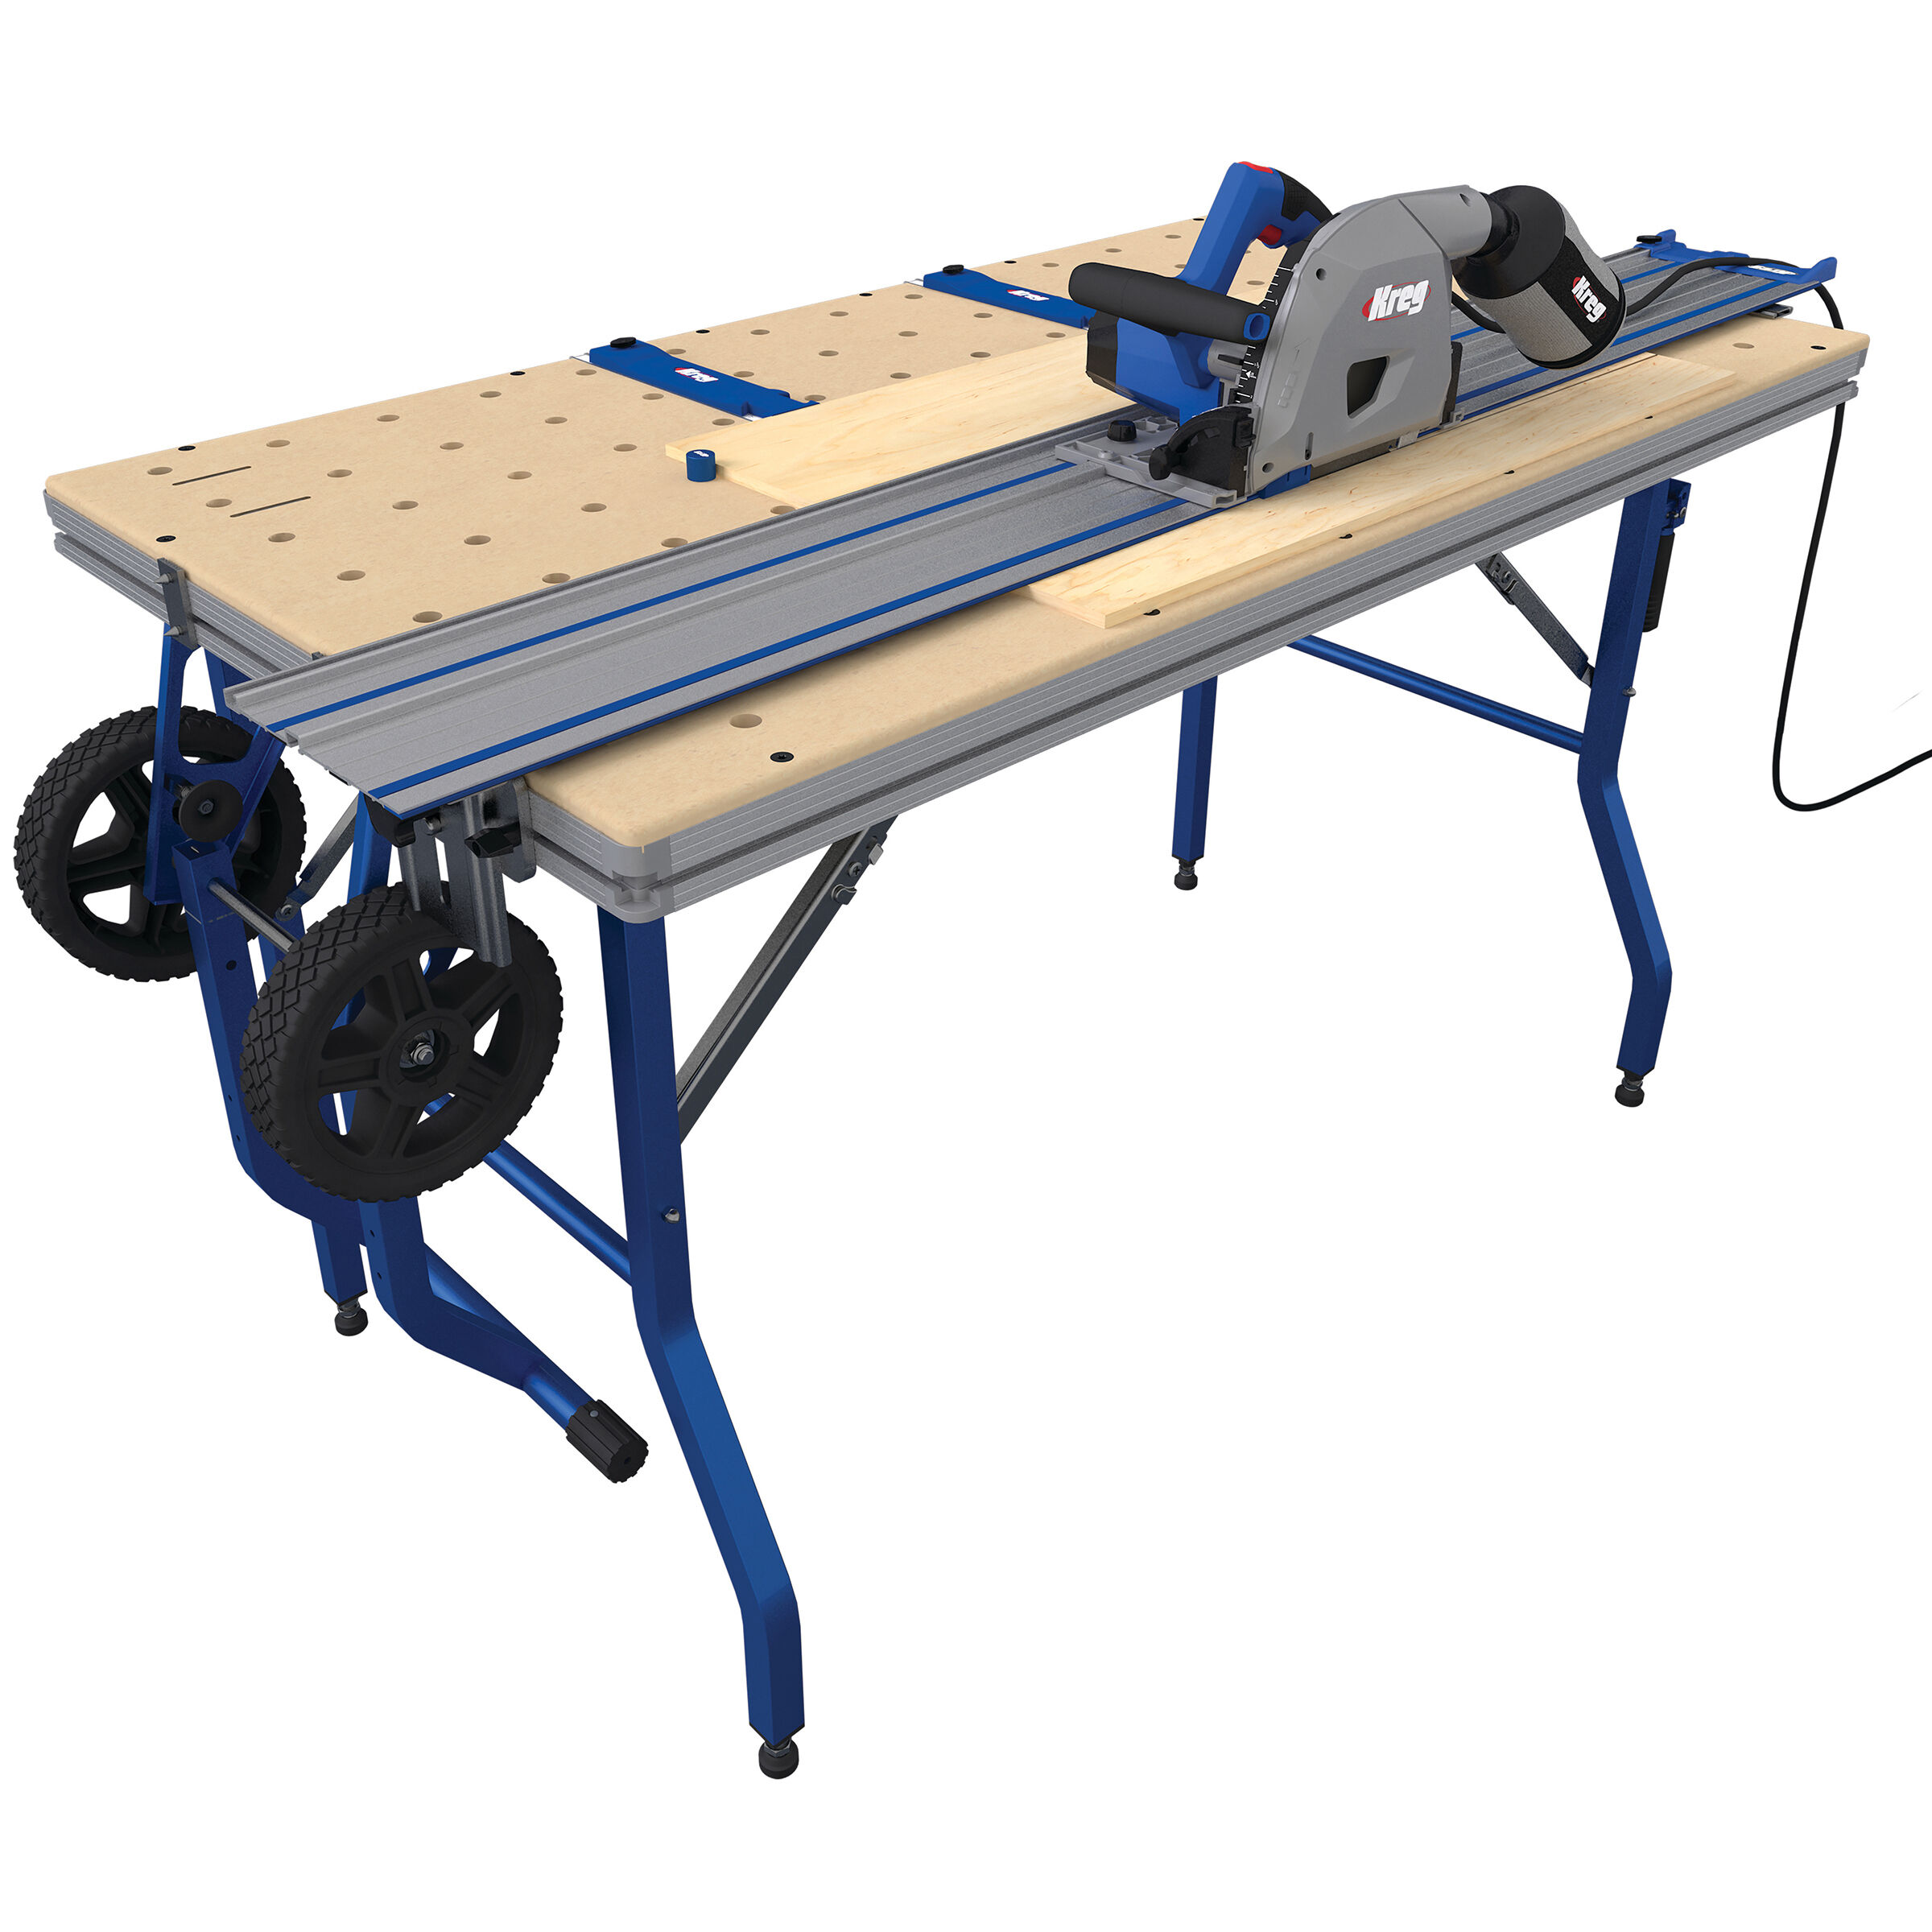
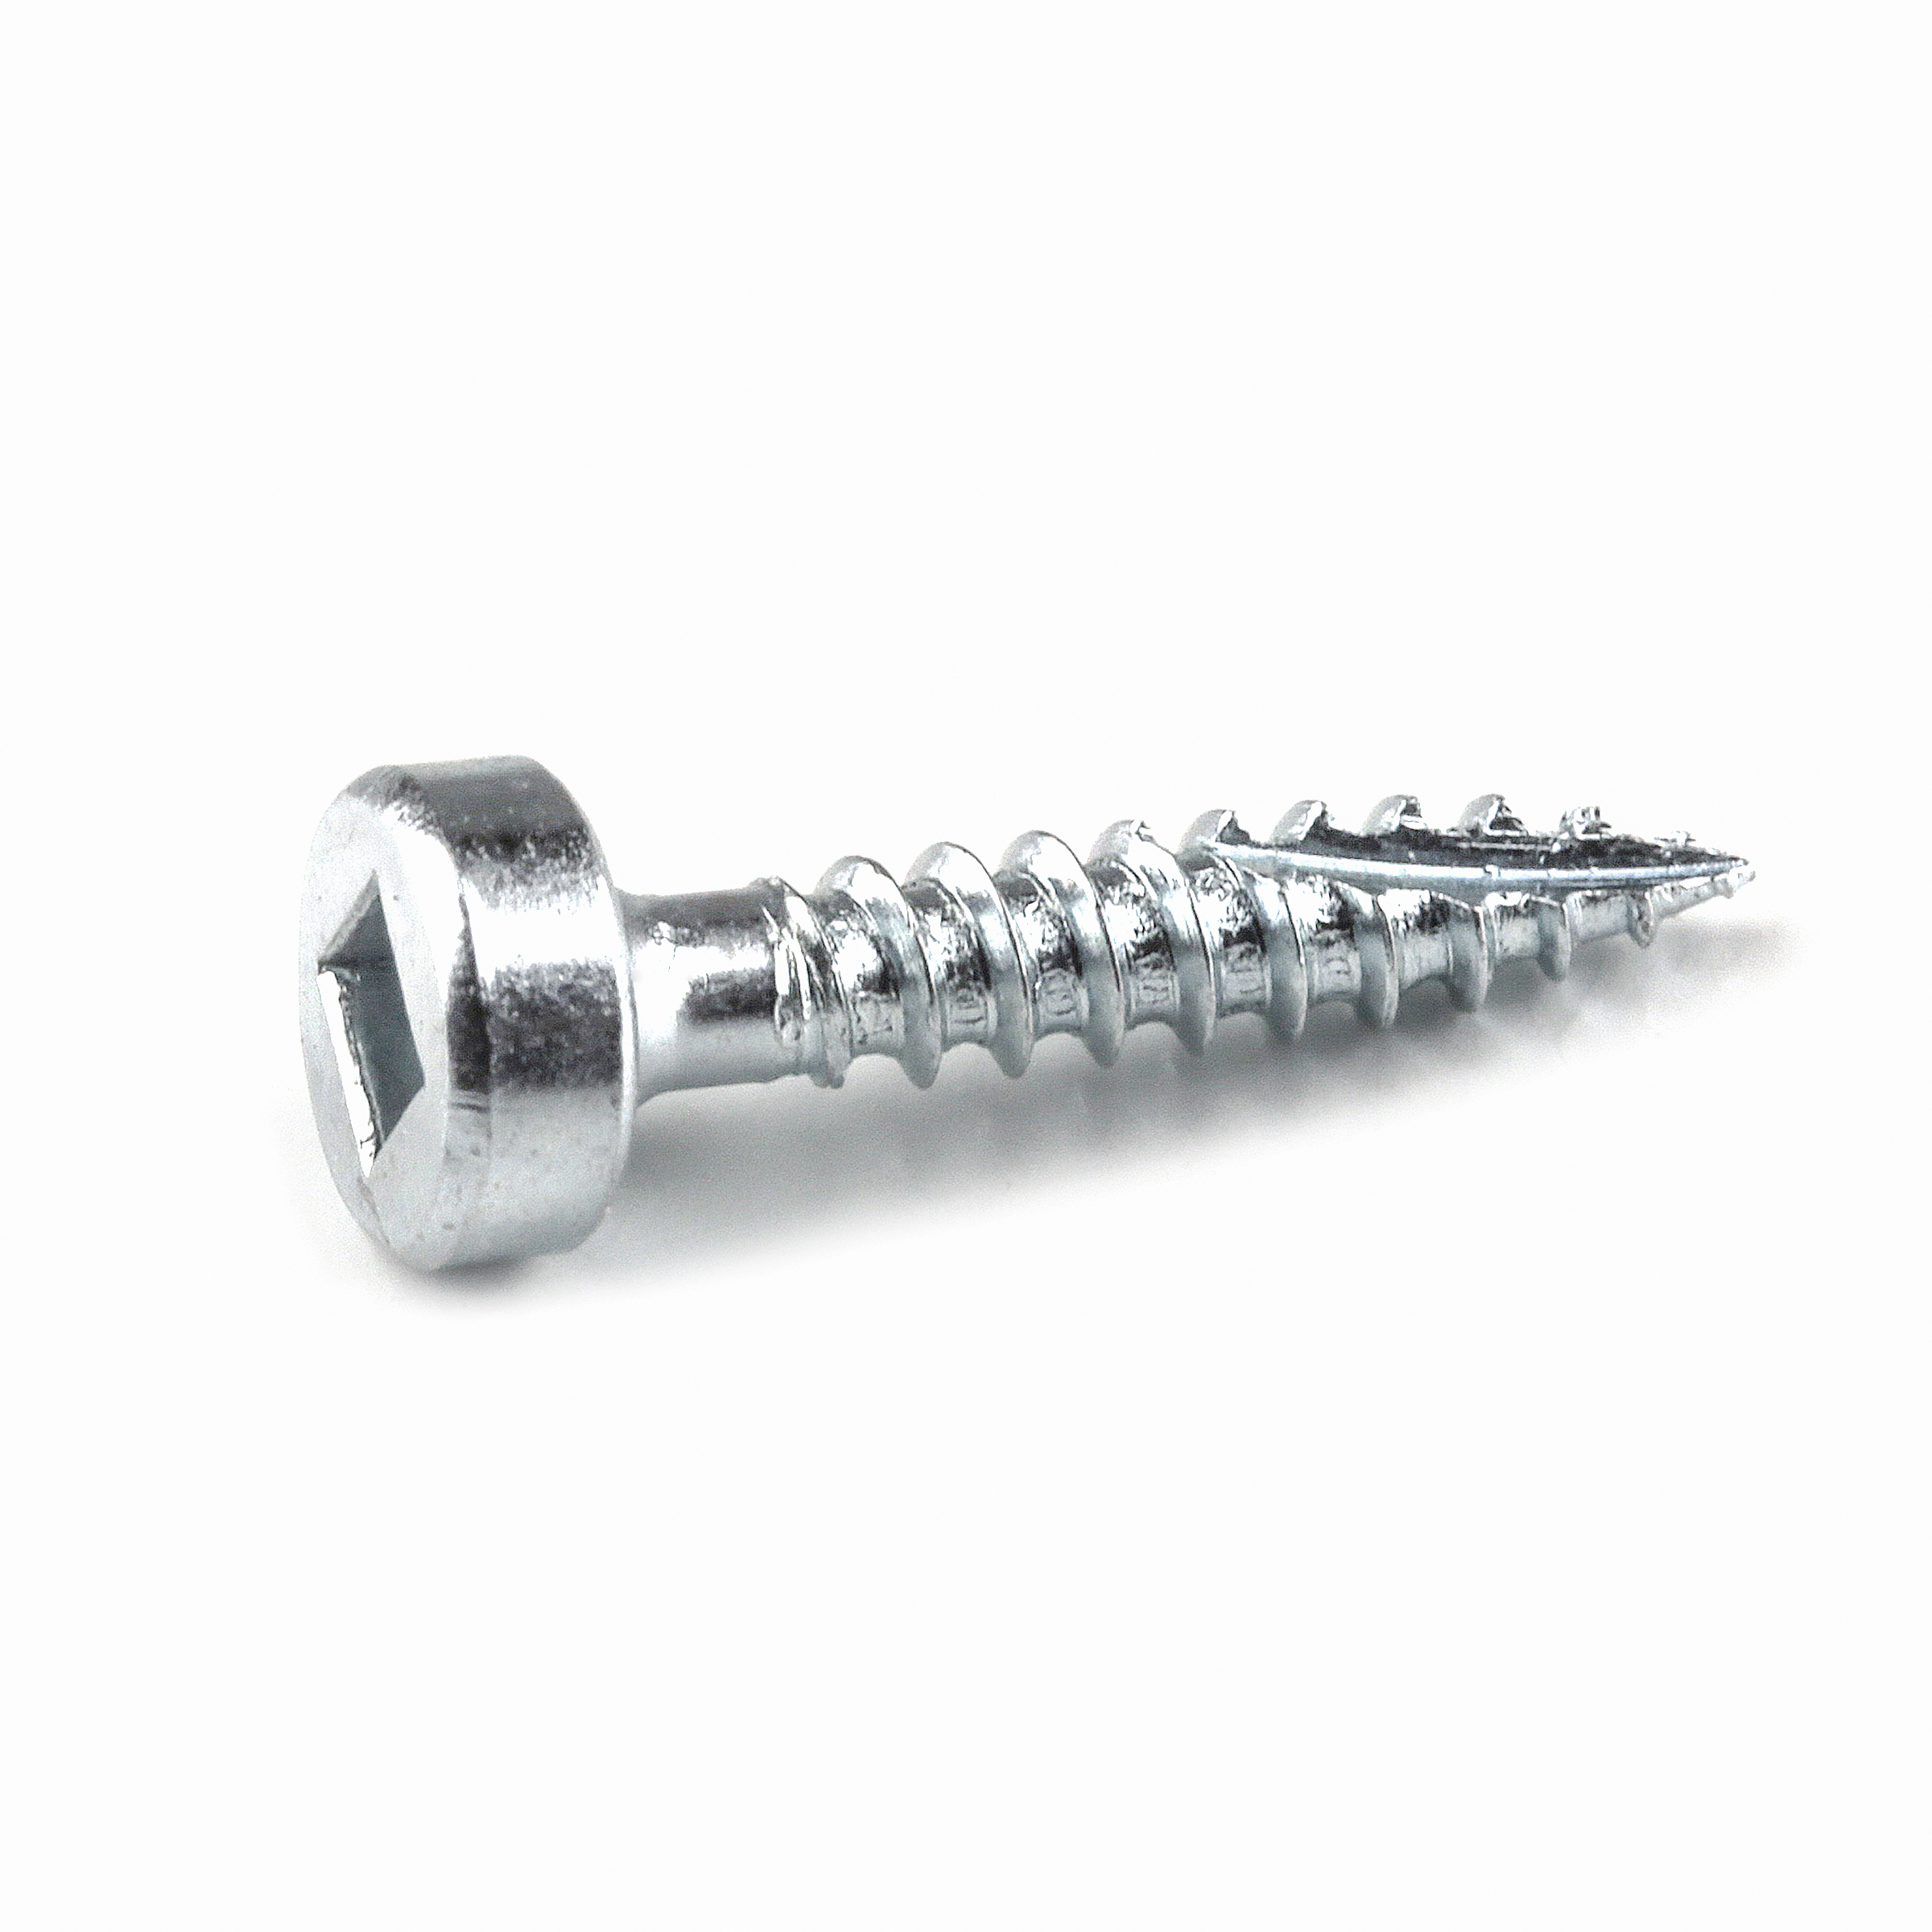
By Charleston CraftedThis mobile workbench is huge and perfect for building projects with Kreg pocket hole joinery! This workbench is made entirely of plywood, making it a great project to build with the Kreg Adaptive Cutting System. It also includes storage on the side to keep all of your essentials within reach!
Directions
-
Glue Legs
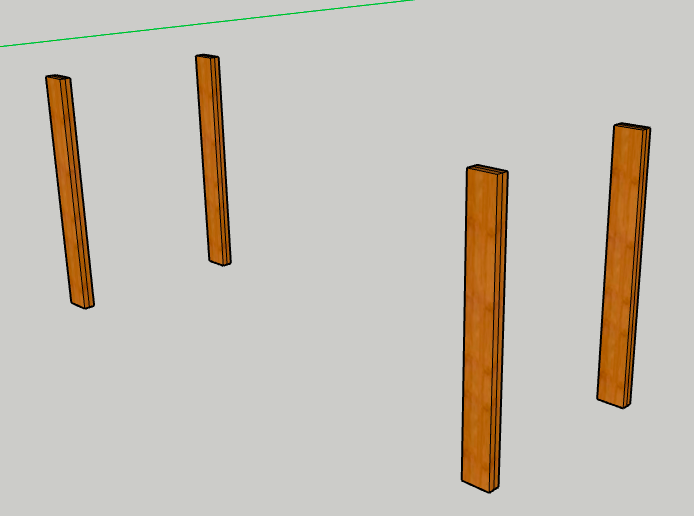
- Using wood glue, attach two Legs together on one face. Use clamps to hold together.
- Repeat to make three more sets of Legs.
- When dry, drill two pocket holes in one end of each Leg set. -
Build Front and Back Frame
- Drill two pocket holes in each end of the four Long Stretchers.
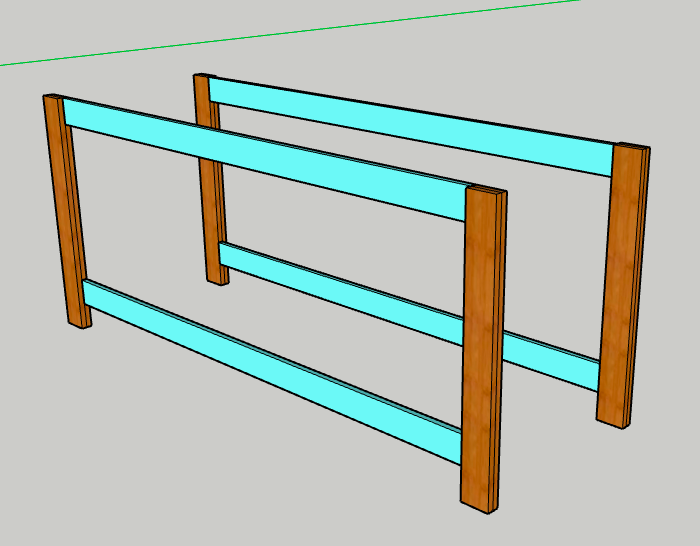
- Build the front frame of the workbench by attaching a Long Stretcher at the top of two Legs.
- Attach flush at the top and on the inner half of the Legs.
- Do the same thing with another Long Stretcher 3 1/2" up from the bottom of the Legs.
- Repeat to build the back frame. -
Connect Frames
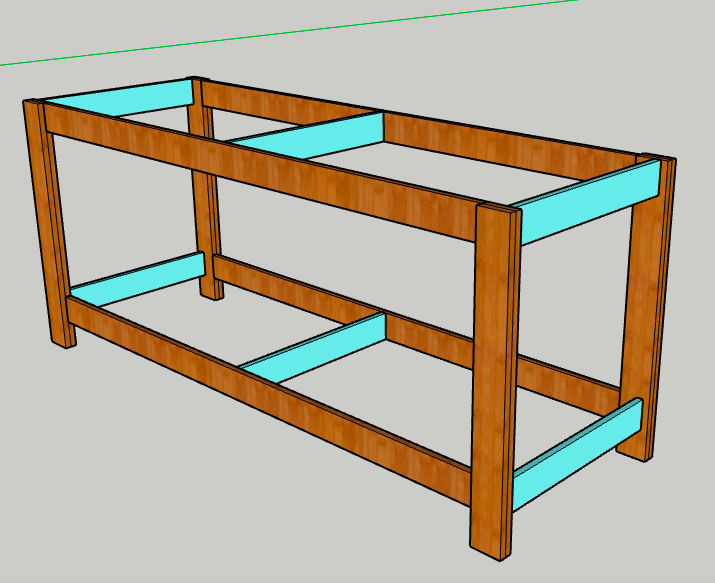
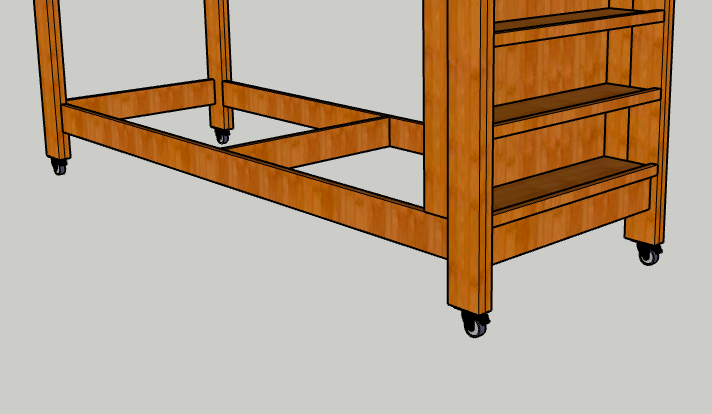
- Connect the front and back frames using the Short Stretchers.
- Drill two pocket holes in each end of the Short Stretchers.
- Attach the Short Stretchers to the front frame in the same locations on the Legs as the Long Stretchers. Attach 3/4" in from the outside edge of the Legs.
- Flip the back frame on top of the Short Stretchers and attach using pocket screws in the same locations.
- Drill two pocket holes in each end of the two Center Supports.
- Attach the Center Supports between the center of the front and back frames using pocket screws. -
Attach Shelf Sides and Back
- Drill two pocket holes in each end of the Shelf Sides.
- Drill three evenly spaced pocket holes along each of the 25 1/4" long sides of the Shelf Back and two pocket holes along one of the 23" long sides.
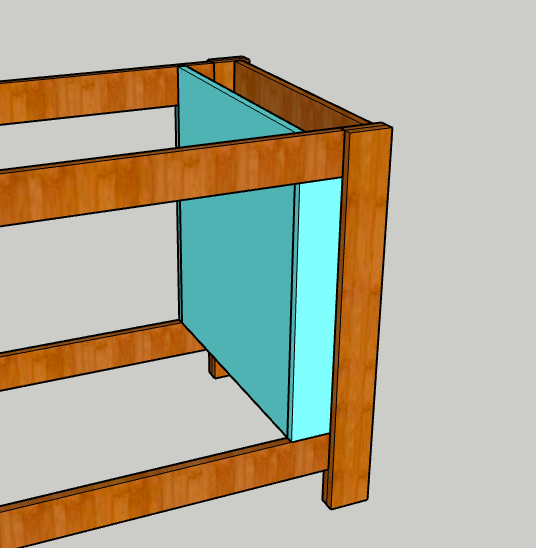
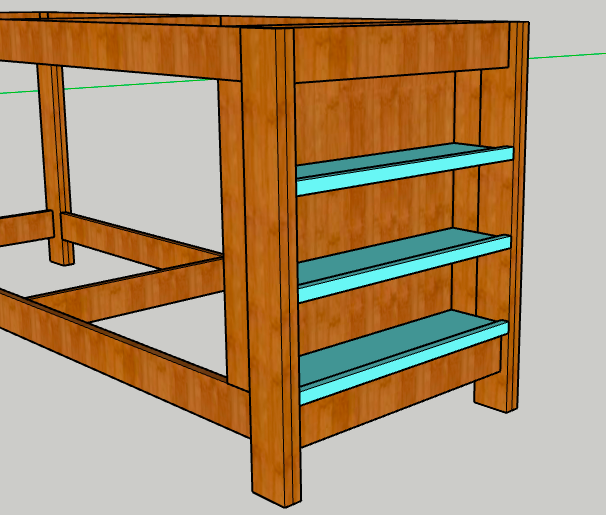
- Attach the Shelf Sides flush against the Legs in between the Long Stretchers on one side of the workbench using pocket screws.
- Attach the Shelf Back between the Shelf Sides flush along the back inside edge, using pocket screws. -
Attach Shelves
- Drill two pocket holes in each end of the Shelves and two along one long edge..
- Attach the first Shelf to the Shelf Back and the Legs and Shelf Sides where the pocket holes align. Attach this Shelf flush on top of the bottom Side Stretcher.
- Attach the next two Shelves the same way, with 6" of space between them.
- Nail the Shelf Fronts to the front edge of each Shelf. -
Attach Casters
- Flip the workbench frame over and attach casters to the bottom of the Legs.
-
Attach Slats
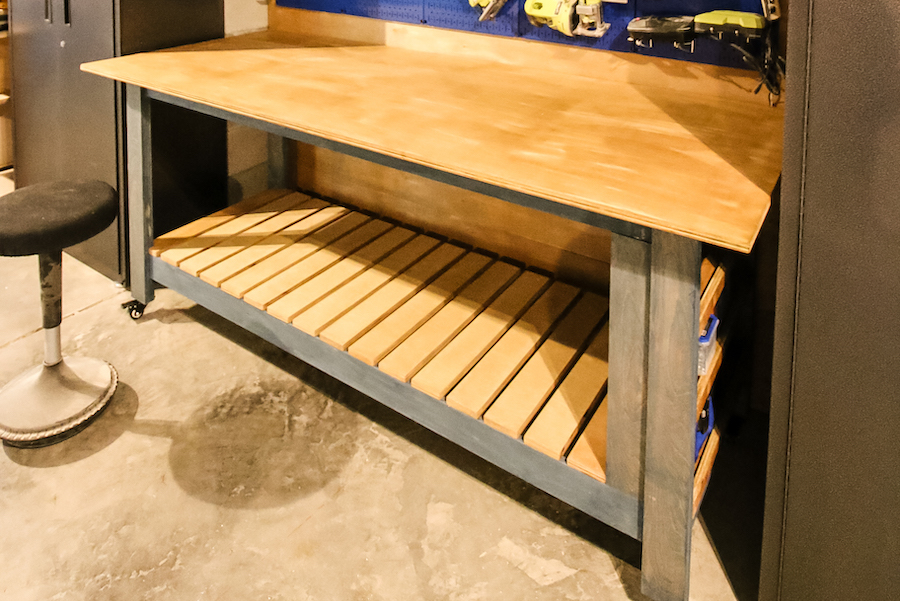
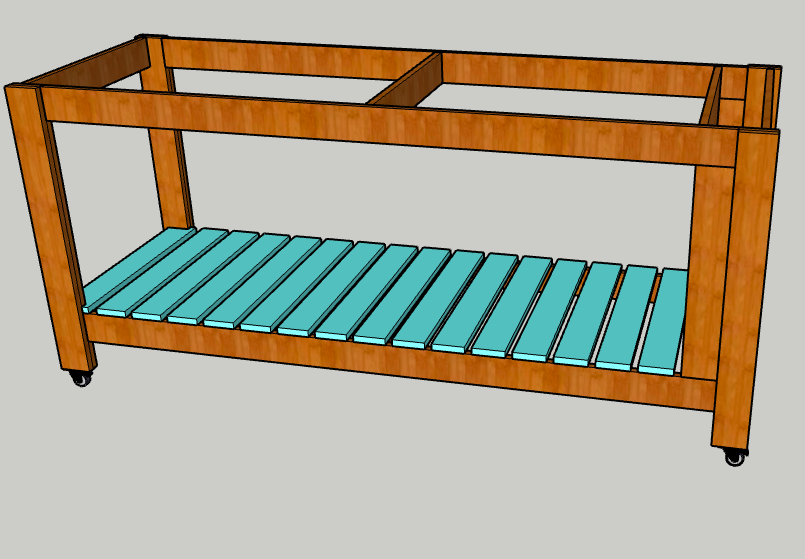
- Attach the Slats to the Long Stretchers on the bottom of the workbench.
- Starting with a Slat 3/4" from the Shelf Back, nail the Slat into the Long Stretcher on both sides.
- Using a 3/4" spacer between each Slat, work your way down until you reach the last Slat.
- Use a jigsaw or scroll saw to cut out 2 3/4" x 3/4" on each side of the last Slat.
- Attach this Slat so it fits around the Legs. -
Attach Top
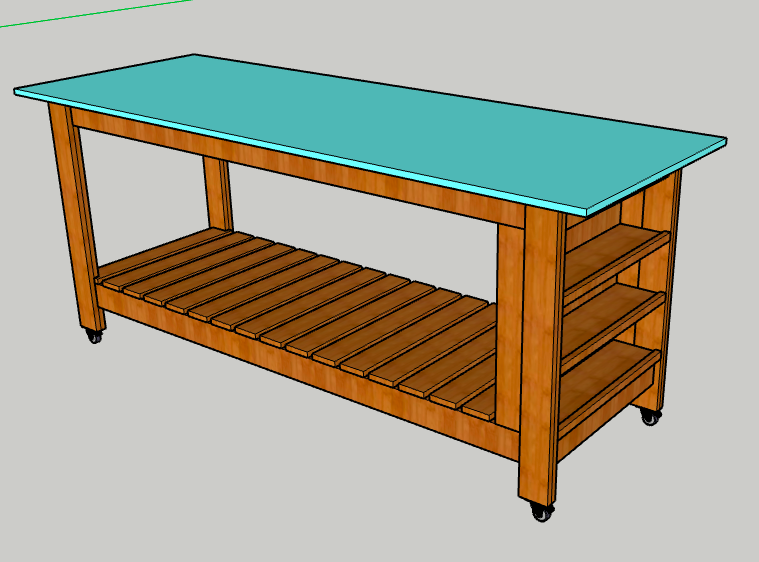
- Using the pocket holes in the Legs and the Shelf Back, attach the Top to the workbench base.
- The Top should hang off the Legs 4" on the sides and 2" on the front and back. -
Enjoy!
- Enjoy your handiwork and tag @CharlestonCrafted on Instagram with a picture!


