


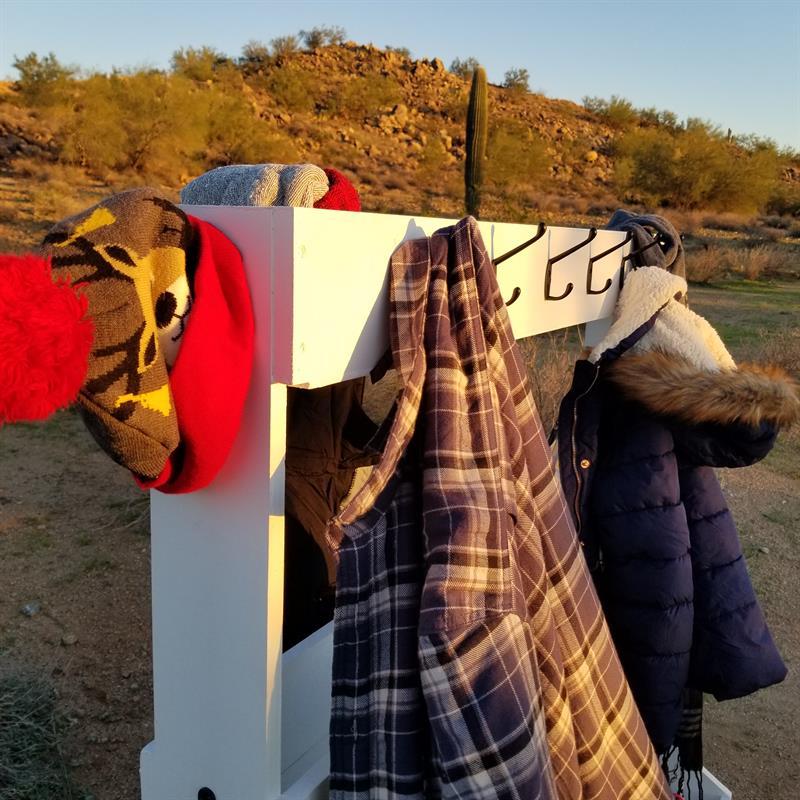
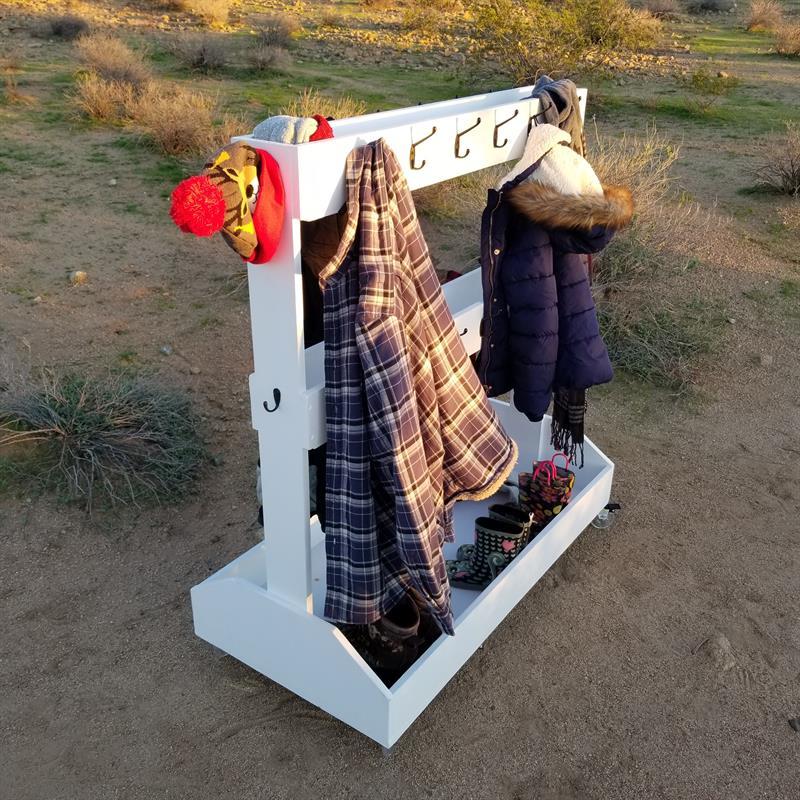


The Mobile Mud Rack is a perfect way to keep all of your gear organized this winter, including hats, scarves, coats and boots. Because this rack utilizes casters, it can be conveniently used inside or outside based on your needs, and the flexible design makes it great for every other season as well!
Tools
Kreg Tools


Other Tools
-
Miter Saw

-
Square
-
Table Saw
-
Clamps
-
Nail Gun
-
Sawhorse
Materials
Wood Products
- 1 Plywood , 3/4" Thick , Full Sheet
- 1 Plywood , 1/4" Thick , Quarter Sheet
Hardware & Supplies
- 50 1 1/4" Kreg screws
- 25 1 1/2" drywall screws (course thread)
- 1 Wood Glue
- 50 1 1/4" 18ga brad nails
- 4 2" swivel casters
- 28 Heavy Duty Wall mounted dual prong hangers
Cut List & Parts
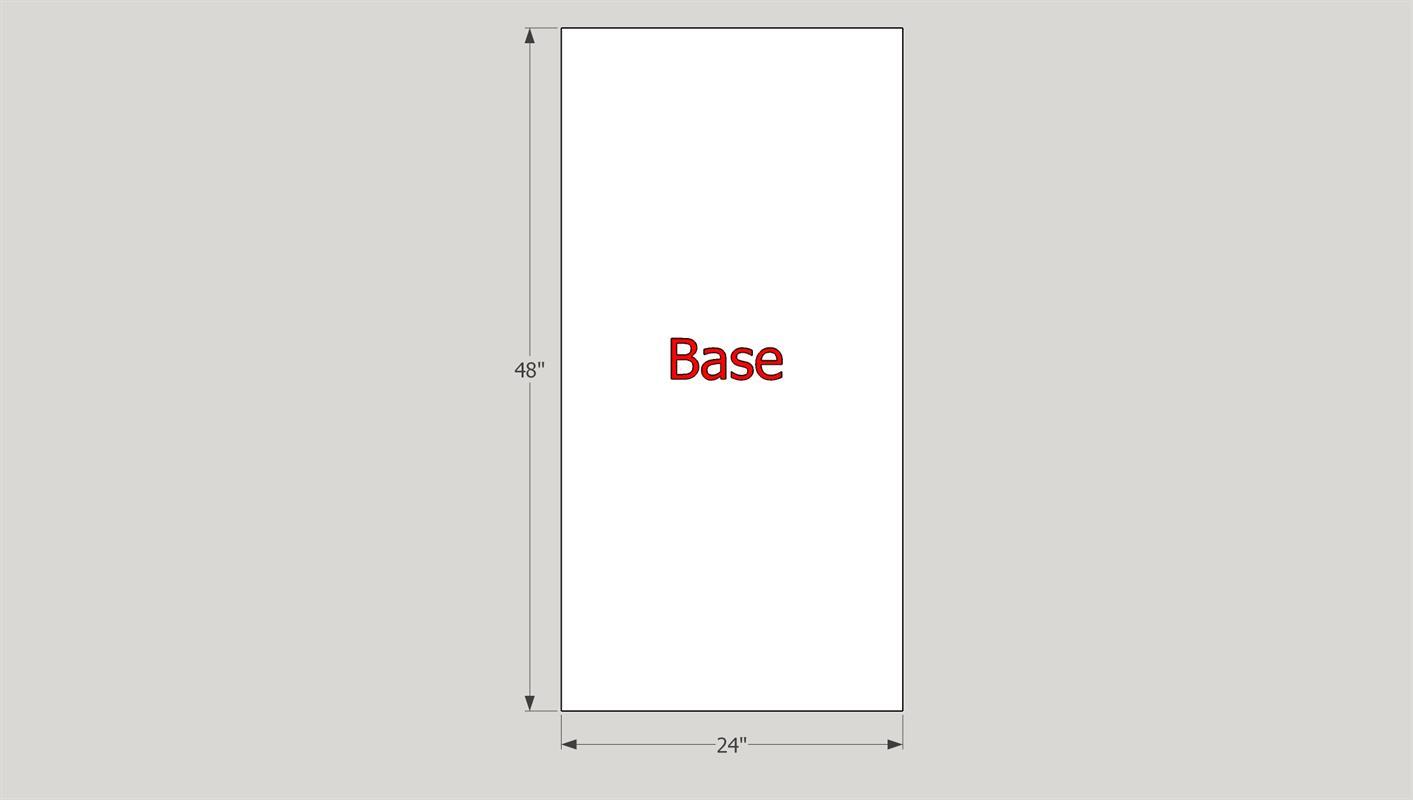
- 1 Base , 3/4" x 24" x 48"
- 2 Sides , 3/4" x 5-1/4" x 48"
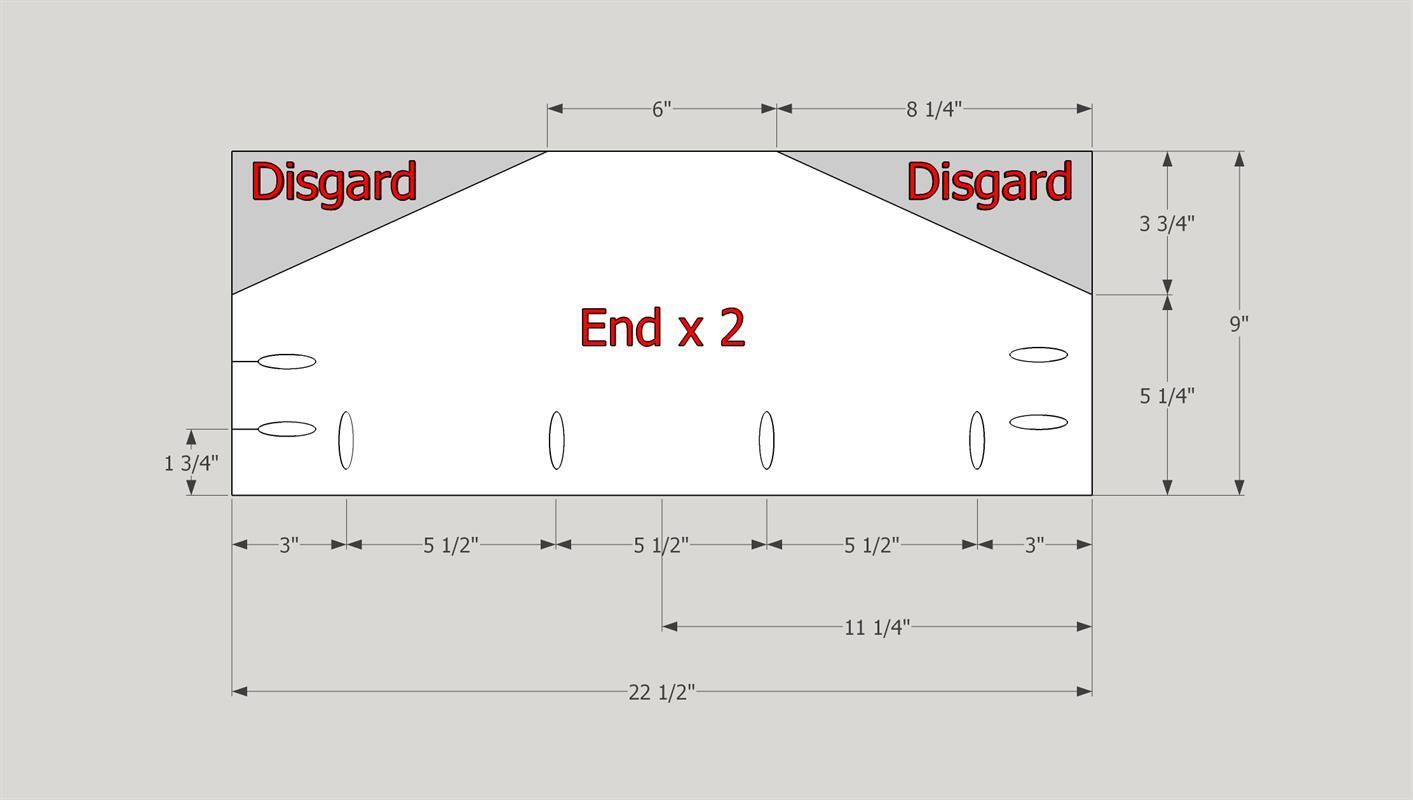
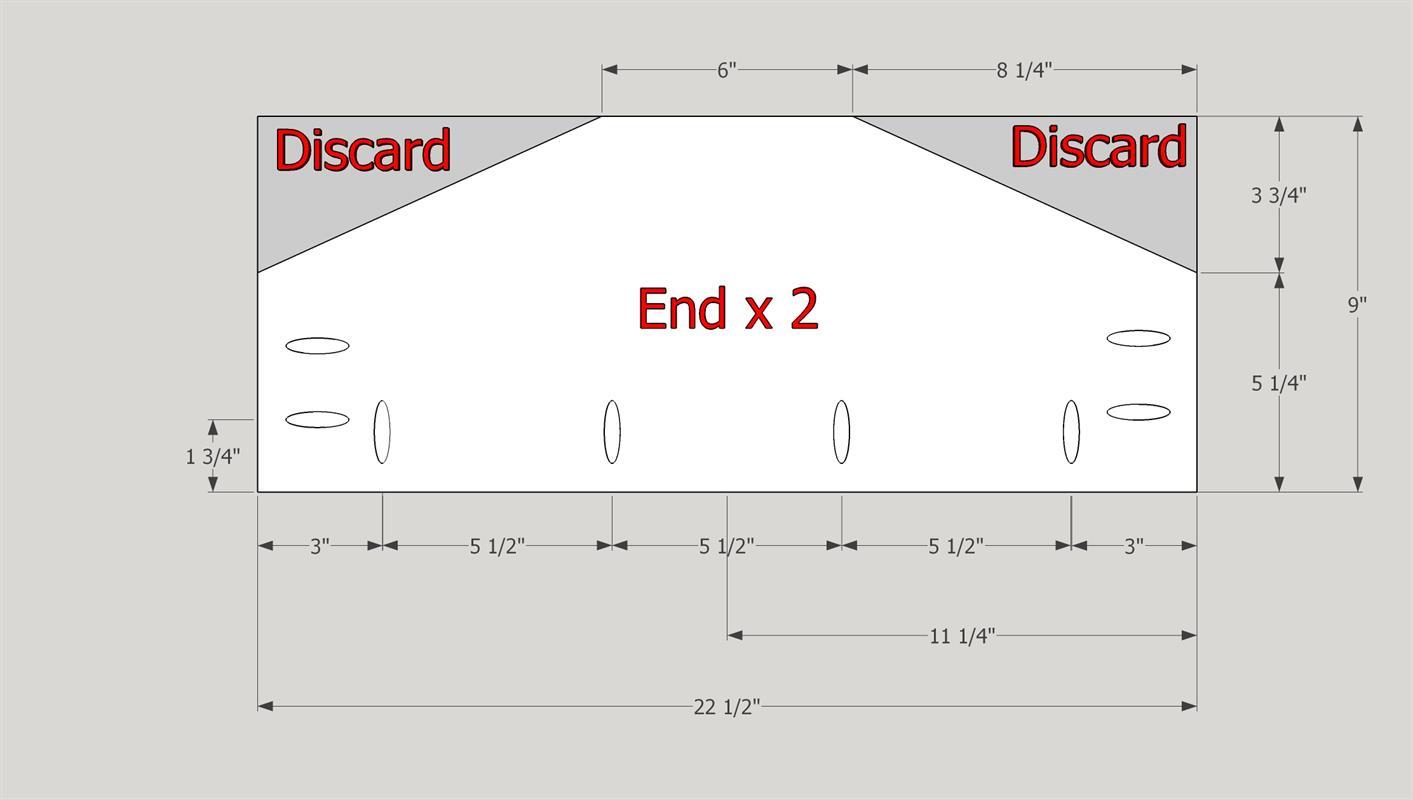
- 2 End , 3/4" x 9" x 22 1/2" (see drawing)
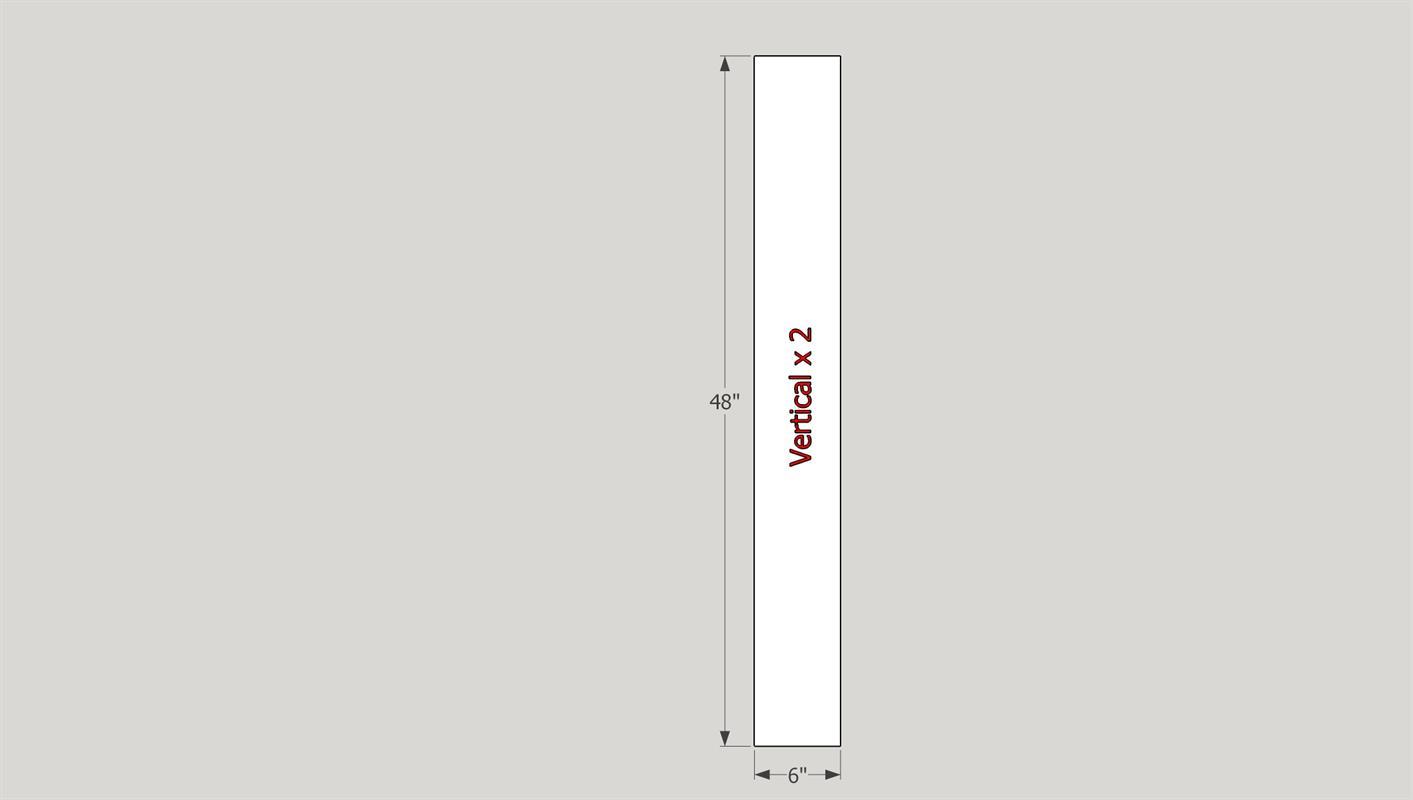
- 2 Vertical , 3/4" x 6" x 48"
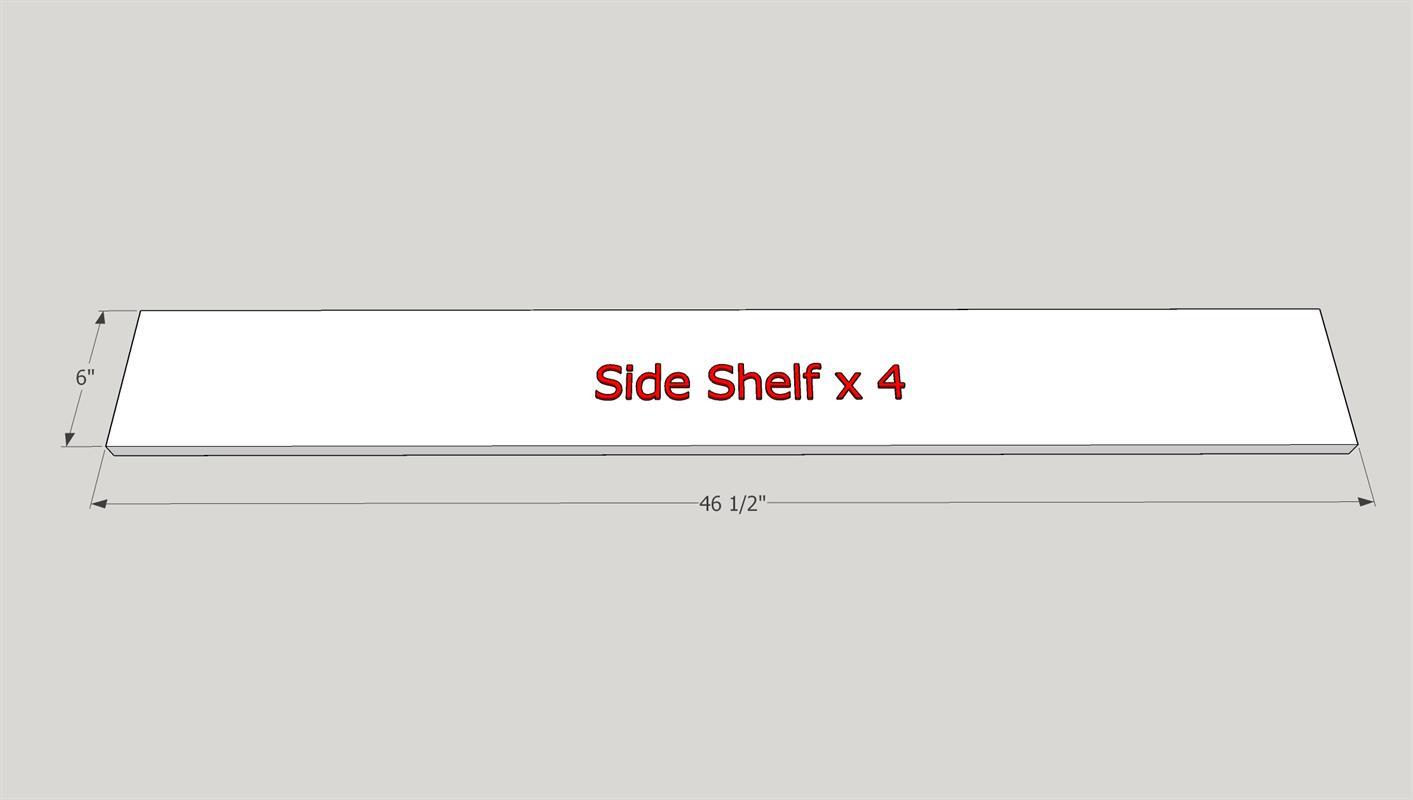
- 4 Shelf Sides , 3/4" x 6" x 46-1/2"
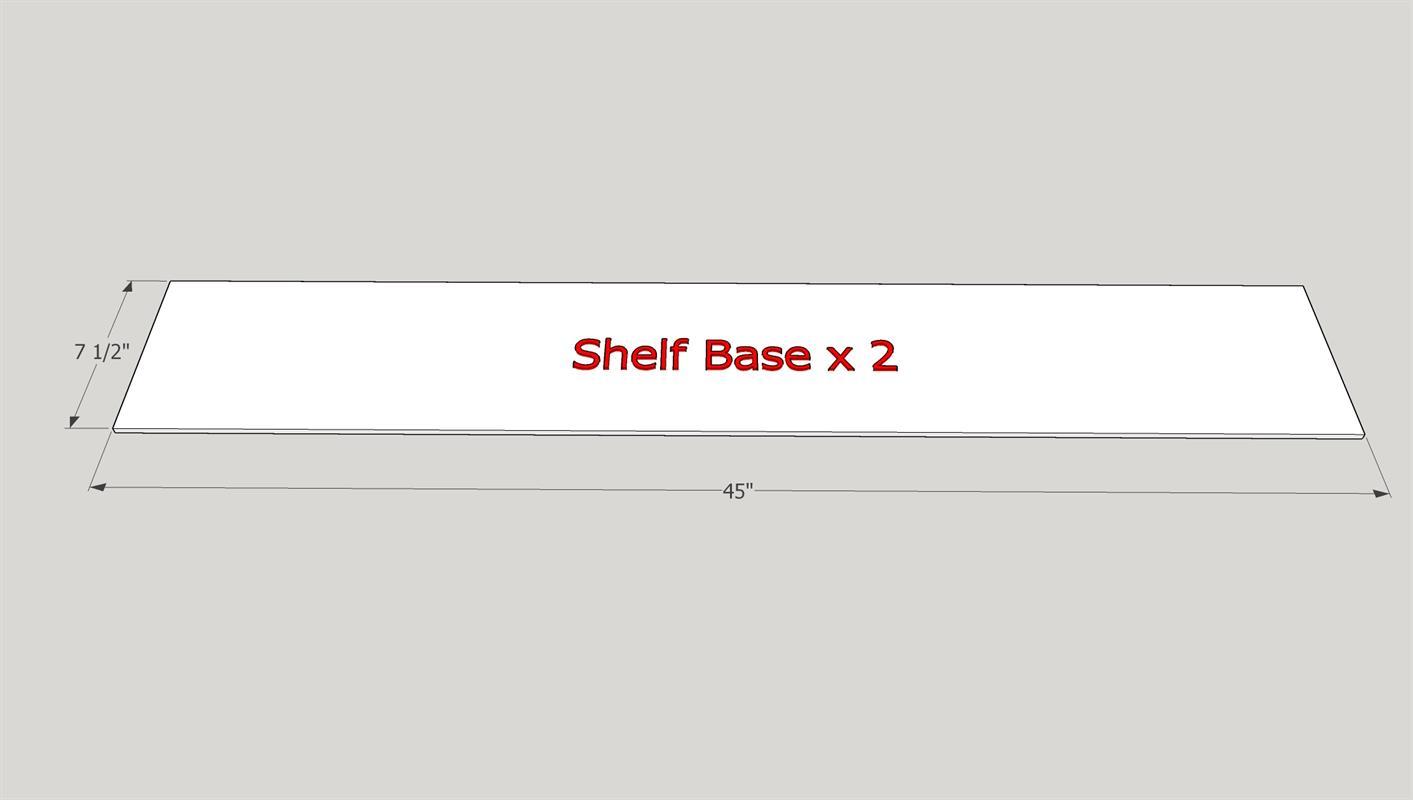
- 2 Shelf Base , 1/4" x 7-1/2" x 45"

Directions
-
Cut Materials
Using the provided cut list, cut all the parts needed for this project. Label the part as you go.
-
Cut ends (shape)
We will start with the 2 end parts. They are 9" x 22-1/2" Using the drawing attached to this step, you'll need to layout and cut the "discard" portion.
Depending on your skill level, you can clamp the 2 ends together and cut them at the same time. I used a jig saw to cut mine, but a circular saw would work too.
-
Drill Pocket Holes
Pull the following parts: sides x 2 / ends x 2 - Using the attached drawings, layout and mark all your locations for holes. Prior to drilling your pocket holes - check your jig and your drill collar to make sure it is set to 3/4" - Once you setup, drill all your pocket holes. Use the drawing for the last step for the pocket hole layout on the end.

-
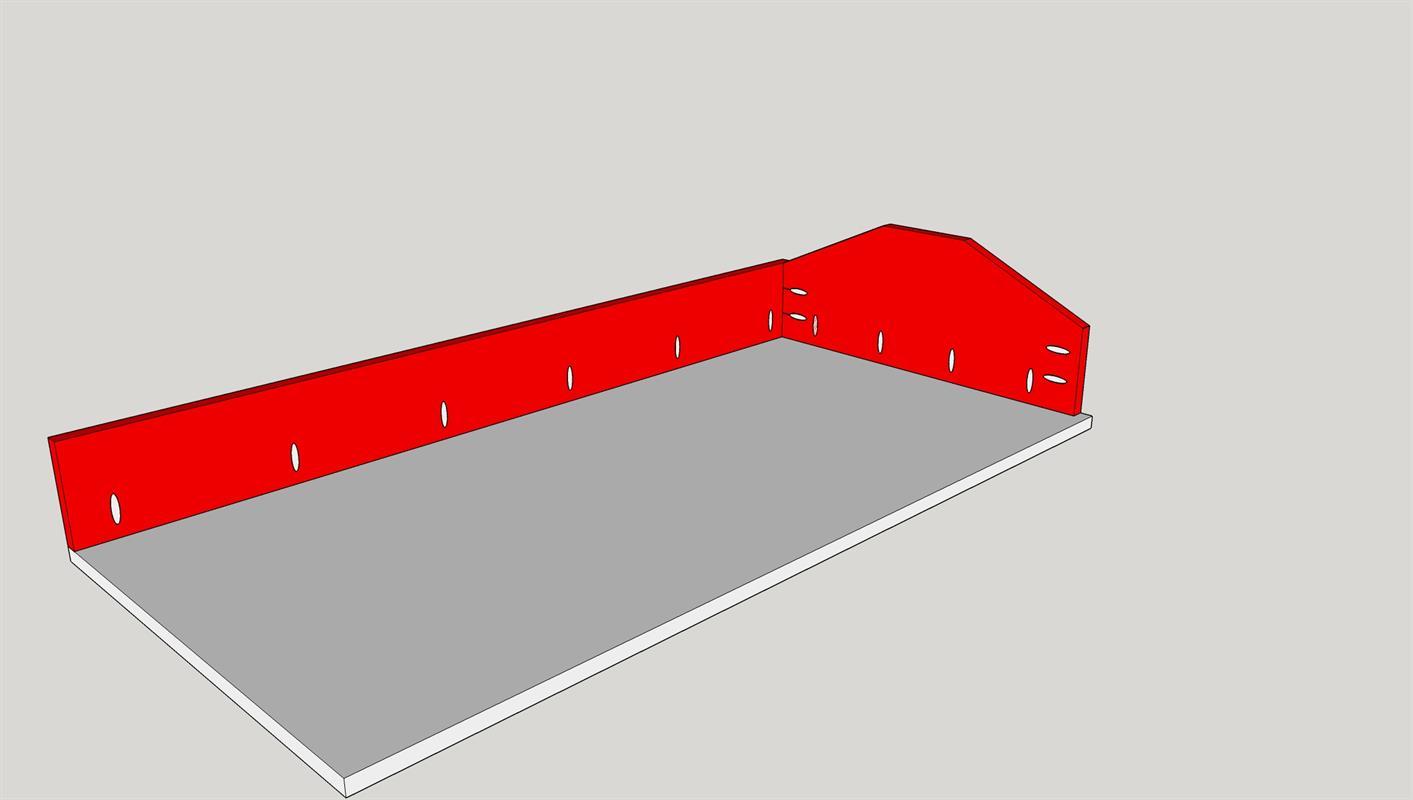
Base 1 of 2
Using with the "base" start with (1) end & (1) side. Align on the edge of the "base". Before screwing these together, run a bead of wood glue on the bottom edge of the side and the end parts. Keeping parts aligned, secure with 1-1/4" KREG screws - ***It is the end user's choice to plug the holes with paintable Kreg Paint Grade Wood Plug. My suggestion would be to Plug as you go. Plugs will need to be cut or sanded flush as they are made to fit multiple depth holes ***
-
Base 2 of 2
Rotate the base and line up, apply wood glue and secure the opposite side and end panel with 1-1/4" KREG screws. ***It is the end user's choice to plug the holes with paintable Kreg Paint Grade Wood Plug. My suggestion would be to Plug as you go. Plugs will need to be cut or sanded flush as they are made to fit multiple depth holes ***

-
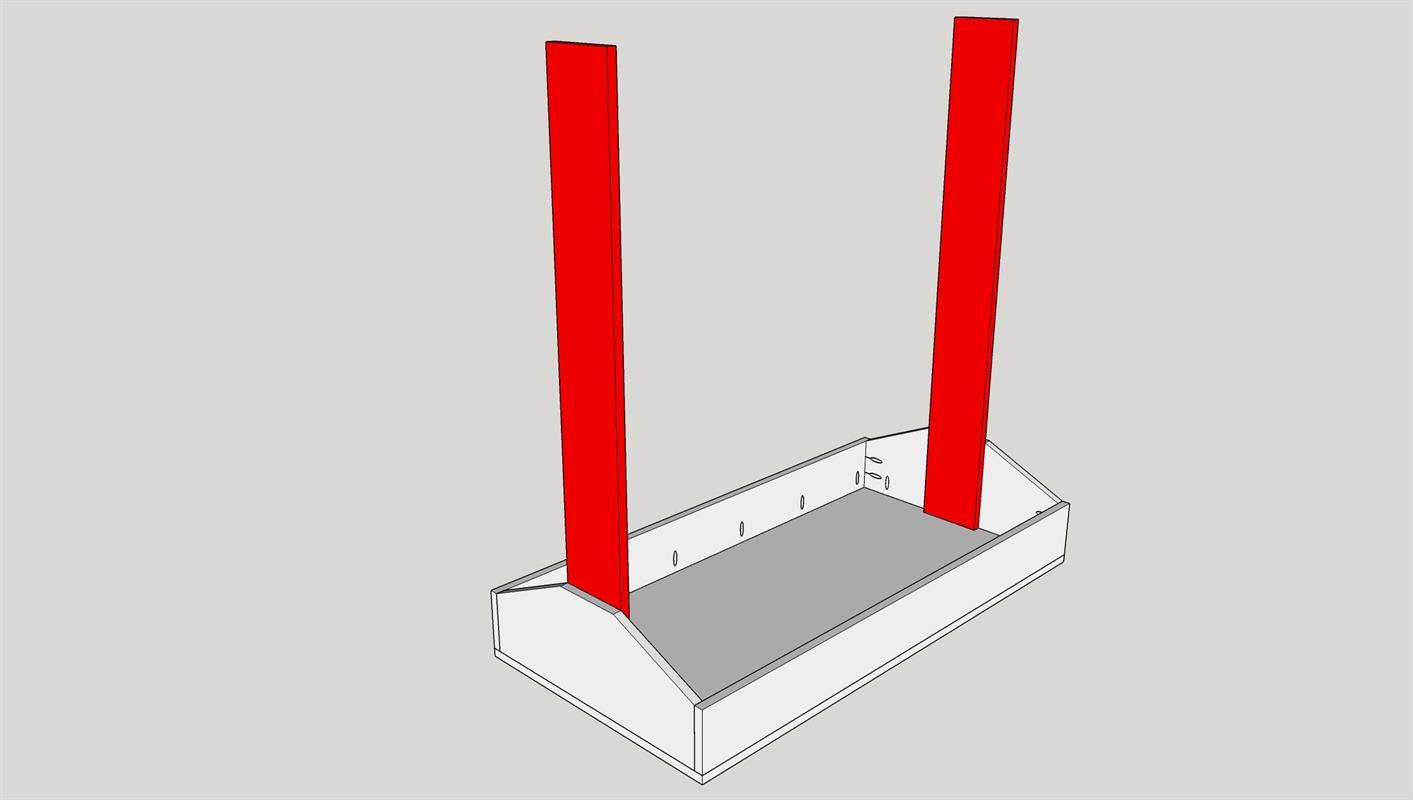
Verticals
Attach the verticals to the base, they will be centered on the end panels. We are attaching these with (4) 1-1/4" drywall screws and wood glue. Position the verticals and clamp them in place. Layout and drill a pilot hole for the screws. Using a countersink bit, or a 3/8" drill bit, open up the hole so the screw head sits flat when fully seated. Apply wood glue between the two parts and screw it in place. Repeat the same process for the other side.
-
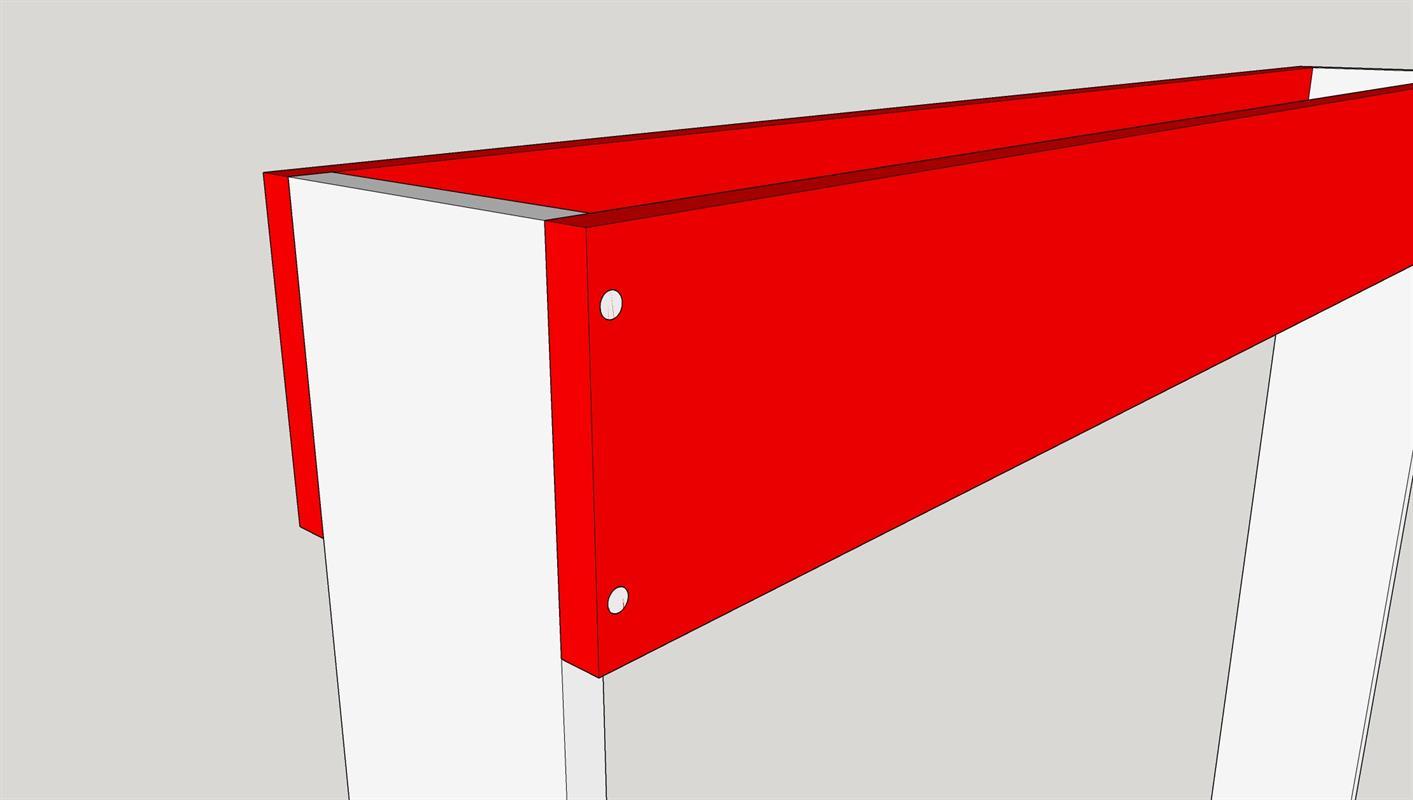
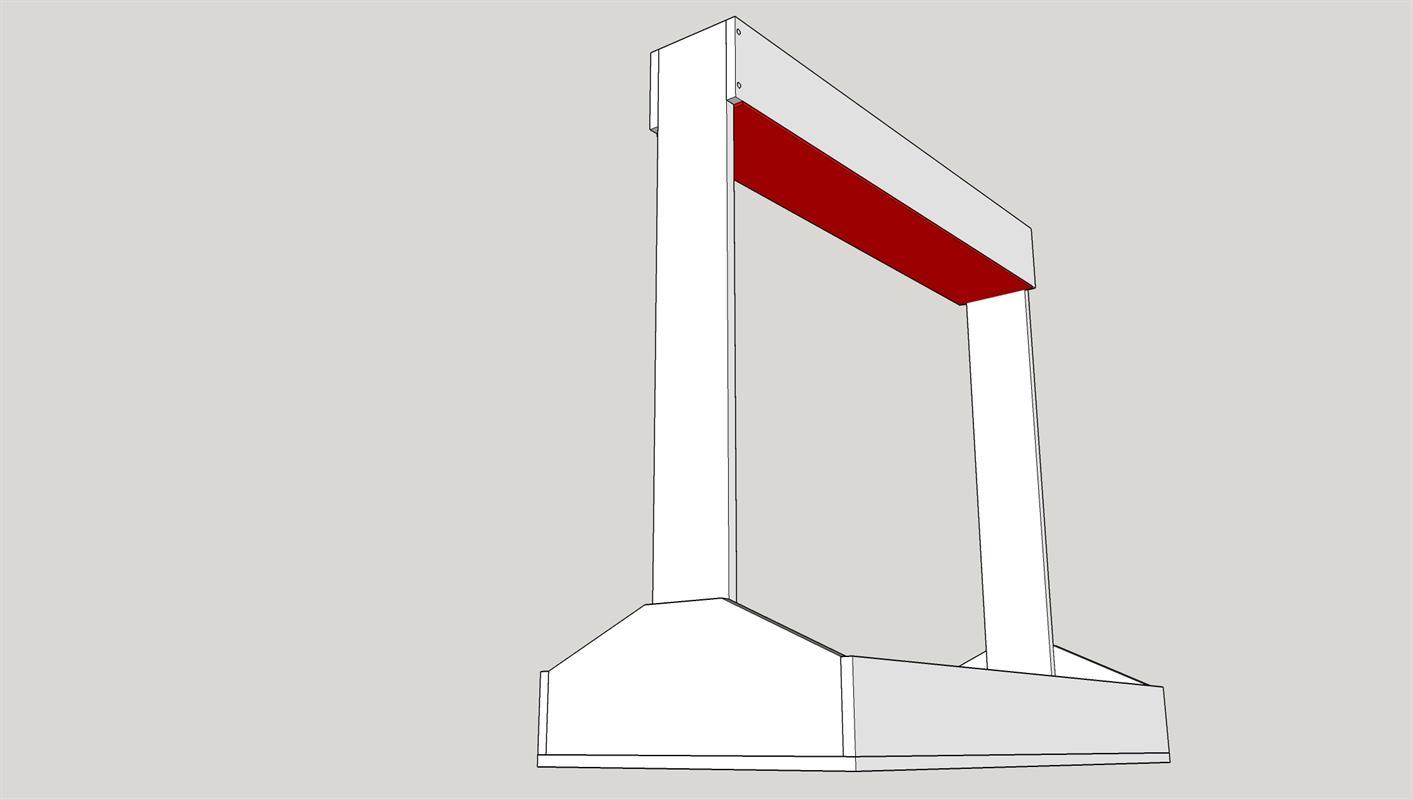
Upper Shelf -Sides
With the verticals now in place, locate (2) of your shelf sides. These will attach at the top of the verticals so that the top of the side shelf part is flush with the top of the vertical. Using wood glue and 1-1/4" screws attach the side shelf parts.
-
Upper Shelf - Bottom
Using the shelf base (1/4") plywood, wood glue and 18ga brad nails, secure it to the bottom of the 2 upper shelf sides. If you plan on using this shelf for heavier items, screws can be used in place of 18ga brad nails. Pilot holes would be needed.
-
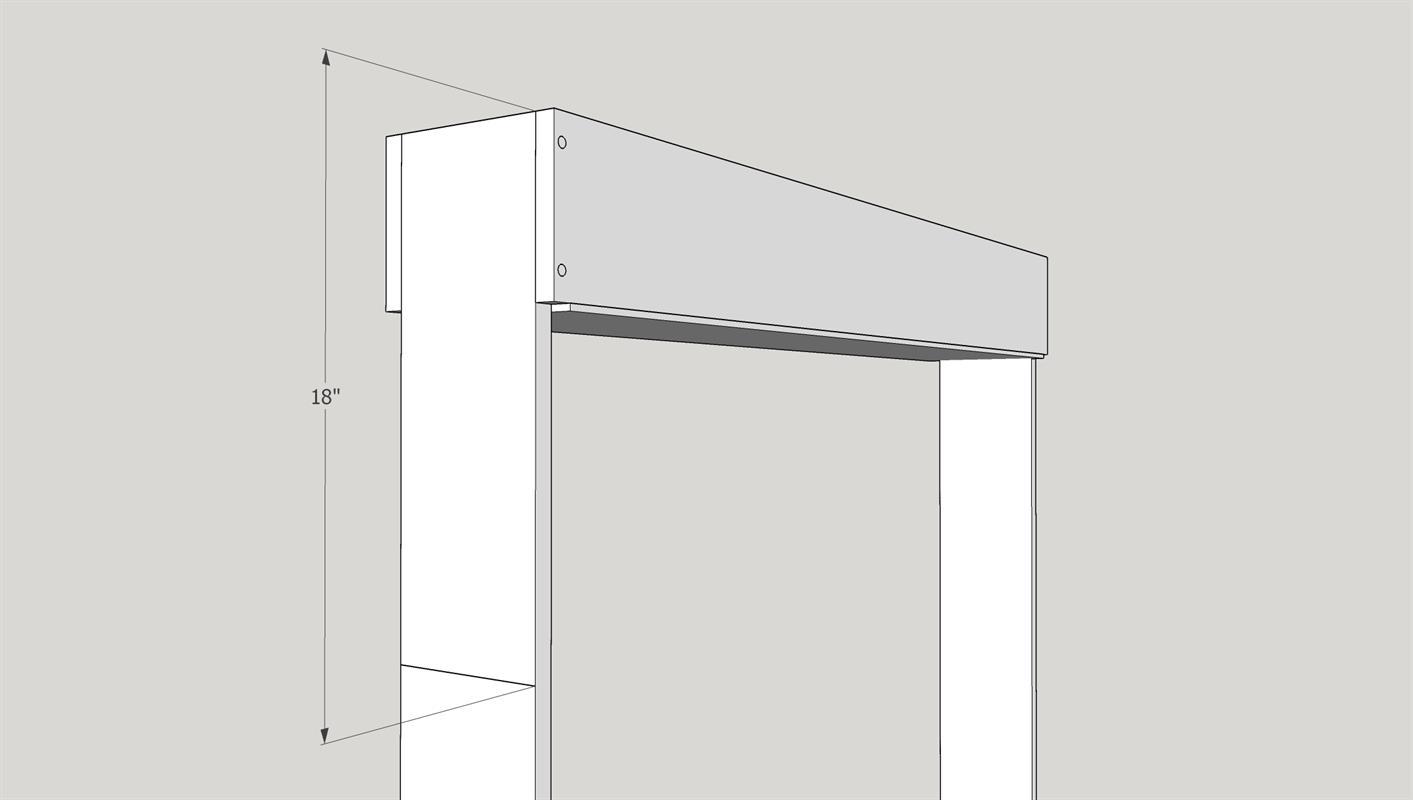
Layout Lower shelf
From the top of each vertical, measure down 18" and place a mark. Repeat this on both ends. These marks will be the guide for the top of the lower shelf.
-
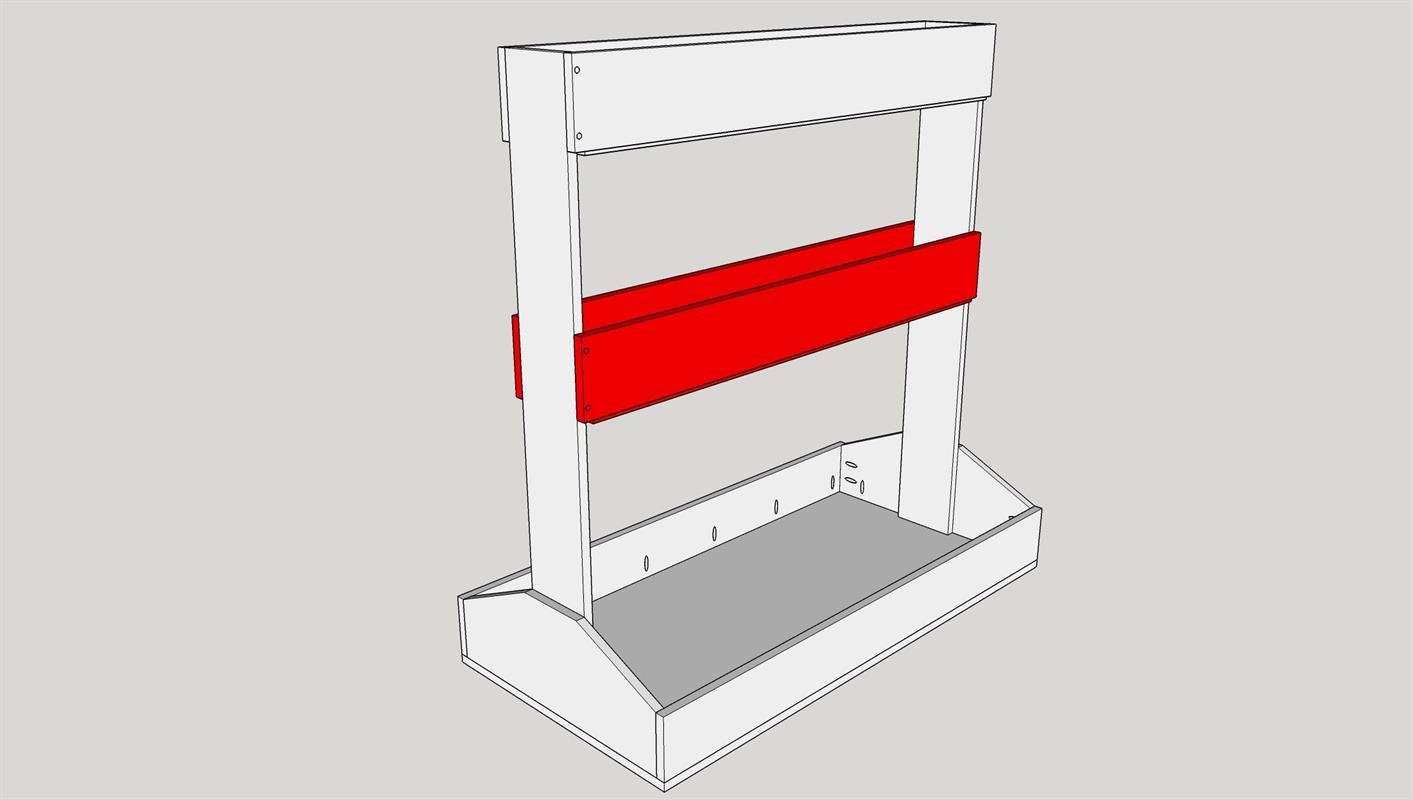
Lower Shelf
Repeating steps 7 & 8, assemble the lower shelf. Then use the 18" mark from step 9 to align the top of the lower shelf instead of using the top of the vertical.
-
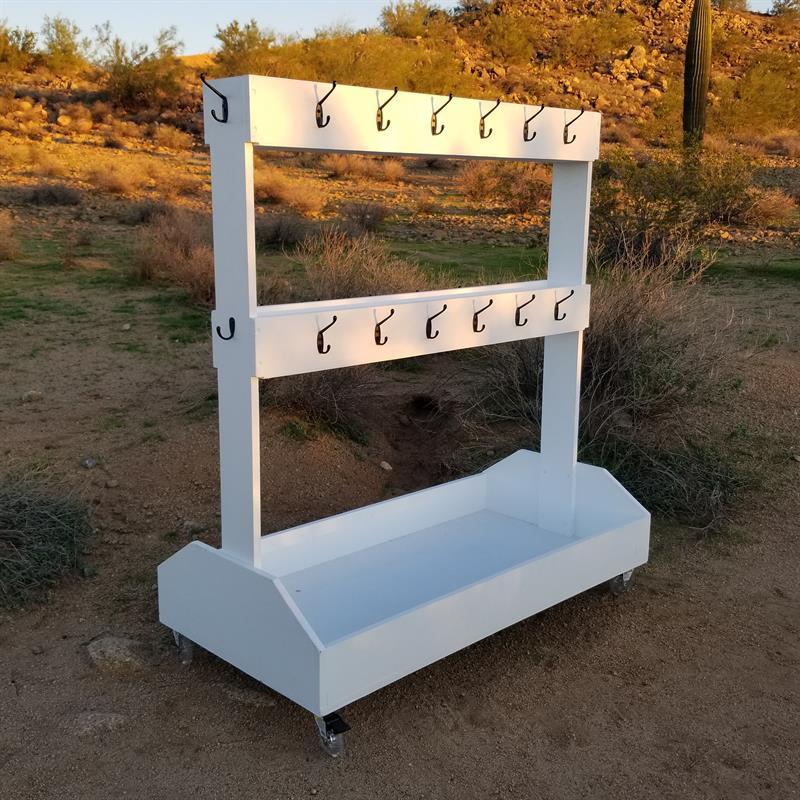
Prep & Finish
Sand and prep for paint. This can be finished in whatever way fits your décor. I chose to spray it white.

-
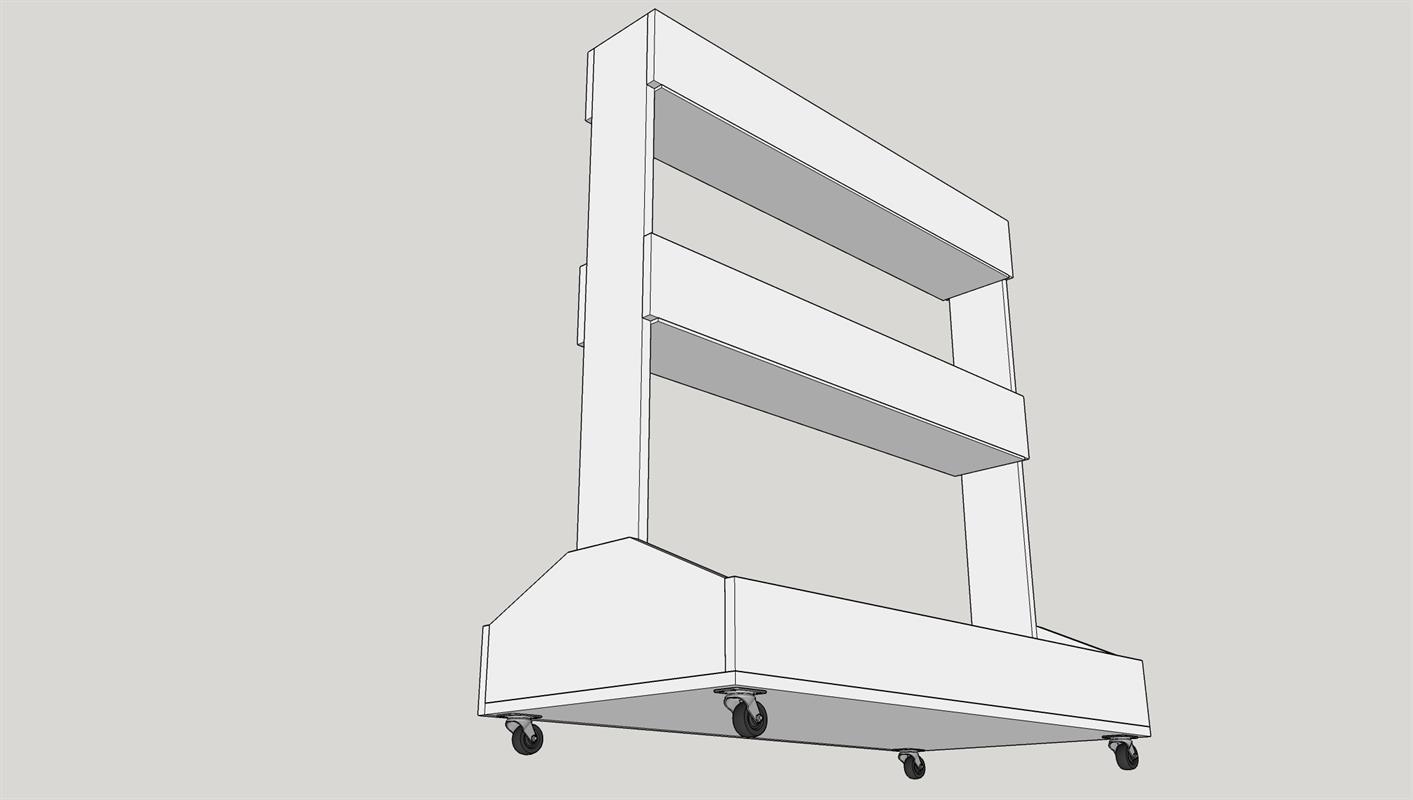
Install Casters
Locate the position for the (4) casters on the bottom base. Do this by measuring in 3/4" from each side and end to locate the outside corner of the caster plate. Secure with button head phillips wood screw.
-
Install Hardware
Install your choice of hooks/hangers with screws that are supplied with the hardware. Each side of each shelf will have (6) hooks on it. Marked and evenly spaced. (*Optional hangers on the ends per cover pictures.)