

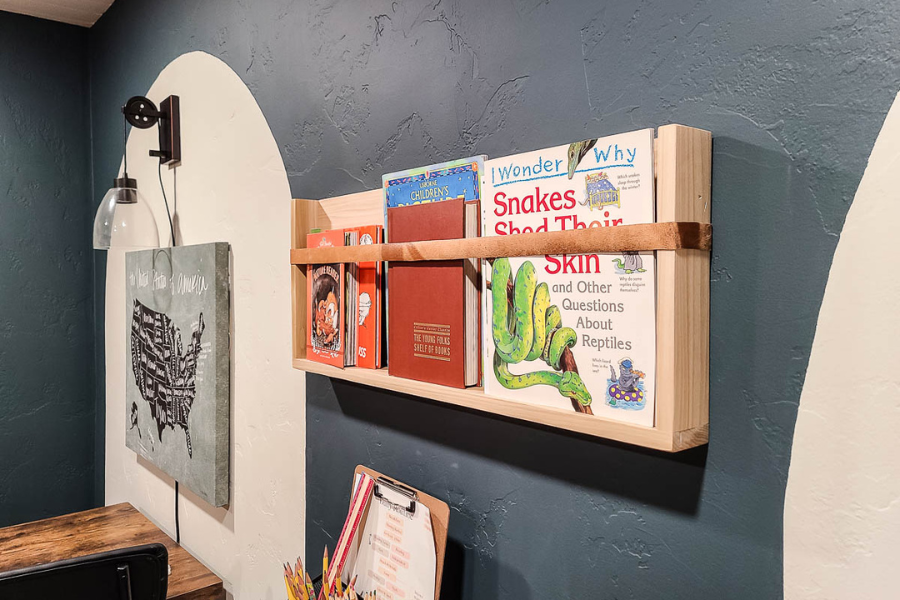
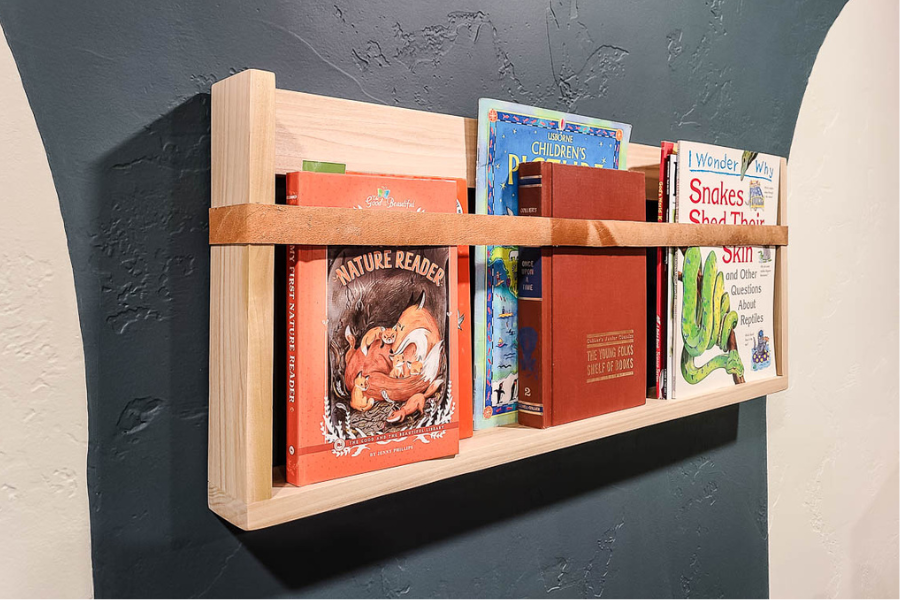


Get your magazines or books organized on the wall with this wall-mounted magazine rack! This beginner-friendly woodworking project incorporates pocket hole joinery and has a modern look.
Tools
Kreg Tools


Other Tools
-
Miter saw

-
Tape measure
-
Staple gun
-
Hot glue gun
Materials
Wood Products
- 1 Poplar , 1" x 3" x 8'
Hardware & Supplies
- 8 Pocket Hole Coarse-Thread Screws, Zinc (see tools)
- -- 80 and 150 grit sandpaper
- -- Wood glue
- -- Aerosol clear spray lacquer
- -- 0000 steel wood
- -- 1/2" staples
- -- Hot glue gun sticks
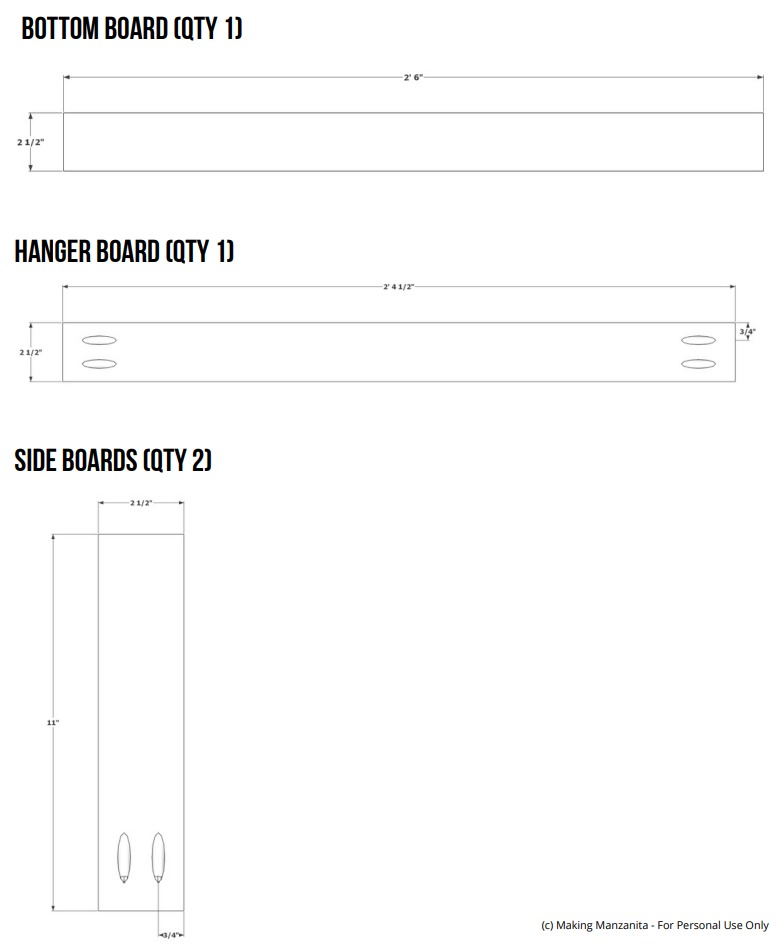
Cut List & Parts
- 1 Bottom Board , 3/4" x 2 1/2" x 2' 6"
- 1 Hanger Board , 3/4" x 2 1/2" x 2' 4 1/2"
- 2 Side Boards , 3/4" x 2 1/2" x 11"
Directions
-
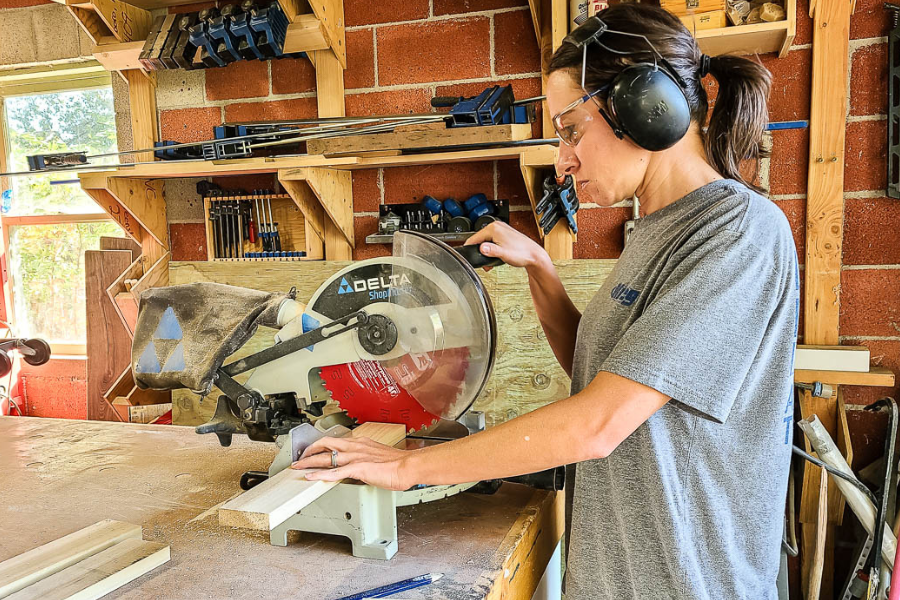
Cut wood
Cut wood according to the visual cut list in the woodworking plans with a miter saw. Since this is a 1-board project, it is really pretty simple with just a few cuts on the miter saw to get your pieces down to the right size.
-
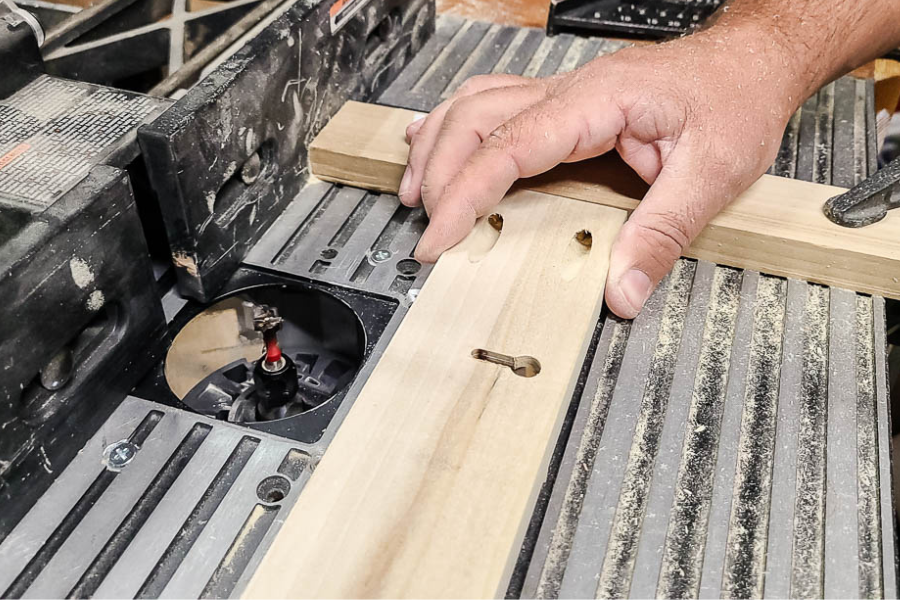
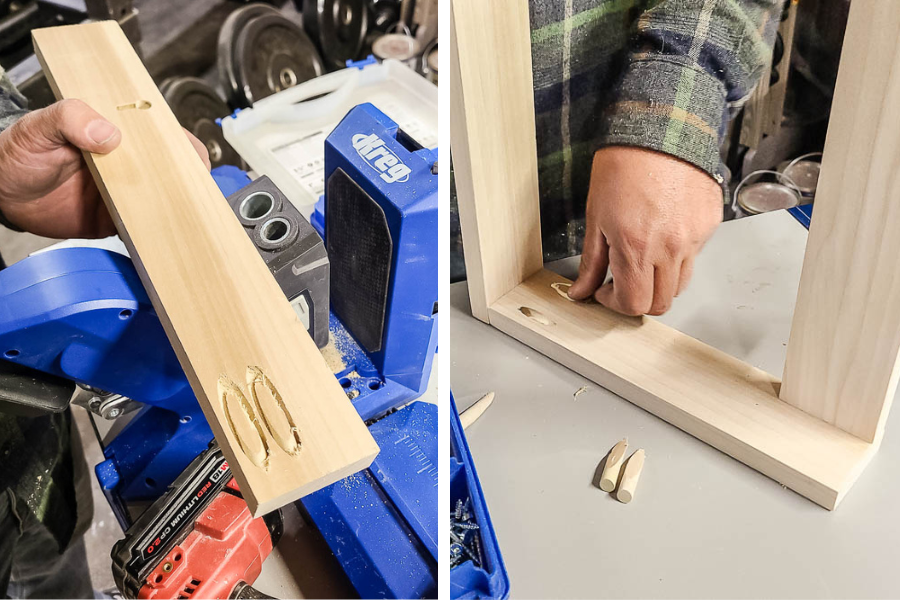
Drill pocket holes
Drill pocket holes as shown in the woodworking plans on the side boards and hanger board. We used the Kreg 720 Pro.

-
Drill keyholes
On the back of the hanger board (where the pocket holes have been drilled), drill the keyholes with a router and keyhole slot bit.
No keyhole bit?
If you don’t have a keyhole bit or router, you can also hang the magazine rack on the wall with a French cleat.
-
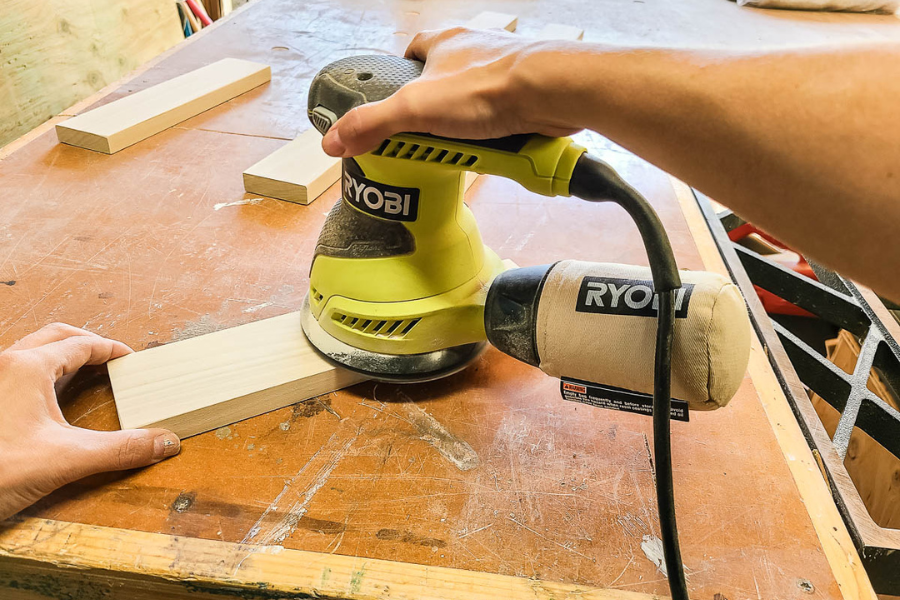
Sand all pieces
With your orbital sander, sand all pieces smooth, starting with 80-grit sandpaper followed by 150-grit sandpaper.
-
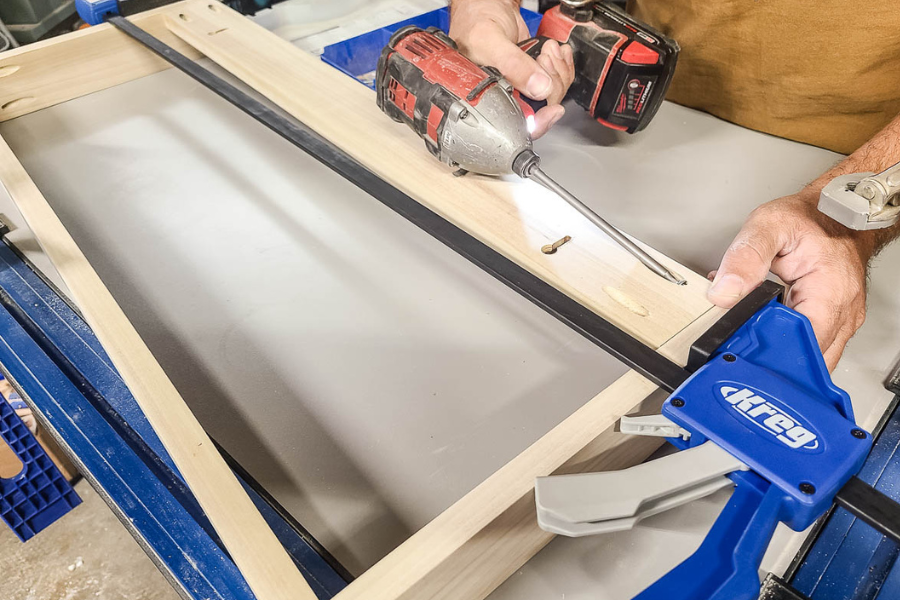
Assemble
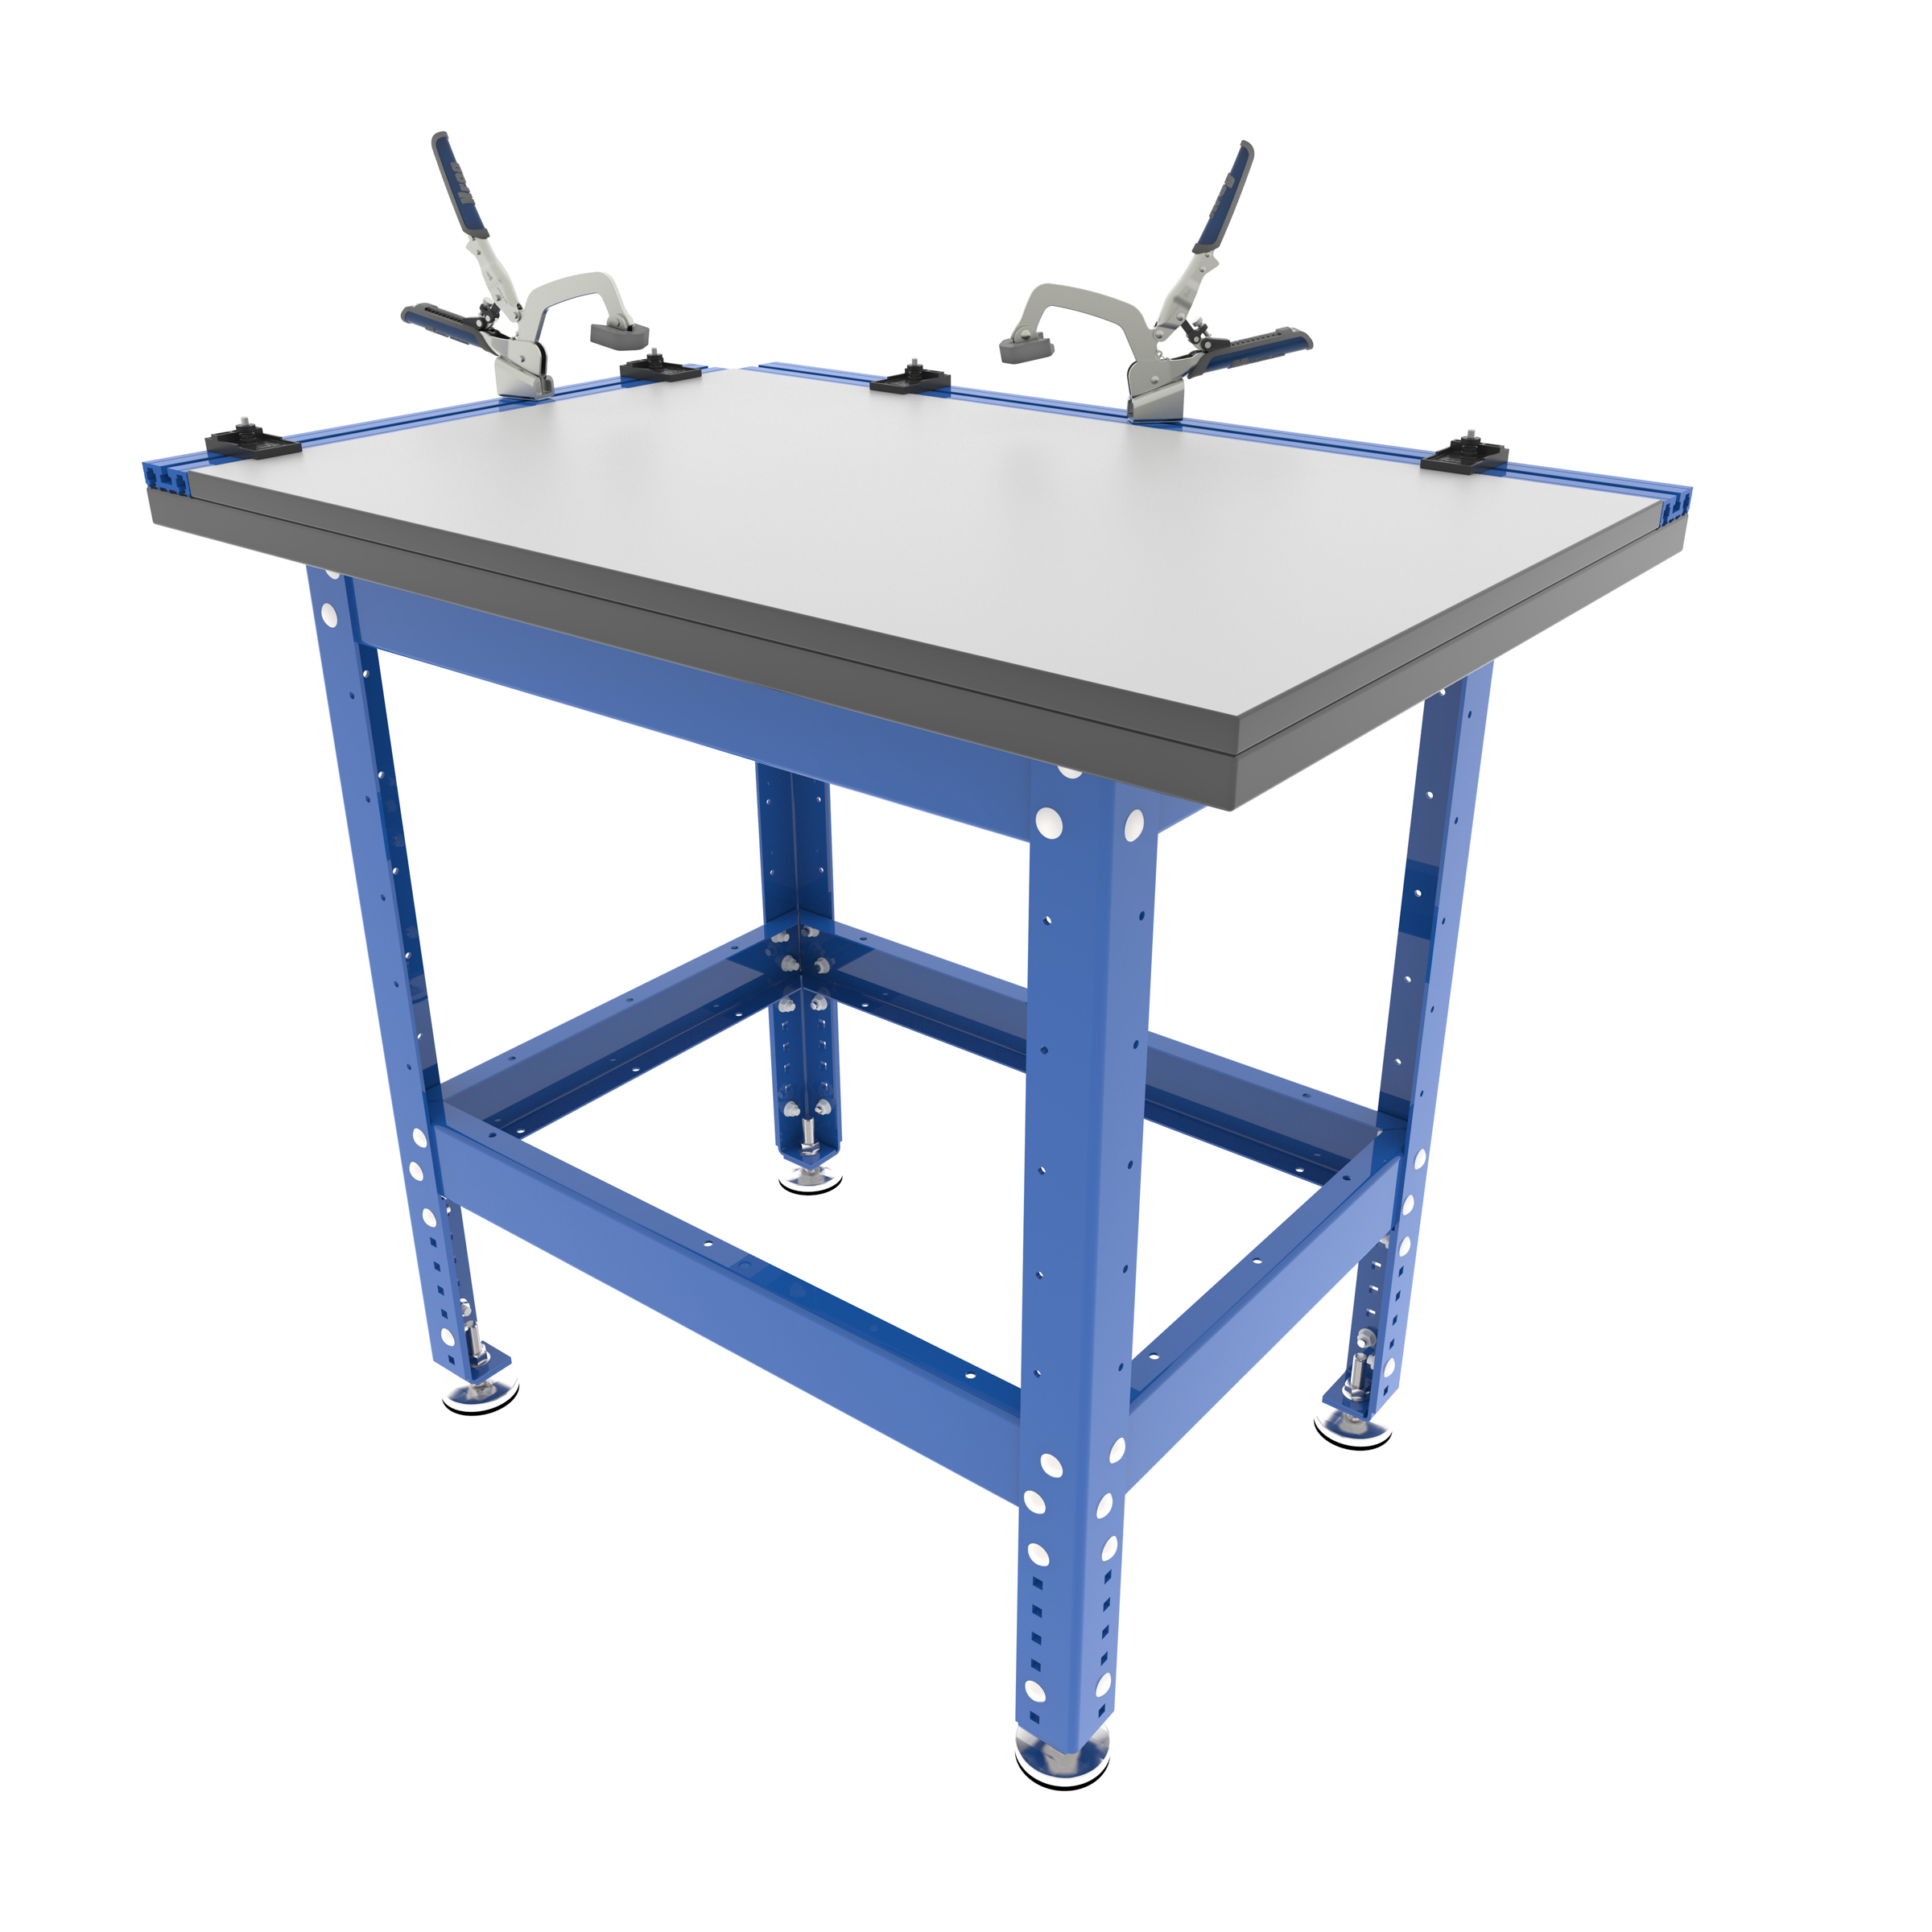
Clamp pieces down on the clamp table and attach the side pieces to the bottom at the pre-drilled pocket hole joints with 1 ¼” pocket hole screws. For the top hanger board, you’ll need to clamp it into place with a VersaGrip bar clamp before attaching.
-
Fill pocket holes
Using the custom plug cutter drill guide kit and the 720Pro, use scrap wood left over from the 1x3 poplar to make 8 pocket hole plugs. Add the plugs to each pocket hole with wood glue and let dry.
-
Sand
Use a random orbital sander to sand down pocket hole plugs and dried wood glue. Also focus on the other joints, sanding everything smooth with 80-grit sandpaper. Follow up with sanding the entire magazine rack with 150-grit sandpaper. Wipe away all sanding dust when finished.
-
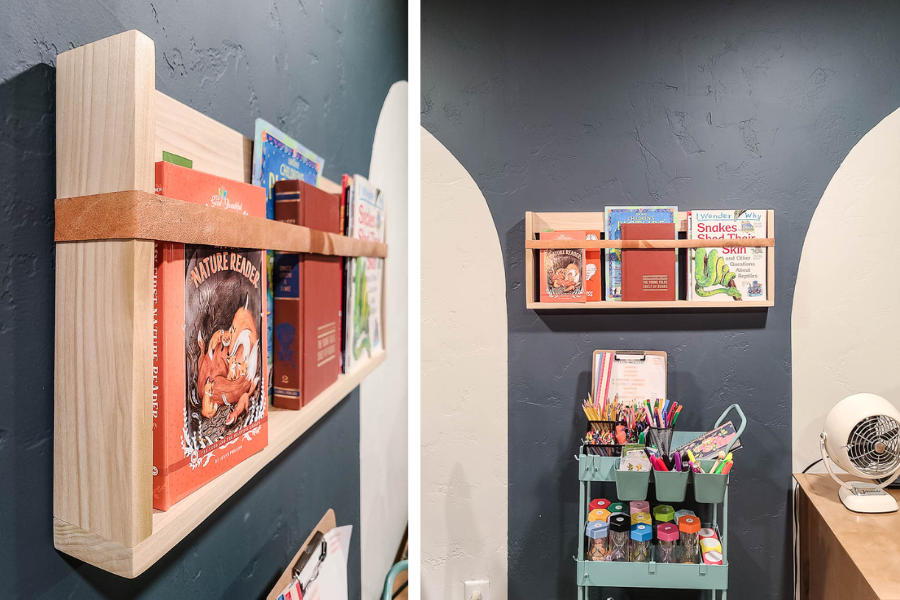
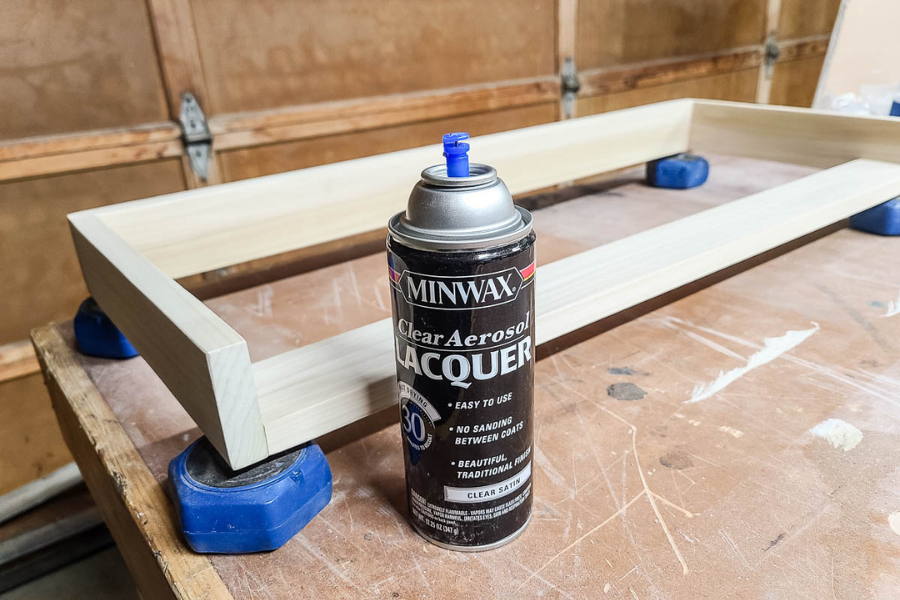
Seal
If you want to stain the rack, do that first and let it dry. We opted to leave it natural and move right to sealing with an aerosol spray lacquer. We applied 4 light coats and rubbed it down with 0000 steel wool over the last coat to smooth it.
-
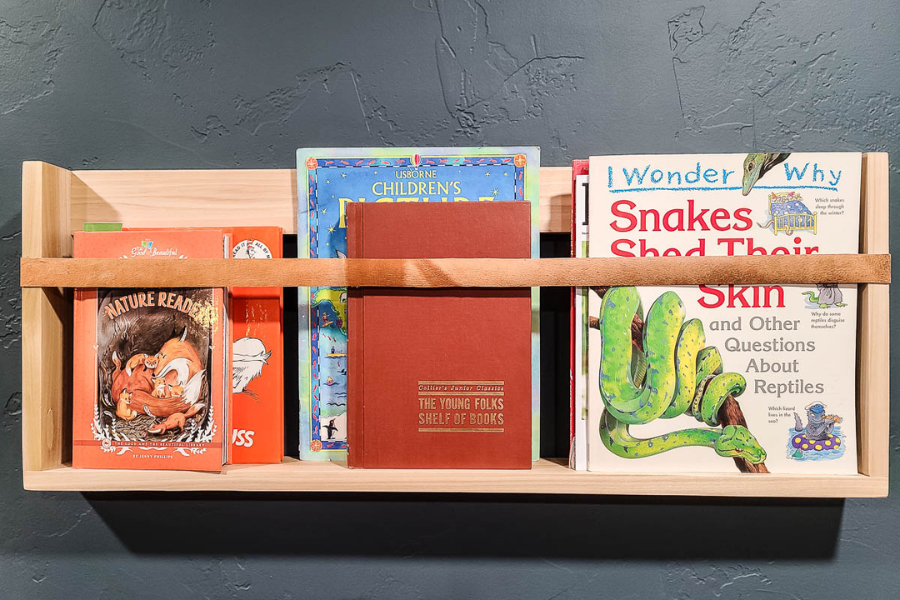
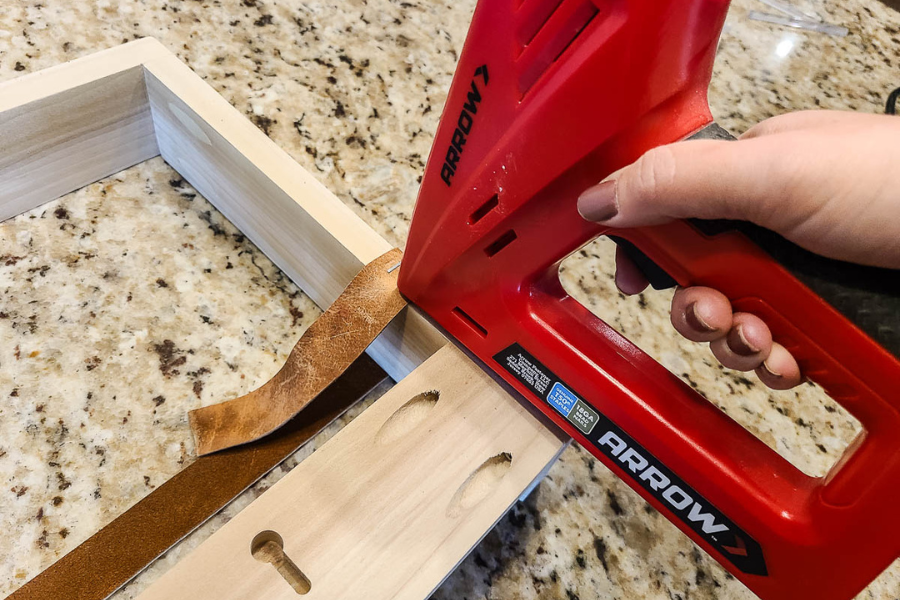
Add leather strap
Once the lacquer has dried, add the leather strap to the front. Wrap it around the edges and staple it to the backside.
-
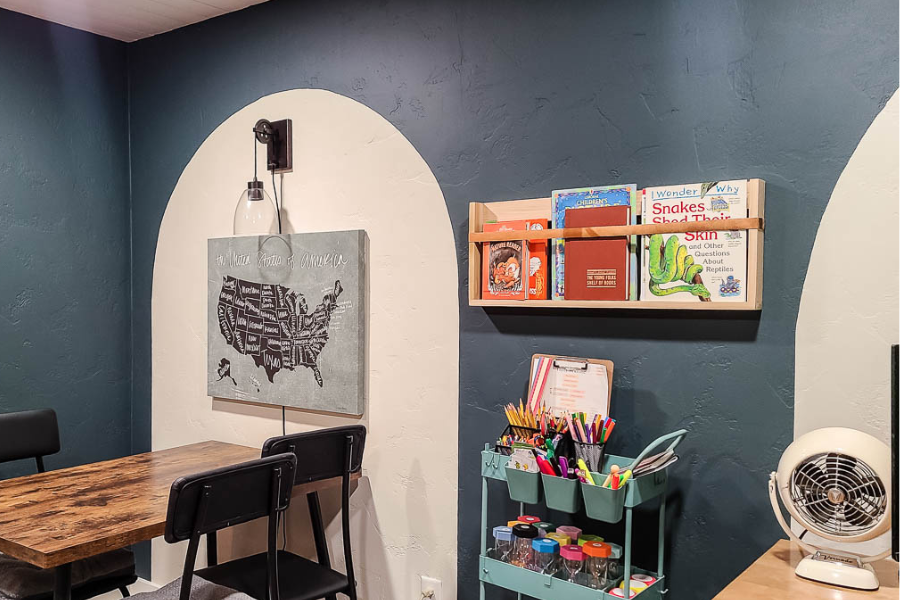
Hang it on the wall
Lastly, you can hang your finished project on the wall.