Laundry Drying Rack
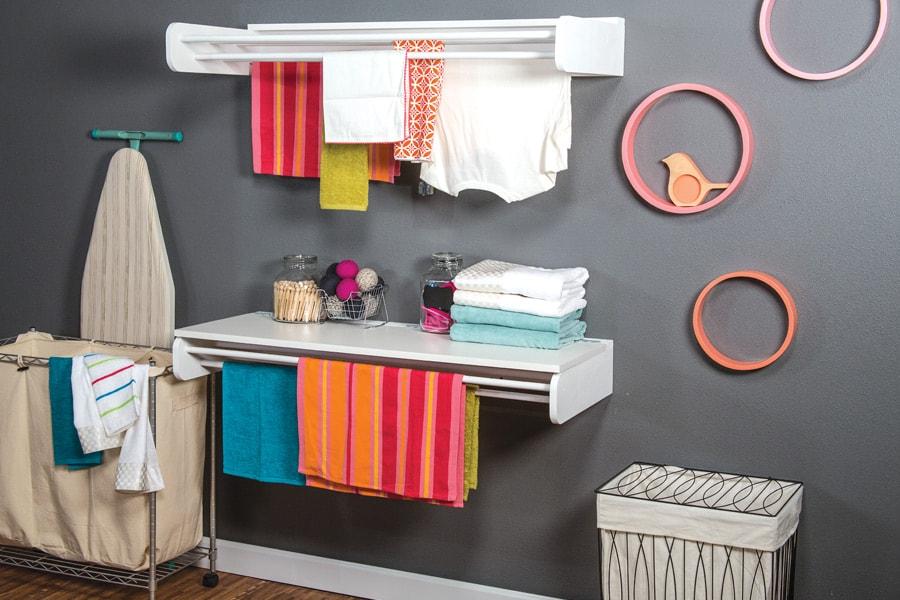
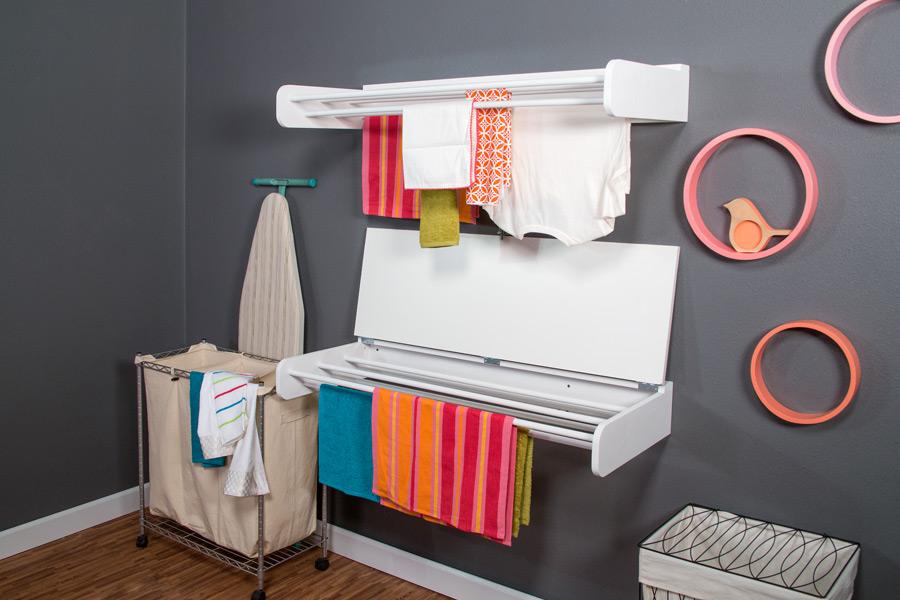
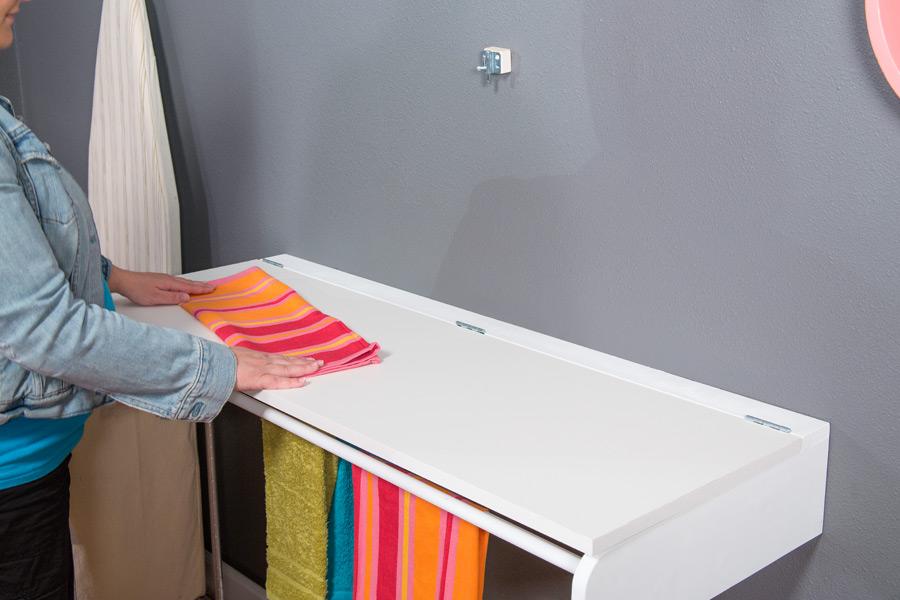
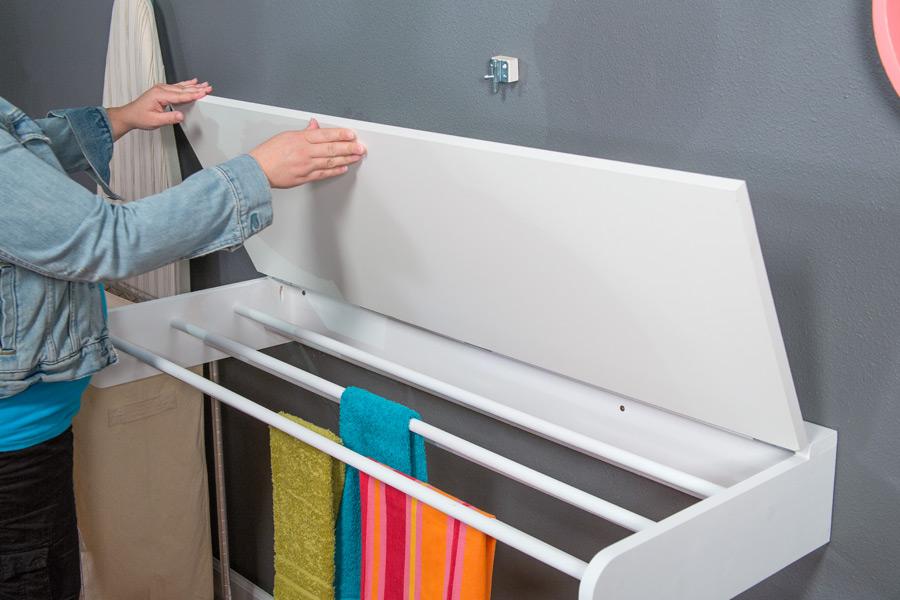
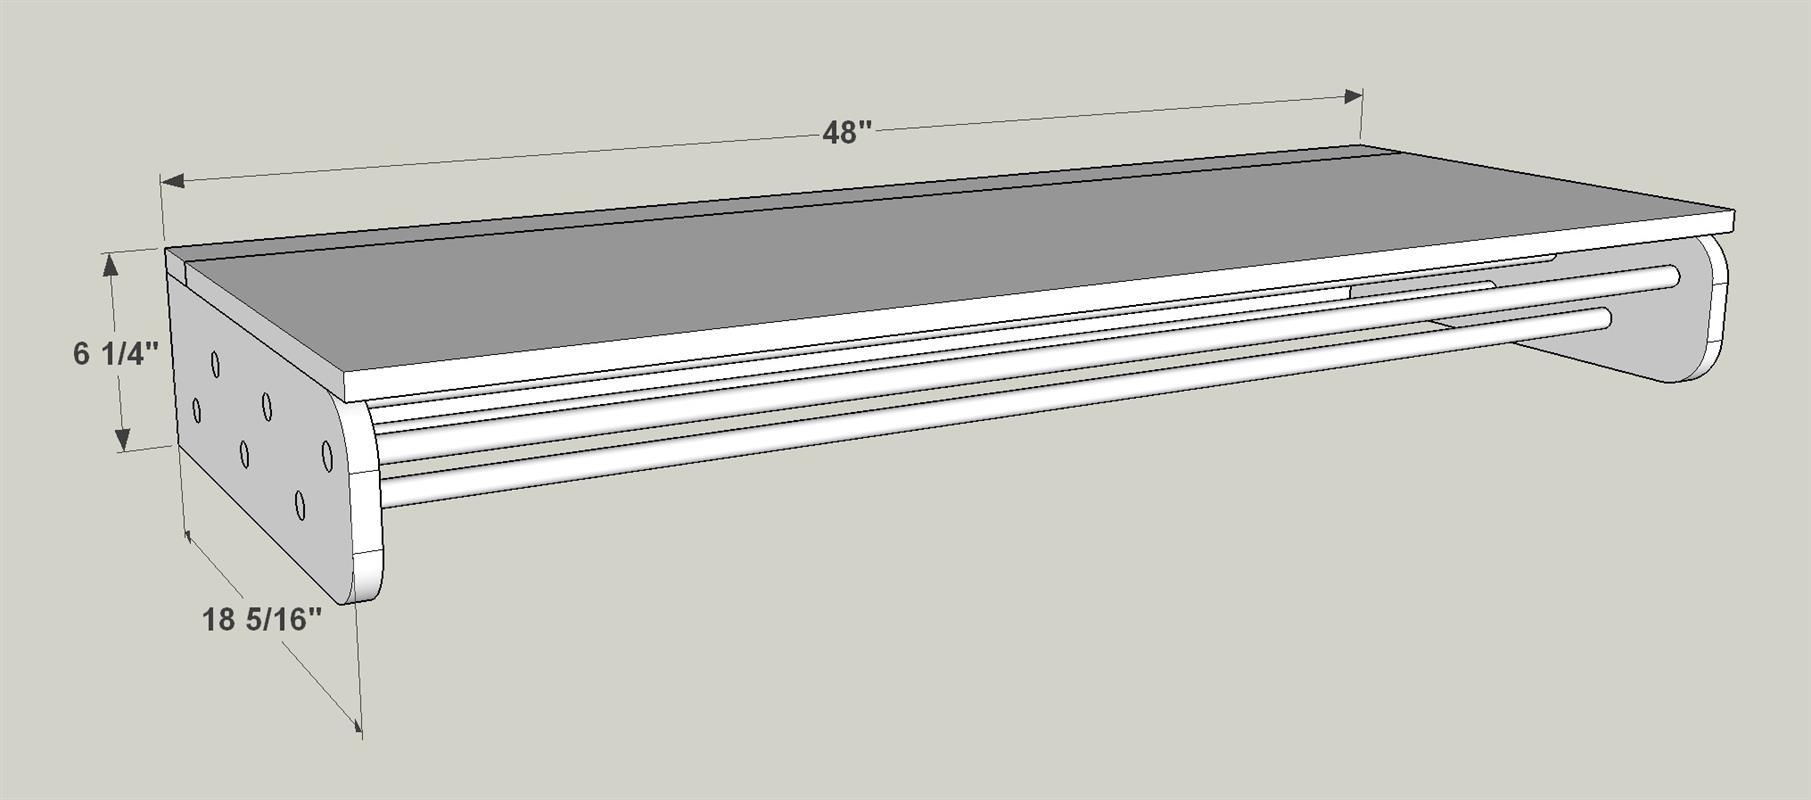
By Kreg ToolDeclutter your laundry room with this dual-purpose drying rack. It has long bars where you can hang clothes to dry, plus an optional hinged table that provides a perfect place for folding and sorting clothes.
Directions
-
Make a Back and Top Plate
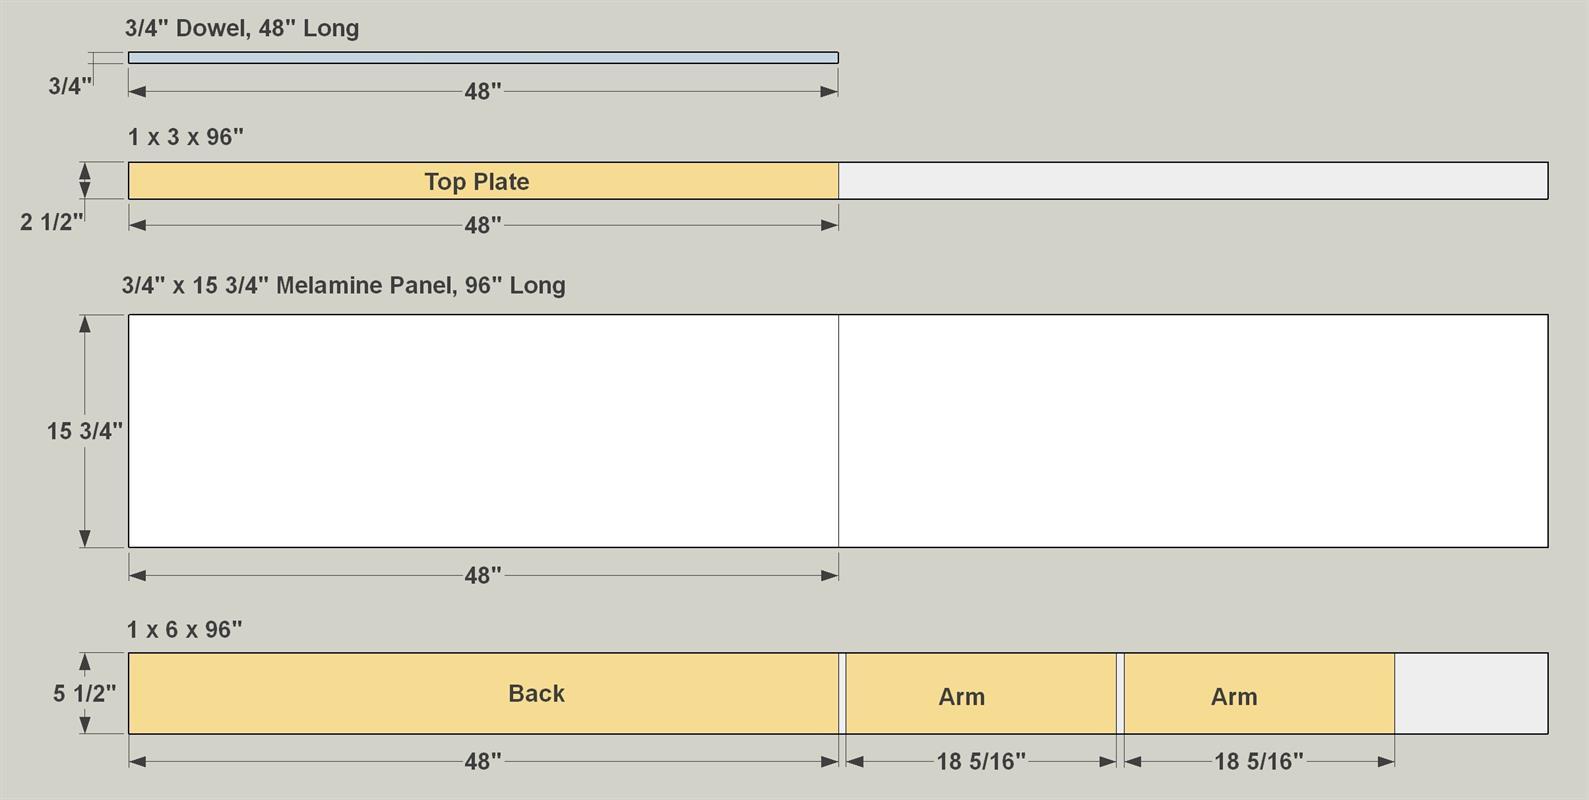
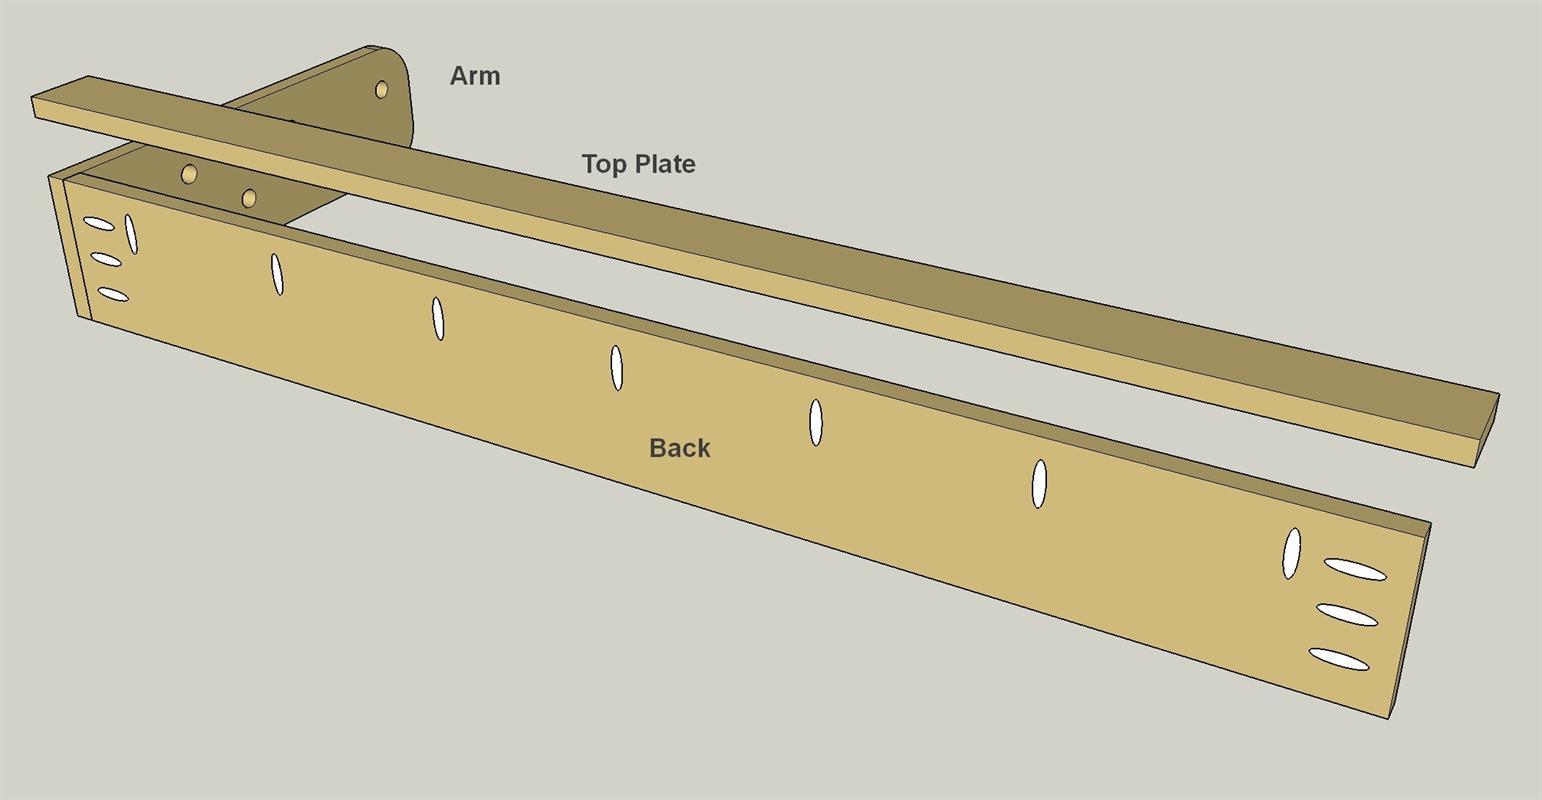
Cut a Back to length from a 1x6 board, as shown in the cutting diagram. Also cut a Top Plate to length from a 1x3 board. Then, with your pocket hole jig set up for 3/4" material, drill pocket holes as shown.
-
Cut and Drill the Arms
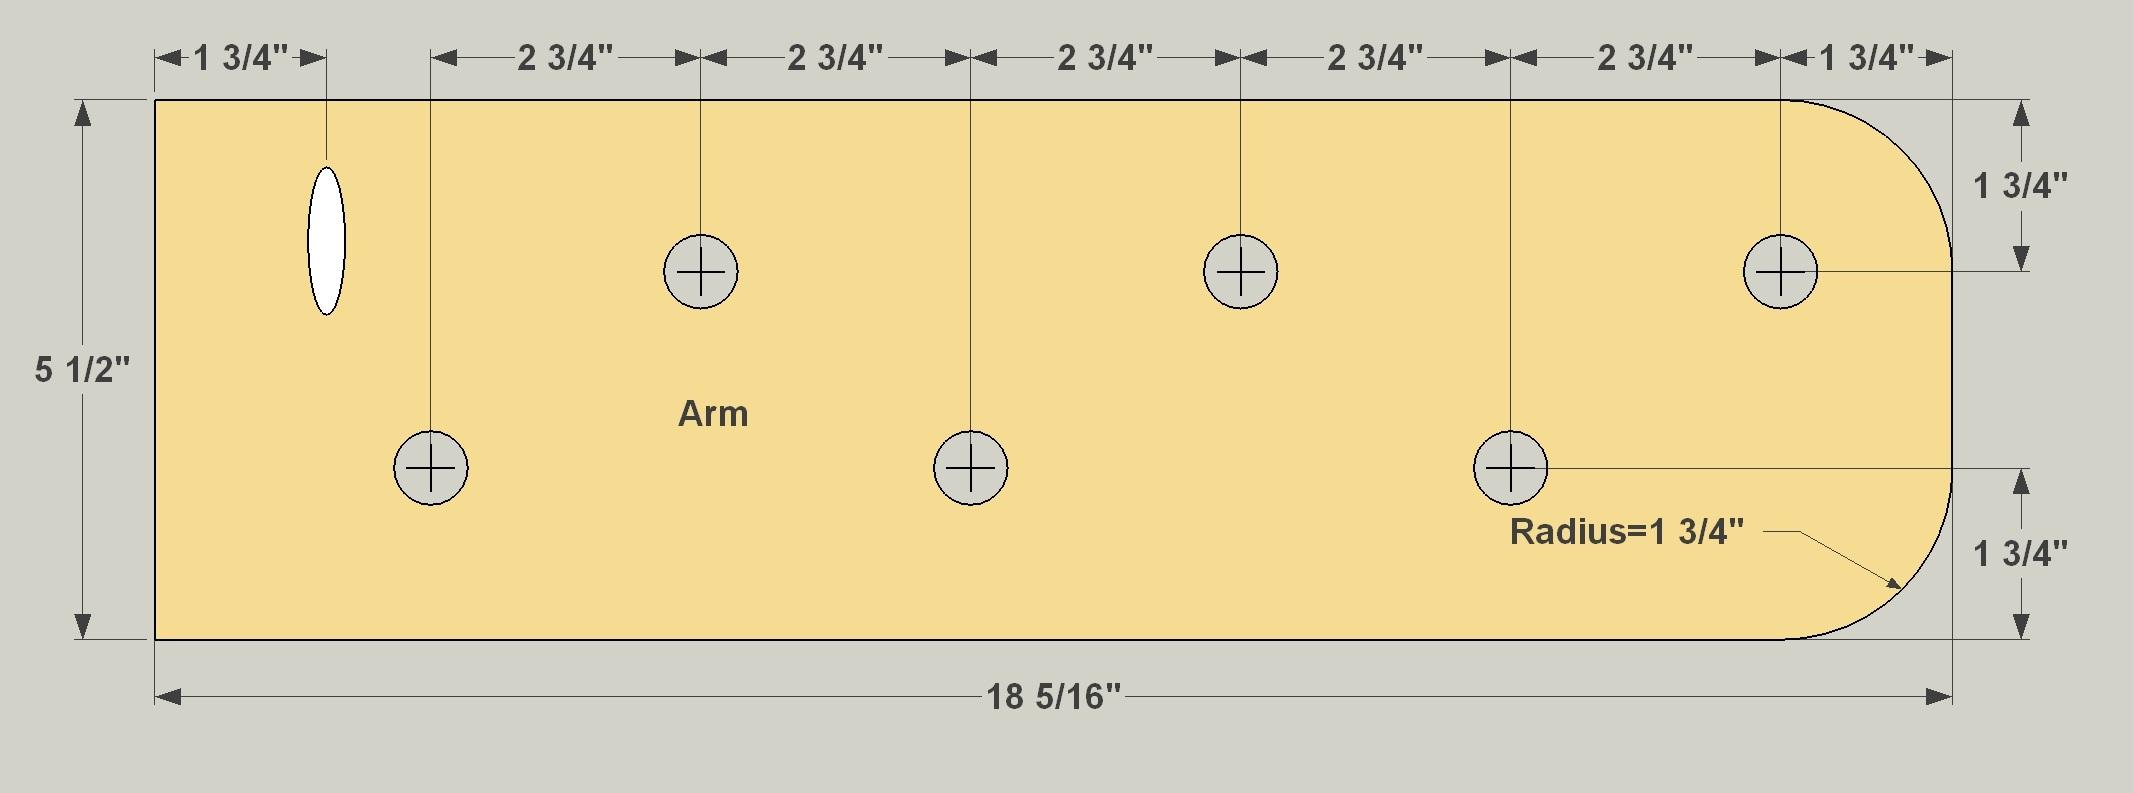
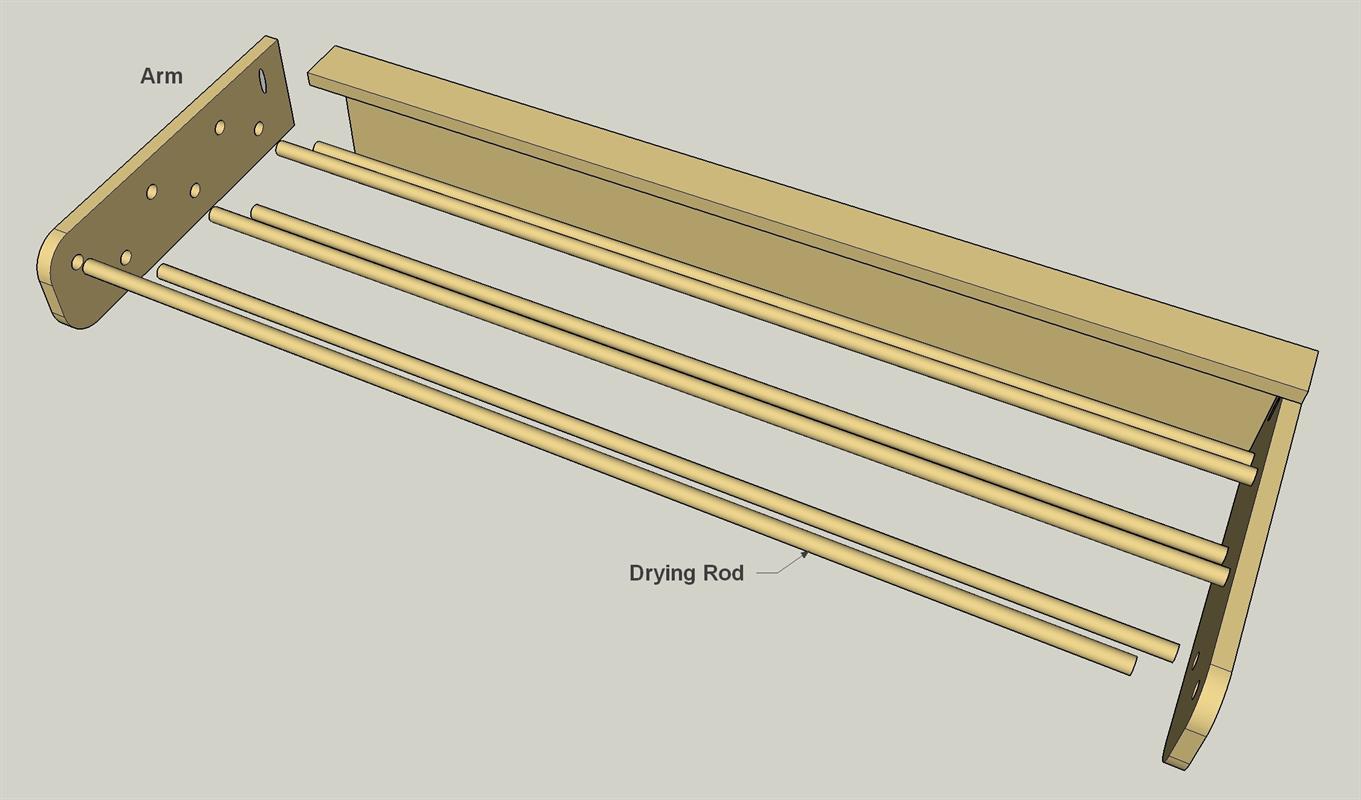
Cut two arms to length from a 1x6 board, as shown in the cutting diagram. Then lay out the curved front corners, cut them using a jig saw, and sand them smooth. With your pocket-hole jig, set up for 3/4" material, drill one pocket hole in the inside face of each arm, as shown. Then lay out the holes to receive the hanging rods, and drill them with a 3/4" bit. Take care to keep the drill bit perpendicular to the boards as you drill (or use a drill press if you have access to one).
-
Start the Assembly
With your pieces cut completed, you can start assembly by joining the Back, one Arm, and the Top Plate together using 1 1/4" coarse-thread pocket-hole screws.
-
Add Rods and the Other Arm
Now you can add the Drying Rods, which are just 48"-long dowels. Dab a little glue in the holes in the Arm you’ve attached already, and slip the Rods in place. Then, put glue in the holes in the other arm, and slide it into place on the Rods. This takes a little juggling and patience to get all of the rods in place. You may need a mallet to tap the Arm into position. Once you have the Arm in place, attach it using 1/4" coarse-thread pocket-hole screws.
-
Add the Optional Table
You can paint your laundry rack now, or add the optional hinged top. To do that, cut a Top to length from a melamine panel, as shown in the cutting diagram. You could also use plywood, but melamine is durable and easy to clean. Then, paint the edges or apply iron-on edge banding, and mount the Top to the Top Plate using three hinges—one centered and one a couple of inches from each end.
-
Install the Rack
After you’ve completed and painted your rack, you can install it on the wall. First, locate wall studs. Try to mount the rack over three studs if possible. To mount it, have someone help you hold the rack level at the height you desire, and drive two 3" screws through the Back and into each stud.


