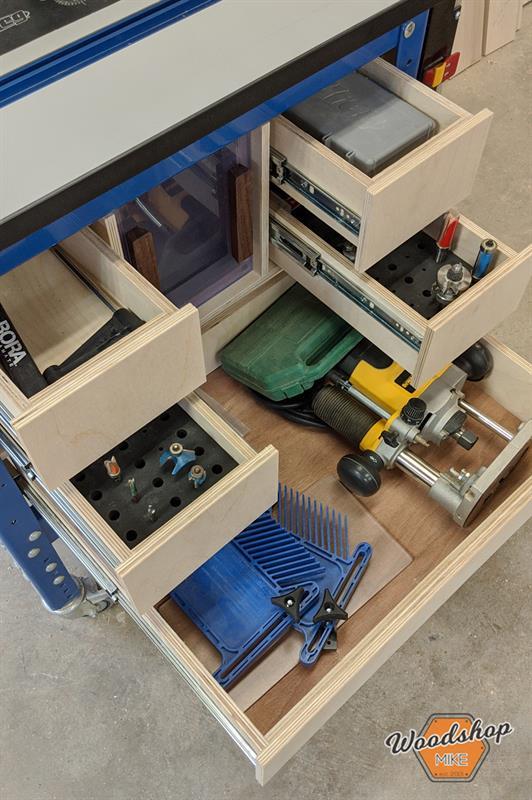
Kreg Precision Router Table Upgrade
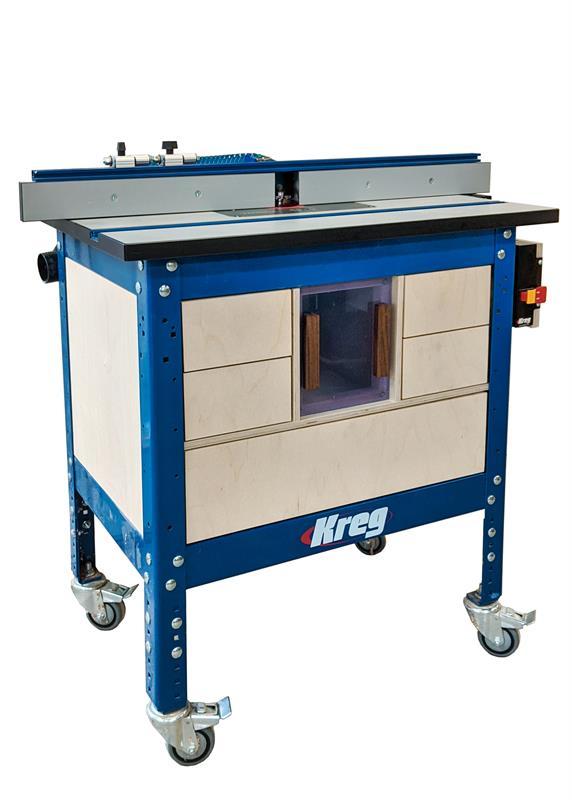
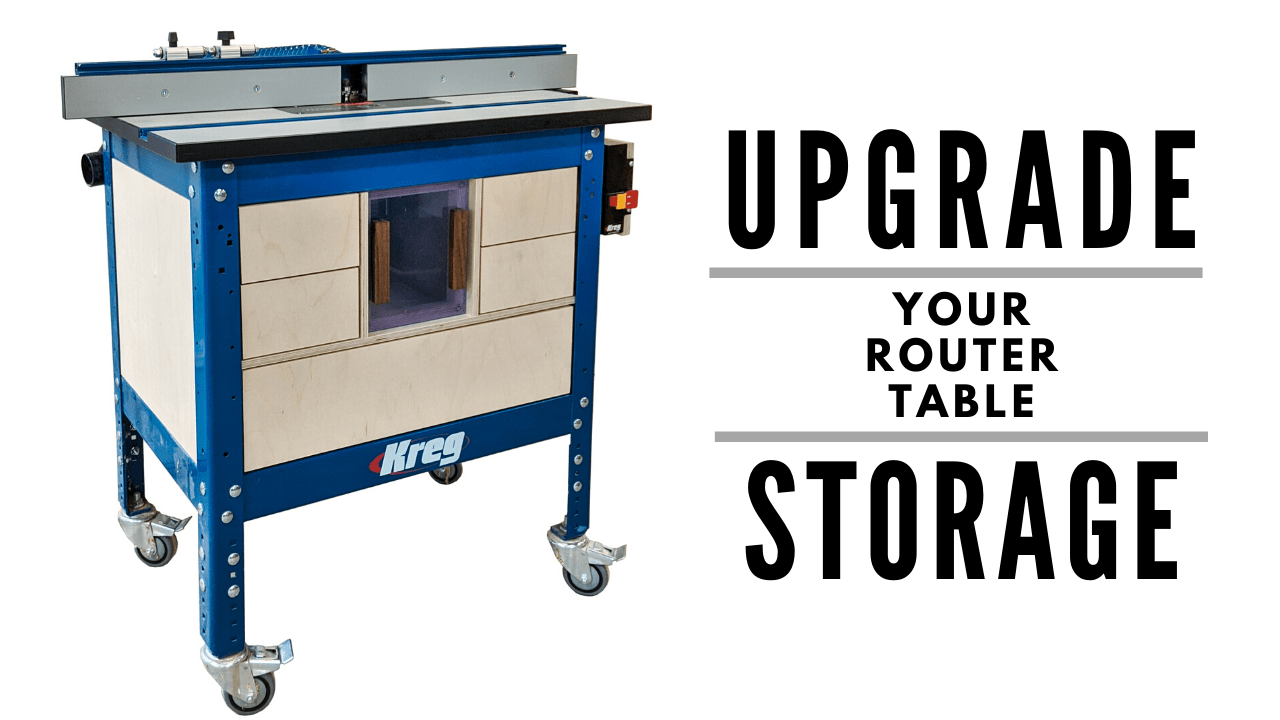
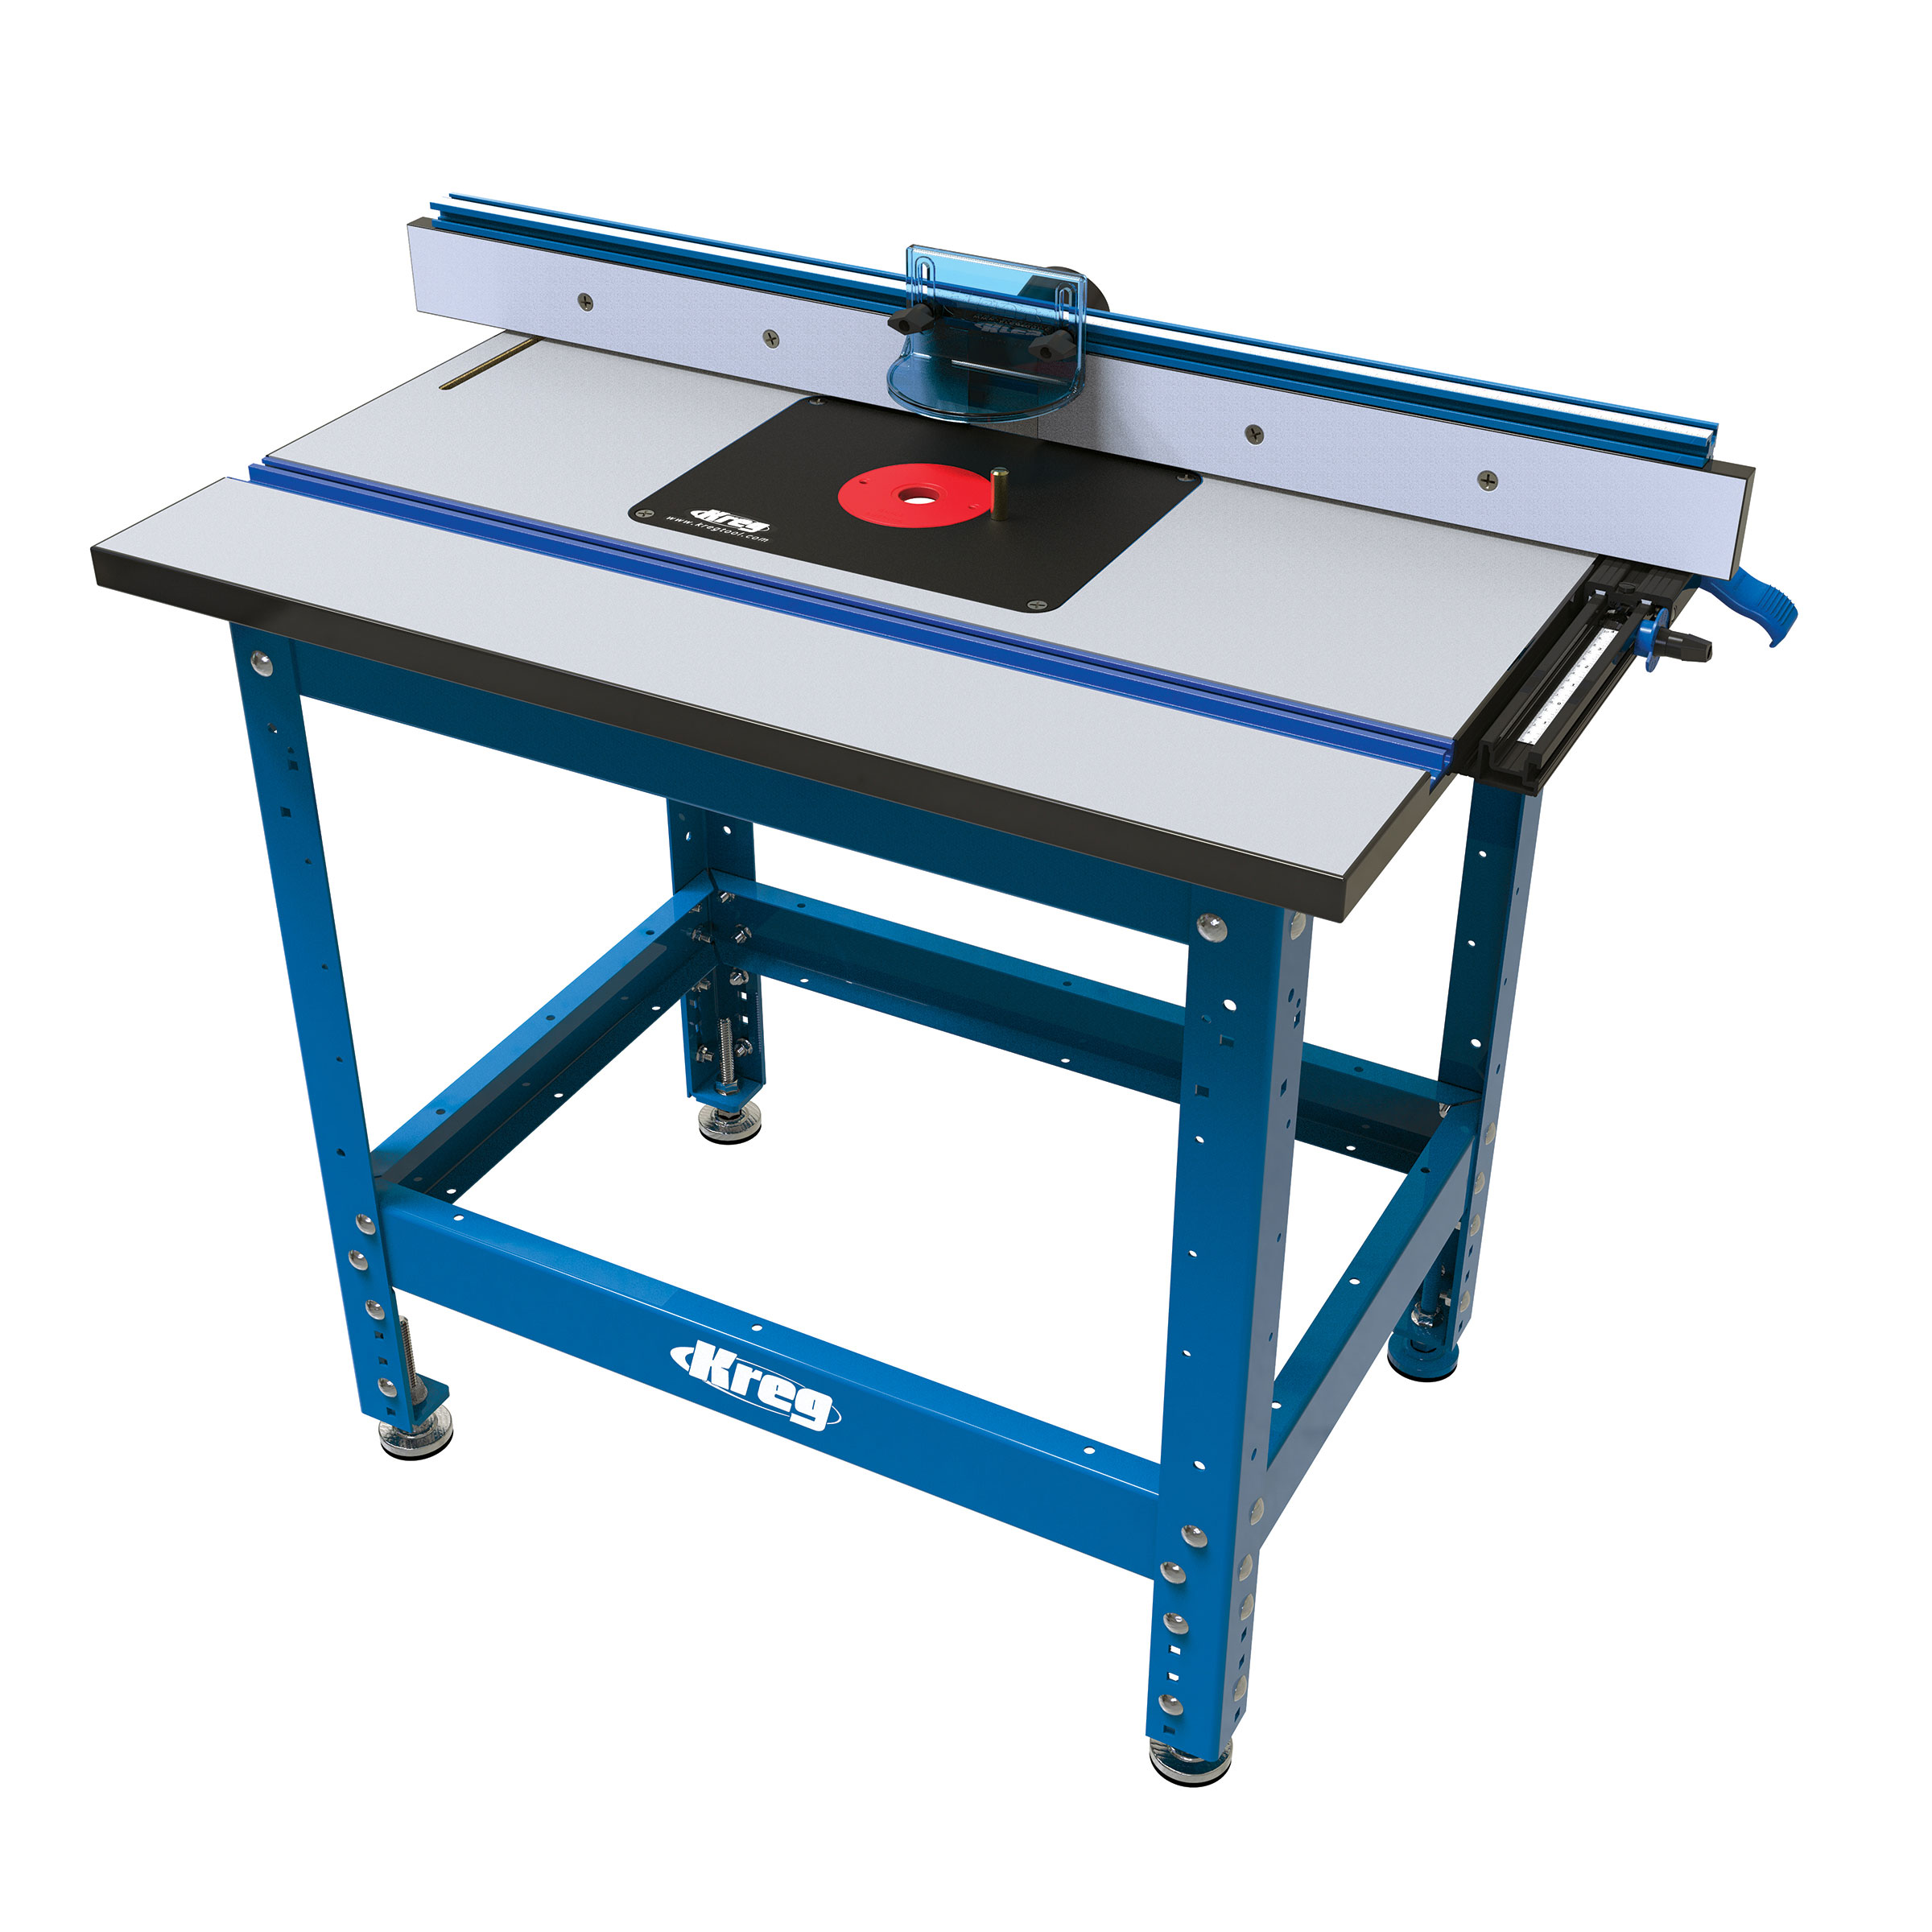
By Woodshop MikeKreg's precision router table is a great asset in my shop without a doubt, but I really wanted to add was some organization! I was always running around the shop so that I could setup and run my router table. Follow along and watch the video to see how I upgrade the precision router table!
Directions
-
Rough Cuts
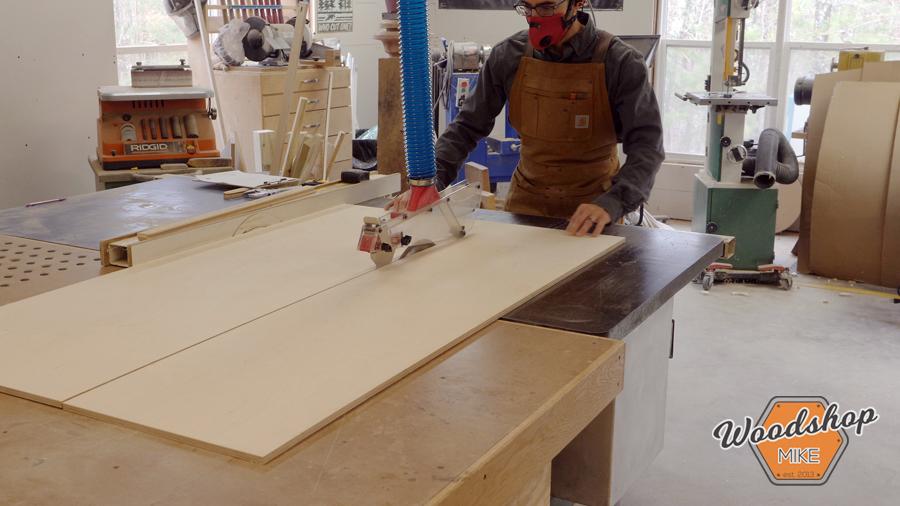
This project is built primarily from 1/2" and 1/4" plywood. To begin, I cut all of the parts that will be used to frame out the base of my router table.
-
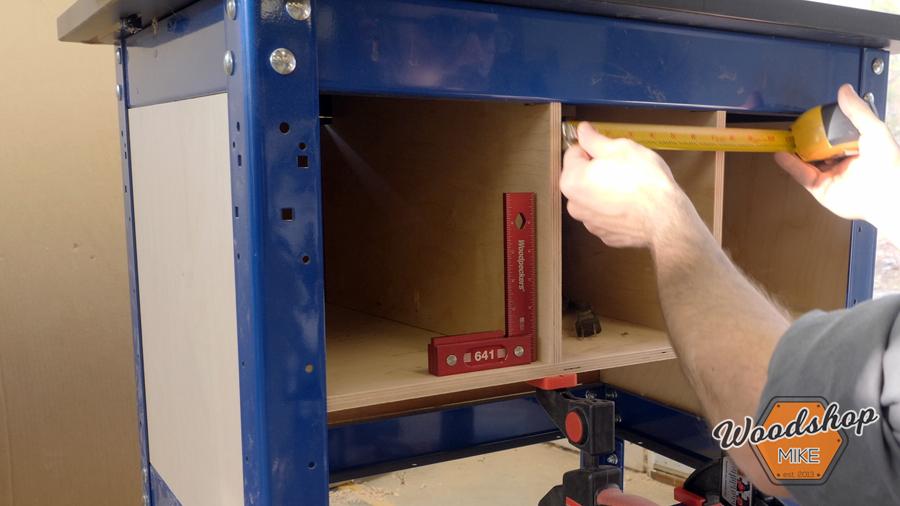
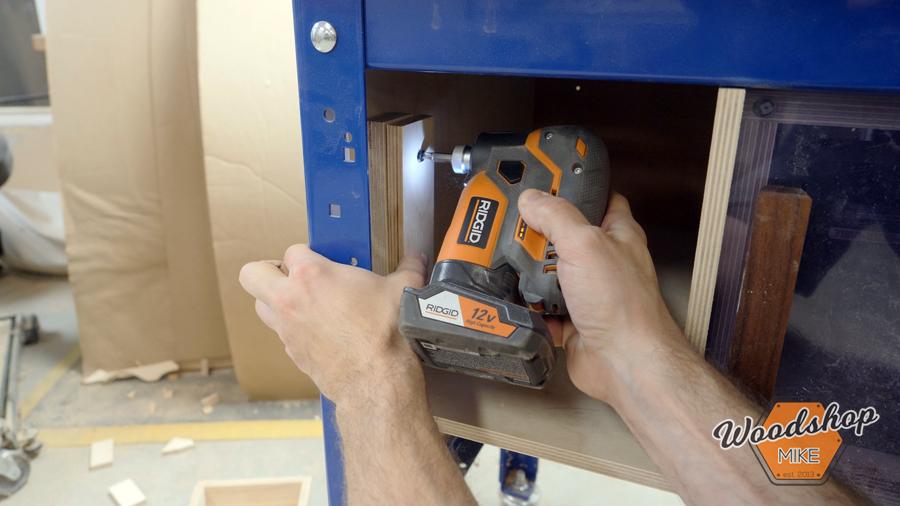
Building Out Router Table Base
This is undoubtedly the most cumbersome step of the entire project! But don't worry, it's not all that bad. The biggest thing that helped was using my BESSEY Trigger clamps to help hold everything in place during assembly.
-
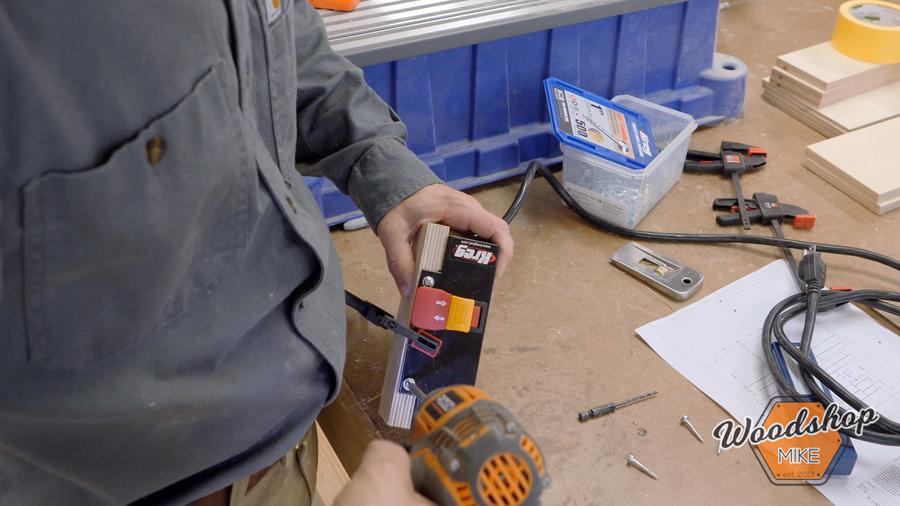
Switch Bracket
Since I added drawers where the standard router switch is mounted, I built a bracket from some scrap 3/4" plywood and used Starbond CA glue to assemble it. I then glued this to the right hand side of the router table for easy access.
-
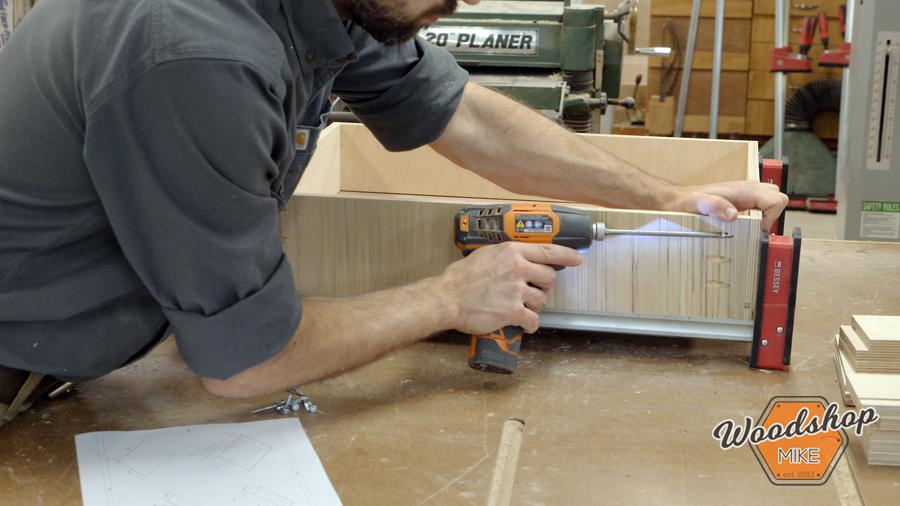
Pocket Holes For Router Table Base
With all of the panels cut, I drill pocket holes so that I can easily assemble the panels inside of the router table base.
-
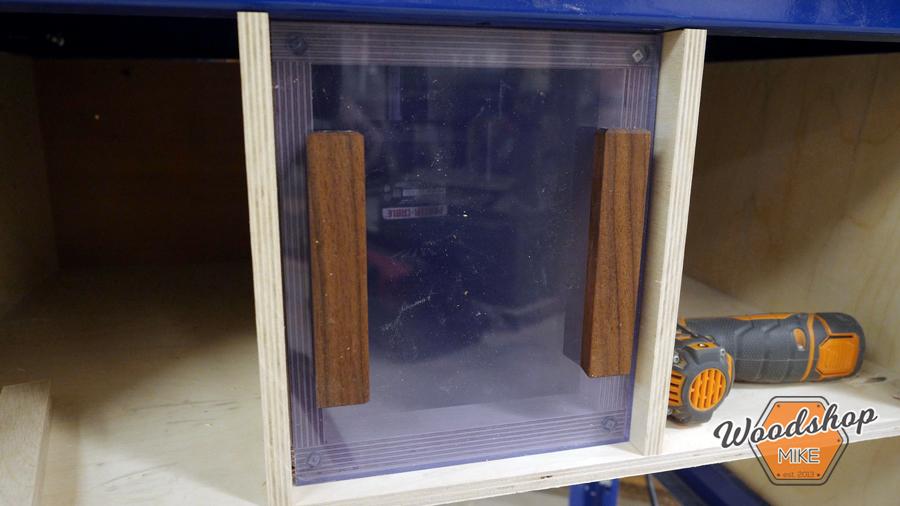
Dust Collection Box Window
I wanted to be able to see inside the dust collection area so I used some scrap acrylic I had on hand and made the handles from some left over Walnut.
I wanted to maintain a flat front across the router table so I recessed this enough so that the handles would be flush with the front of the drawer faces.
The window is held in place with 4 magnets located at each corner of the window.
-
Assemble Drawer Boxes
My go to method for drawer boxes is using pocket hole construction. The boxes are built from 1/2" ply with 1/4" ply for the bottom.
-
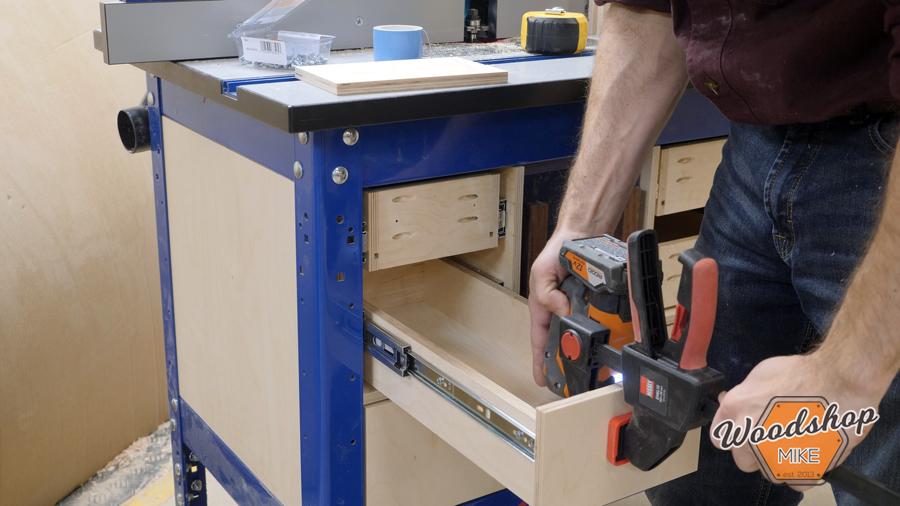
Drawer Shims
Due to the angle iron at the corners of this table, I had to install shims for the drawer slides to mount to. I used a combination of 3/4", 1/2", and 1/4" pieces to build out the appropriate amount for the push to open drawer slides to mount to.
-
Drawer Front
I used 1/2" ply for the drawer front and used double sided tape to temporarily attach them before screwing them in place from inside the drawer box.
-
Dust Collection
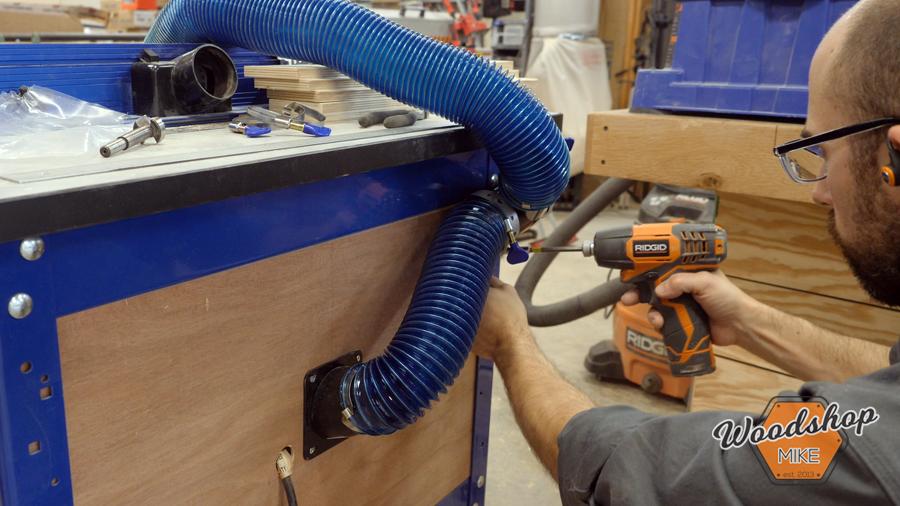
To set up the dust collection, I used the 2-1/2" expanding hose from rockler along with a port and Y fitting. These were secured in place with tin strapping.
-
Organization
With everything built out it's time to ORGANIZE!!! With all of the space I'm able to store my gauge blocks, table inserts, wrenches, feather boards, additional routers, and all of my router bits in one place!
-
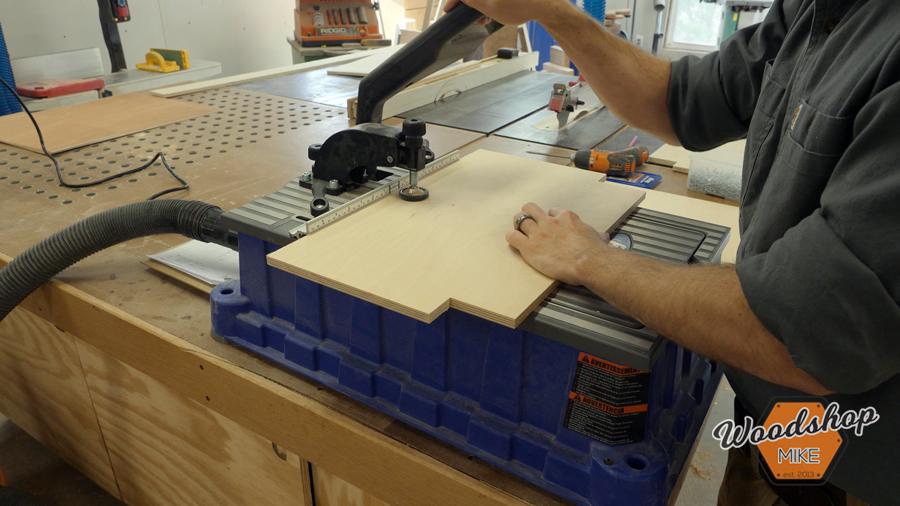
Notching Dust Box Dividers
To improve dust collection, I extended the dust box dividers all the way to the underside of the router table top. To do this, I notched around the C-channel cross member on the router table.
-
Watch the Video!
Make sure to check out the build video on this one!
https://youtu.be/UsMGt0roXhY
I had a blast producing it and I think you'll find it helpful when tackling this project!
-
Woodshopmike.com
Make sure to checkout additional info over on my blog:
https://woodshopmike.com/how-to-improve-your-router-table-storage
I'd love to know what you all think so let me know!
Thanks for reading!


