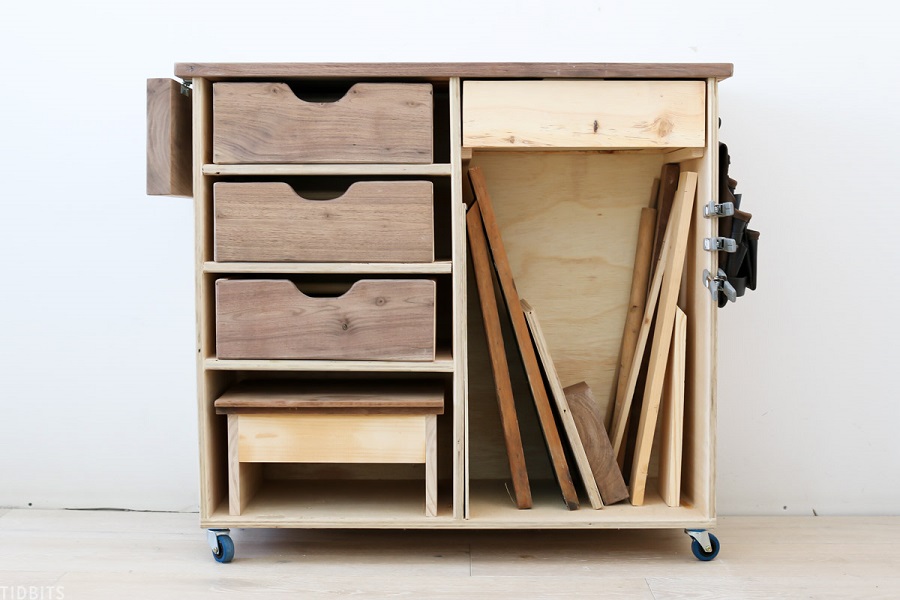
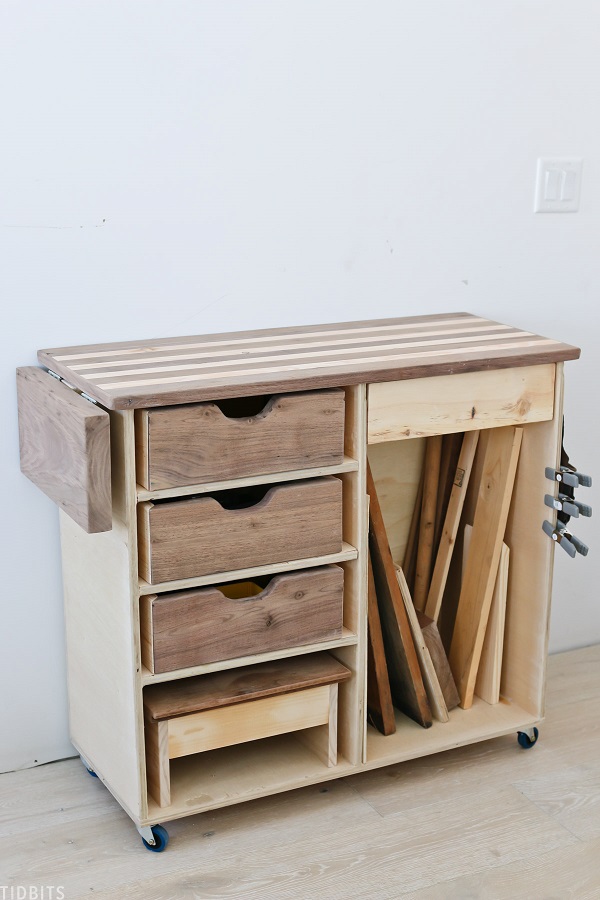
Kids Workbench with Tool Storage
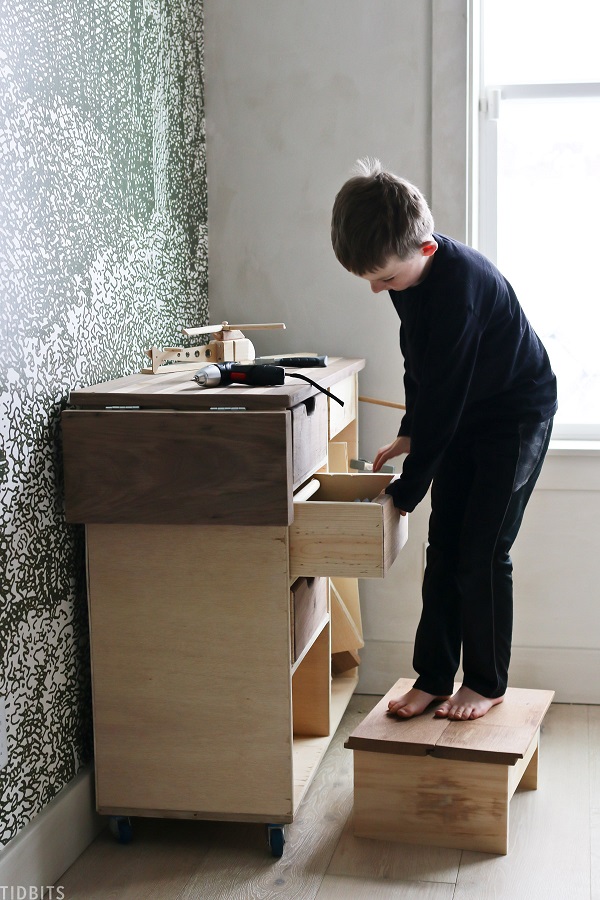
By TidbitsLet your kids' DIY spirit shine through with their very own workbench with tool storage they'll be sure to love.
Directions
-
Boxes
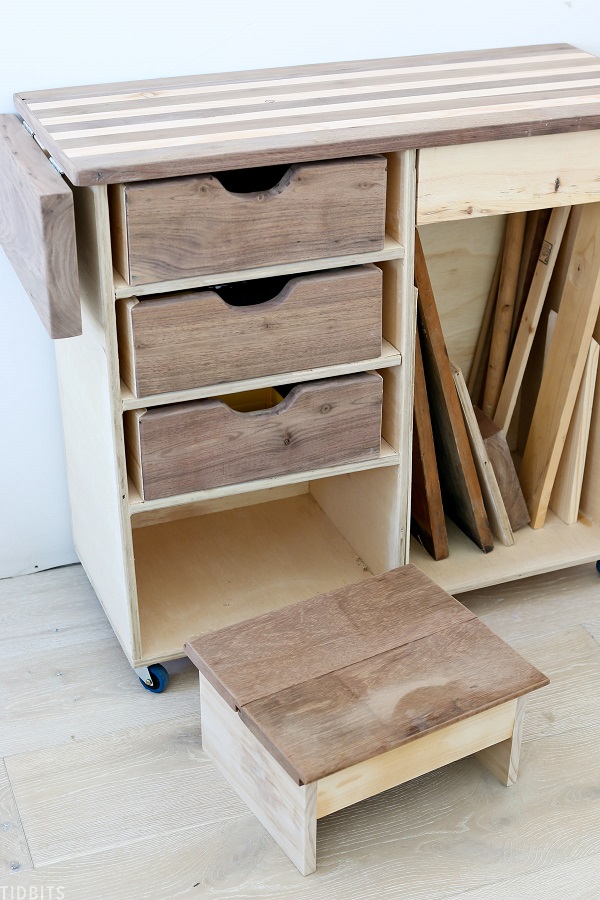
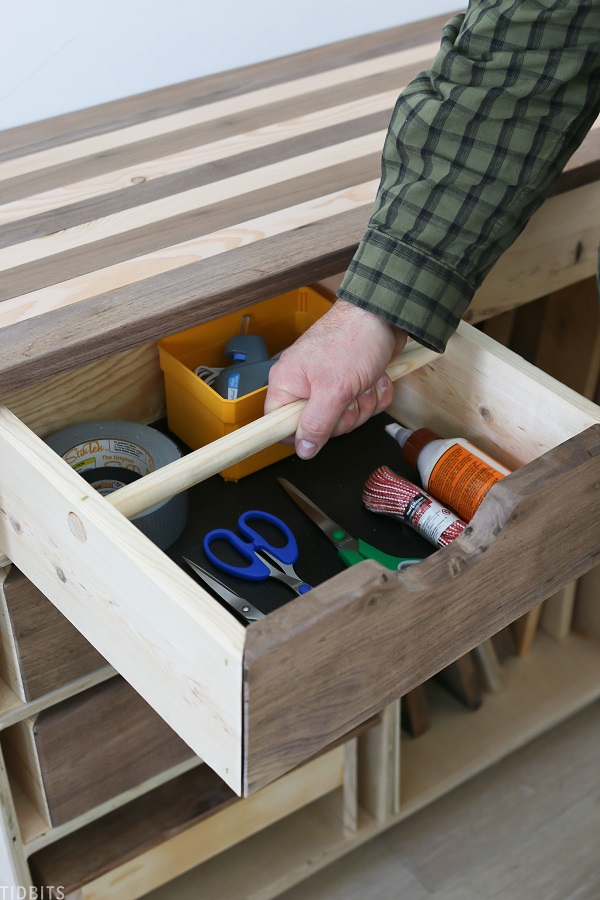
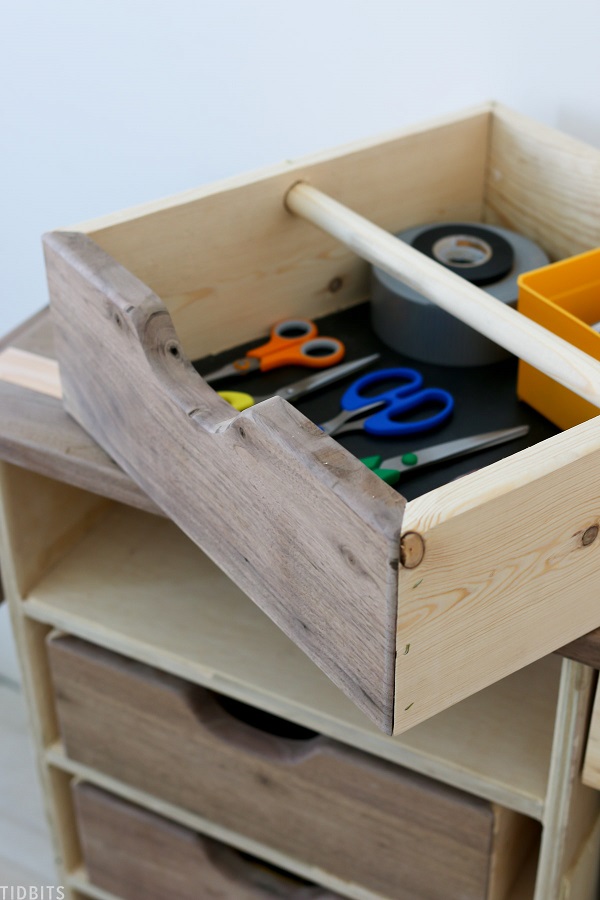
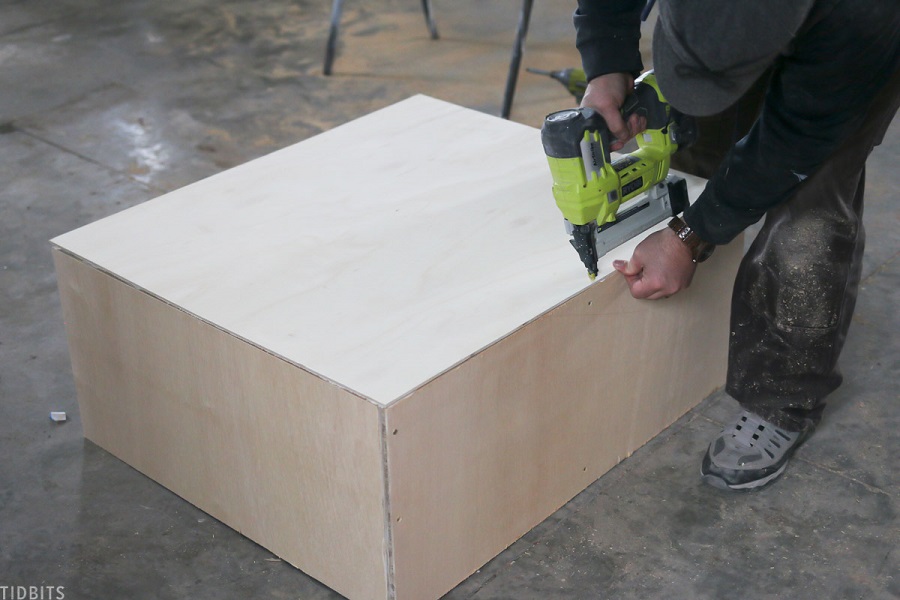
Assemble the boxes first by gluing and nailing the mitered corners together on three box sides. Slide the box bottom piece into the router grooves and then attach the final box side with glue and nails. Repeat two more times to complete 3 boxes. Drill a ¾” hole in the center and ¾” from the top of the box on two opposing sides of each box. Insert the handle and nail through the top of the box side to keep the handle from moving.
Tip:
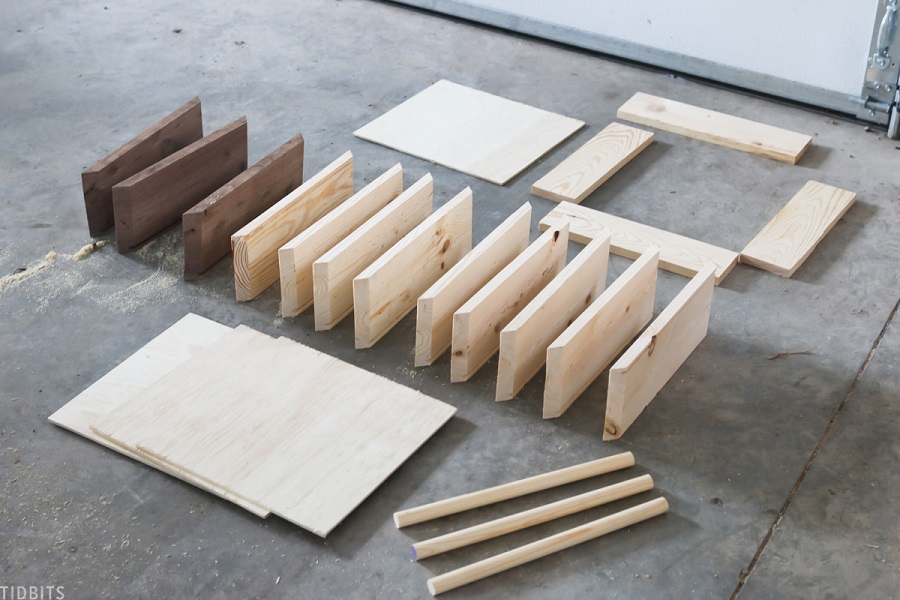
Cut out each piece according to the drawings located in PDF. I used a ¼” router bit to groove the bottom edge of the box sides and the drawer pieces for the bottoms to slide into. You will need to cut 3 shelf pieces, 12 box sides, 2 drawer sides, 3 side plates and 3 handles. Only one piece is required for the rest of the items.
-
Drawer
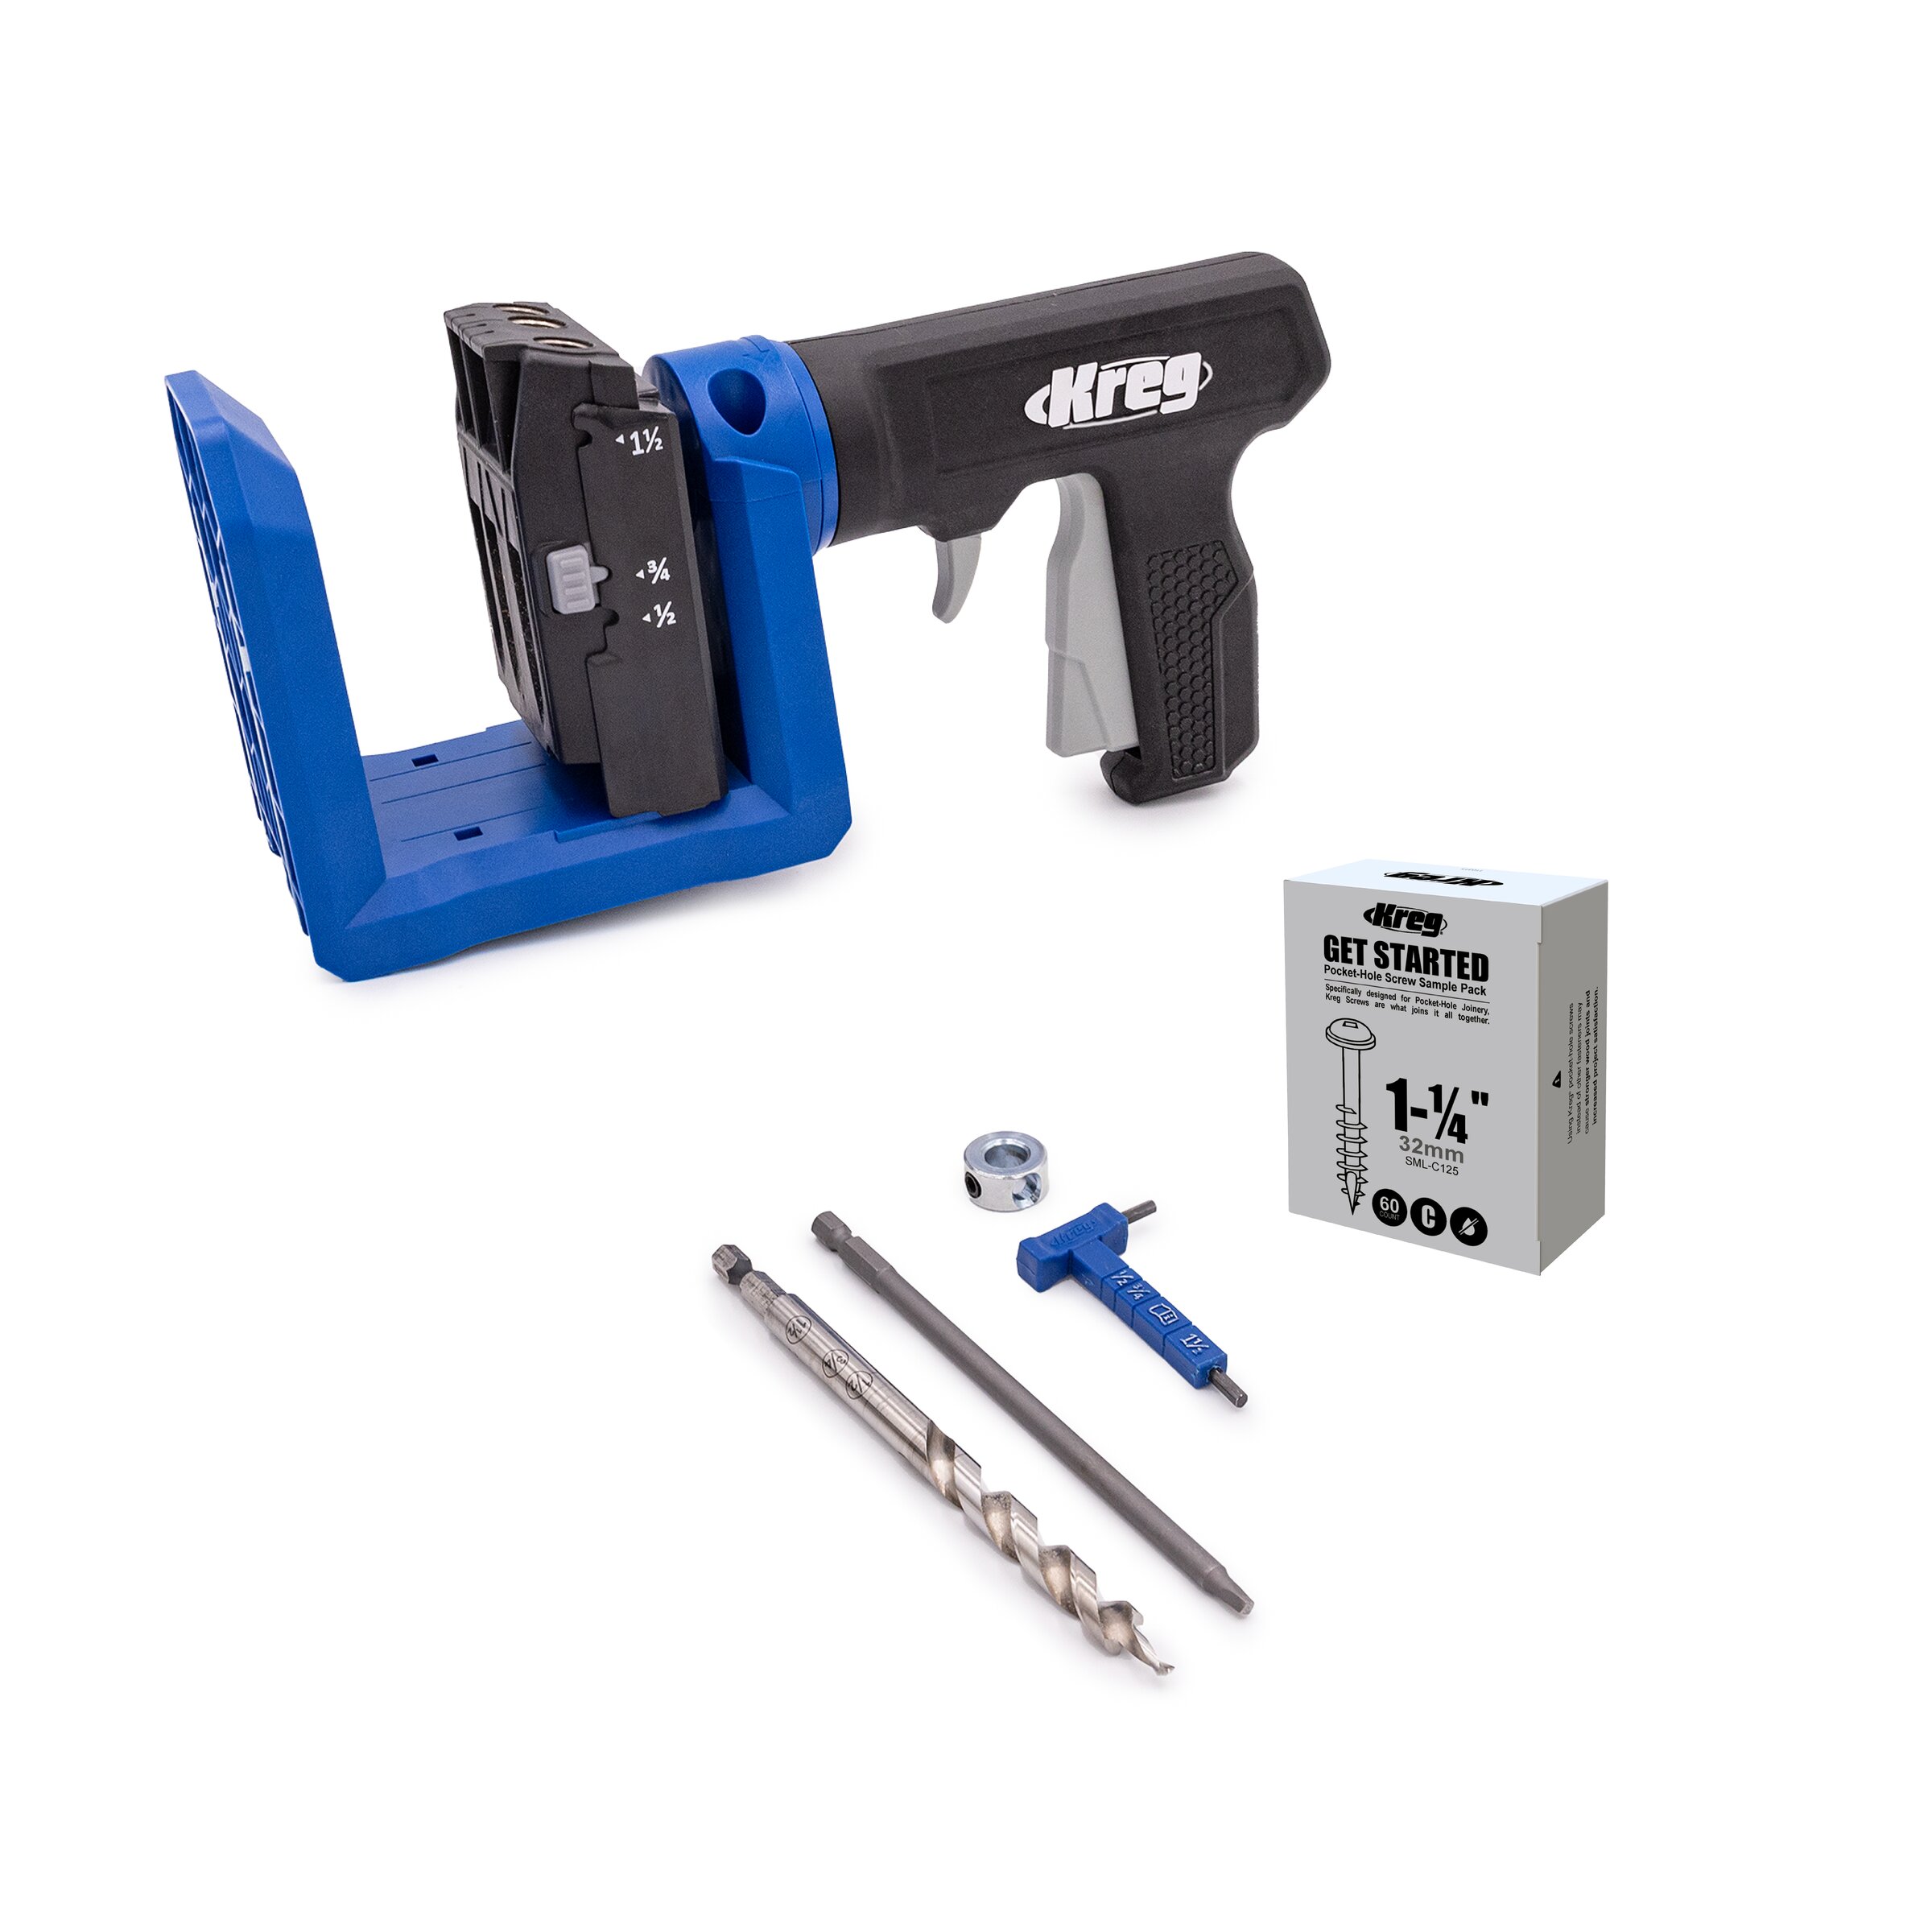
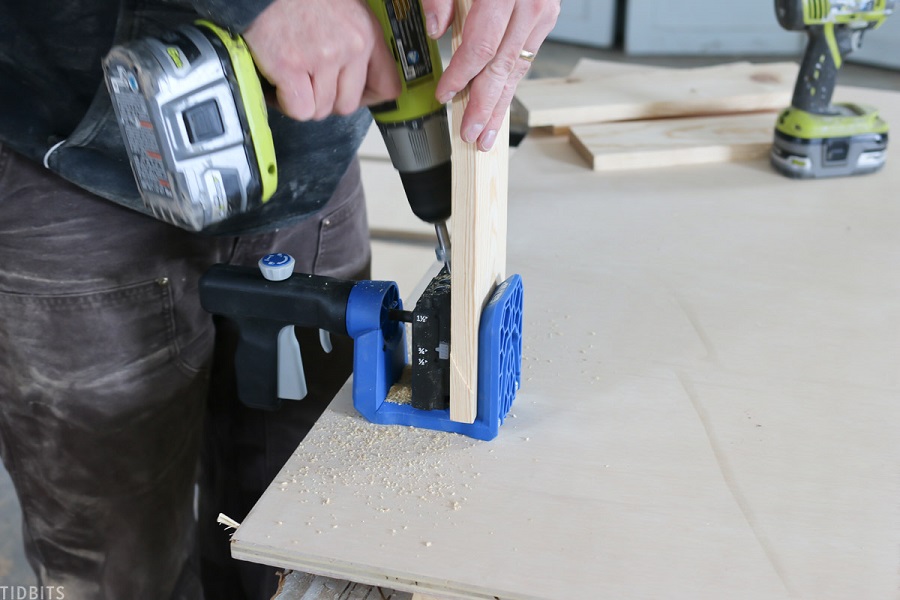
Drill two holes with the pocket hole jig on each end of the drawer back and on one end of the drawer sides. Assemble the drawer by attaching the two drawer sides to the drawer back with screws and glue. Slide in the drawer bottom into the router grooves and then attach the drawer front with screws and glue.
-
Workbench Frame
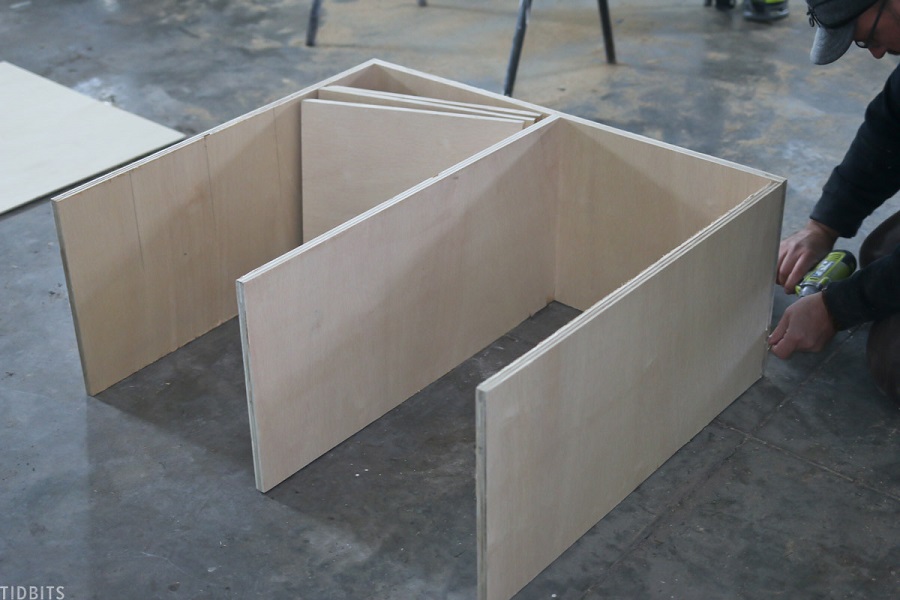
Attach the three side plates to the bottom plate of the work bench, using the shelf pieces to space the middle side plate from one of the end side plates. The spacing should be 17 inches. As always, use glue and screws. Use the kreg pocket hole jig to drill two holes on each of the two 15 inch long ends of the shelves. Attach the three shelves spaced 6 inches apart with glue and screws.
-
Workbench Back & Top
Use glue and nails to attach the back plate. Use the Kreg pocket hole jig to drill holes on the tops of the side plates to attach the top plate. Attach the top plate with screws and glue.
-
Hinged Tool Mount
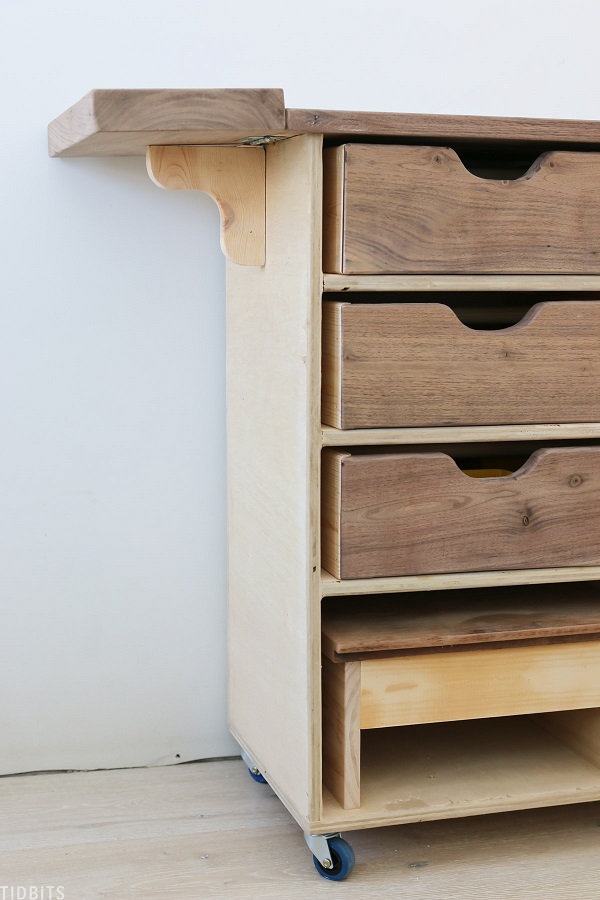
Attach the hinged tool mount with two of the hinges on one side of the top plate. Attach the tool mount holder underneath the hinged tool mount with the third hinge.
-
Drawer & Finish
Attach the drawer slides to the drawer and the drawer slot of the workbench per manufacturer instructions. Sand all surfaces then seal to your desired color and sheen.


