Kid’s School Desk
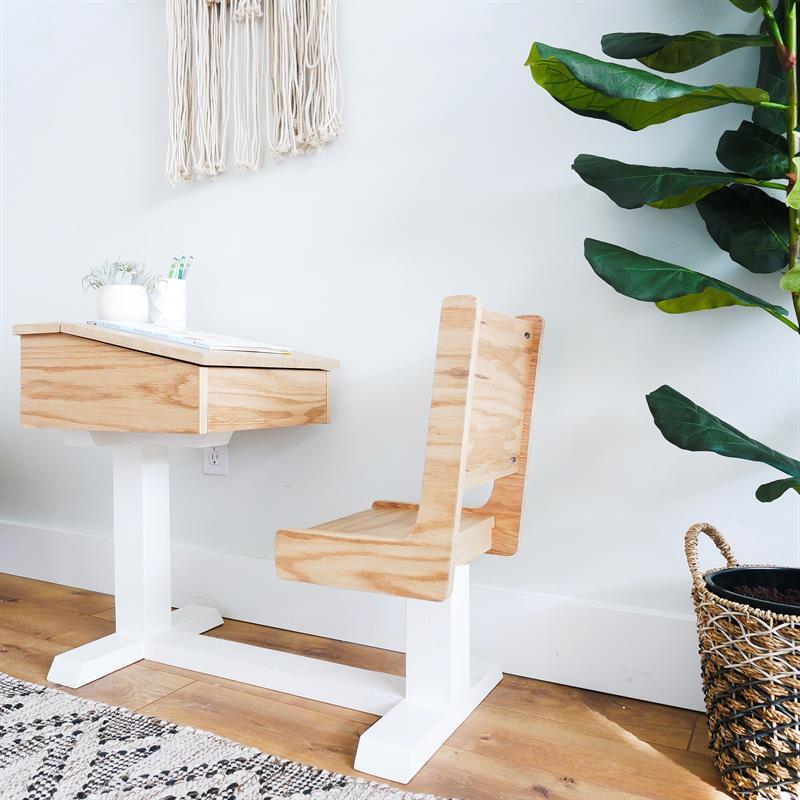
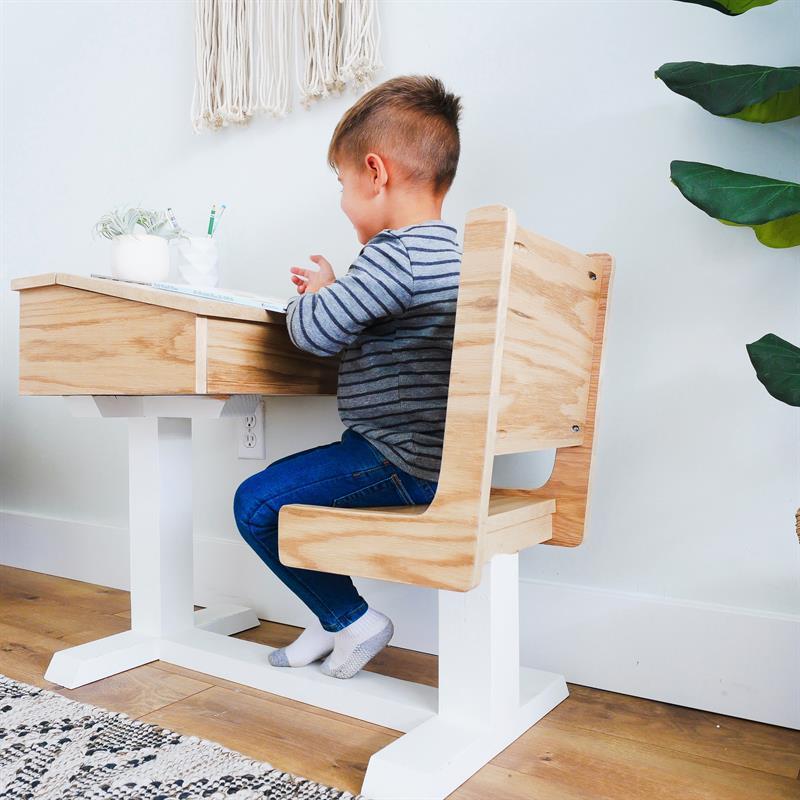
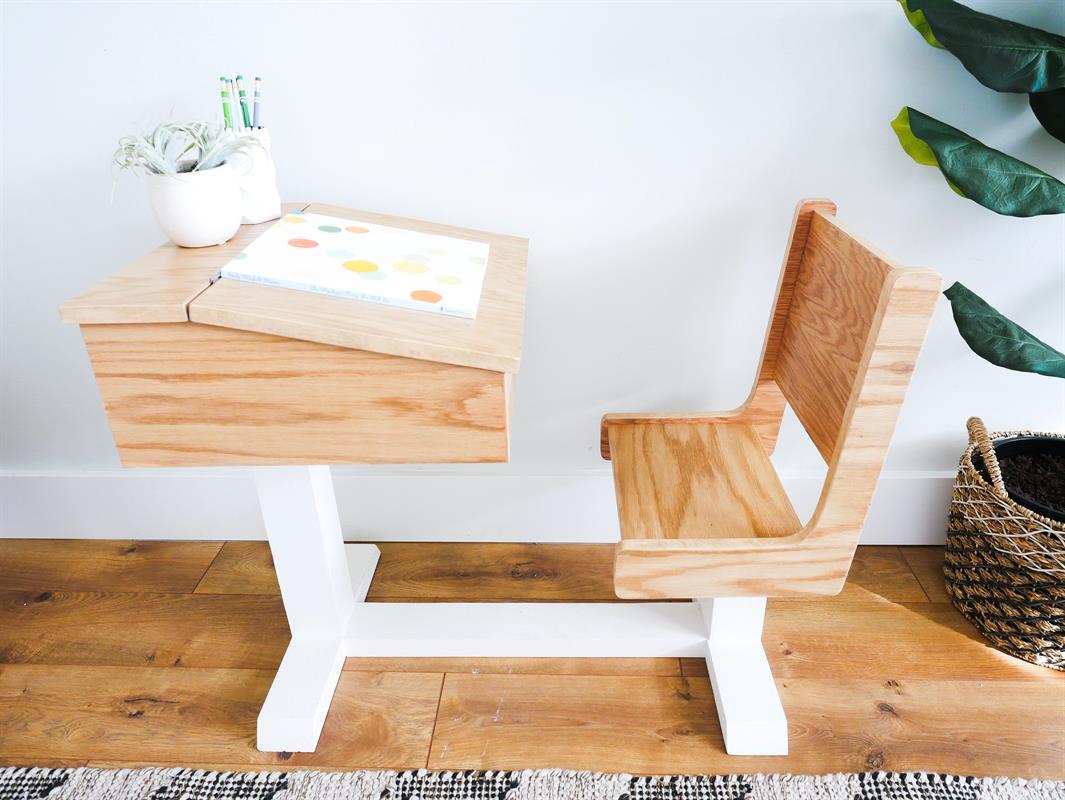
By Mr. Build ItThe Iconic Children's School Desk is a perfect place for the kids to do their homework, or even perhaps write their letters to Santa This holiday season.
Directions
-
Cut List
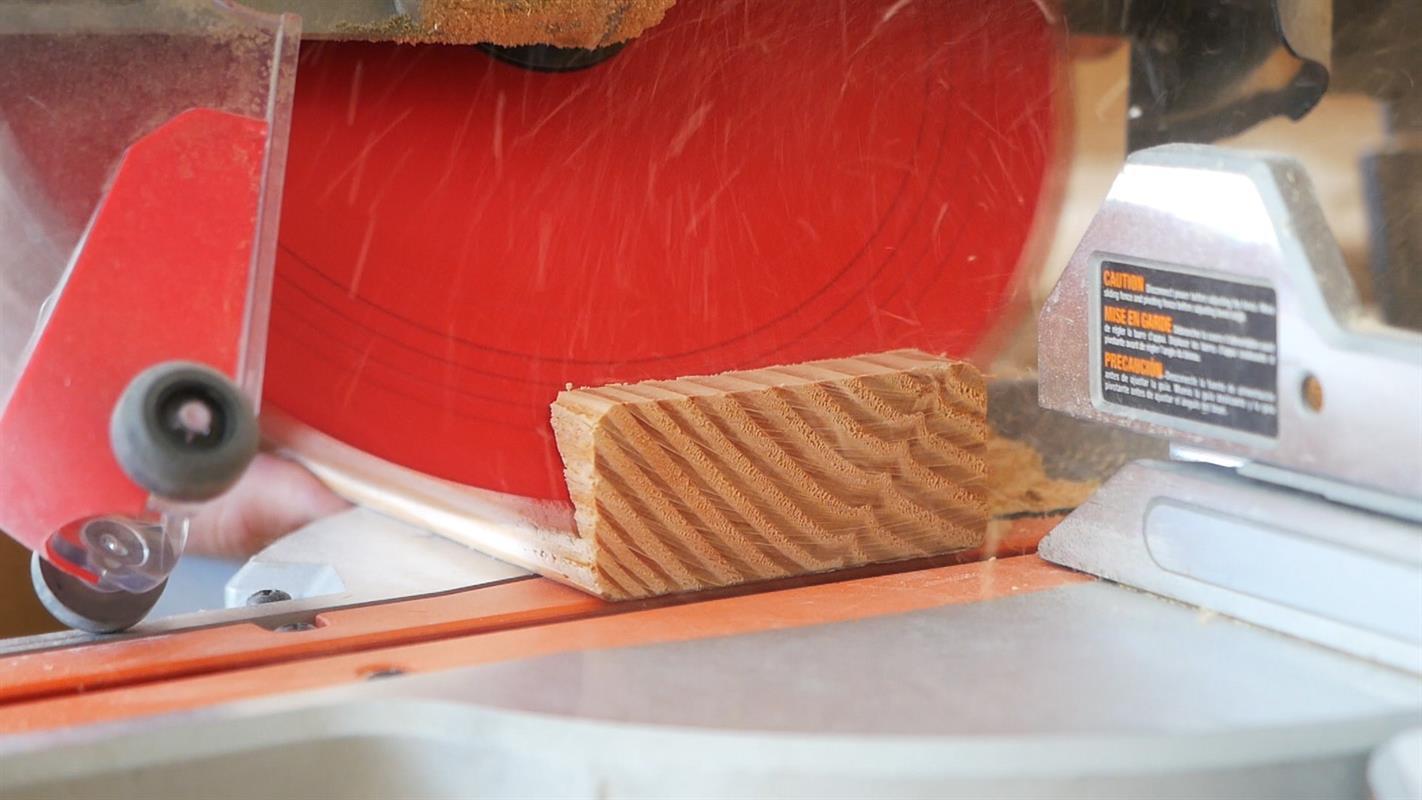
Step 1. Make all the necessary cuts as provided in the plans.
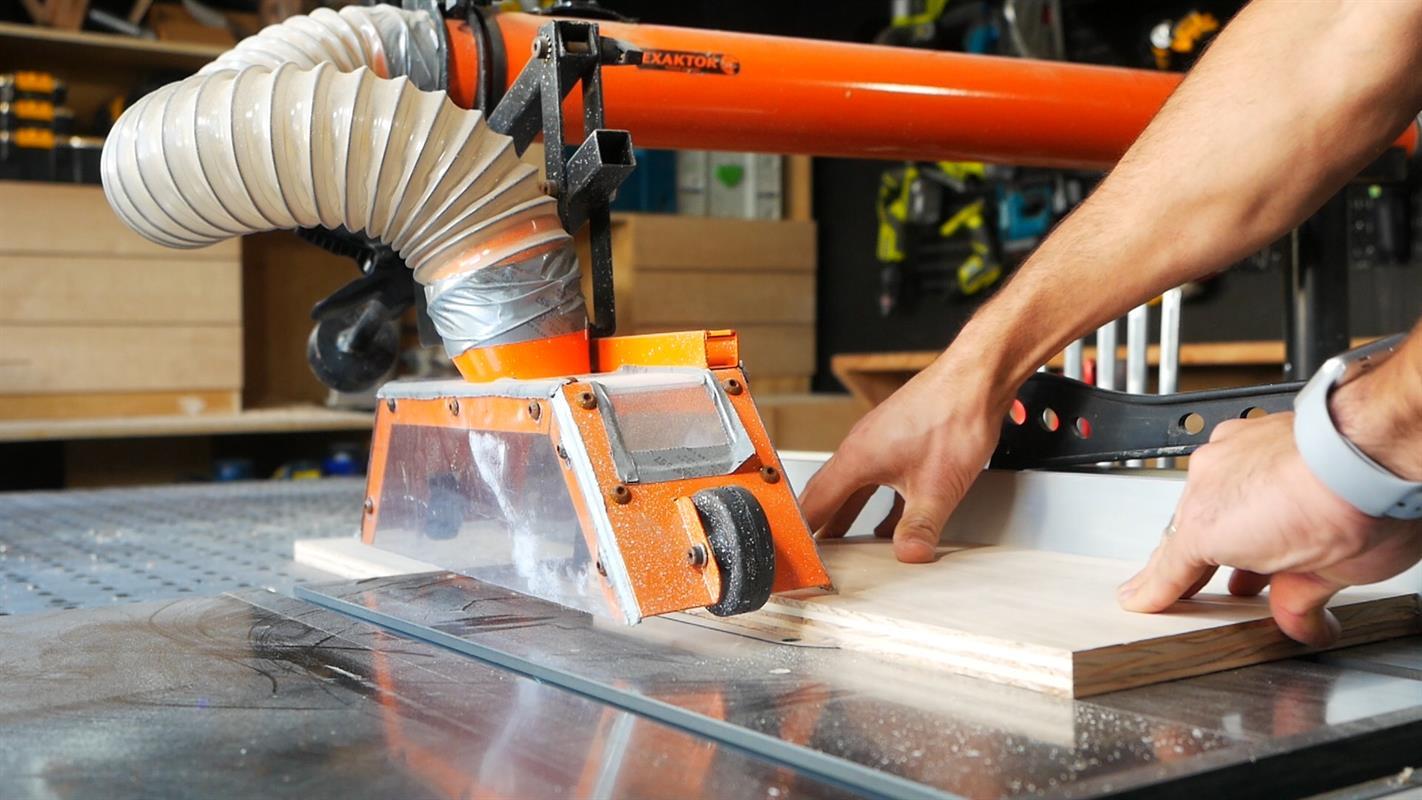
TIP: When cutting cabinet grade finished Oak Plywood, use 40T-60T Saw blade as well as masking tape curing crosscuts. (cutting across the grain)
-
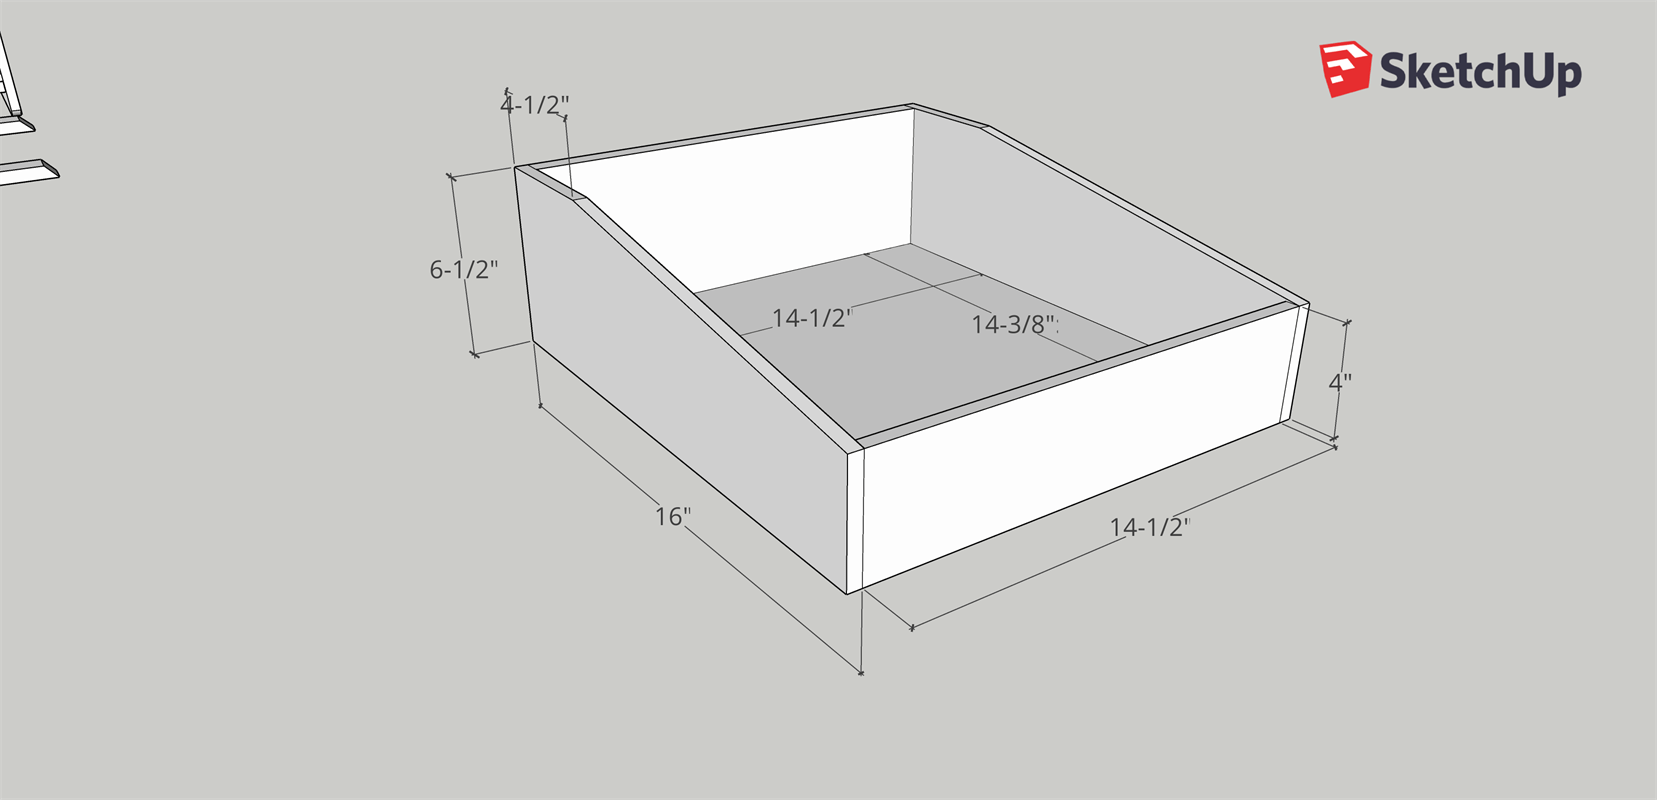
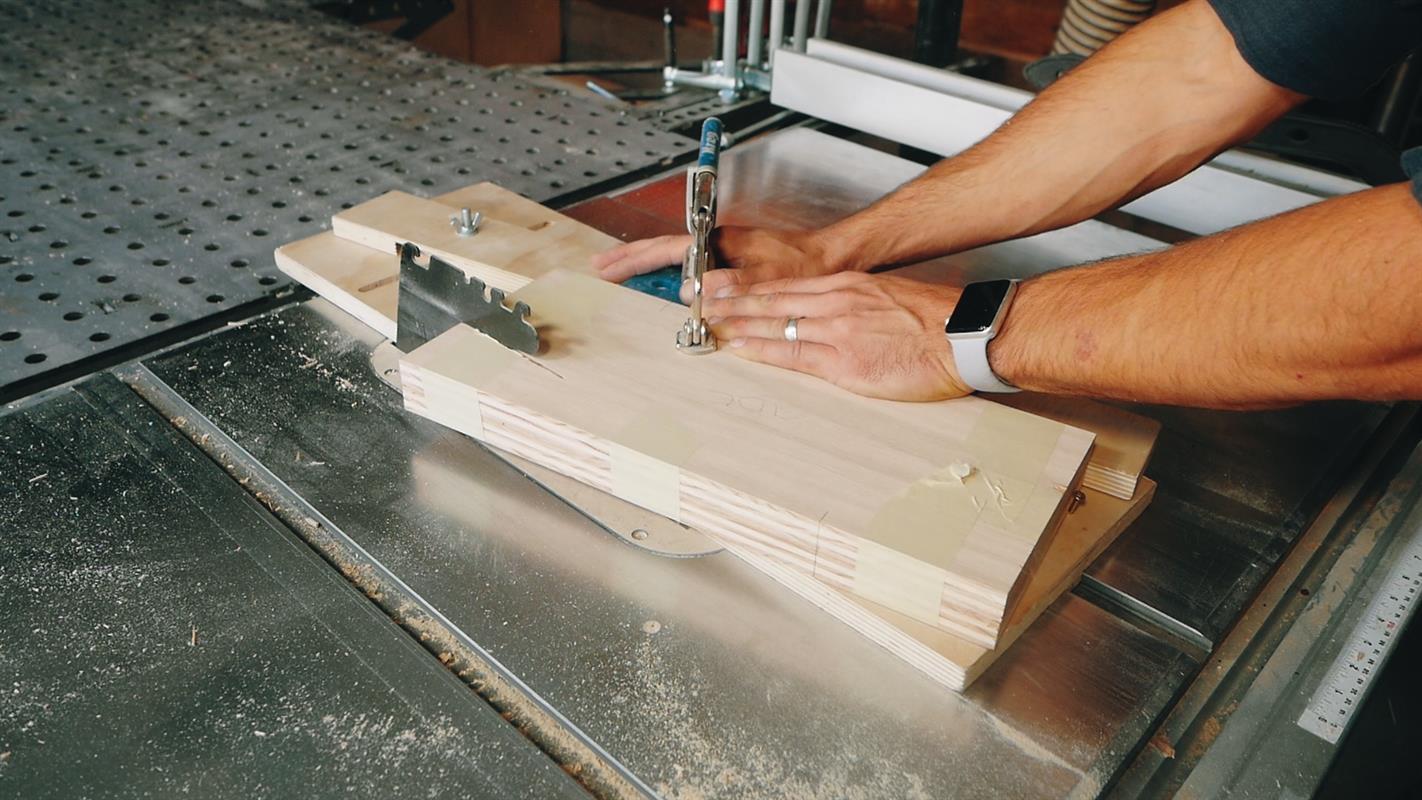
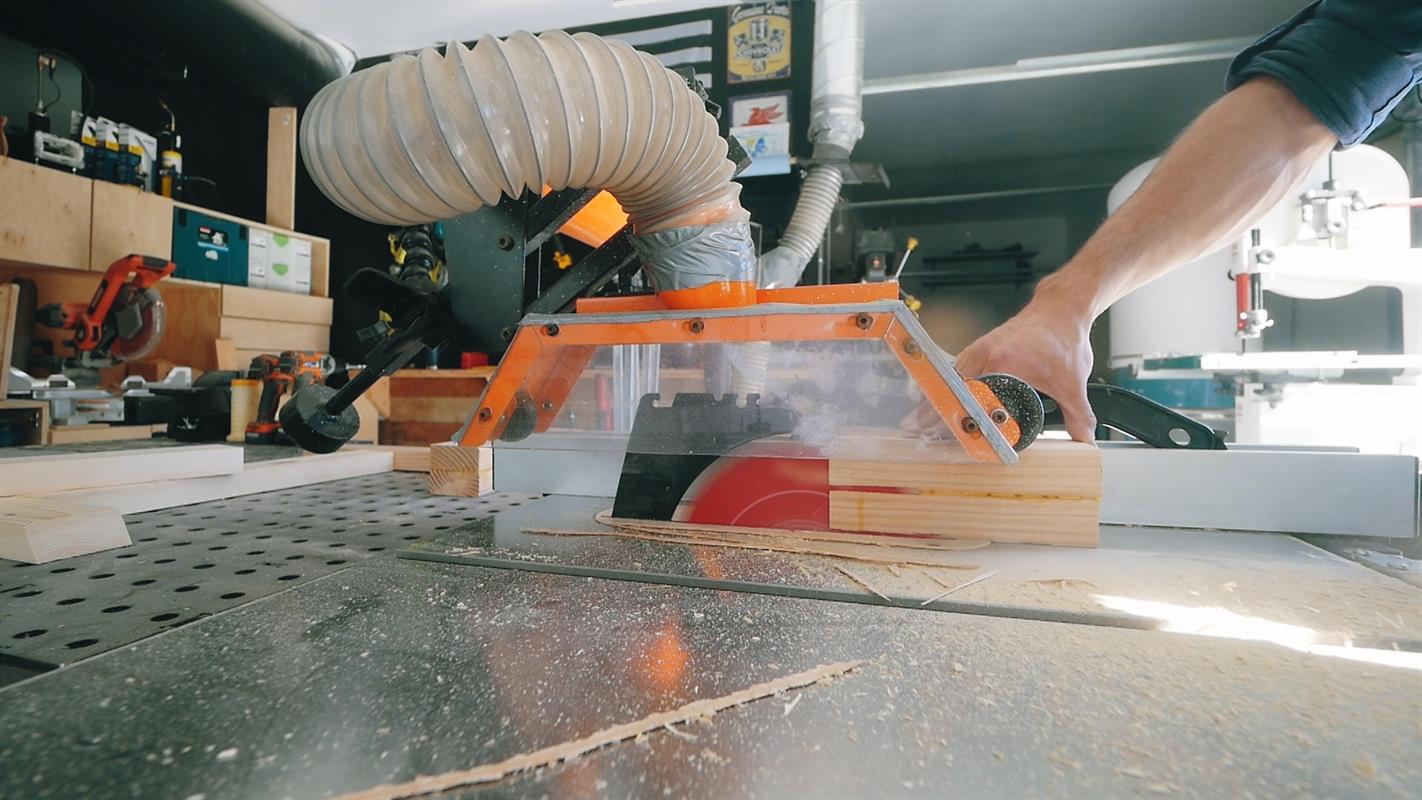
Taper Cut
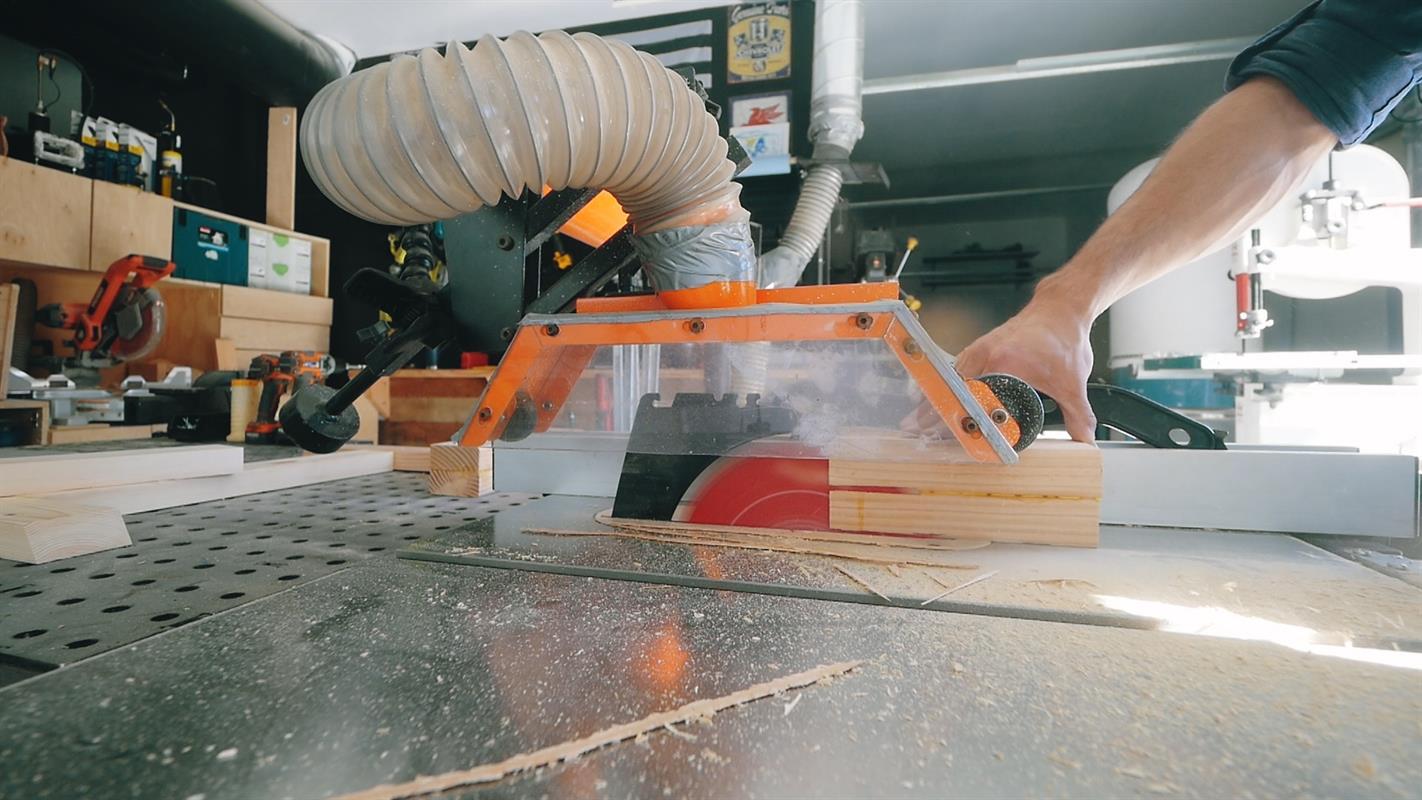
Taper Sides of the Storage component using a Taper jig.
Tip. I built my Taper jig from leftover scraps and mounted the Kreg Bench vice to it the secure the pieces when running through the table saw.
-
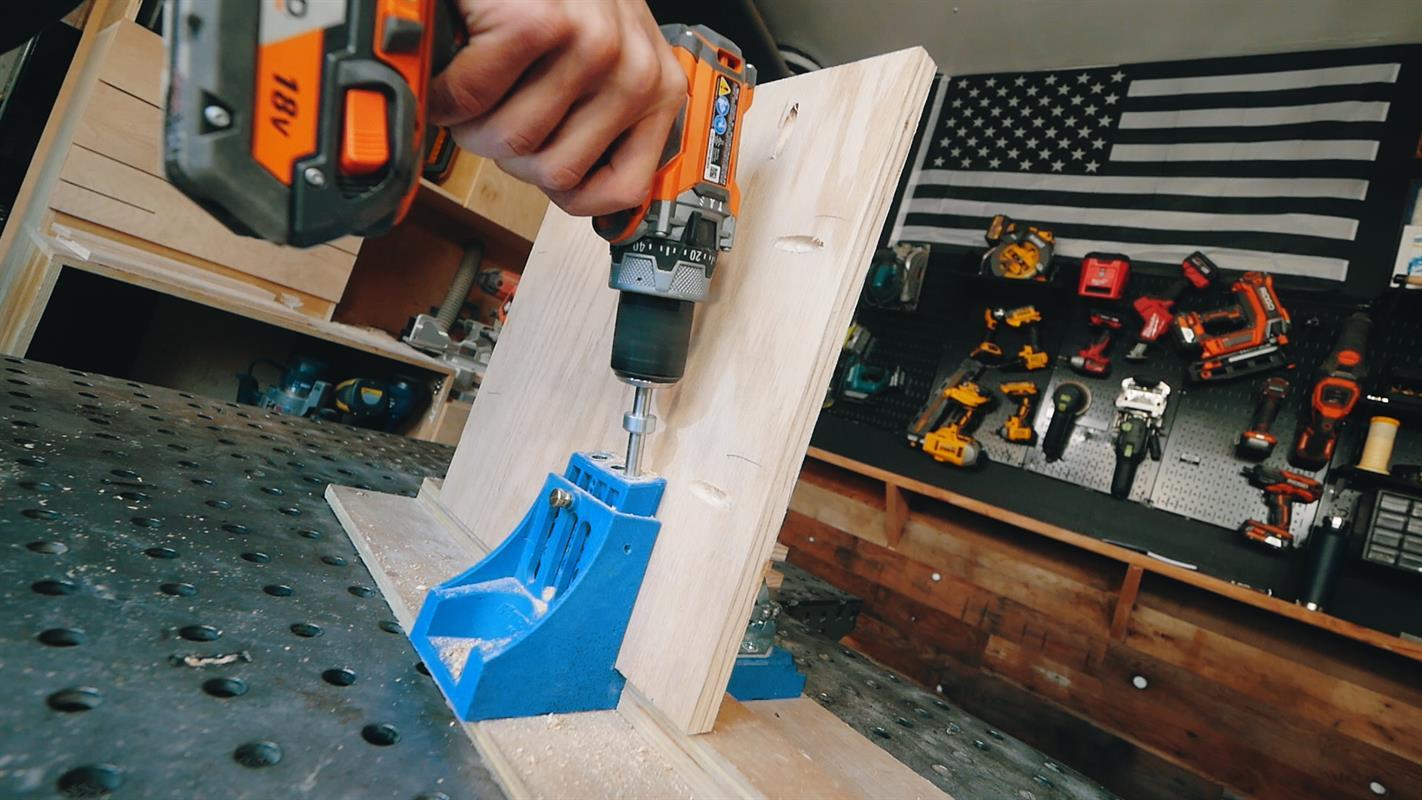
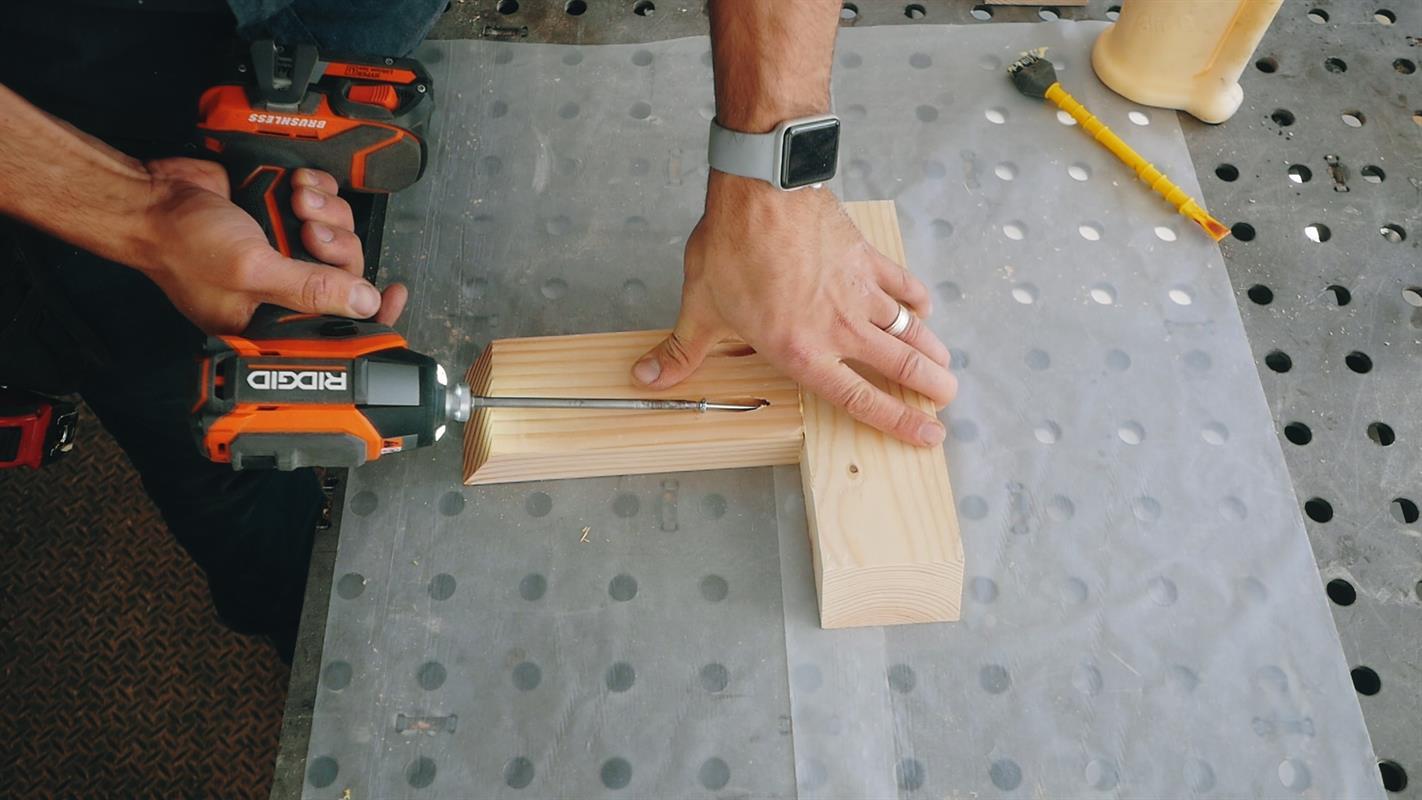
Pocket Holes
Create Pocket holes that would be secured on the inside and the underneath side of the storage component.
-
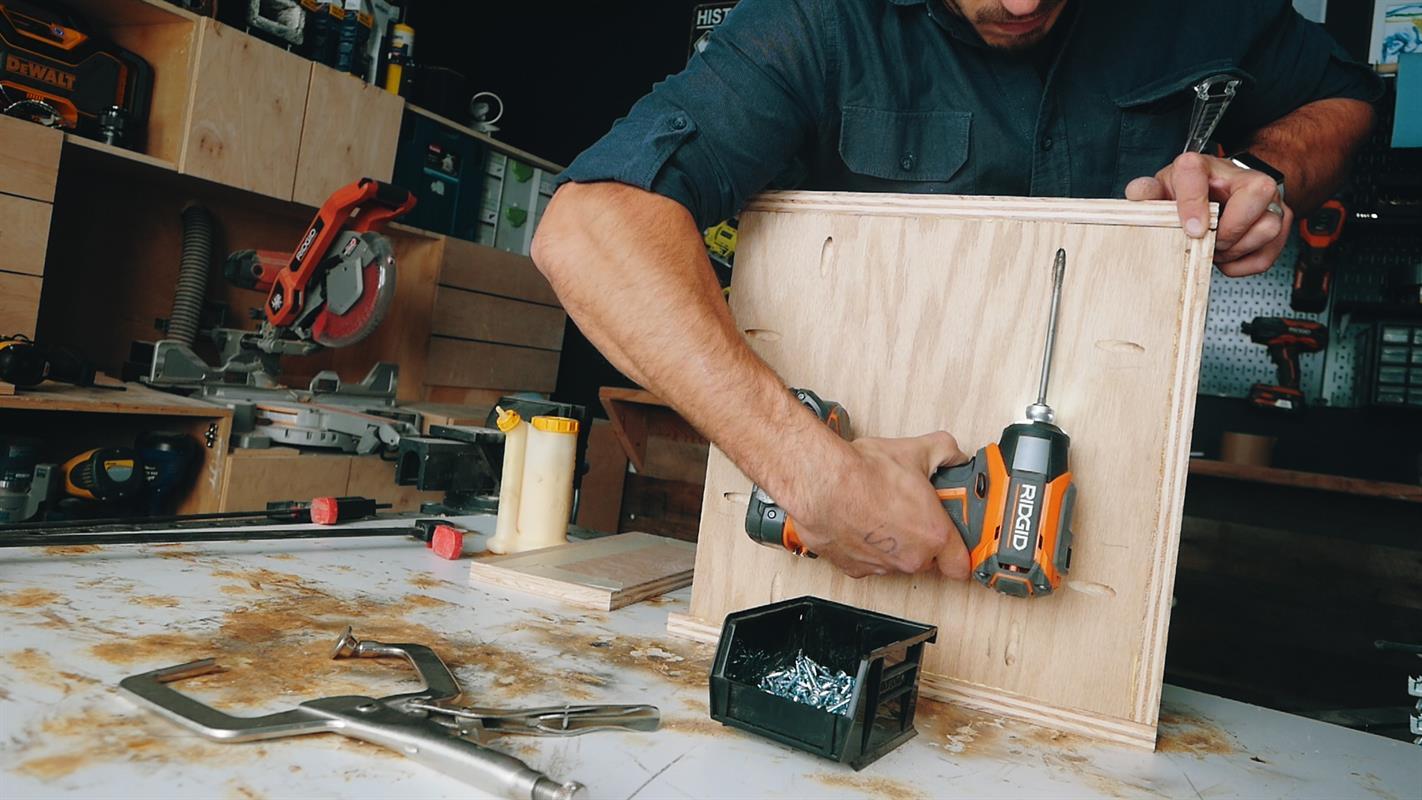
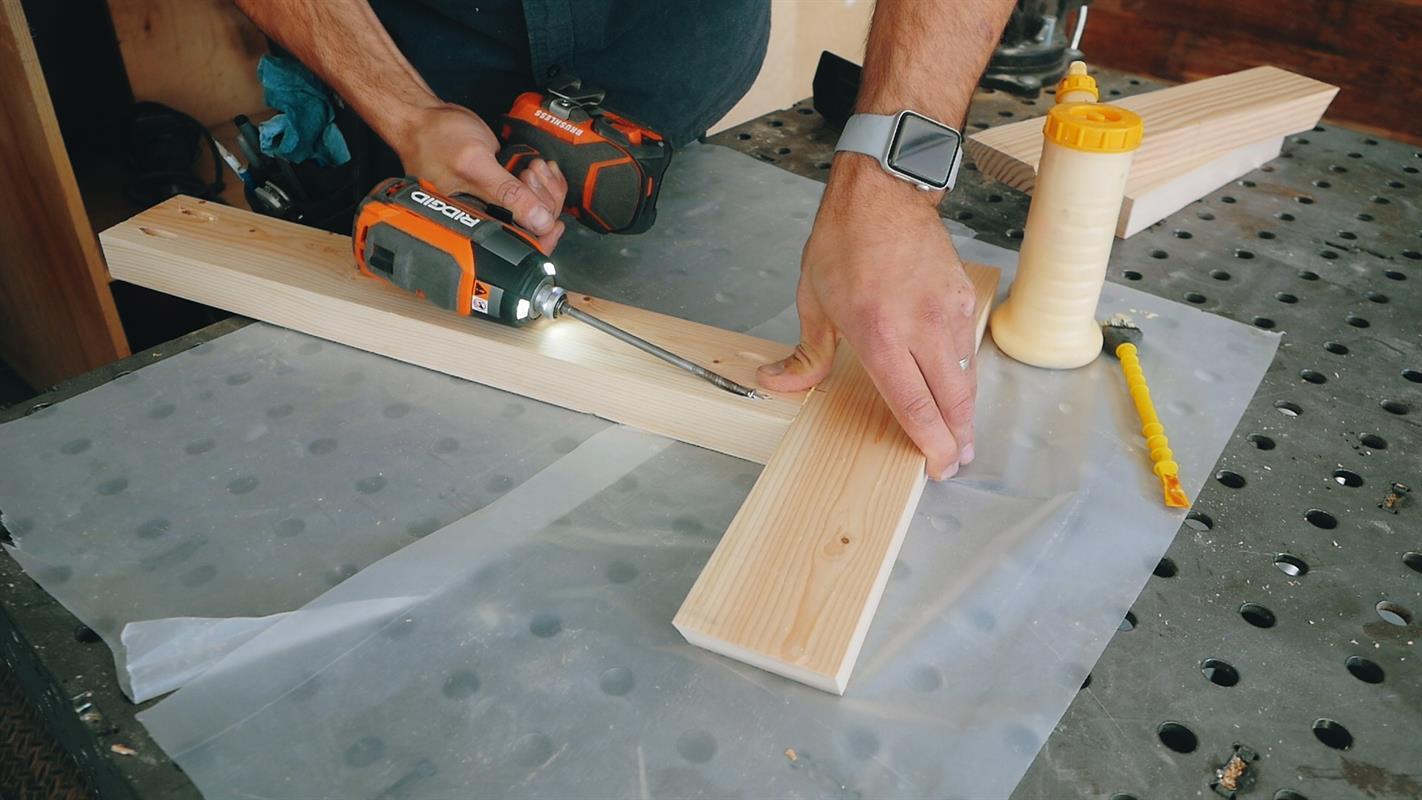
Assemble
Assemble using 1-1⁄4” Coarse Kreg Pocket screws along with wood glue.
Tip. Use a Kreg Right Angle clamp to secure your pieces in place before driving the screws in to prevent movement out of place.
-
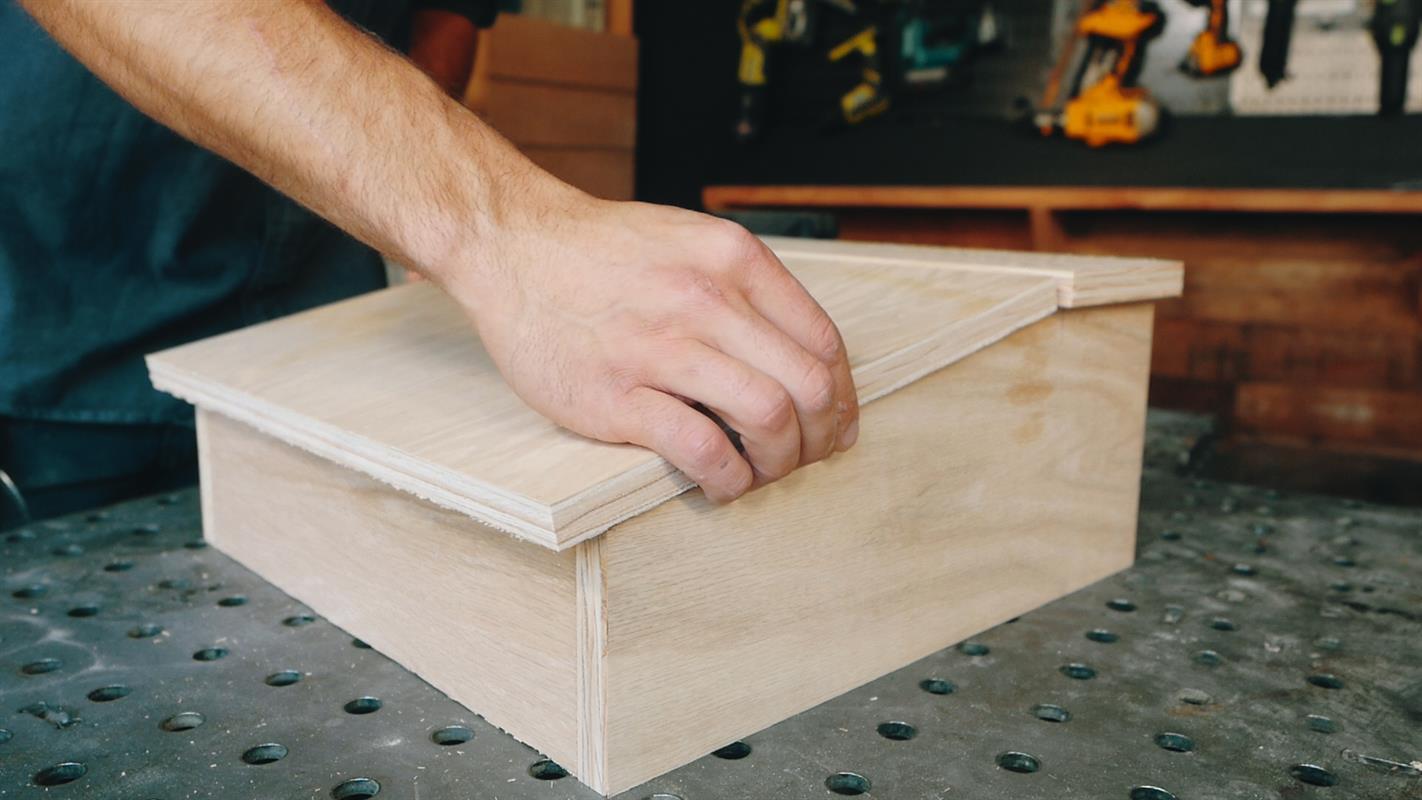
Lid Dry Fit
Dry Fit the top lid to ensure proper size and grain direction.
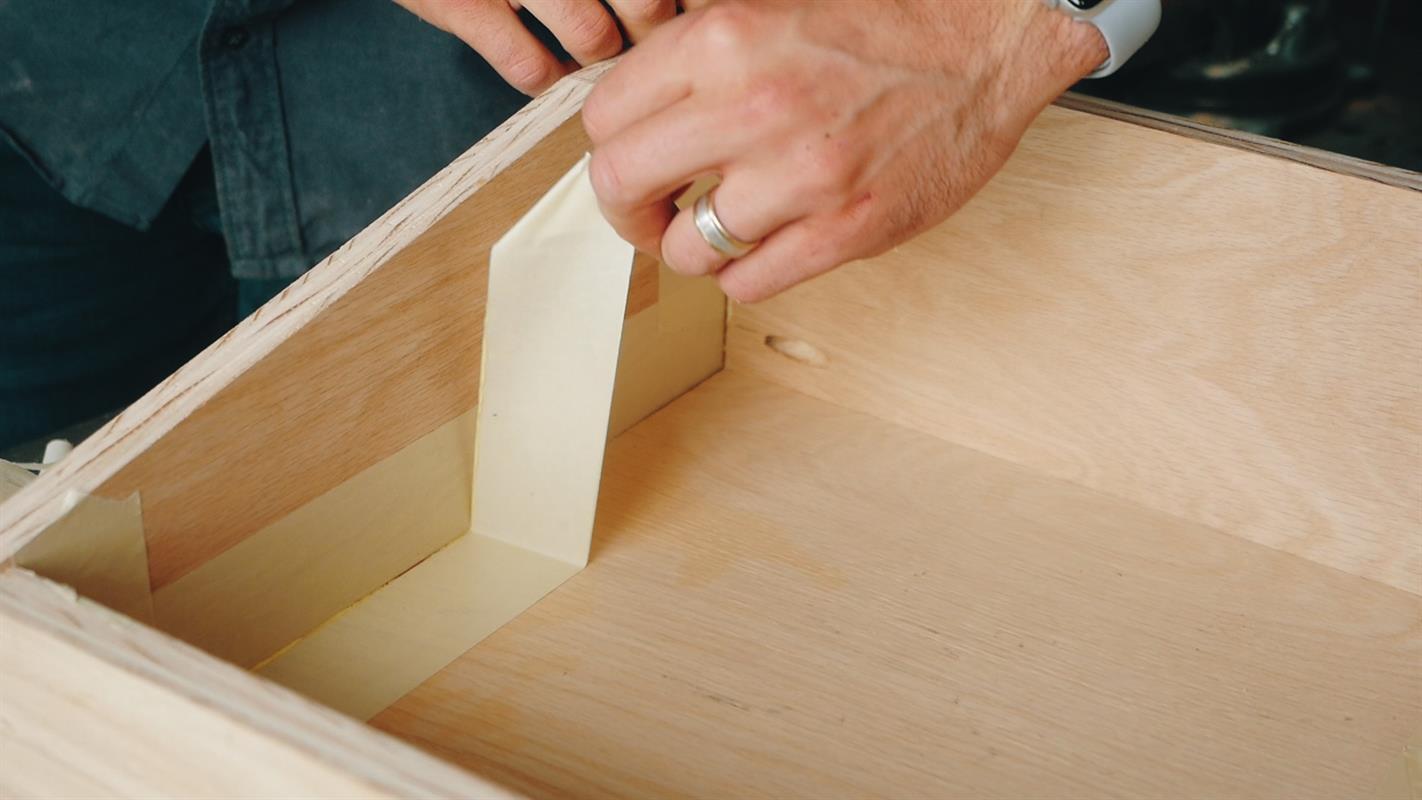
Tip. When securing the pieces with wood glue and pocket screws, lay down masking tape on all the Butt-Joints the catch glue squeeze out and save you hours on cleanup
-
Tape
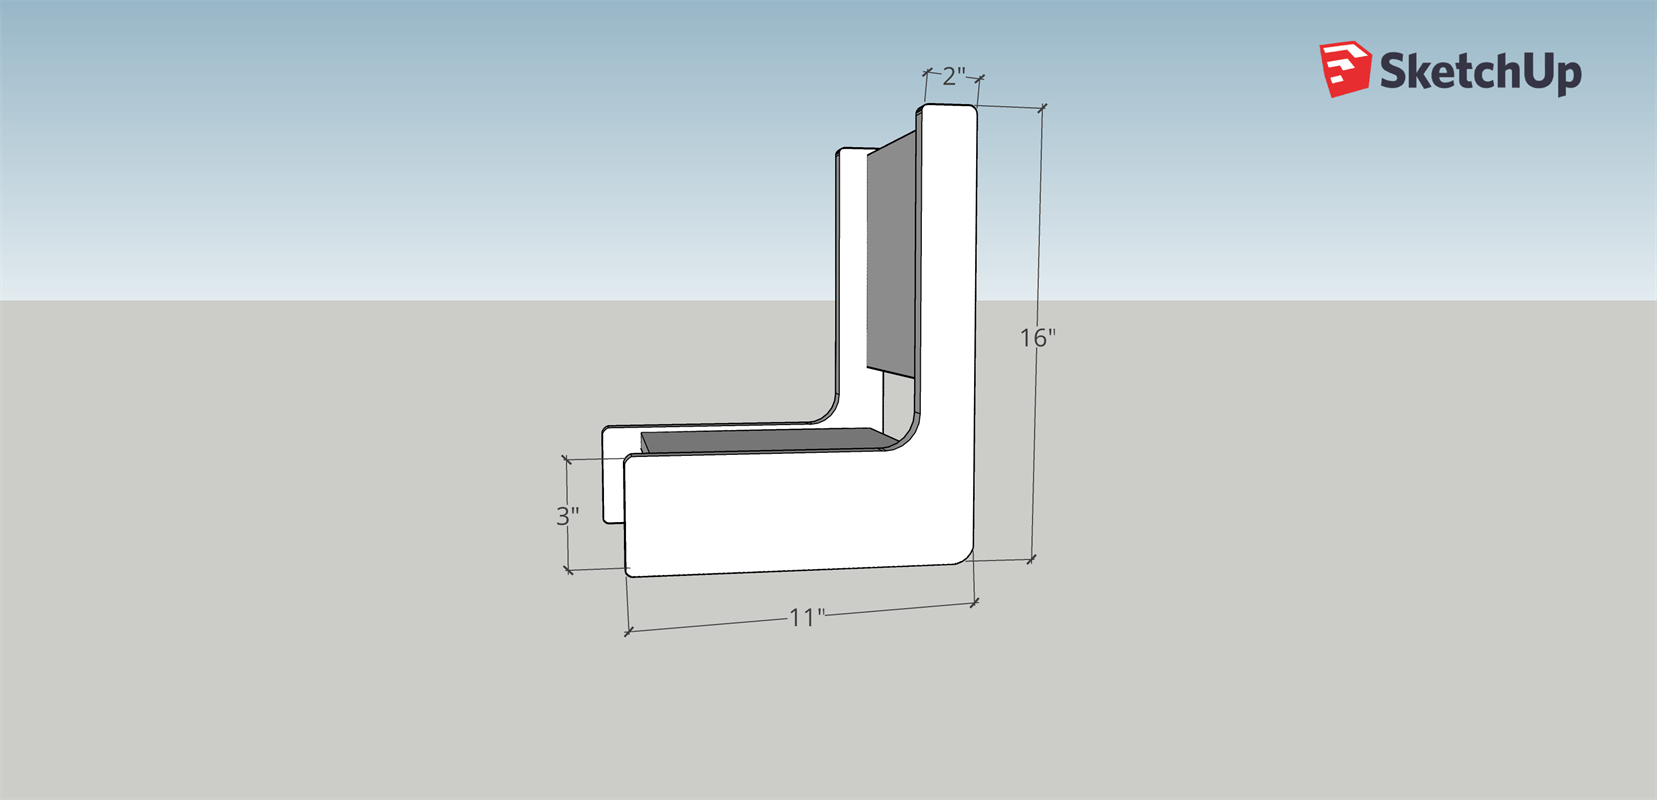
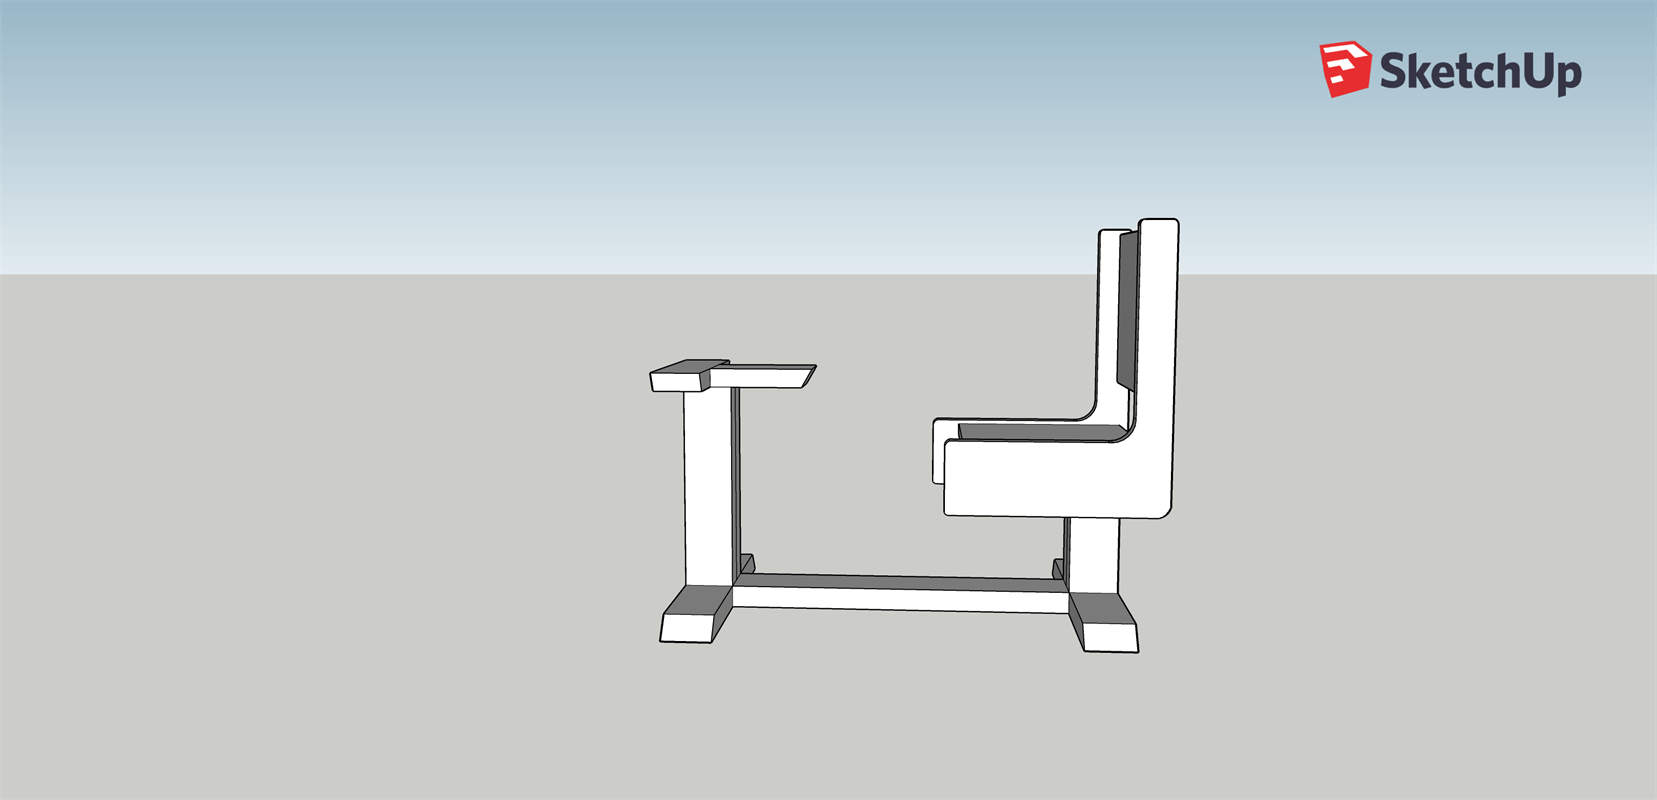
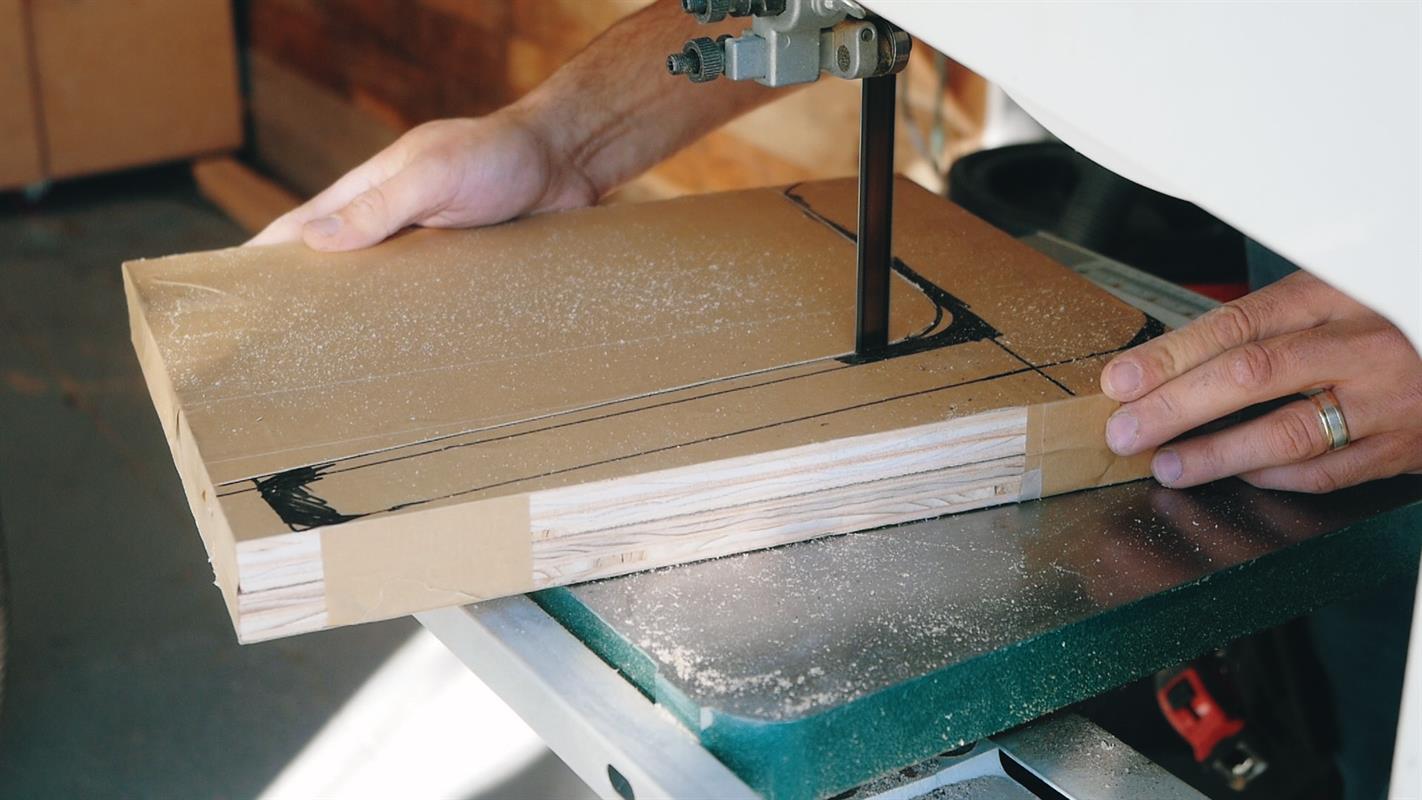
To create the chair frame, sandwich together with masking tape the two 11”x 16” pieces and draw your desired chair frame.
-
Chair Frame
Cut the sandwich together chair frame pieces on your bandsaw.
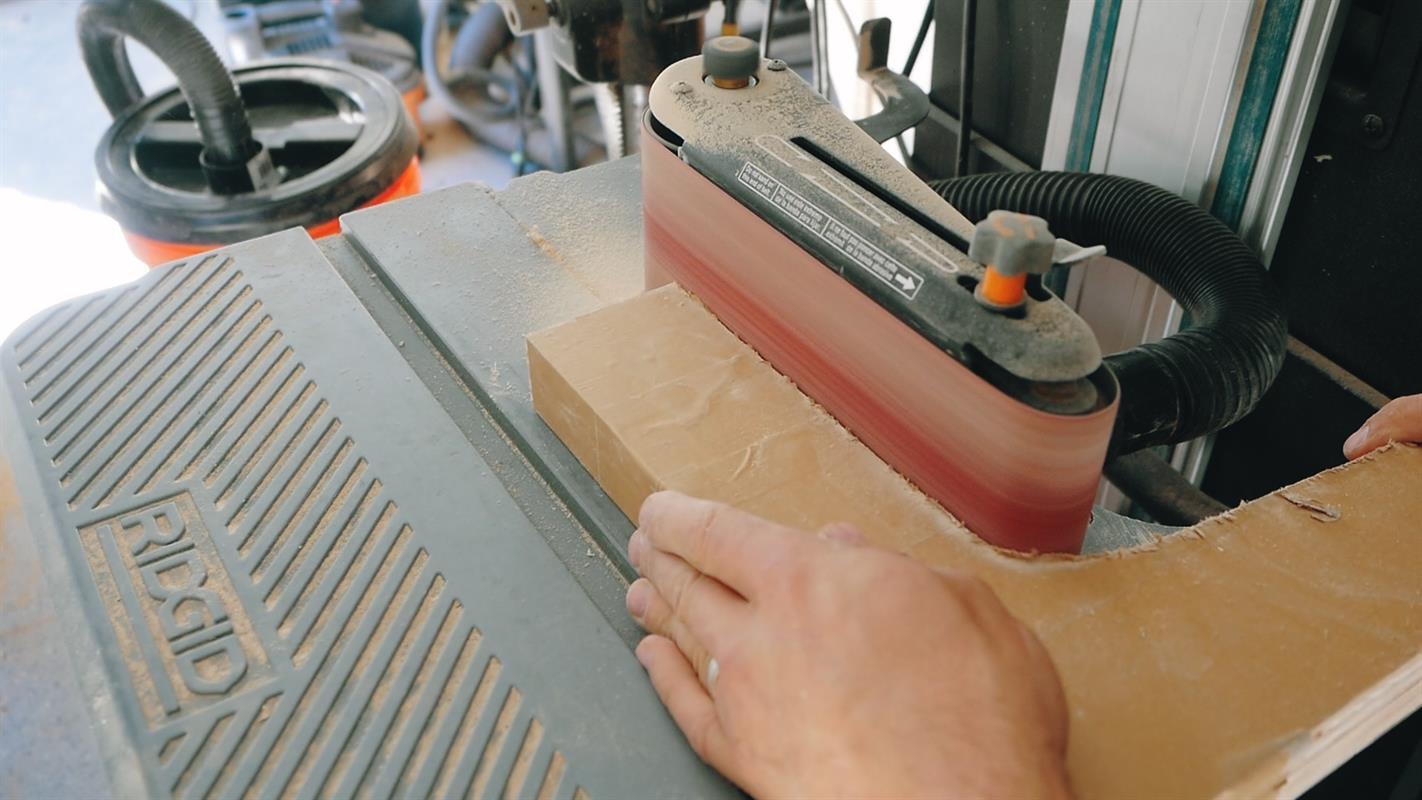
Tip. Clean up the blade marks left from your bandsaw using a belt or spindle sander.
-
Clean up Saw Marks
Clean up the blade marks left from your bandsaw using a belt or spindle sander.
-
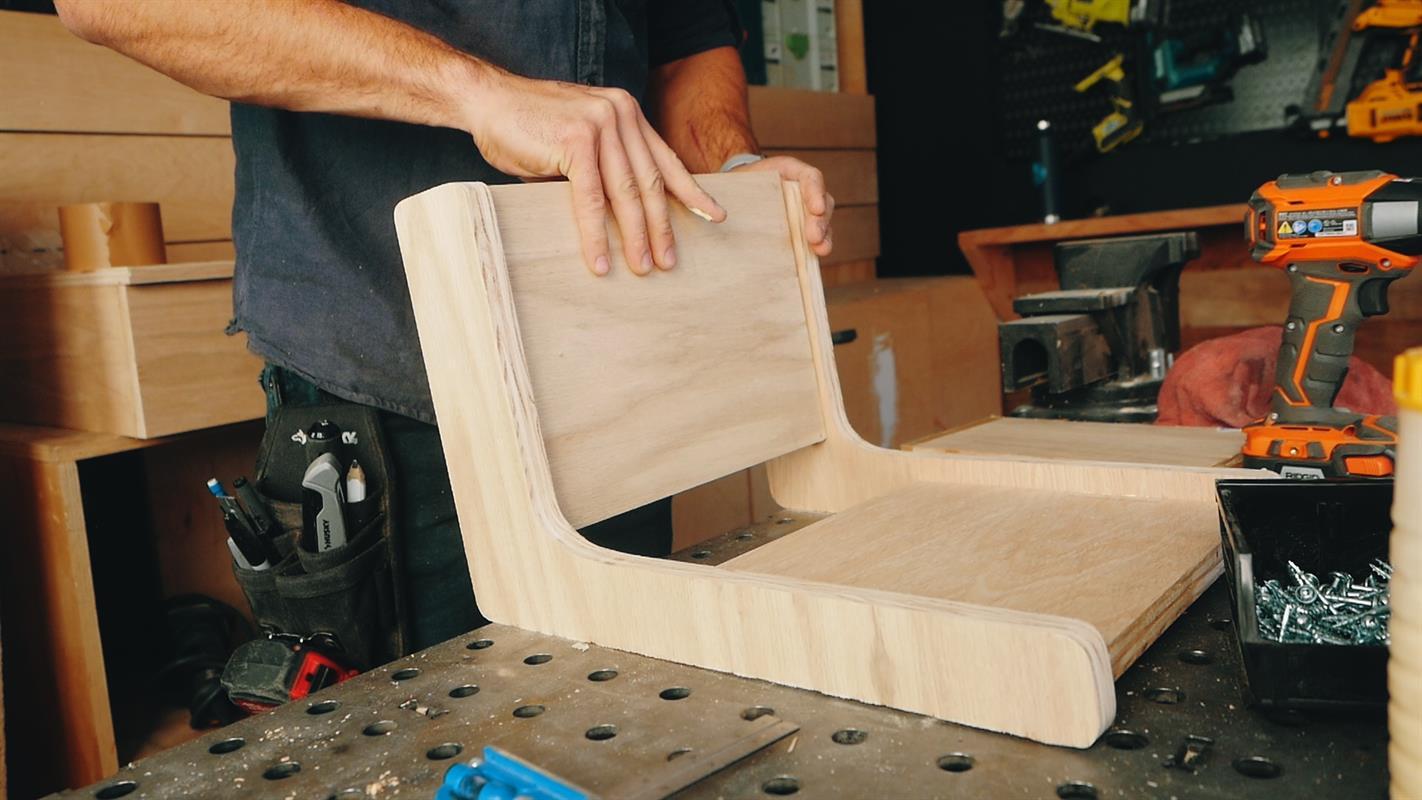
Back and Bottom Rest
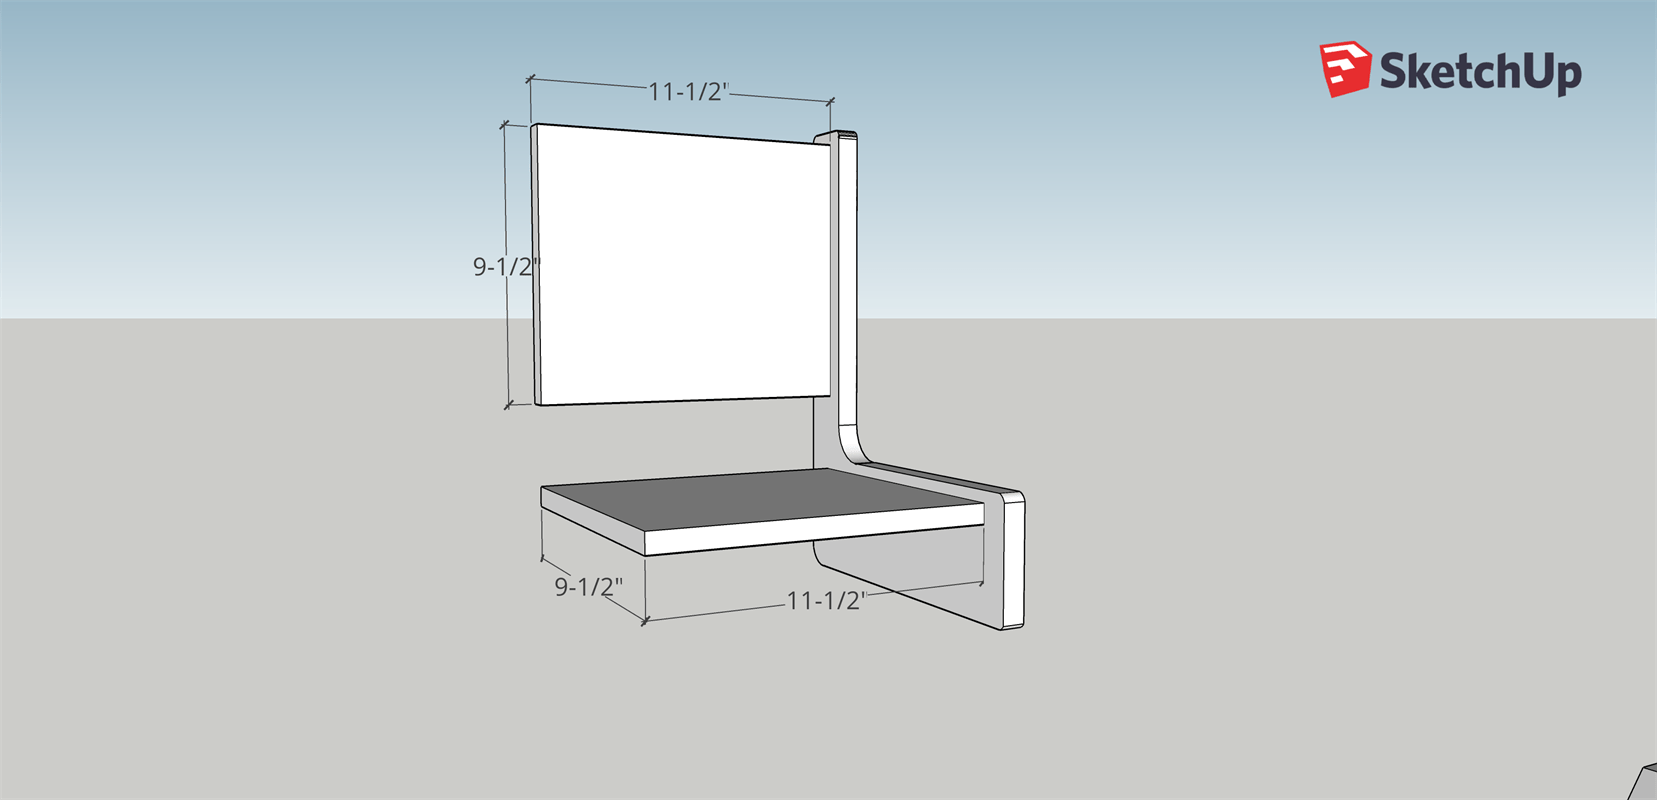
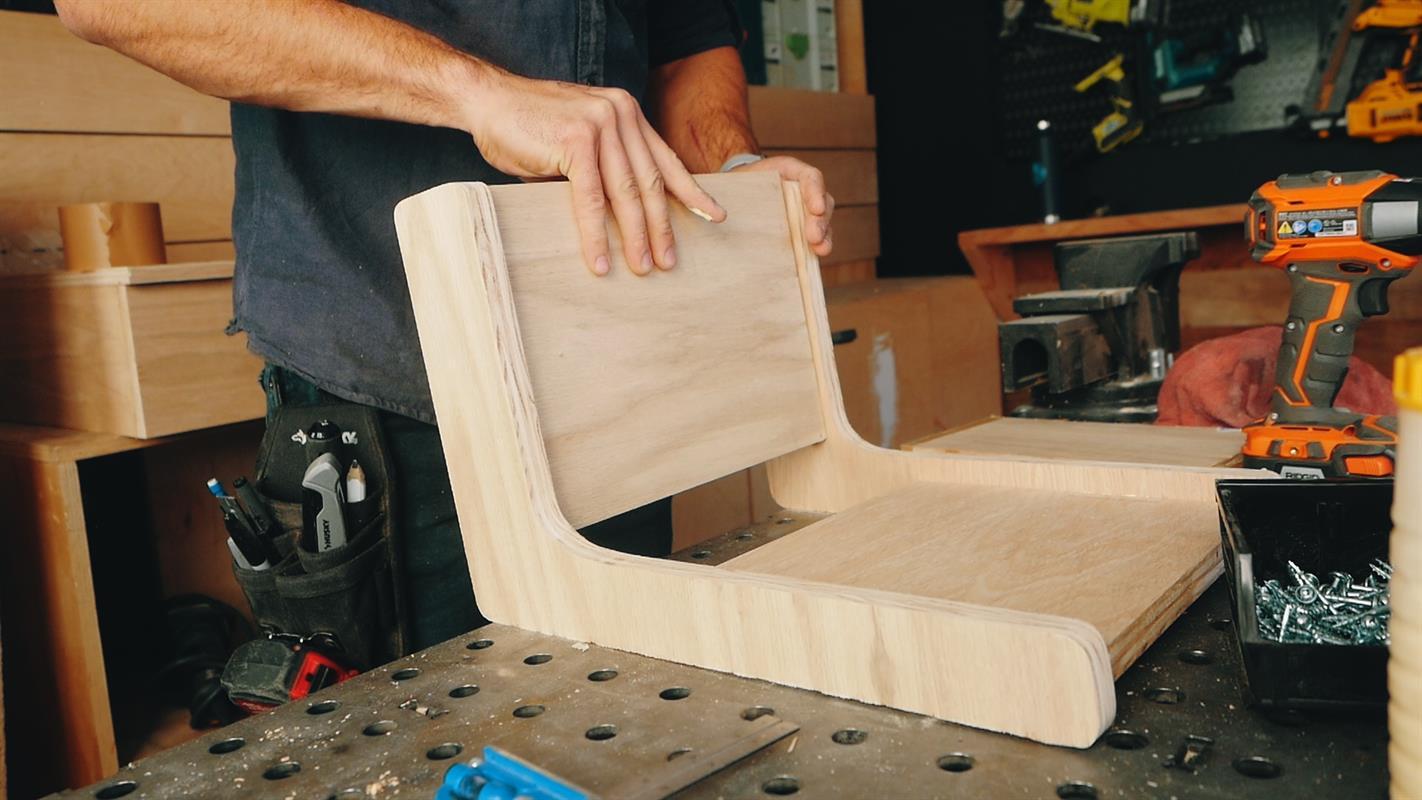
Cut the Backrest (9-1⁄2 x 11-1⁄2”) and the bottom seat (9-1⁄2” x 11-1⁄2”) and secure using pocket holes and wood glue.
-
Back and Bottom Rest
Cut the Backrest (9-1⁄2 x 11-1⁄2”) and the bottom seat (9-1⁄2” x 11-1⁄2”) and secure using pocket holes and wood glue.
-
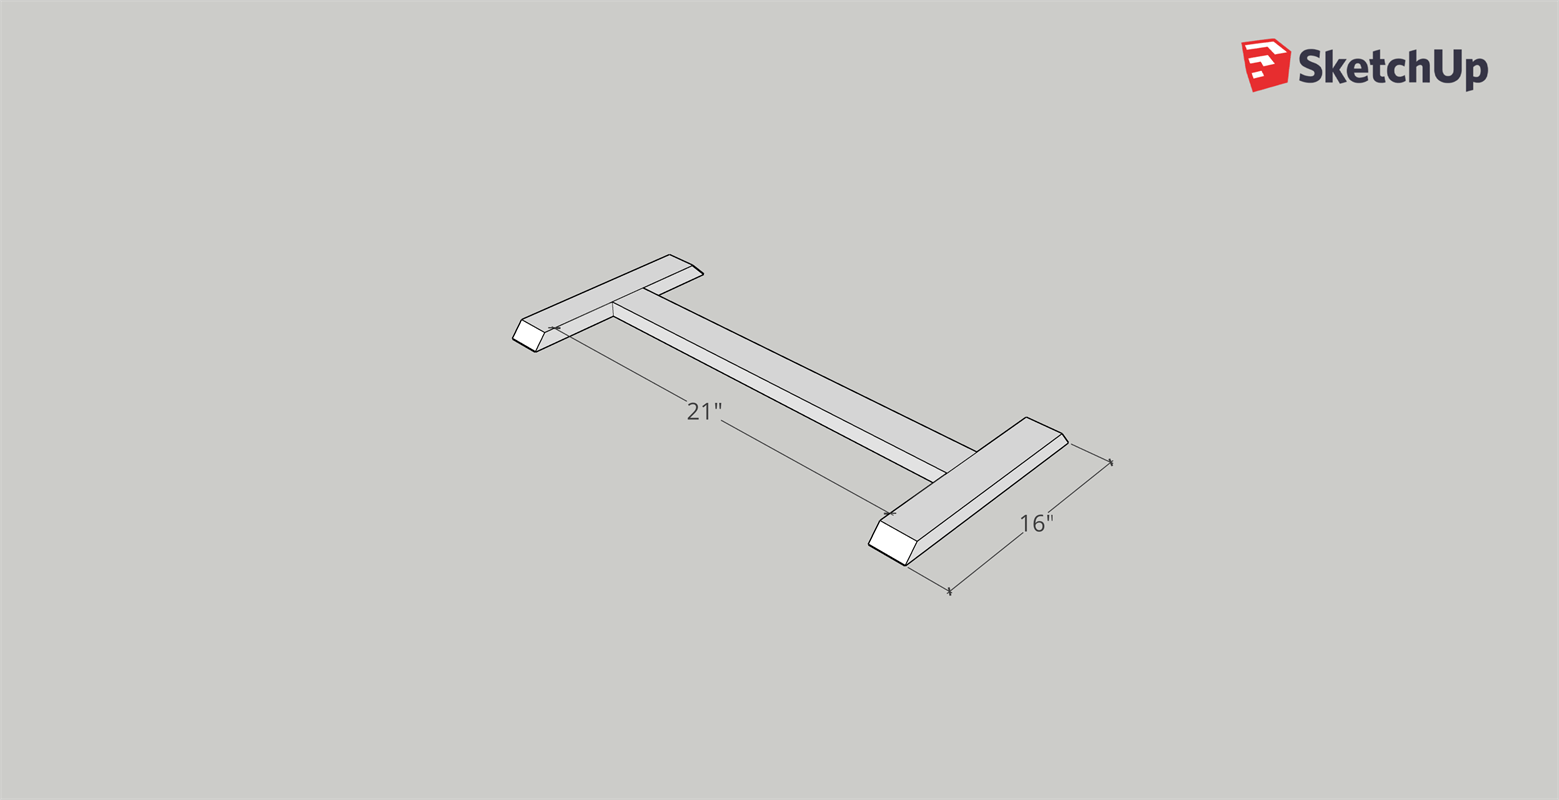
Base Cuts
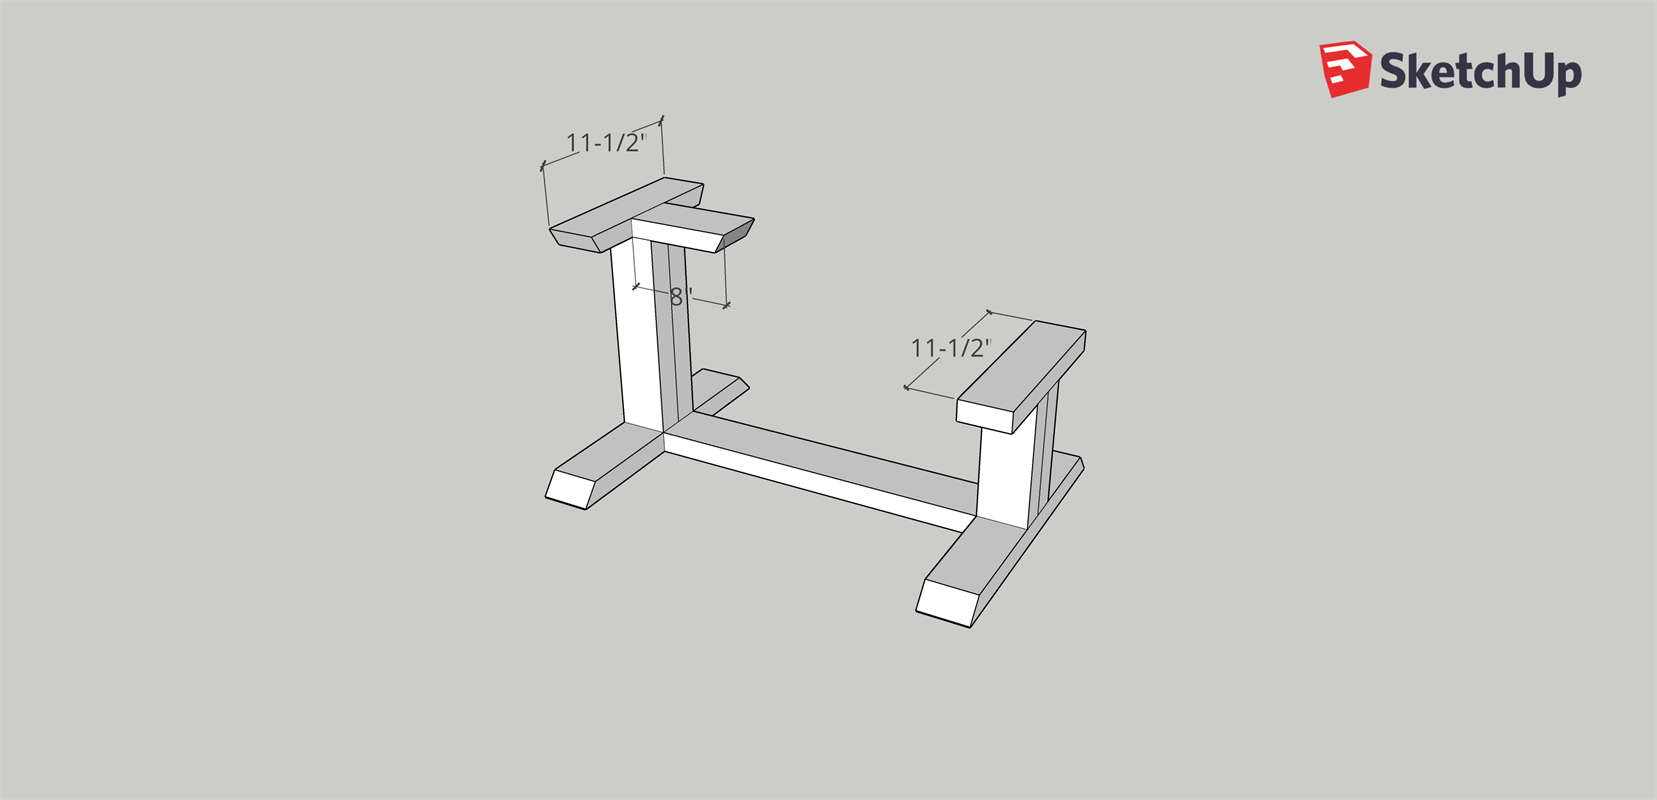
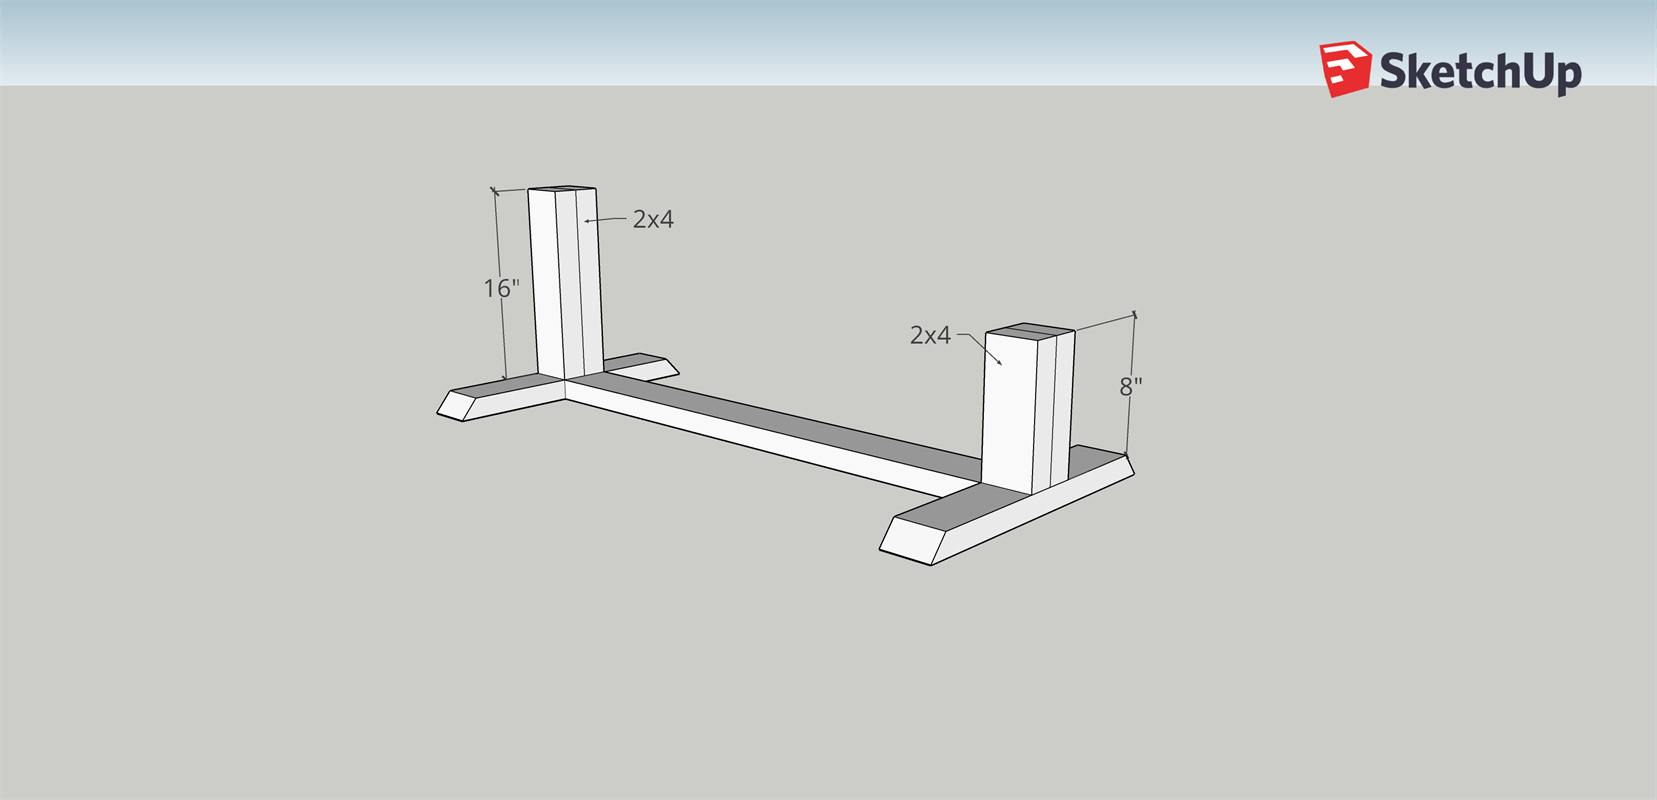
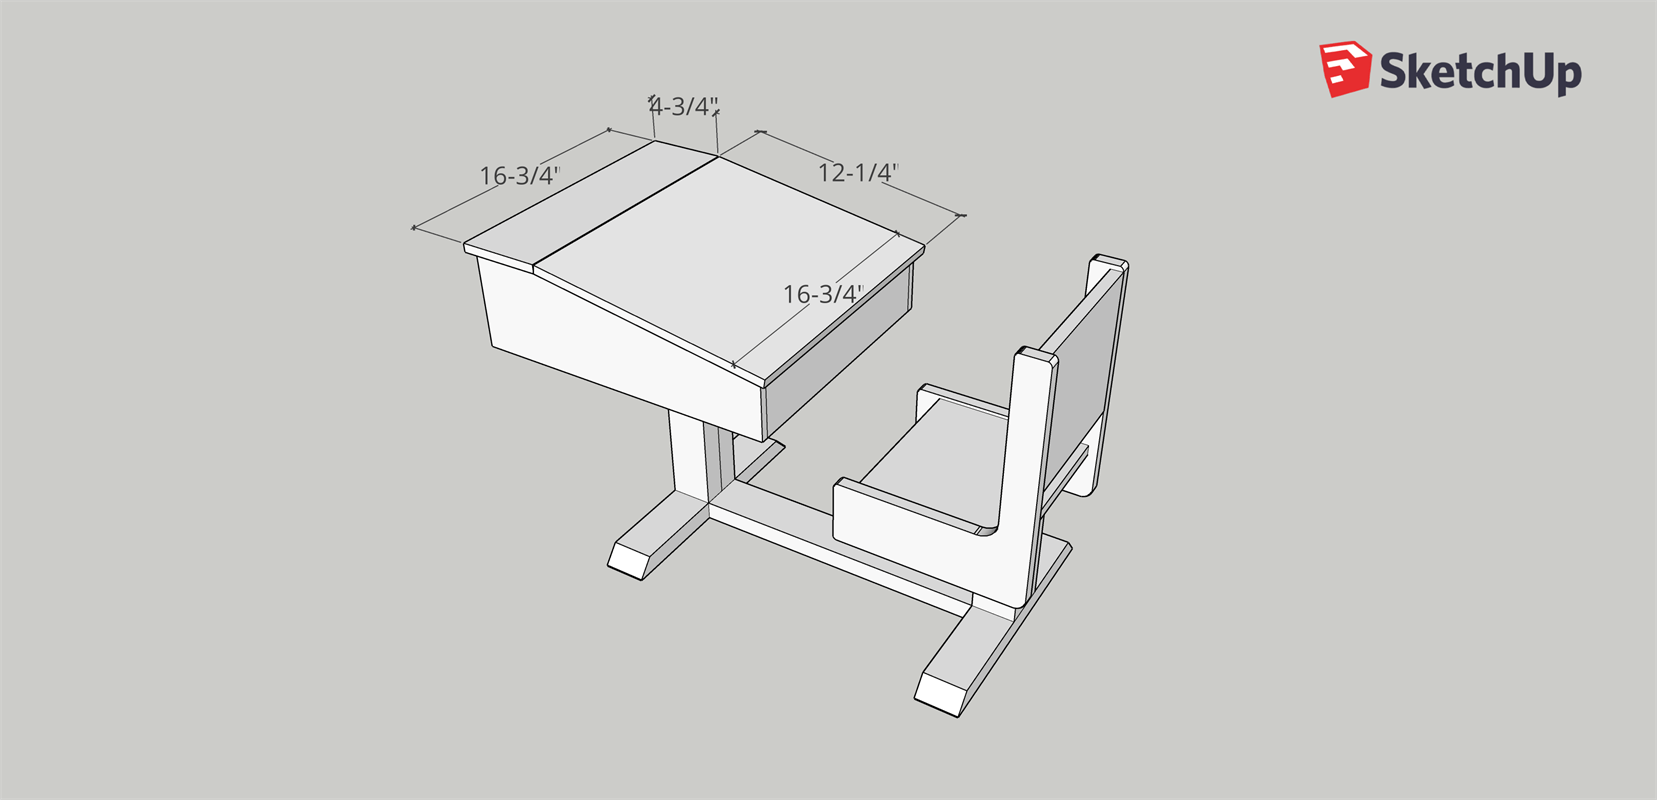
Cut the pieces for the table base from the plans above.
● (x2) 16”
● (x1) 21”
● (x2) 16”
● (x2) 8”
● (x2) 11-1⁄2”
● (x1) 8” -
Base Posts
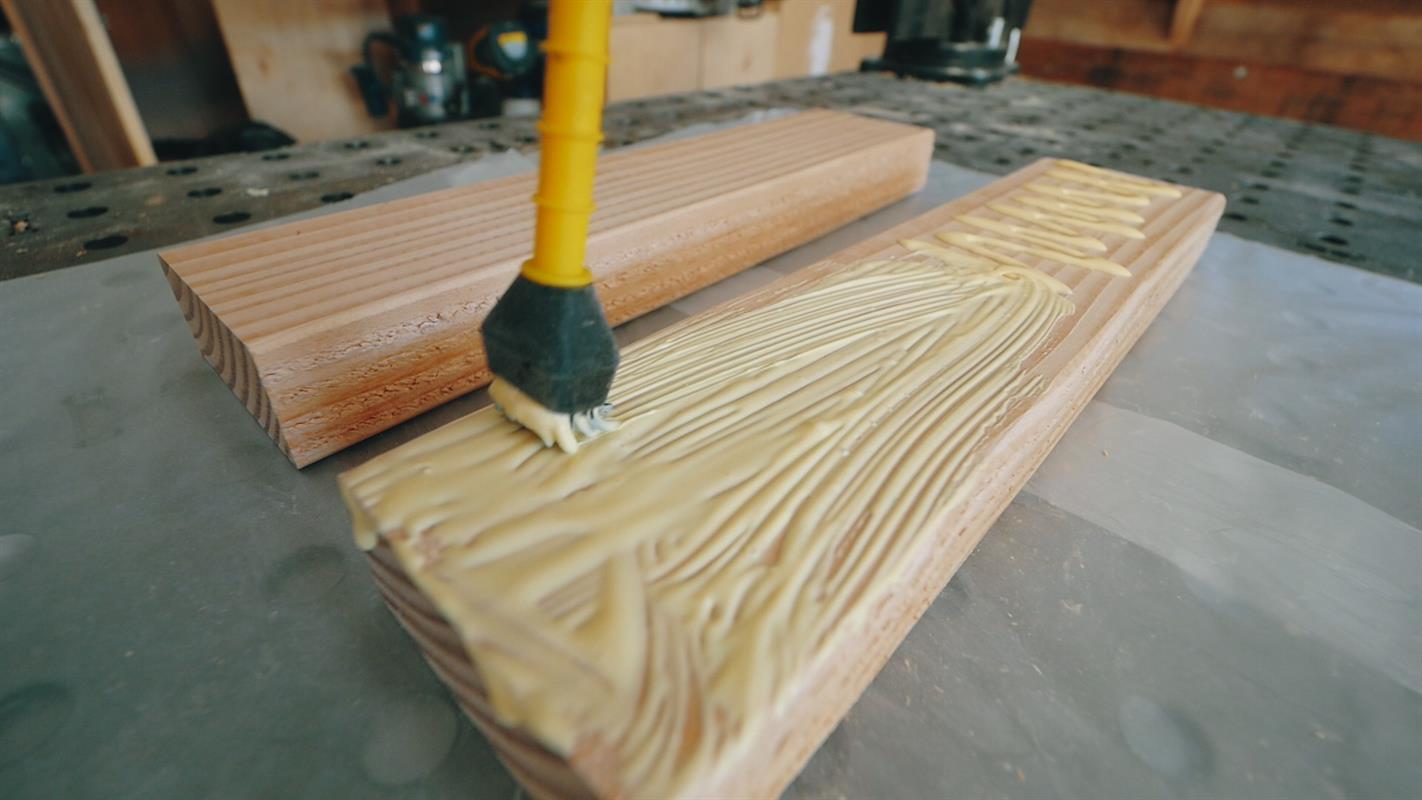
To create the posts, glue and clamp the (x2) 16” pieces and the (x2) 8” pieces. Set to dry for 1-2 hours in optimum drying conditions.
-
Trim Legs
Trim all of the table base pieces, including the glued up posts (once dried) down to 3” final width, cutting off the rounded over edges on your table saw.
-
Trim Legs
Trim all of the table base pieces, including the glued up posts (once dried) down to 3” final width, cutting off the rounded over edges on your table saw.
-
Tee Suport
Create the “T-Support” using the 8” and the 11-1⁄2” piece. Secure with Wood Glue and 2-1⁄2” Pocket screws.
-
Base Assembly
Assemble the base with Wood Glue and 2-1/2” Pocket screws.
Tip.Secure the screws from the bottom of the legs, that way they will be hidden.
-
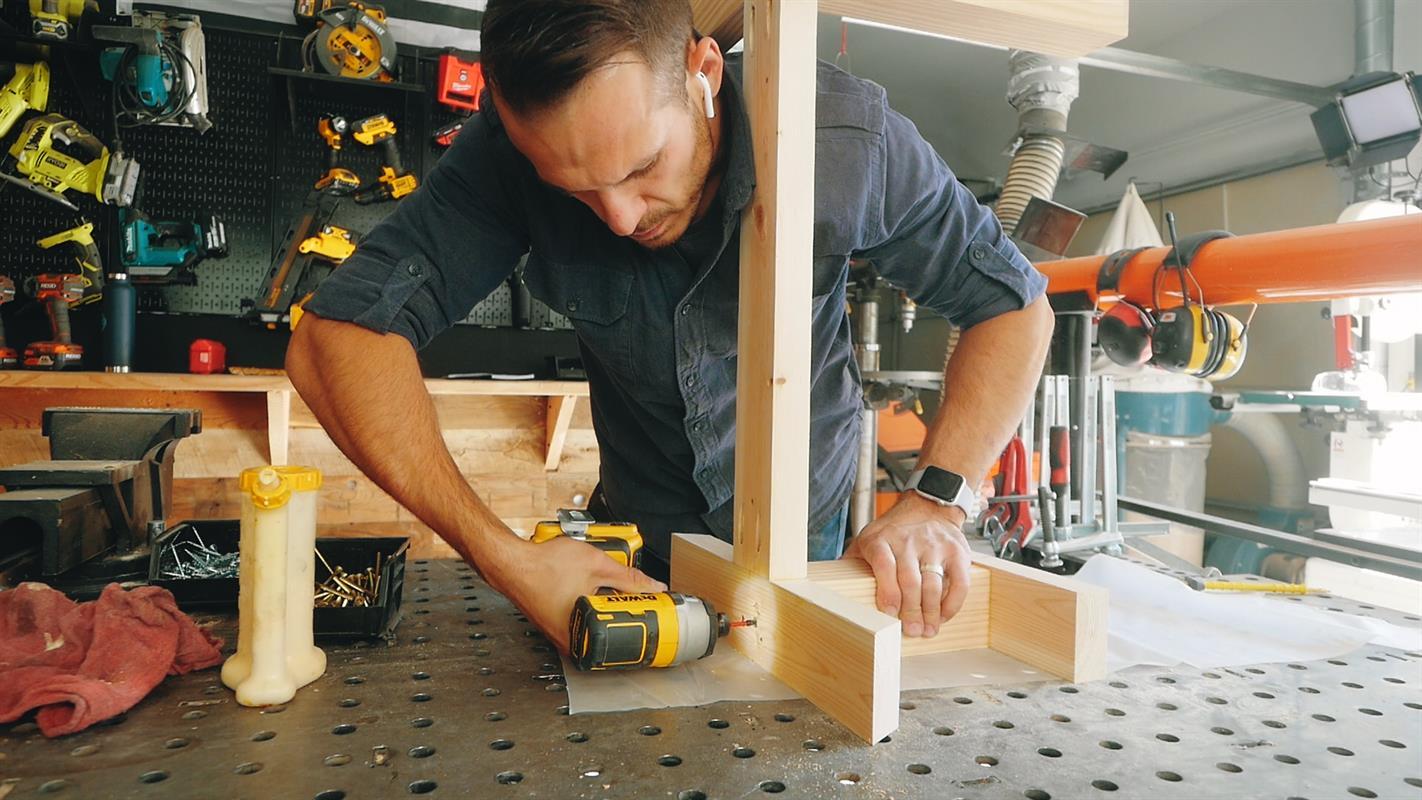
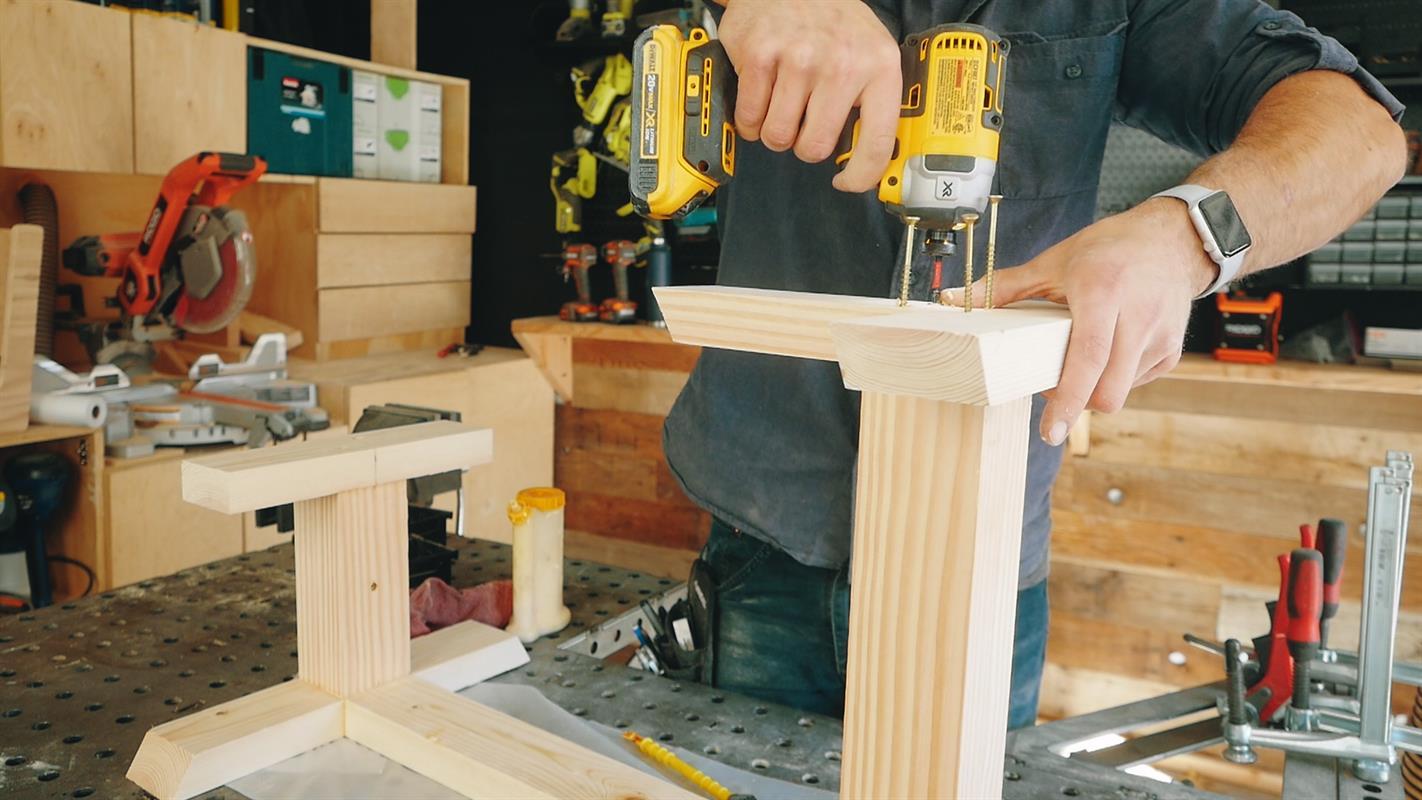
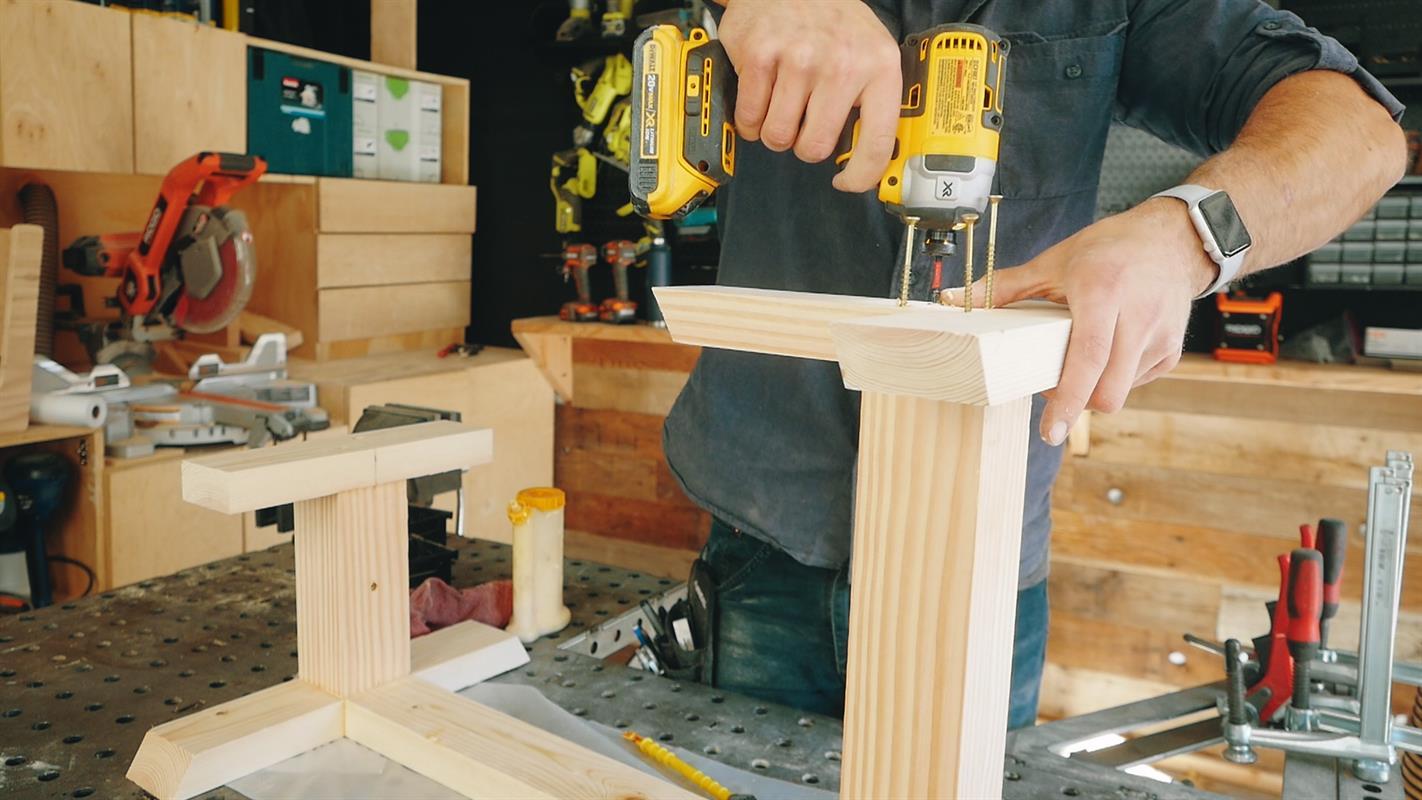
Post attachment
Secure the posts using wood glue and (x4) 3” screws.
When securing the “Tee-Support”, align the seam of the “Butt-Joint” to sit in the middle of the 3”x3” post for strength.
-
Tee Support install
Attach the Tee support in the middle of the 3x3 post (at the joint of the Tee) with x3 three inch screws
-
Tee Support install
Attach the Tee support in the middle of the 3x3 post (at the joint of the Tee) with x3 three inch screws
-
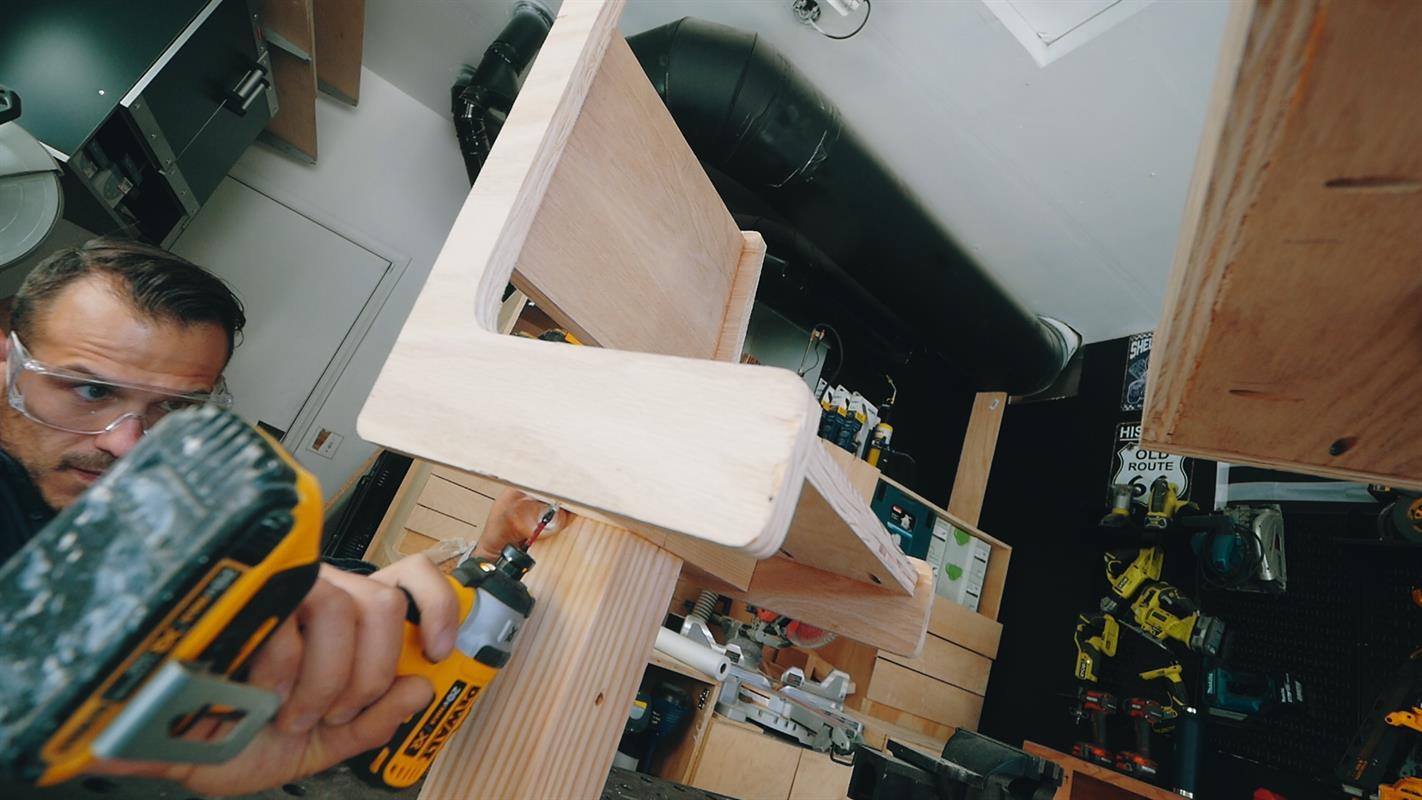
Seat Attachment
Attach the seat using (x6-x8) 1-1⁄4” screws from the bottom. To prevent flex, stager the screws.
-
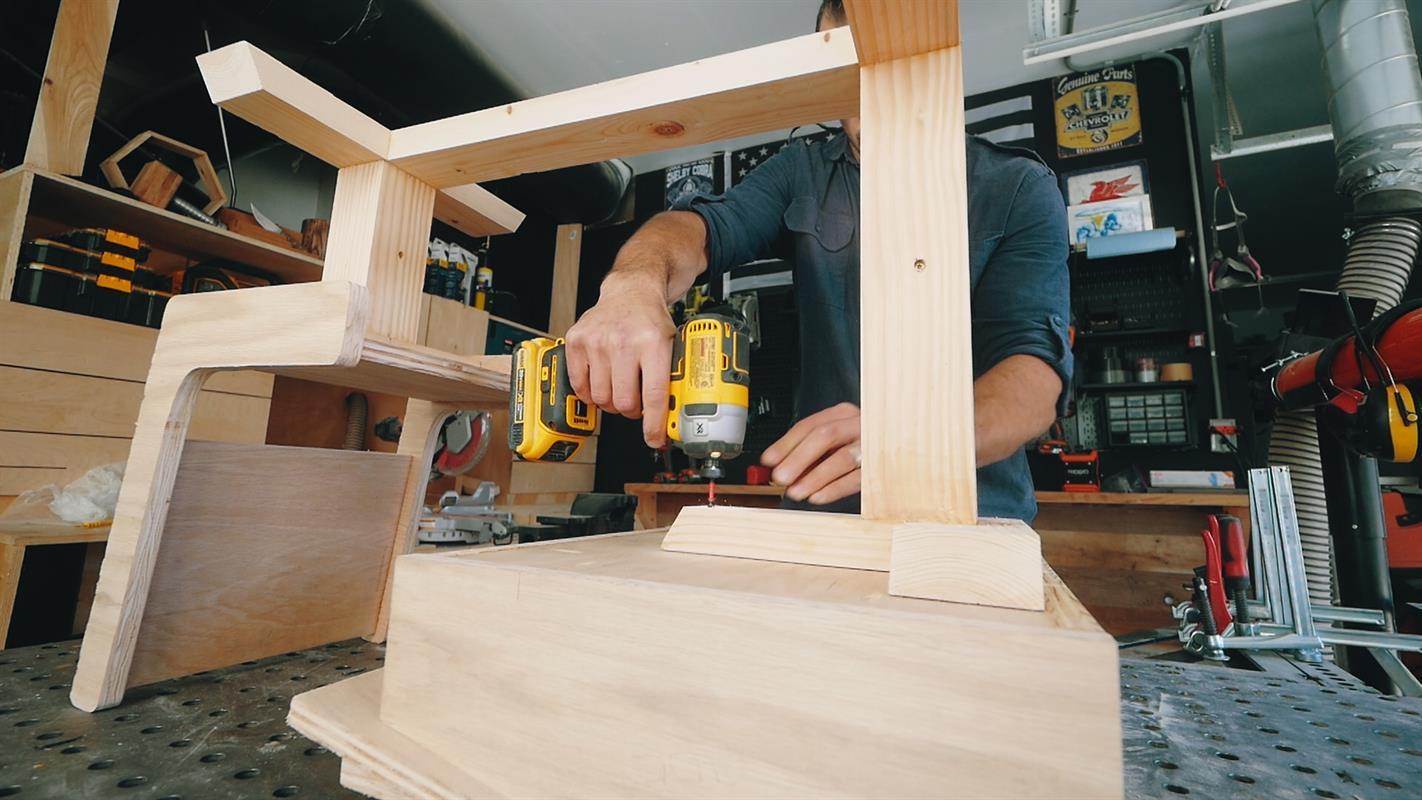
Storage desk Install
When attaching the Storage component to the “Tee-Support” drive (x6) 1-3⁄4” screws.
-
Anchored Lid
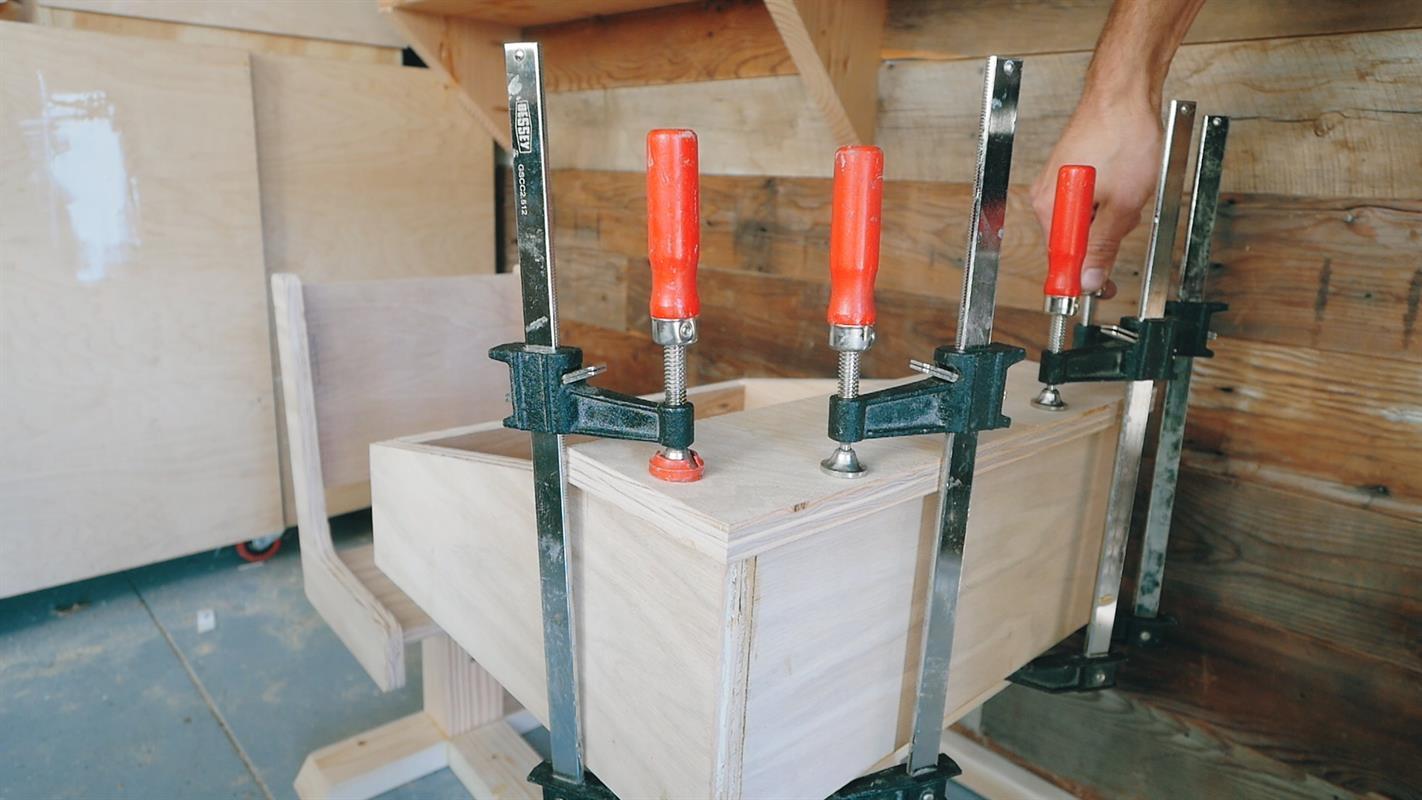
Attach the 4” wide piece to the top of the storage component via wood glue and clamps.
-
Edge Banding
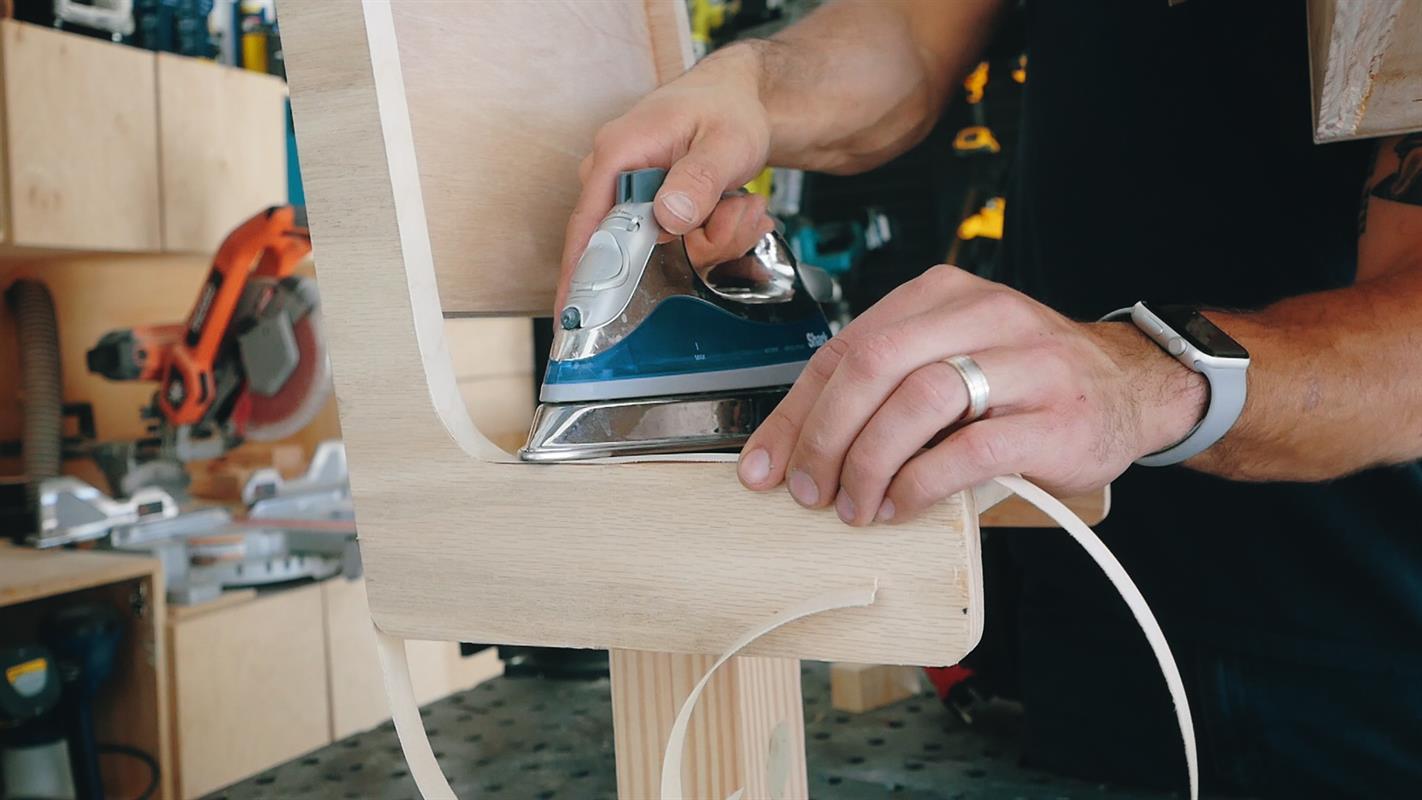
Using Oak or Birch Iron-on Edge banding, cut each piece to size and conceal all the exposed plywood edges.
-
Trim Edge Banding
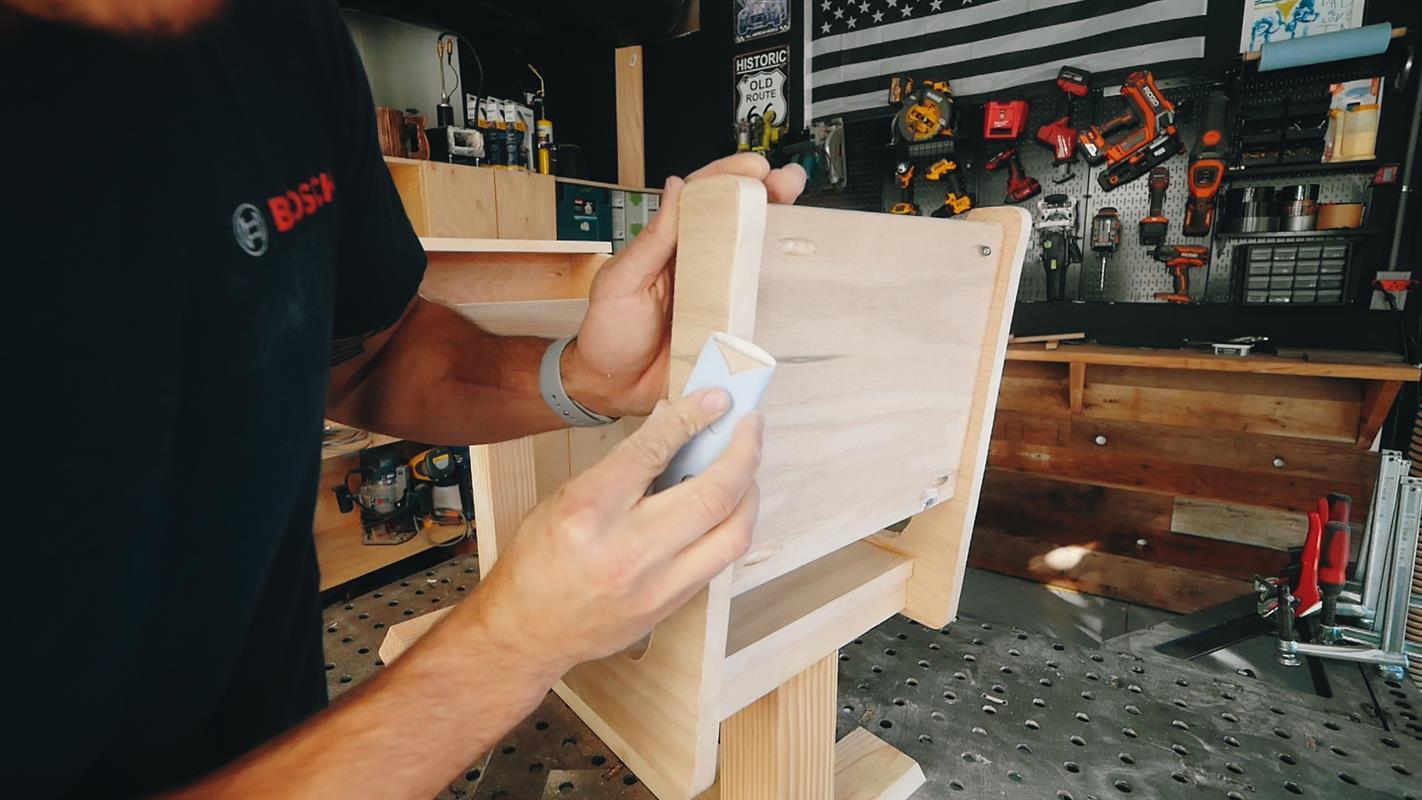
Using a scrap piece of wood wrapped with 150 grit sandpaper, sand flush all the edges of the edge banded veneer.
-
Putty and Sand
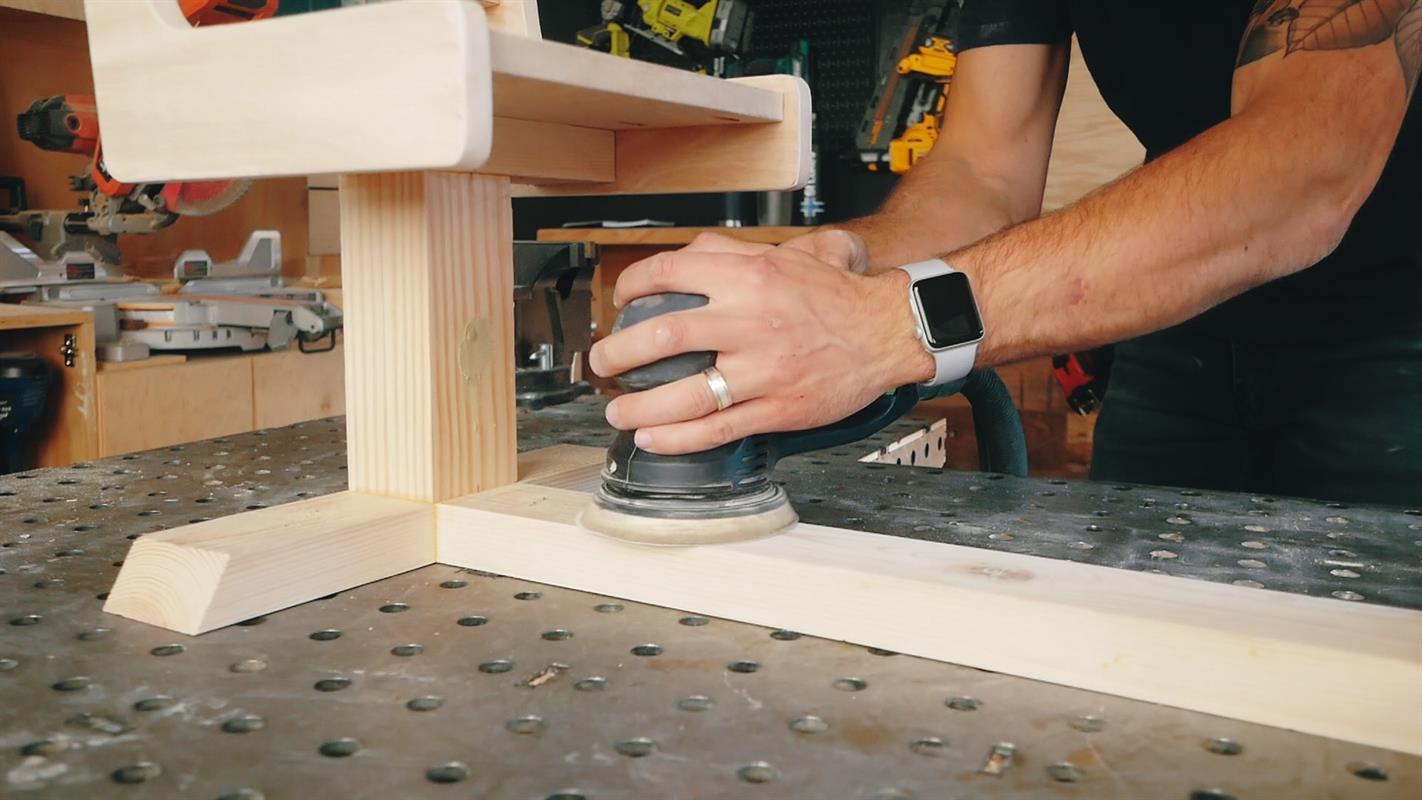
After patching up any of the knots found in the Douglas Fir with paintable wood putty, sand the entire project down to 150 grit.
-
Hinge
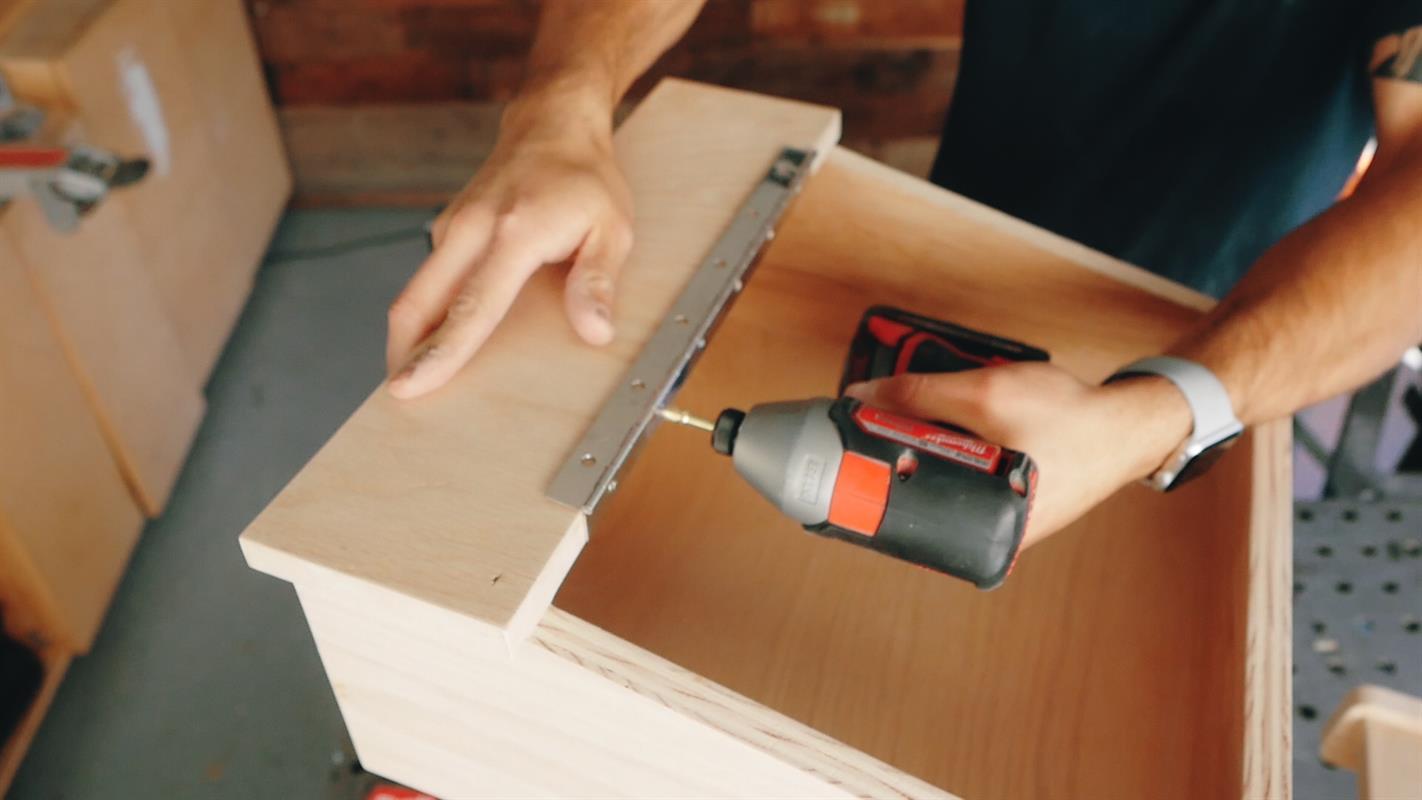
Attach the 12” Piano hinge using the provided screws.
-
Stain
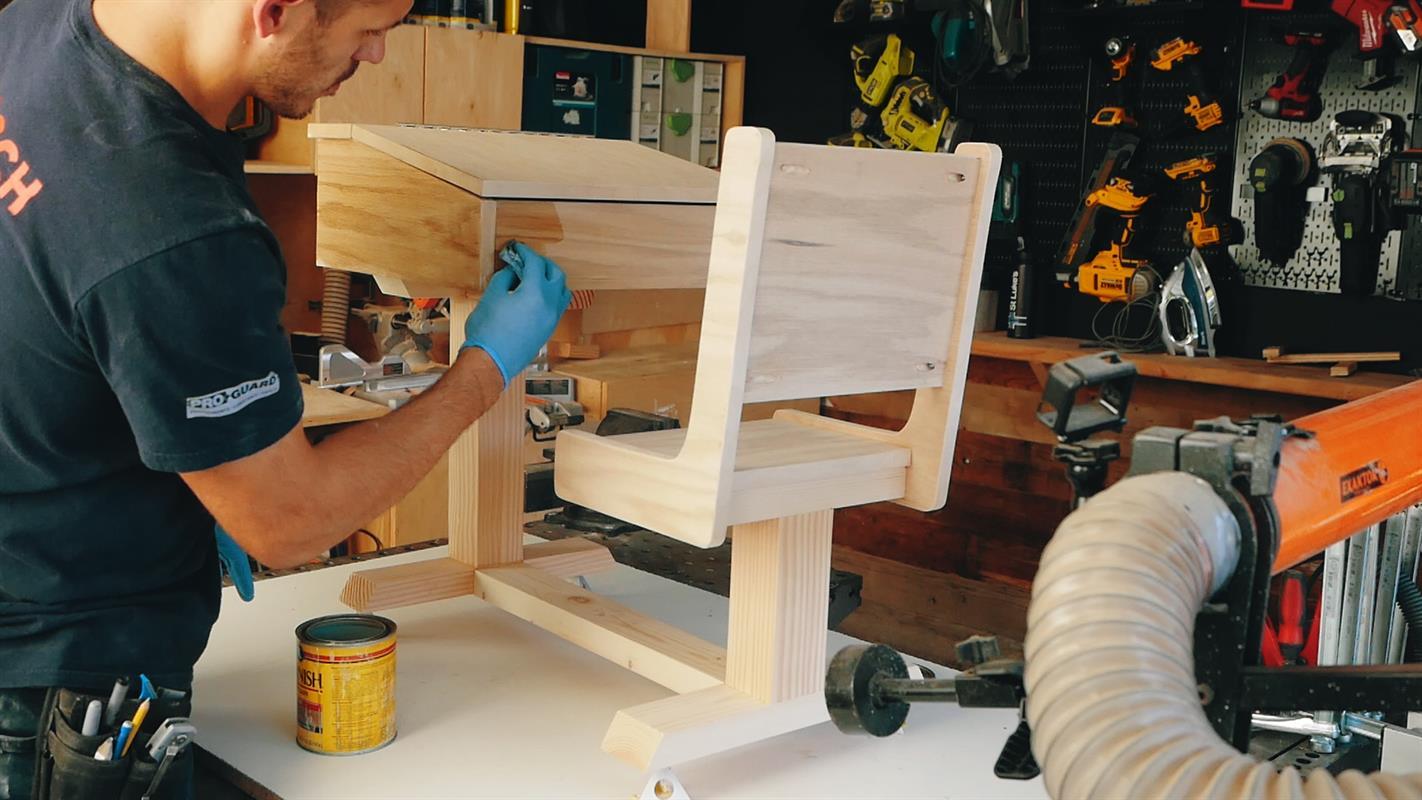
Stain the Writing/Storage compartment along with the chairs.
-
Paint and Primer
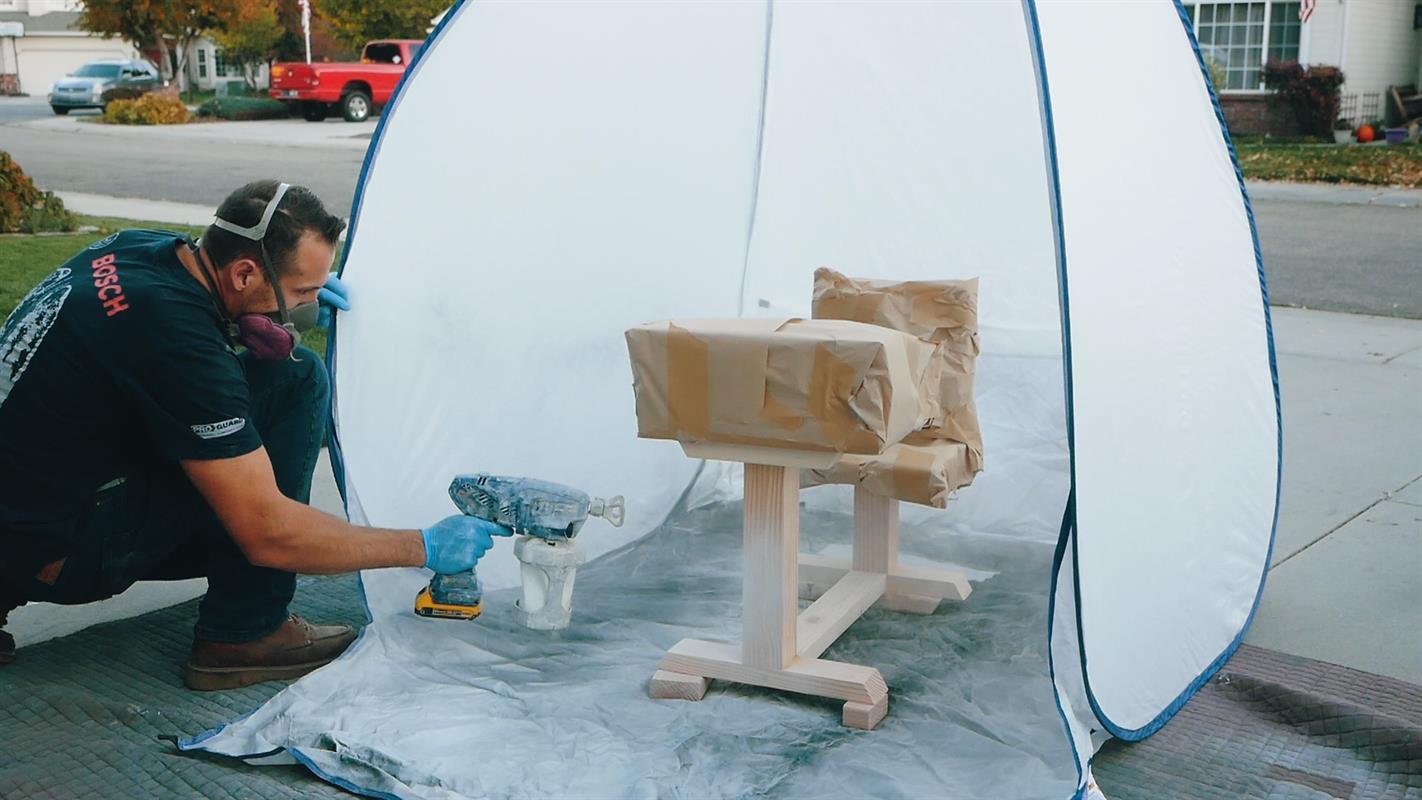
Paint the base using a paint and primer.
-
Clear Coat
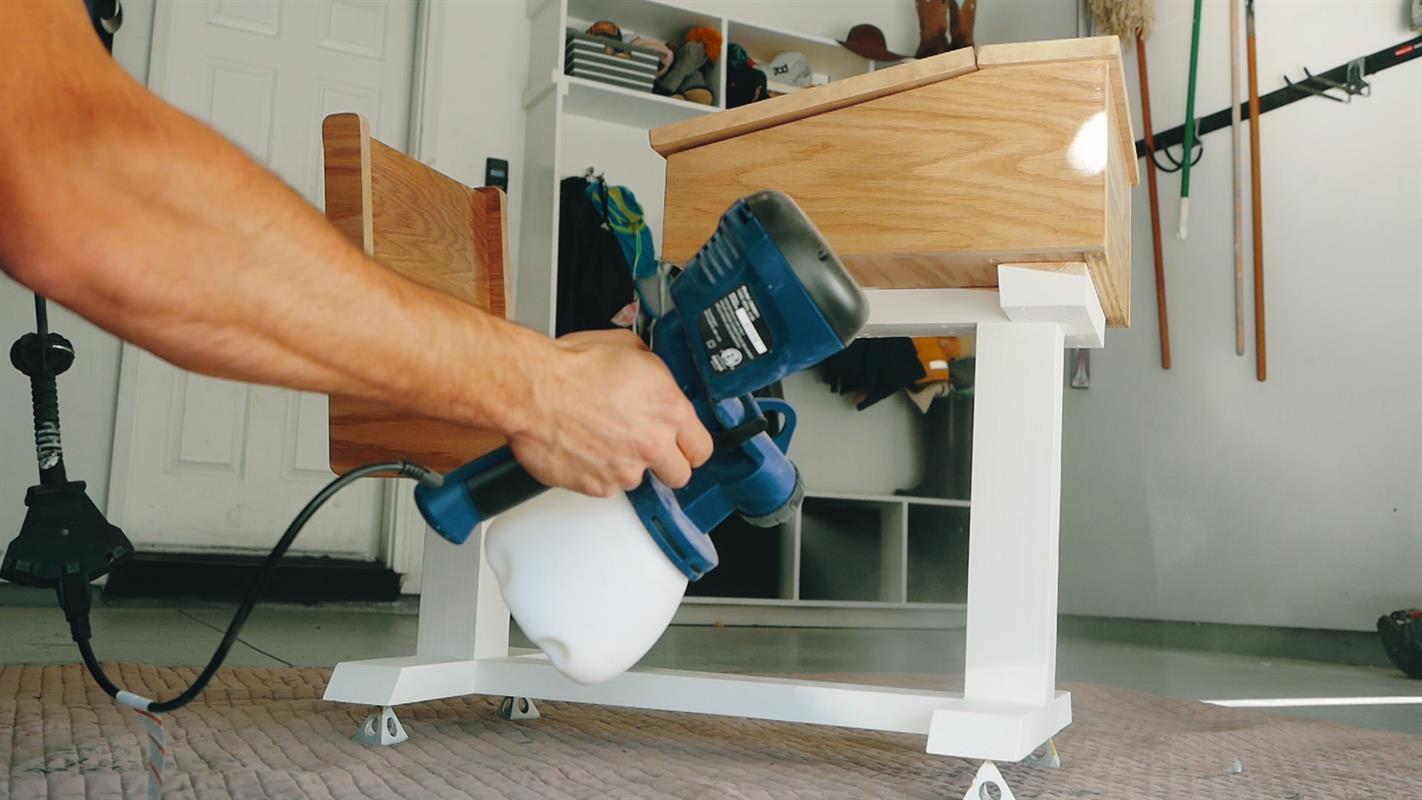
Spray or wipe on the water based satin polyurethane for protection.


