

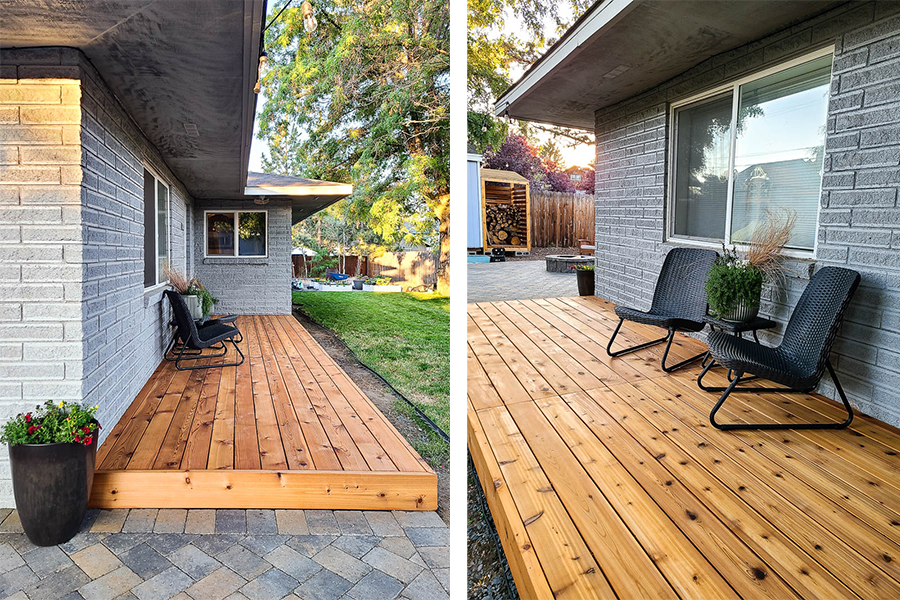
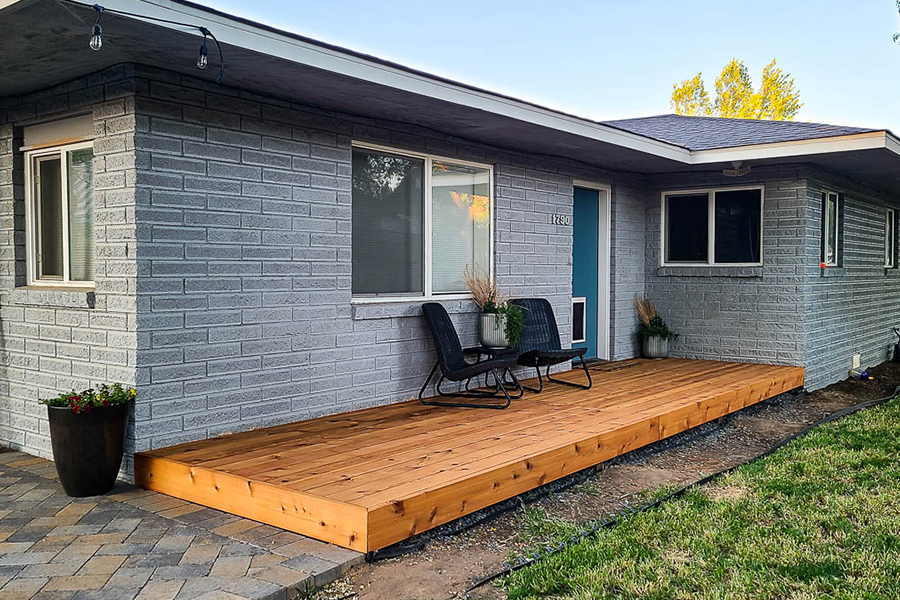
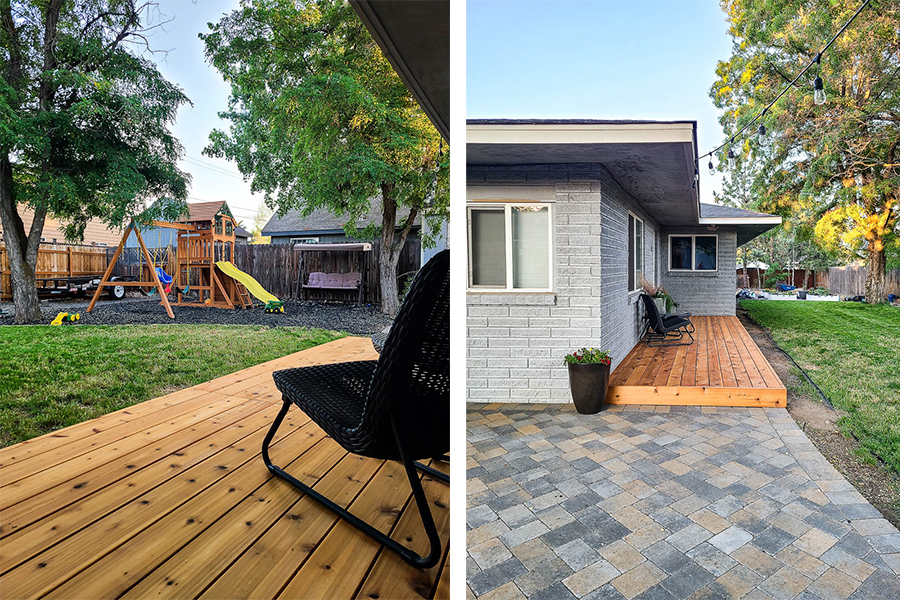
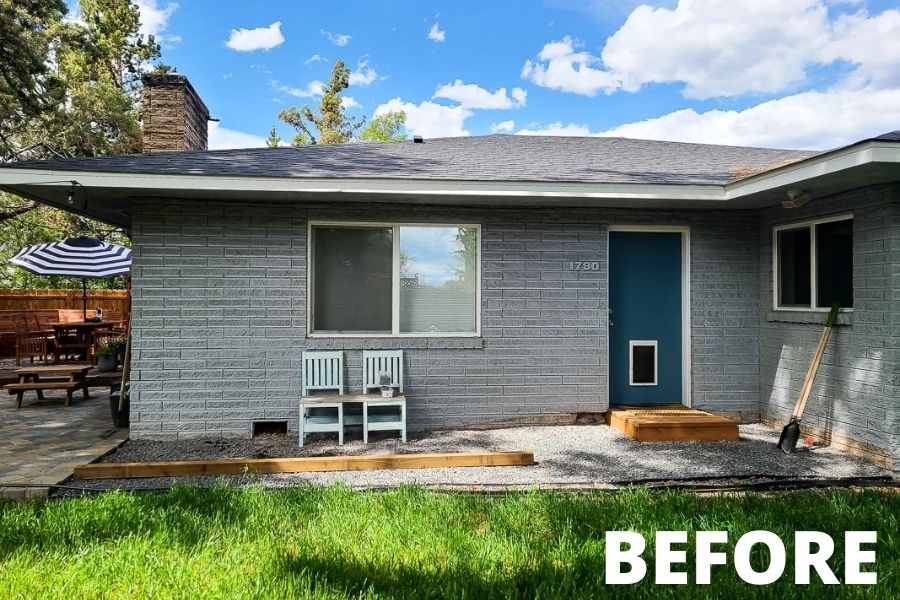


Give your backyard a makeover with a gorgeous wood deck. The Kreg Deck Jig helps create a seamless look with concealed screws.
Tools
Kreg Tools


Other Tools
-
Post Hole Digger

-
Hammer
-
Level
-
Speed Square
-
Hand Saw or Sawzall
-
Sprayer or Deck Oil Applicator
-
Stain Brush
Materials
Wood Products
- 13 Cedar Deck Board , 1 ½” x 5 7/16” x 12’
- 13 Cedar Deck Board , 1 ½” x 5 7/16” x 10’
- 1 Pressure Treated Post , 3 ½” x 3 ½” x 12’
- 6 Pressure Treated Board , 1 ½” x 5 1/2” x 12’
- 2 Pressure Treated Board , 1 ½” x 5 1/2” x 22’ , *will probably need to special order this, alternatively we used a 10’ and 12’ piece
- 1 Pressure Treated Board , 1 ½” x 5 1/2” x 8’
- 2 Cedar Board , 1 ½” x 7 1/4” x 12’
- 1 Cedar Board , 1 ½” x 7 1/4” x 8’
Hardware & Supplies
- 4 Bags of concrete
- 1 Paint rags
- 1 Stain or deck oil
- 1 Wood brightener and cleaner
- 1 80 grit sandpaper
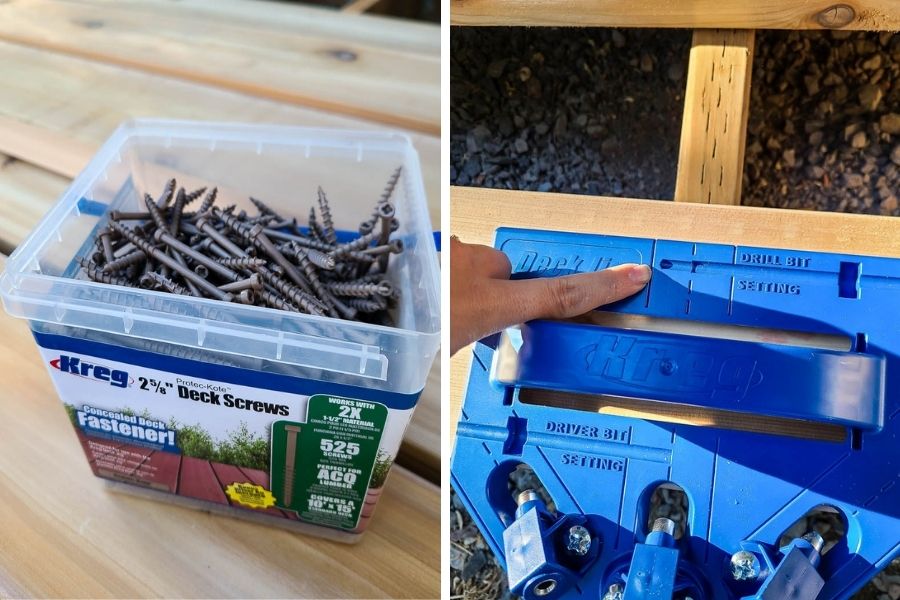
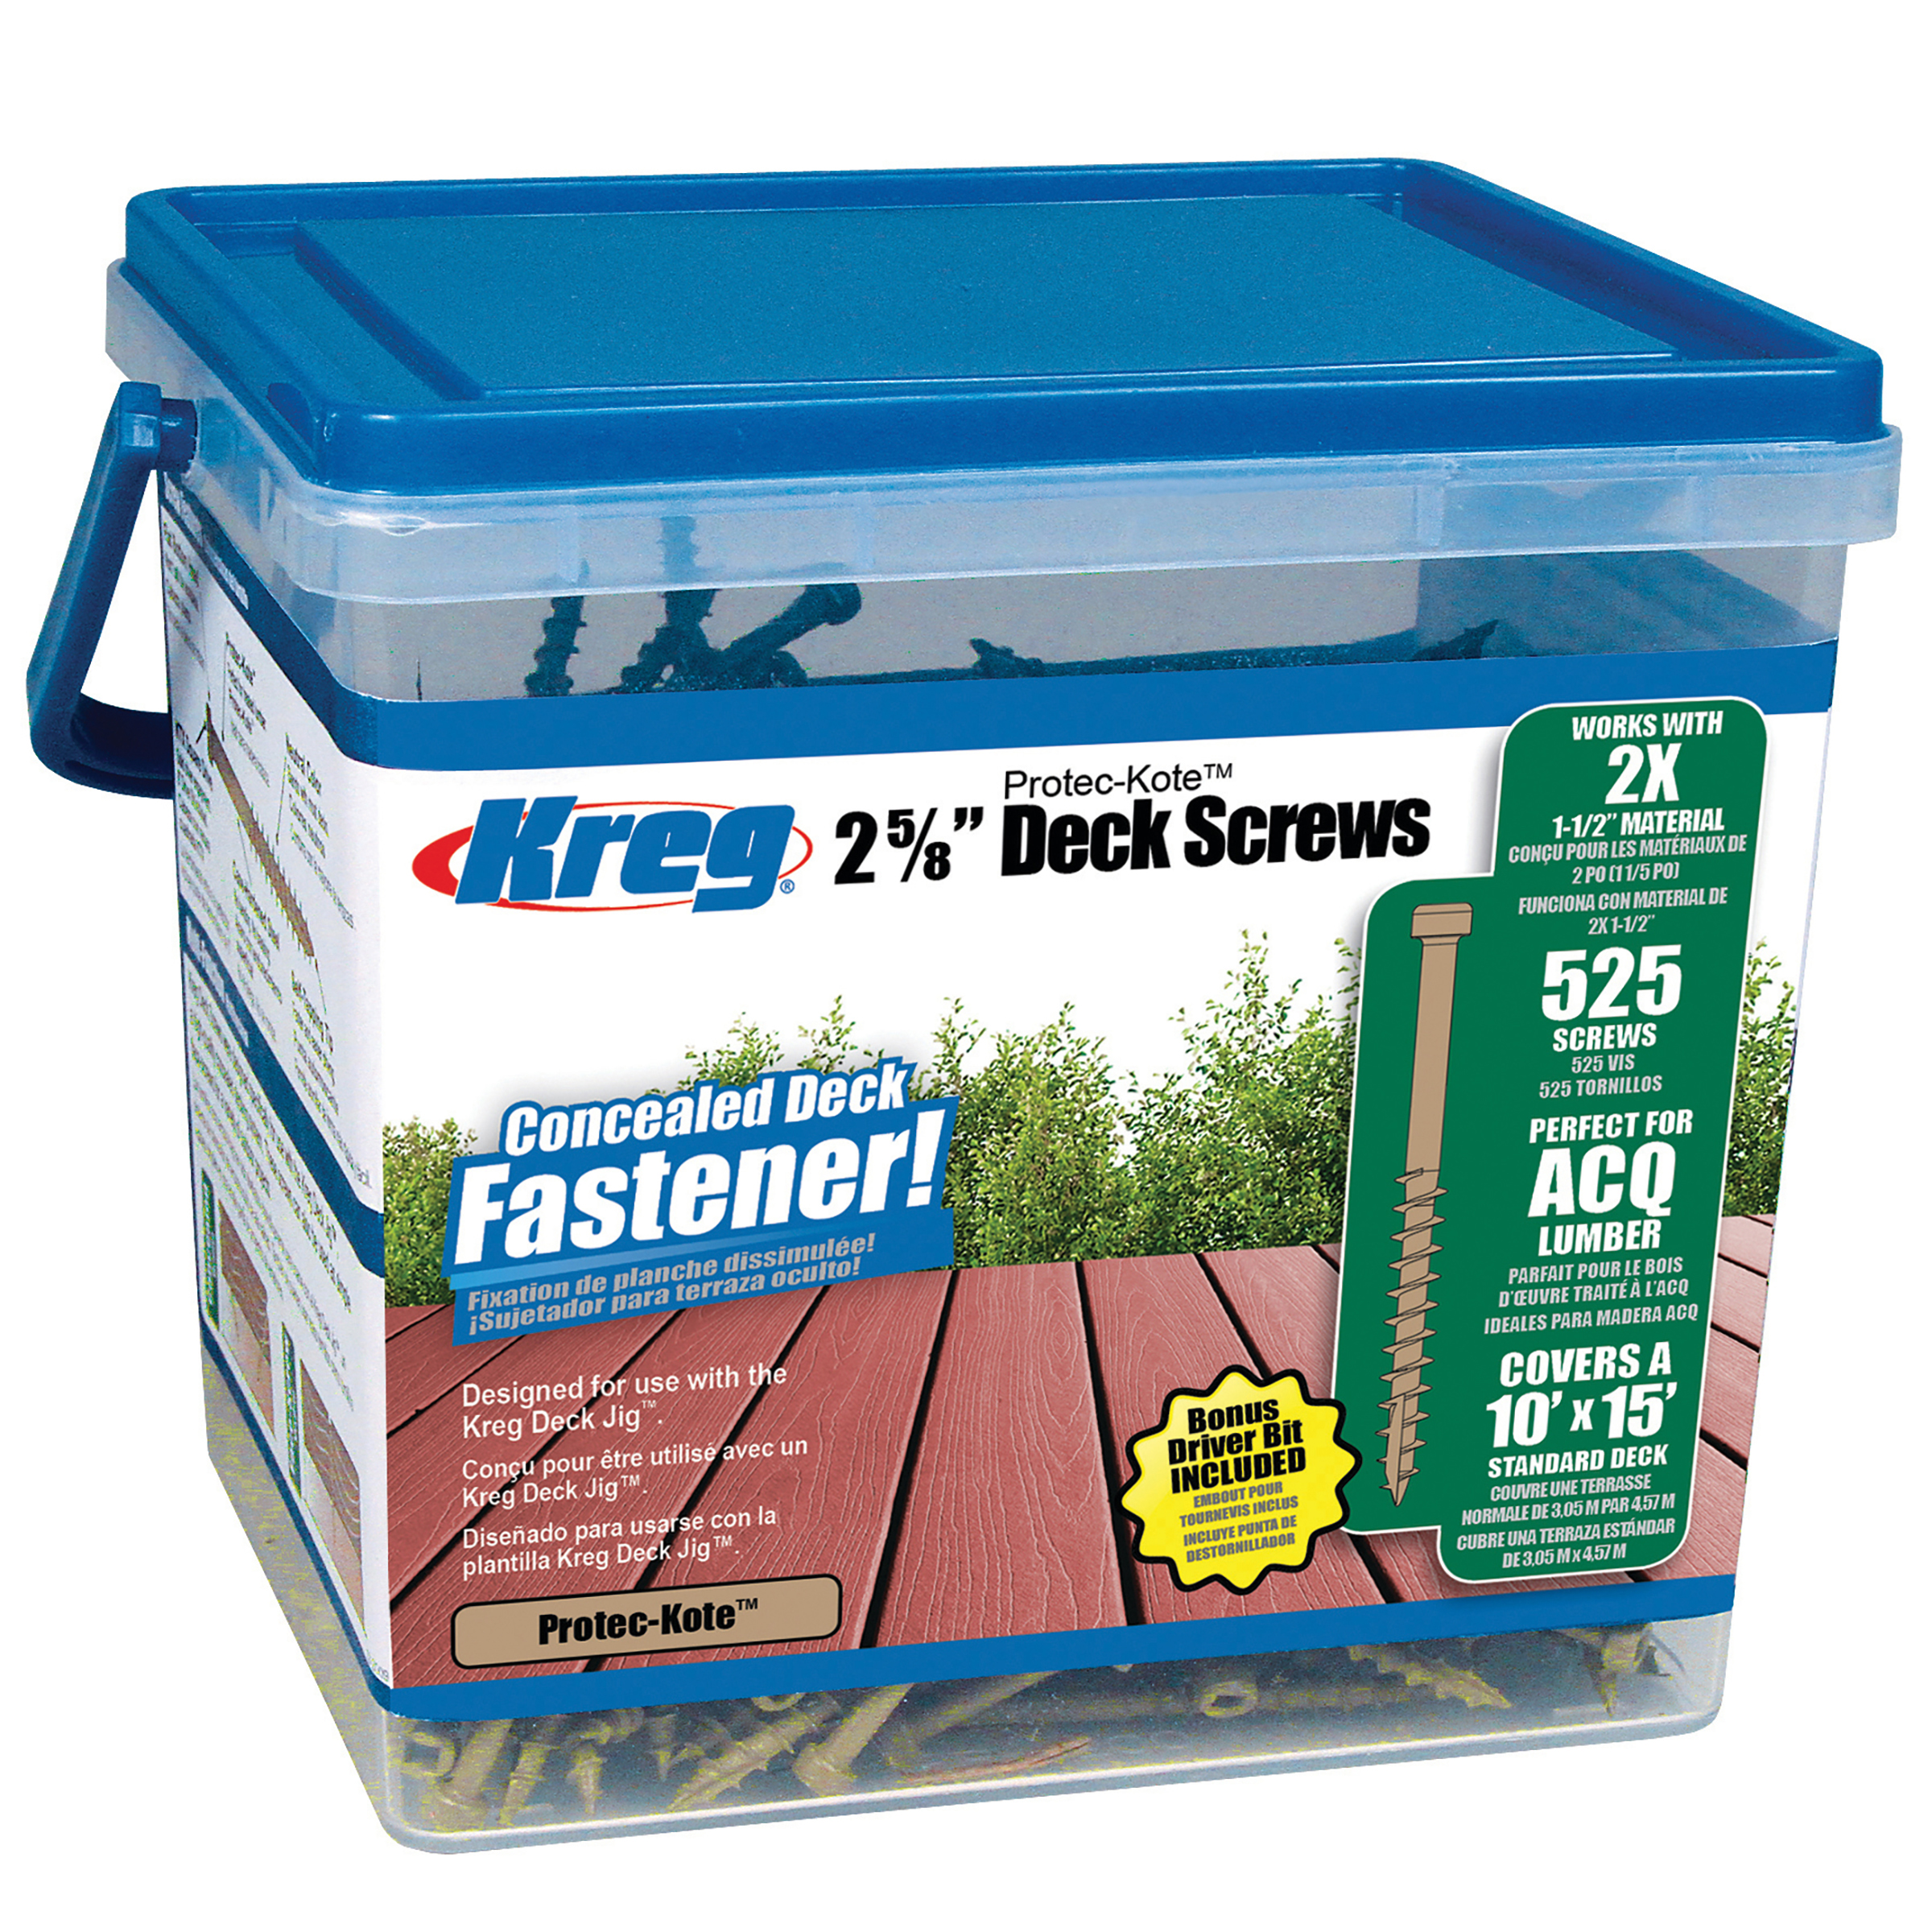
- 1 2x Protec-Kote Kreg Deck Screws - 2 ⅝” - We used one box of 525 screws
- 1 Sleeve Anchors - ⅜” diameter 4” long
- 1 Carriage Bolts - ½” x 6”
- 1 Pronged Washer - ½”
- 1 Washer - ½”
- 1 Nut - ½”
- 1 Exterior Wood Screws - Size 9, 2 ½” Long
- 1 GRK Screws - 4” Long
- 30 Joist Hangers
Directions
-
Cut wood
- You’ll want to begin by cutting down all of your wood according to the woodworking plans. To prevent the wood from warping, be sure that you build the frame immediately after you cut the wood. Don’t buy it and let it sit.
- Cut the 4x4 posts in 2 1/2 foot pieces using a circular saw. You’ll install these in the next step.
-
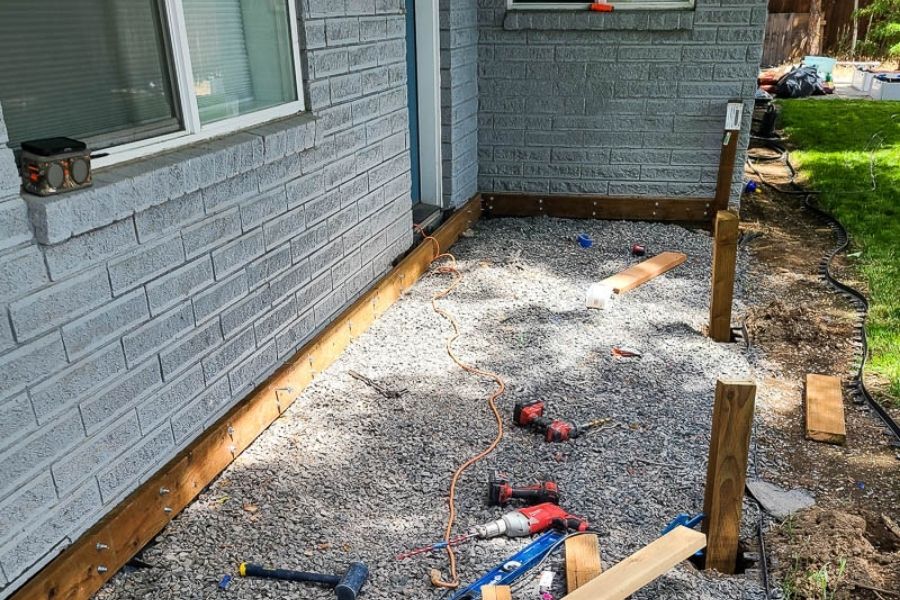
Dig post holes and set posts with cement
- Be sure to follow all your local building codes for deck posts. There are usually various different ways to do this with setting the post in the ground or above. When it comes to post spacing, be sure that a post will not be in the same spot as a joist in the deck frame. We dug holes with a post hole digger about 12 inches deep and set the 4x4 posts in place with cement and let dry for 24 hours. Allow for at least 2 feet of so above ground of post, you’ll cut off excess later.
-
Build frame
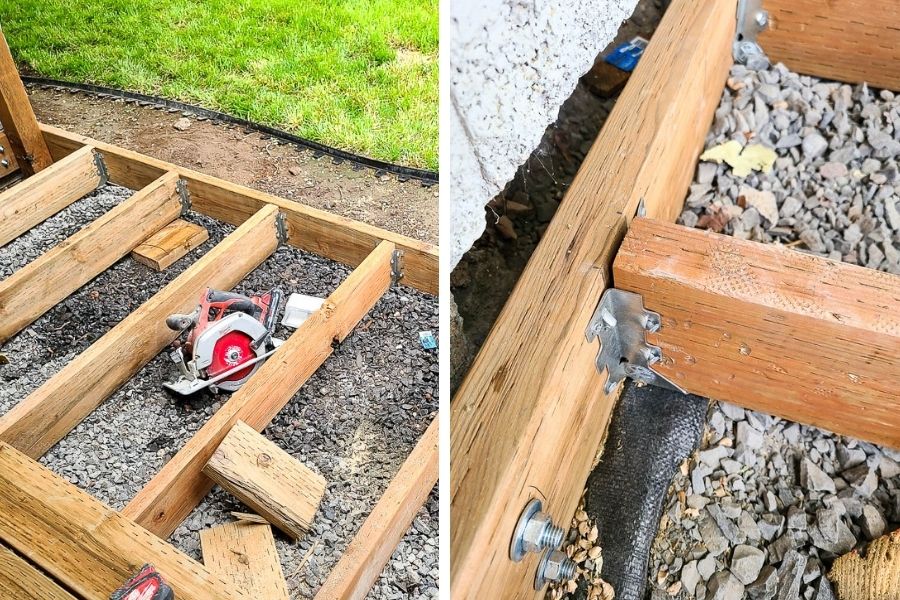
- After your posts are installed, it is time to build the frame for your deck. We opted to build the frame in place but you can build it beforehand if you have enough people to lift it and set into place. Attach your ledger boards properly to your house with GRK screws and sleeve anchors and waterproof if necessary.
- Attach the frame to the posts using exterior wood screws and carriage bolts that go all the way through the post. Secure carriage bolt with washer and nut.
- Once the outside perimeter of your frame is attached to your house and posts, you can move on the joists. Add joist hangers and install the joists spaced 16” on center.
- Cut the excess off of the 4x4 posts so they are level with the top of the frame using a Sawzall or hand saw.
-
Attach deck boards
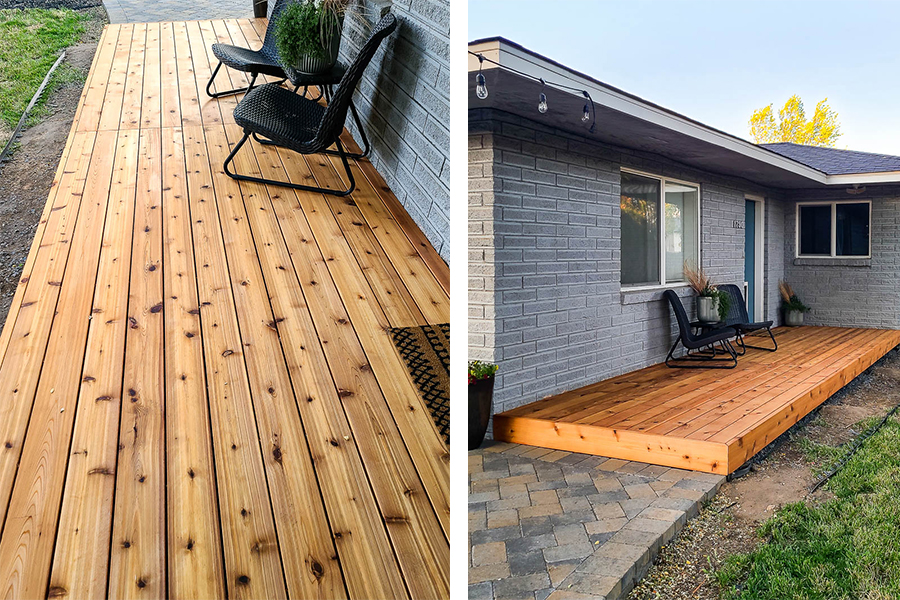
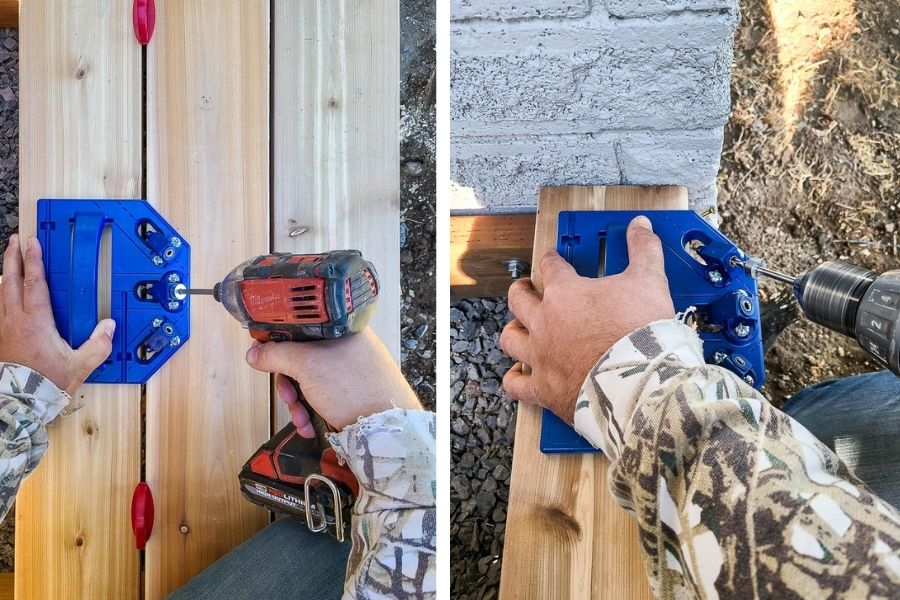
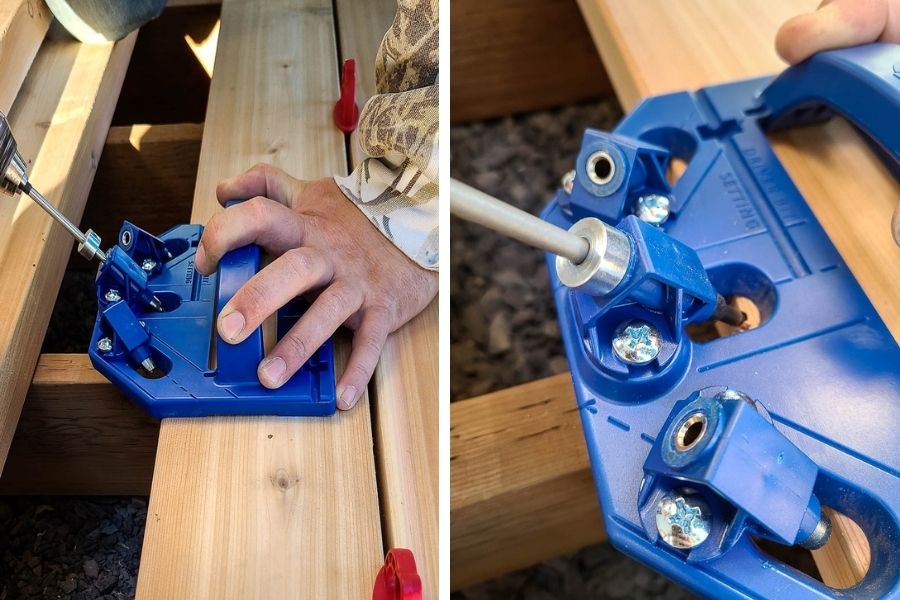
- With your deck frame built, now you can install your deck boards with the Kreg Deck Jig. We started at the edge furthest from the house and worked our way into the house. This allowed us to attach cedar trim boards to the sides of the frame. We screwed the trim boards in from the back with deck screws to make sure the concealed design ran down the front of the deck as well.
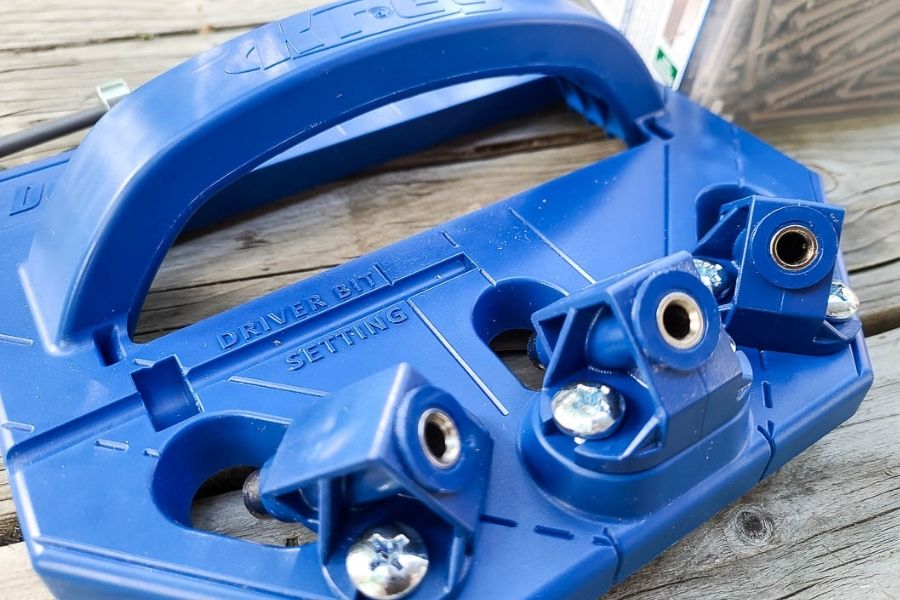
- The awesome part about the Kreg Deck Jig is that you are able to completely conceal to screws on the face of the deck by attaching the deck boards with angled screws along the edges of the deck boards. It was very easy to use.
- To use the Kreg Deck Jig, set it on top of the deck board and align the drill guide to the joist underneath. Pre-drill a pilot hole using the drill bit and drive it until the stop collar touches the top of the drill guide. Next, grab a deck screw and add it to the end of driver bit. Place it in the drill guide and drive the screw into the same hole that you just pre-drilled. Continue driving until the stop collar touches the top of the drill guide. Now you can remove the Deck Jig.
- Work your way down an entire deck board on one side, adding a pilot hole and driving a screw with the Deck Jig at every joist location.
- Next, move to the other side of the deck board and continue.
- Use the red spacer rings in between the deck boards to keep the proper spacing. The spacer rings allow for 1/4" spacing, which allows debris to fall through boards and air to circulate under the deck to make sure there's no moisture building up.
-
Sand and smooth deck
- While installing your cedar deck, there are bound to be some unlevel transitions and dents that get put into the wood while installing it. Take an orbital sander with 80 grit sandpaper and work out these imperfections. Then do a once over on the deck so the stain applies more evenly.
-
Prep for stain
- Before you move on to applying stain, oil or paint to your new wood deck, it is very important to clean the deck with a wood cleaner and brightener. This will remove any mill glaze still on the wood and just provide a better looking finish overall when you finish. Wait 2-3 days after using the wood cleaner to make sure the wood is fully dried before moving on.
-
Stain deck
- With your deck clean and prepped you can apply the wood stain, oil or deck paint. We opted for a penetrating oil and used our paint sprayer to apply. Start masking off the area around the deck to avoid overspray. Spraying a deck can be very fast and easy but you’ll want to make sure you don’t have any direct sunlight on the deck while applying the stain or oil. This will gum up the excess stain before it has time to soak in and before you have a chance to wipe it off. Pick a time of the day where you can spray the entire deck and wipe it with as little direct sunlight as possible.
How to use a Kreg Deck Jig video – https://www.youtube.com/watch?v=yB7NVQnCVQY
Wood Deck Plans – Making Manzanita
makingmanzanita.com
Making Manzanita on Facebook
Making Manzanita on Instagram
Making Manzanita on YouTube
Making Manzanita on TikTok