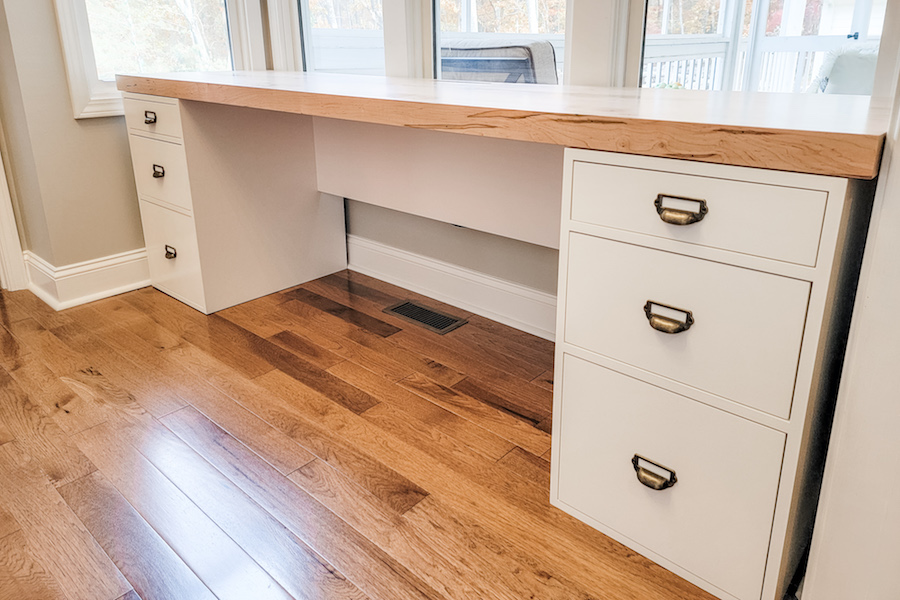
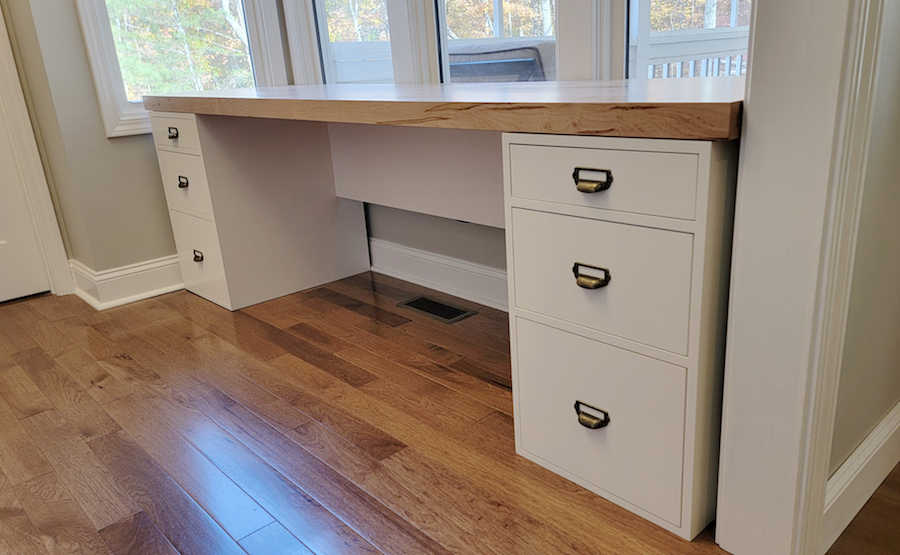


My wife and daughter had been using a cheap Ikea desk for homeschooling, but it just wasn’t working out so I built them a superior desk with a hidden power supply and plenty of drawers for storage. This desk is easy to modify, so take some inspiration and build this great desk for your space. Be sure to check out the build video linked below in the “extras” section for more details!
Tools
Kreg Tools


Other Tools
-
Miter saw

-
Table saw
-
½” Forstner bit
-
½” bench chisel
-
Bushing set
-
Shopvac
-
Clamps
-
Tape measure
-
Square
Materials
Wood Products
- 2 Plywood , 4x8x3/4"
- 1 Plywood , 4x8x1/2"
- 1 Plywood , 4x8x1/4"
- 1 Hardwood of choice , 4/4: ~20bf
Hardware & Supplies
- 1 Box of 1 1/4" Kreg Pocket Hole Screws (see tools list)
- 1 Box of 1" Micro pocket hole screws (see tools list)
- 1 Box of 2 1/2" Kreg Pocket Hole Screws (see tools list)
- 6 Sets of 20" under-mount drawer slides
- 1 Box of 1" flat head screws
- 1 Wood glue
- 6 Drawer pulls
- 2 Small hinges
- 1 Power Strip
- 1 Choice of top coat
- 1 Stain Blocker Primer
- 1 Enduro white poly
Directions
-
Cut Parts for Base
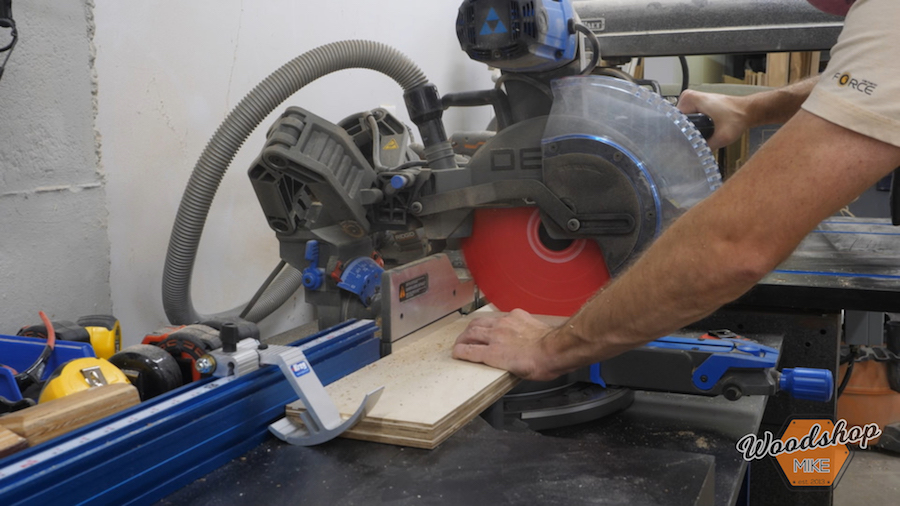
Start off by cutting all of the parts on page 3 & 11.
-
Pocket Holes
Next up drill pocket holes in parts 2, 3, 5, 6, and 7.

-
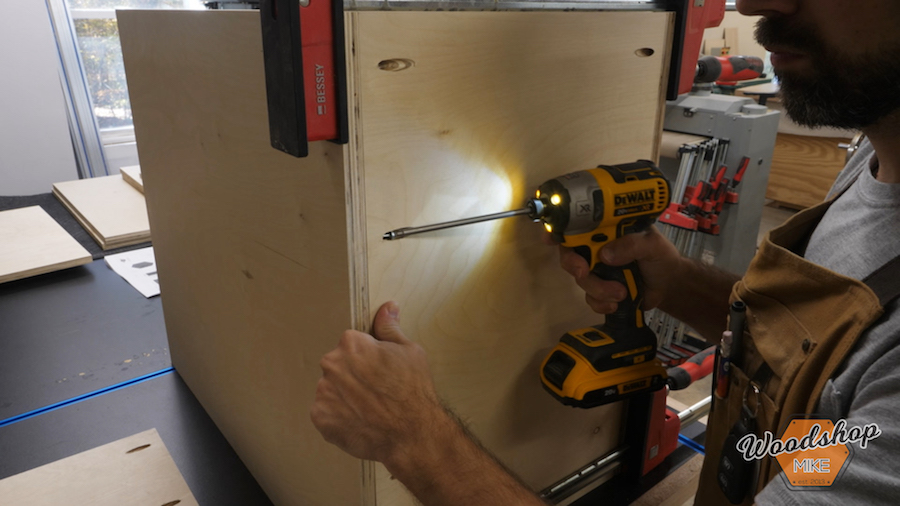
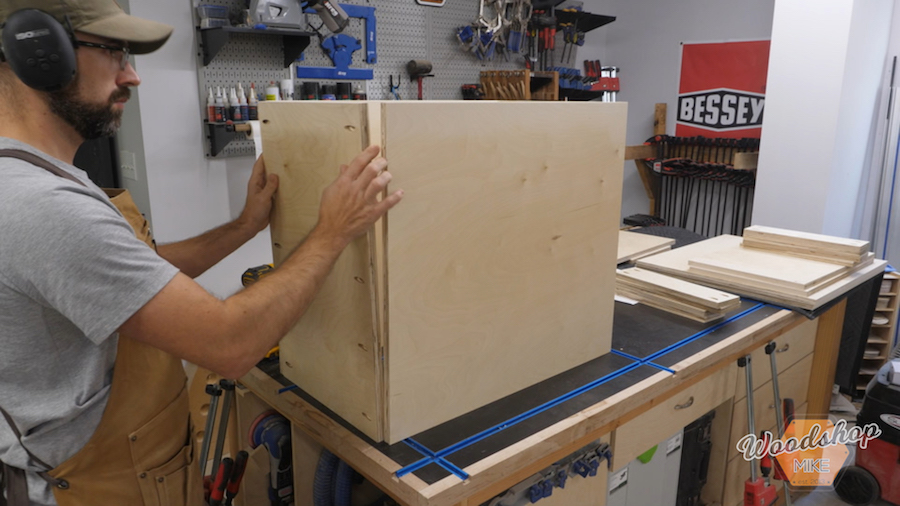
Assemble the Cabinet Box, 1
Use 1-¼” pocket hole screws to assemble all of the elements for the base of the desk. Screw part 1 & 2 together with the pocket holes on part 2 facing down.
-
Assemble the Cabinet Box, 2
Attach a second part 2 as shown with the pocket holes facing up.
-
Spacers Make Life Easier
To install the stretchers (part 3) I cut a couple of spacers at 20-¾” and 12” from scrap plywood. Install
the upper stretchers first with the 20-¾” spacers and then the lower stretchers with the 12” spacers.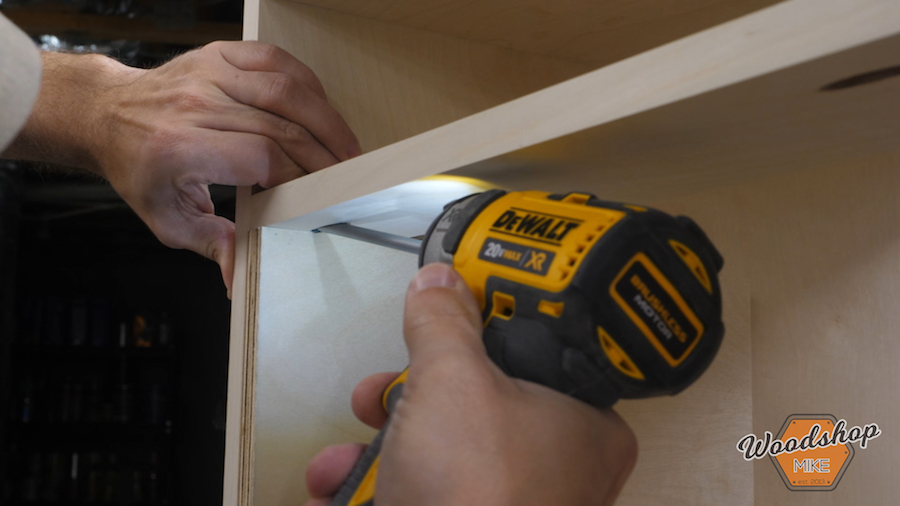
-
And Some More Spacers
To create the “Air Gap” between the base and desk top, I added two layers of ¾” plywood, part 4, (add more or less to create the effect you want) to the top of the cabinet. These can be screwed, glued, or brad nailed in place. Center this on the cabinet and make sure it’s flush with the back of the cabinet.
-
Back Panel & Power Strip Support
Screw parts 6 & 7 together using 1-¼” pocket hole screws to make the power strip support. Mount this to the back of the back panel, part 5, 2” from the top and centered across its width.
-
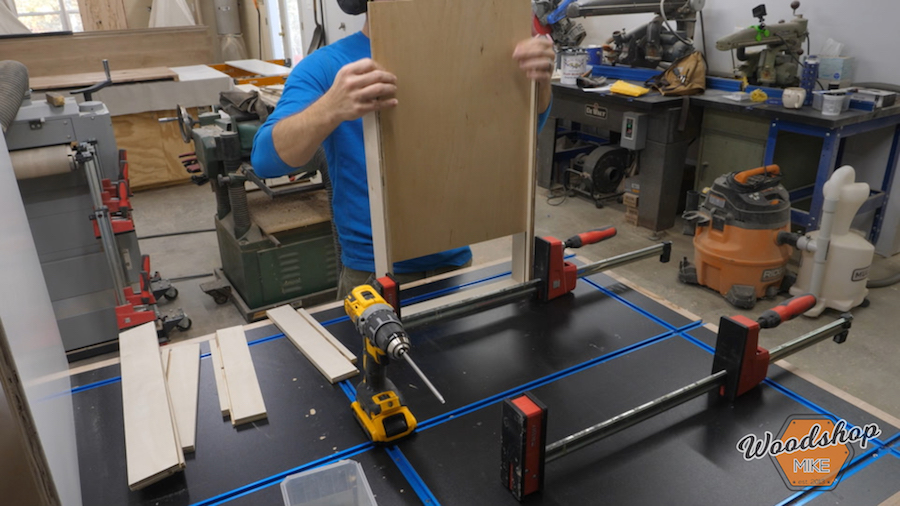
Drawer Boxes 1
Cut out all of the parts on pages 7 & 12, cut groove for drawer bottoms, and drill micro pocket holes in parts 8, 9, 10, & 11.
-
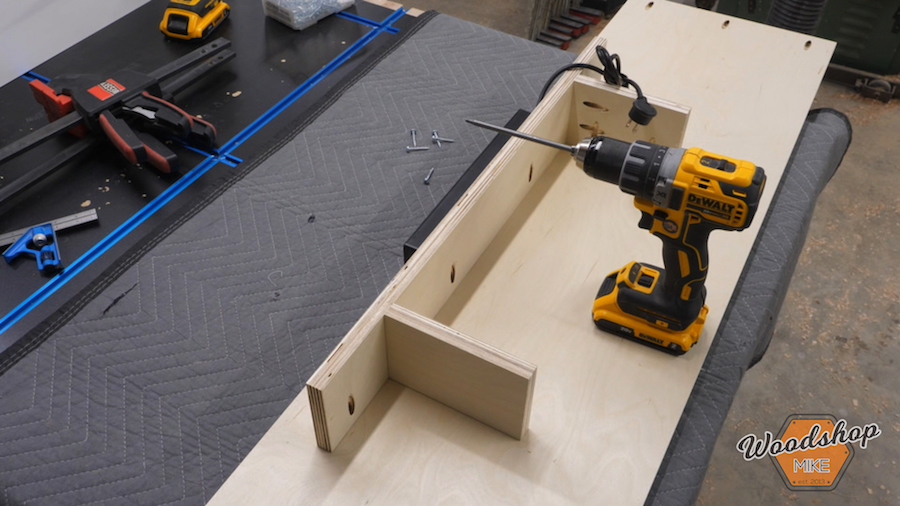
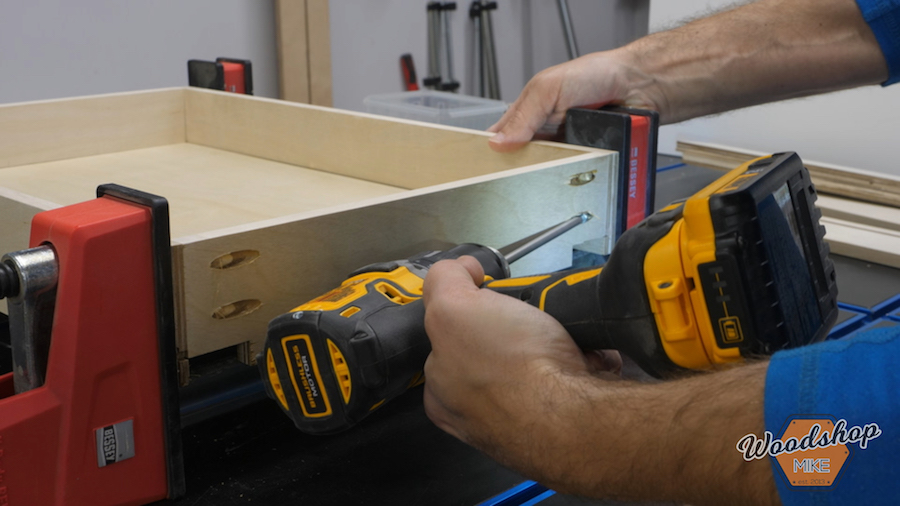
Assemble the Drawer Boxes, 1
There are two different sizes of drawer box for this project. One size uses parts 8, 9, 12, & 14 while the other size uses parts 10, 11, 13, & 14 to build the drawer boxes. All drawer boxes use 1” pan head pocket hole screws for assembly.
Screw one drawer box front, parts 8/10, to two drawer sides, parts 12/13.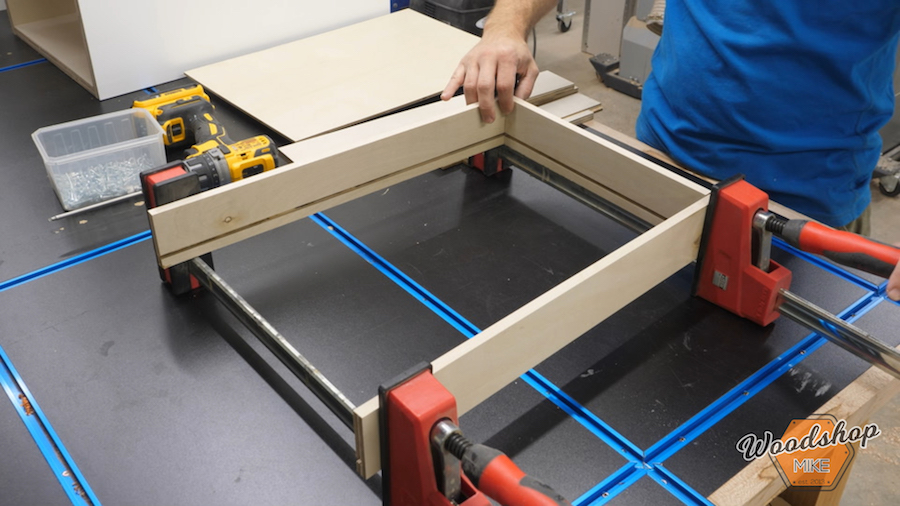
-
Assemble the Drawer Boxes, 2
Slide drawer bottom, part 14, into groove.
-
Assemble the Drawer Boxes, 3
Screw one drawer box back, parts 9/11, to two drawer sides, parts 12/13.
-
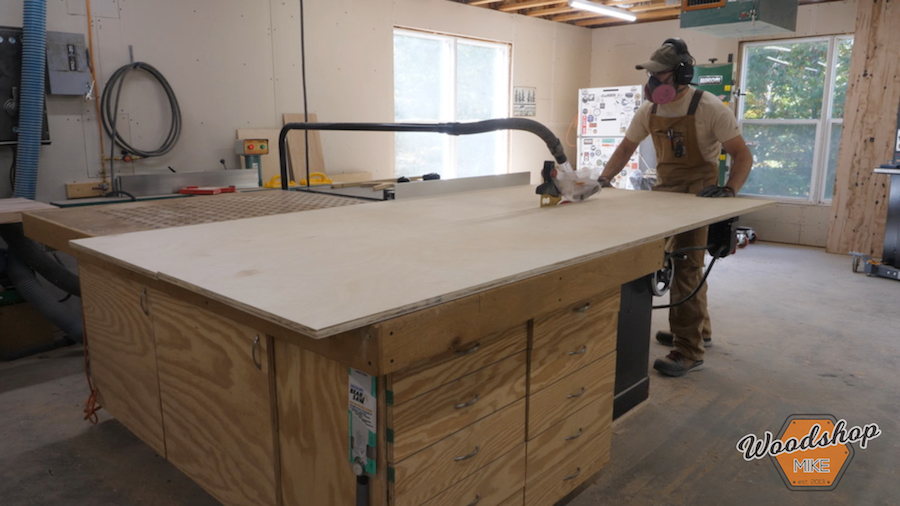
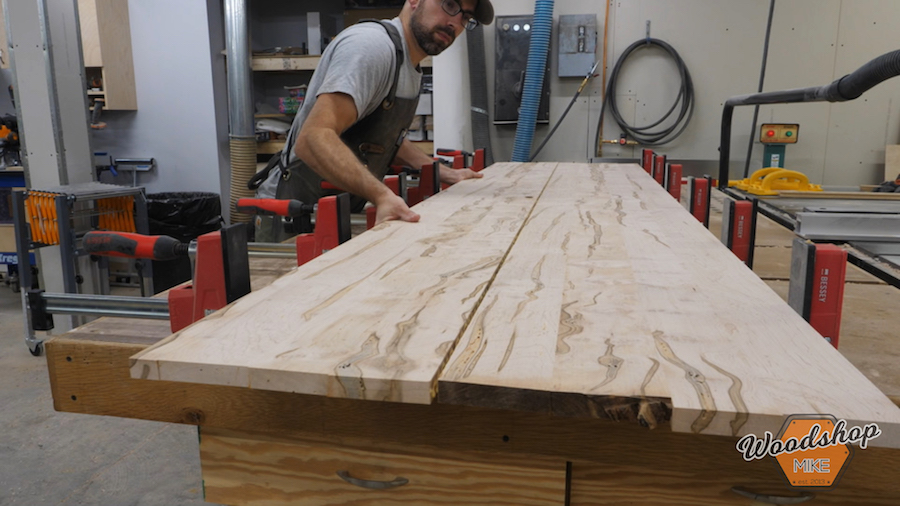
Desk Top
Mill 4/4 hardwood of choice to ¾” thick and glue up desk top. I mitered the front edge of my desk top to “wrap” the grain pattern around the front of the top. Glue additional strips of wood around the bottom edge as seen in the build video and on page 9 of the pdf plans.
-
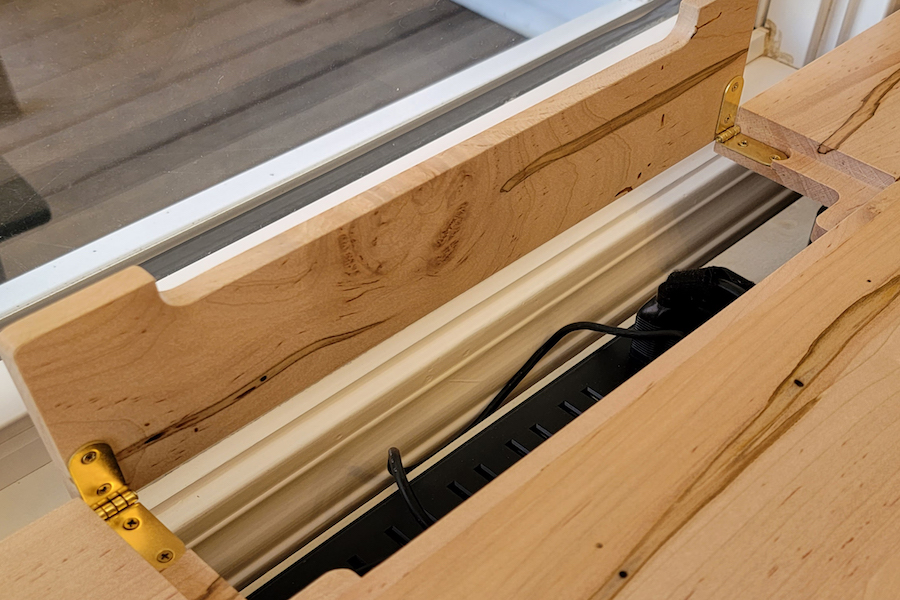
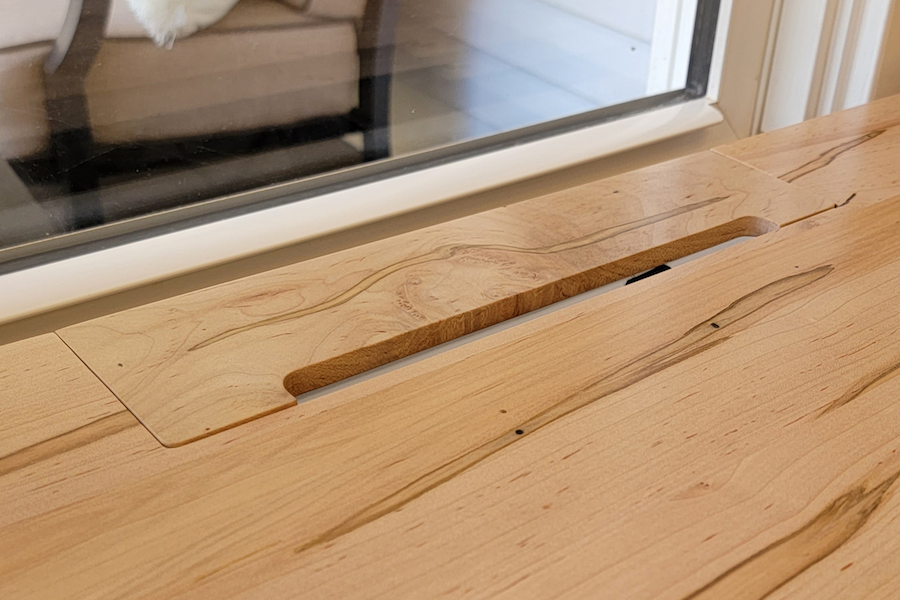
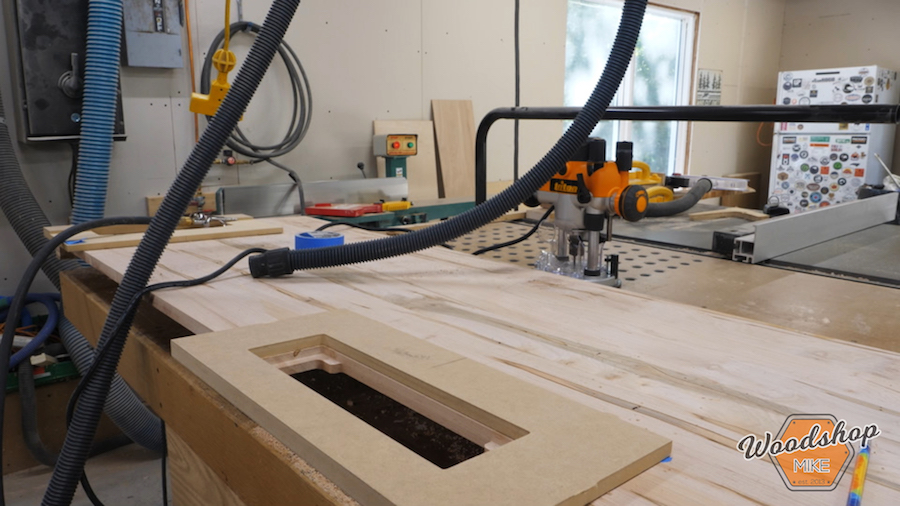
Hidden Power Supply Access
This step is optional but really adds to the utility of the desk. Route out an opening in the desk top using two templates (1:1 print outs for template on pages 13 & 14 in pdf plans) as seen in the build video.
-
Hidden Power Supply Flip Up Panel
Next make a small panel, part 16, to cover up the opening routed in the previous step.
-
Flip Up Panel Hinges
Screw hinges to flip up panel and desk and check to smooth operation, adjust as necessary.

-
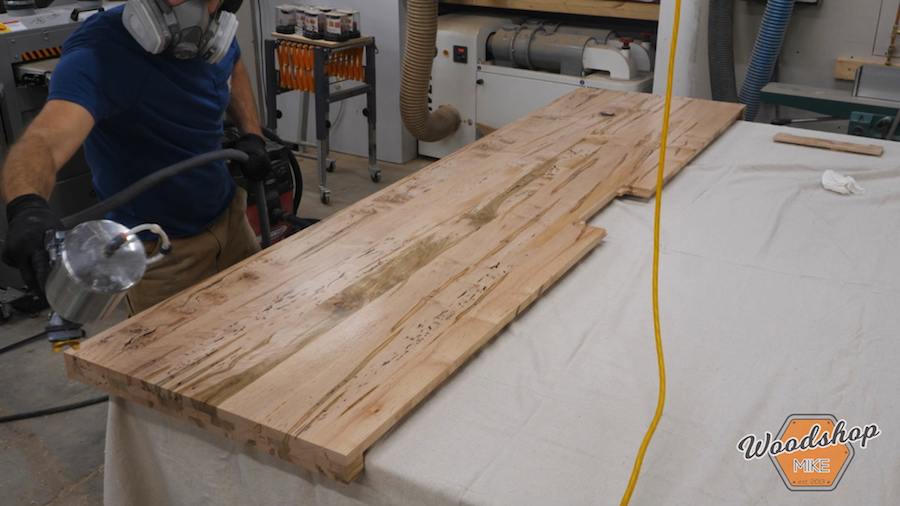
Sand and Finish
Sand all of the pieces and remove dust. I sprayed the cabinet base with two coats of GF Stain Blocker Primer and then top coated it with two coats of flat GF White Enduro Poly. The desk top was finished with 3 coats of flat GF High Performance Top Coat.
-
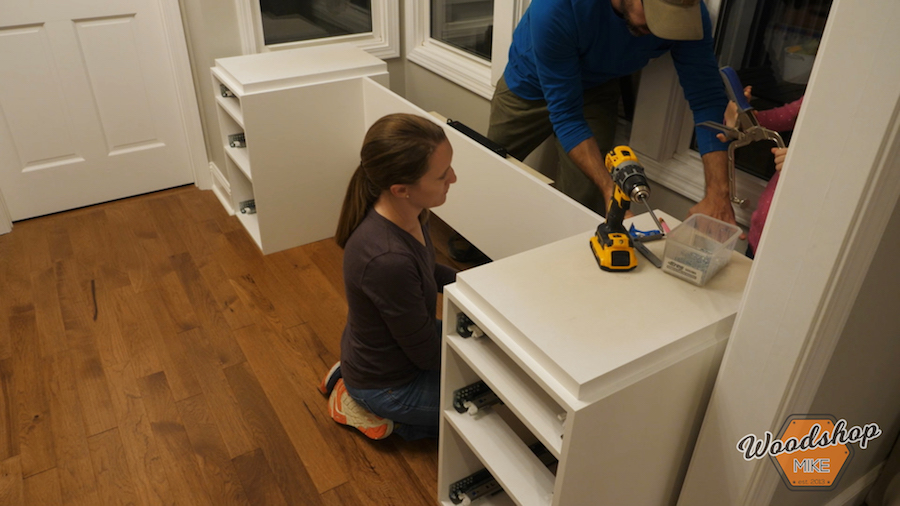
Install Drawers
Install drawer slides and fully seat drawer boxes into latching mechanism.

-
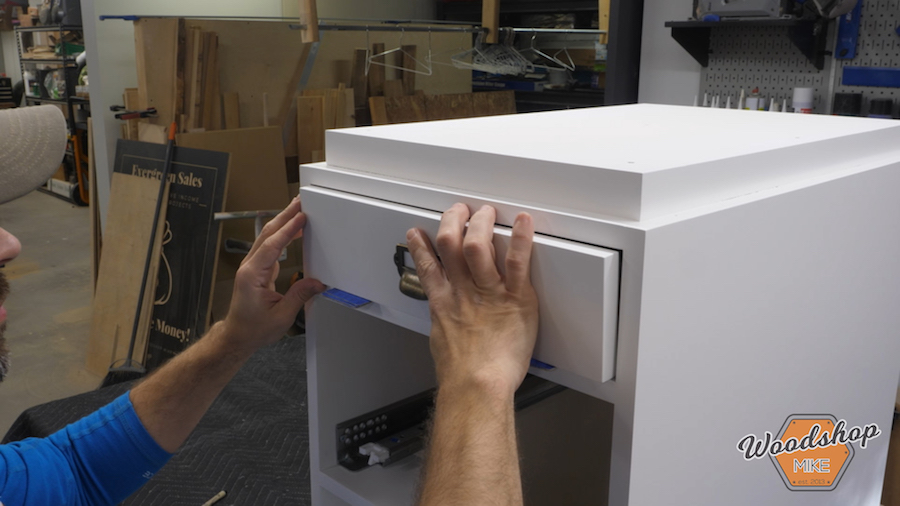
Install Drawer Front
Center drawer fronts in cabinet openings and secure to box with 1” screws from inside drawer into back of drawer front. Attach drawer pulls.
-
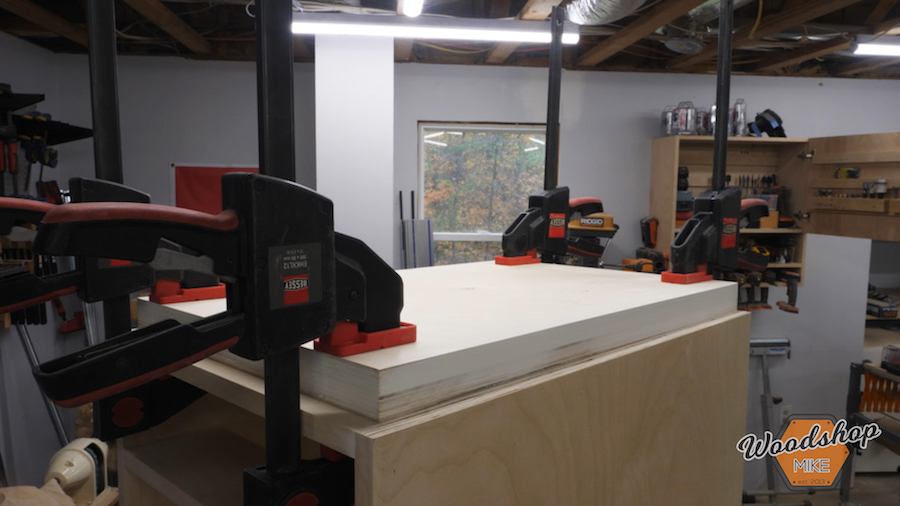
Assemble the Base
Set up the base cabinets where you want the desk to be and screw the back panel in place using 1-¼” pocket hole screws. The back panel should be flush with the top of part 1 on each base cabinet, and inset 3” from the back of the cabinets.