Headphone Stand
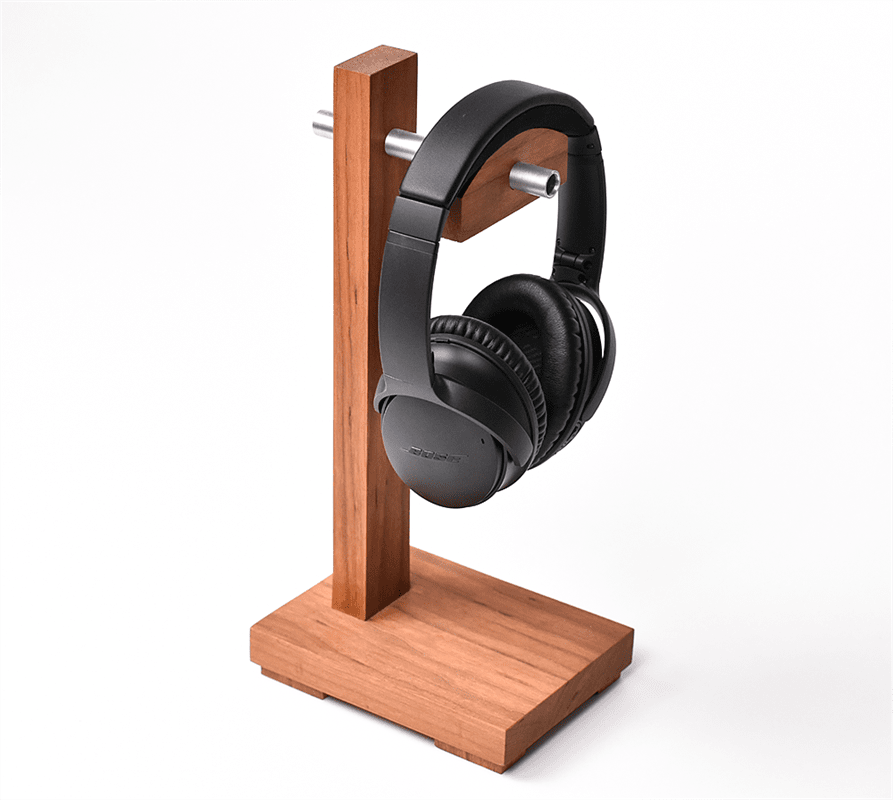
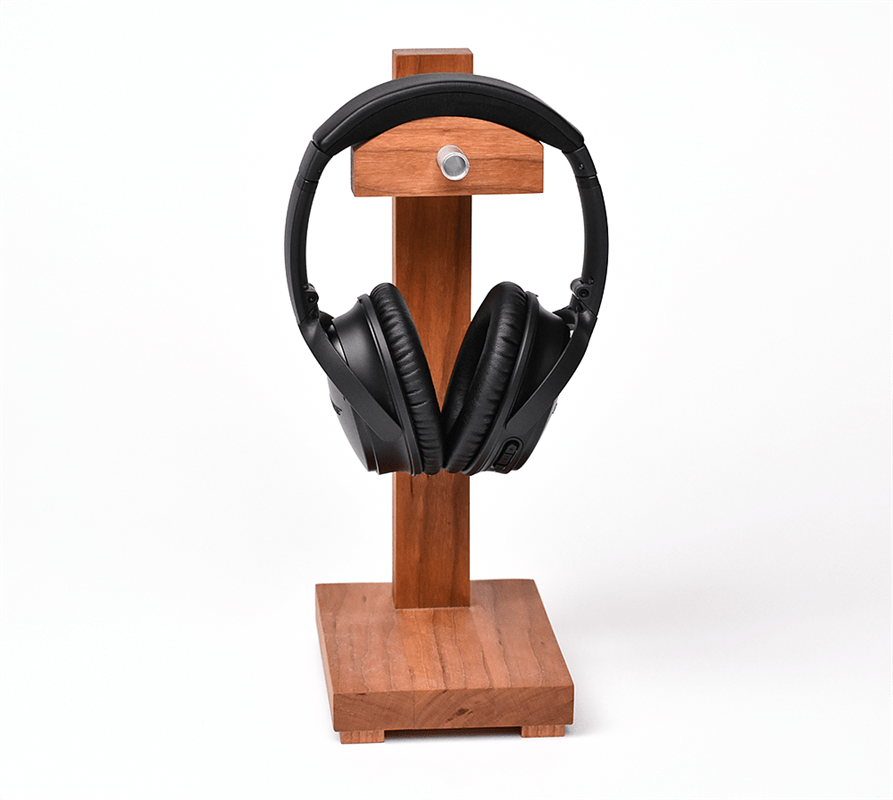
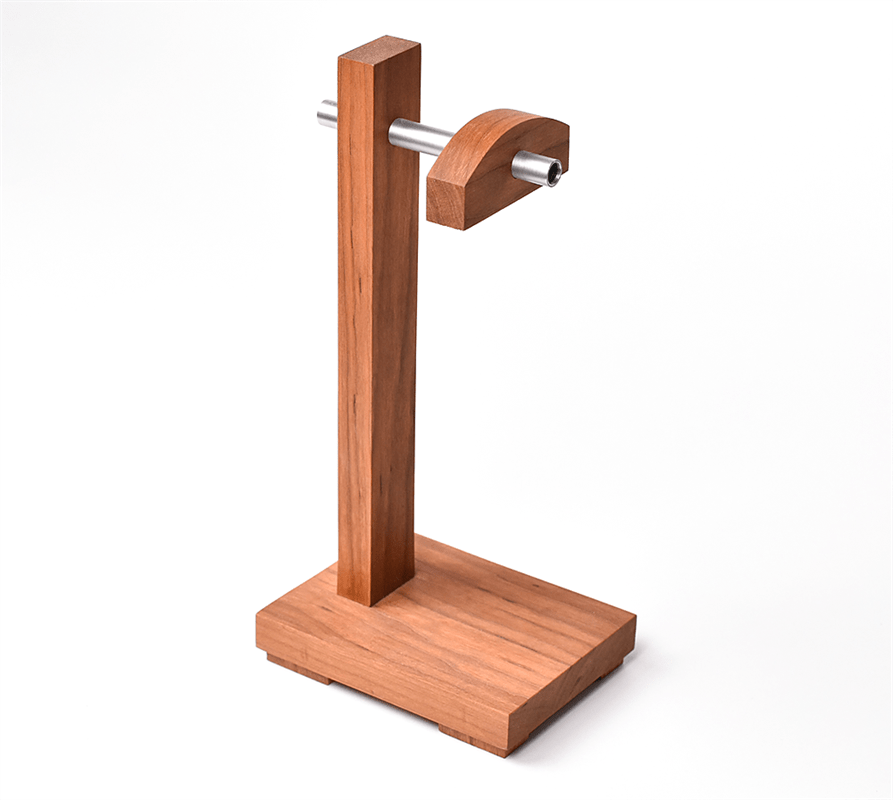
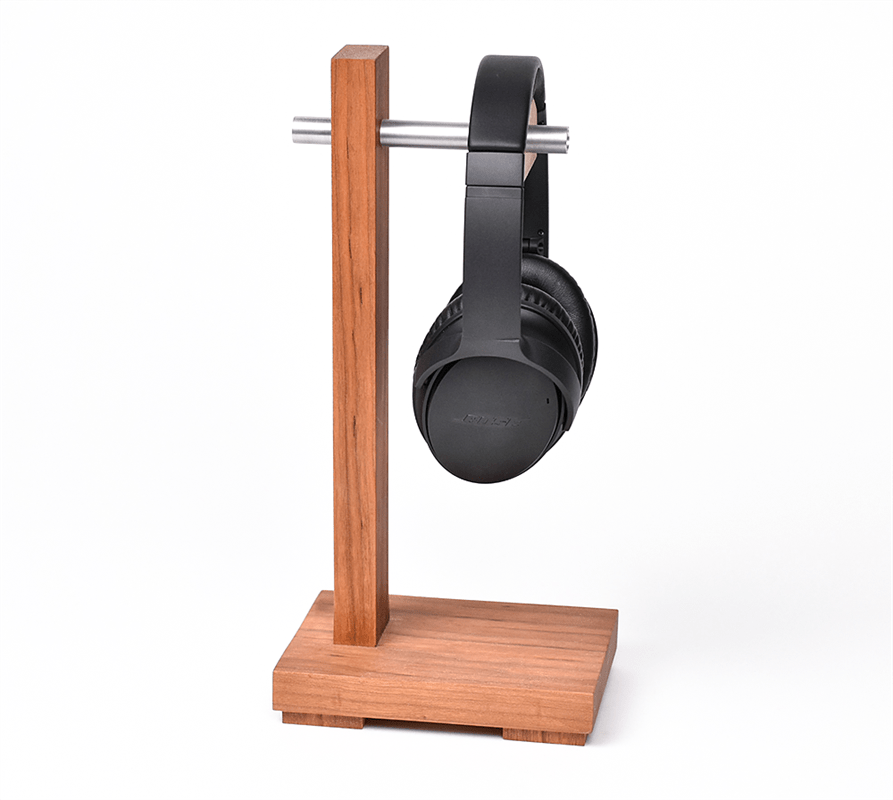
By Kreg ToolHere’s the perfect place to park your headphones when they’re not on your head. This DIY headphone hanger works great, and it looks even better. You can build one in no time, from a 1x2 board and a piece of aluminum tubing to protect your investment in style.
Directions
-
Cut the Parts
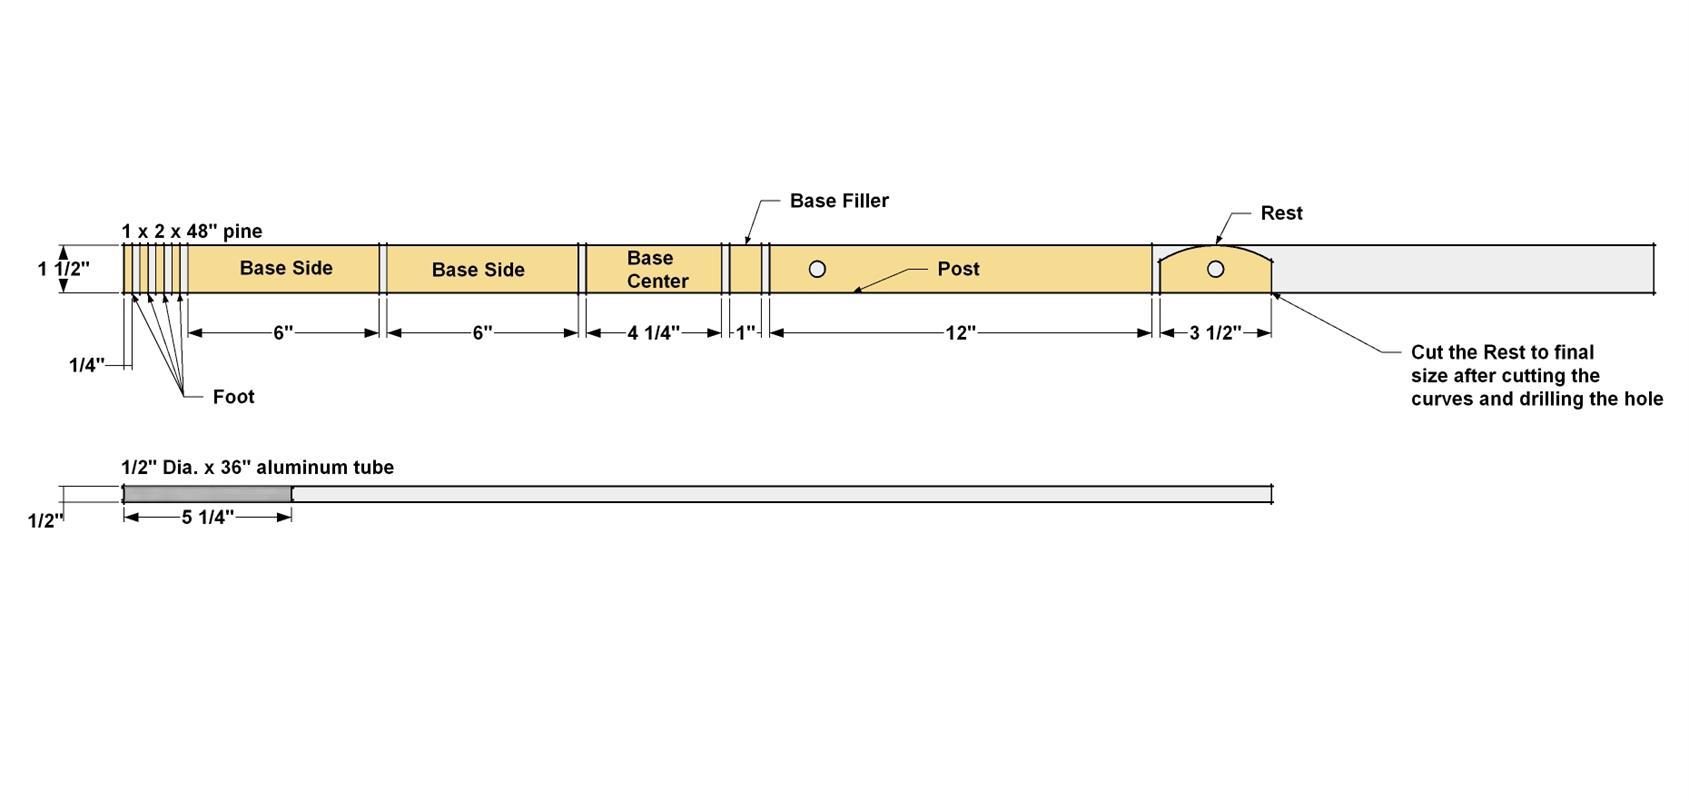
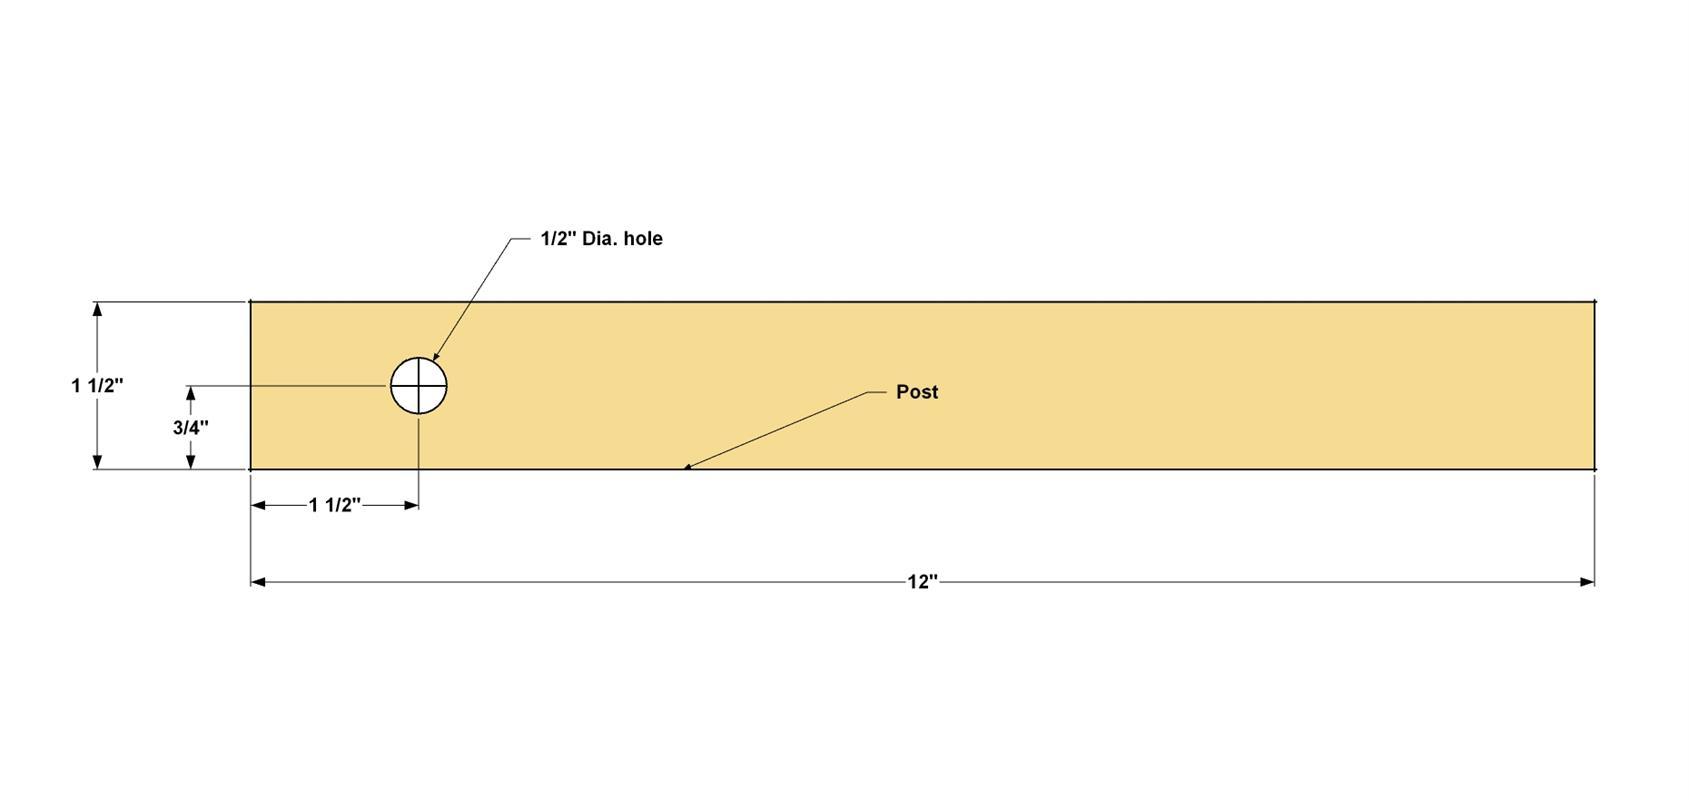
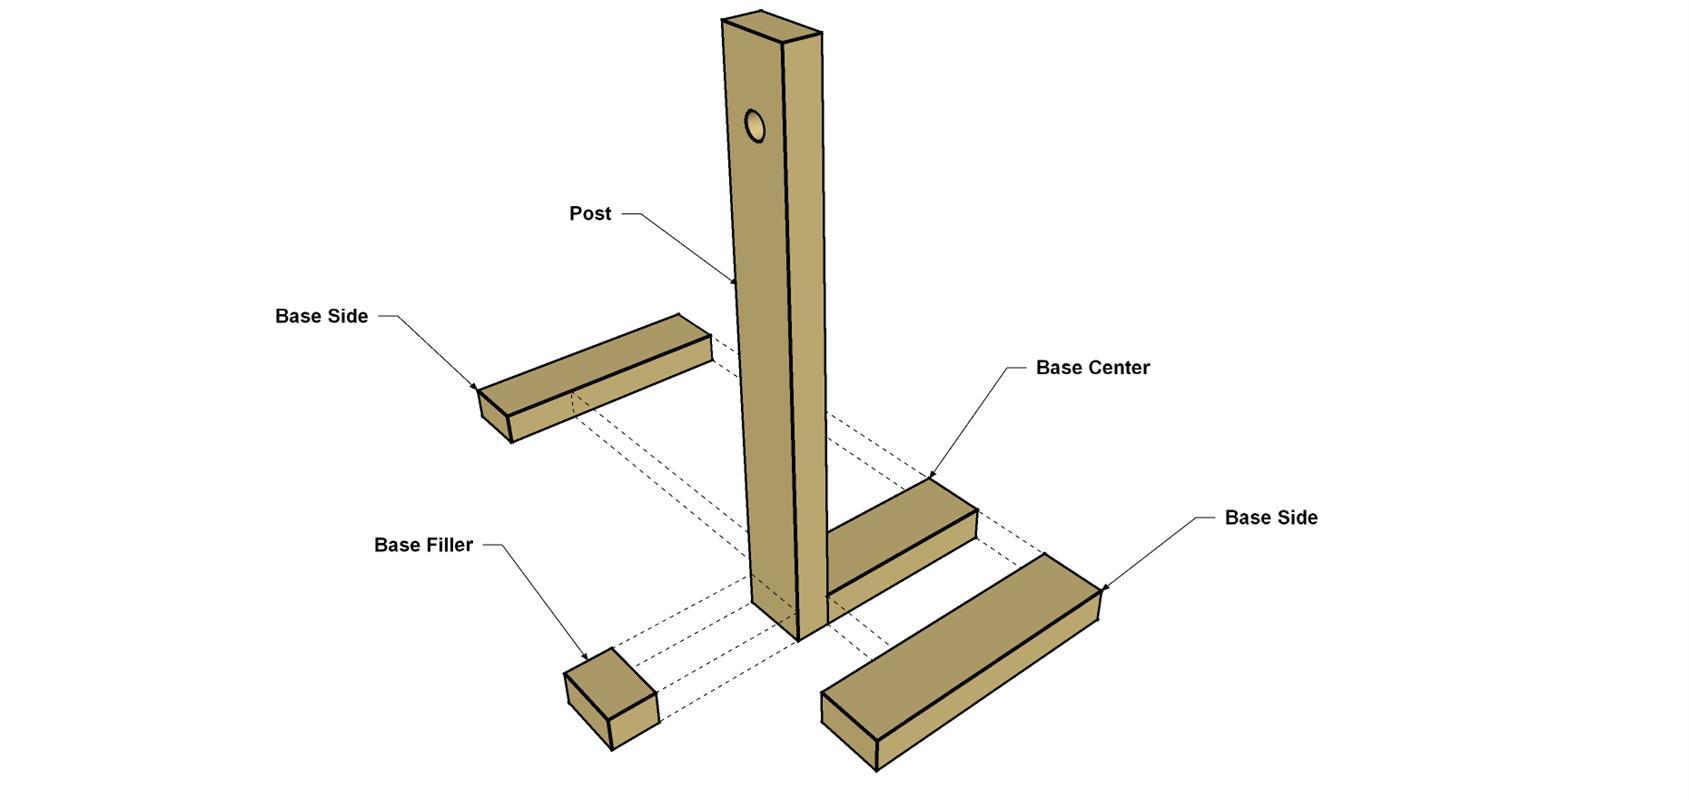
Cutting small parts on a miter saw can be tricky. As a point of safety, it’s good practice to cut smaller parts off the end of a larger board, keeping your hands a safe distance from the blade. To begin, cut the four Feet off one end of the 1x2 board first. Next, cut two Base Sides, one Base Center, One Filler, and one Post to length, as shown in the cutting diagram. Drill a 1/2" hole in the Post at the location shown.
-
Make The Headset Rest
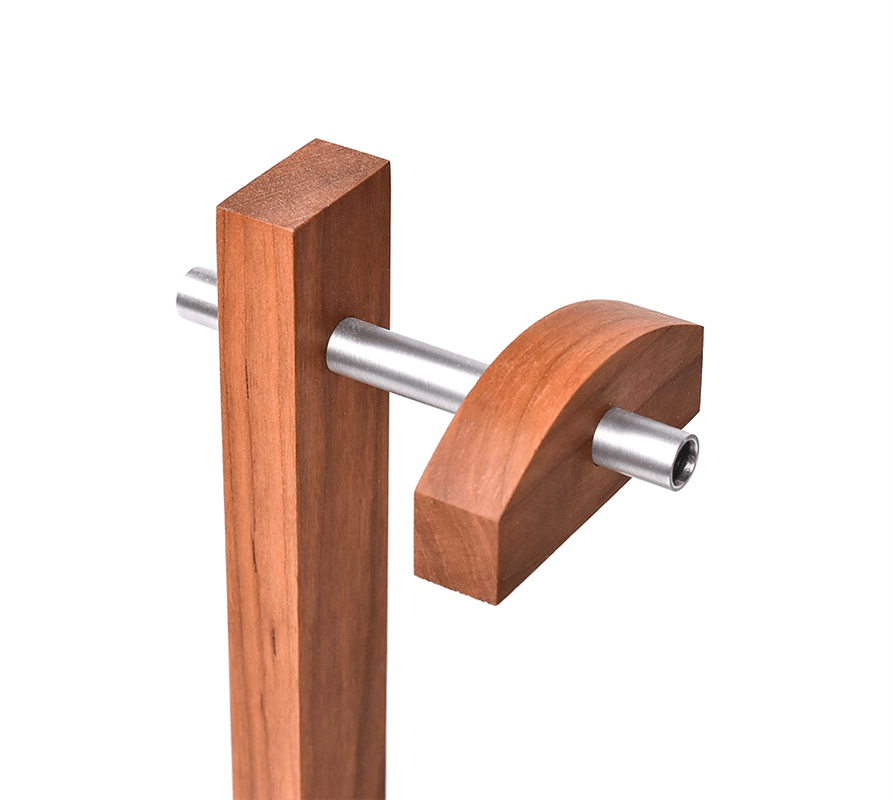
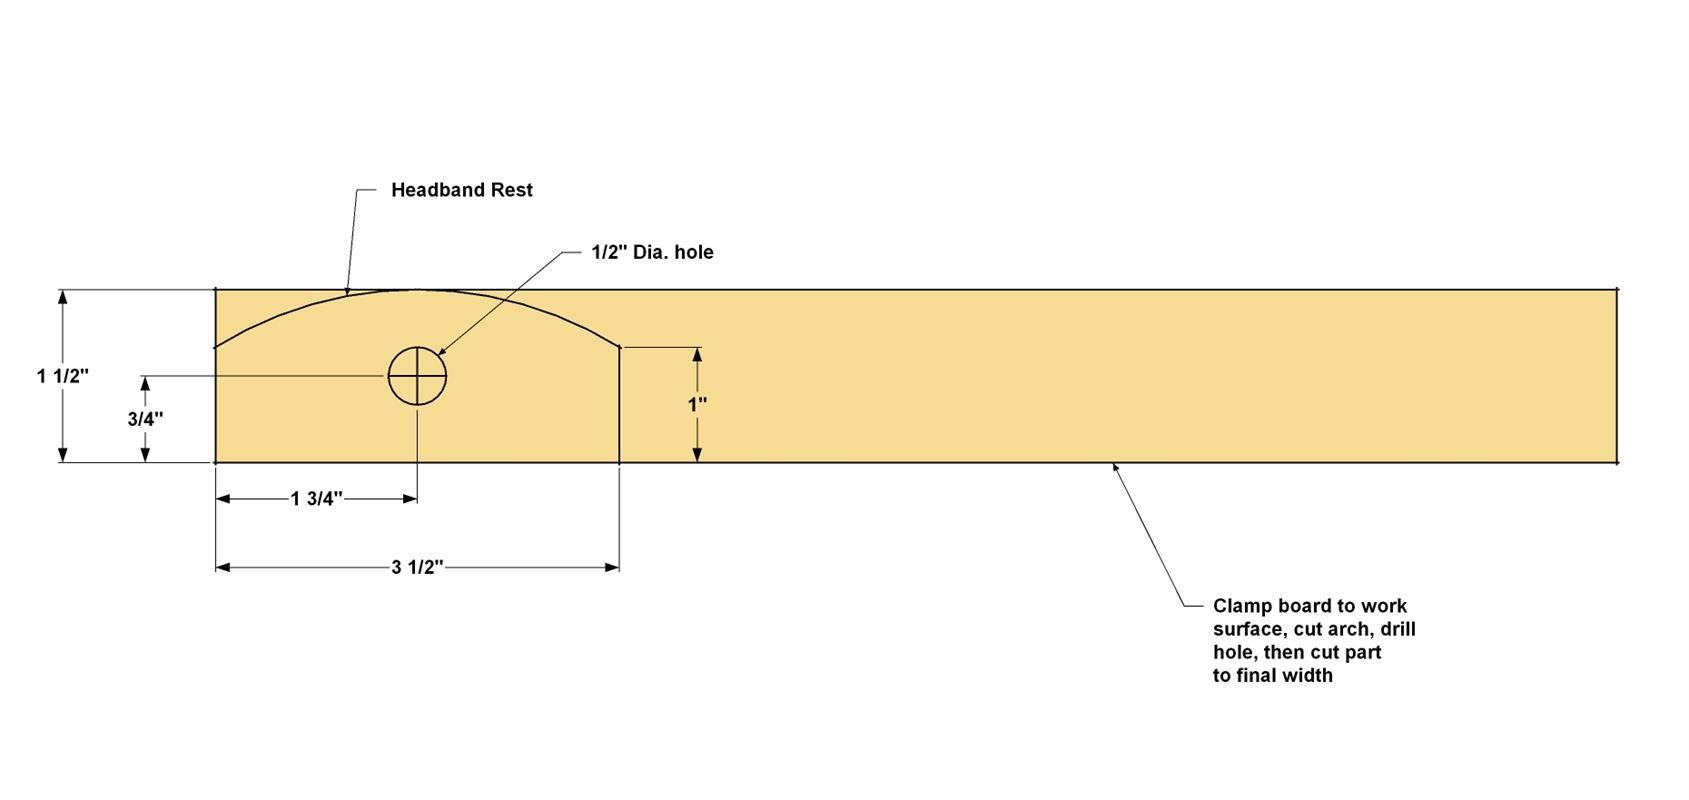
Using the left-over material, mark the arch on what will be the Headband Rest. A paint can is a good tool to use to rough out smaller curved shapes. First, clamp the board so the Headband Rest hangs off the worksurface. Using a jigsaw, cut the curves on the waste side of the line, but don’t cut the part from the rest of the board just yet. Next, mark the location of the hole, clamp the board to a piece of scrap material, and drill the 1/2" thru hole. Finally, cut the part to final length and sand the curve smooth.
-
Assemble the Base
First, working on a flat surface, apply a small amount of glue to the first Base Side and the Base Center. Align the edges, lightly clamp them together, and allow the glue to dry. Next, apply glue to the Post and the Filler, align and clamp them in place. Finally, glue and clamp the second Base Side.
-
Attach the Feet
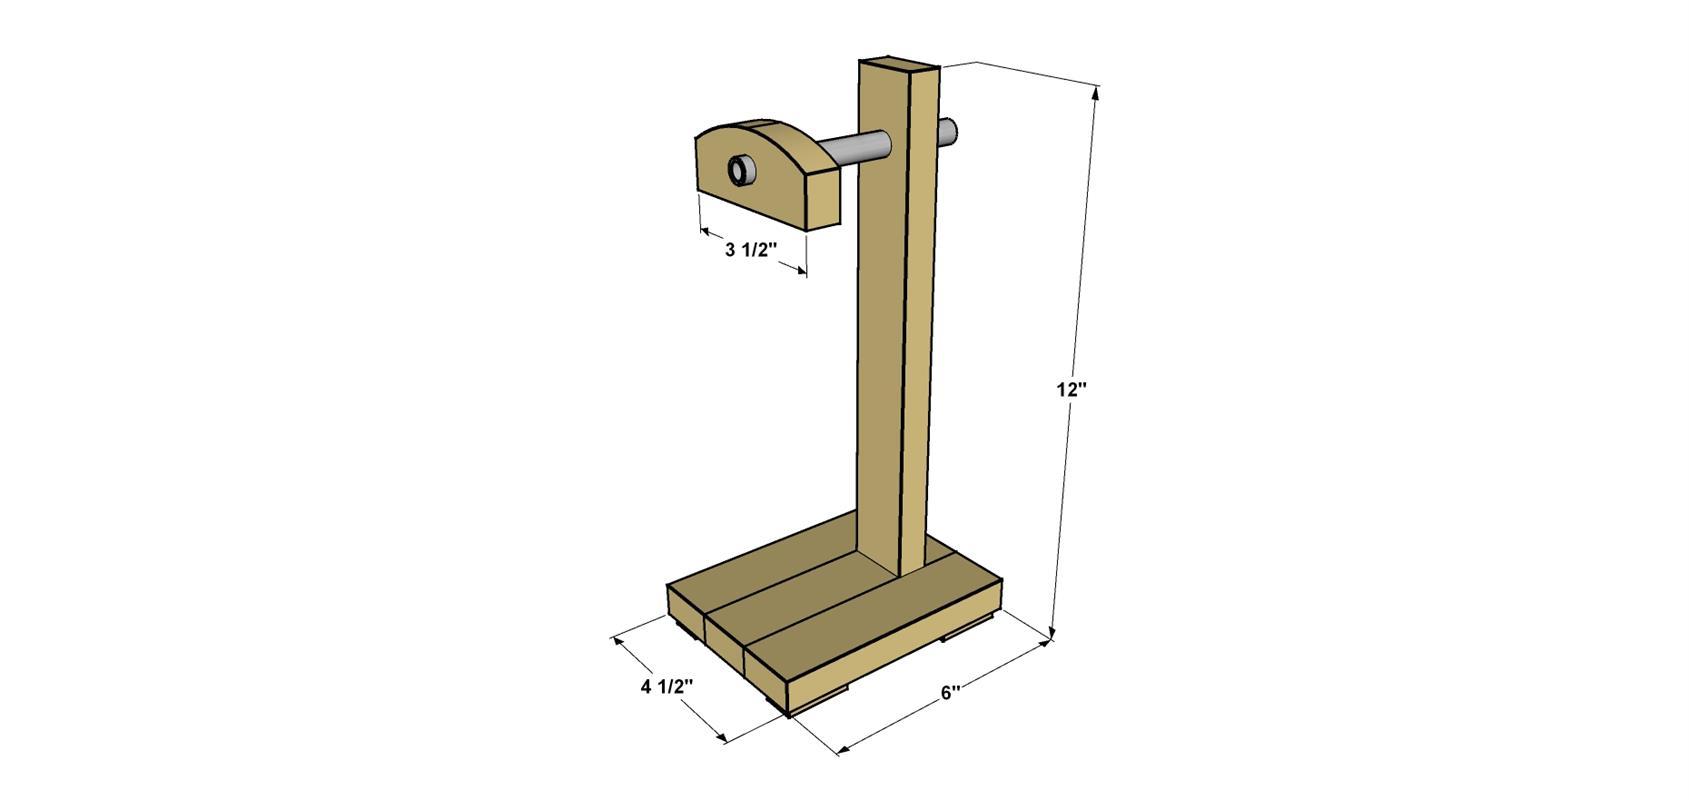
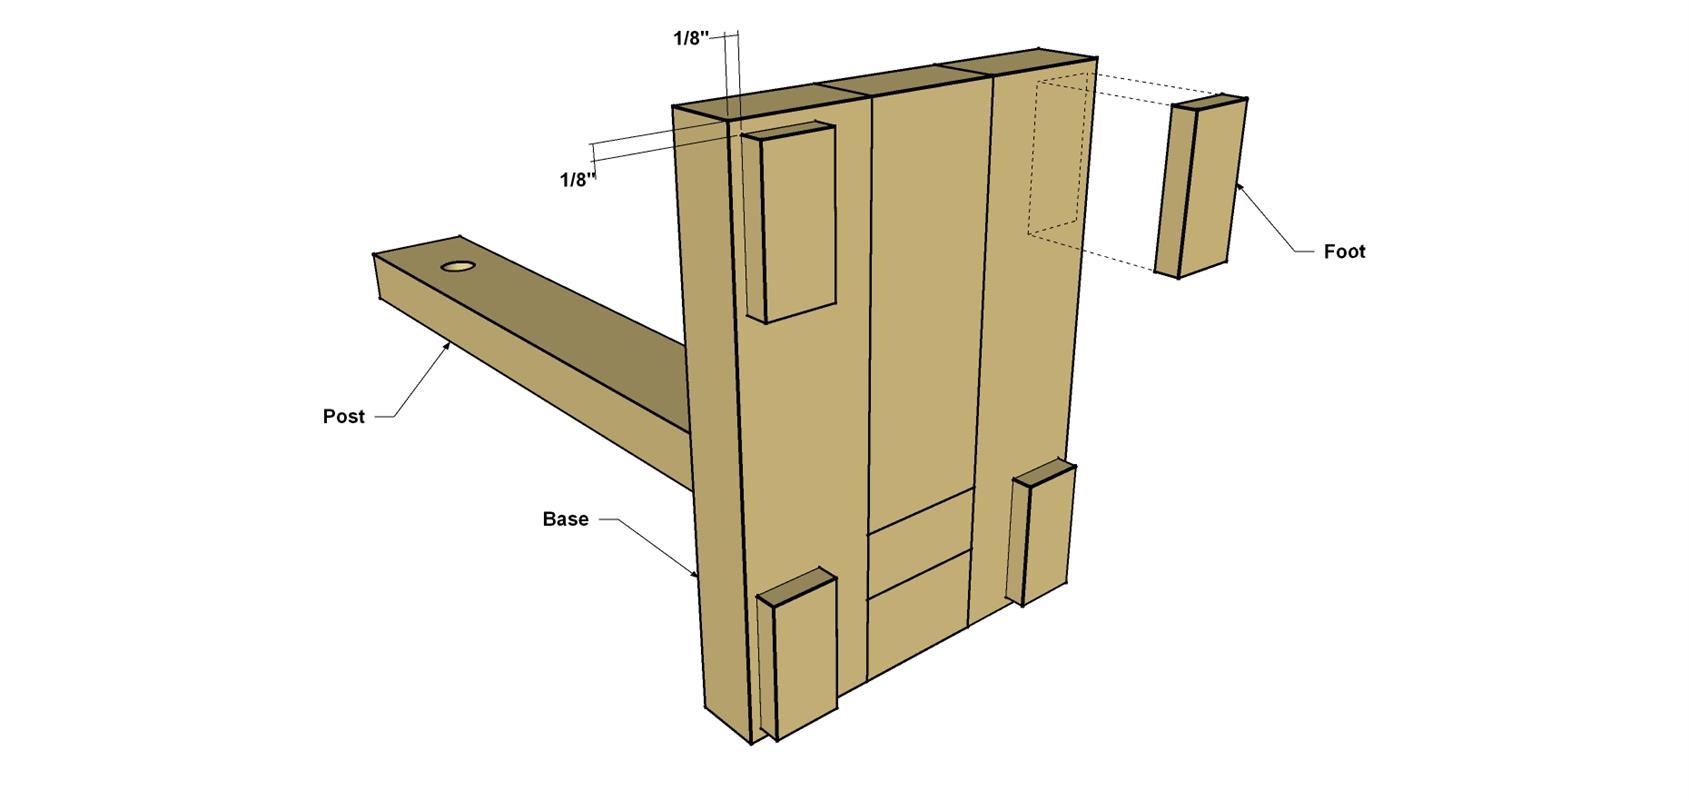
Apply a small amount of glue to the first Foot and position it on the bottom of the base at the location shown. Lightly clamp it in place until the glue dries. Repeat the process for the other three Feet.
-
Cut the Aluminum Tube
From a 1/2" Aluminum Tube, cut a section to length, as shown in the cut diagram. First, secure the tube to the edge of a worksurface with a couple clamps. Next, with the section you will use hanging over the edge, cut the tube to length using a Hacksaw. Sand any burrs or rough spots smooth with a medium grit sand paper. Polish the Tube surface with a fine sanding pad, such as a green Scotch-Brite sanding pad.
-
Finish
Sand all the parts smooth and wipe away dust with a rag. Apply the finish of your choice. We finished our headphone holder with a natural oil to highlight the cherry wood we used.
-
Add the Headset Rest
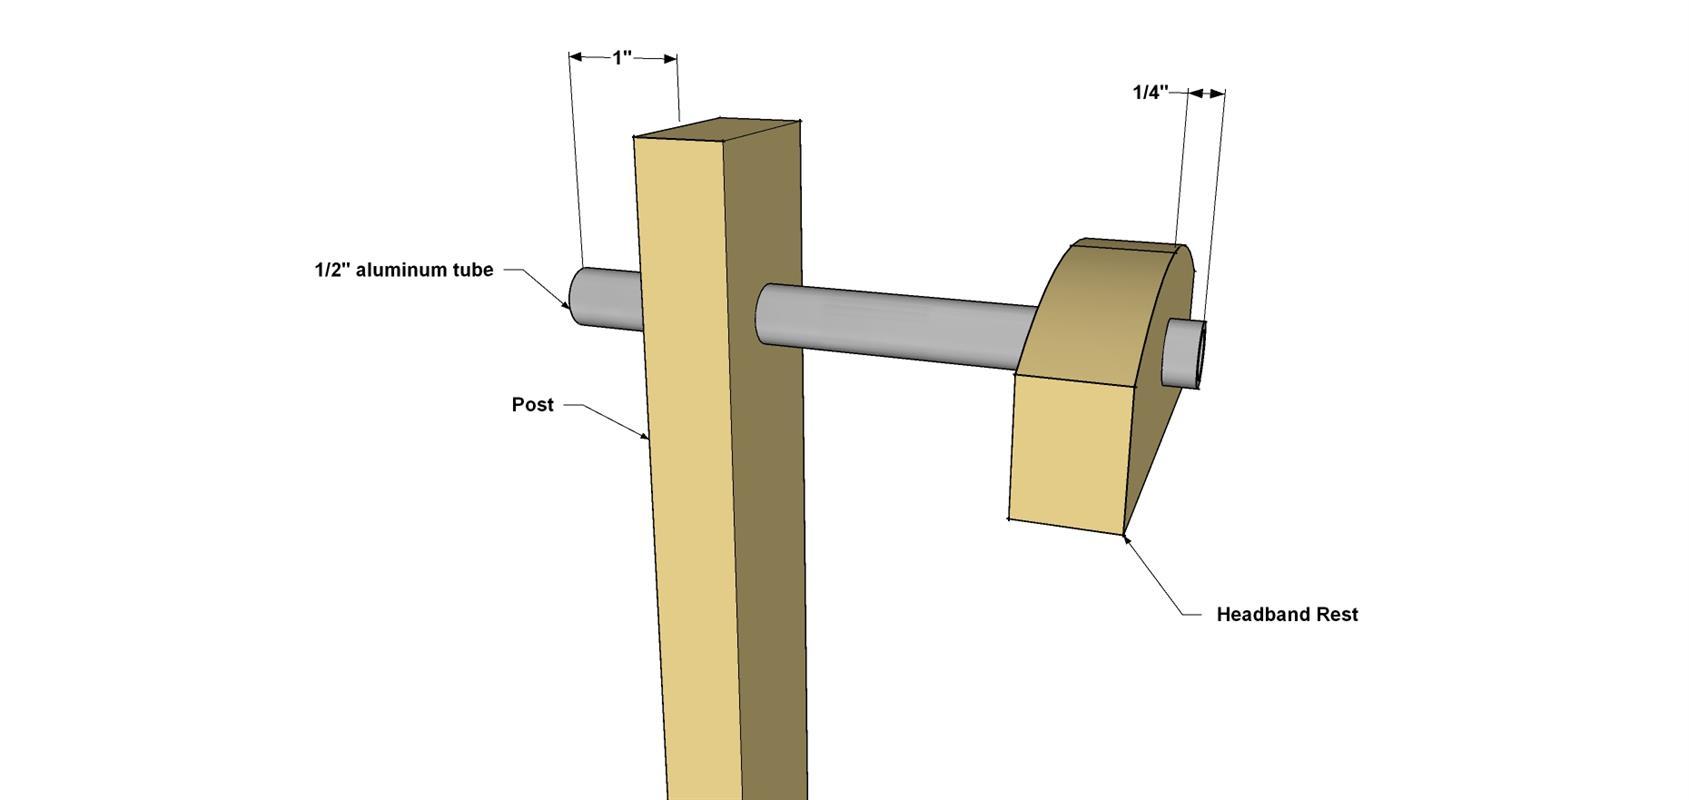
After the finish dries, install the aluminum Tube and the Headband Rest. The aluminum Tube should fit snugly in the Post hole. If needed, use a scrap block of wood and a small hammer to gently tap the Tube into position. Add the Headrest to complete the project.


