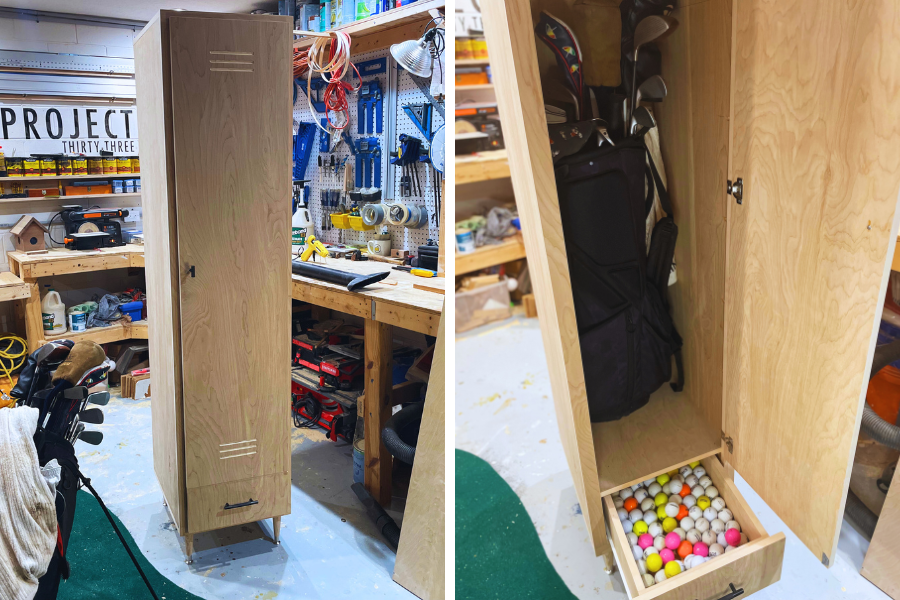


This DIY golf club locker/storage is an intermediate project for those golfers out there looking for a stylish solution to store their golf clubs. And if you're anything like us, trying to keep the sawdust off your clubs in the garage :)
Tools
Kreg Tools


Other Tools
-
Miter Saw

-
Table Saw
-
Clamps
-
Iron
-
Tape Measure
-
Speed Square
-
T-Square
-
Edge Trimmer
Materials
Wood Products
- 3 3/4" sheet of birch plywood , 4' x 8'
Hardware & Supplies
- 3 0.75-in x 25-ft Birch Iron-on Veneer Edging
- 1 4-Pack Metal Table Leg Straight Top Plate
- 4 Ash Classic End Table Leg (1.5-in x 5.5-in)
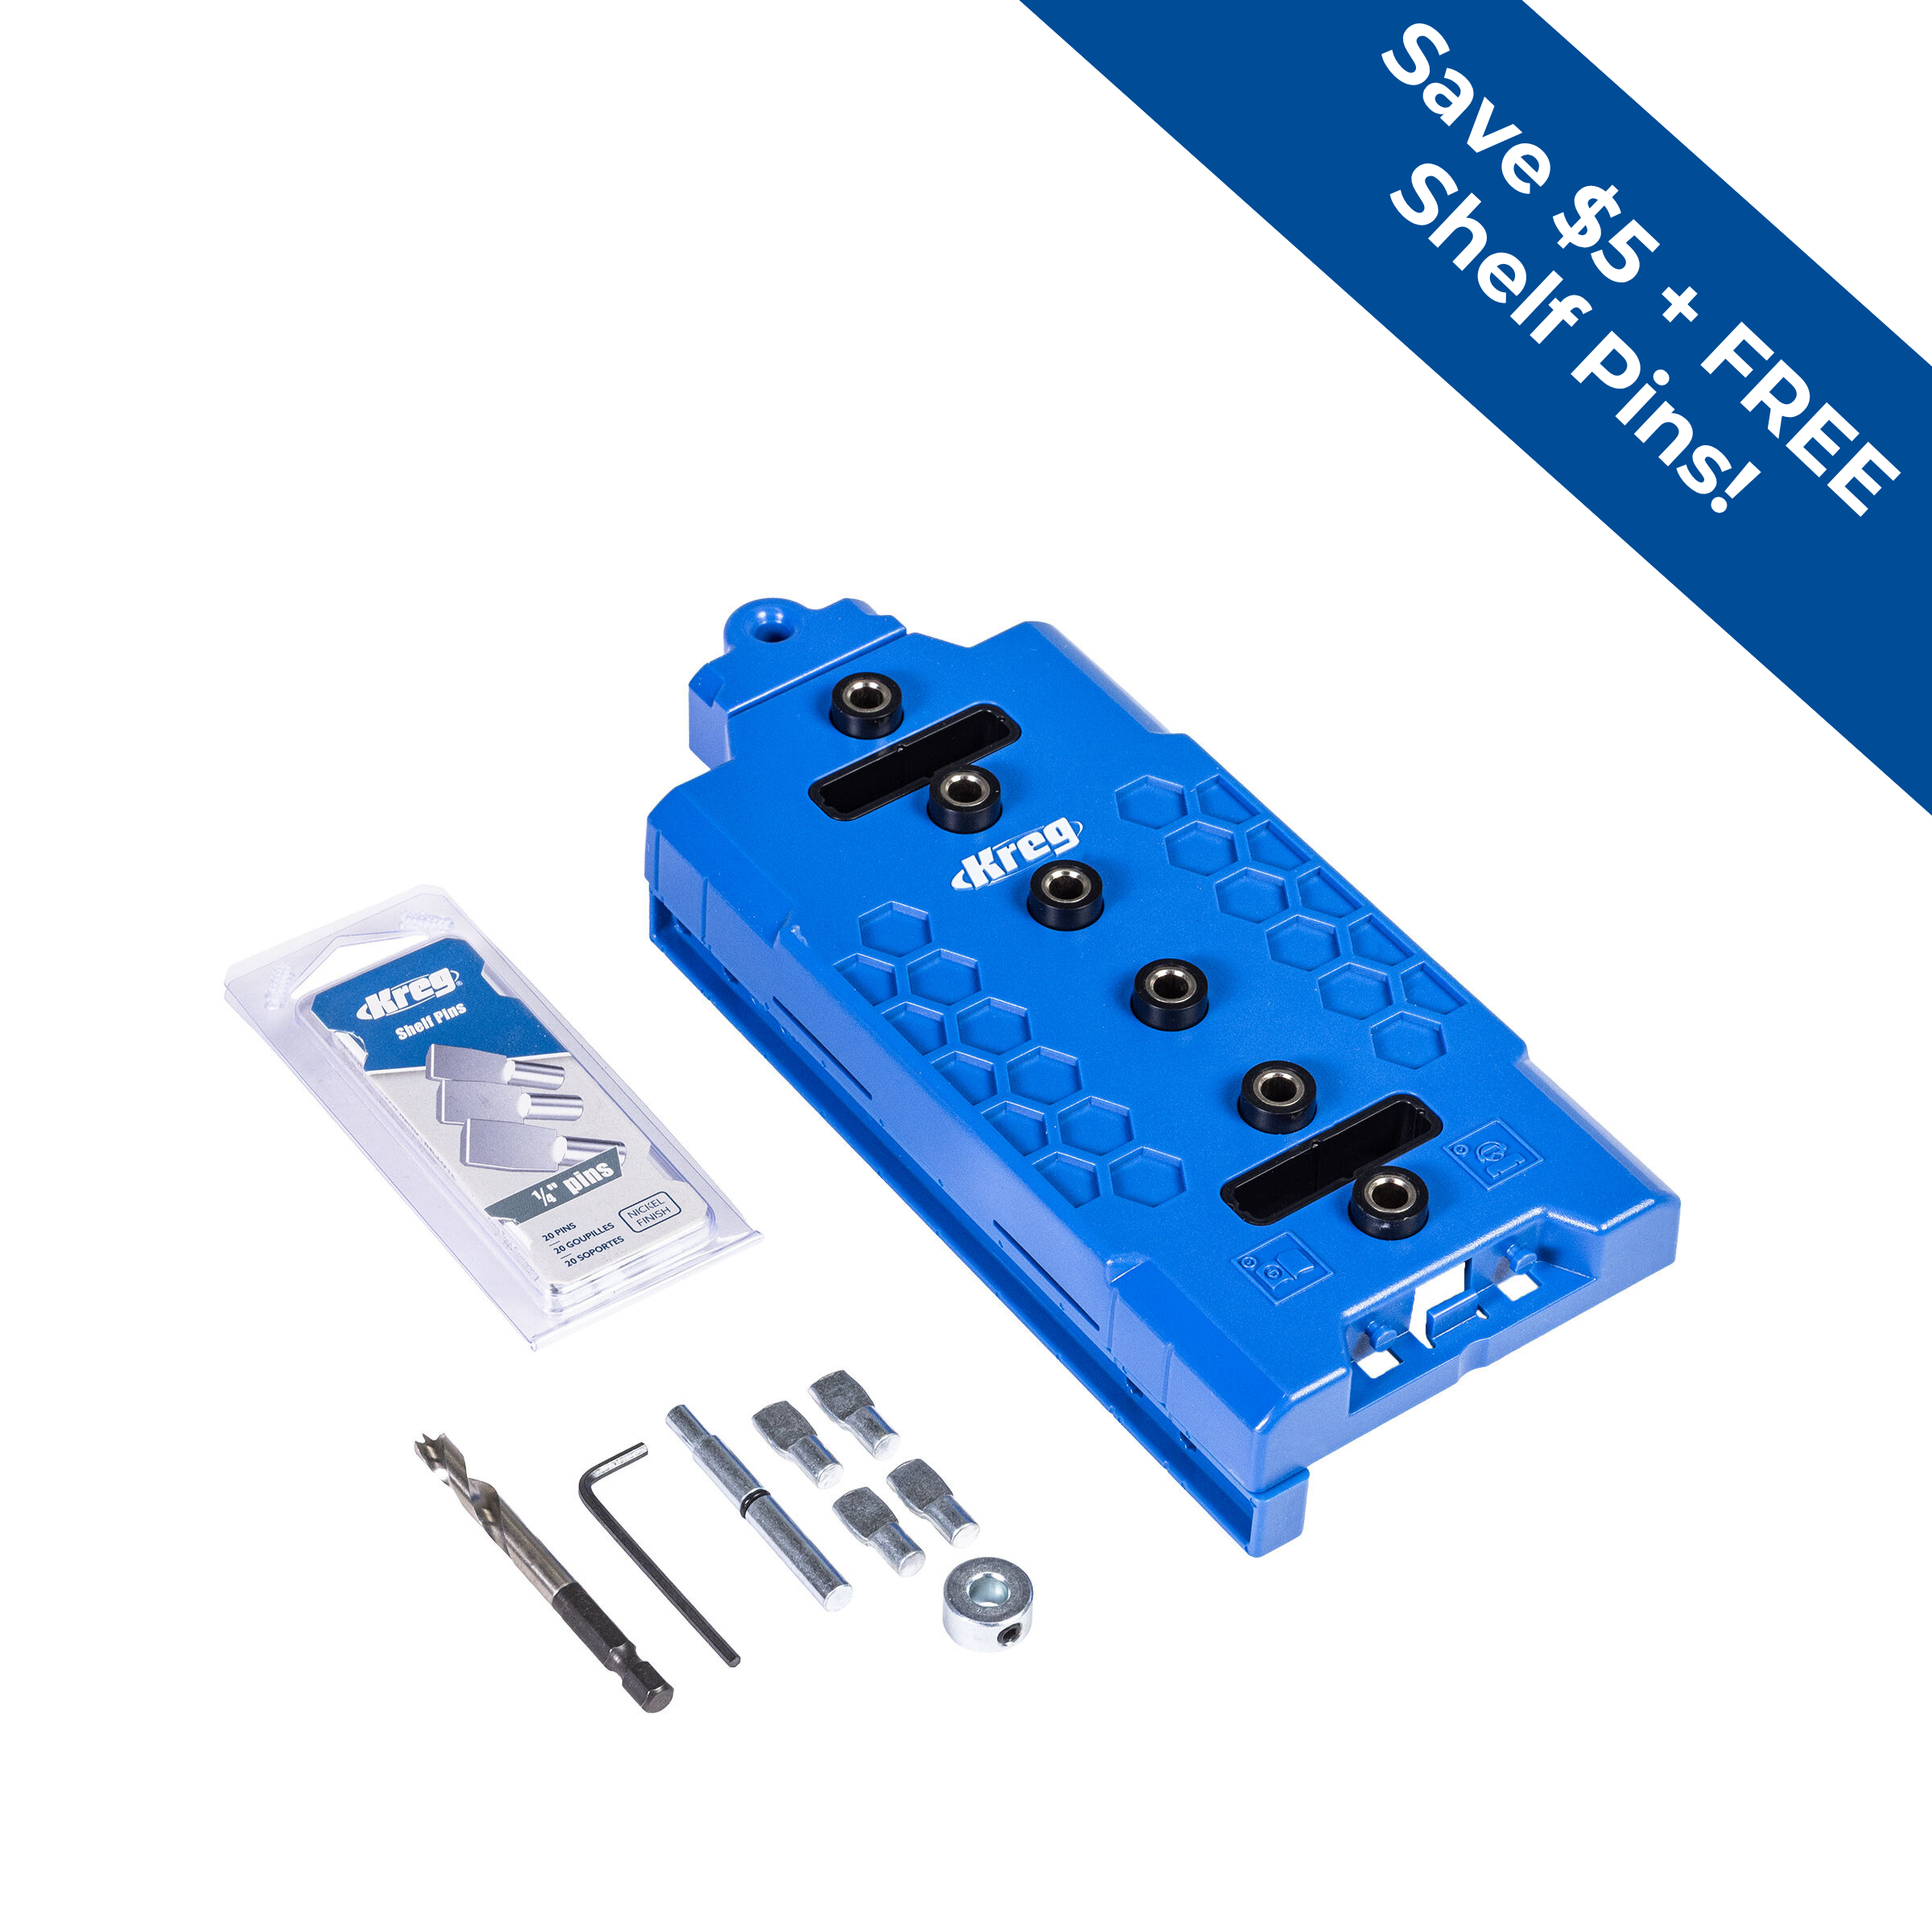
- 8 Shelf Pins 1/4"
- 1 Knurled Bar 3-3/4-in Center to Center Matte Black Rectangular Bar Drawer Pulls
- 1 Knurled Bar 1-5/8-in Matte Black Bar Cabinet Knob
- 1 15.75-in Side Mount Drawer Slide (2-Pieces)
- -- 1 1/4" Stainless Steel Pocket-Hole Screws
- -- Wood Glue
- 3 Concealed Cabinet Hinges
- 1 3/4-in Carbide-Tipped Hinge Mortising Router Bit
- 1 3/4-in Carbide-tipped Core Box Router Bit
Directions
-
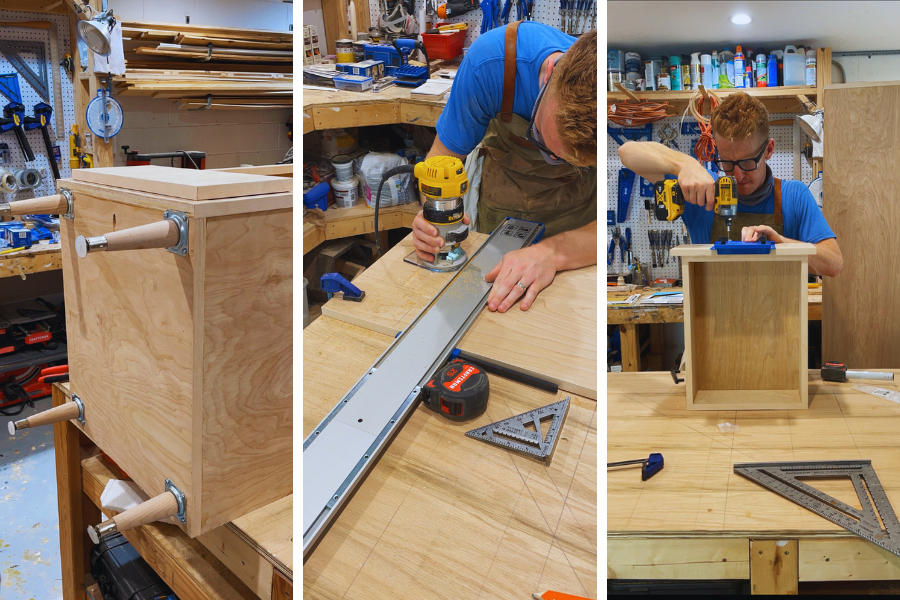
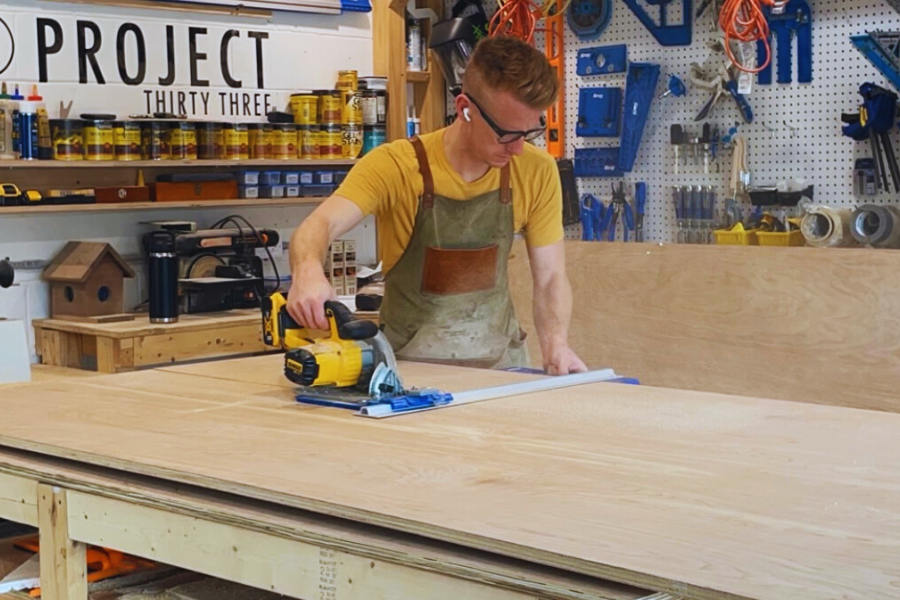
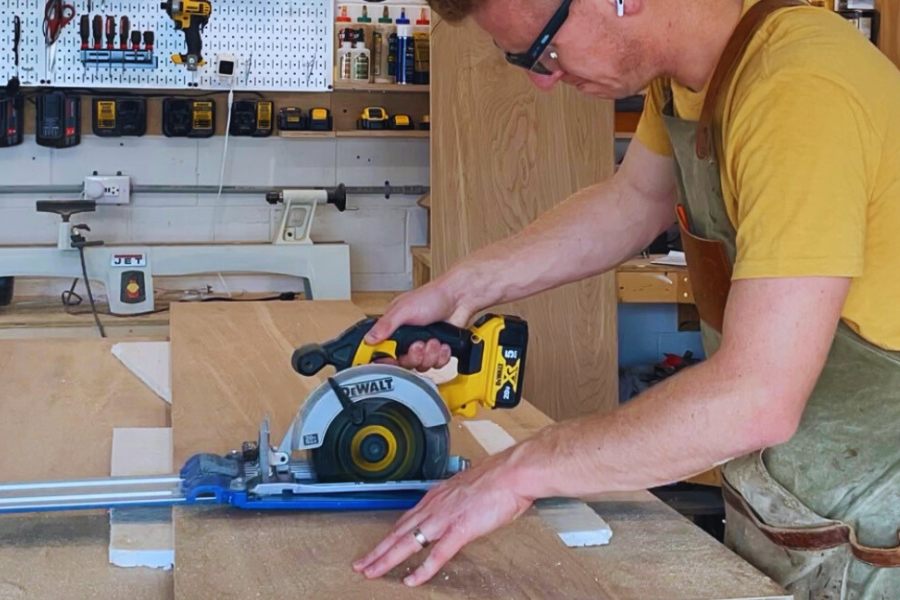
Cut Side Panels
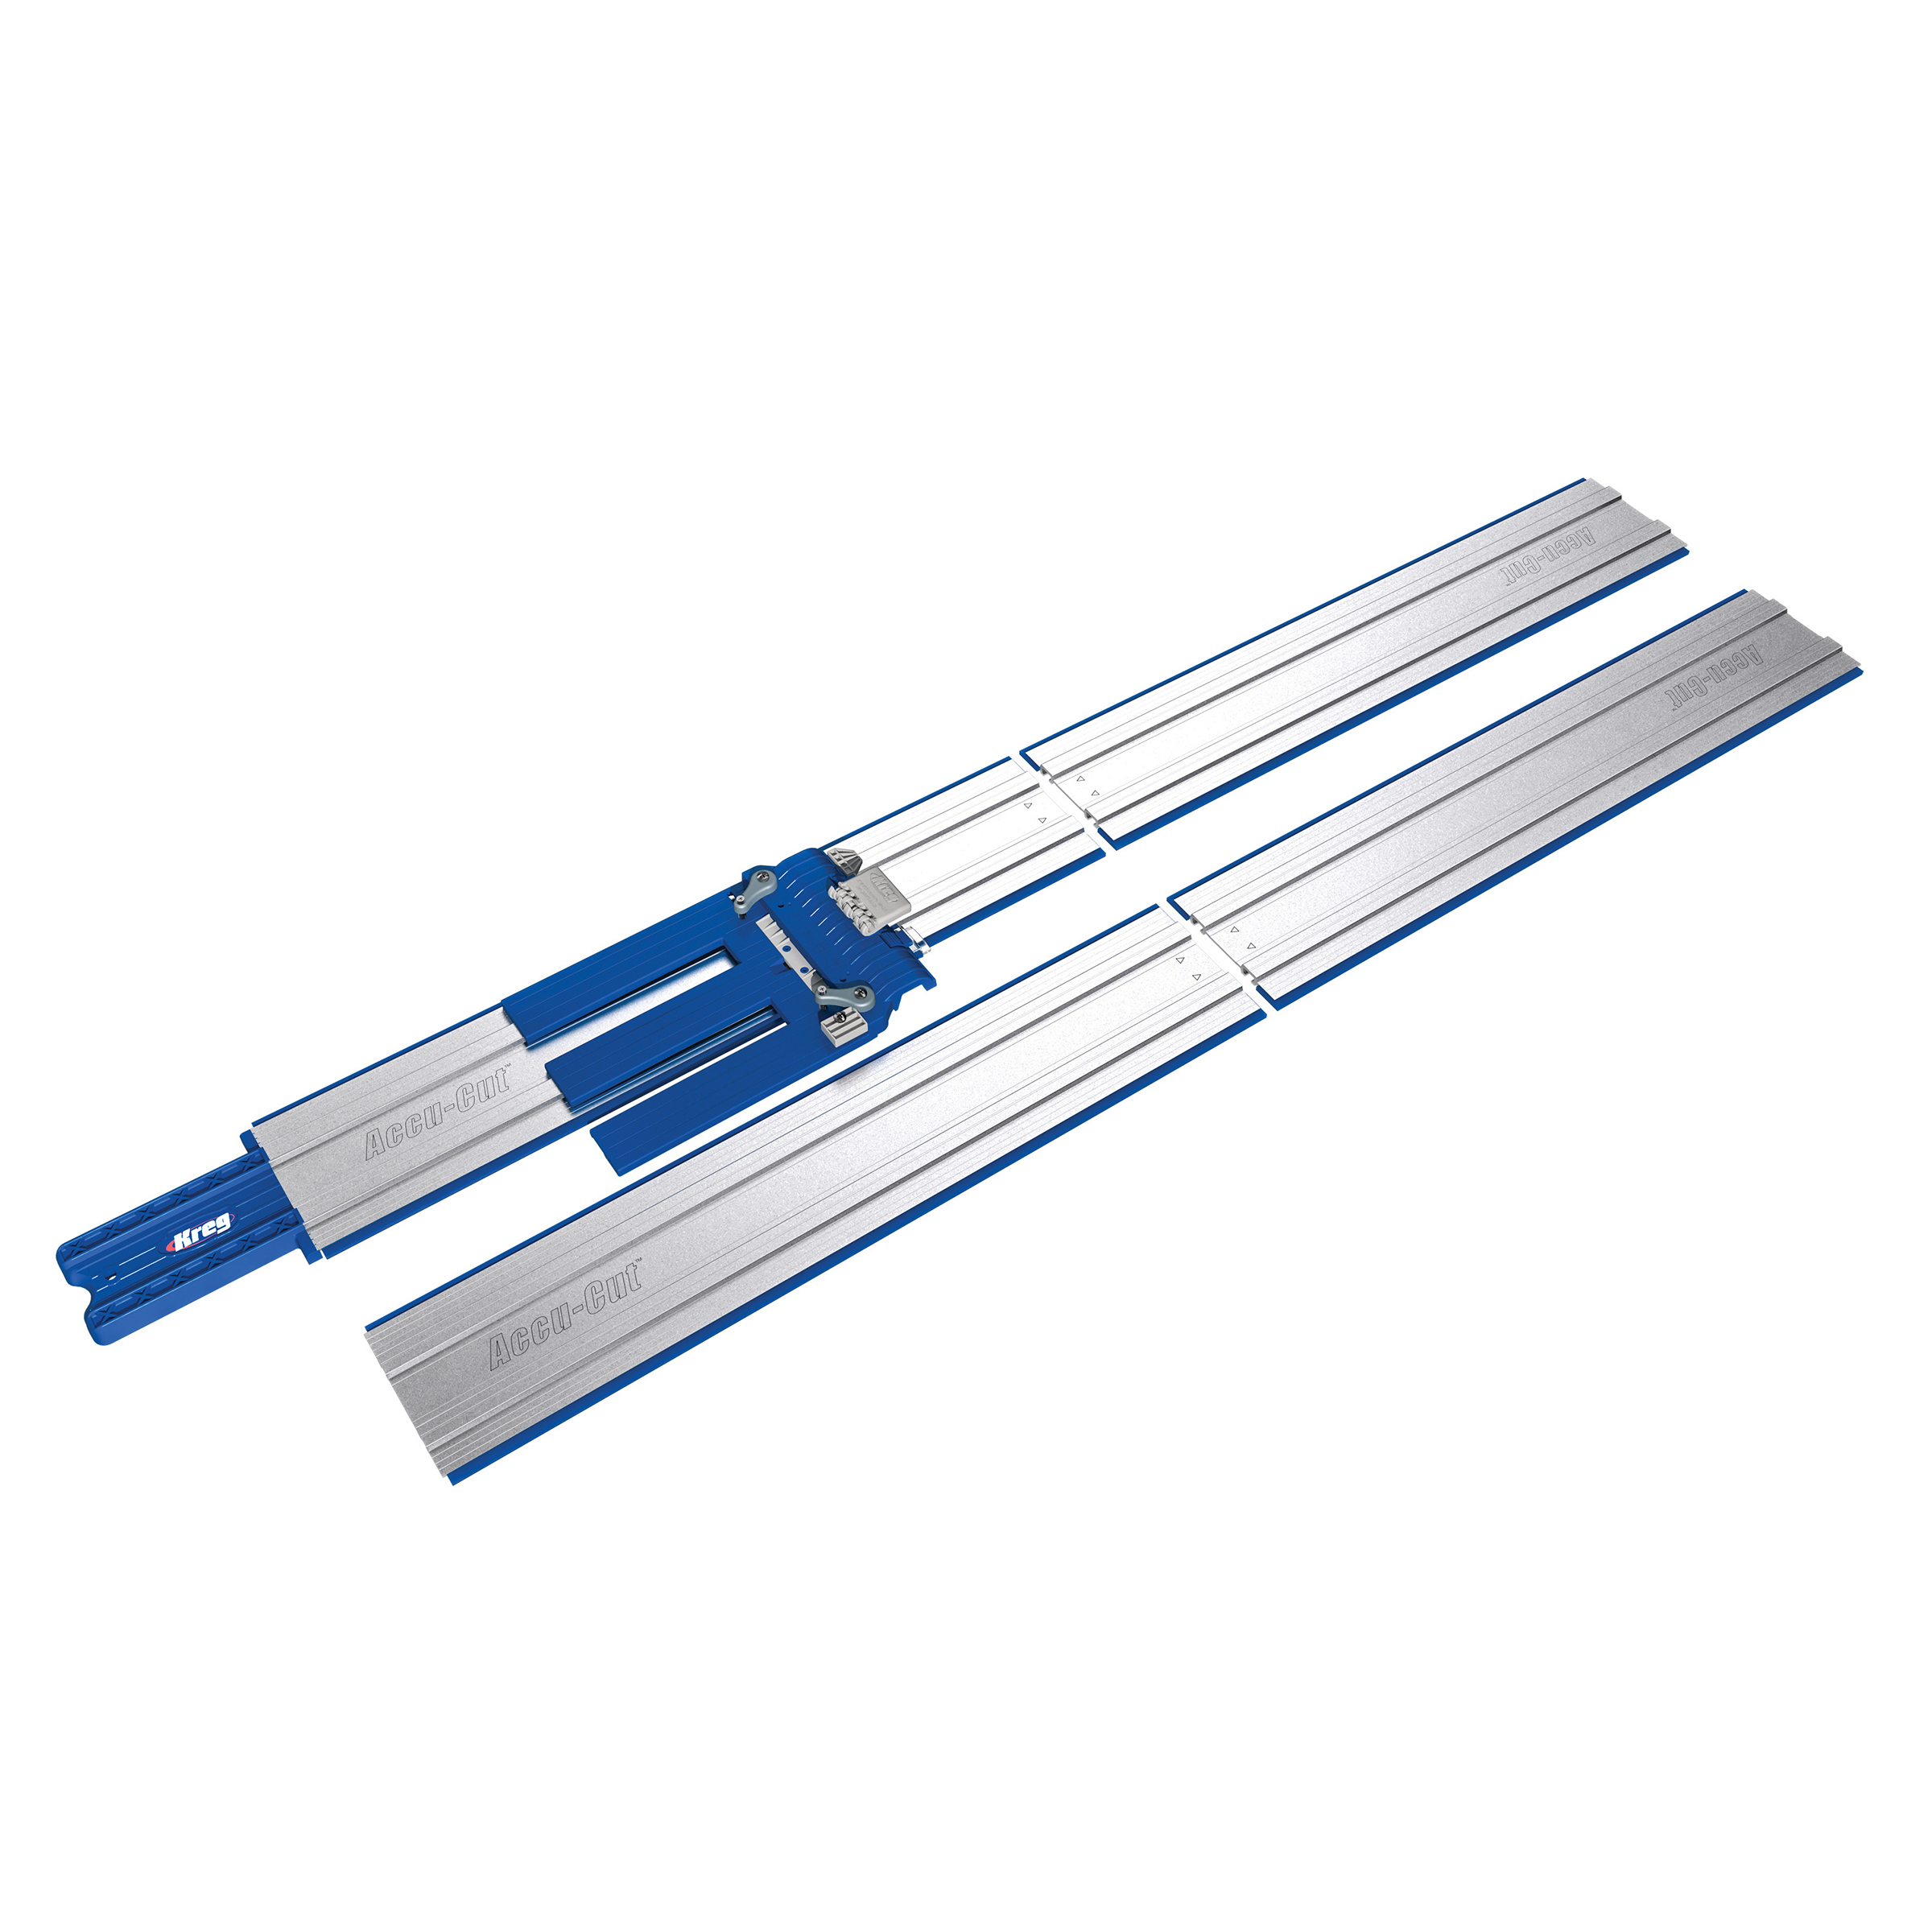
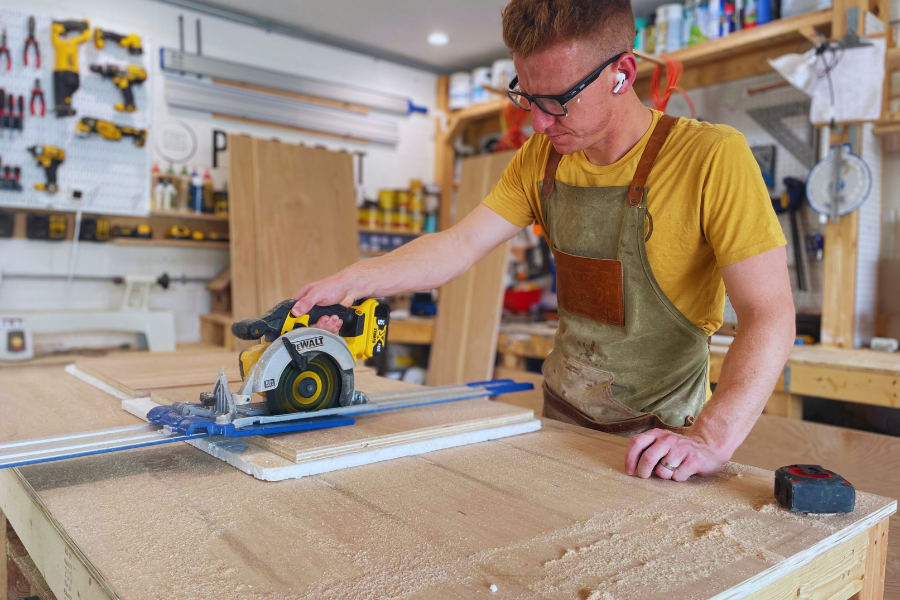
Using the RipCut, Accu-Cut and a fresh sheet of plywood, cut your side panels. *See dimensions in cut list above.
-
Cut Back Panel
Using the RipCut, Accu-Cut and a fresh sheet of plywood, cut your back panel. *See dimensions in cut list above.
-
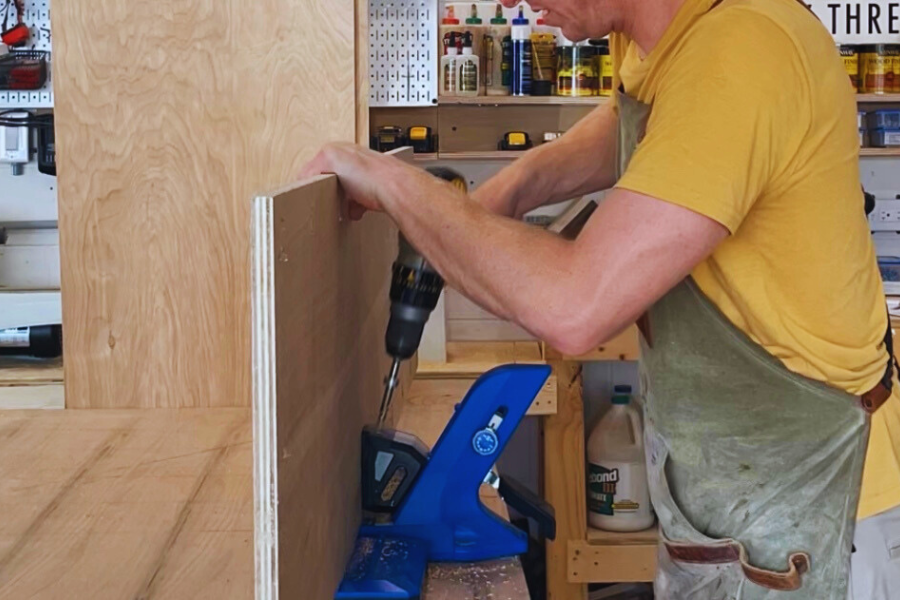
Drill Pocket Holes
Side Panels: Drill evenly spaced pocket holes across the inside bottom and top of each side panel. *These will be used to attach the top/bottom panels.
Back Panel: Drill evenly spaced pocket holes across the outside bottom, top and sides of the back panel. *These will be used to attach the side/top/bottom panels.
Top/Bottom Panel: Drill evenly spaced pocket holes across the inside (or outside) of the panels towards the frontside of the locker. *These will be used to attach the front edge faceplate.
-
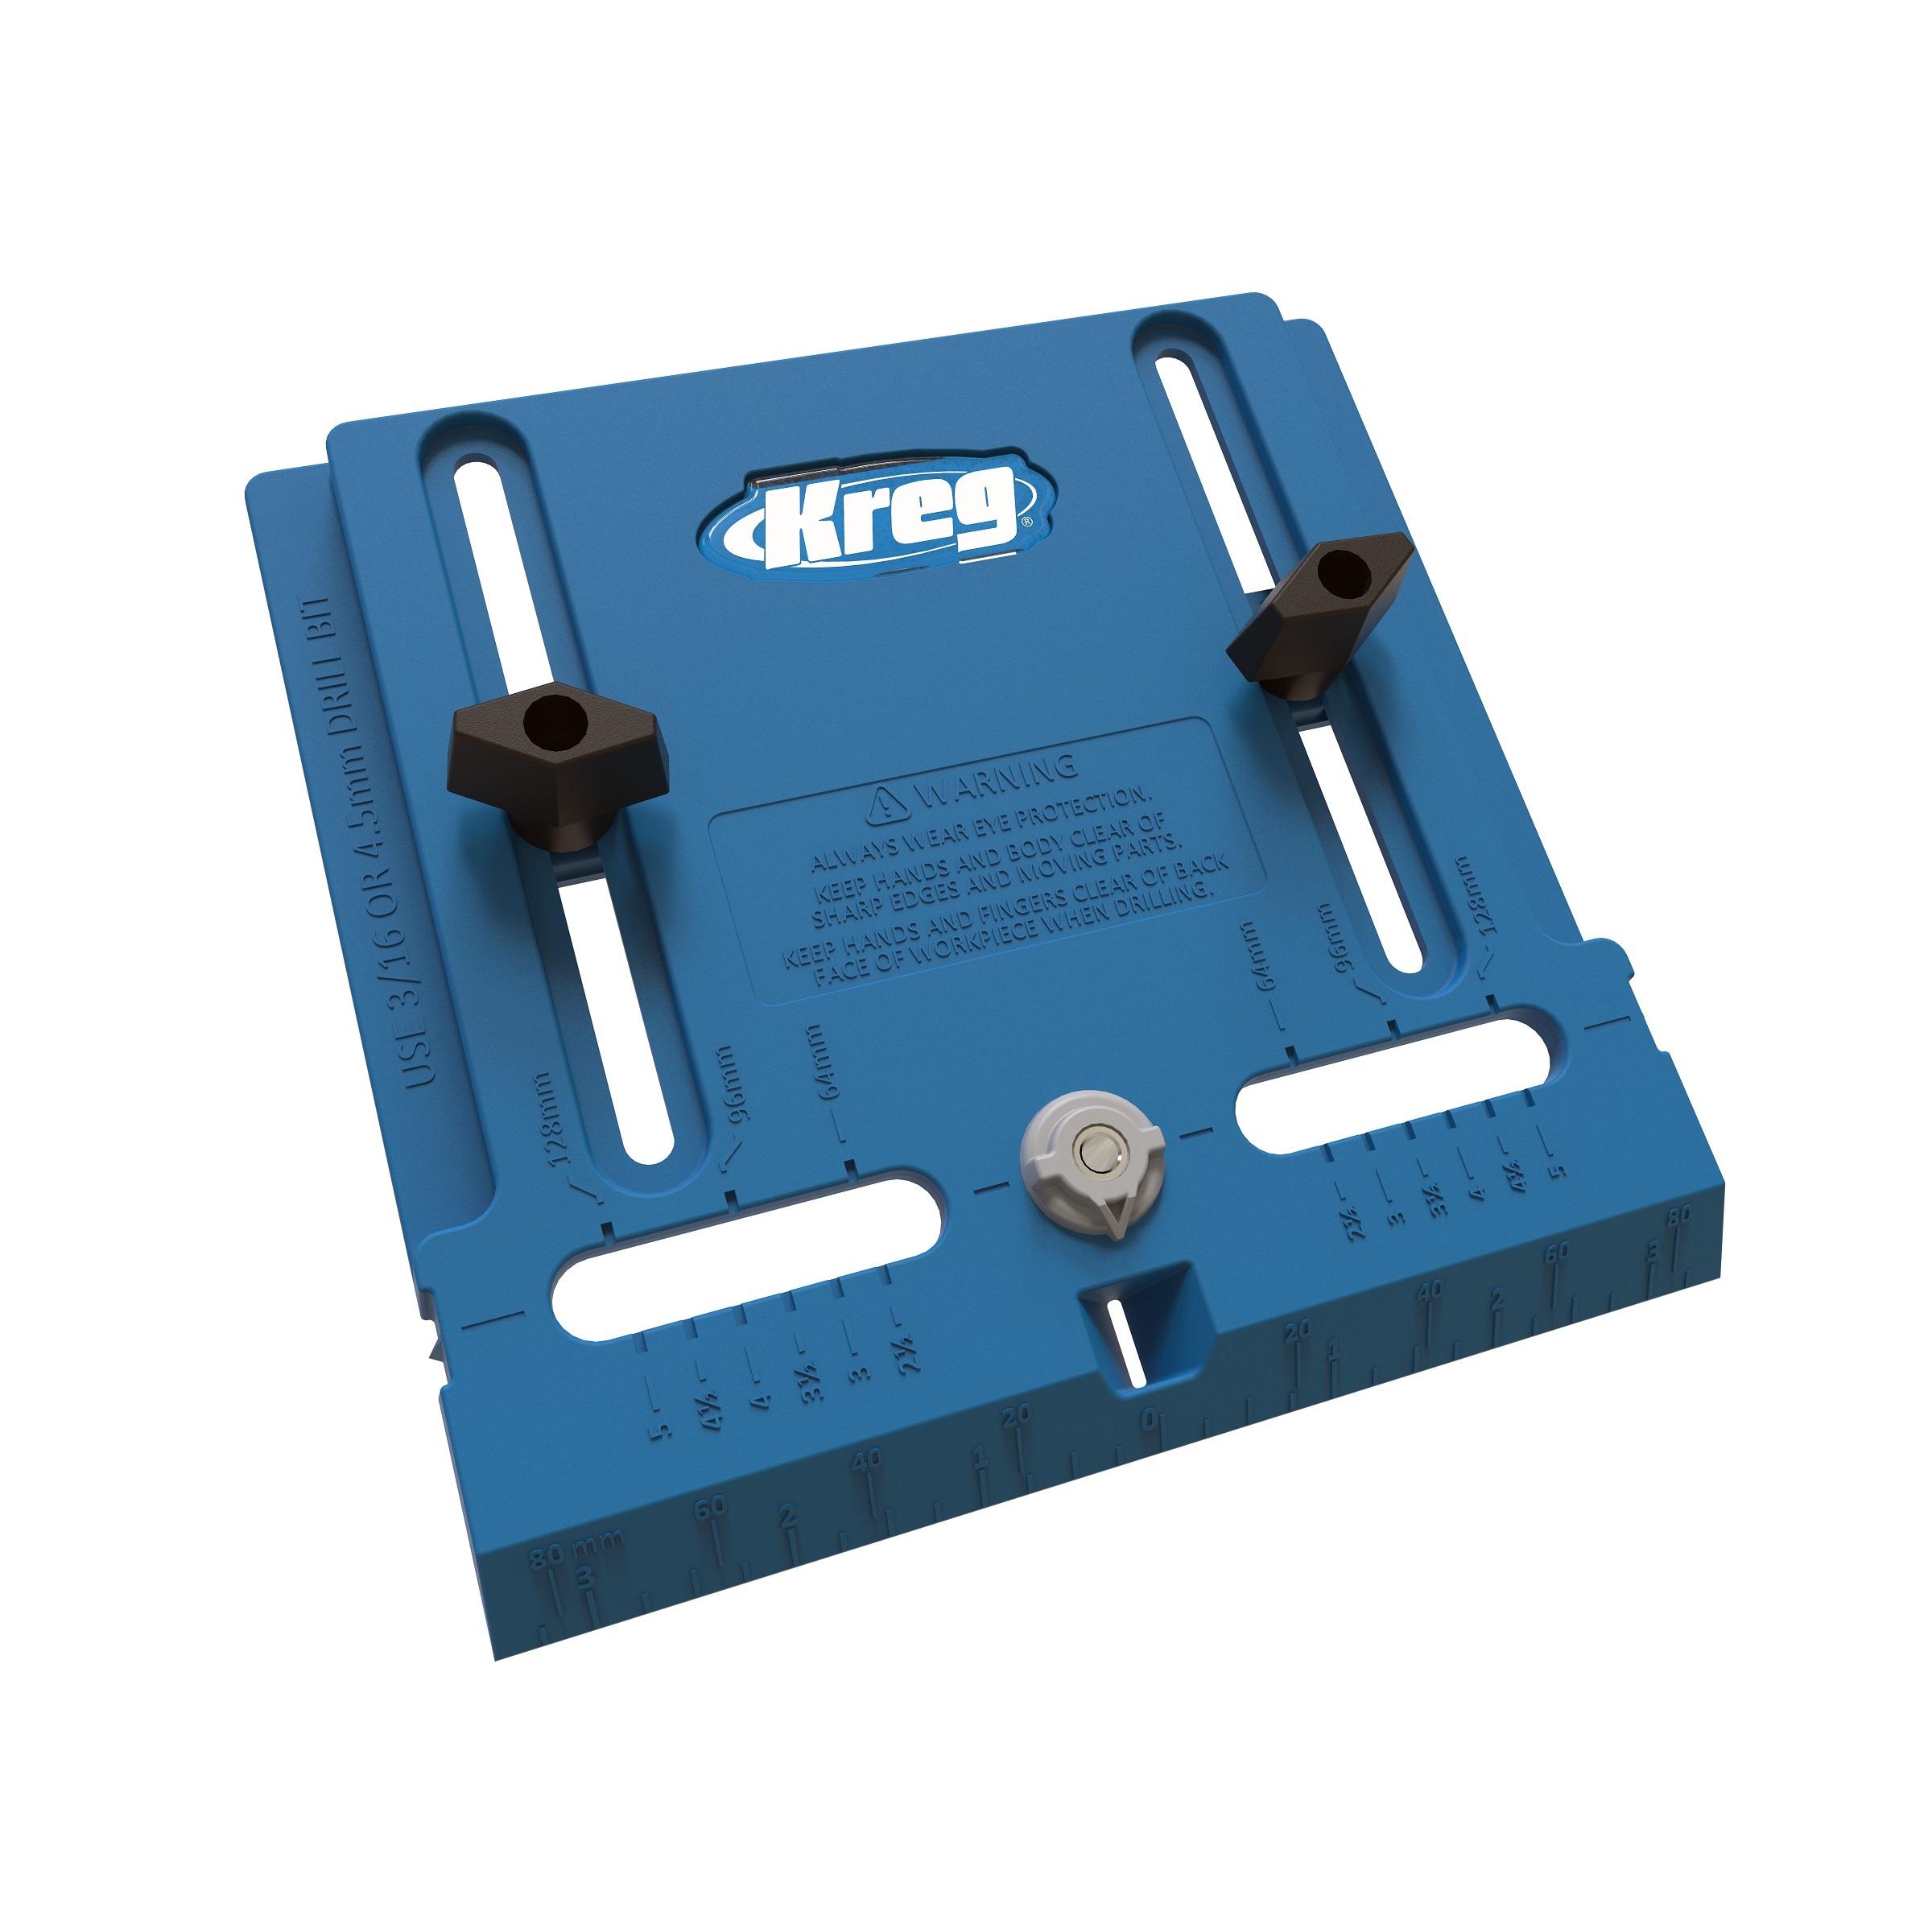
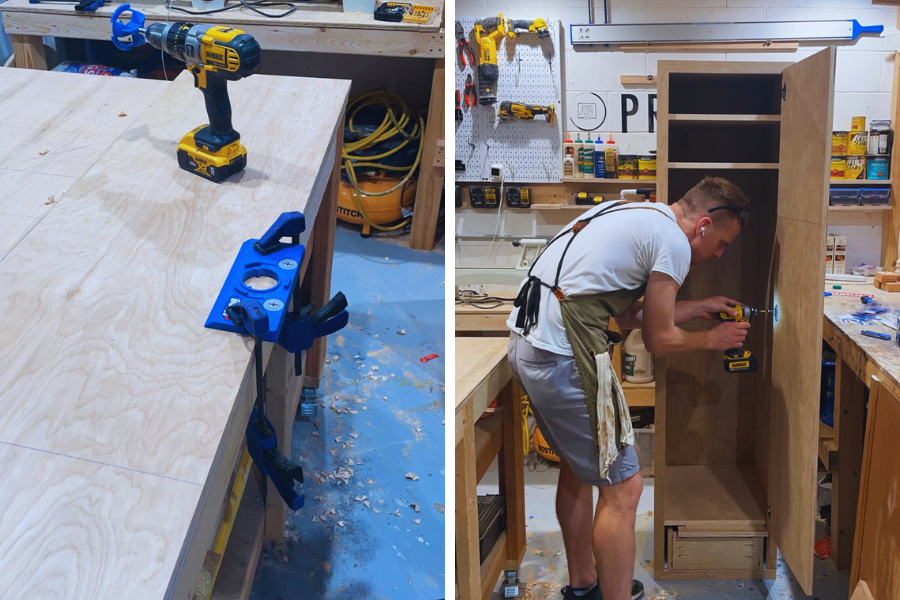
Add Shelf Pin Holes
Drill approx. 8 shelf pin holes on the inside/top of each side panel.
-
Begin Assembly
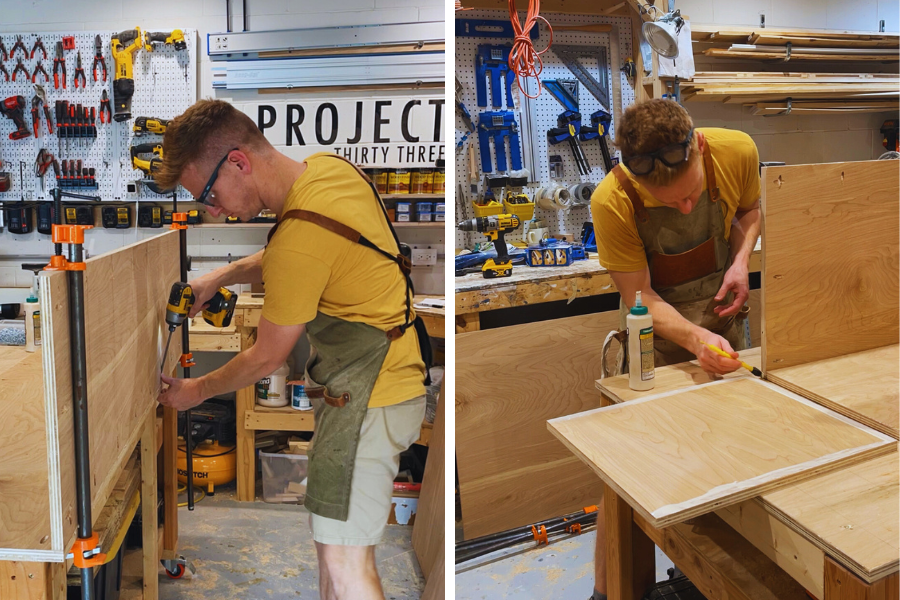
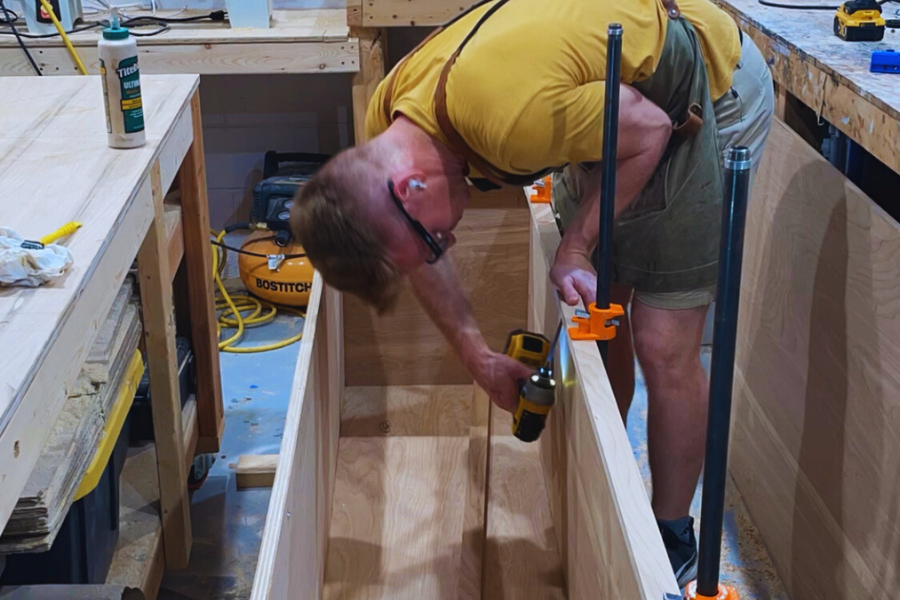
Glue and screw the back panel to the side panels using 1.25" Stainless Steel Pocket-Hole Screws and the previously drilled pocket holes.
Once you have the side panels attached to the back panel, attach the top and bottom panels using the previously drilled pocket holes.
-
Front Edge Faceplate
With the leftover pieces of the plywood, rip 1.5” wide strips with your table saw. These pieces will be used for the front edge faceplate. See dimensions in cut list above.
Cut the sides/top/bottom faceplates to size and attach them using wood glue, 1.25" Stainless Steel Pocket-Hole Screws and the previously drilled pocket holes. The outside edges of the faceplate should align with the outside of the locker/cabinet. *See dimensions in cut list above.
-
Inside Shelves
See dimensions in cut list above. All three shelves will be the same size but only the bottom shelf will be anchored. While the top two shelves will be movable and can vary in height due to the shelf pins added.
Bottom shelf support will be needed. Cut two strips of wood that will be glued/screwed to the bottom inside of the locker to support the shelf (and drawer slides).
Using the veneer edging and your iron, add the edging to the front side of the bottom shelf. Once that has dried, glue the bottom shelf in place.
-
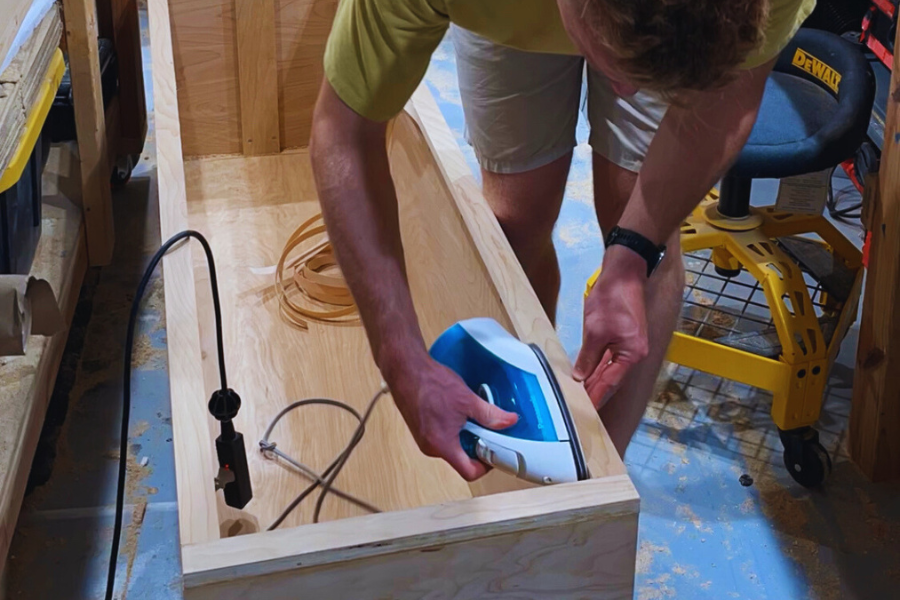
Edge Banding
Using the veneer edging and your iron, add the edging to all of the exposed edges of your project. Be sure to use the edge trimmer once you’re done.
-
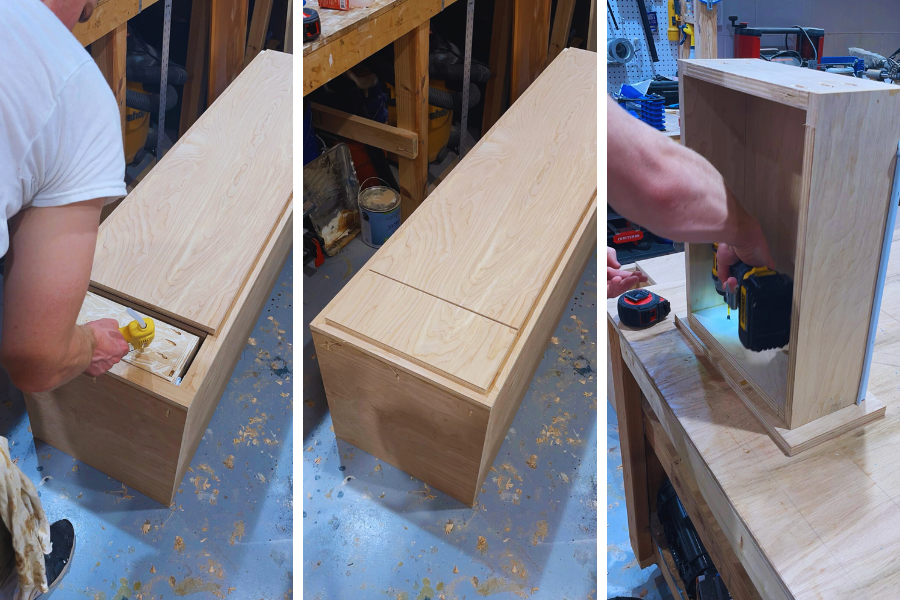
Drawer
Your drawer should be 1” smaller in width than the width of the opening. This is because you’ll need half an inch on each side for the drawer slides. The opening is 16”, therefore your drawer should be 15” wide.
Cut your front, back, side and bottom panels according to the cut list above.
Using your router table and 3/4-in Carbide-Tipped Hinge Mortising Router Bit, add a dado channel 1/4” deep and ¼” from the bottom of the front, back and side drawer panels. This will be for the bottom drawer panel to slide into.
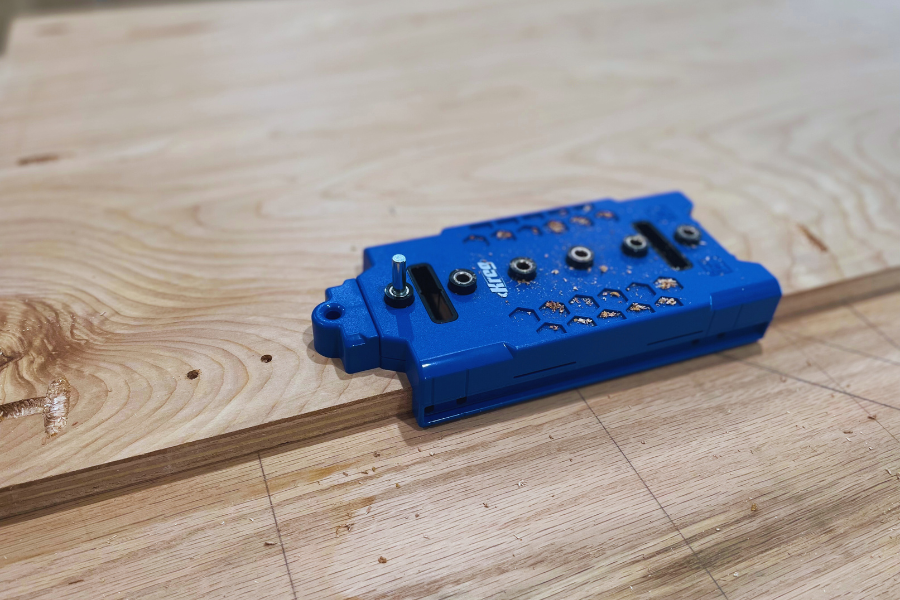
Using your Pocket Hole Jig, add 3 evenly spaced pocket holes on the outside of the front and back drawer panels. This will be used to connect the front/back drawer panels to the sides.
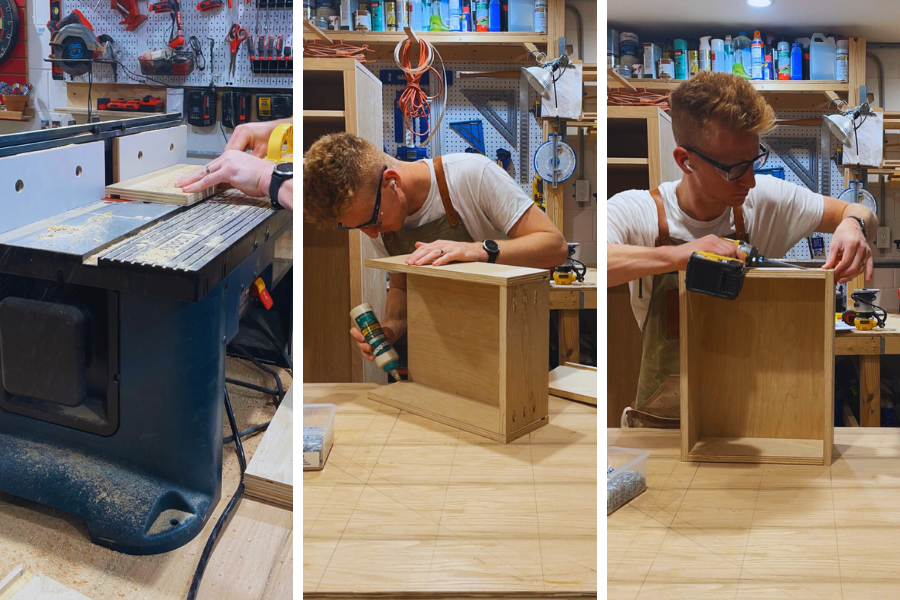
Assemble your drawer starting with connecting the 2 side panels with the front (or back panel) using wood glue, 1.25" Stainless Steel Pocket-Hole Screws and the previously drilled pocket holes. Once those 3 pieces are connected, slide the bottom panel in. Once the bottom drawer panel is in place, attach the final piece using the same method mentioned above.
-
Door
Using a fresh sheet of plywood, cut your door according to the cut list above.
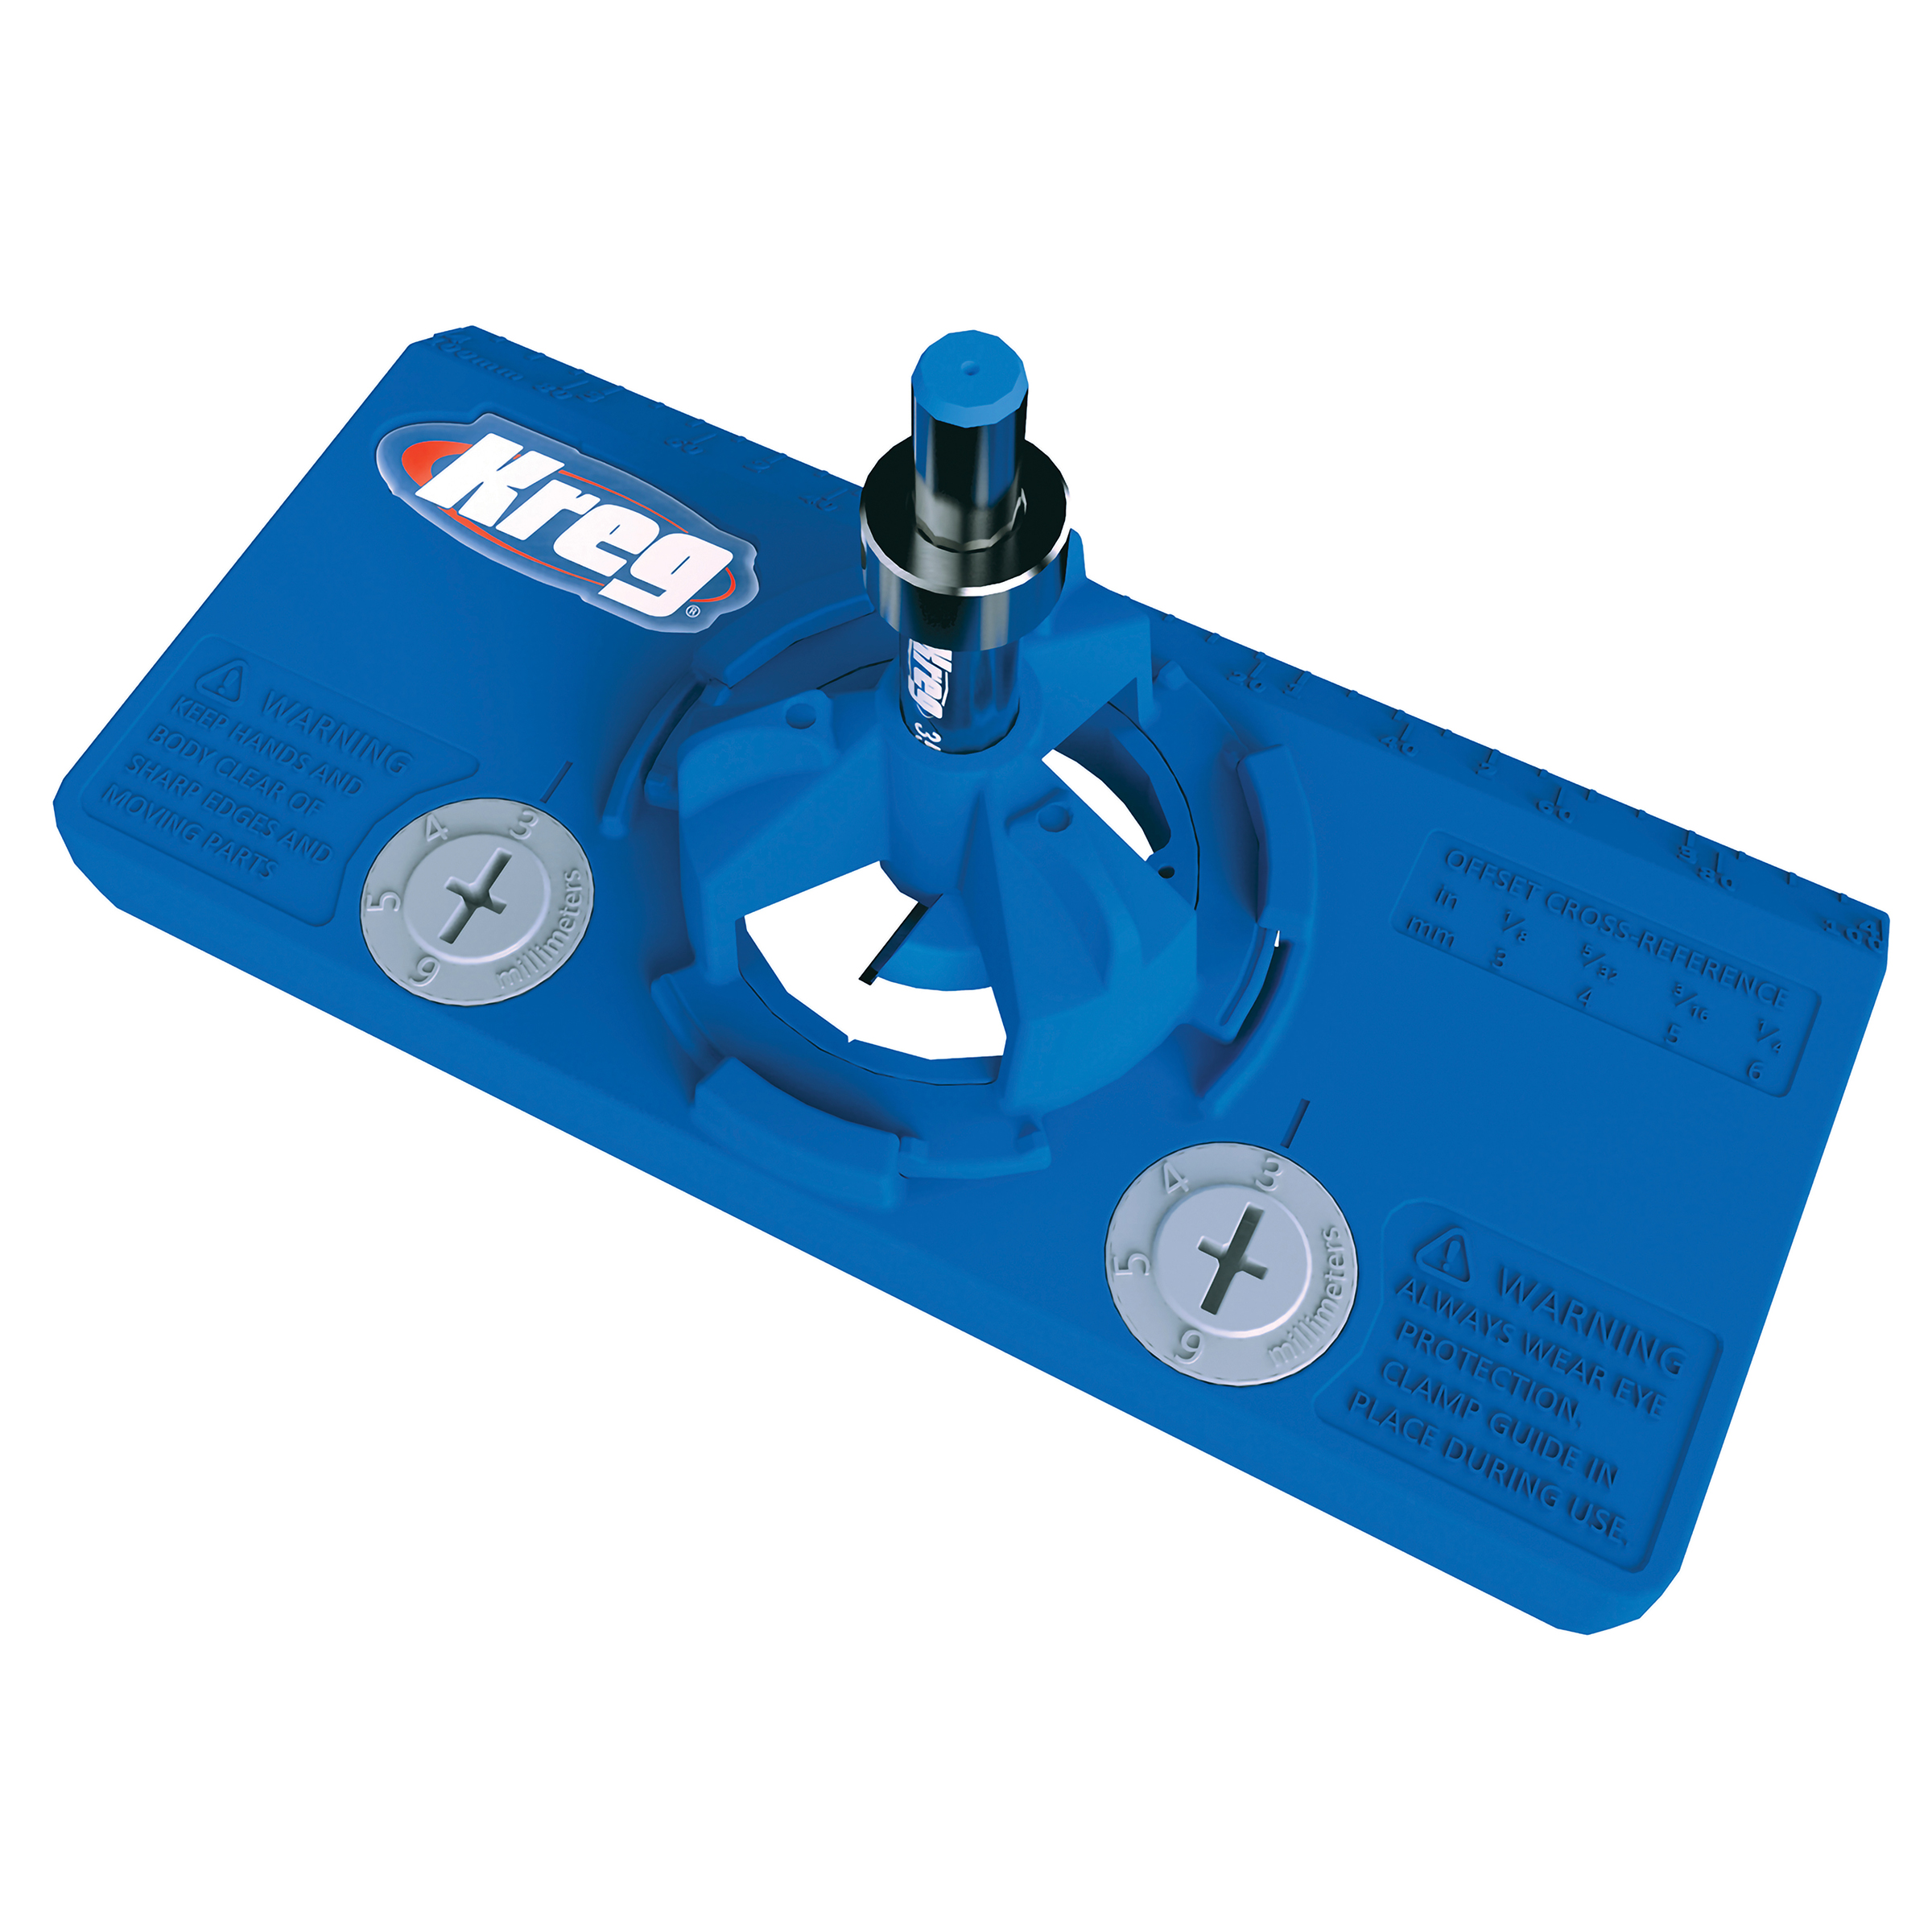
Once your door is cut to size, mark/drill the holes for the door hinges using the Concealed Hinge Jig. One in the middle, one 3” from the bottom and one 3” from the top. Add hinges and attach the door so the bottom of the door aligns with the bottom side of the bottom shelf.
-
Add Drawer Faceplate
Insert drawer and align the faceplate with the door above before gluing. Apply wood glue and 2 small dots of hot glue with your hot glue gun. This will help align the faceplate and keep it in place while you’re adding screws to the drawer/faceplate and the wood glue is drying.
On the backside of the faceplate, add 3 screws to hold it in place.
-
Hardware and Decorative Features
Add legs to the base of the locker starting with the 4-Pack of Metal Table Leg Straight Top Plates and screwing the Ash Classic End Table Legs into the plates.
Add cabinet knob and drawer pull.
Using your router with a 3/4-in Carbide-tipped Core Box Router Bit and the Straight Edge Guide, you can add faux locker vents.