DIY Garage Cabinets – How To Build Garage Cabinets
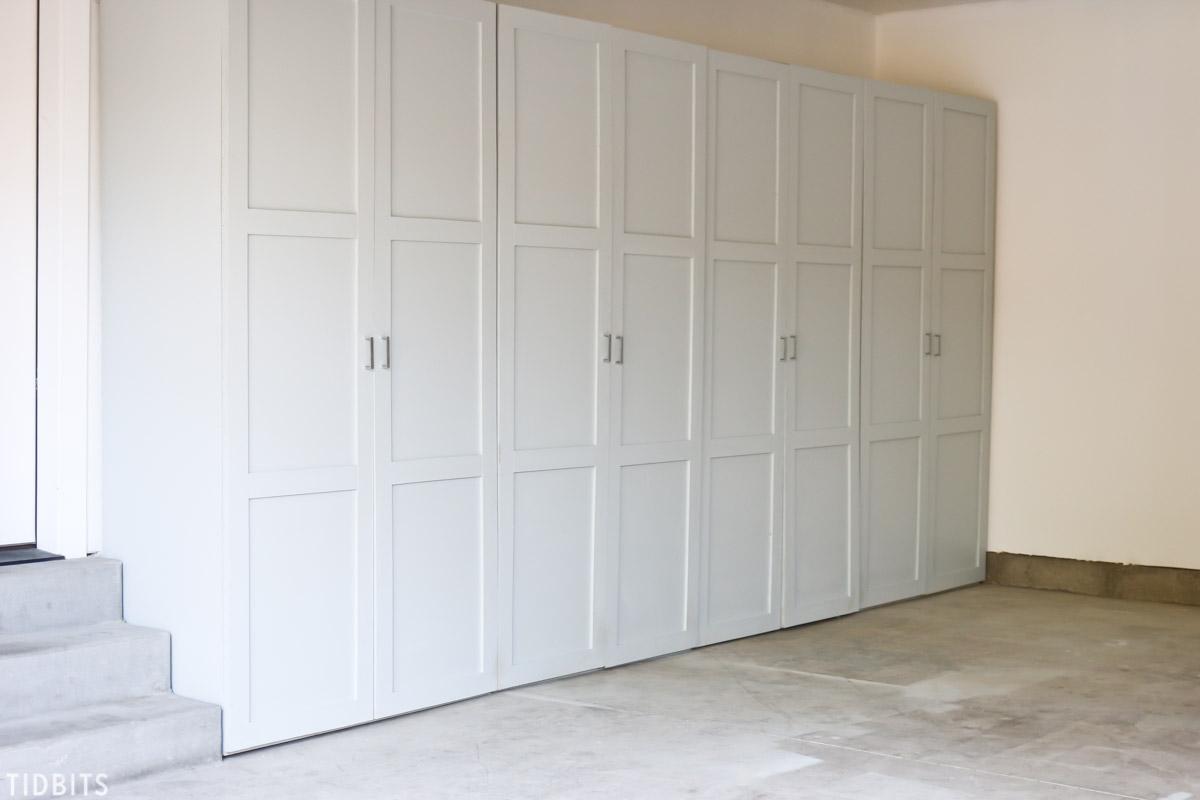
By TidbitsTake back control of your garage! Build one or several of these garage storage cabinets to store and organize tools, household supplies, outdoor toys, automotive supplies, or anything you can imagine. For more inspiration for do-it-yourself living, visit www.tidbits-cami.com.
Directions
-
Build Base Step 1
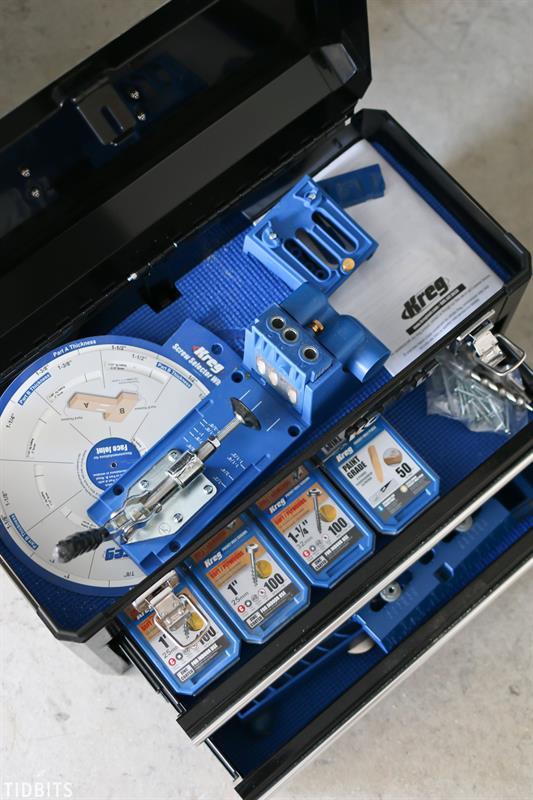
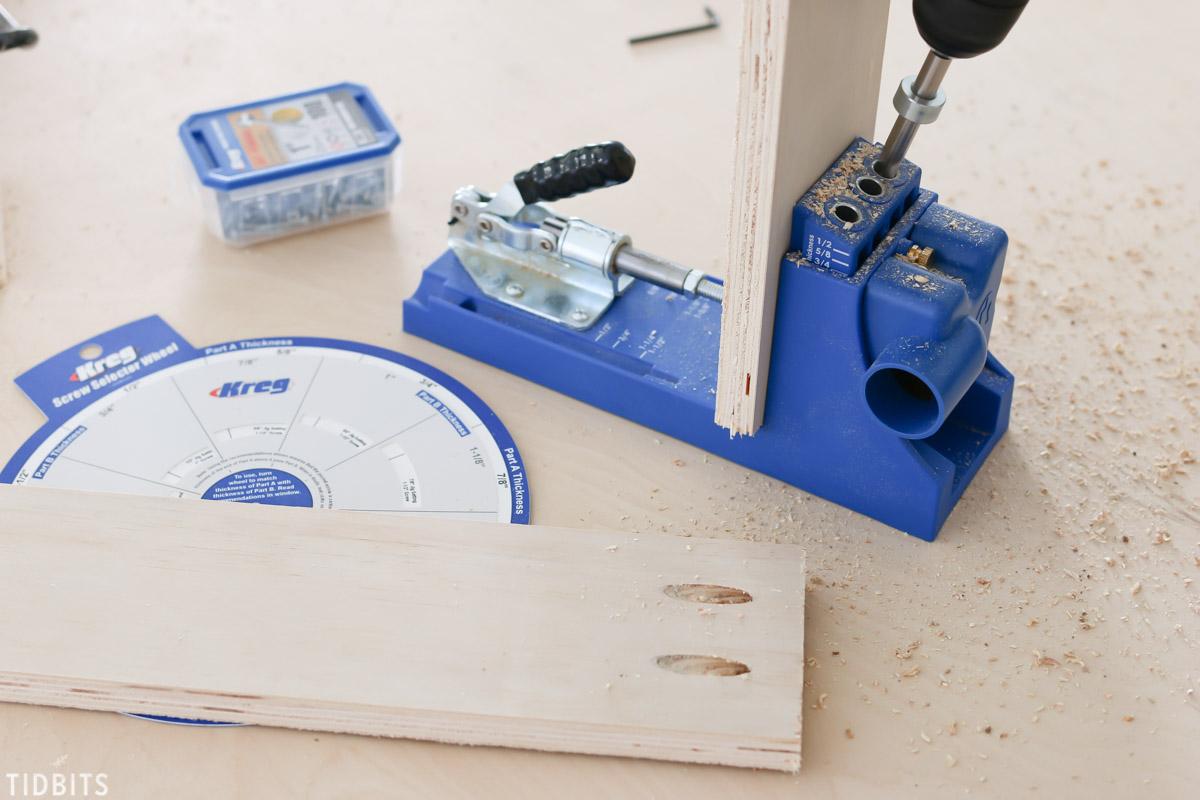
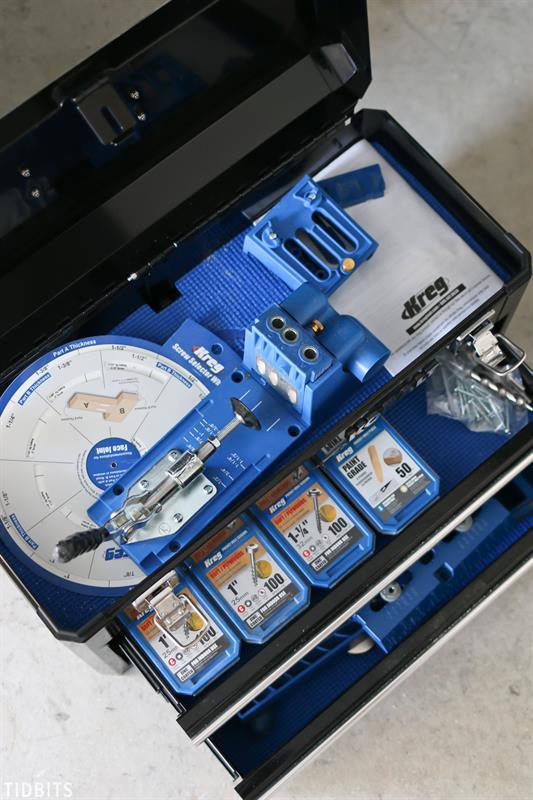
Start the cabinet by building the base. To make it sturdy I used the Kreg Pocket Hole Jig to make sure I had screws that were out of the way and firmly in place.
-
Build Base Step 2
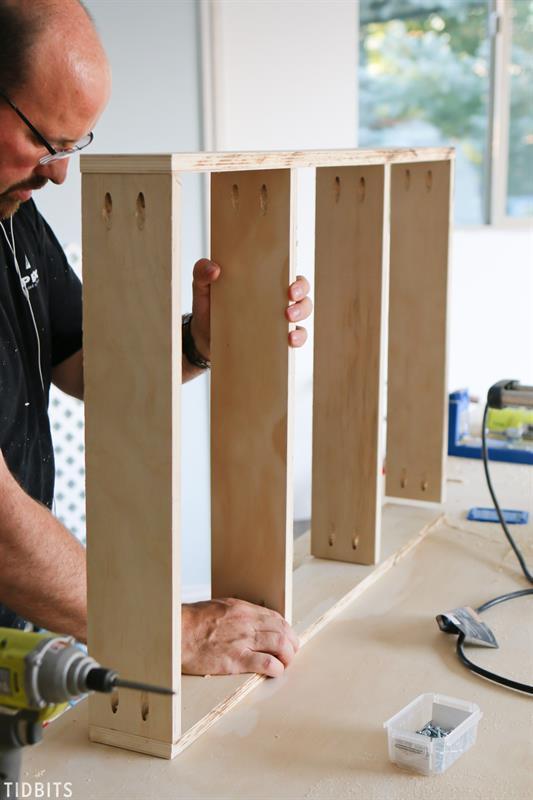
Use four of the center brace base pieces and the front and back brace pieces. Assemble as seen in the picture. I spaced the two center braces 16 inches from the ends.
-
Connect Base to Sides
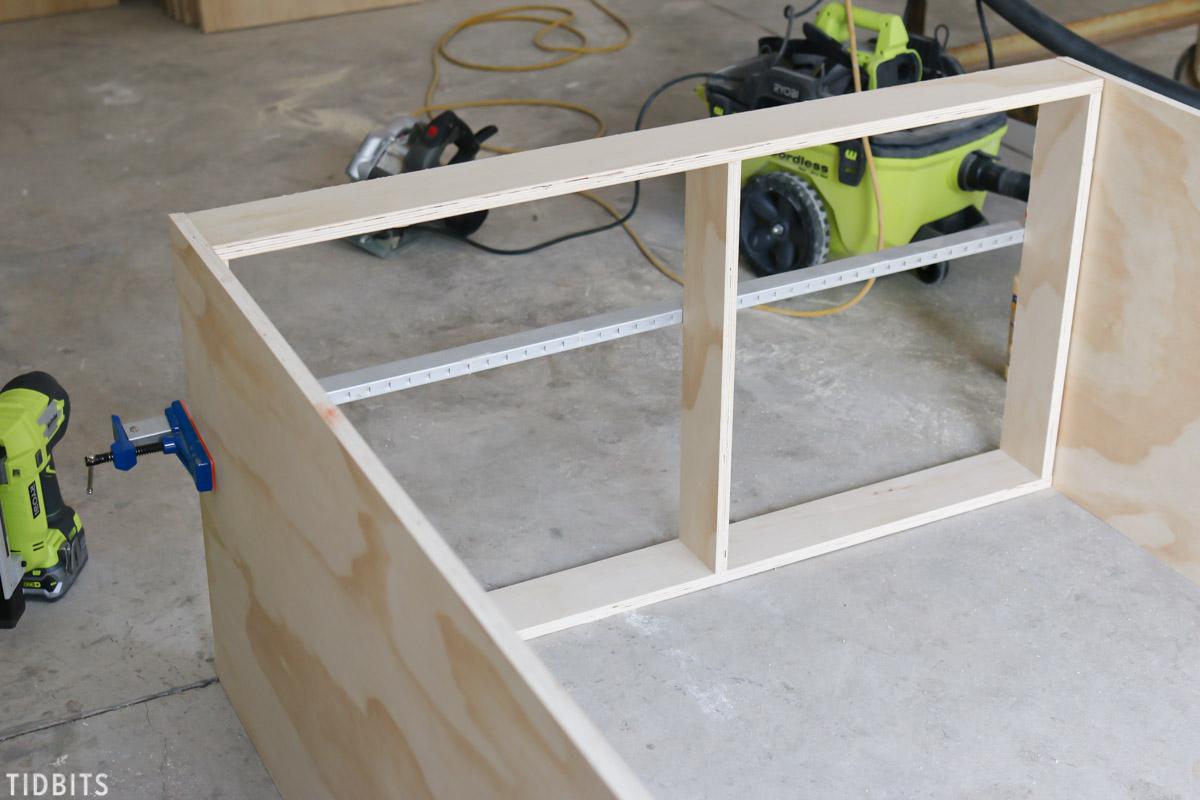
After the base is assembled, attach the two sides with glue and staples as pictured.
-
Assemble Back, Top and Bottom
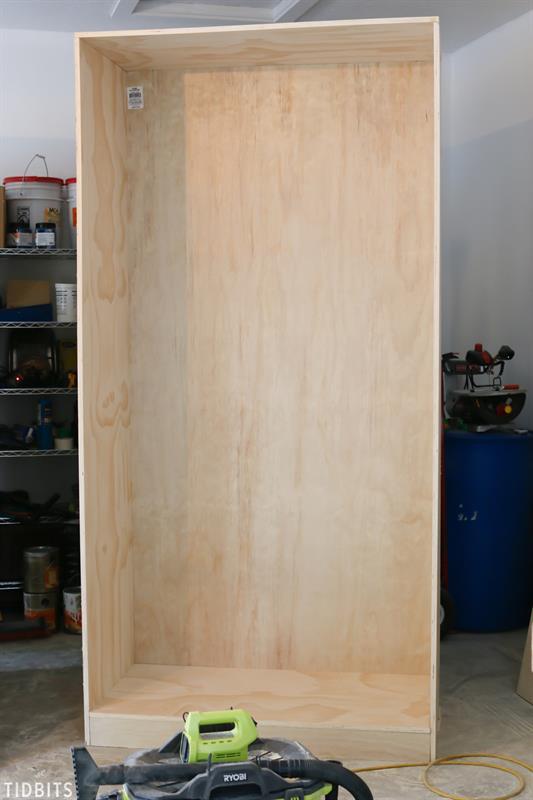
With glue and screws, assemble the back onto the base and sides, then connect the top. Stand the whole assembly up and install the bottom. This will complete the main frame of the cabinet.
-
Middle Shelf
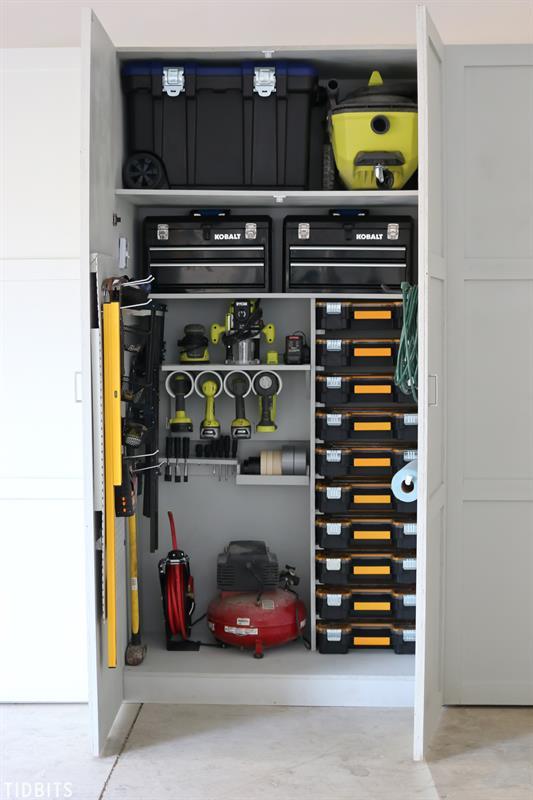
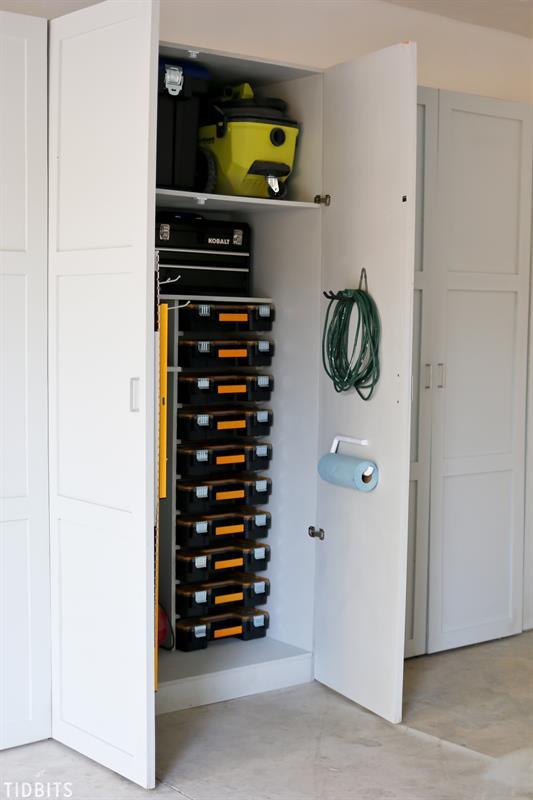
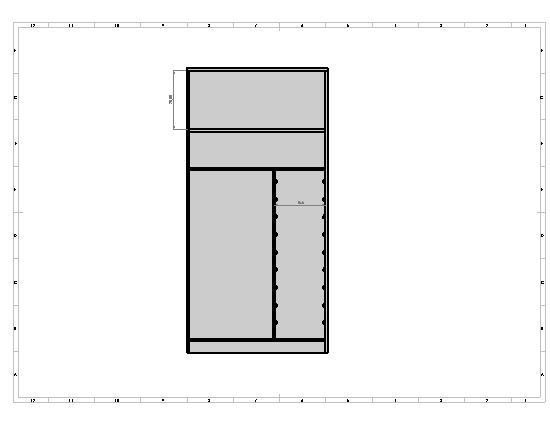
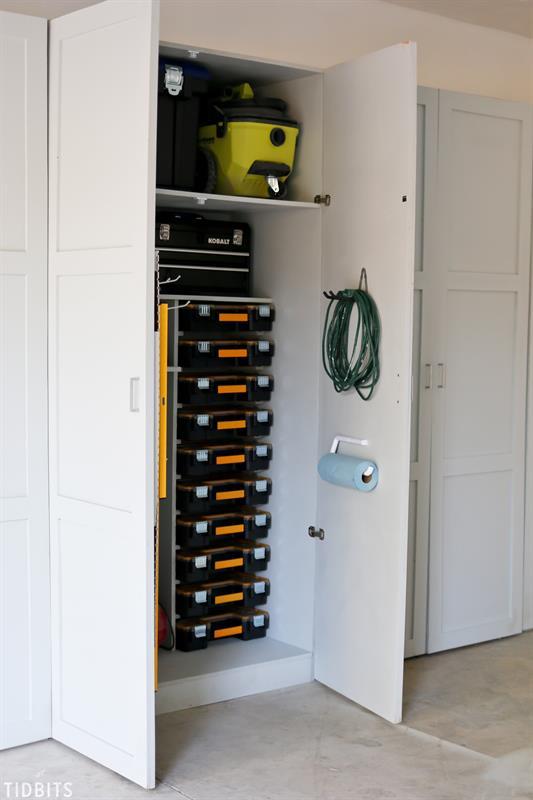
Now you are ready for the interior of the cabinet. It is important to size everything for your needs. I used 15 inch wide small parts organizers that were 12 inches deep and a little over 4 inches tall. I used these dimensions to decide where to position the center shelf brace. I put it 15 1/2" inches from the right wall. This will allow the parts organizers to have room to easily slide in and out. I then installed the middle shelf. I again used the Kreg Pocket Hole Jig to screw the shelf into the cabinet. This is for stability and strength.
-
Top Shelf
The top shelf is again installed with glue and pocket hole joinery. I positioned it 20 inches from the top of the cabinet to allow for the tool boxes I chose for these spots. Size your cabinet accordingly.
-
Tool Box Holders
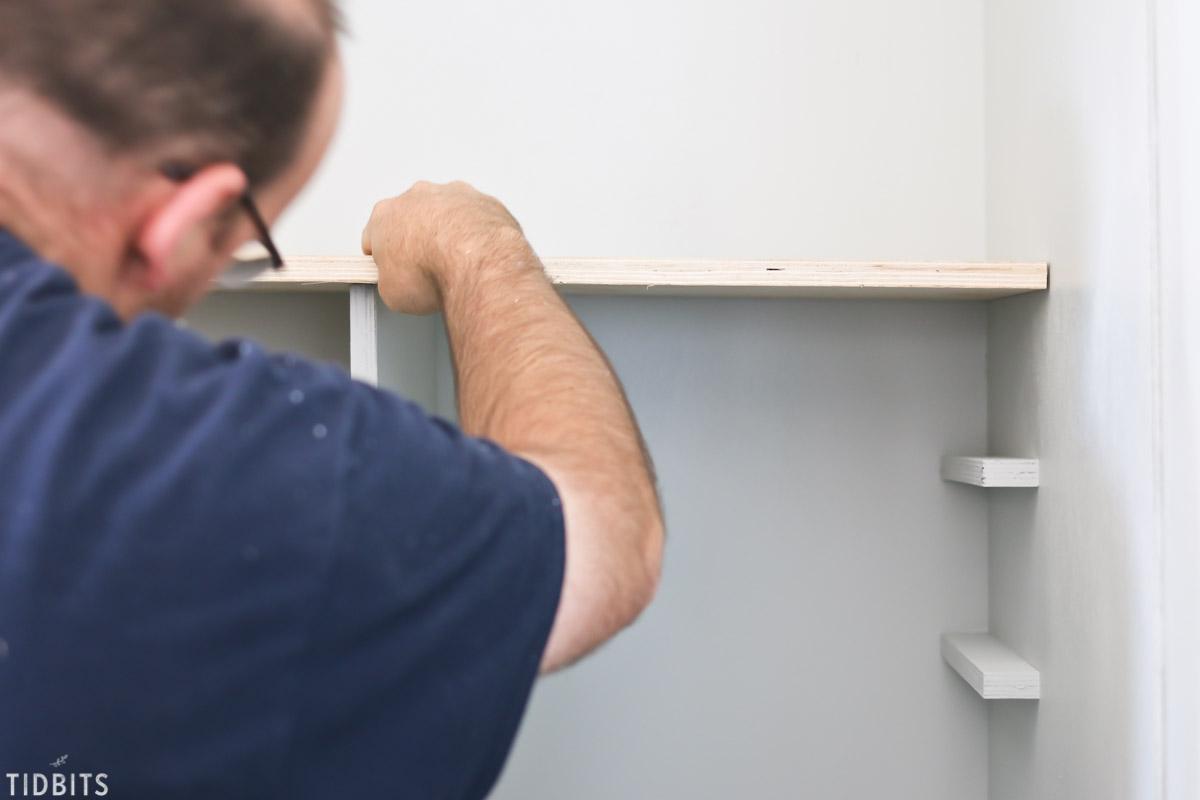
Install the tool box holders at the height needed for the small parts organizers you chose. Mine were about 4 inches tall so I spaced the holders 5 inches apart so that they had some extra room to slide in and out easily. I cut two 5 inch pieces of board and with a level installed them using the board as a spacer. Use a staple gun and glue.
-
Hangers
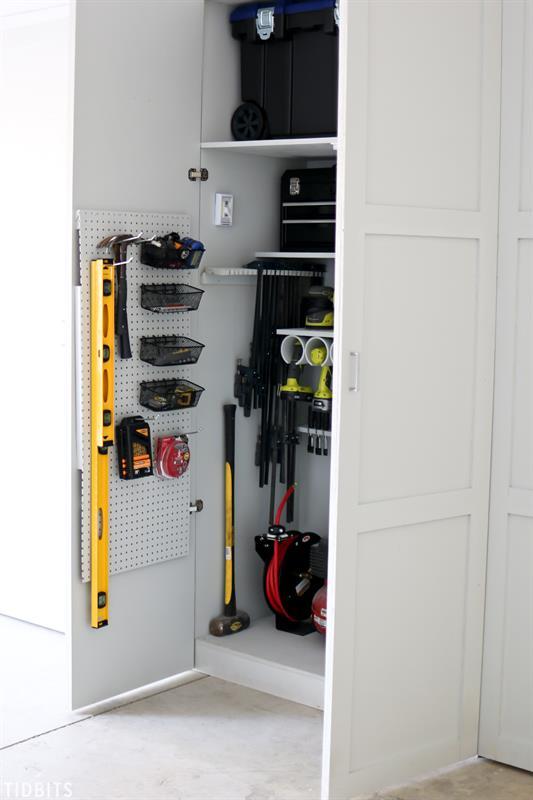
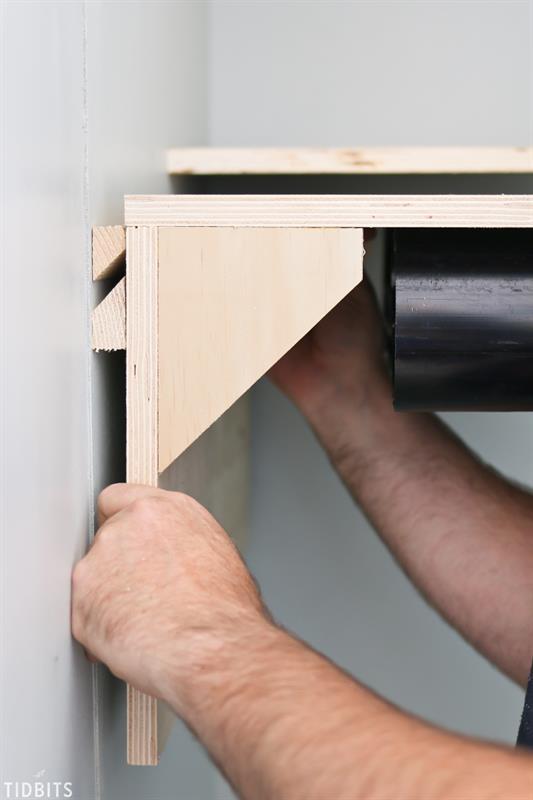
In order to make the cabinet so that it evolves as my arsenal of tools evolves, I built hangers to hang compartments inside the cabinet. This way I can build several different types of tool compartments and have several different places to hang them as my needs change. I built the hangers by taking a 1"x3"x8' pine board, set my table saw at a 45 degree angle with the fence 1 inch from the blade and cut the boards in two pieces. The slightly wider piece goes in the cabinet and the smaller piece is attached to the compartments as needed. See pictures for how they work and go to the blog tidbits-cami.com for the details on the inside shelving and organizing compartments I built.
-
Door Trim
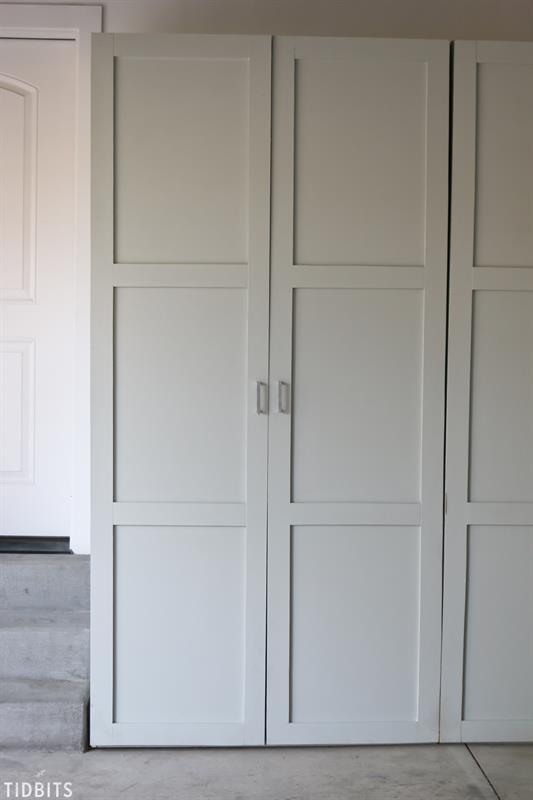
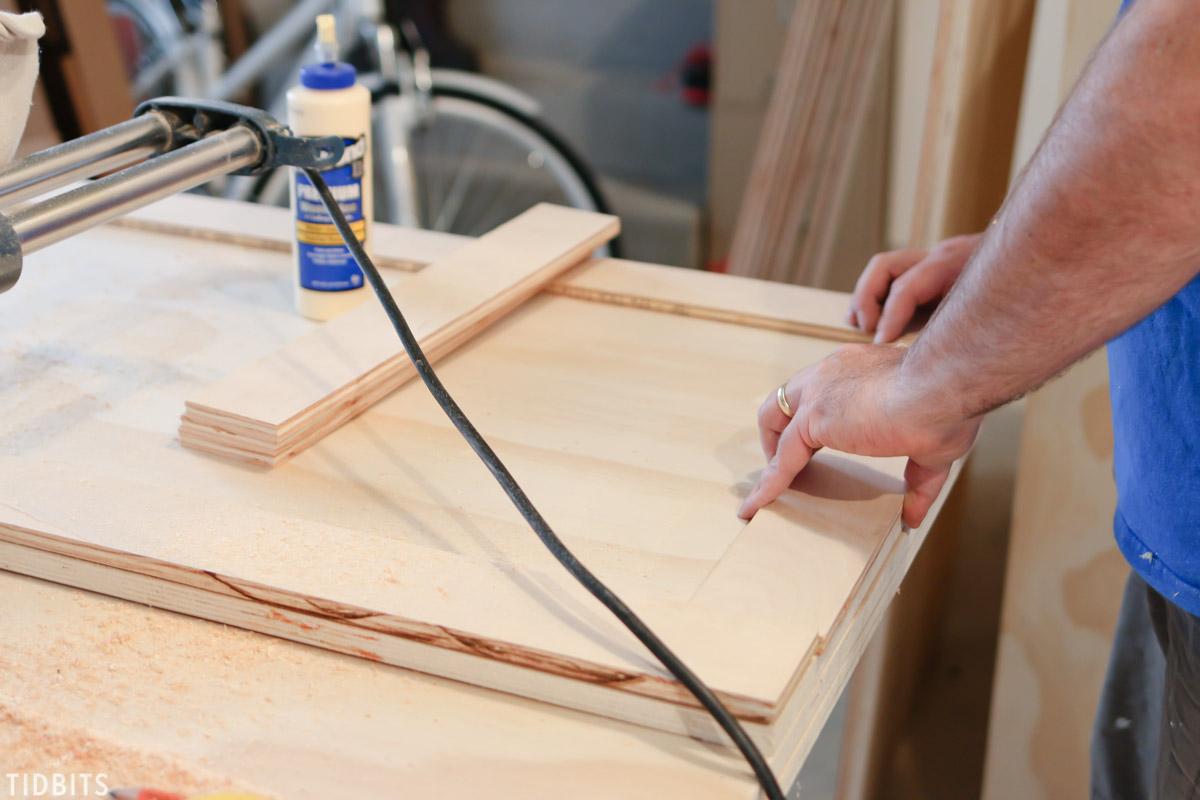
To make the doors more appealing rip a half inch sheet of plywood down to 3 inch strips. Two strips at 8 ft long and 4 at 18 inches long. Attach these to the front of the doors using a staple gun and glue, space them evenly.
-
Door Hardware
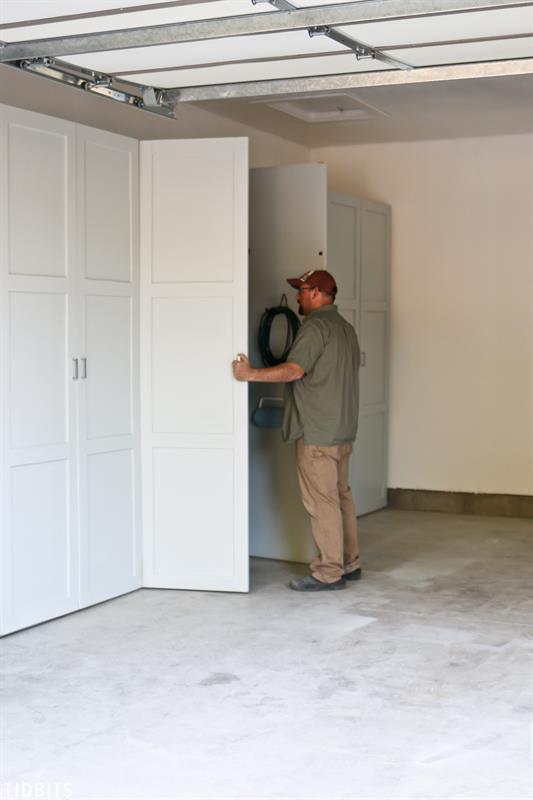
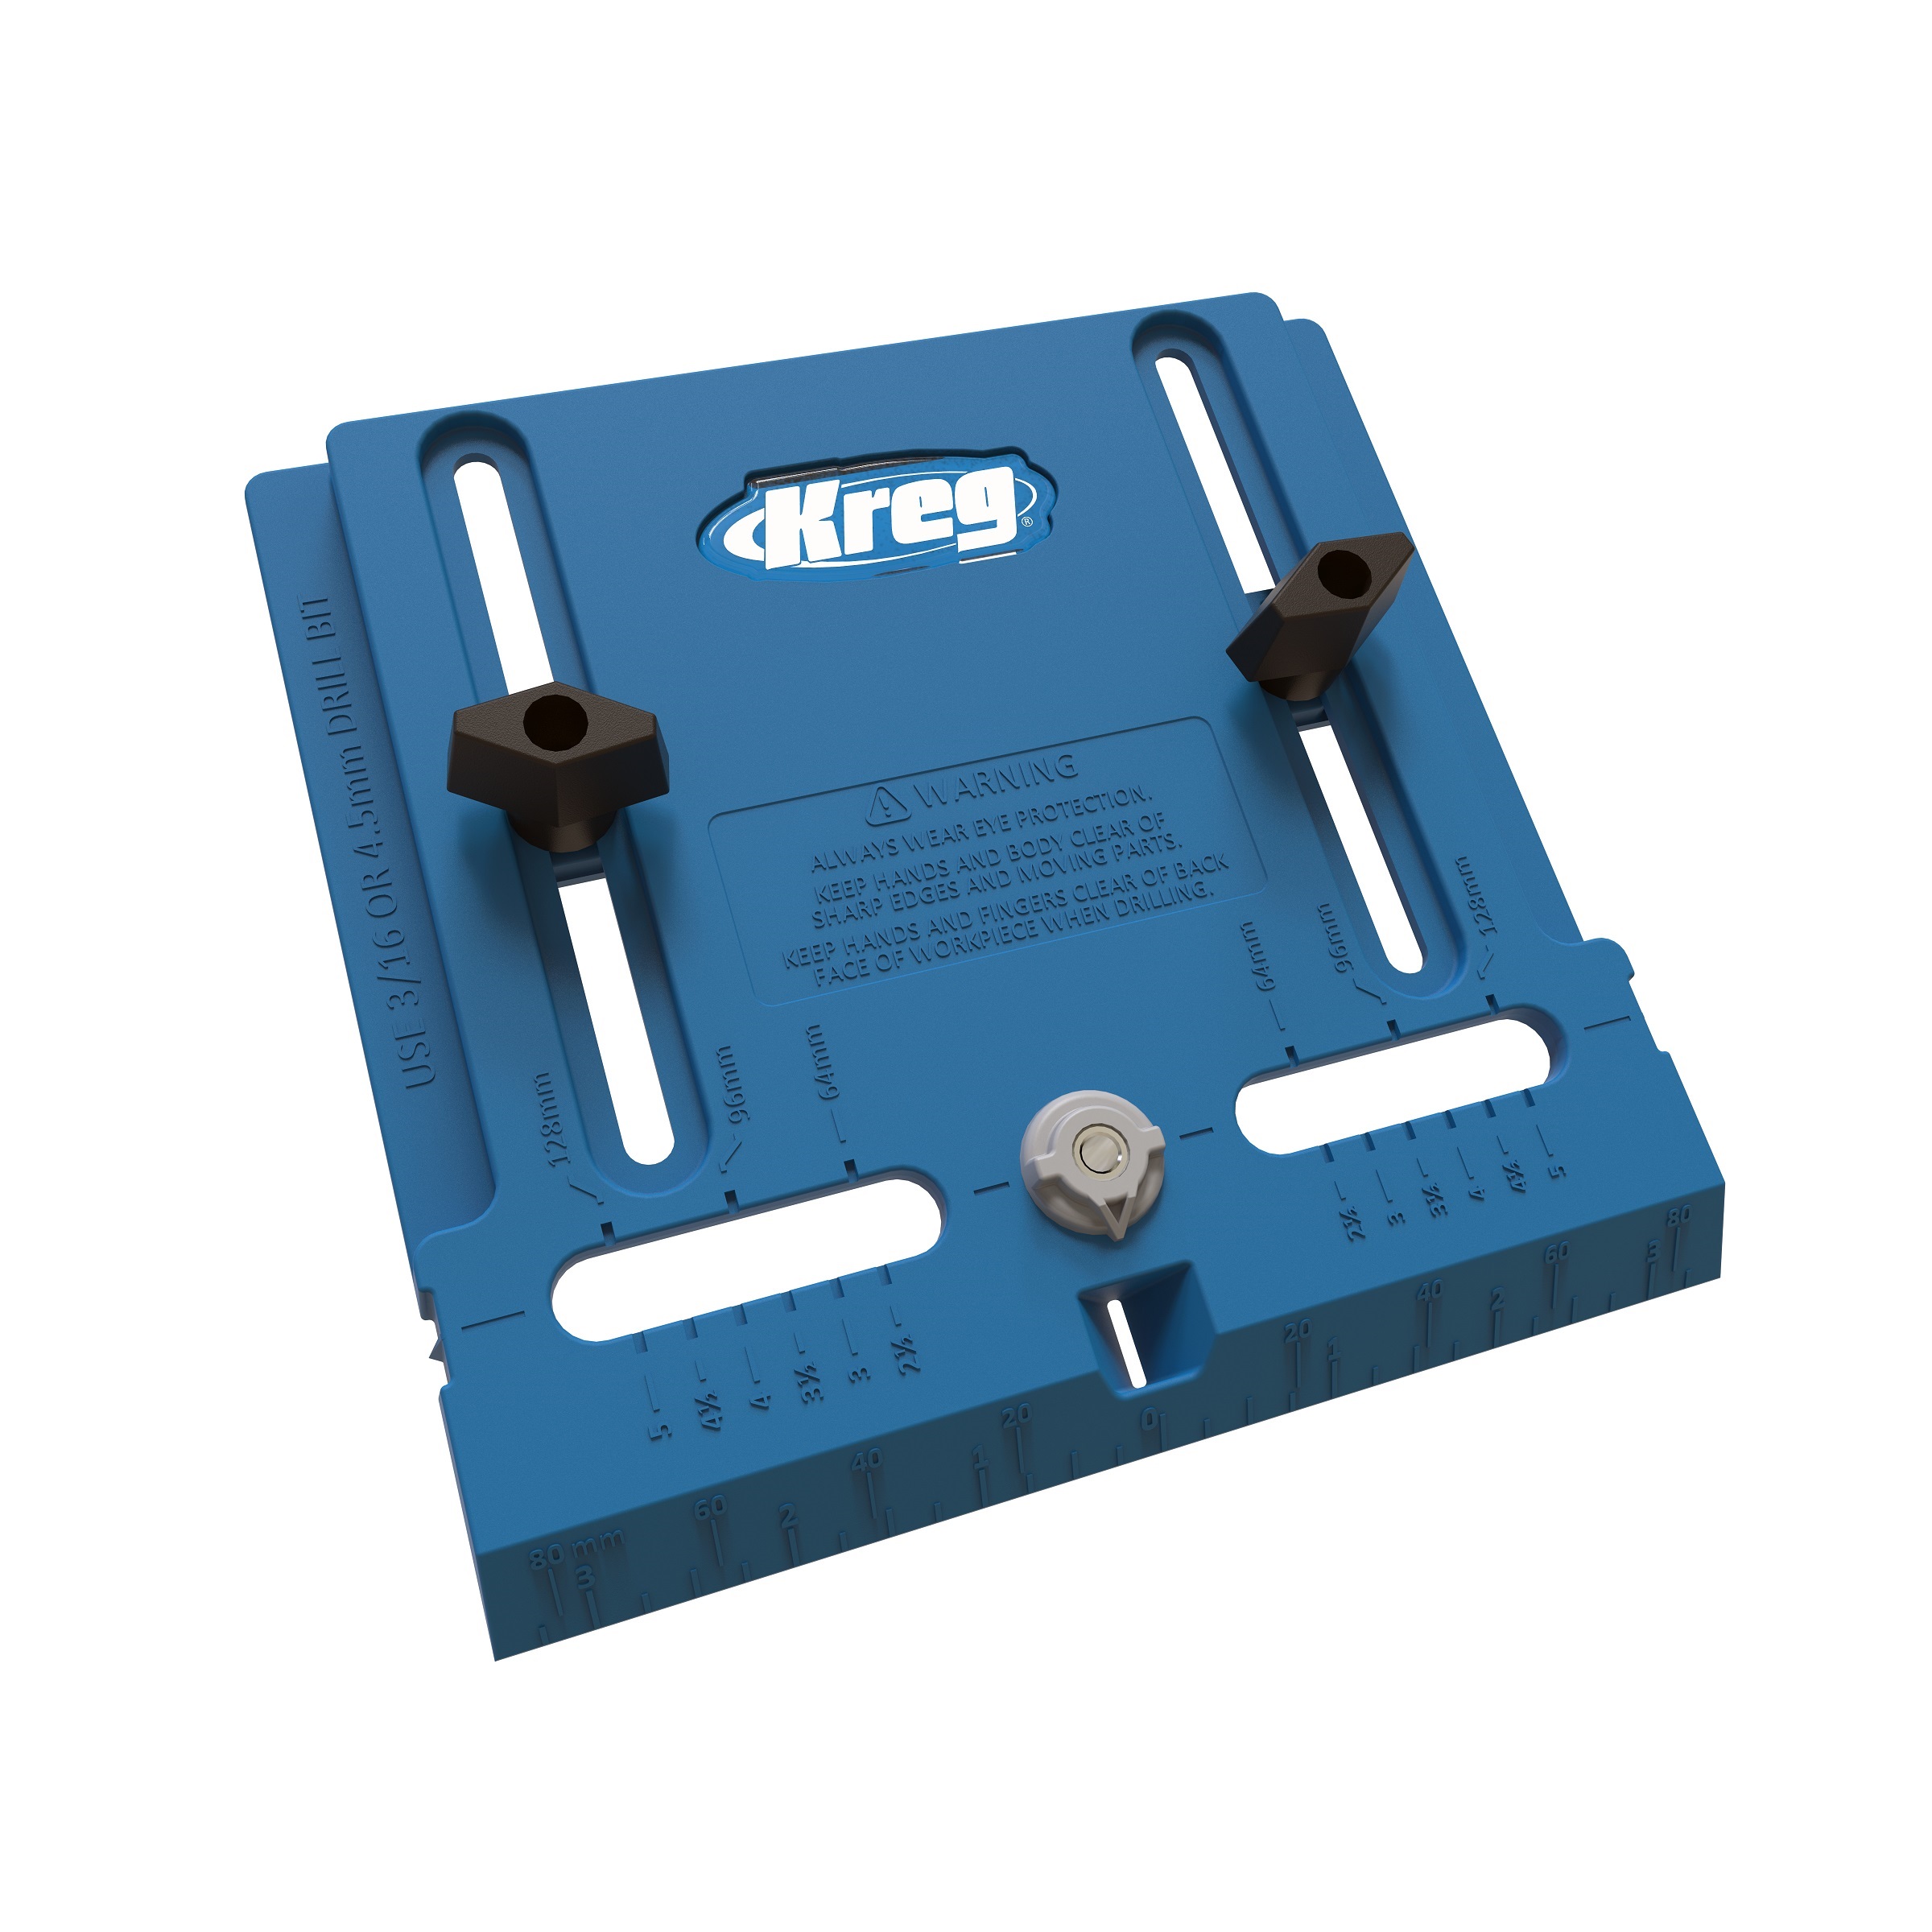
Attach the doors to the cabinet using preferred hinges. Due to the size of the doors I would recommend using piano hinges since they will help with keeping the doors rigid and free from warping. However I built several cabinets that were meant to butt up against each other so I used surface mount cabinet hinges. At least four per door is recommended. I used two and will be adding two more since the doors aren't as strong as I would like. Using the Kreg Cabinet Hardware Jig, install preferred handles.
If you would like to see more details on how we built and organized inside the cabinet, please visit https://www.tidbits-cami.com/garage-storage-cabinets/


